We manage to wrestle our way through workflows, and now have a better understanding of the concept and flow of – Workflows. However, we done all the Workflows with default permissions. In production, you will probably need to create Workflows that are visible only to some department, or few people. We will learn how to do that in this article. This will be a longer article, since there are many thing to cover.
We will also learn various ways to manage permissions in M-Files – by it be users or groups, or metadata.
Here is the link to M-Files documentation – topic of permissions is covered in many places – so I used search function to get what I need https://www.m-files.com/user-guide/latest/eng/index.html
If you are not sure what we are doing here, this article is on top of everything we done and learned earlier, here are articles that should be covered if you are not sure what to do here:
M-Files how to configure Metadata
M-Files – users and user groups
M-Files – Create and manage simple workflow
M-Files – Create Workflow with assignments
M-Files – Create Workflow with Approvals
Workflow Configuration
Since things are getting more and more complicated, I will now explain my Workflow step by step first, before we go to permissions of each state.
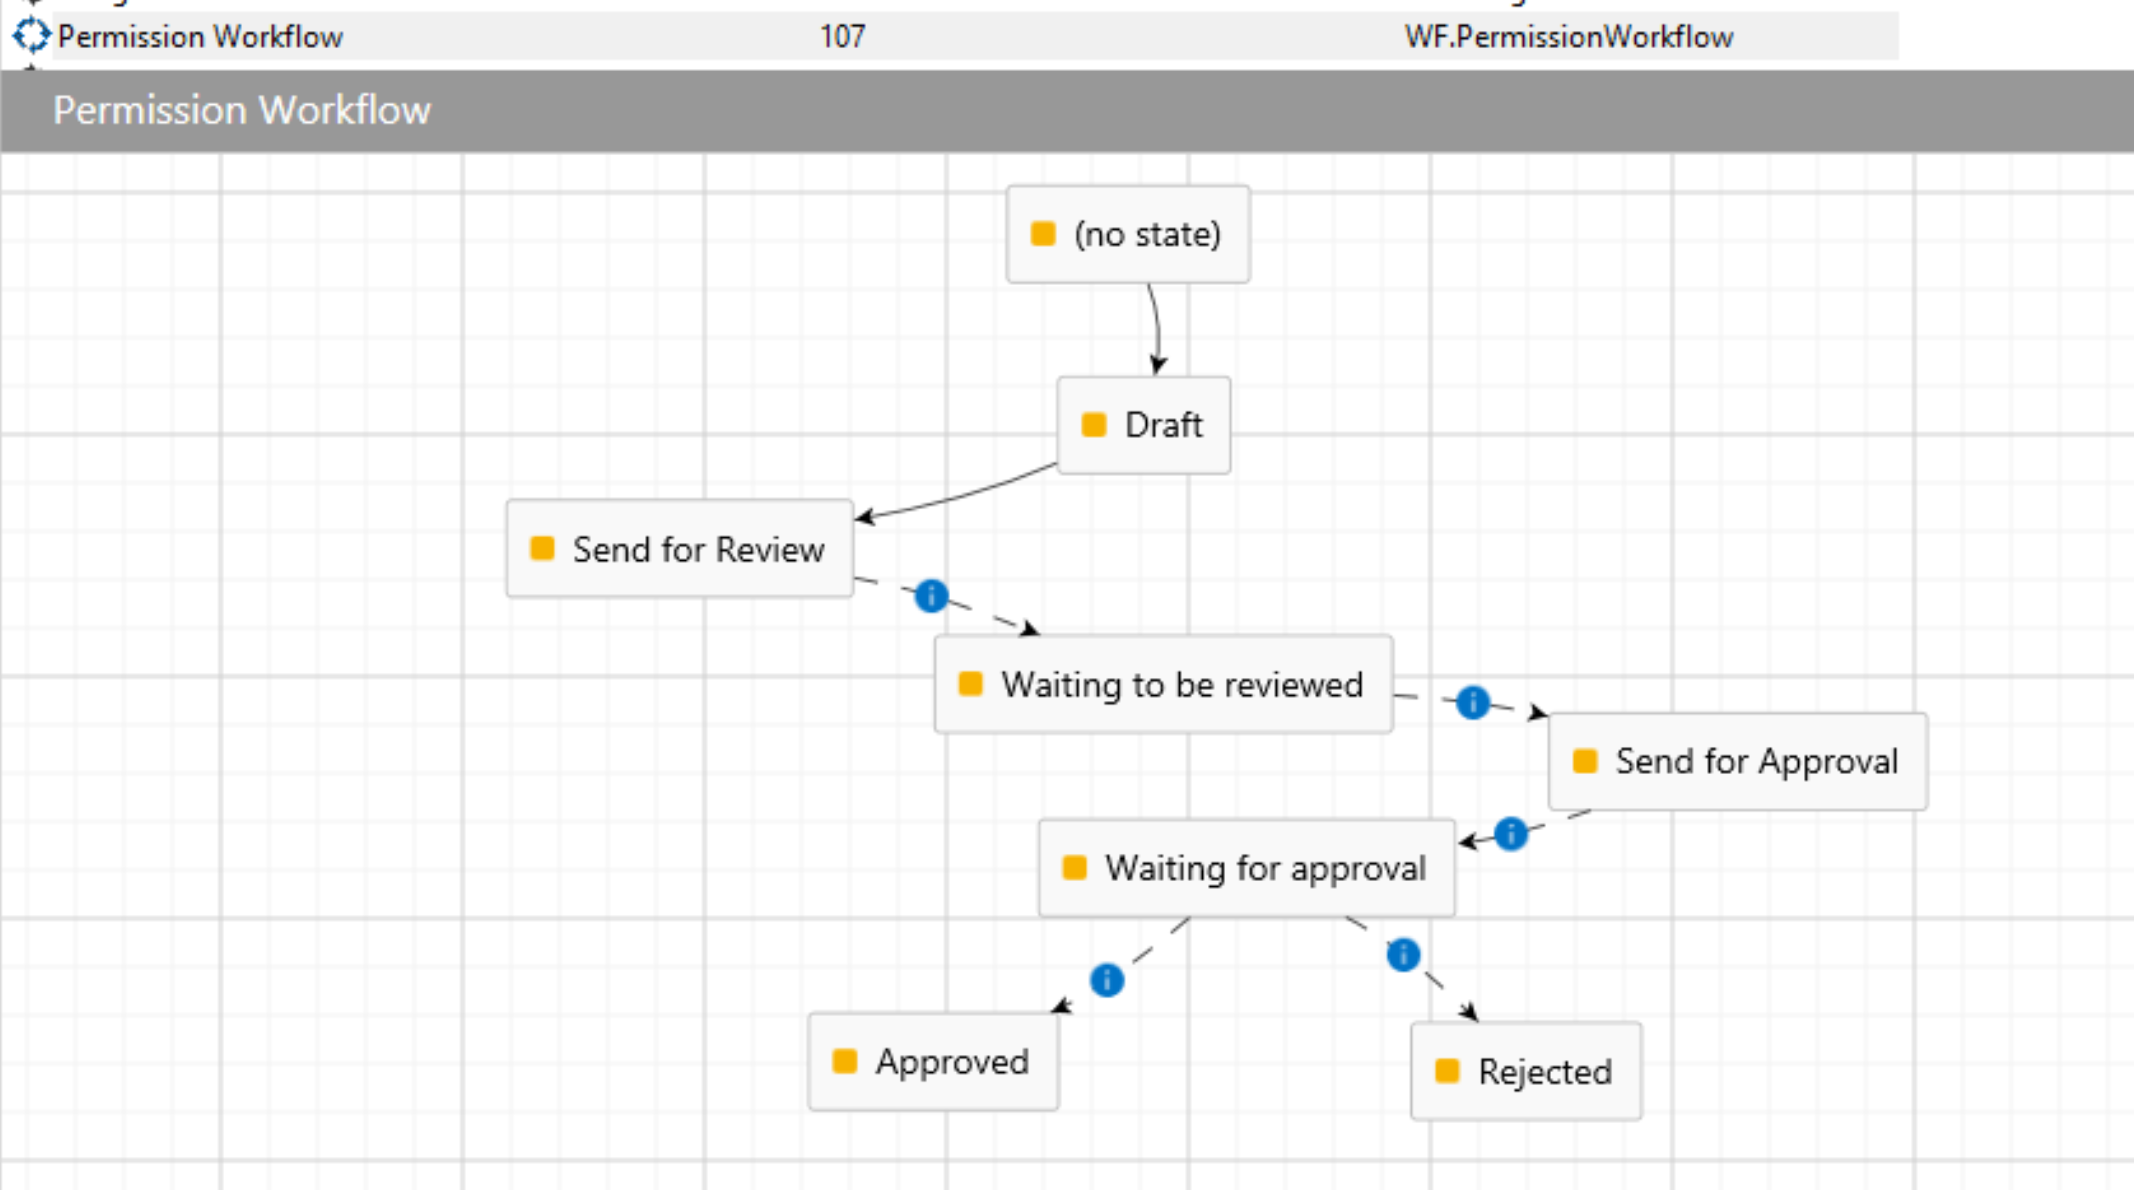
Here is how my Workflow (Permission Workflow Test) like. This is a test one – I also have one named Permission Workflow – which we will go through together for permission. This Test one is for me to show you how transitions in workflow work.
We have two new states (that is why I’m going to explain whole workflow in detail before getting to permissions). We have “Send for Review” and “Send for Approval” state. According to M-Files this is necessary because – The permissions need to be defined in a state before the one where assignment is created. We
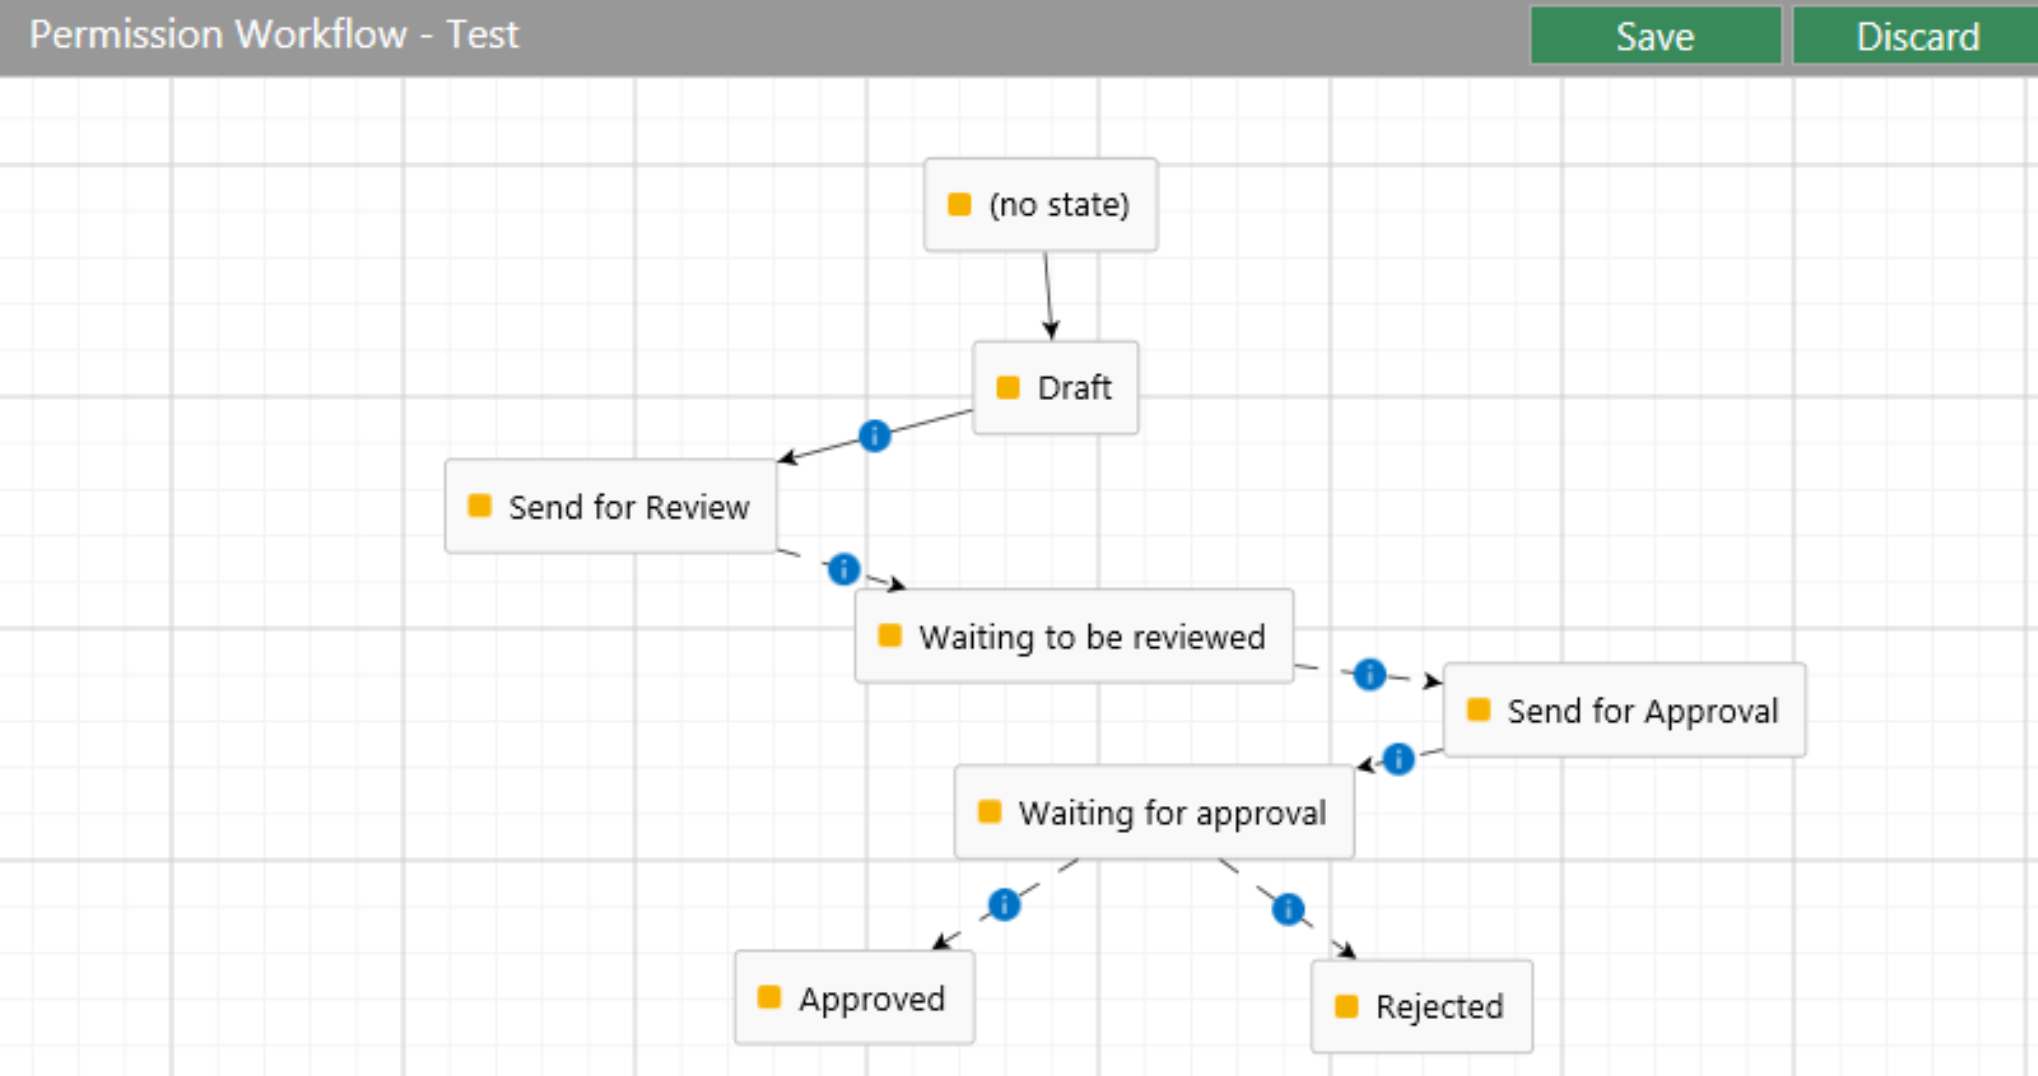
Let’s now go through each state and transition and see how it looks and works. This scenario is tested (with permission) and it works.
Draft State
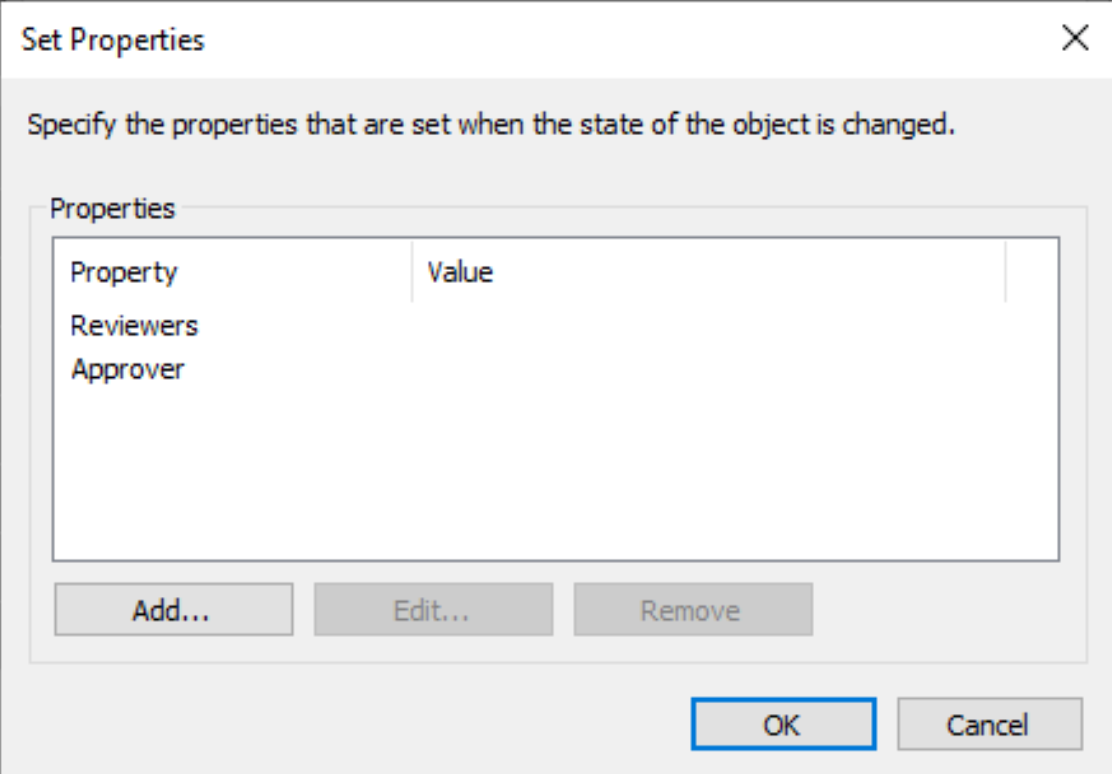
Draft state has configured on Action Tab – Set Properties – Define -Reviewers and Approver
Transition Draft -> Send for Review
No triggers defined in Draft to Send Review Transition – but we will have some permissions on this one.

Send for Review State
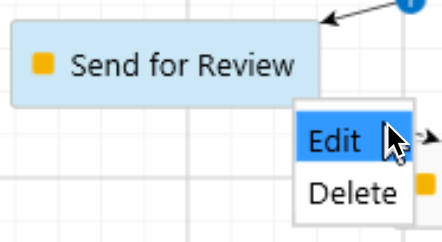
No actions defined – we will set permissions later.

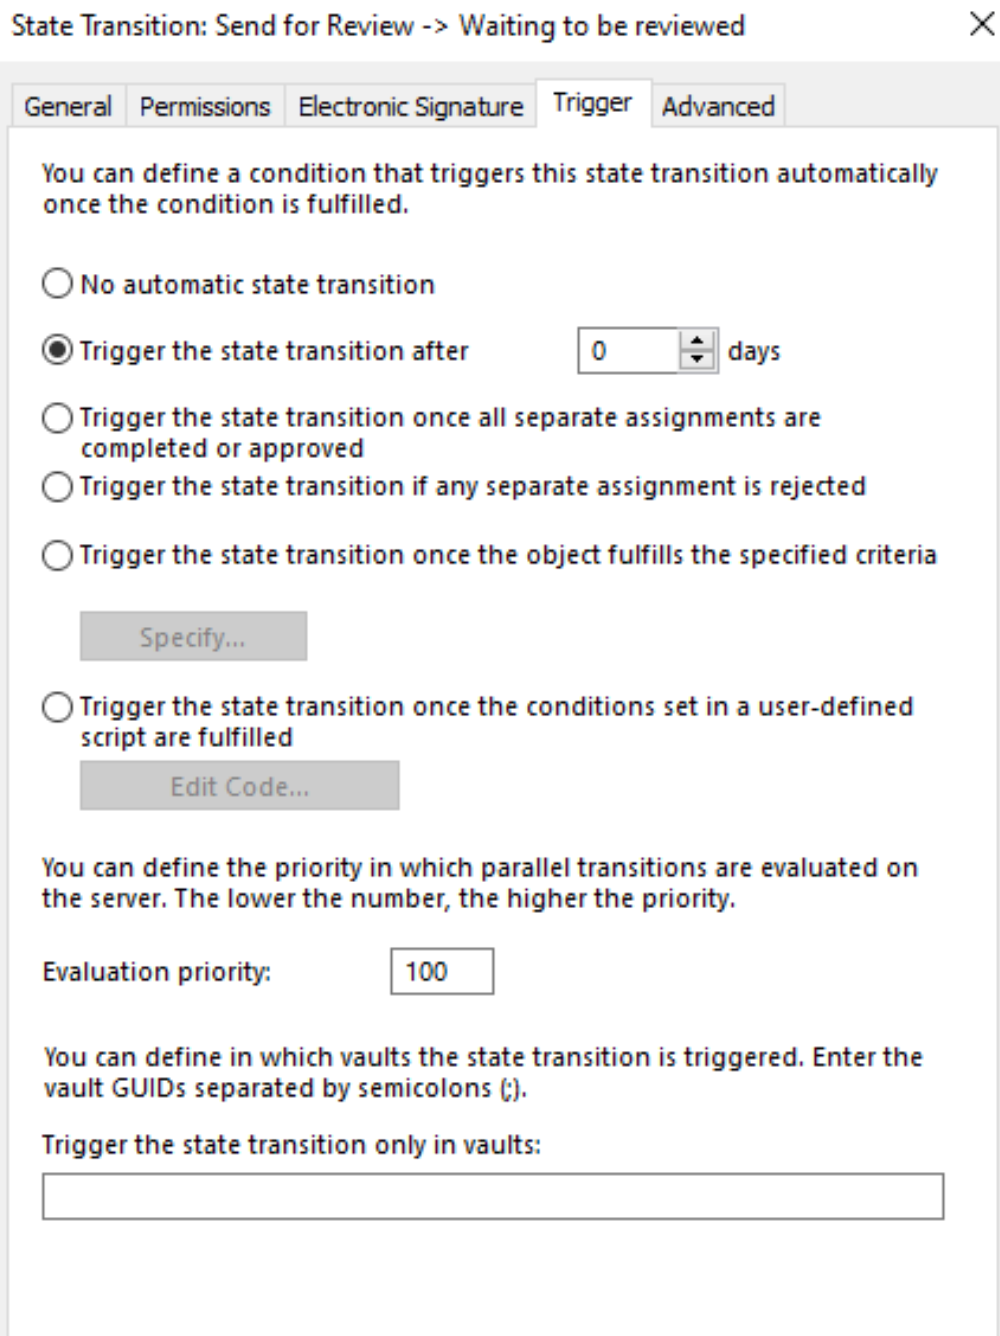
Transition Send for Review -> Waiting to be reviewed
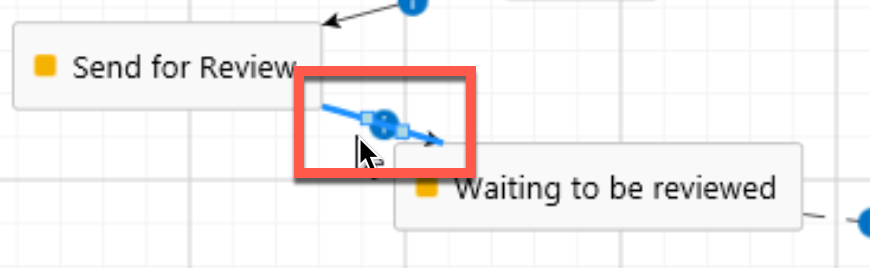
We have defined Trigger state – Trigger the state transition after 0 days
Waiting to be reviewed State
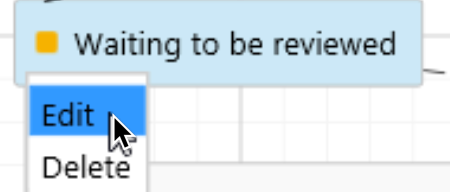
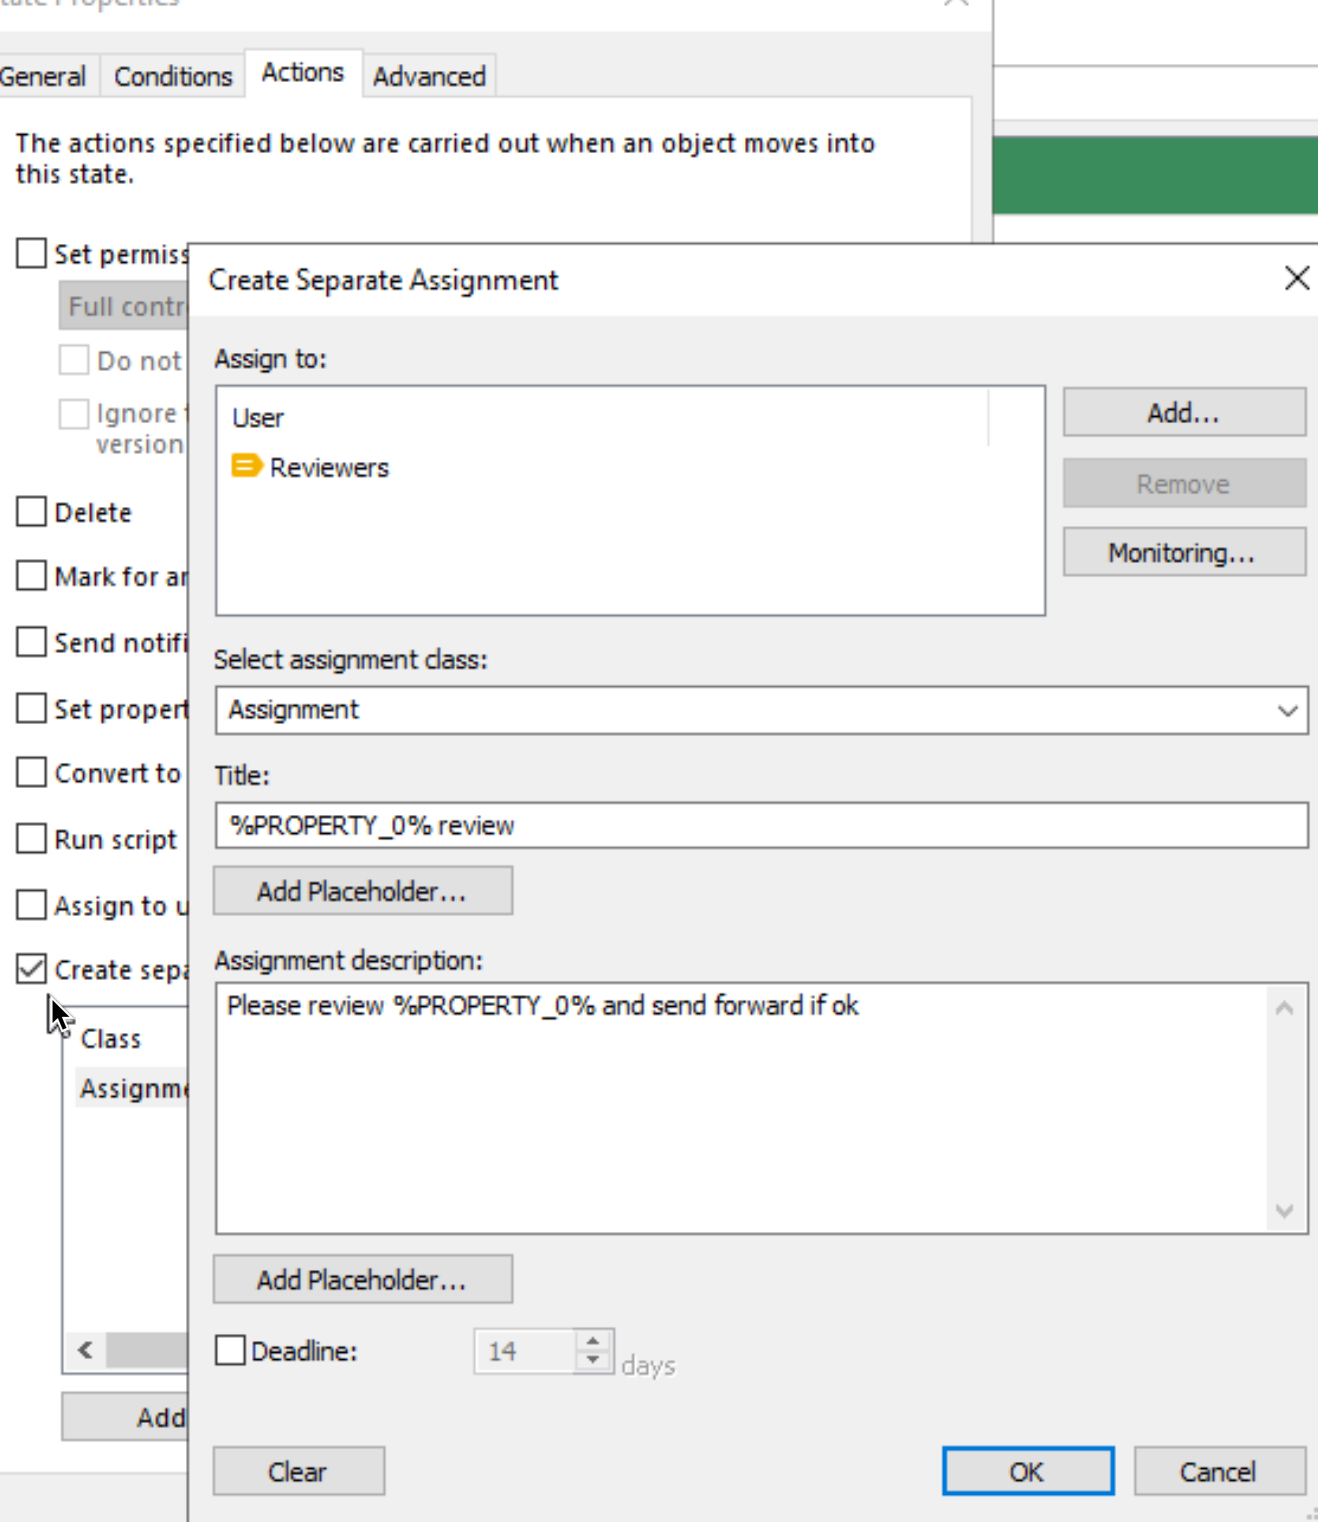
Actions tab – click on Create separate assignments. We added reviewers – set Assignment class as Assignment – added Name or title property for things to look nicer.
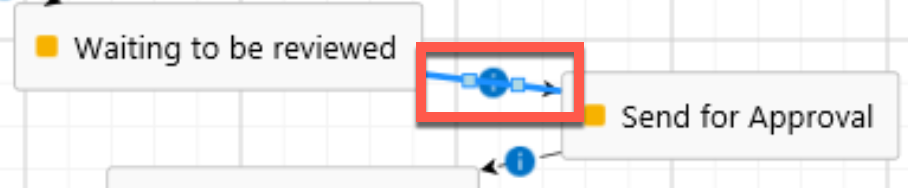
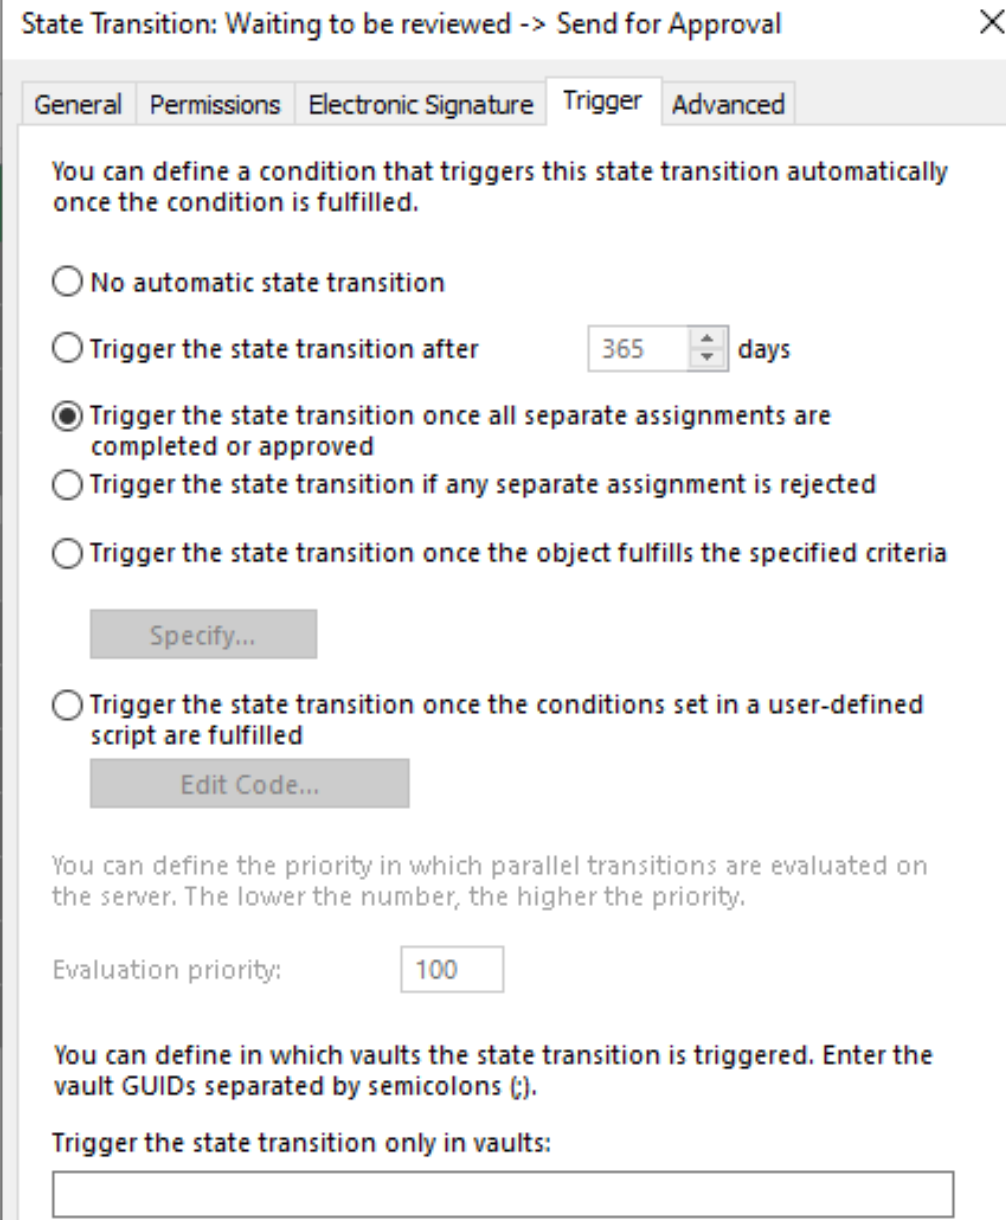
Transition – Waiting to be reviewed -> Send for Approval
We set here Trigger state to “Trigger the state transition once all separate assignments are completed or approved”
Send for Approval State
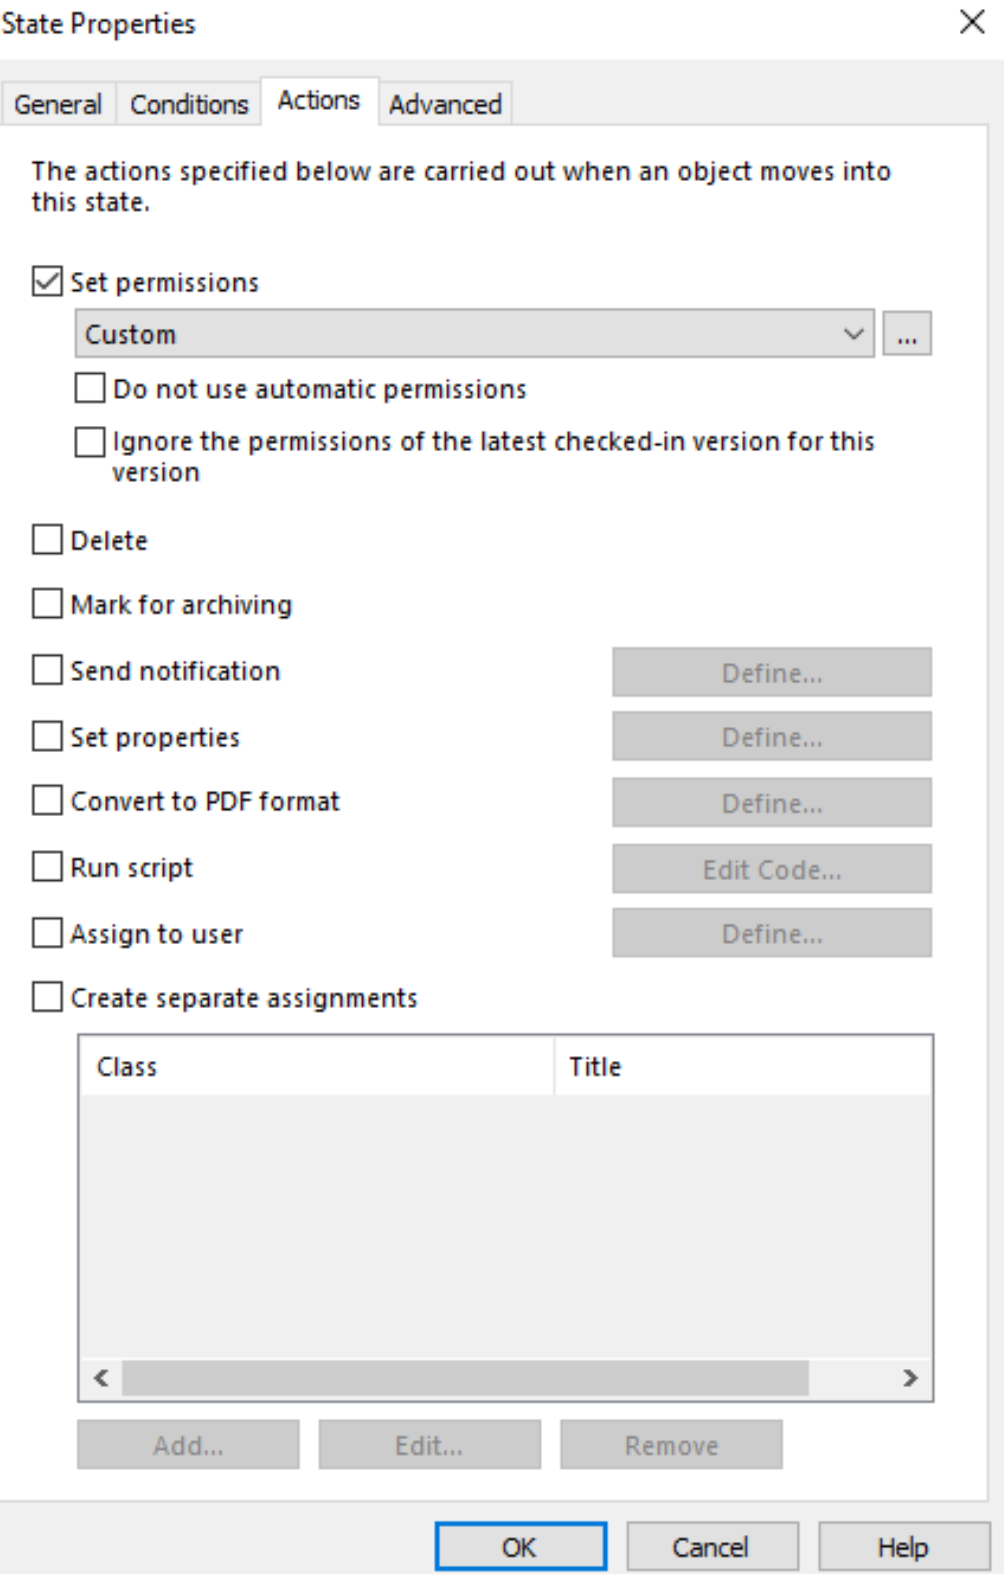
Action tab – has no defined options – again, we will deal with permissions later.
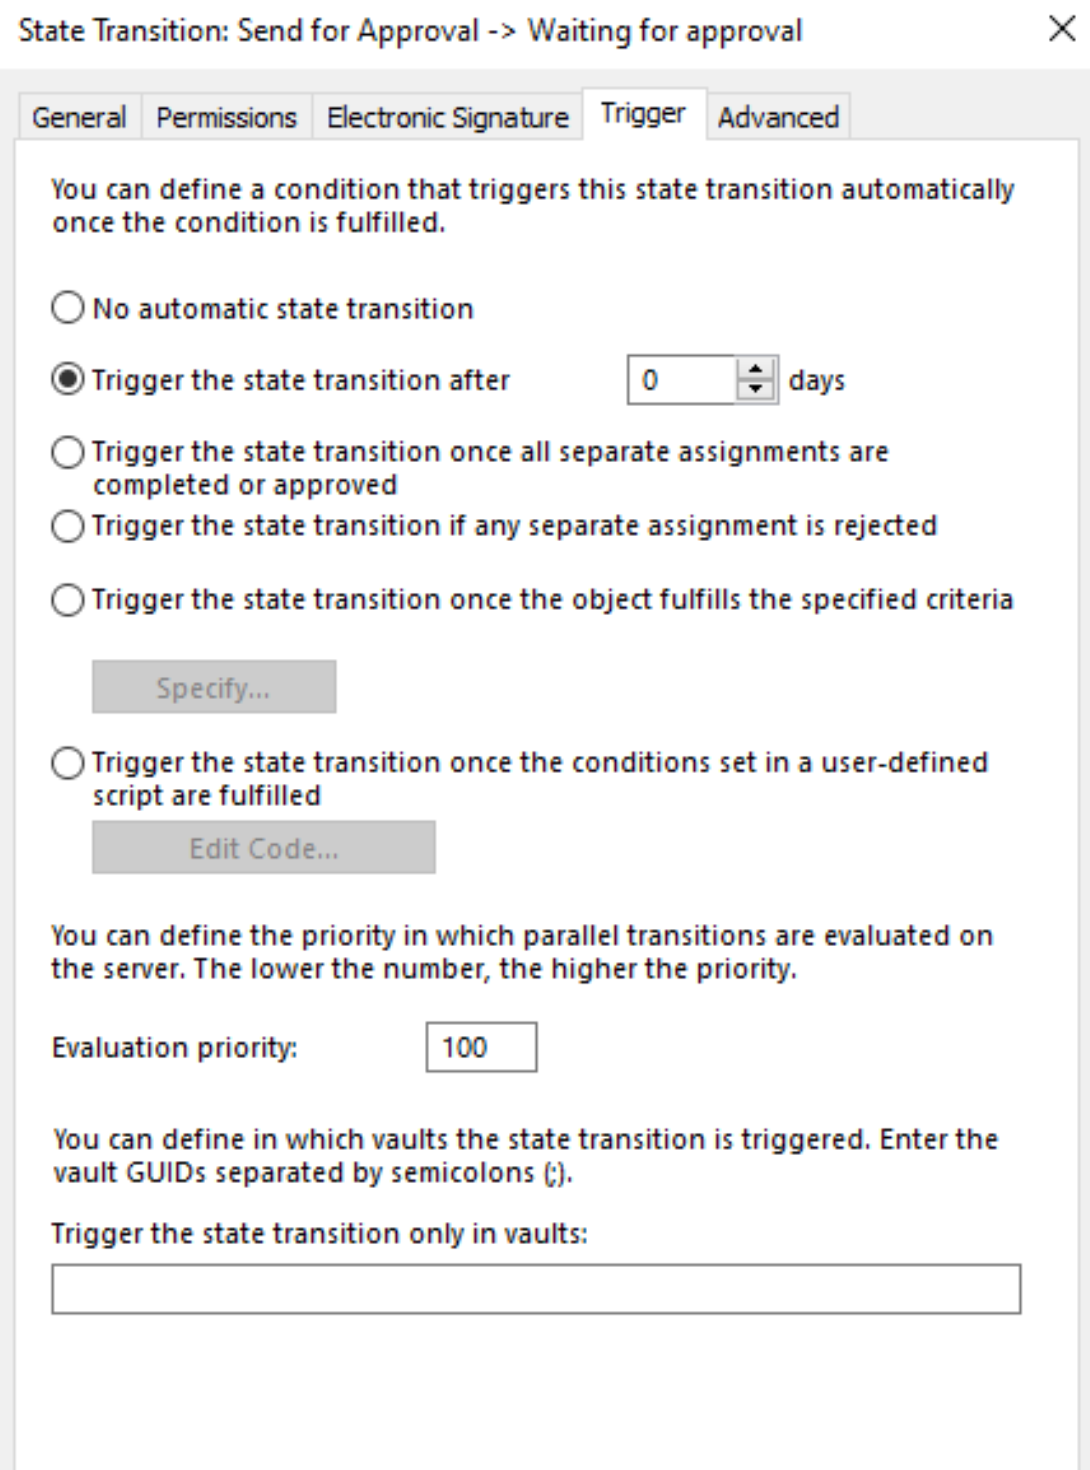
Transition Send for Approval -> Waiting for approval
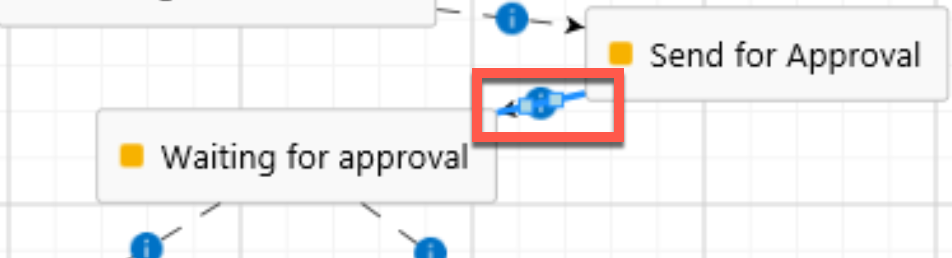
Trigger state is set to “Trigger the state transition after 0 days”
Waiting for approval state
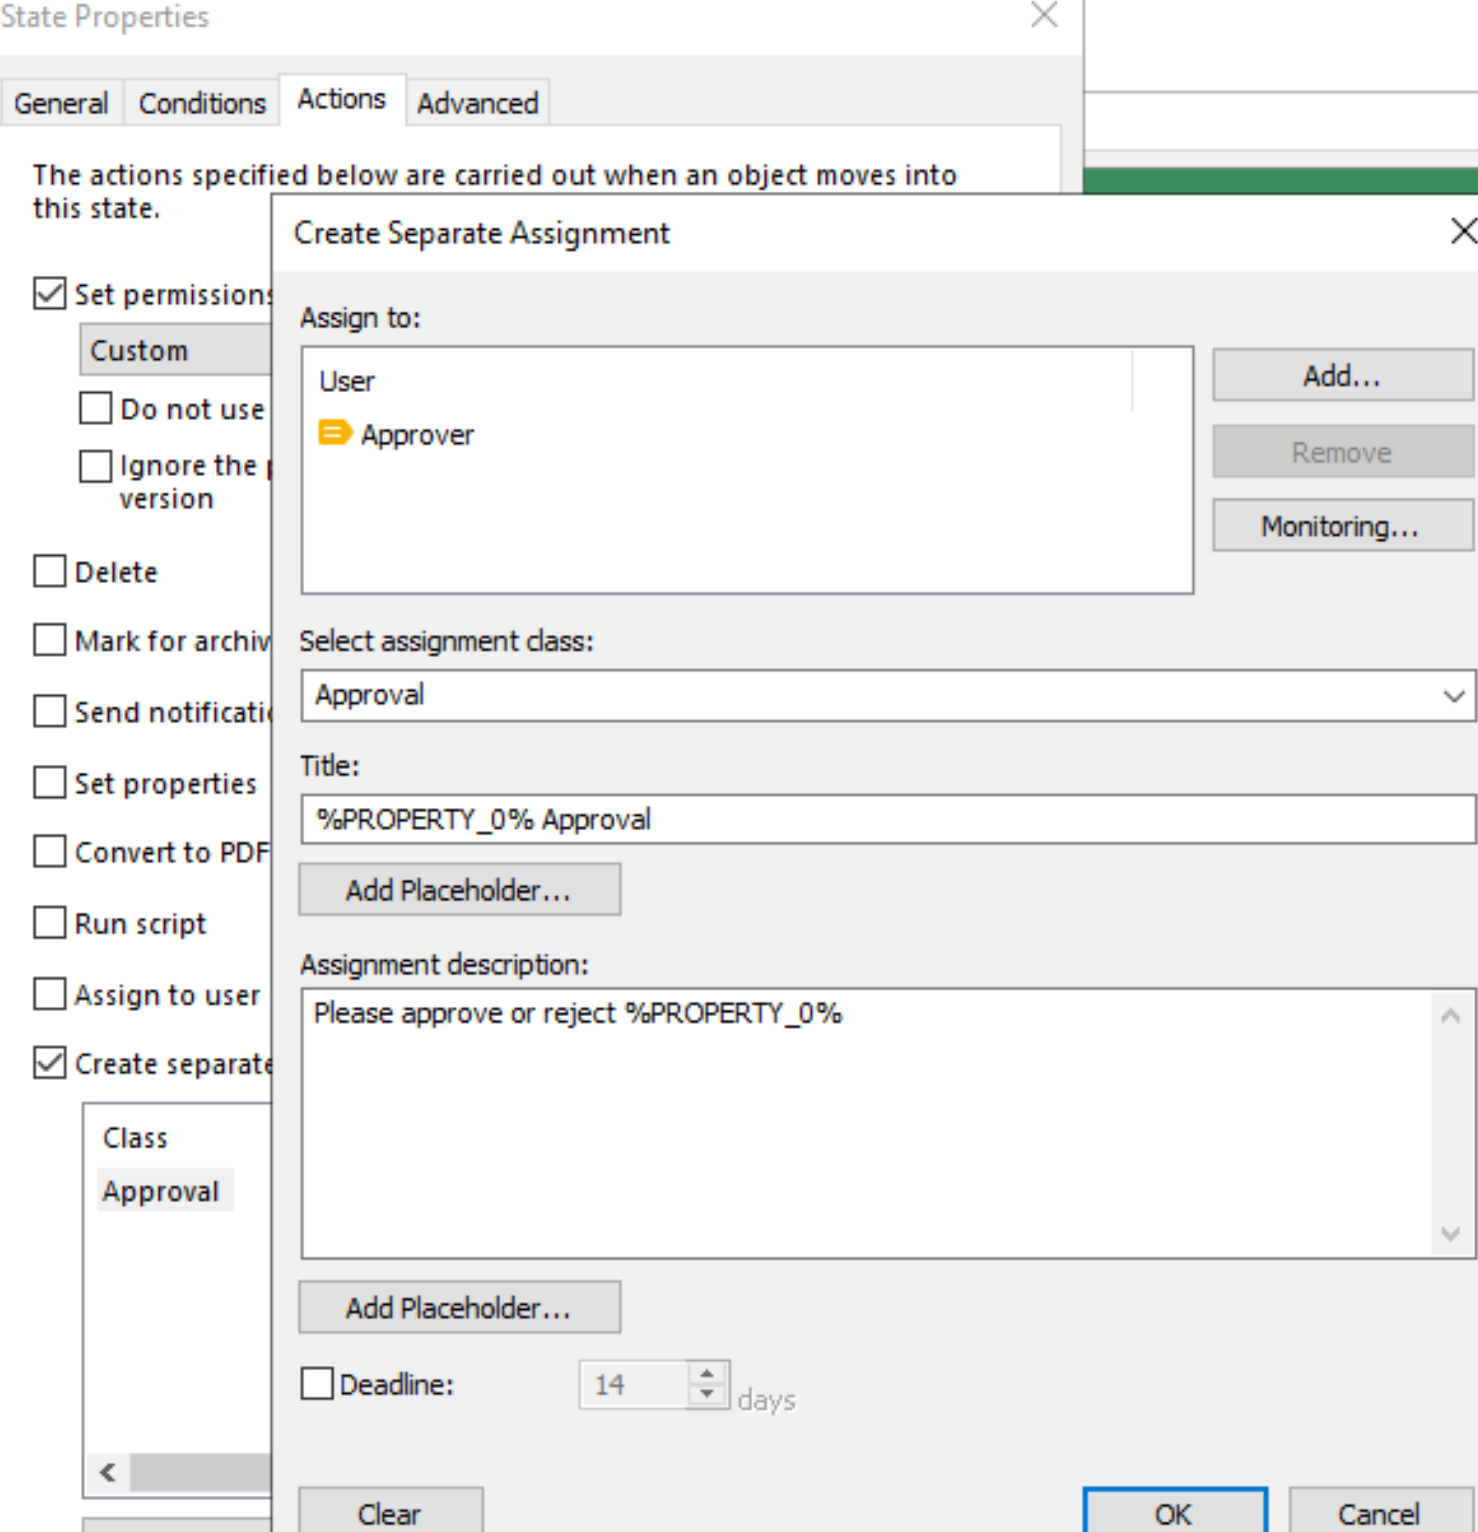
Action – Create separate assignments is selected – Approver is set as user, Approval is selected as assignment class and we have set Name or title properties for things to look nicer.
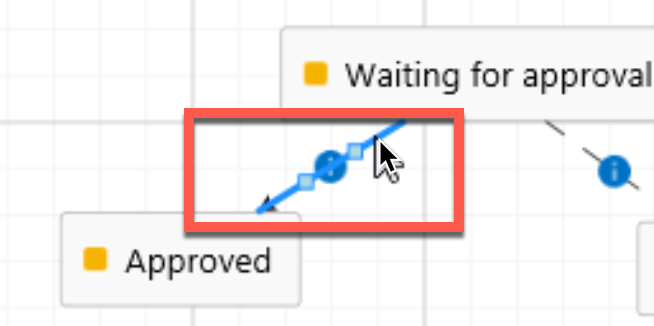
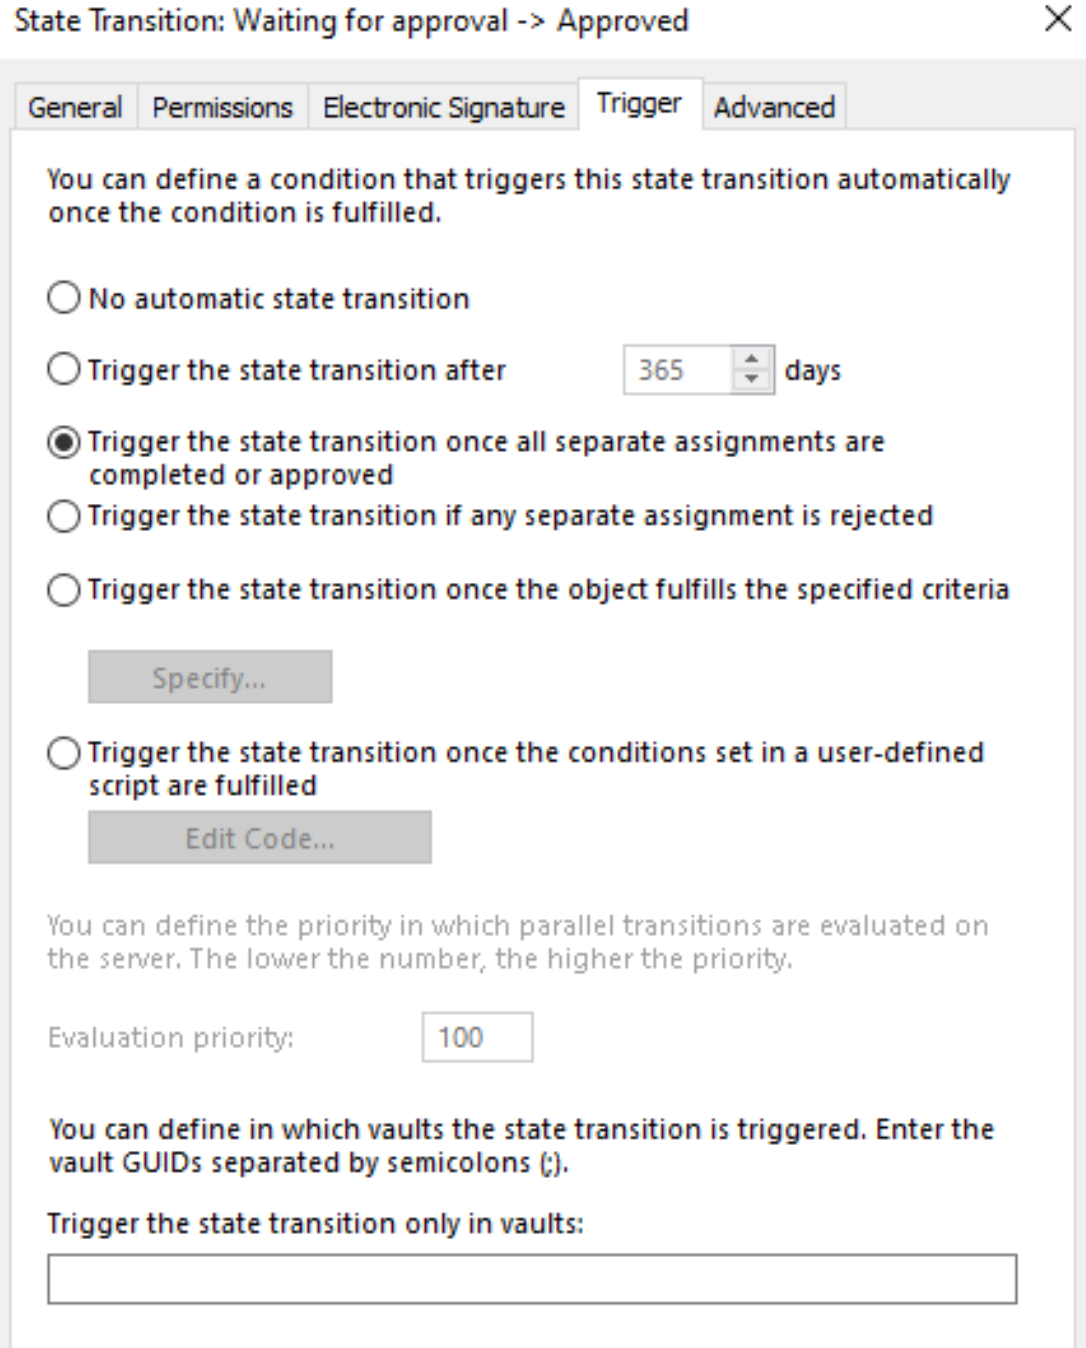
Transition – Waiting for approval -> Approved
Trigger is set to “Trigger the state transition once all separate assignments are completed or approved
Approved State
No actions are defined, permissions will be set later.
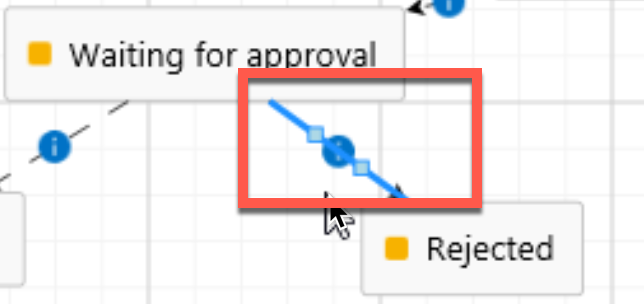
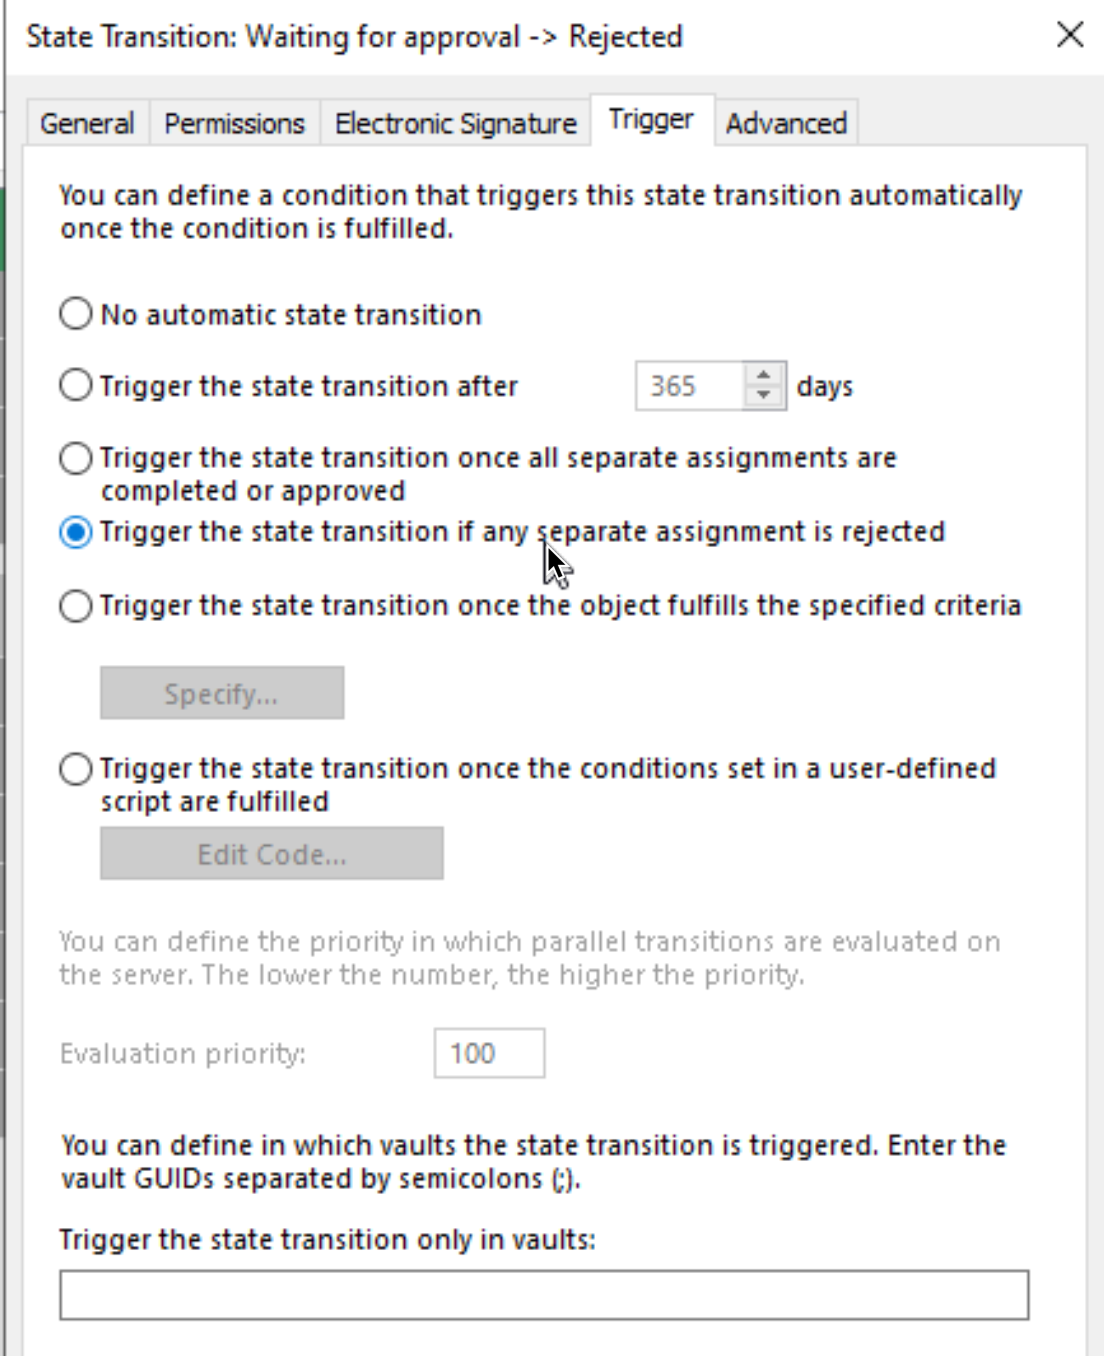
Transition Waiting for approval -> Rejected
Trigger is set to “Trigger the state transition if any separate assignment is rejected.
Rejected state
No actions are defined, permissions will be our next task.
Workflow/State/Transition Permissions Configuration
Time to do what we are here to do. Set permissions for our Workflow.
Idea is to see various ways you can define permissions through this scenario. Idea is to show what permissions can do, not lock down 100% this scenario. With options below, you can optimize your every workload better.
Ok, so this is Workflow we are starting with – above this are settings for the Workflow, I’m in this part going to write only about permissions.
We will first define rights on the workflow itself. Why? With this step we are defining who can see, and use this Workflow.
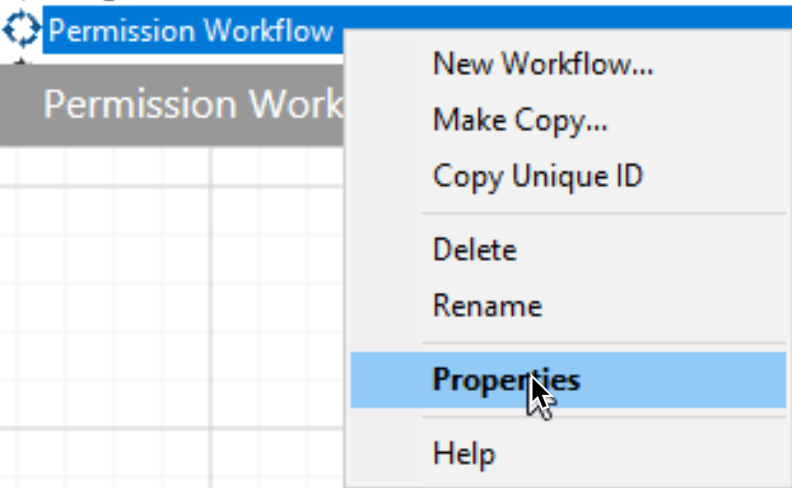
Right click on your Workflow where you want to define permissions (In my case Permission Workflow) and select Properties
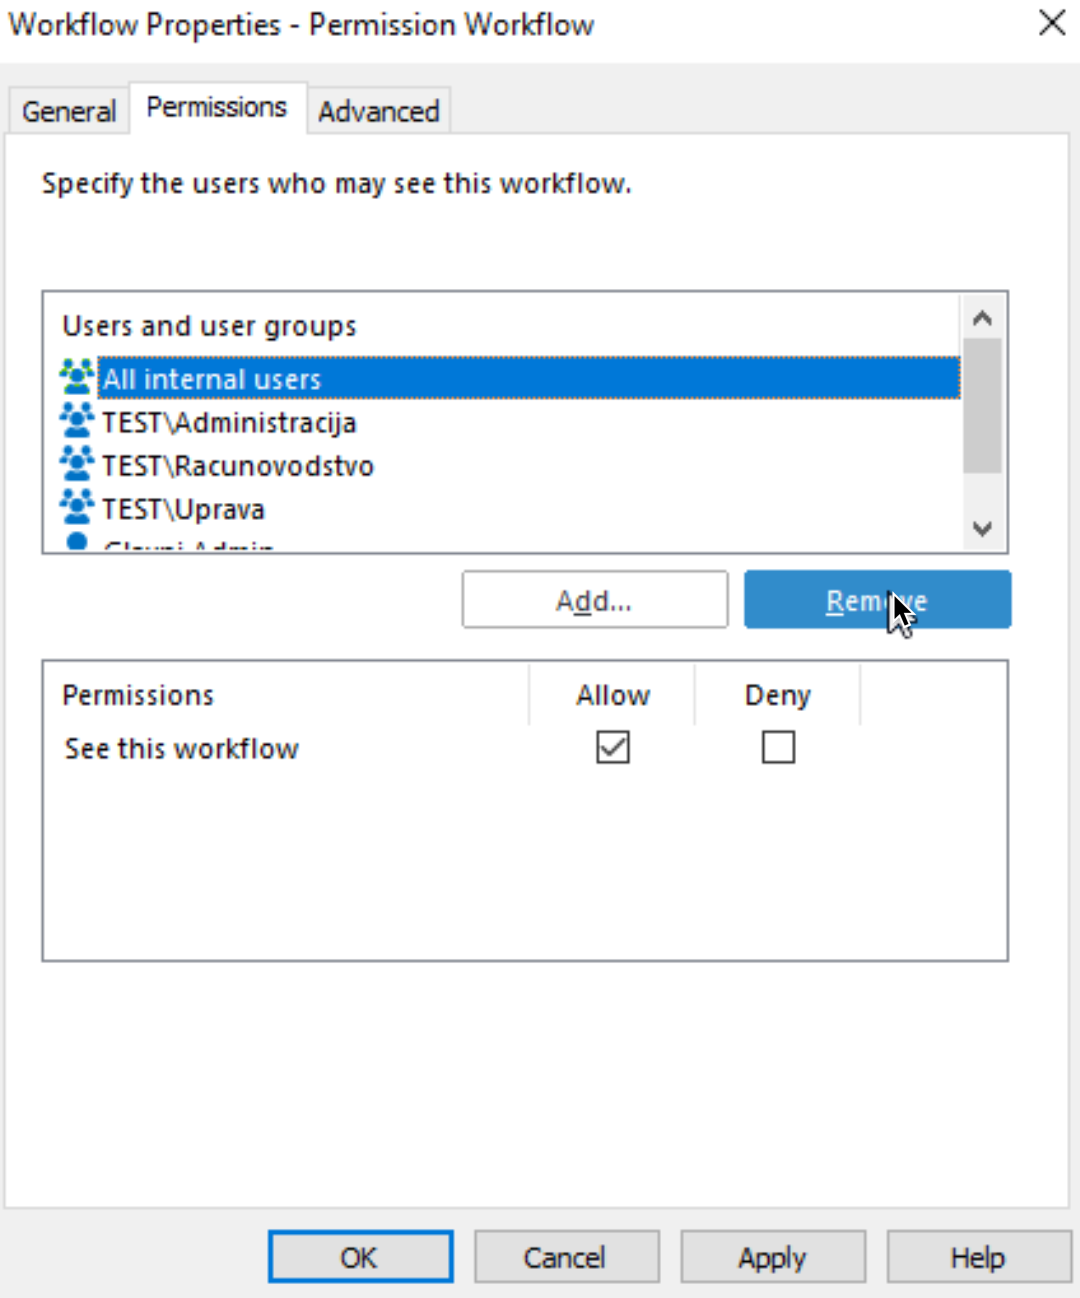
On Permission tab click on Add…
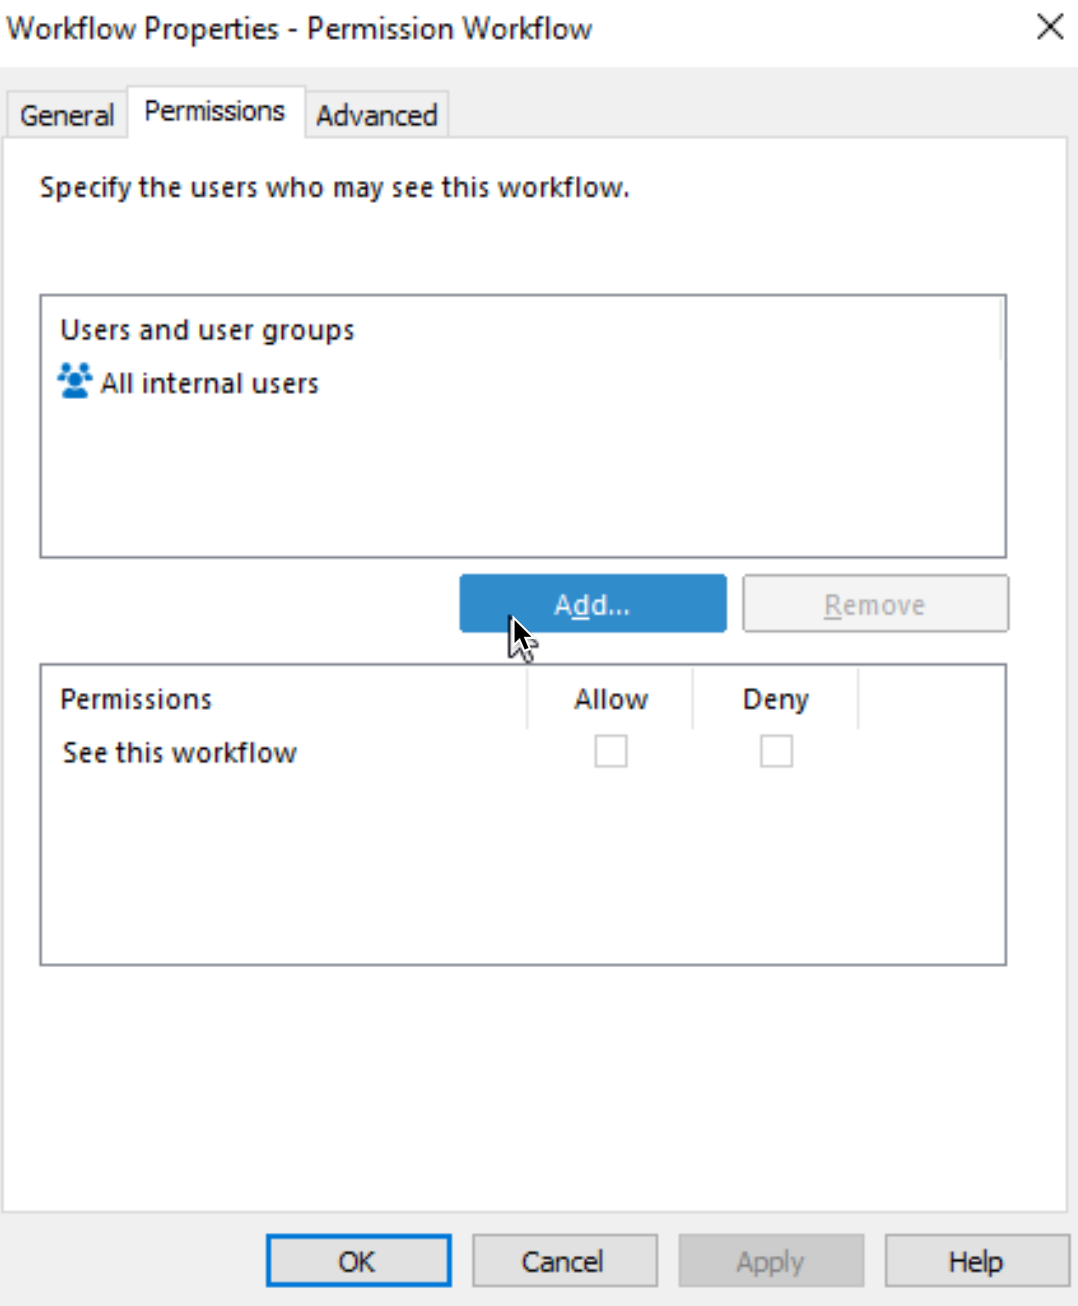
I added one user and three groups. I will also remove “All internal users” group, and to all who I added I will add Allow to See this workflow.
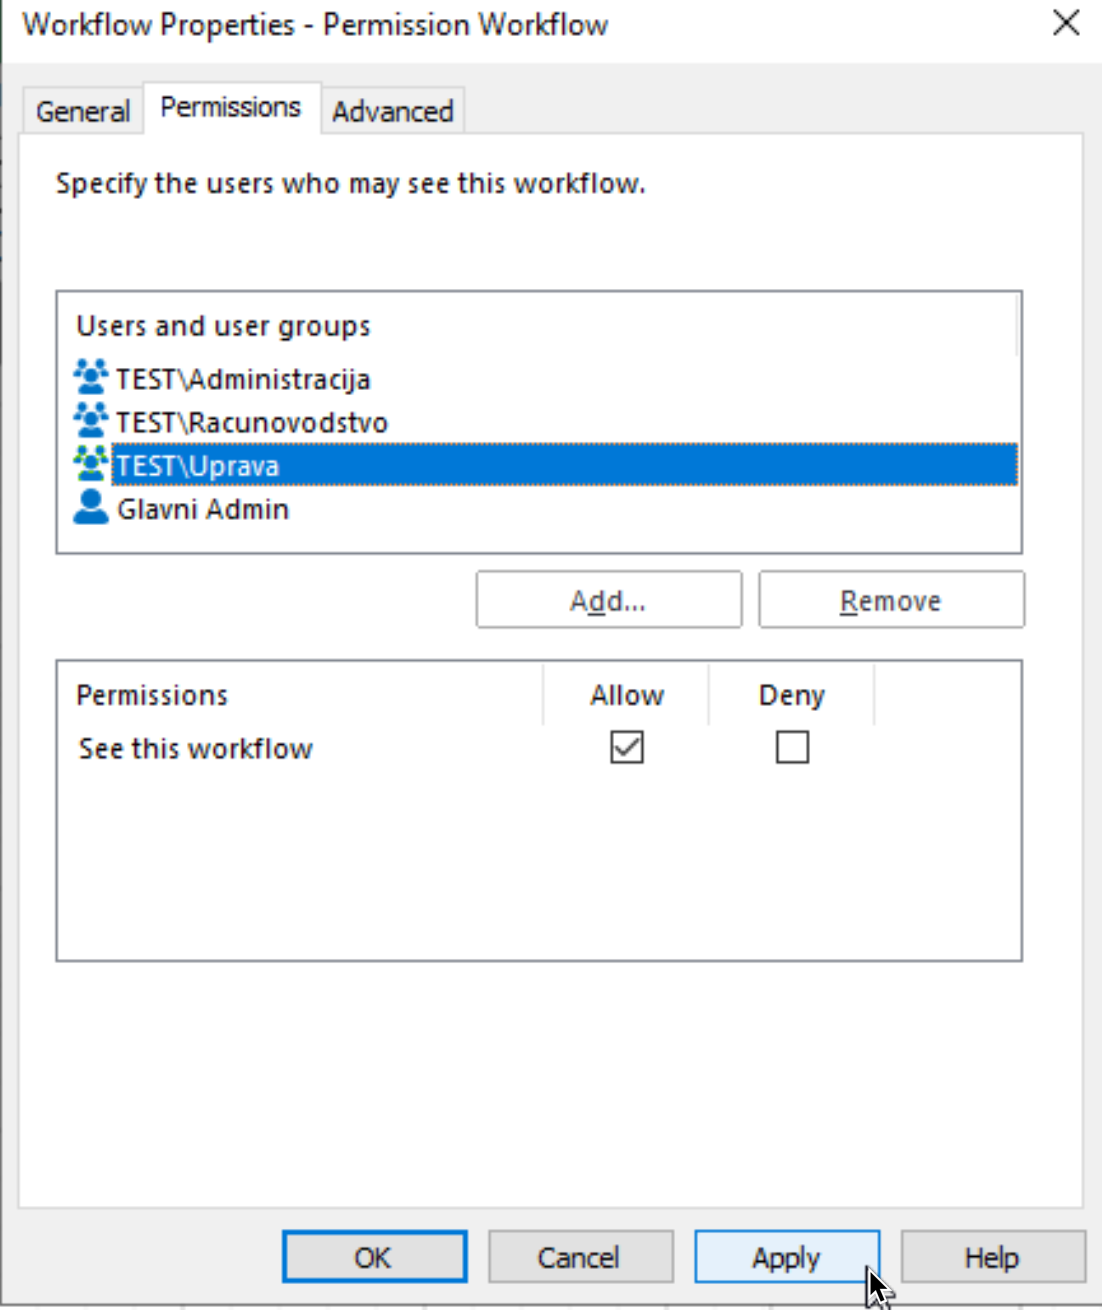
Apply, OK when you are done.
Assigning Permissions to States and Transitions
Ok, now we will start from the top to bottom.
First, well start with Draft state
Draft State
In draft state I will go step by step through process of adding permissions. On other state examples I will just show what I added.
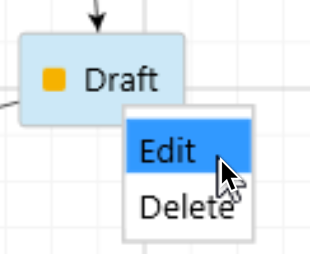
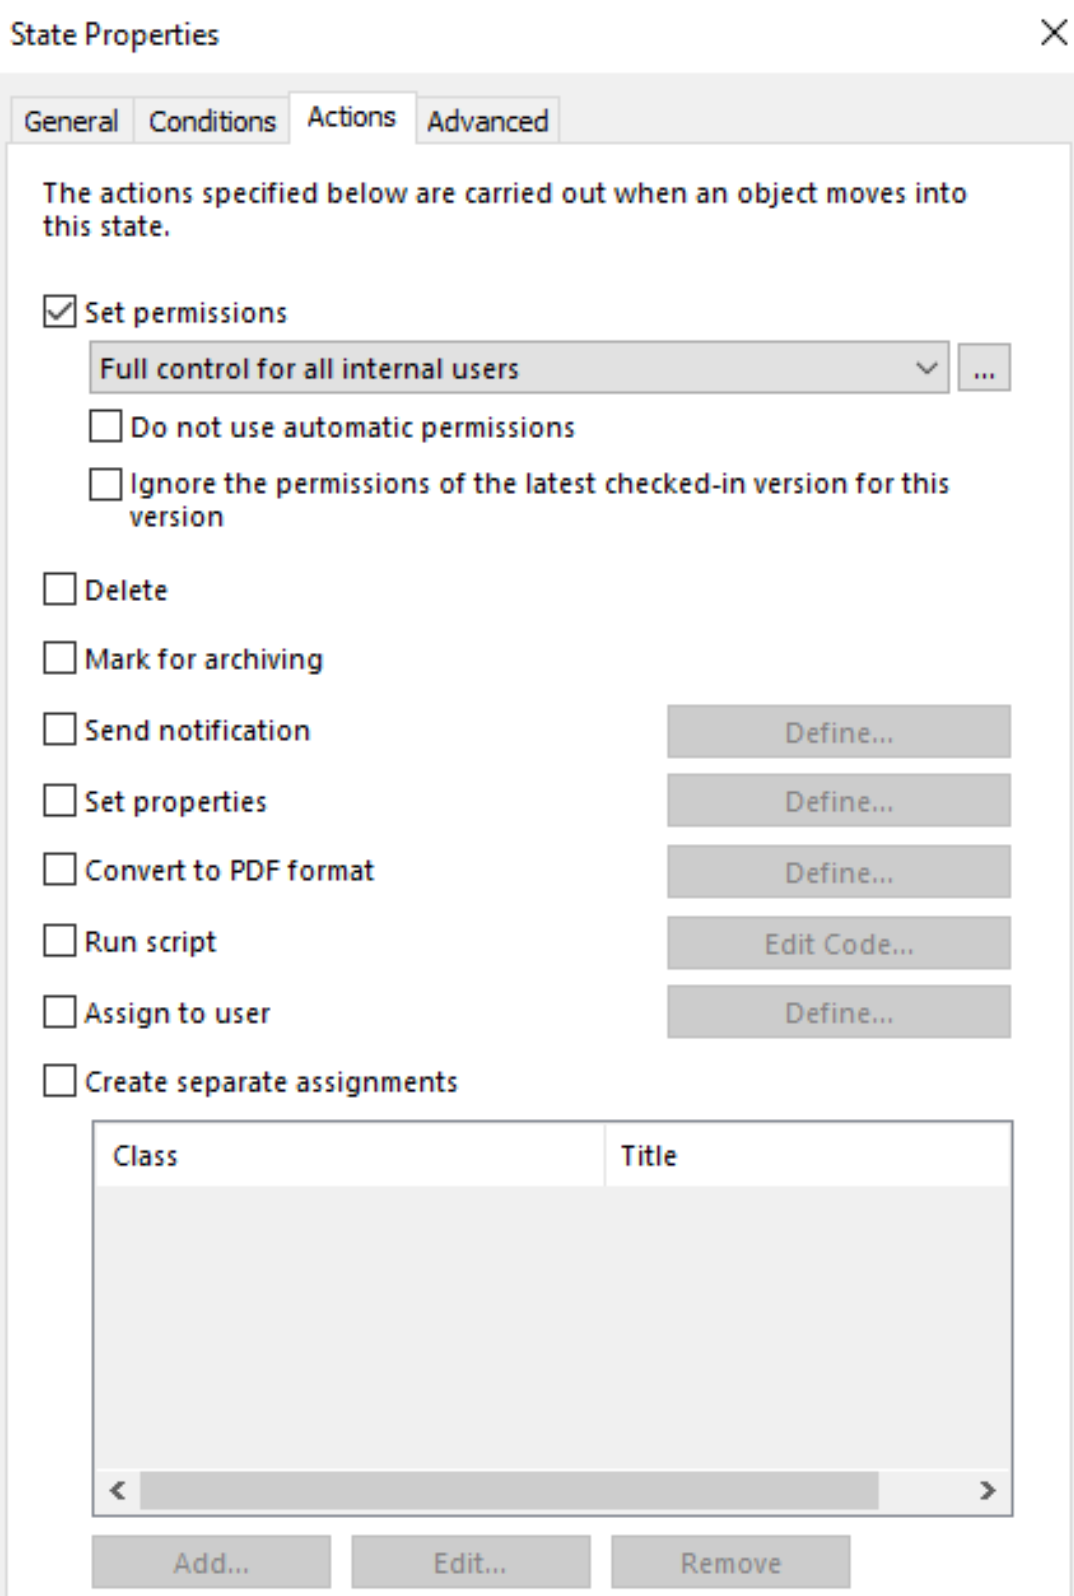
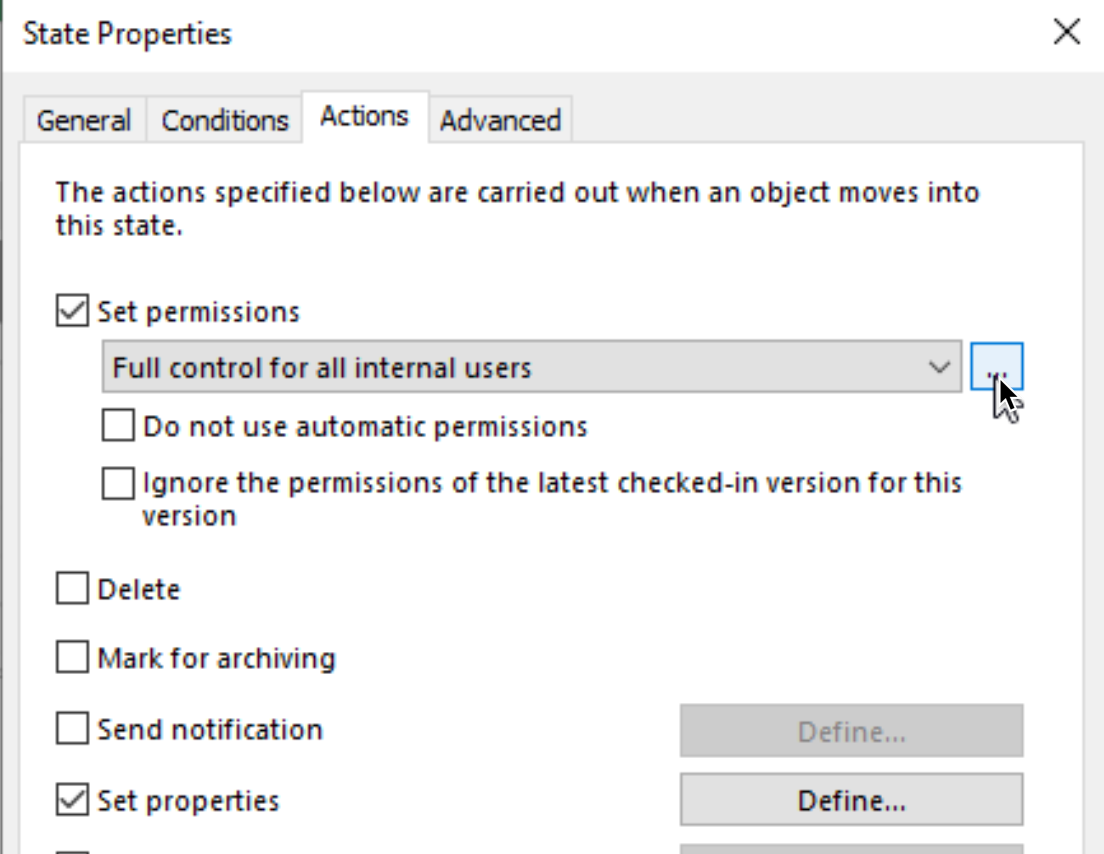
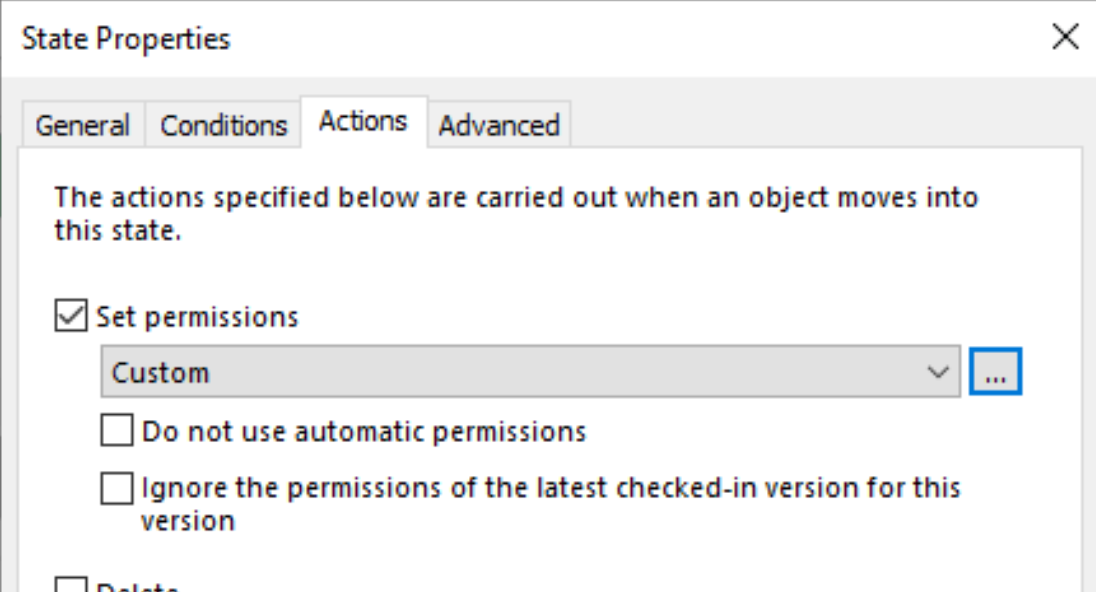
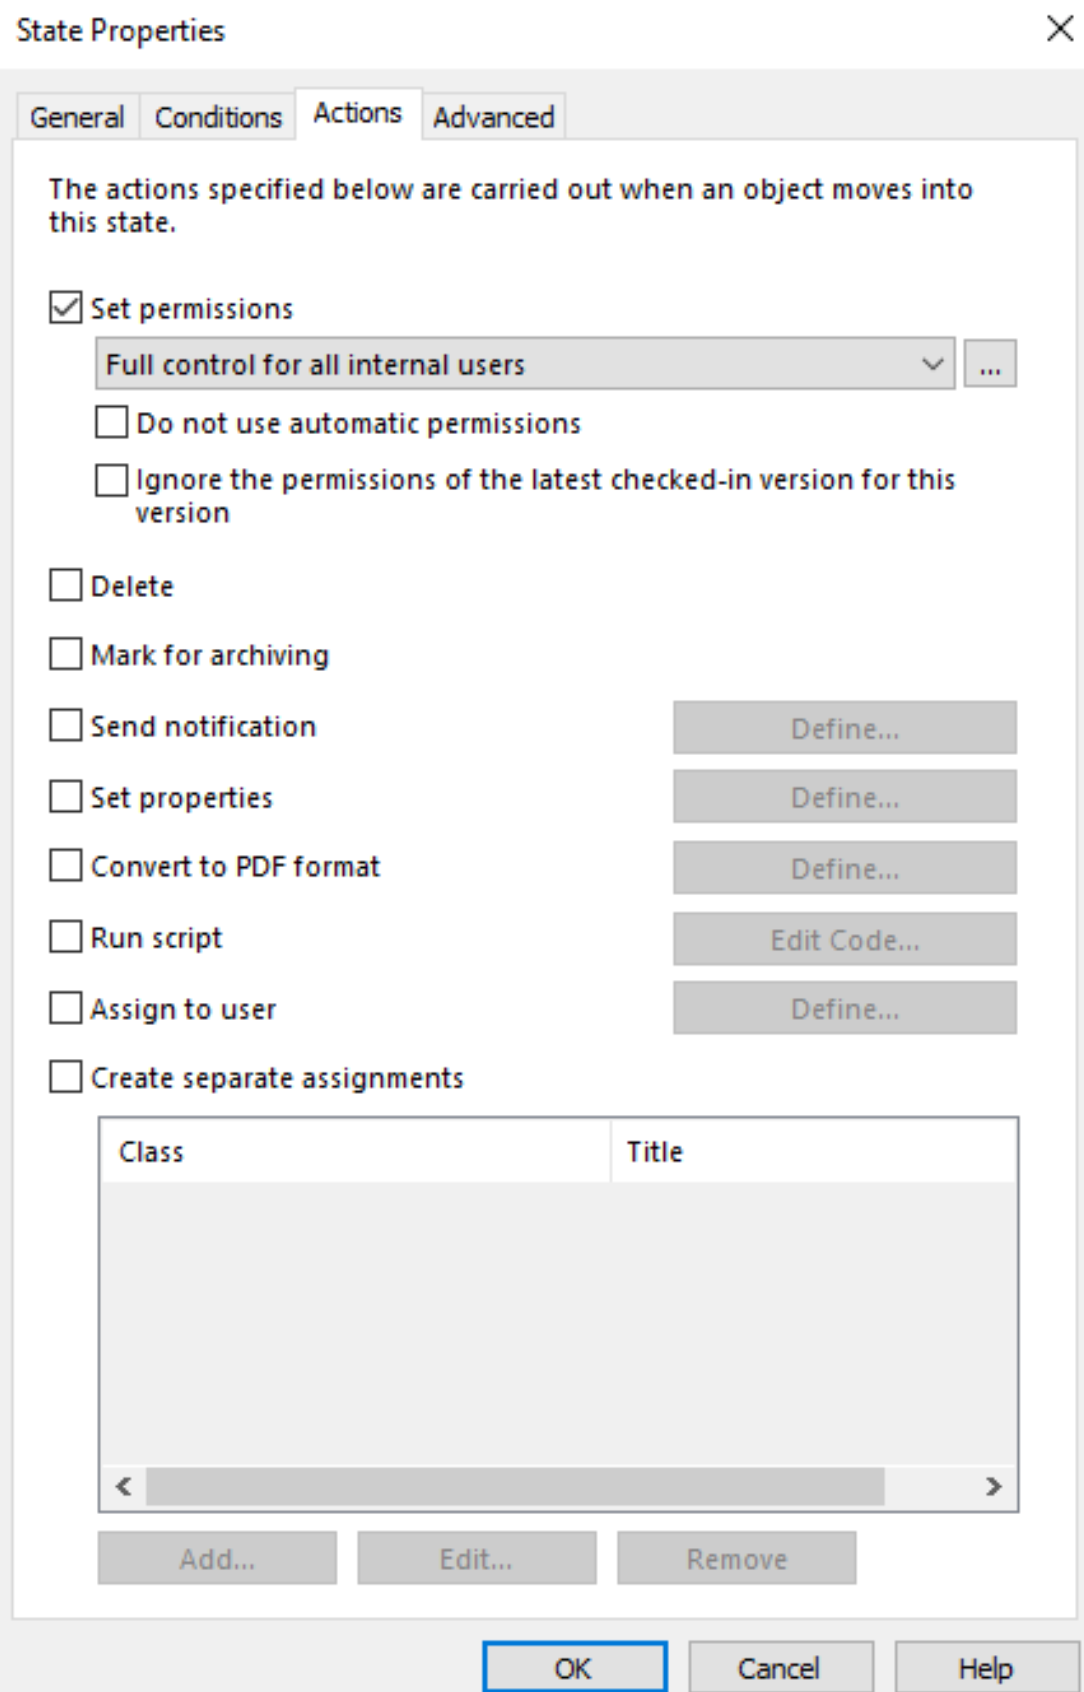
Right click on Draft State – Edit – Action tab – click on Set permissions to make it checked. Next click on box with […] next to “Full control for all internal users” box.
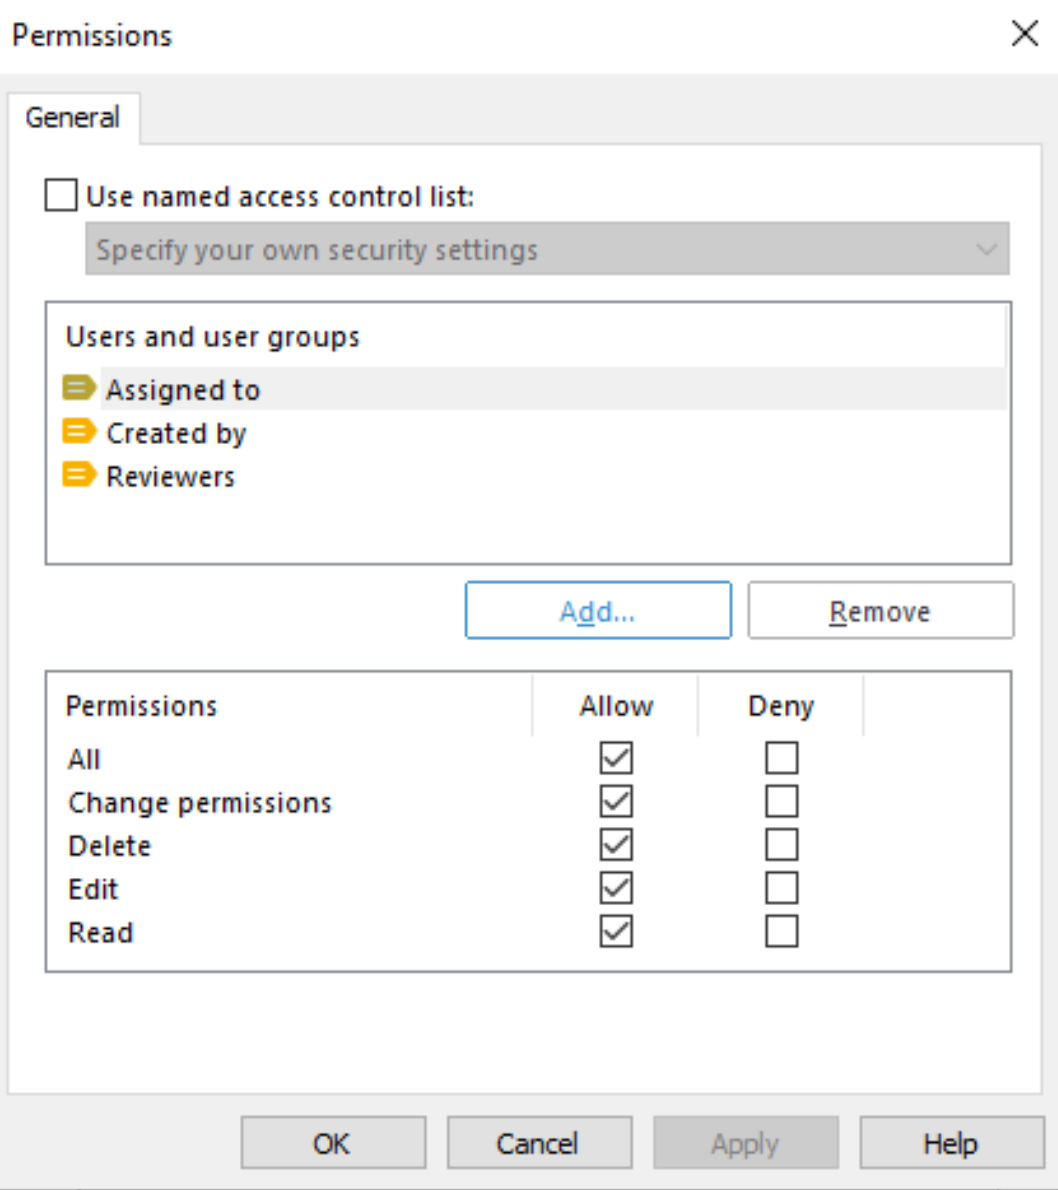
On new screen Uncheck “Use named access control list” and then click on Add..
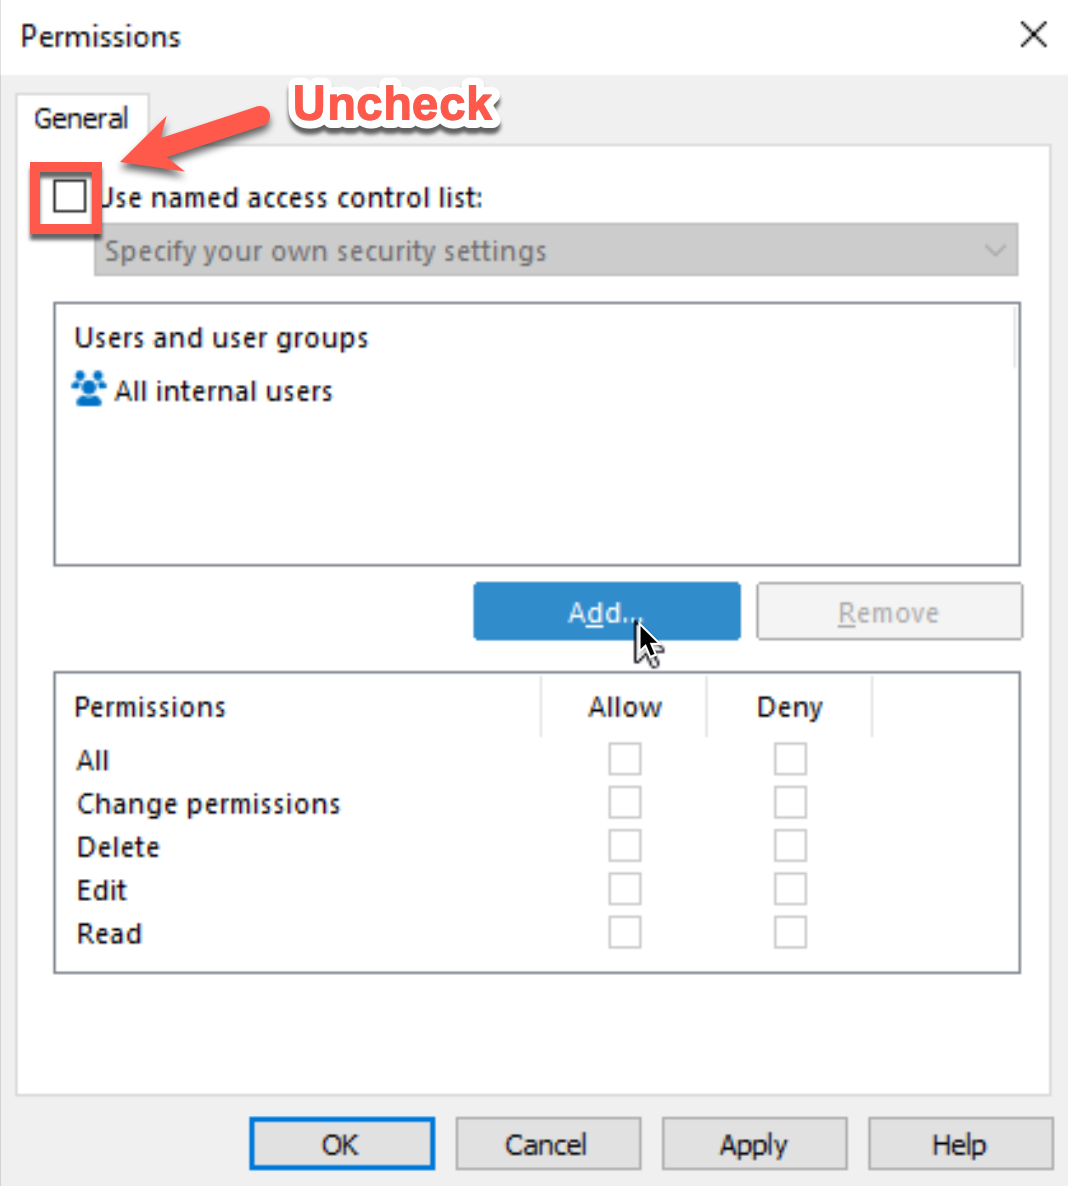
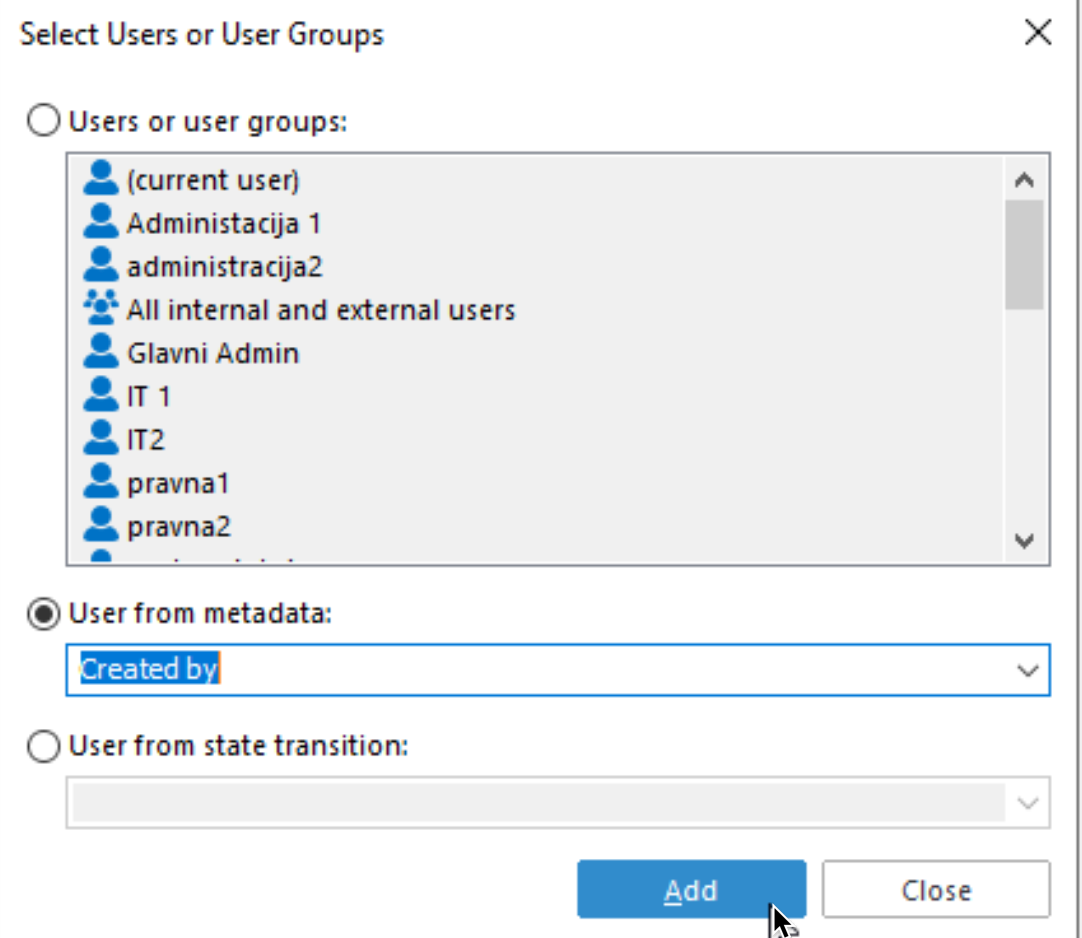
Select “User from metadata” and then scroll and select “Created by” – Add
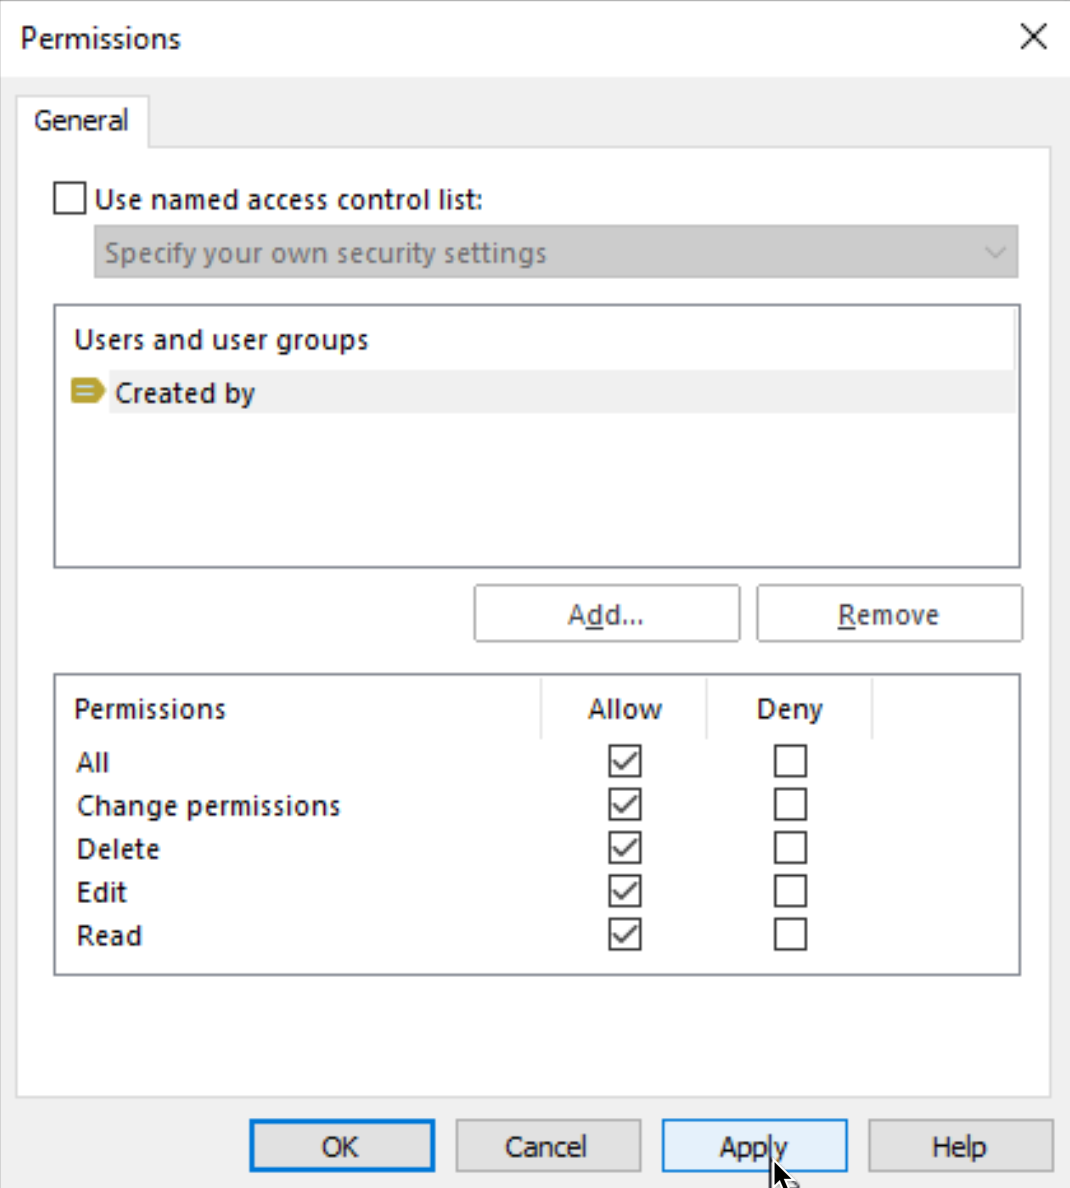
I will also remove “All internal users” group.

And then add All Allow permission to Created by. Apply – OK, we are done with Draft state.
Now on Drafts state Action tab we will see that we have custom Permissions set.
Ok, we are done, close properties.
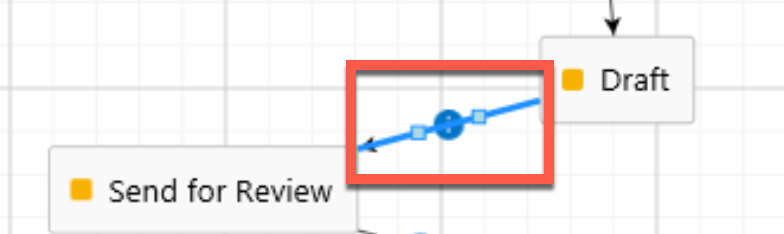
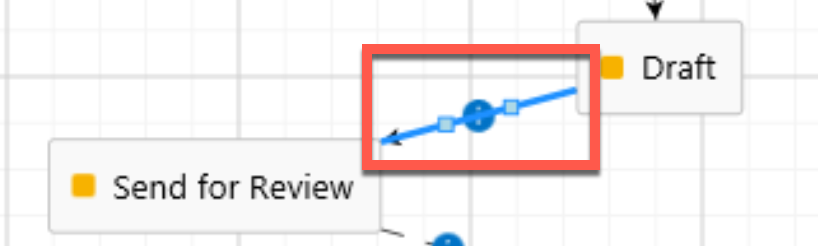
Transition Draft -> Send for Review
`Ok, we are now going to cover our first transition, since we can also change permissions on transitions.
Through this Transition I will also go step by step, just like with the state above. With other transitions I will just mention their permissions setup without details where you need to go to.
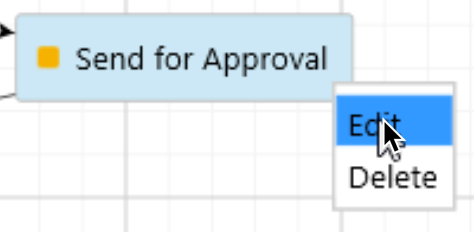
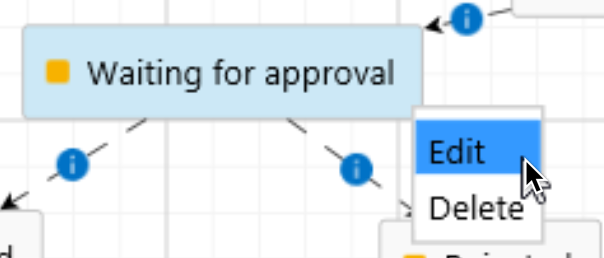
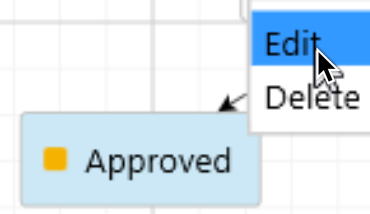
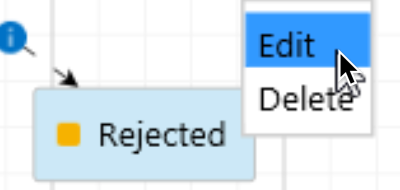
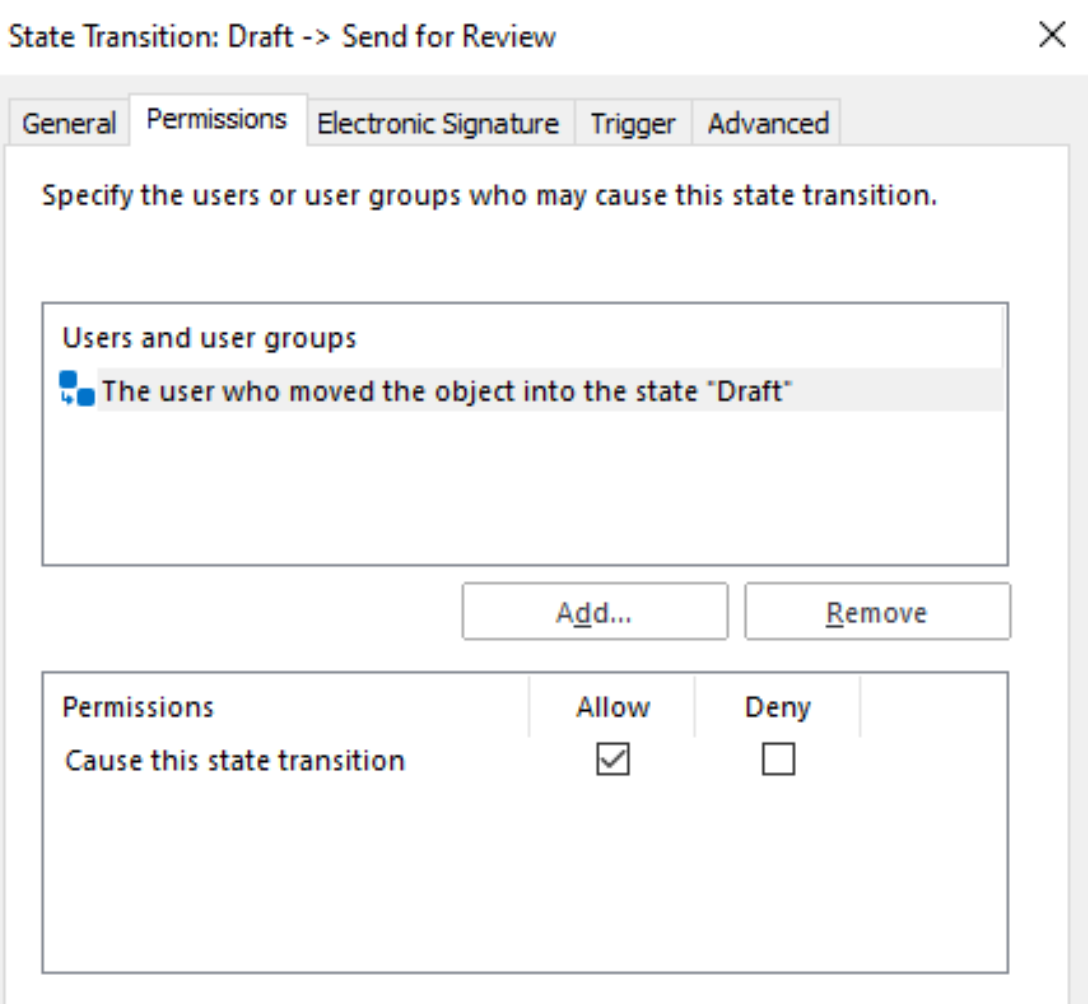
Edit Transition
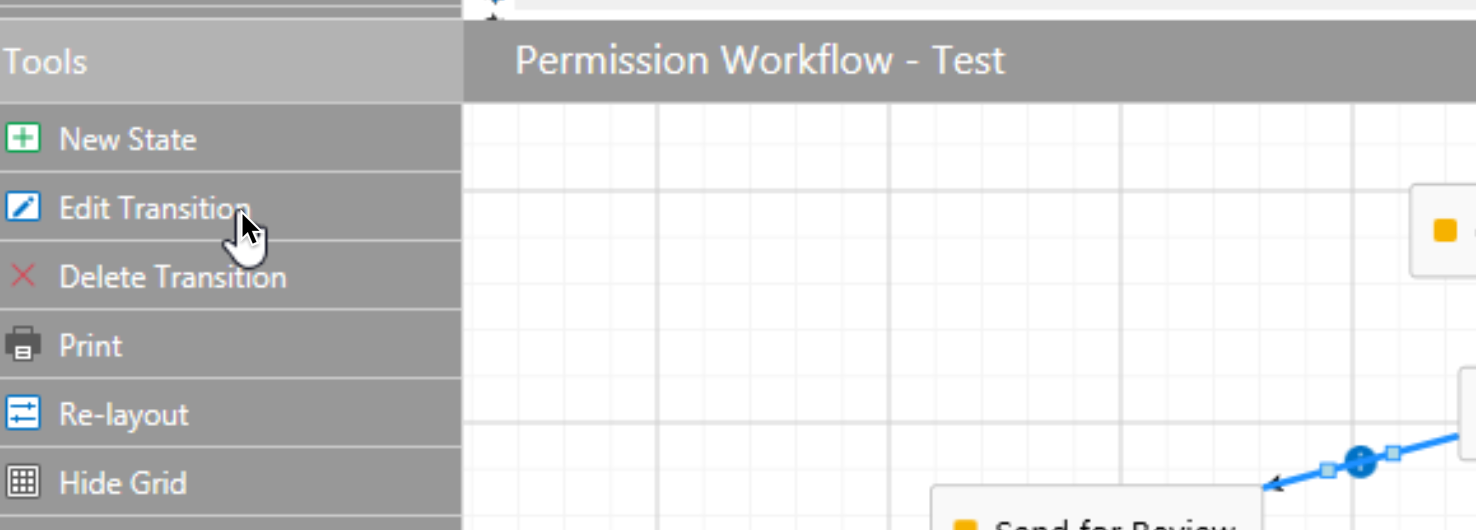
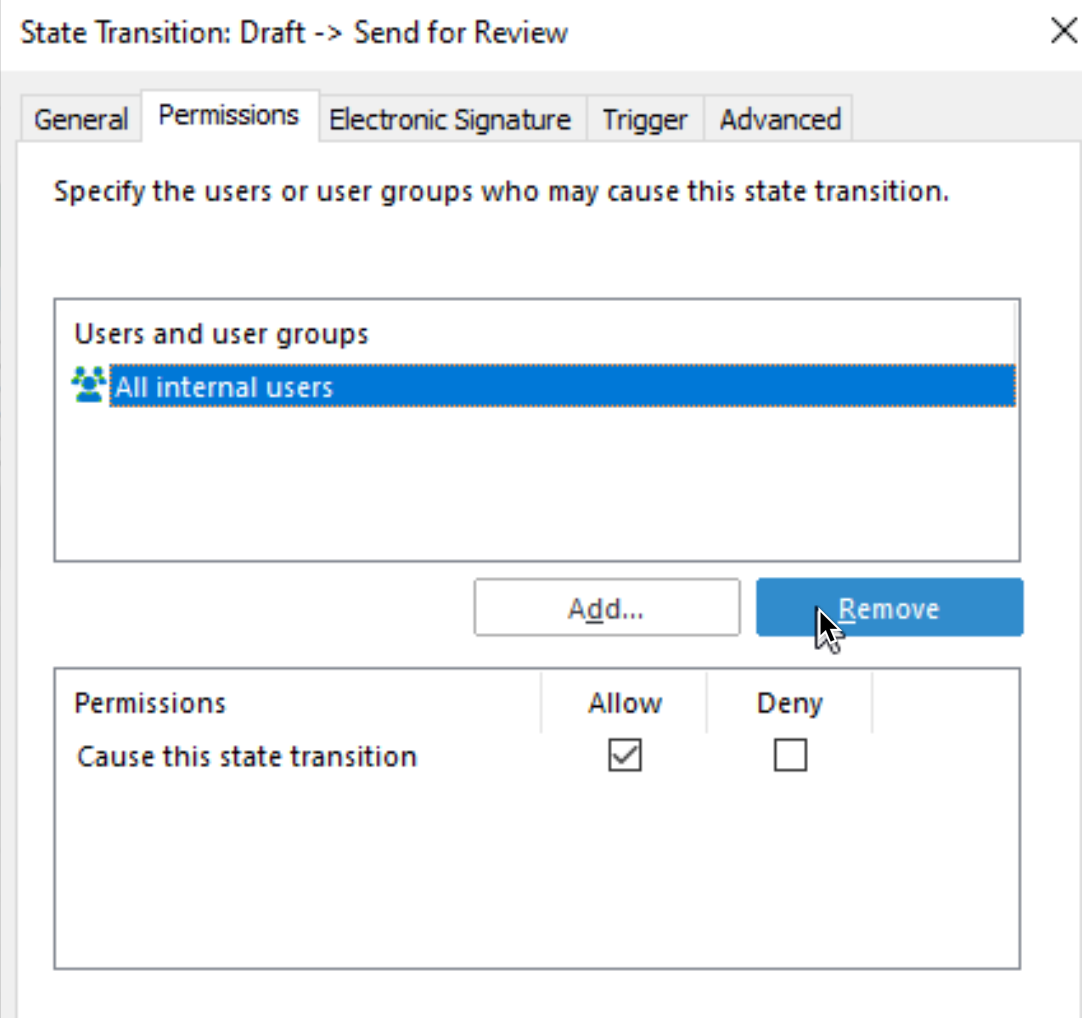
Go to Permissions tab – First we will remove All internal users which are currently set.
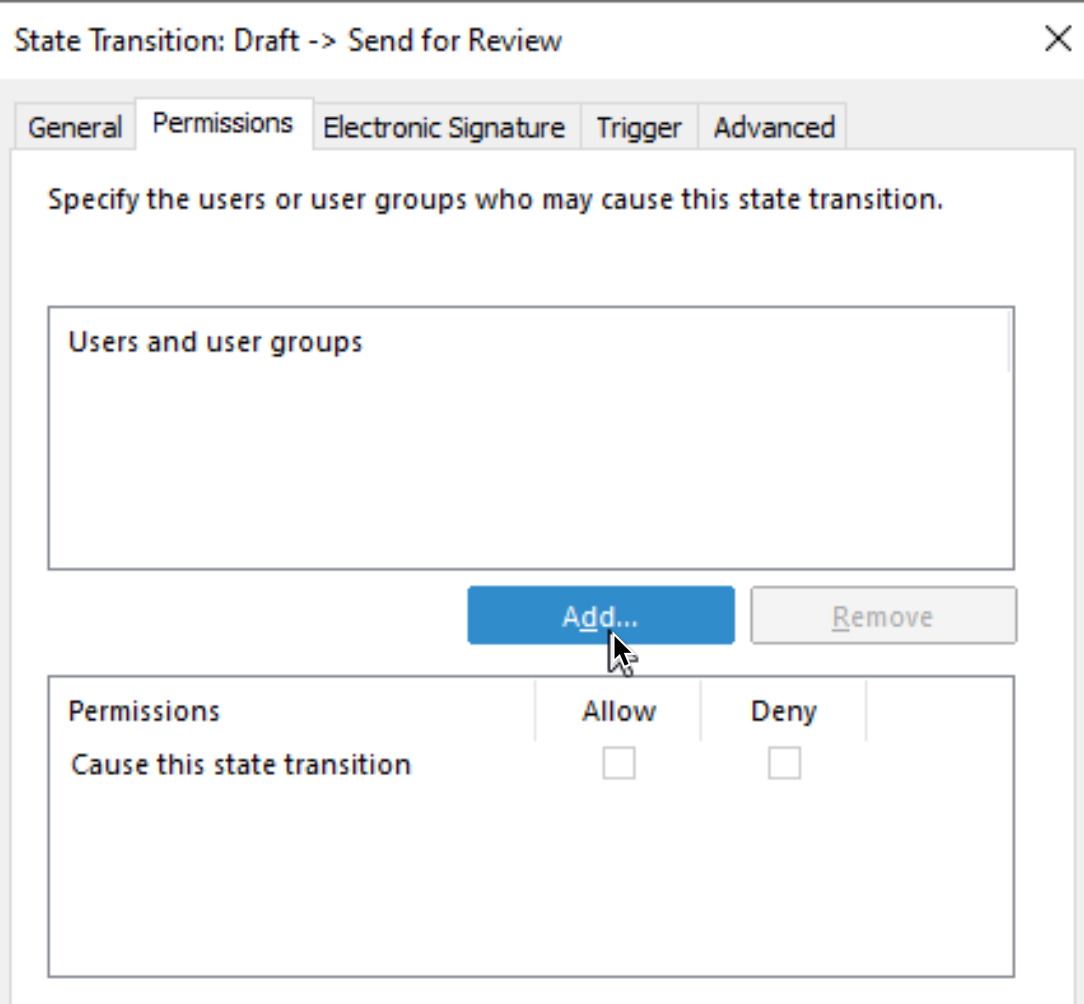
Then we will add new
On next screen we will select “User from state transition” and select “The user who moved the object into the state “Draft””
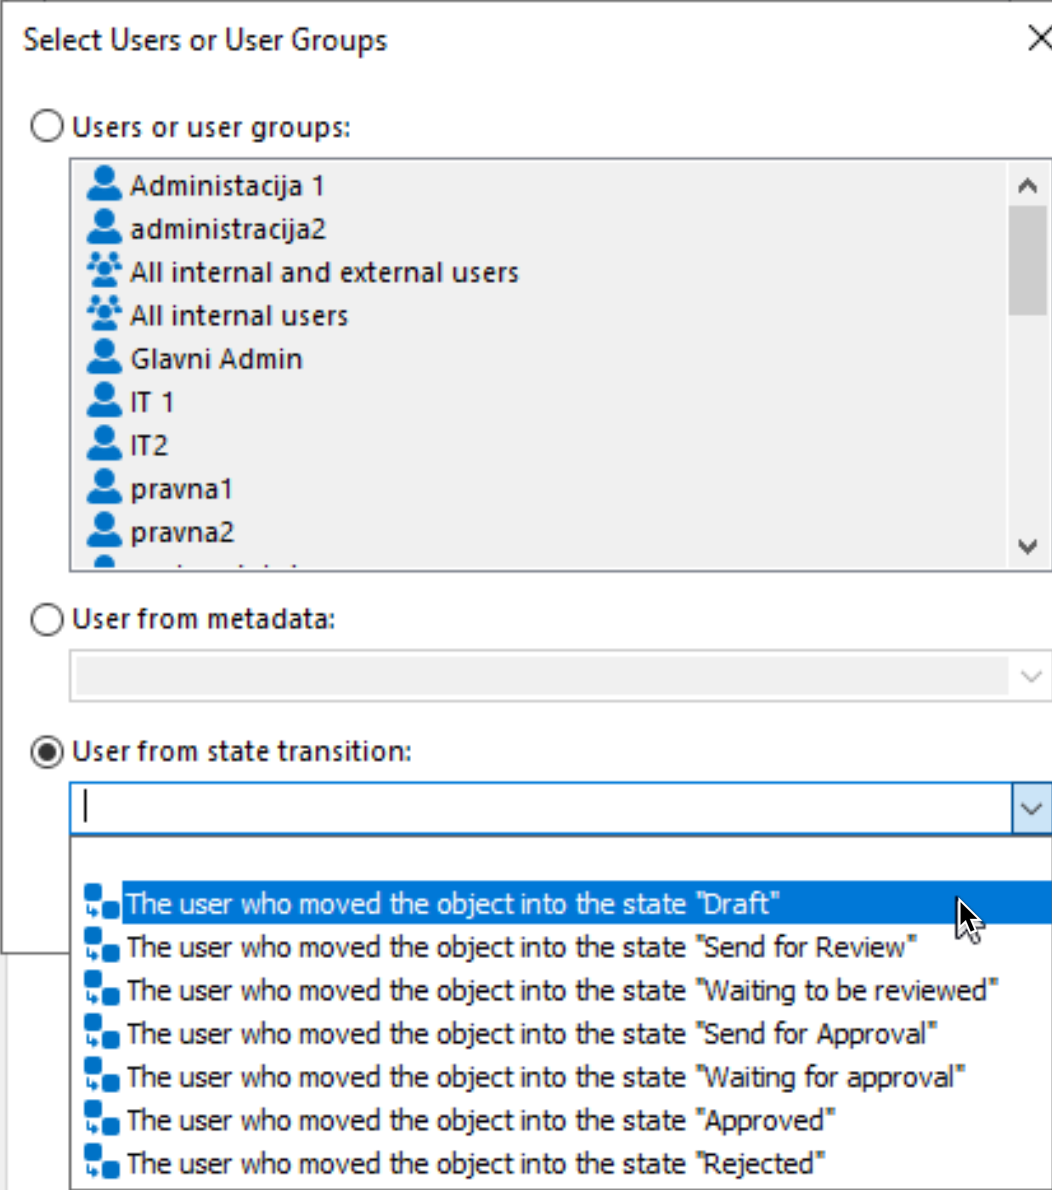
Add
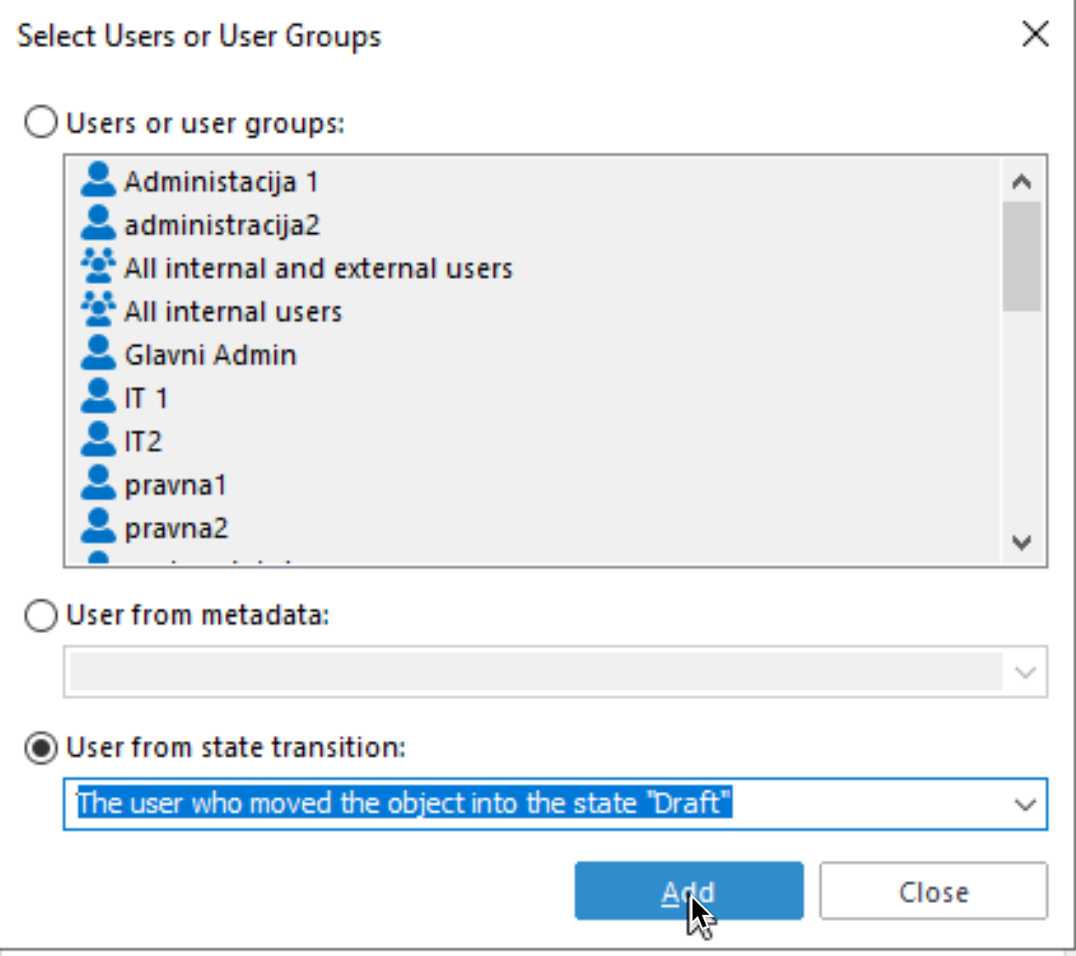
Give the added user Allow right and close Transition properties.
Ok, from now on, we will go through every state and transition which has defined Permissions and write them down (and screenshot) here.
Send for Review State
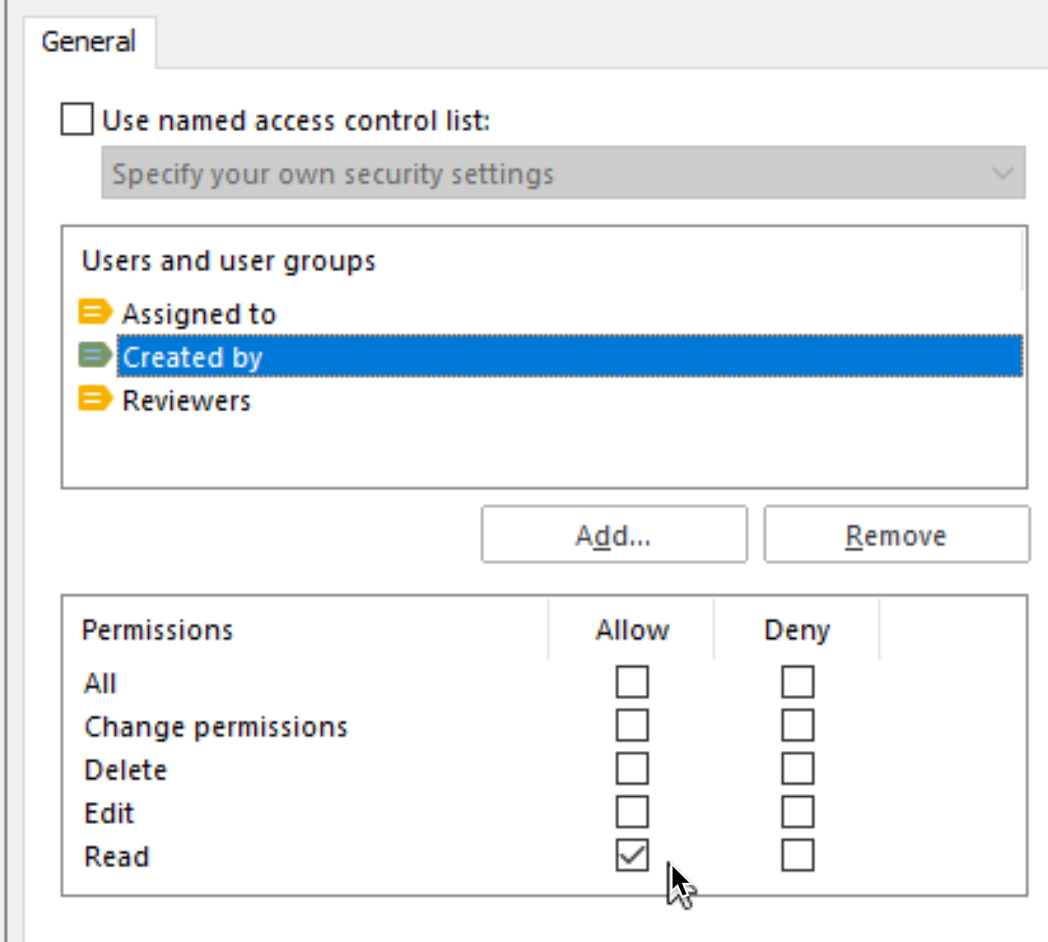
Has three users from Metadata – Assigned to, and Reviewers have All Allow permissions. Created by has only Allow Read Permission.
Assigned to is very important and needs to be added – otherwise assignment wouldn’t work as expected.
Transition Send for Review -> Waiting to be reviewed – default permissions
No special permissions defined – has default permissions.
Waiting to be reviewed state – default permissions
No special permissions defined – has default permissions.
Transition Waiting to be reviewed -> Send for Approval
No special permissions defined – has default permissions.
Send for Approval state
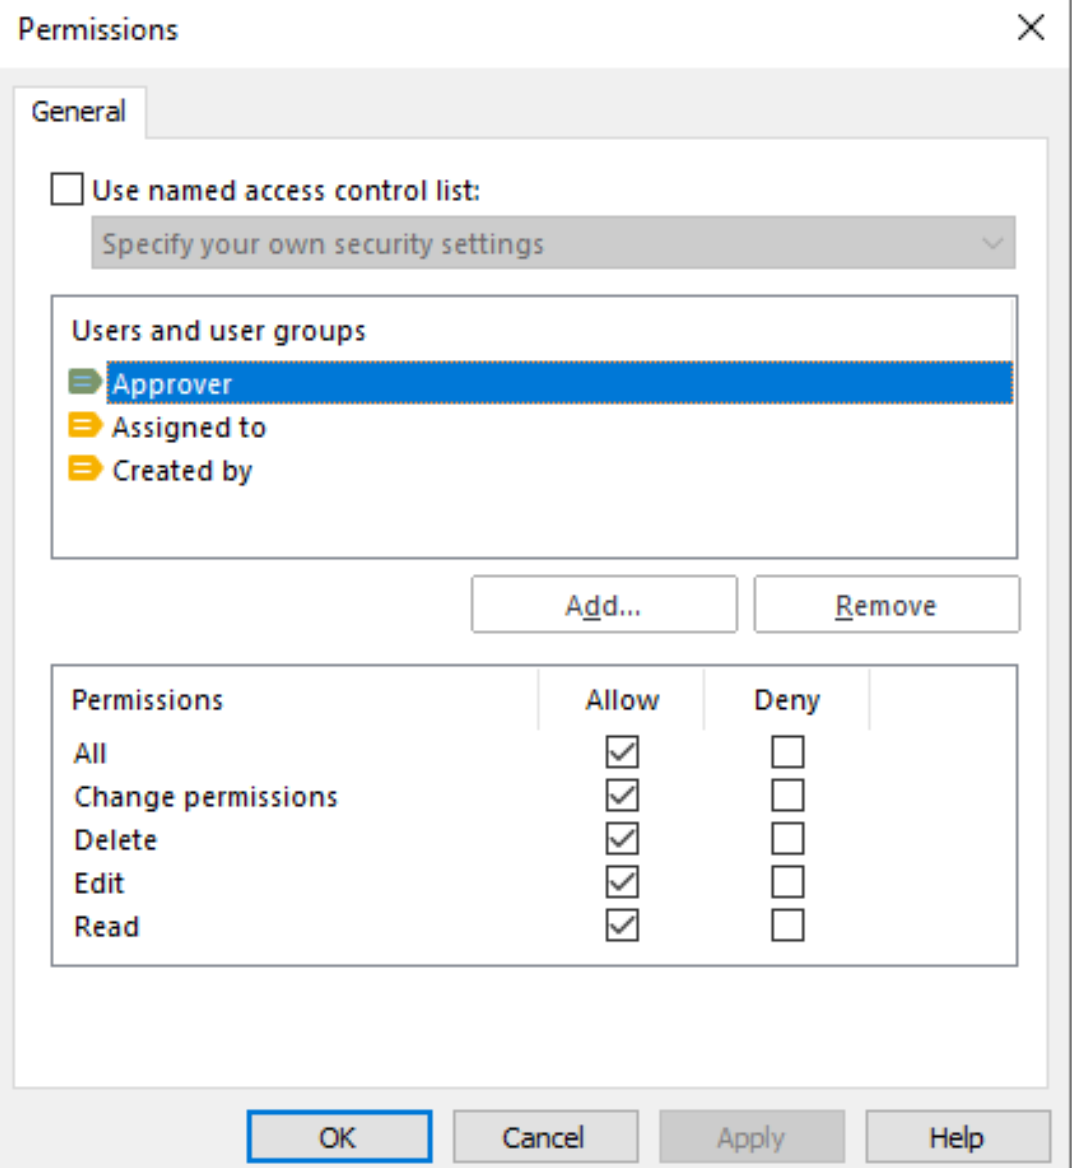
Has custom permissions defined and users defined from metadata. Approver and Assigned to have All Allow permissions. Created by has only Read on Allow.


Transition Send for Approval -> Waiting for Approval – default permissions
No special permissions defined – has default permissions.
Waiting for Approval state
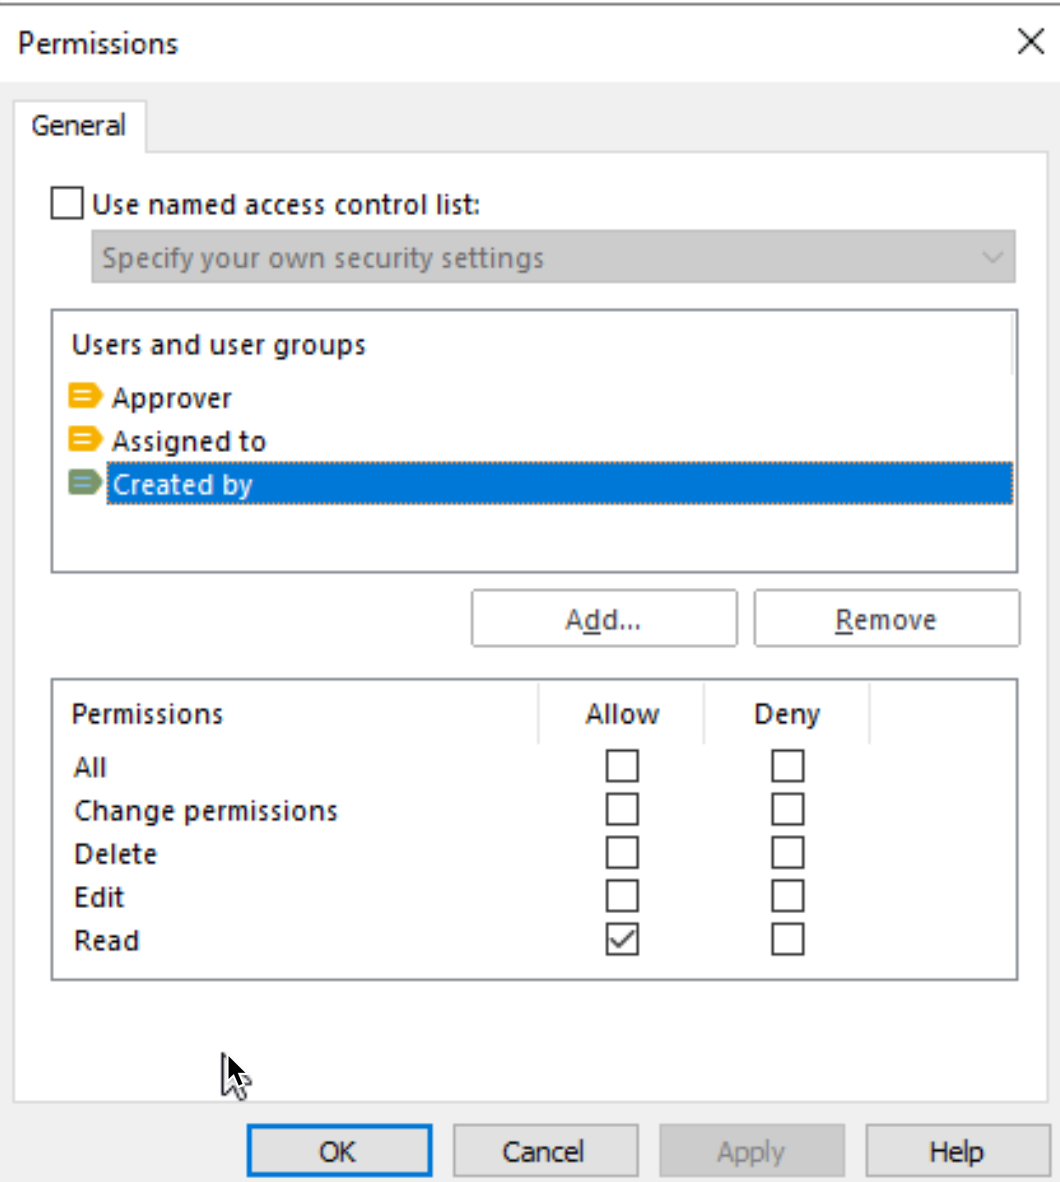
Users from metadata – again Approver and Assigned to have All Allow permissions. Created by has only Read Allow permission.
Transition Waiting for Approval -> Approved – default permissions
No special permissions defined – has default permissions.
Approved state
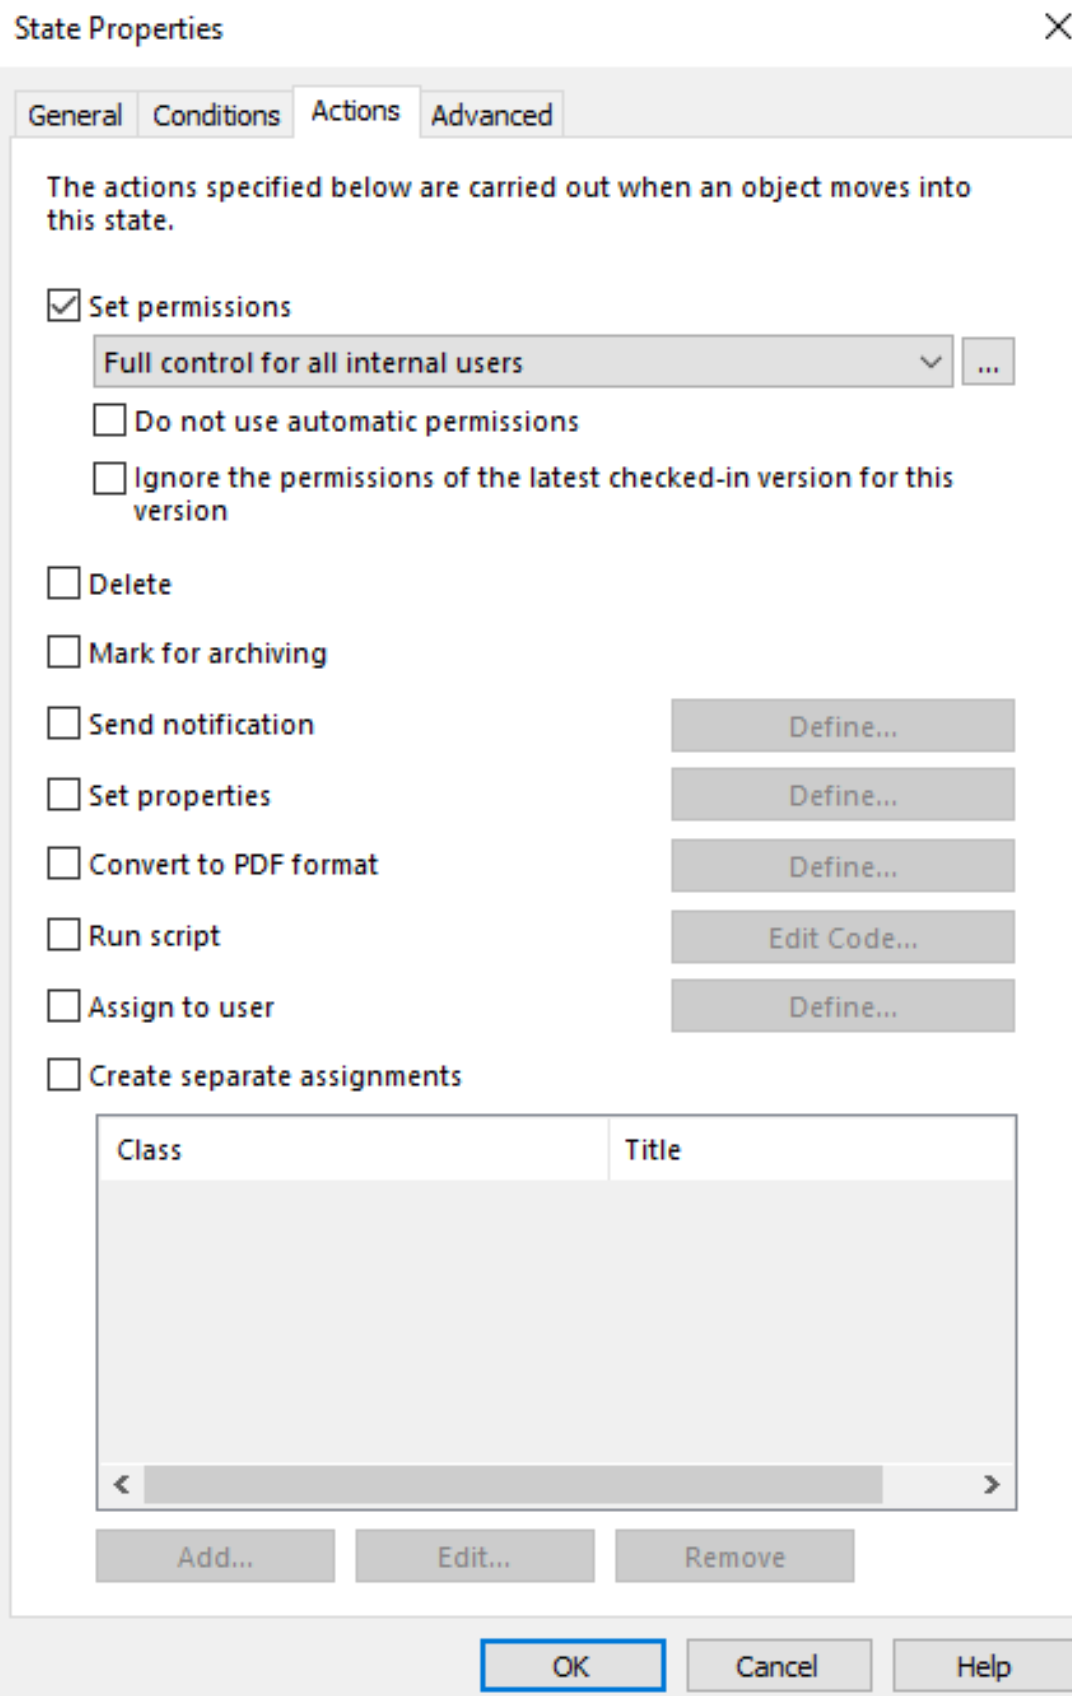
We will just enable “Set permissions” and leave it as is.

Transition Waiting for Approval -> Rejected – default permissions
No special permissions defined – has default permissions.
Rejected state
We will just enable “Set permissions” and leave it as is.
Ok, we are done!!
Let’s test our Workflow in M-Files Desktop
Test in M-Files Desktop
First of all, I tried to start Workflow with user (Skladiste1) who is not in any of the groups I added rights to, for the Workflow. User Skladiste1 cannot see Permission Workflow – good!
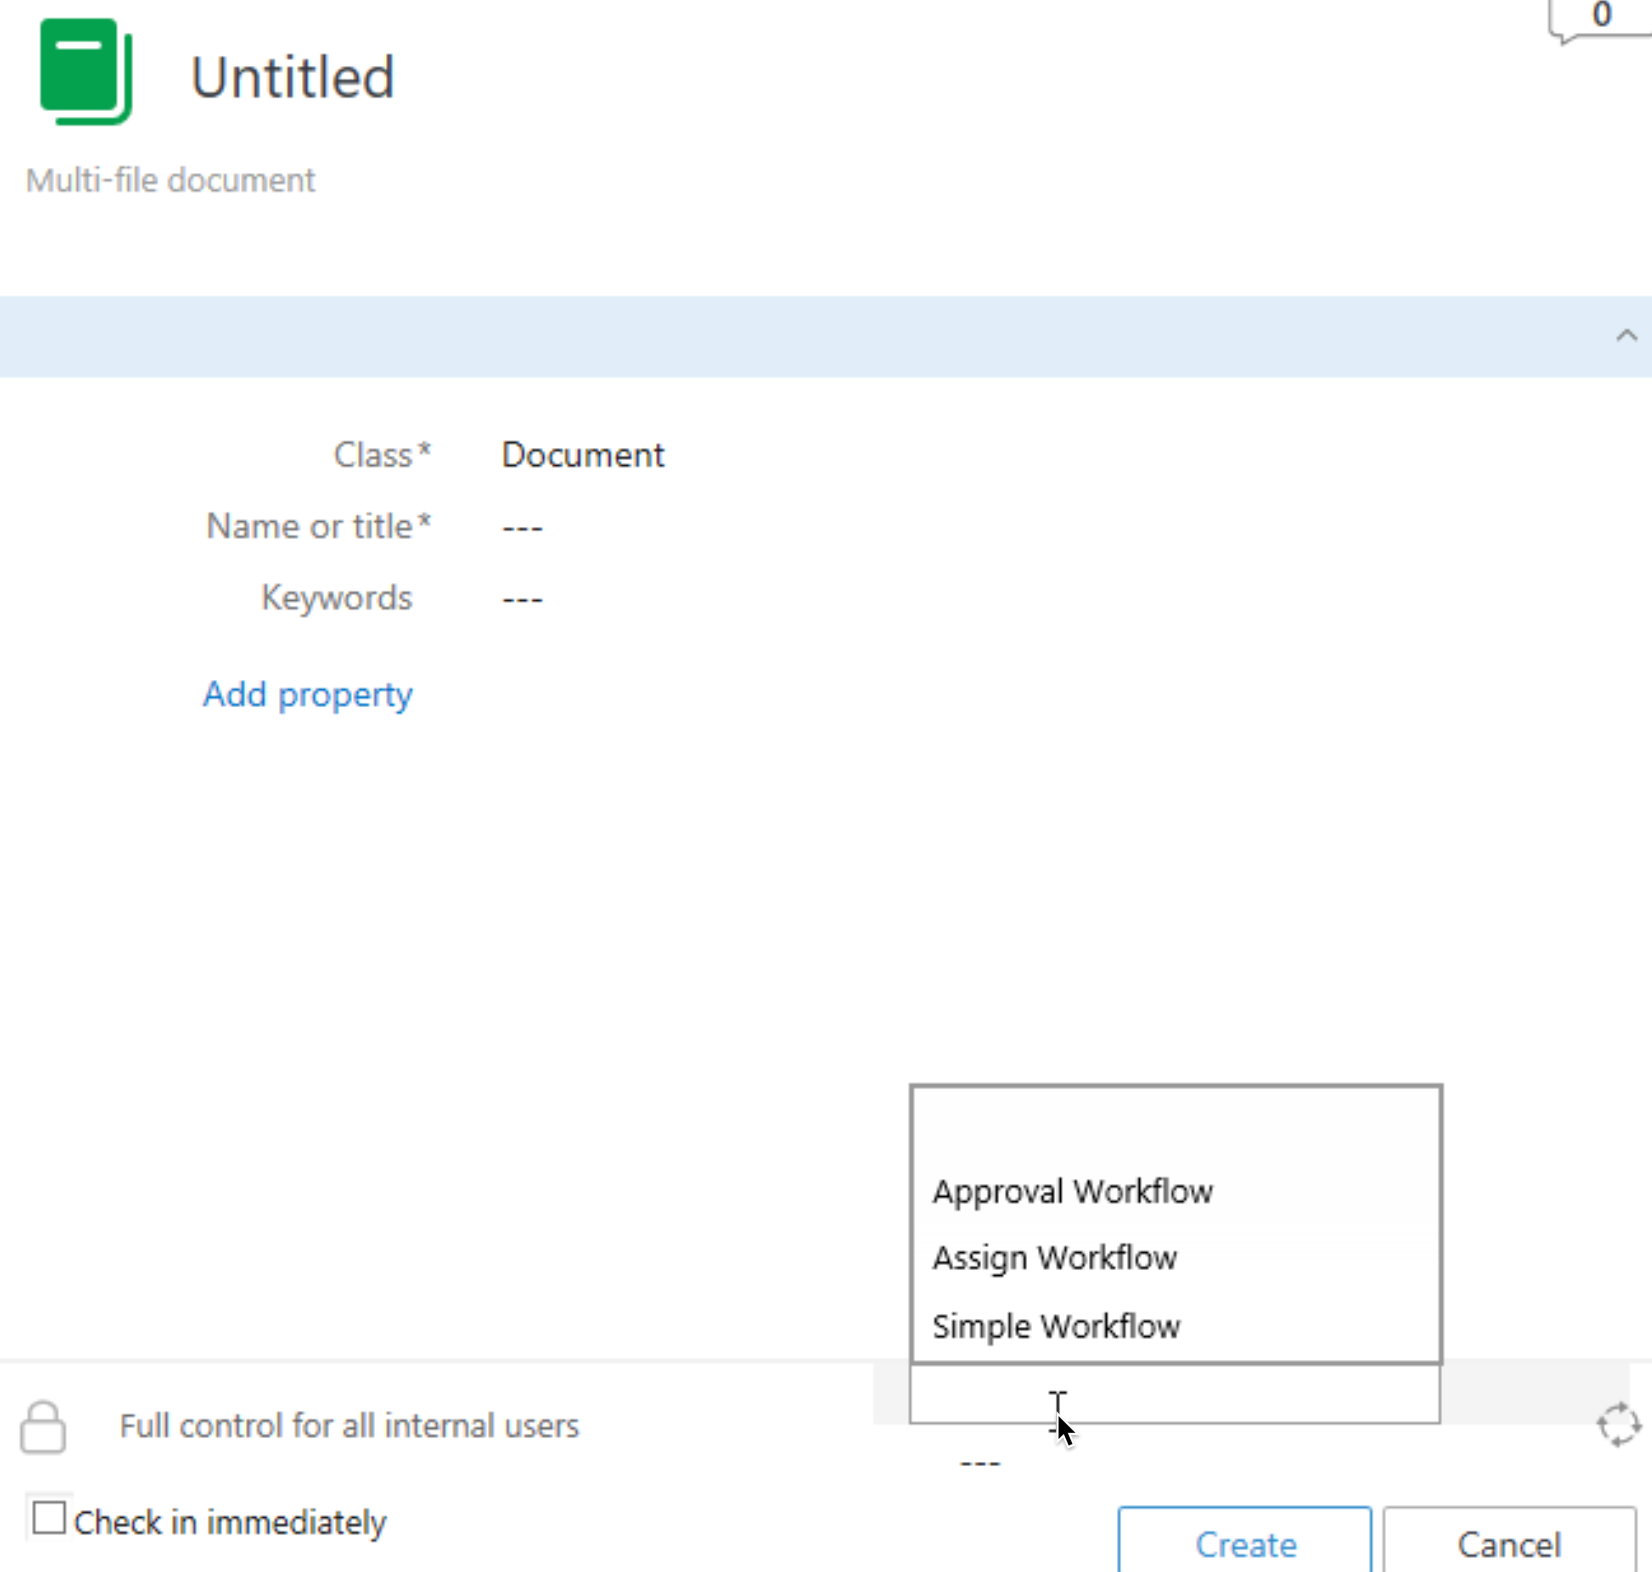
I will create new approval request with user that is within group that can access Workflow.
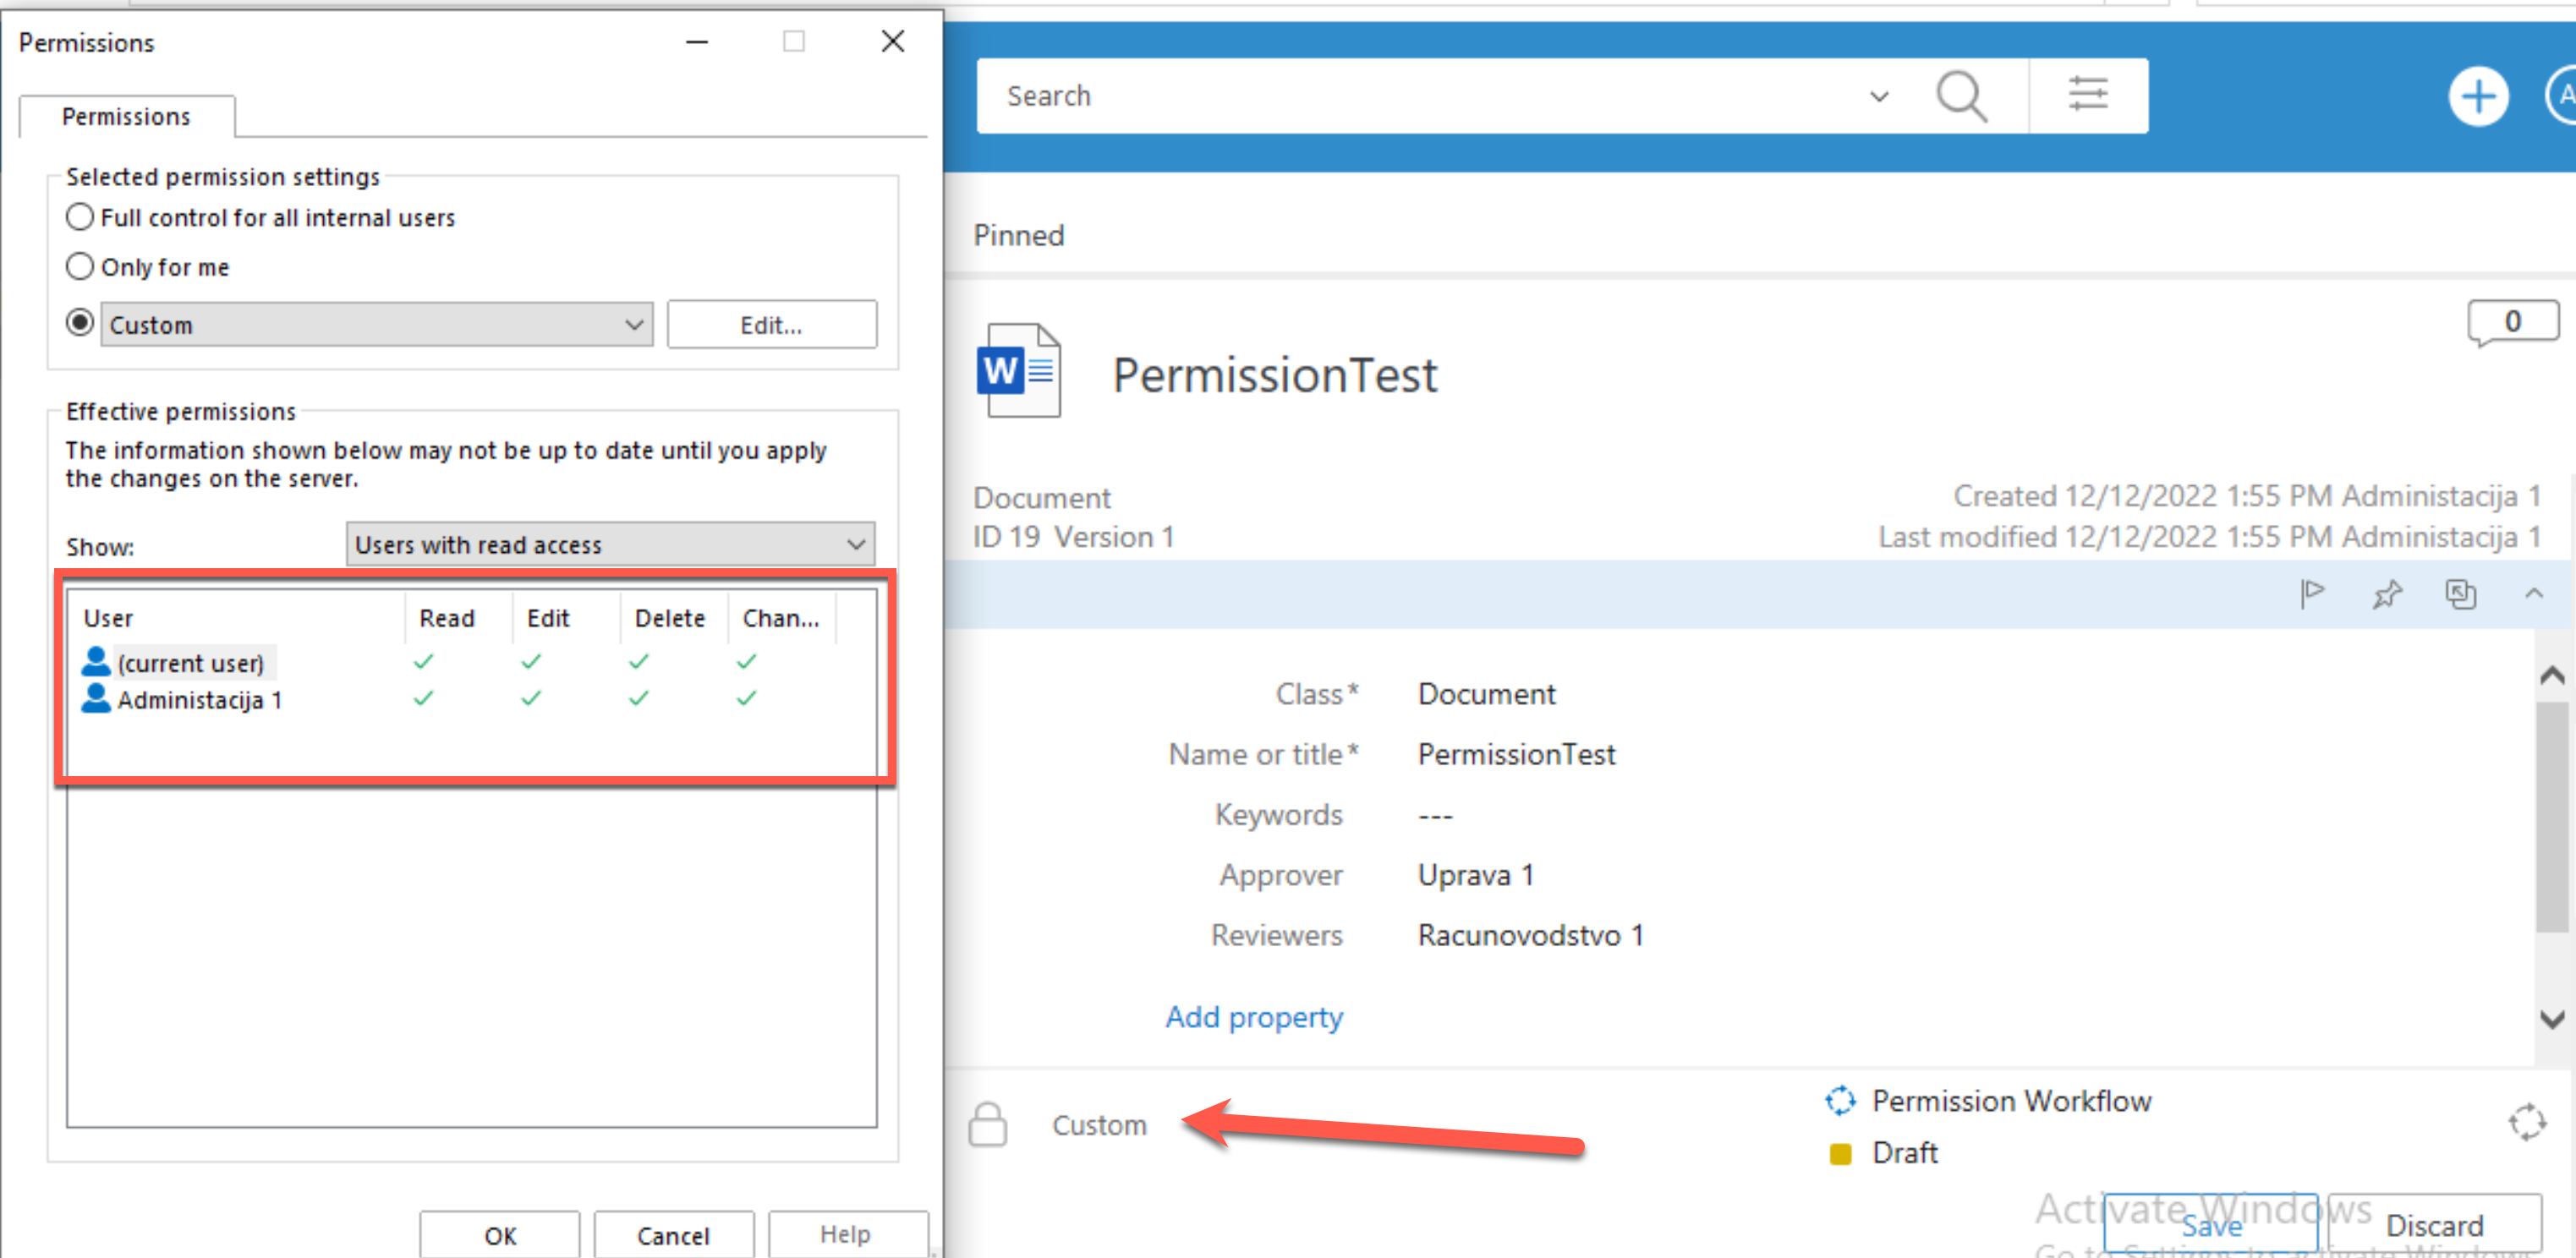
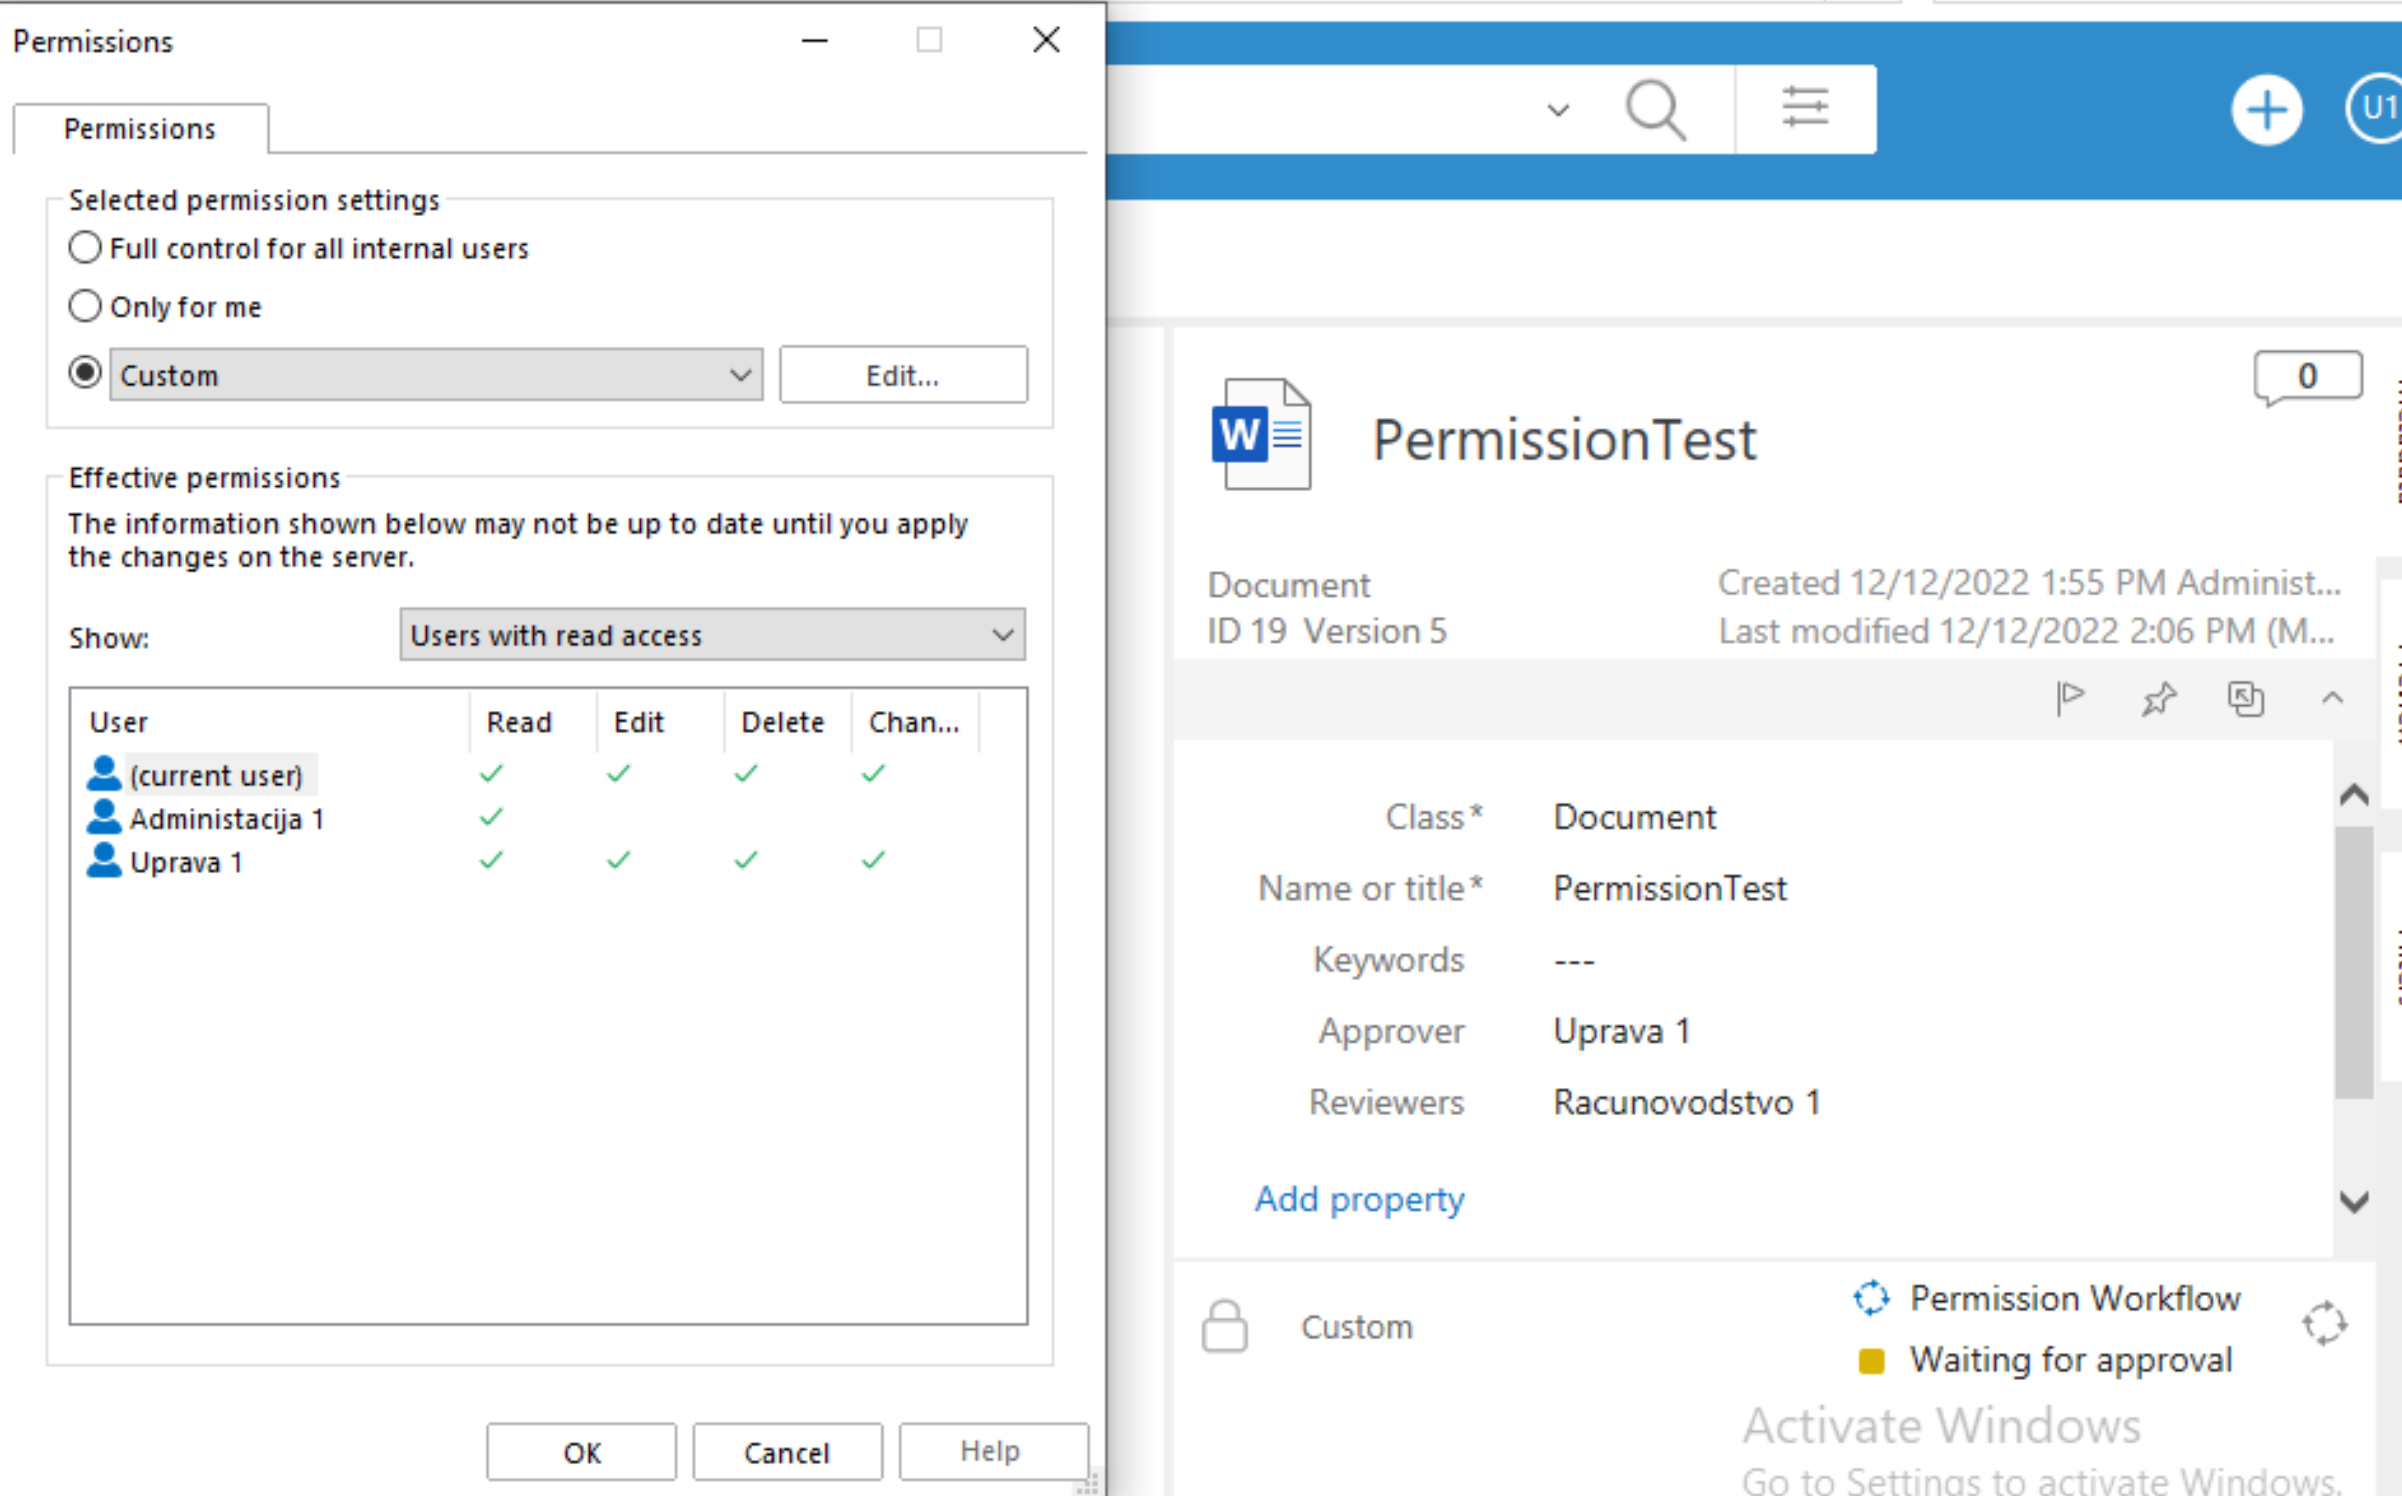
We can see that in Draft state, our document has Custom Permissions enabled. If we click on that we can see that user which started Workflow in Draft state (Administracija1) has all right needed.
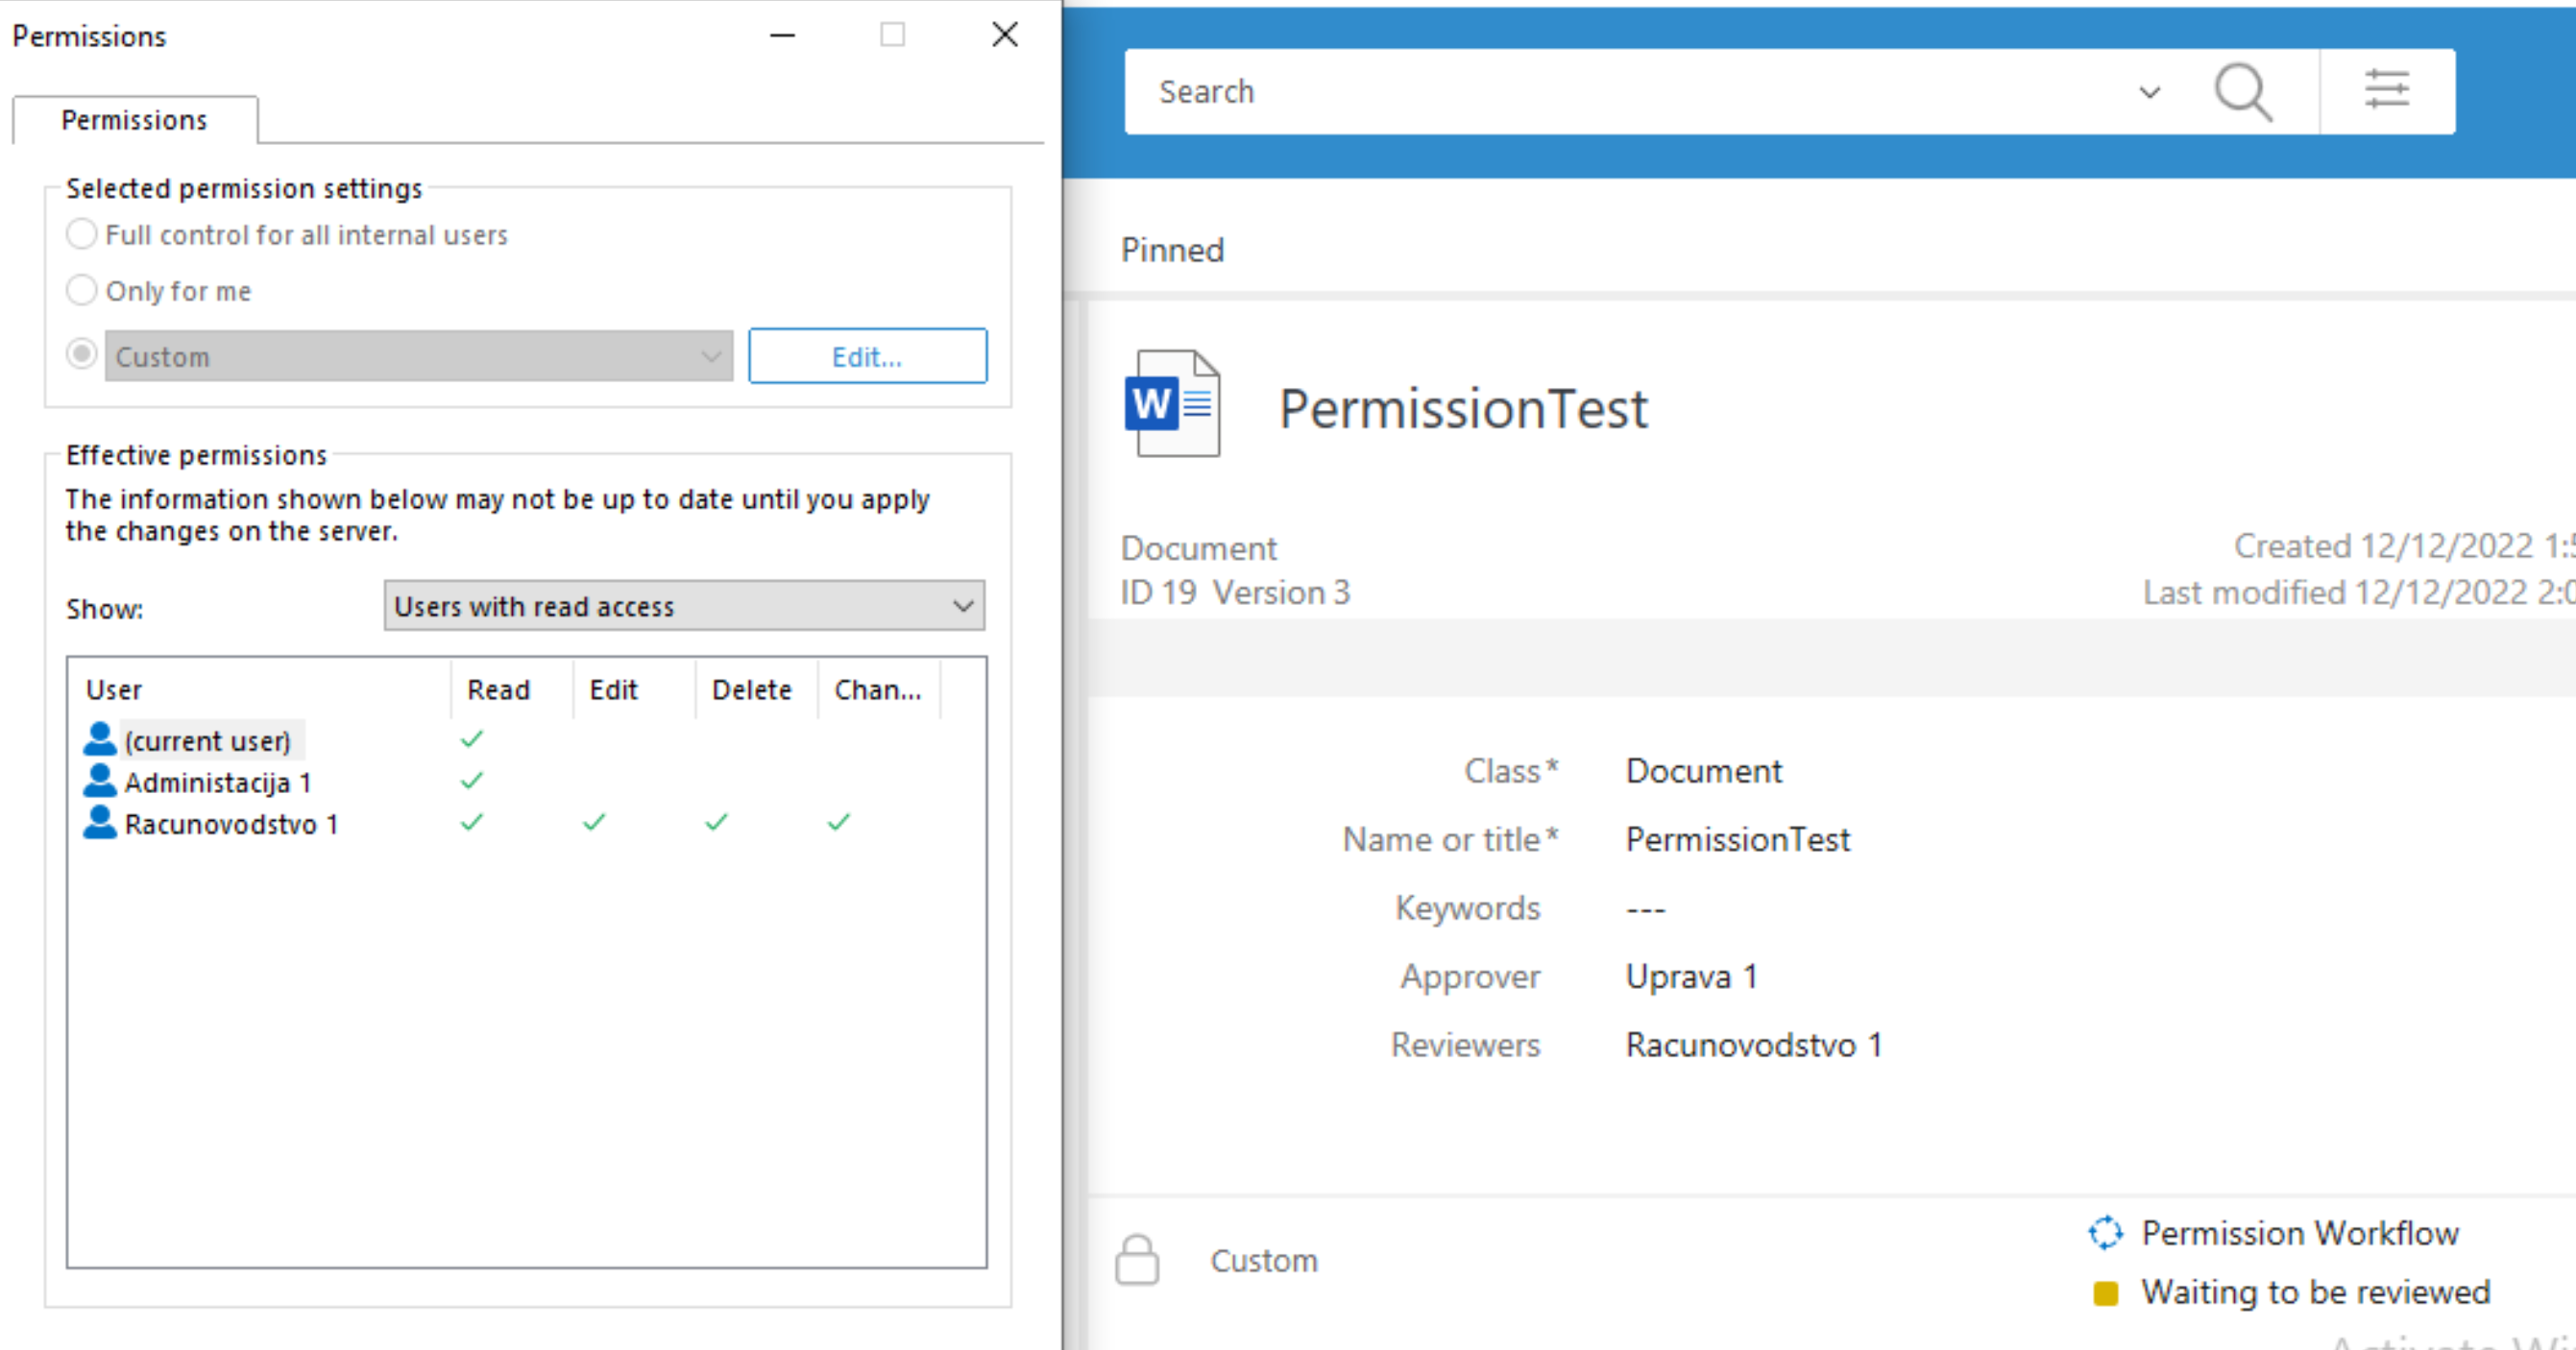
After I launched document for Review, and now Document is in “Waiting to be reviewed state”, I can see that my user (Administracija1) has now only Read rights – as we defined. However, user named Racunovodstvo1 – which is our Reviewer – has all rights.
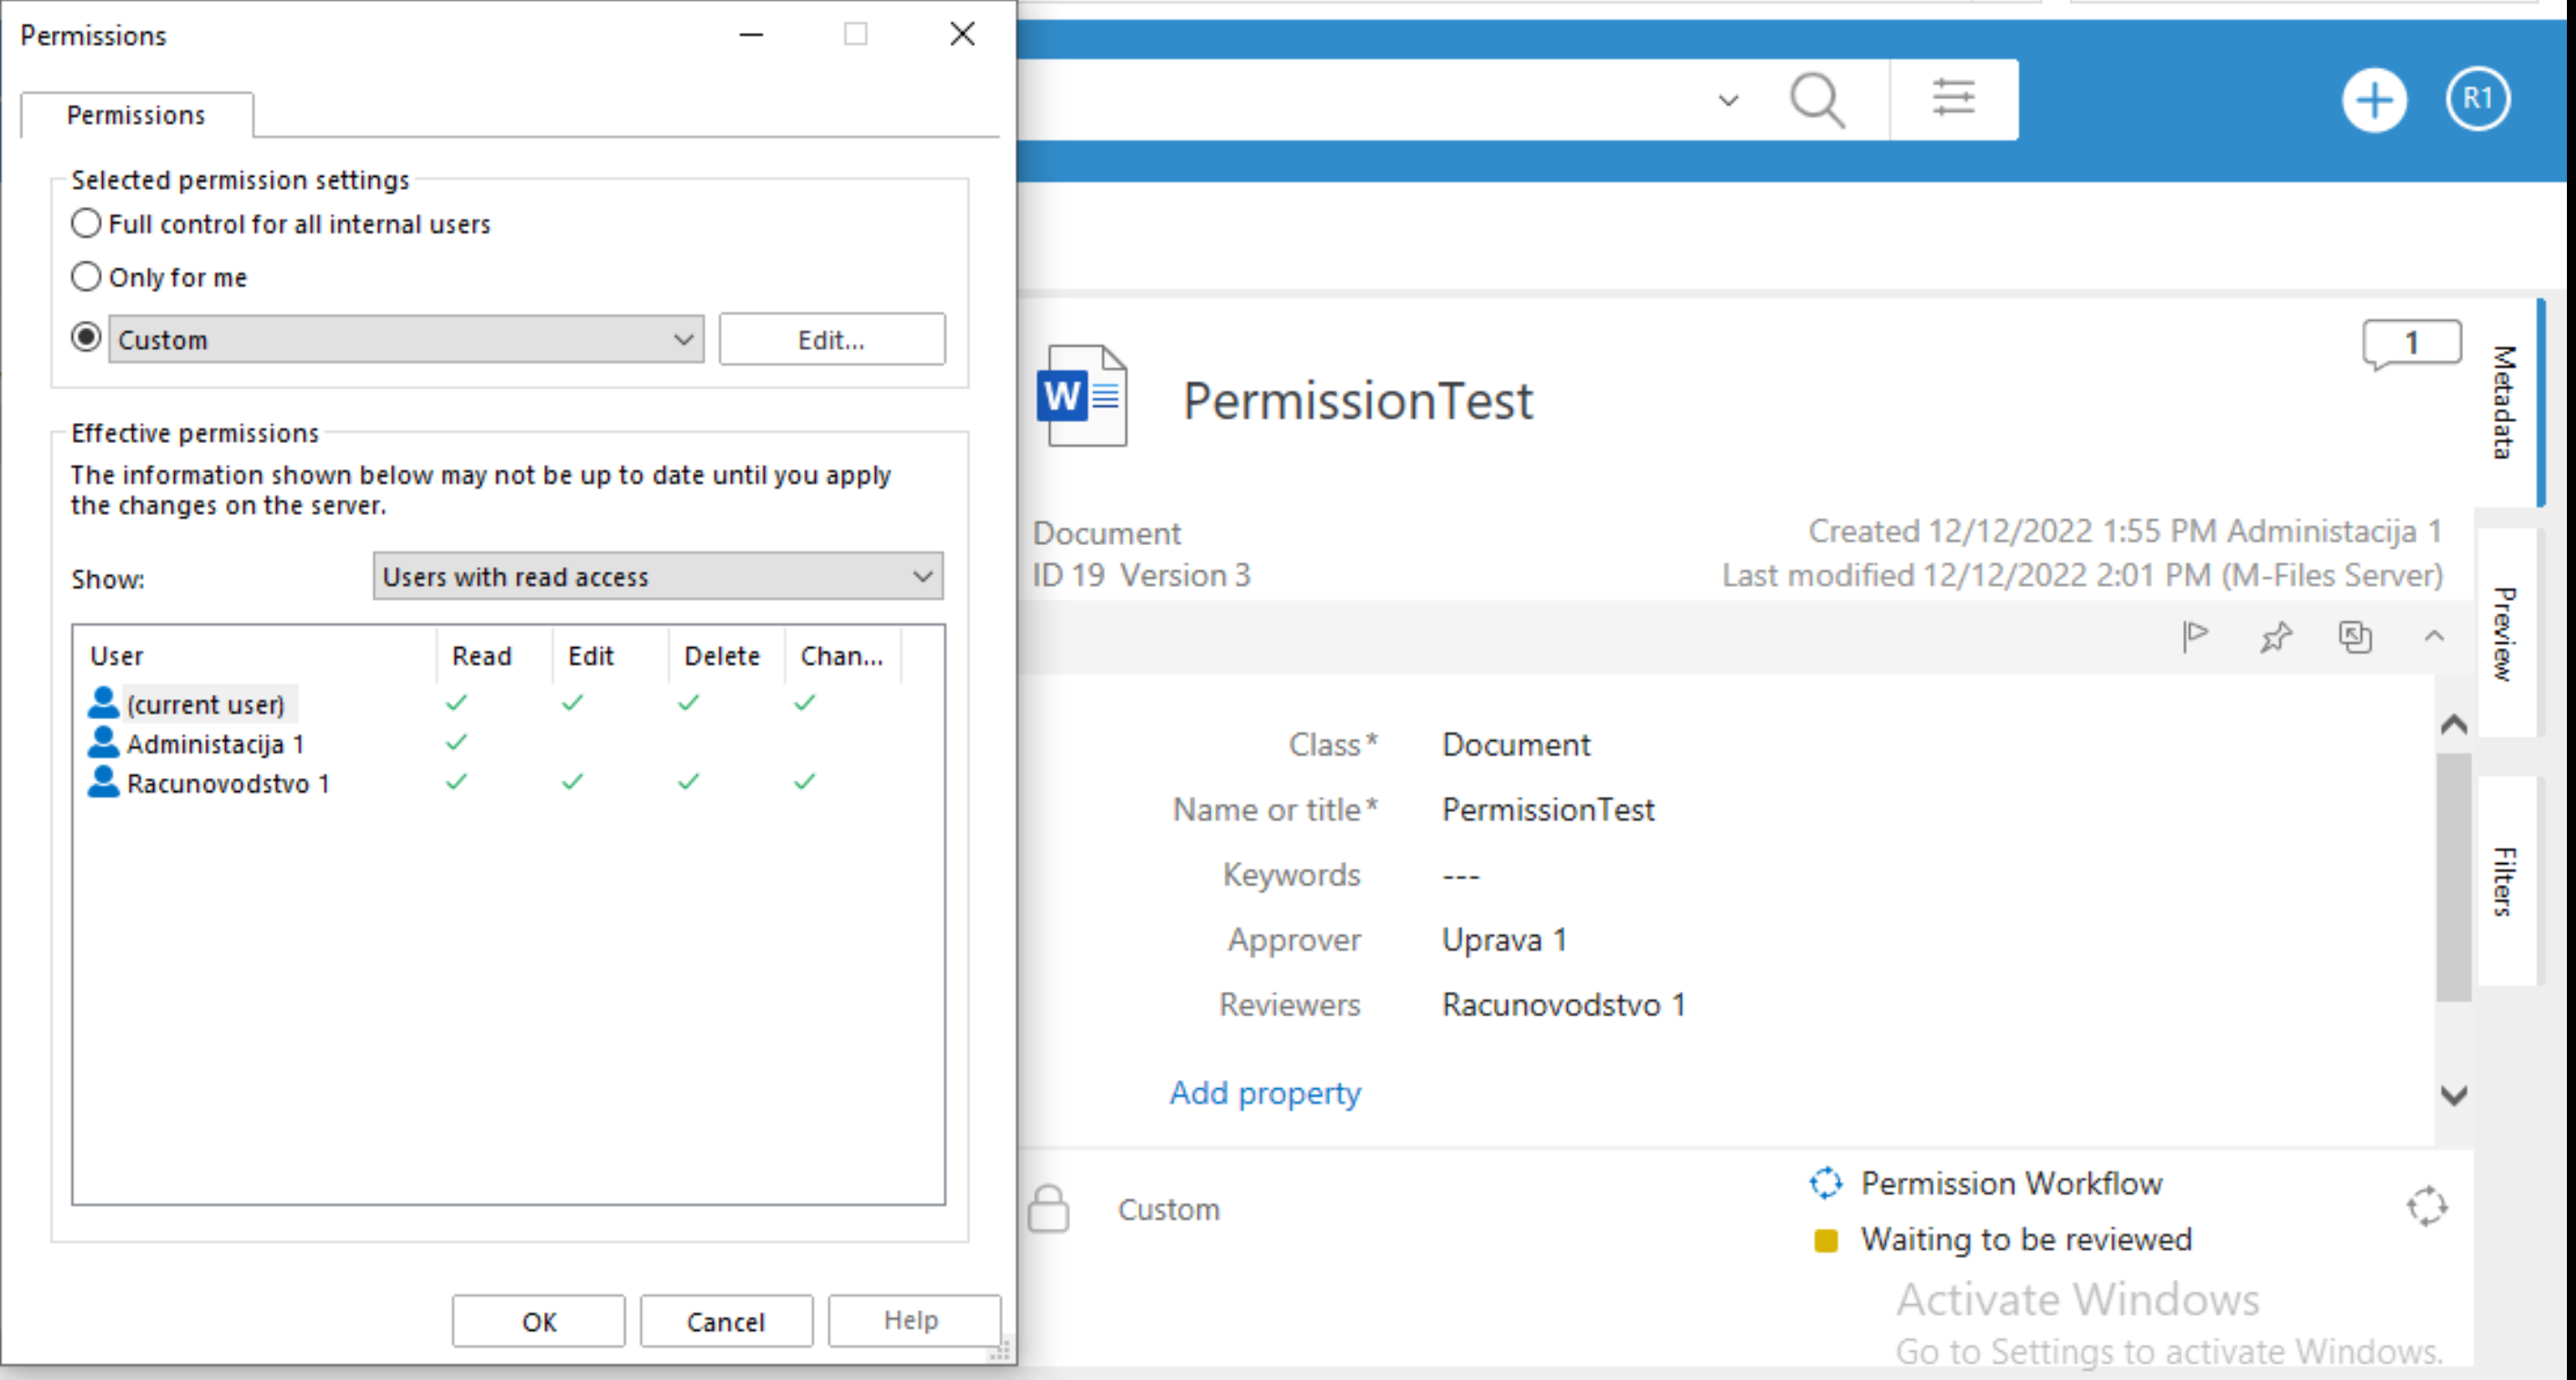
We can confirm situation after we take a look from Racunovodstvo1 which is a Reviewer. I reviewed document, it is ok, so I sent it to Approval.
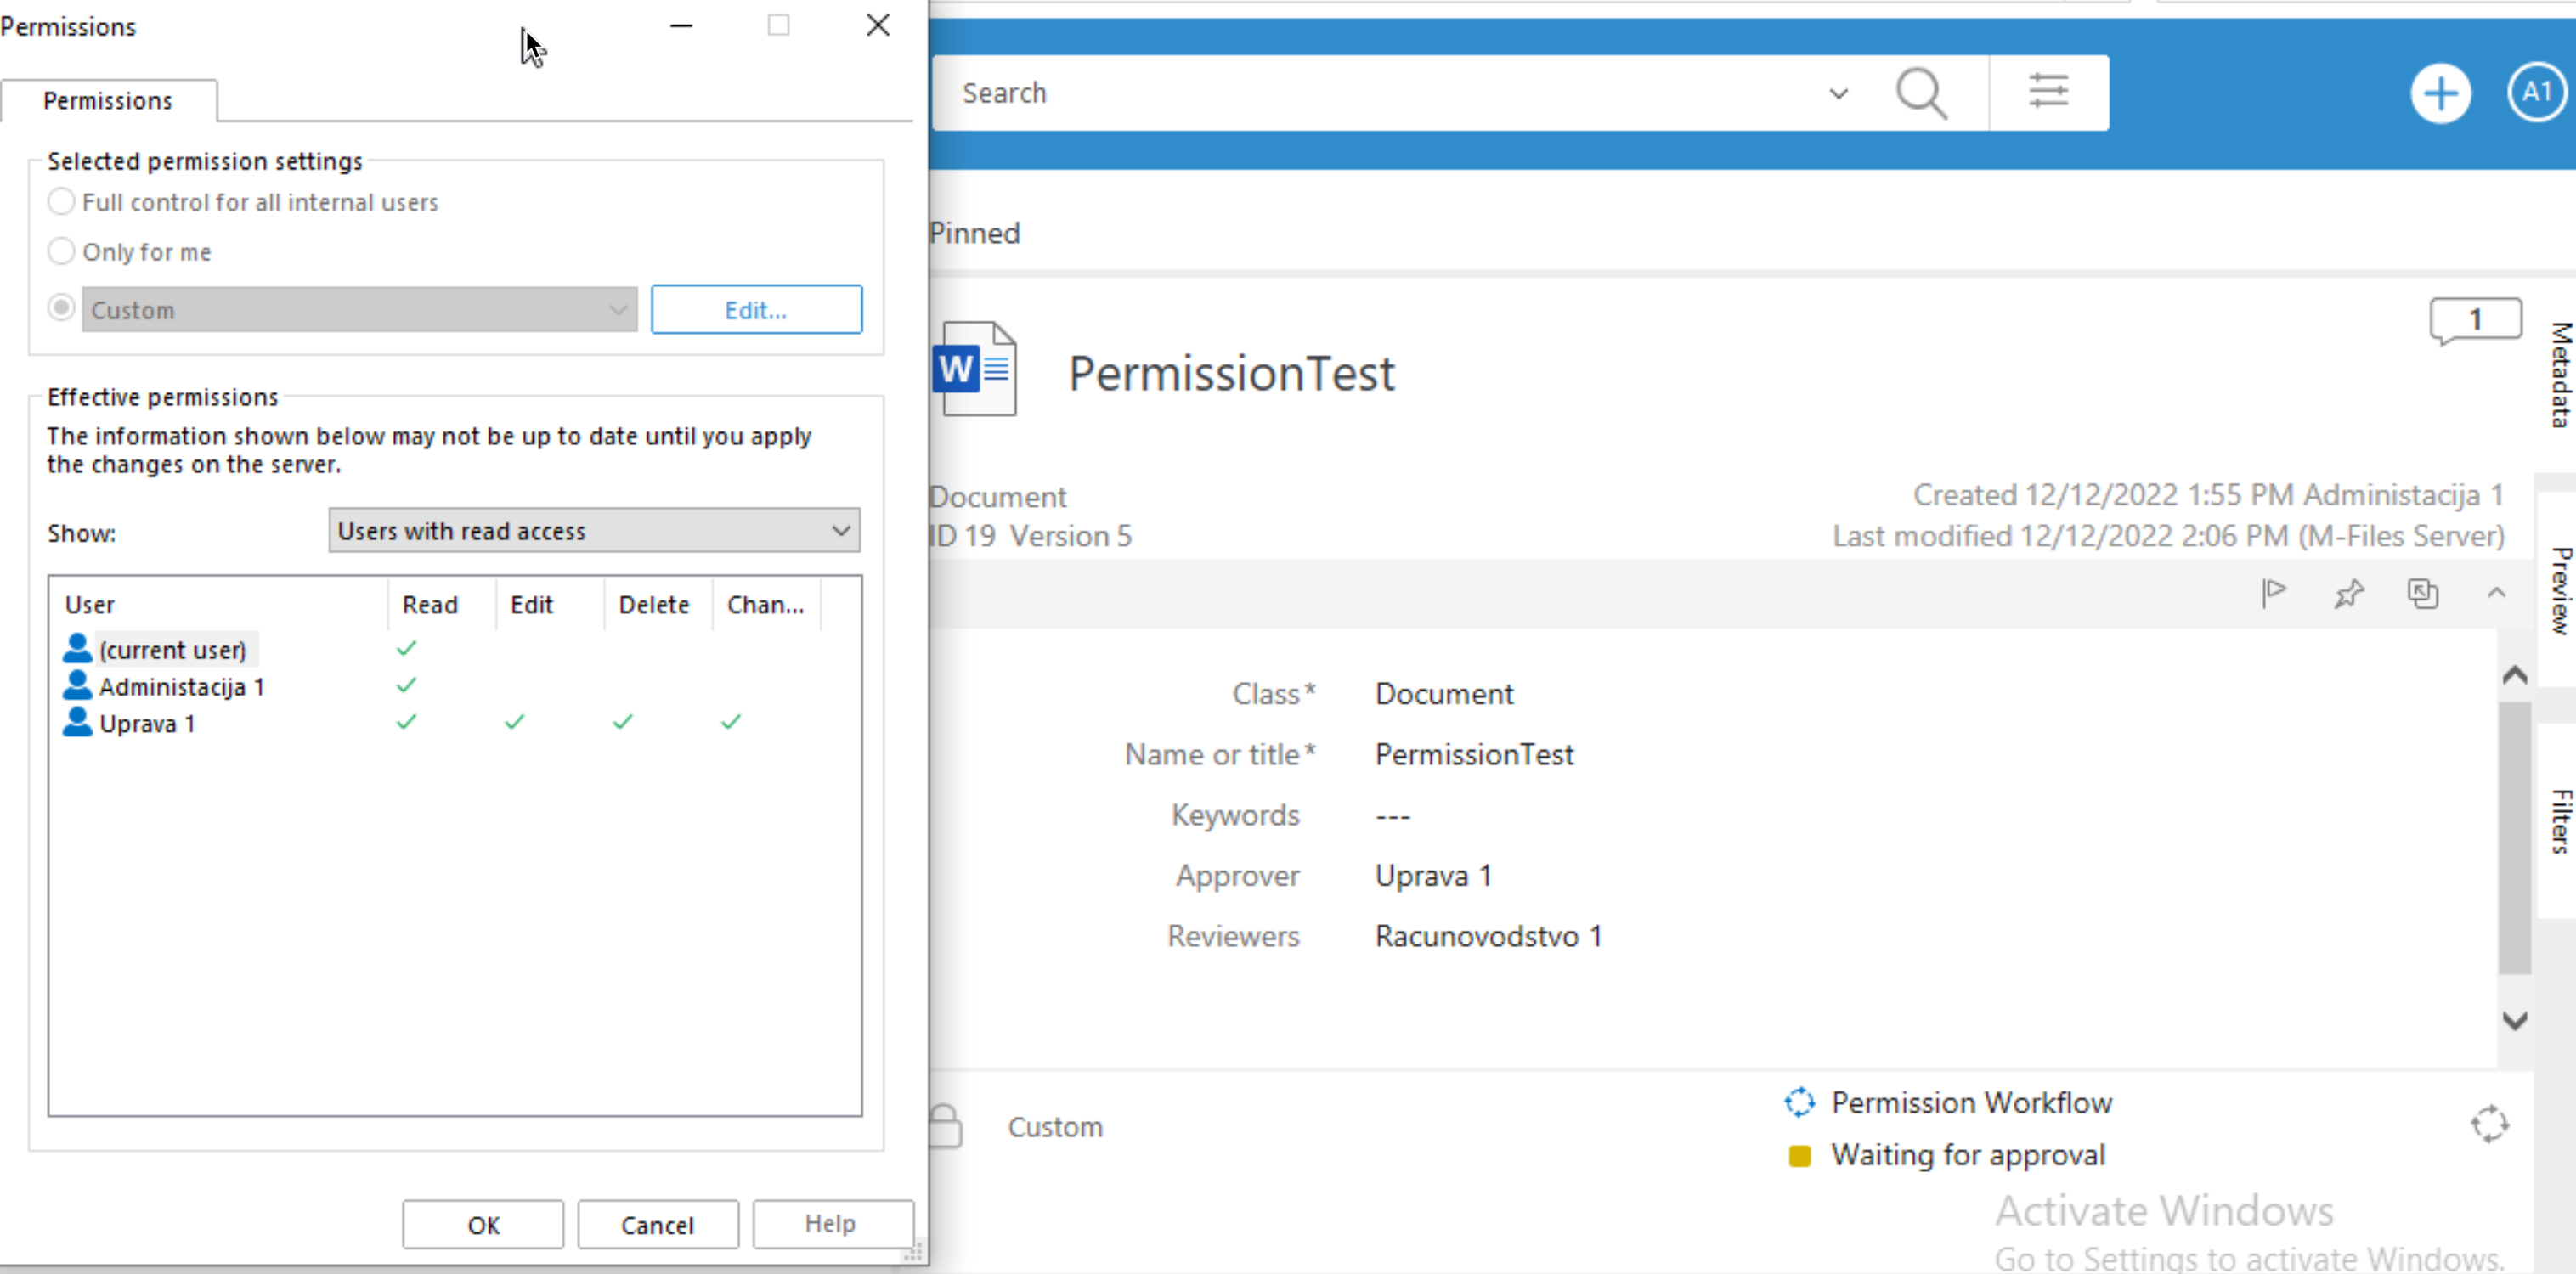
Now, on my initial account, which started review and approval process, I can see that my document is in approval state. I can also see that I still only have read rights, and Uprava1 (which is our Approver account) has all the rights.
On Uprava1 account, I can confirm the situation.
After document is approved, I can now see that again Full control is available for all internal users – just as we set it.
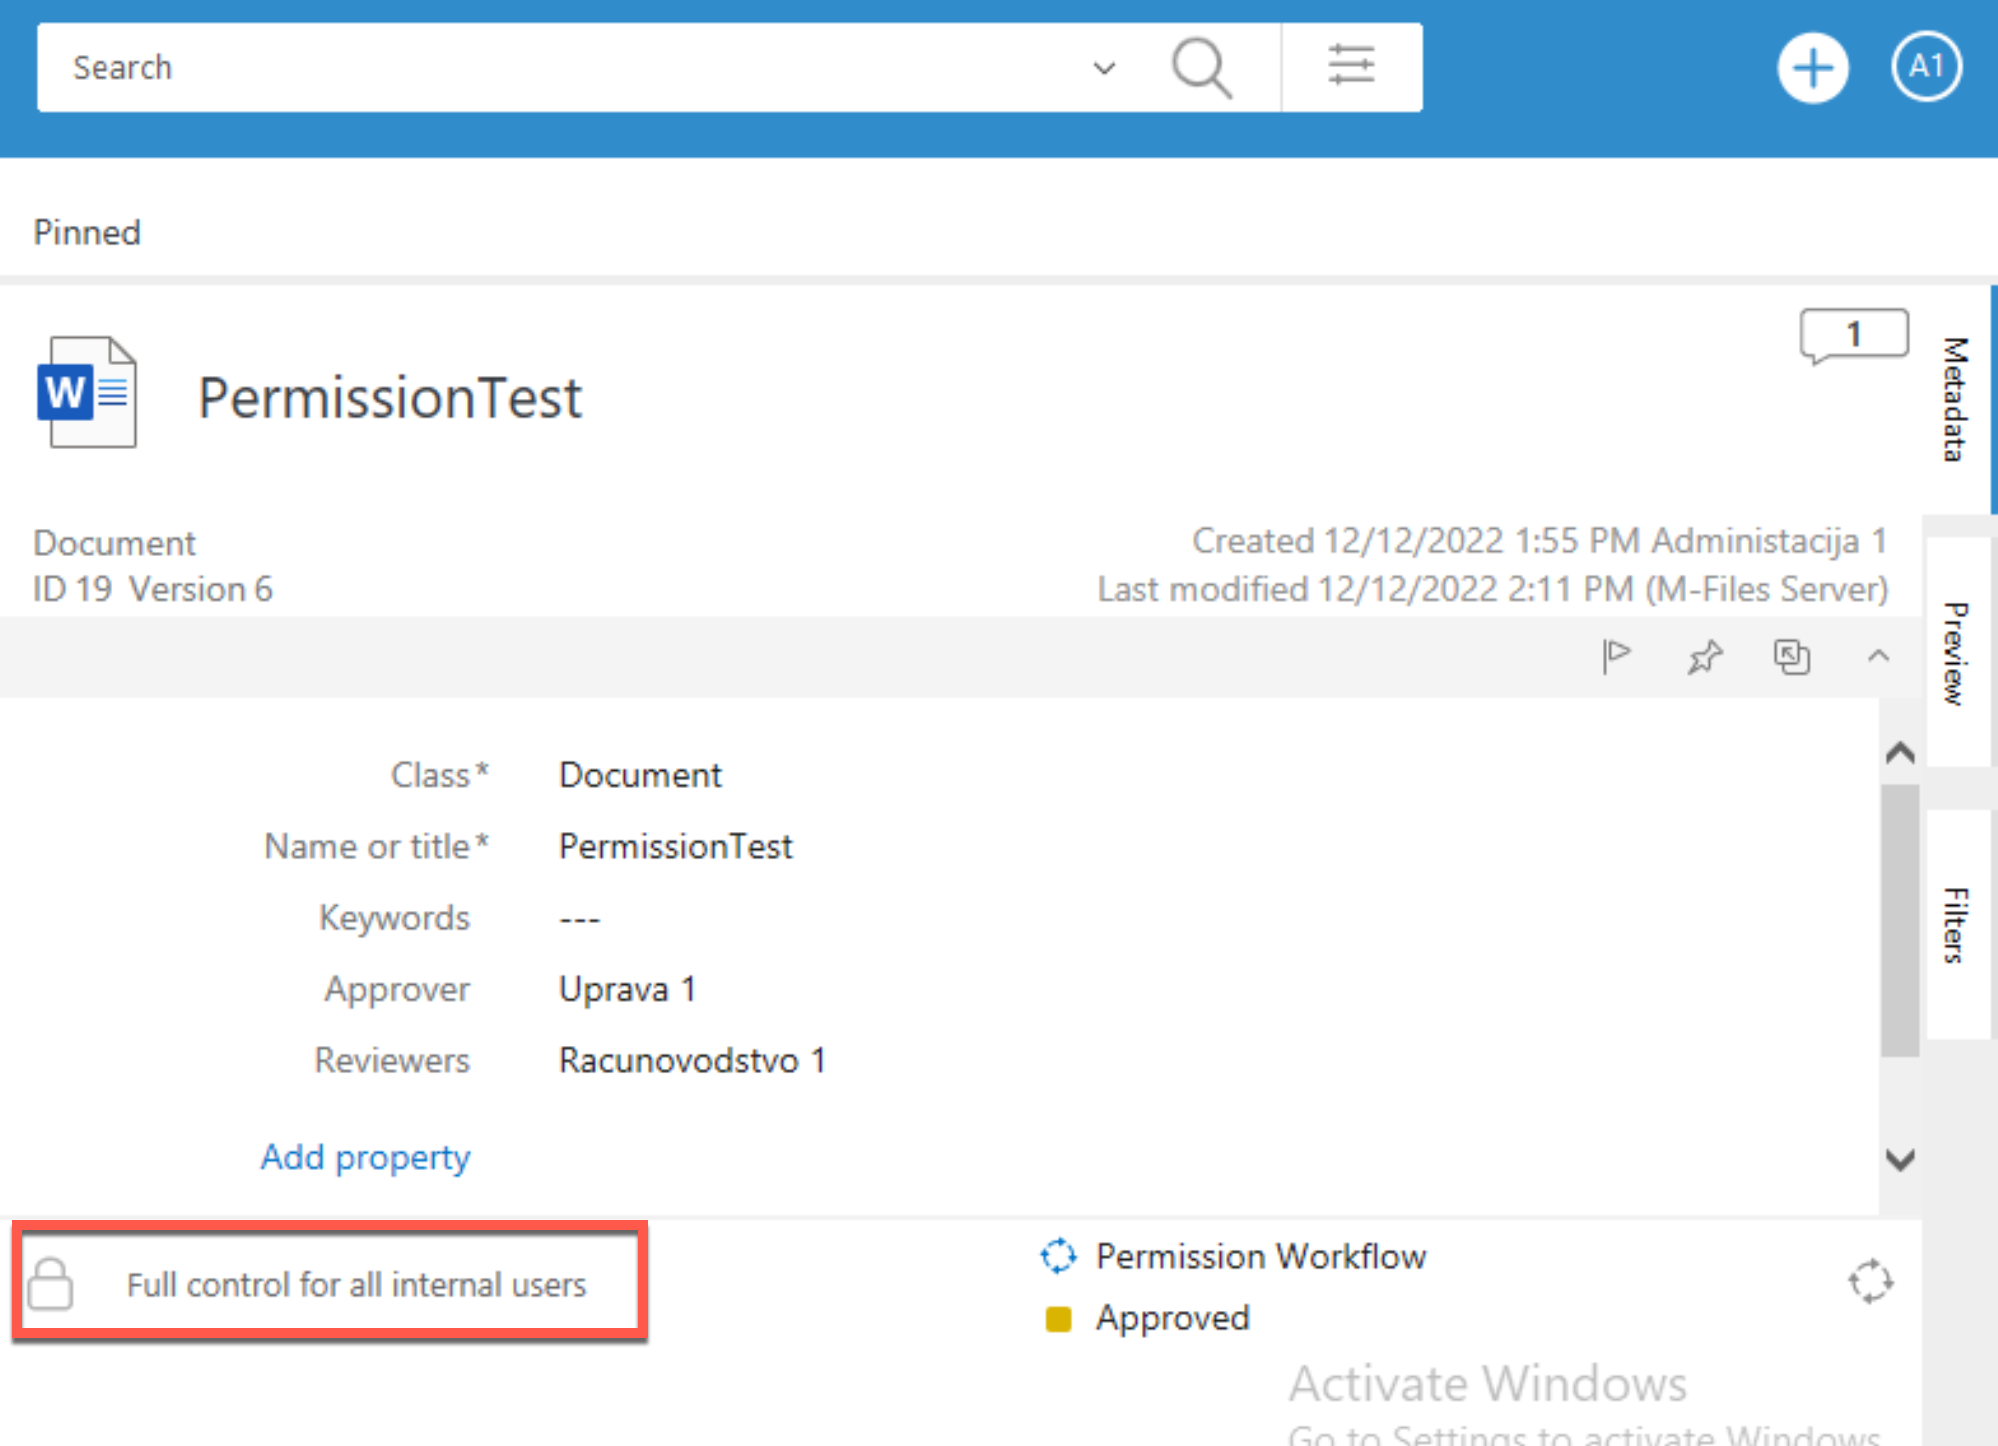
Our permissions workflow is a success!!
With this article I think we covered a lot about Workflows, and can be confident with simpler Workflow creation.
My series of articles about M-Files
Server
M-Files how to configure Metadata
M-Files – users and user groups
M-Files – Create and manage simple workflow
M-Files – Create Workflow with assignments
M-Files – Create Workflow with Approvals
M-Files – Manage permissions for Workflows
M-Files – how to create and use document templates
How to backup and restore M-Files Vault
M-Files – How to enable access to M-Files through website
M-Files how to secure connection between server and clients (HTTPS)
M-Files Migrate from Firebird DB to Microsoft SQL DB
Desktop
Understanding M-Files logic + Overview of M-Files desktop
M-Files Creating Views for M-Files Desktop
M-Files how to save or modify documents?
M-Files How to share documents? How to save eMails to M-Files?