Using M-Files can be confusing in the beginning, equally for users and IT people. It is good when you grasp logic of it, but until you do, it can be struggle. First of all, understanding metadata helps a lot, and I wrote already about that. But we cannot expect the same understanding from the users of the M-Files. So, to make life for everybody easier we will create Views.
To organize interface for a user, we first need to understand processes within a company, these processes should be logically organized inside M-Files and then presented through views in M-Files Desktop.
We can make views for entire company, or maybe restricted ones for a department or user.
Let’s start.
We will do following within M-Files Desktop on Administrative PC.
Common View (View for entire company)
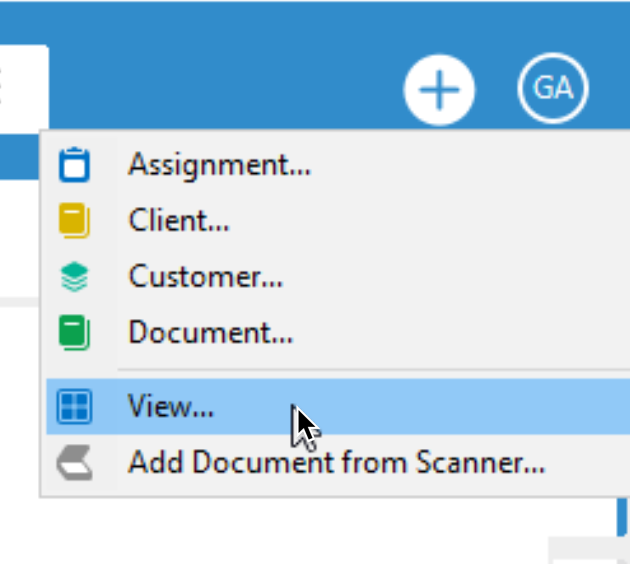
To create a new View, we will select Plus (+) from top right corner and select View…
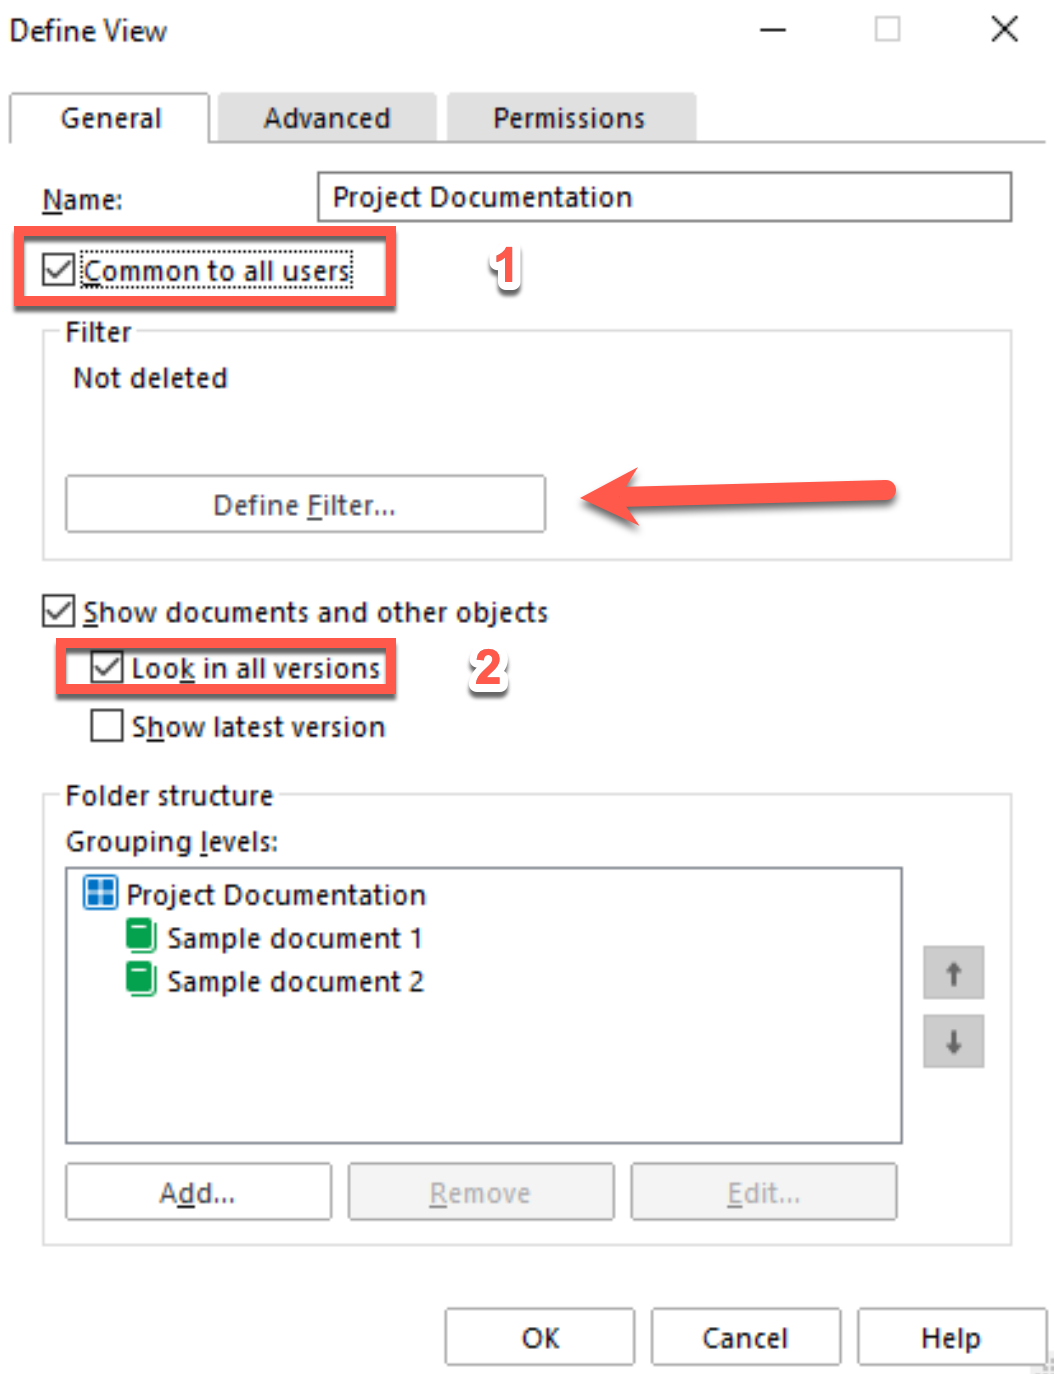
We will make Project documentation available to everyone. So, I named my View “Project Documentation” and selected “Common to all users” so it is available to all users in their M-Files Desktop View.
I also checked “Look in all versions” and after that I selected “Define Filter…” under Filter
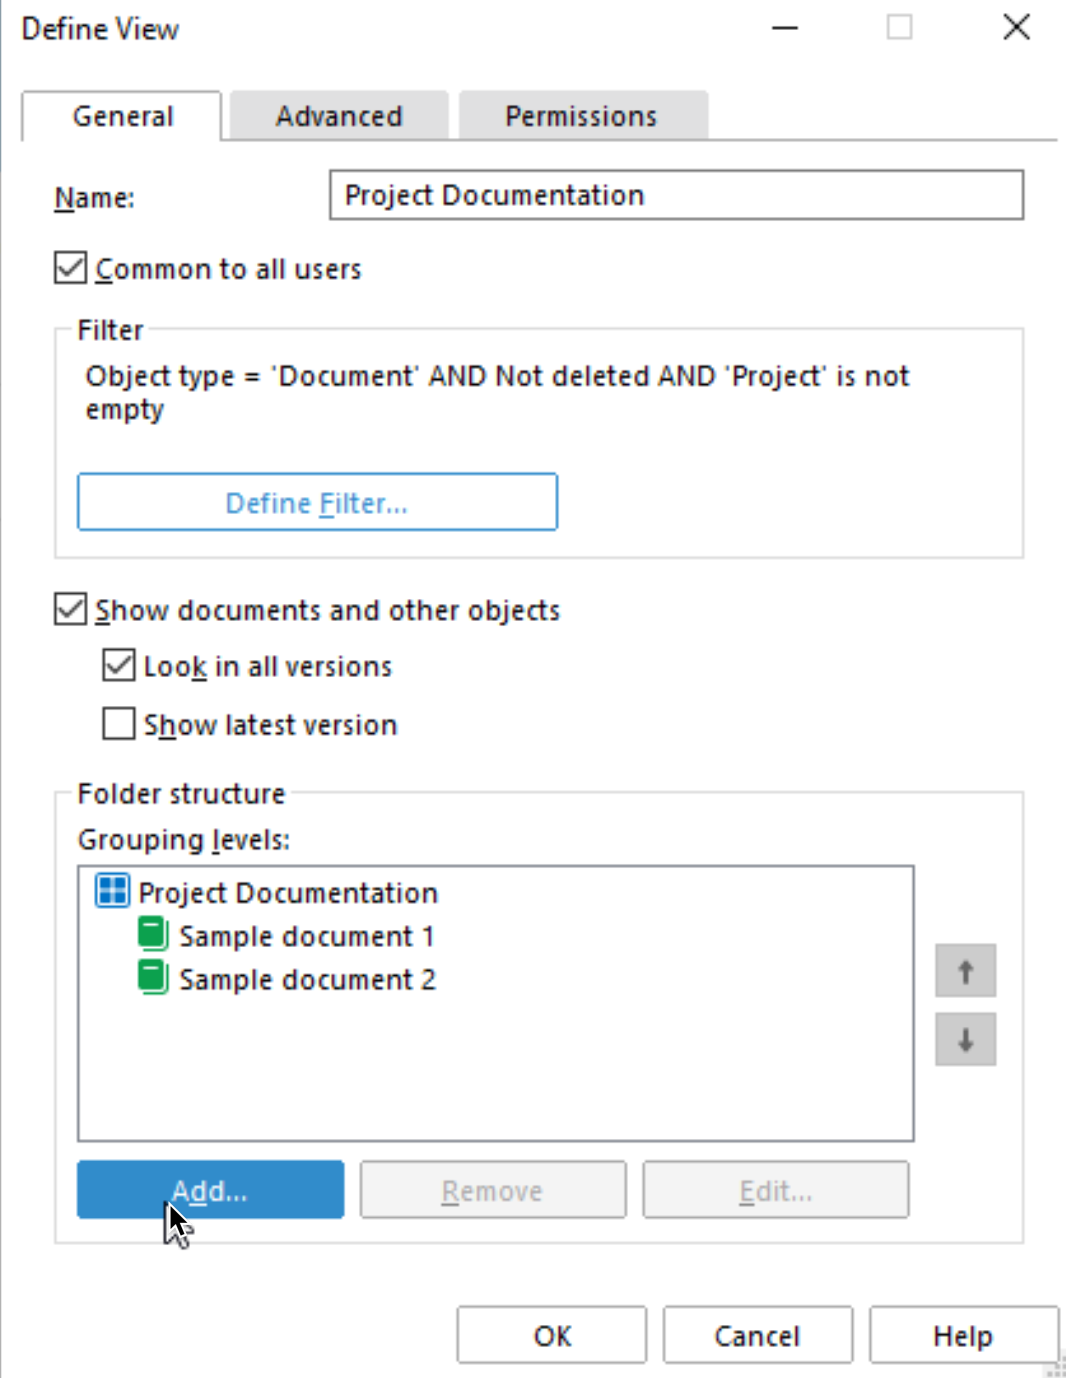
We will define following filter – Select Object type = Document
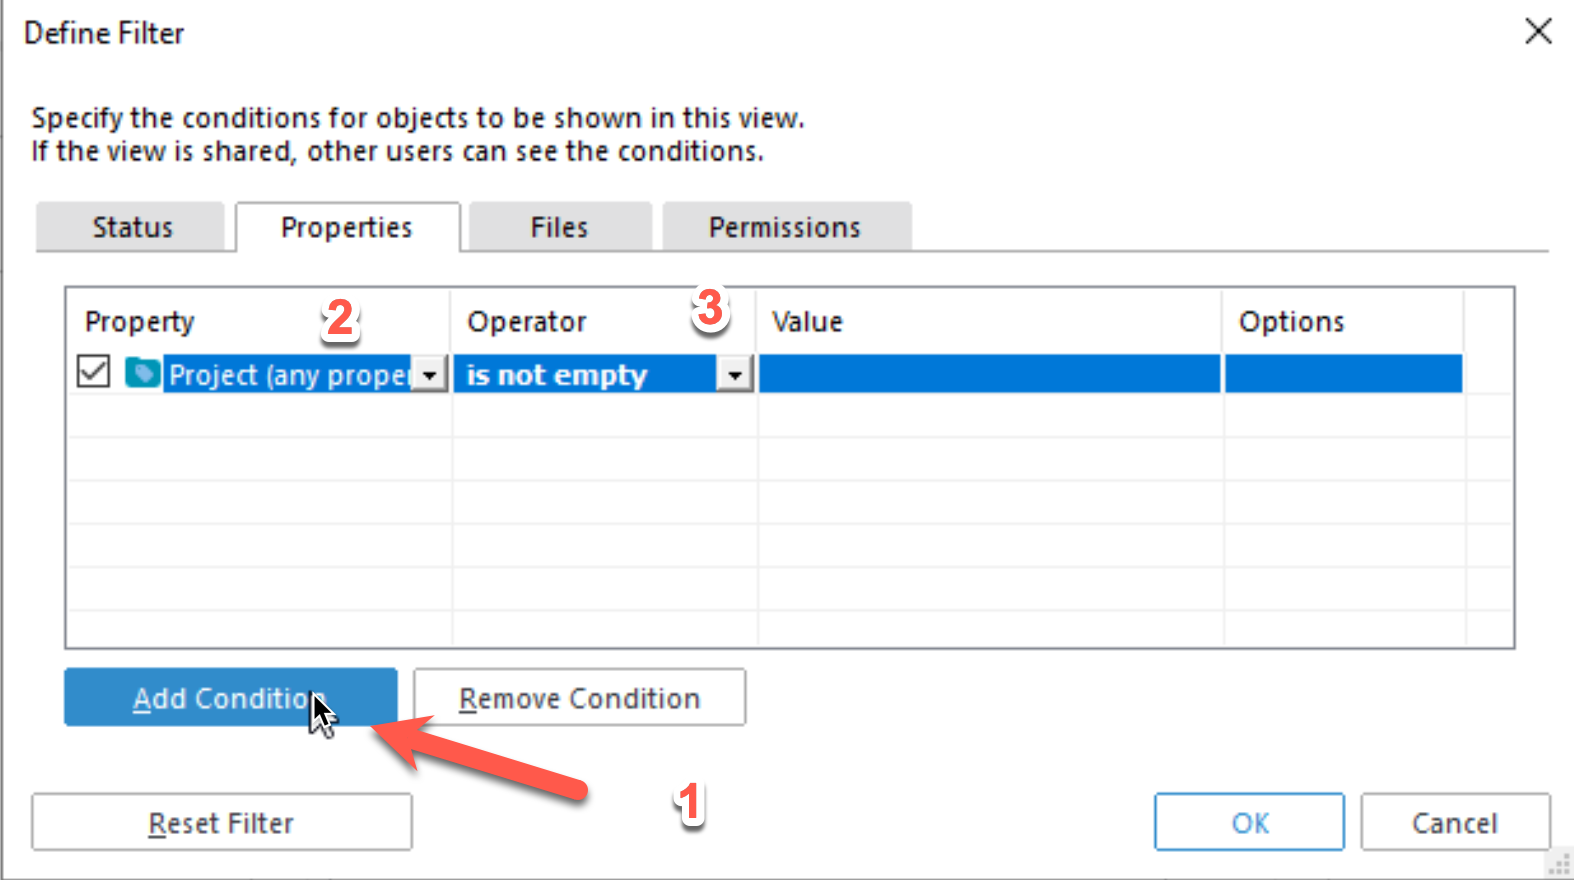
Next we will go to Properties tab

We will click on Add Condition, then under Property select Project and after that for Operator select – is not empty. Confirm with OK
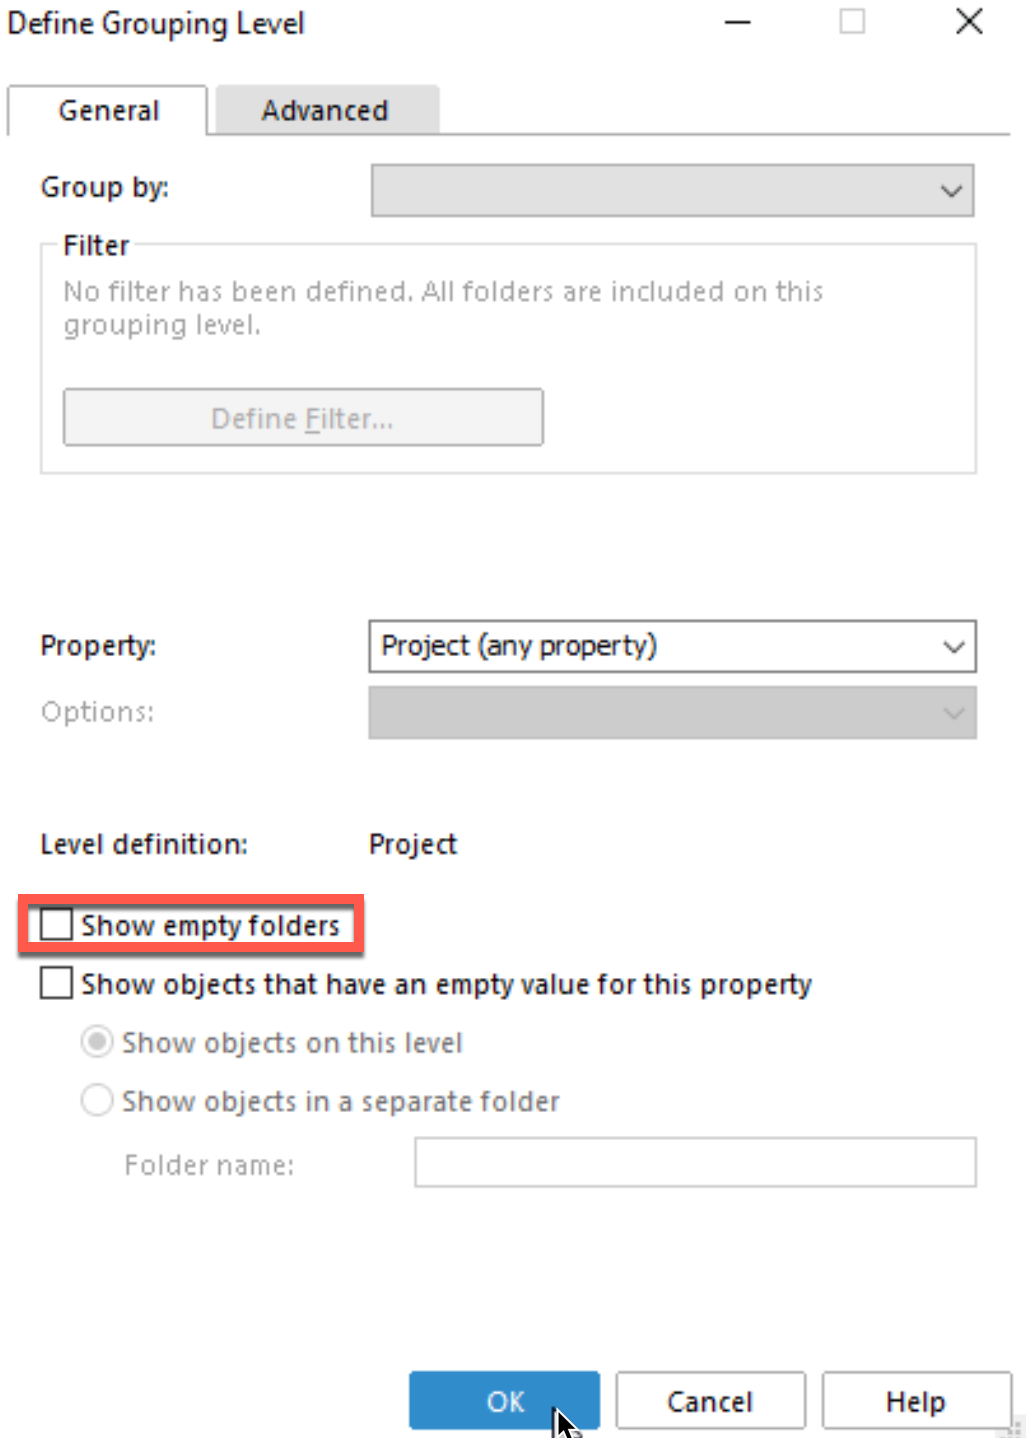
Before we finish with new View, on General tab we will select Add under Folder Structure
Under property I will select Project (I have multiple versions so, the addon “any property” is specific to me). Also, I unmarked Show empty folders. Ok
We can now close by confirming with OK our Define View.
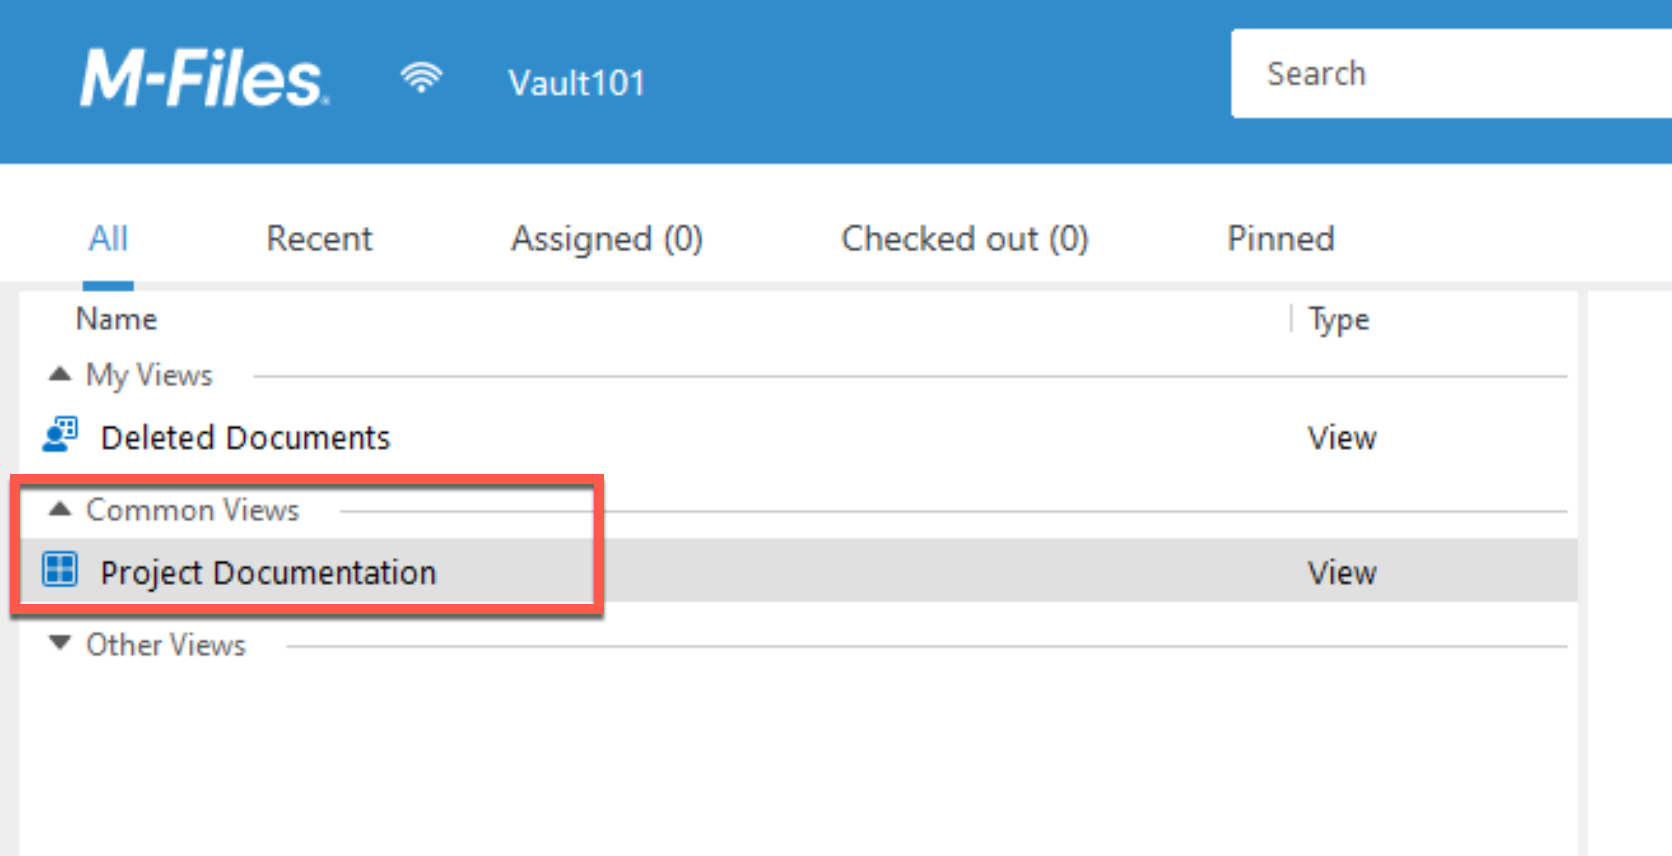
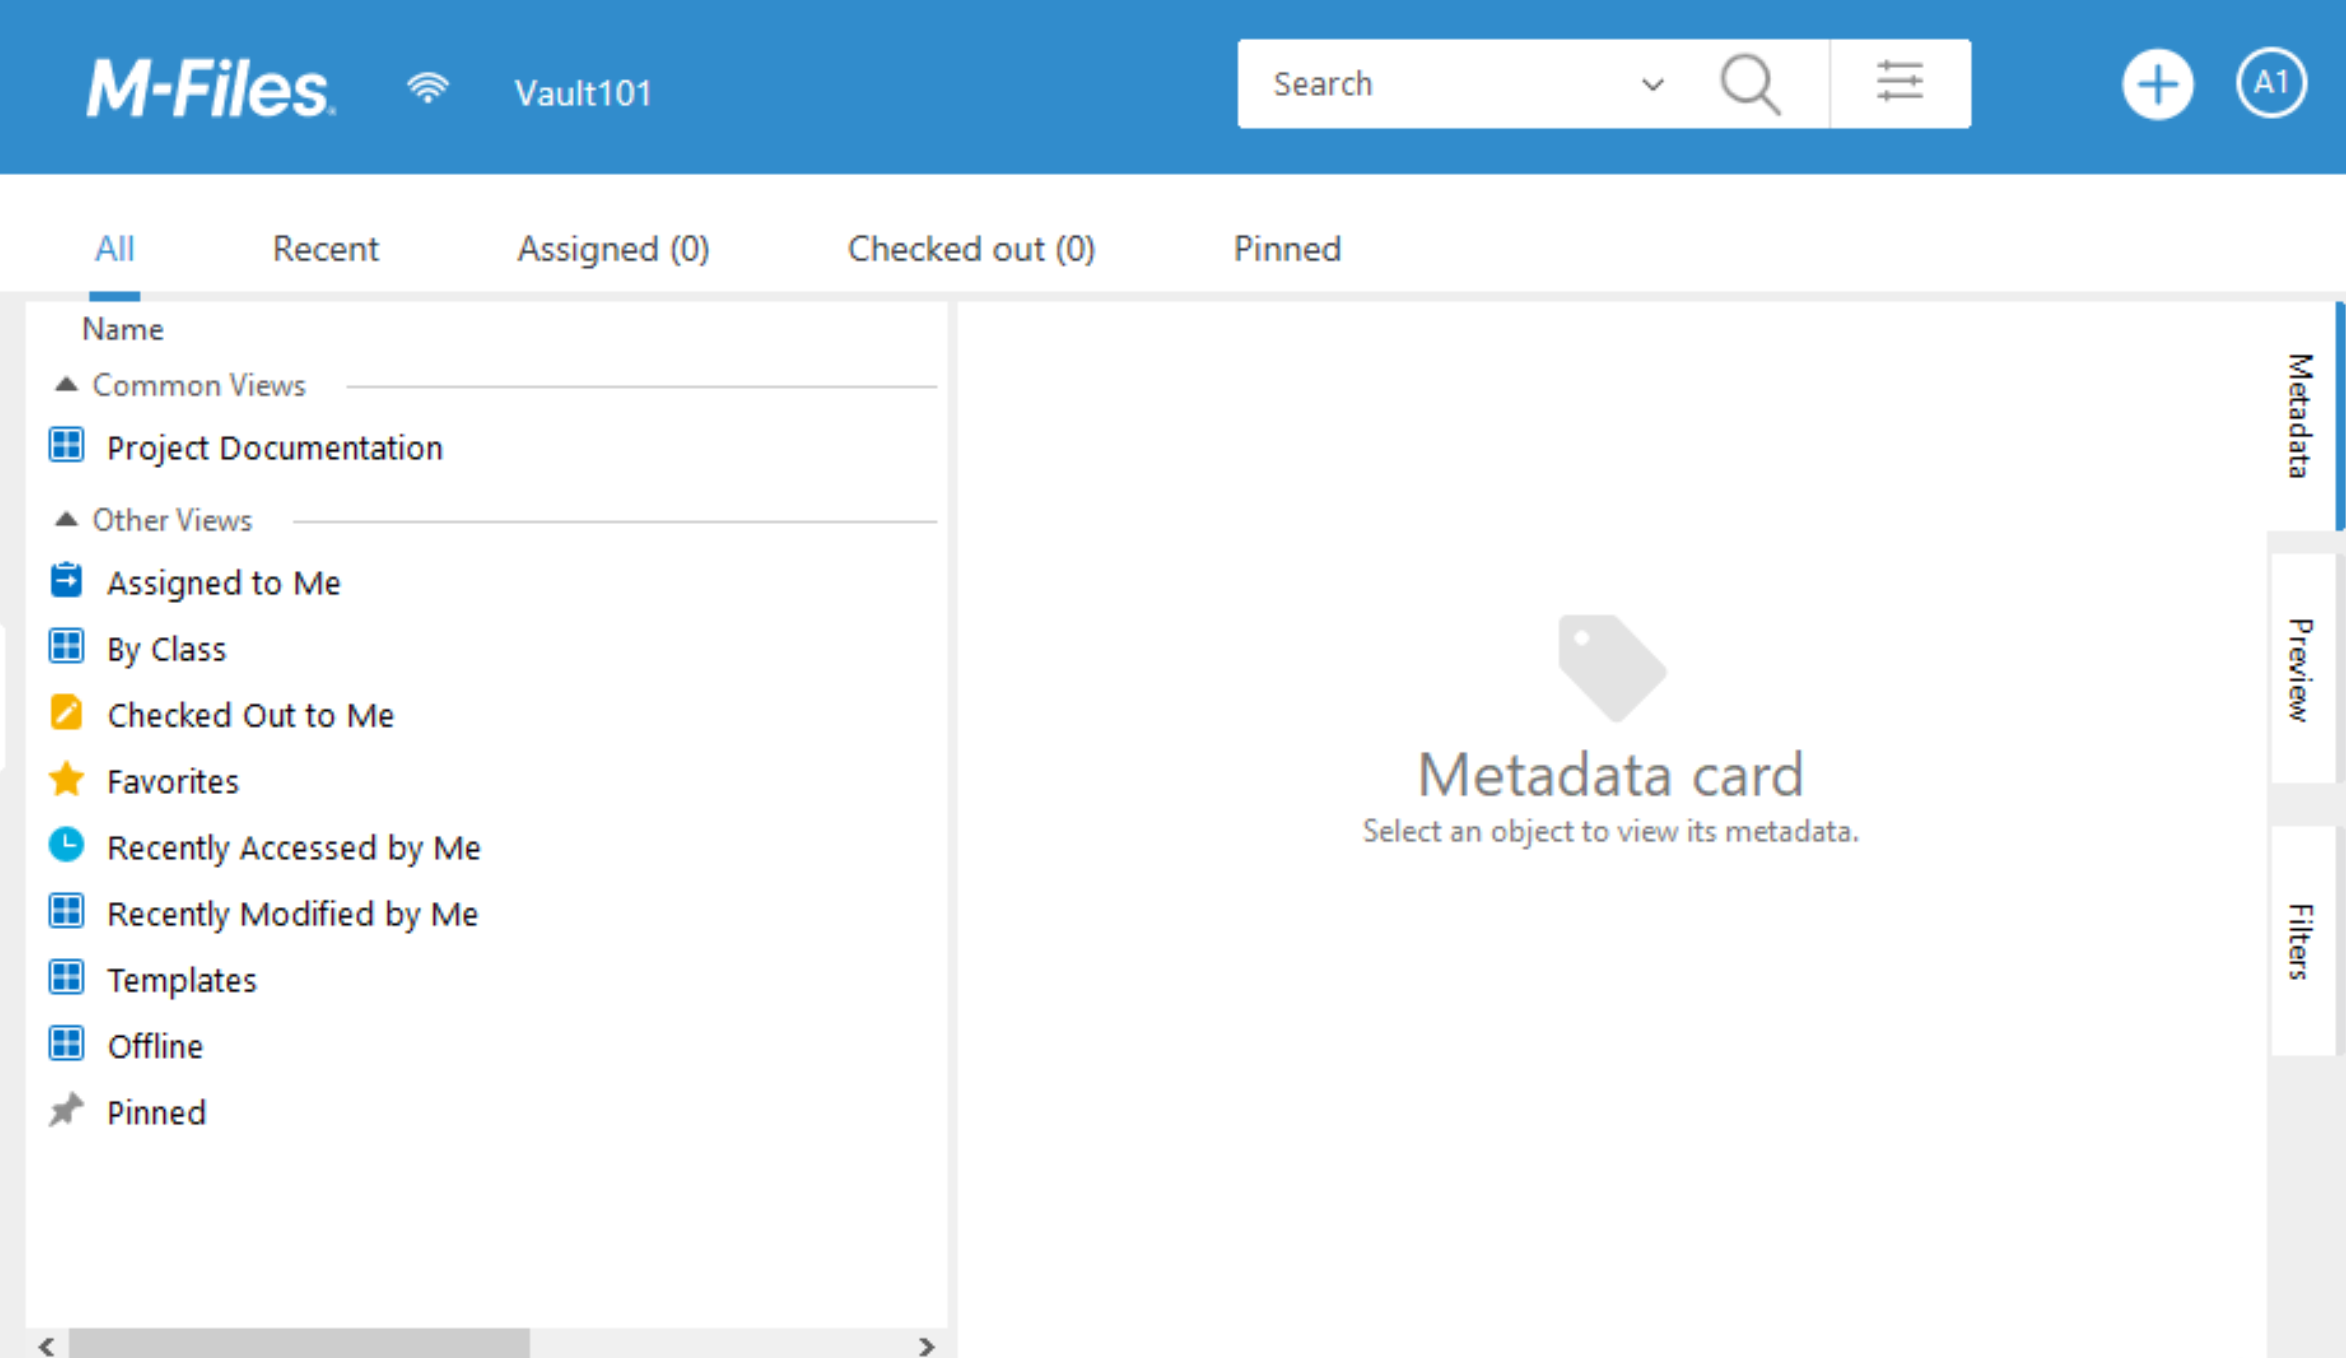
Now, I can see “Project Documentation” in Common Views. This view is now available in every M-Files Desktop client for every user in your company.
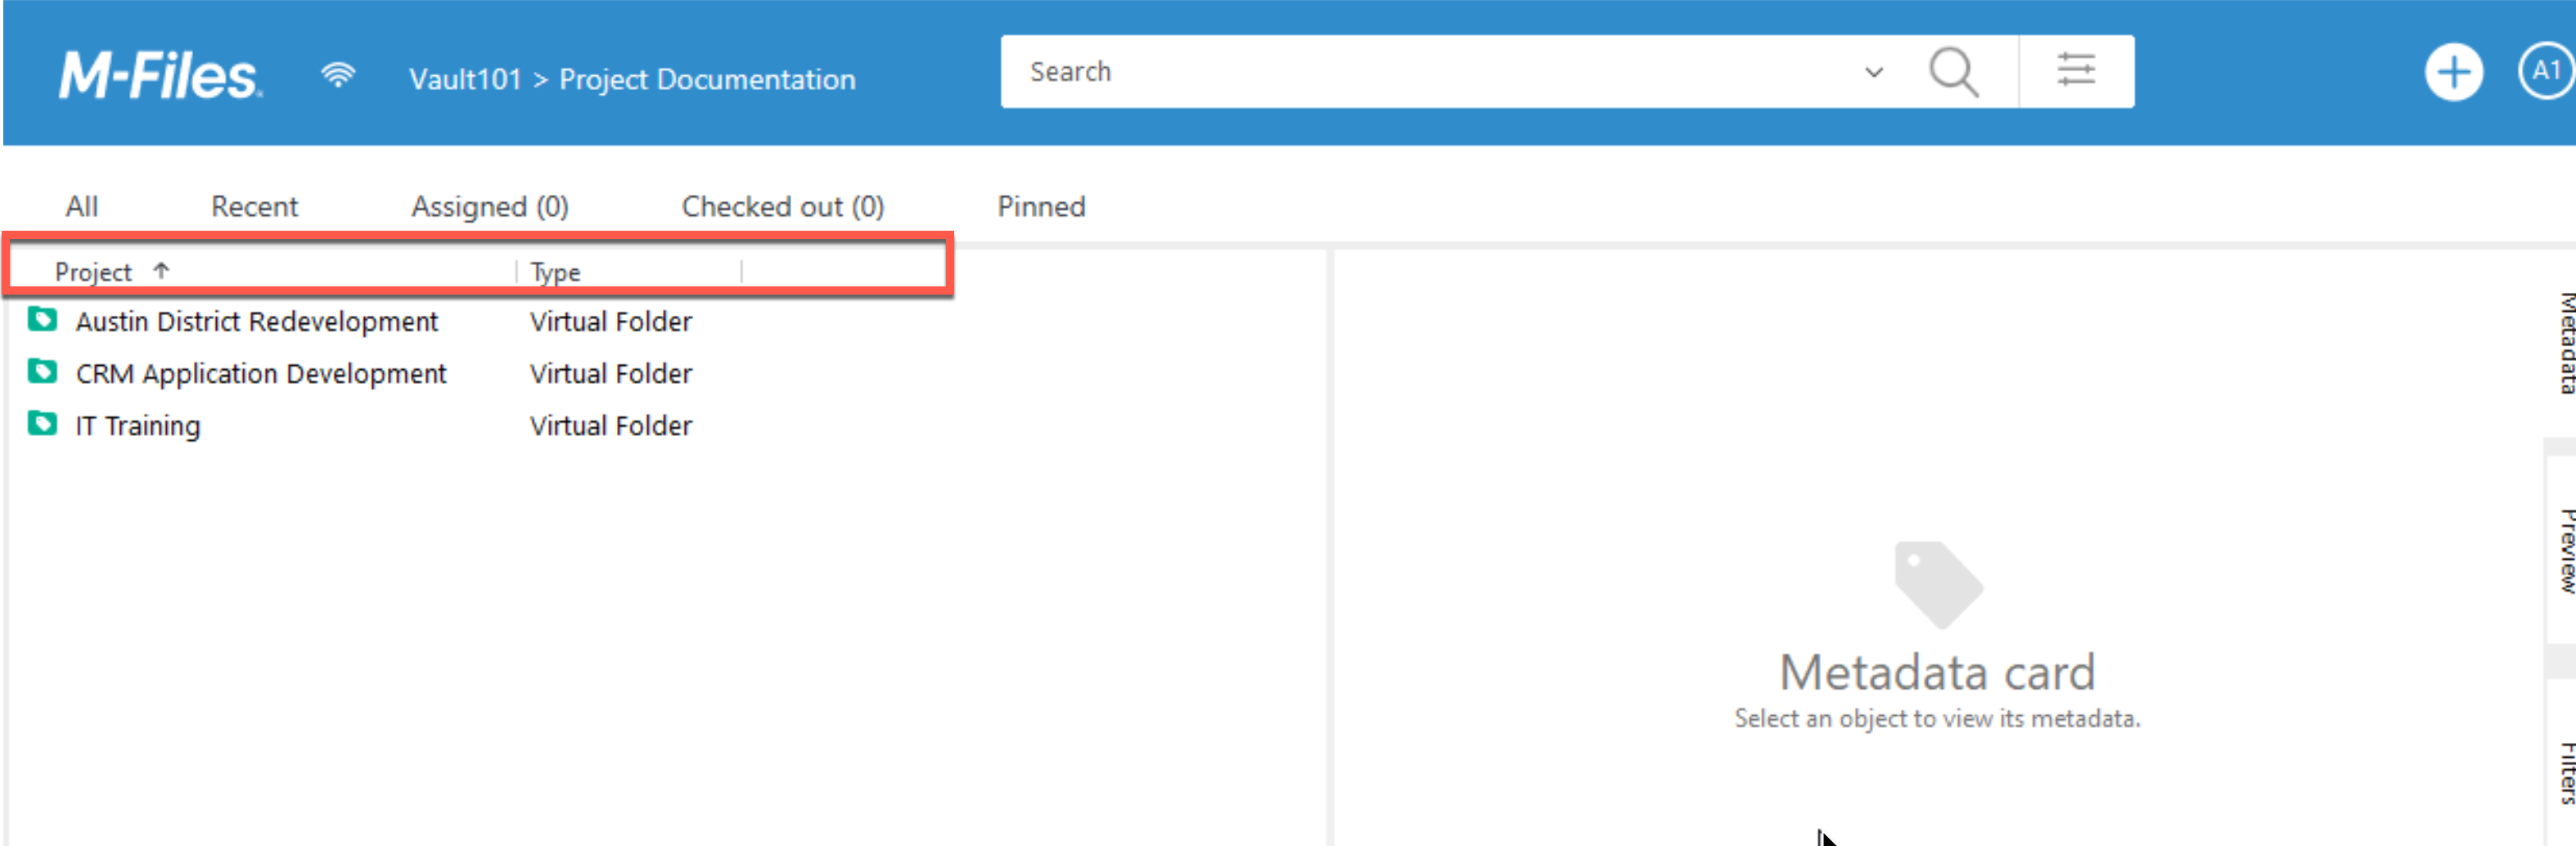
Inside it I can see my Projects sorted by “folders”
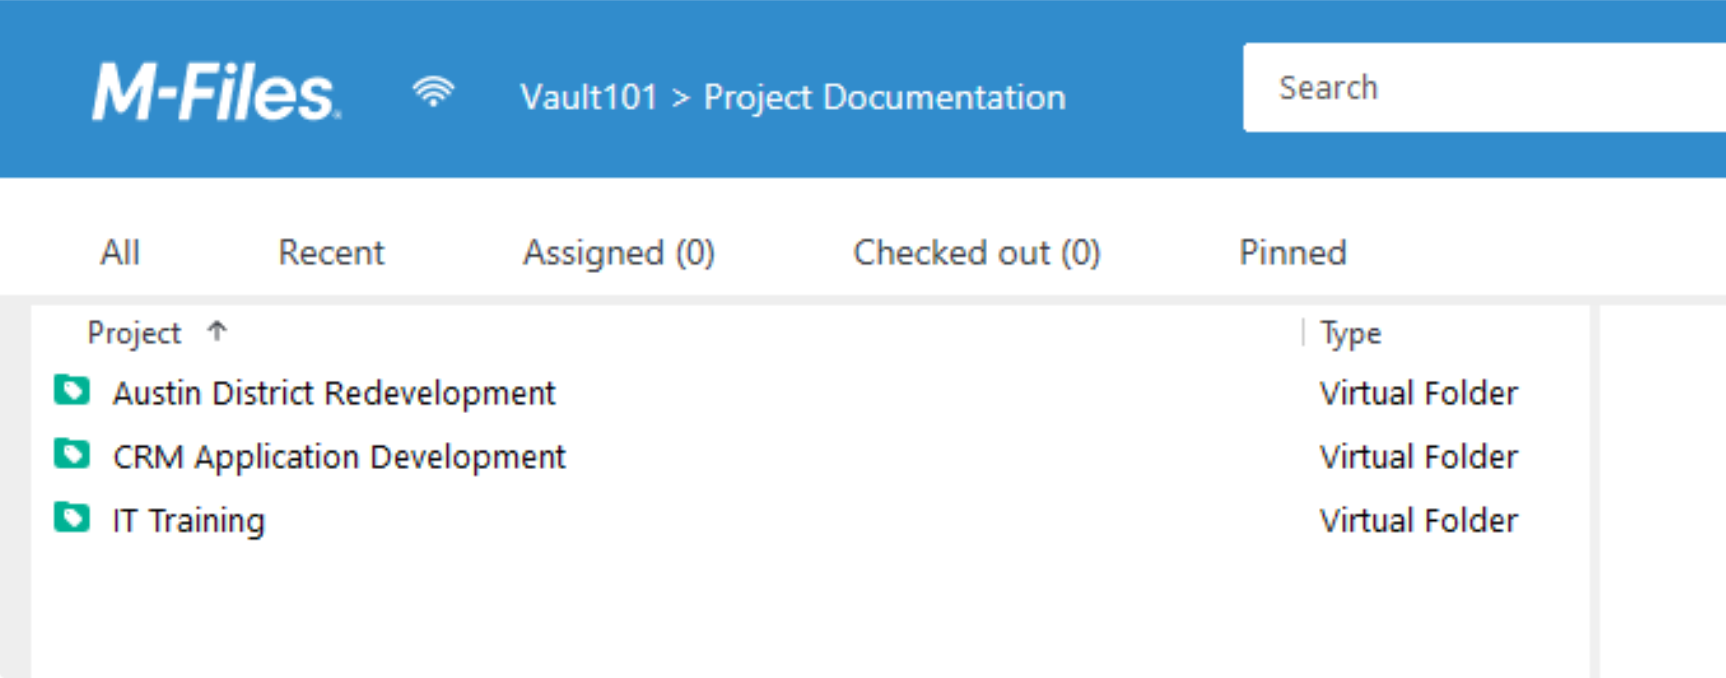
This is great, and more informative. This way, we should arrange all the important views for our users.
Restricted View
With this one, I won’t be going through entire process of creating views. I will just point you to the permissions when creating new view.
The idea of restricted view is that is available for a person or a group – not entire organization.
View Definition…
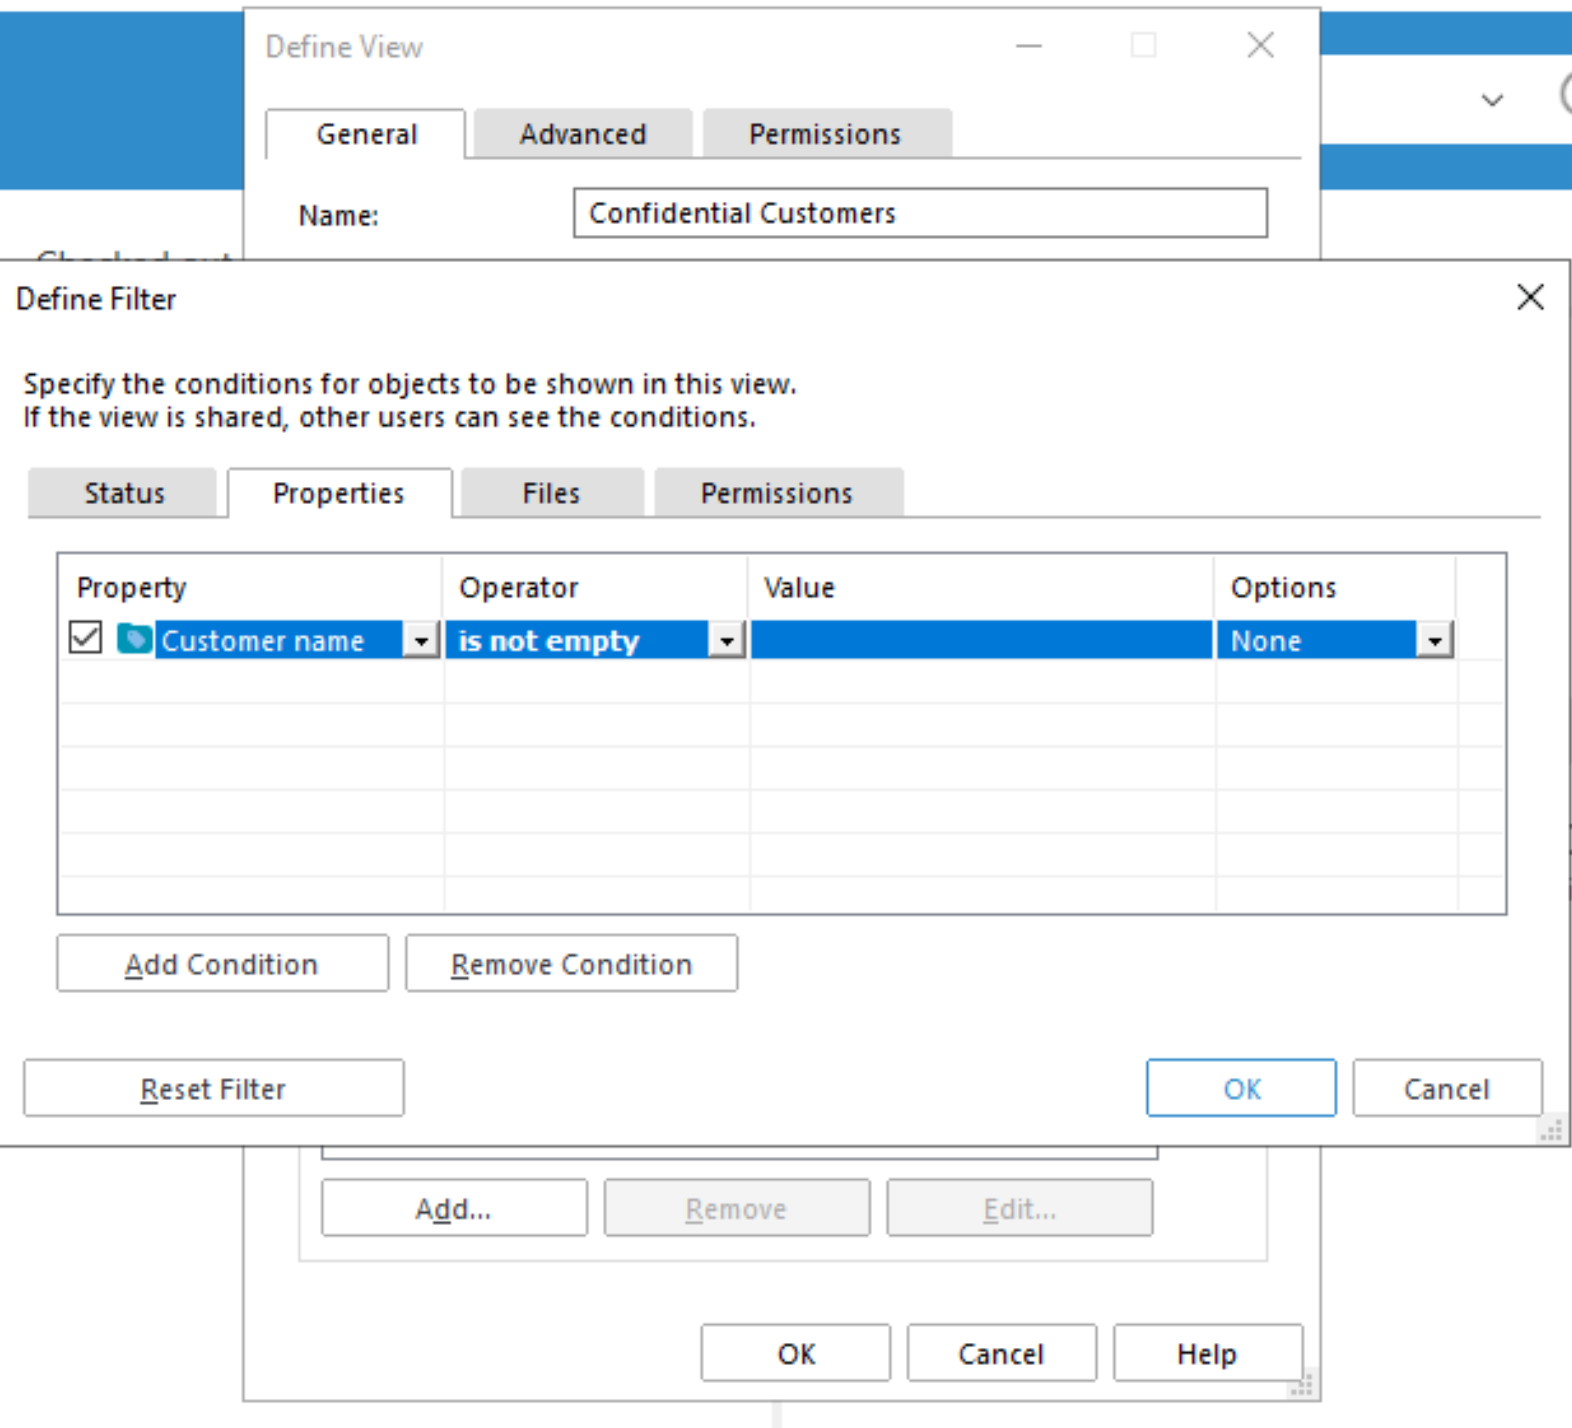
I will create a new view named “Confidential Customer” where Object is equal to – Customer and, Properties of the View are that Customer Name property – is not empty
View Permissions
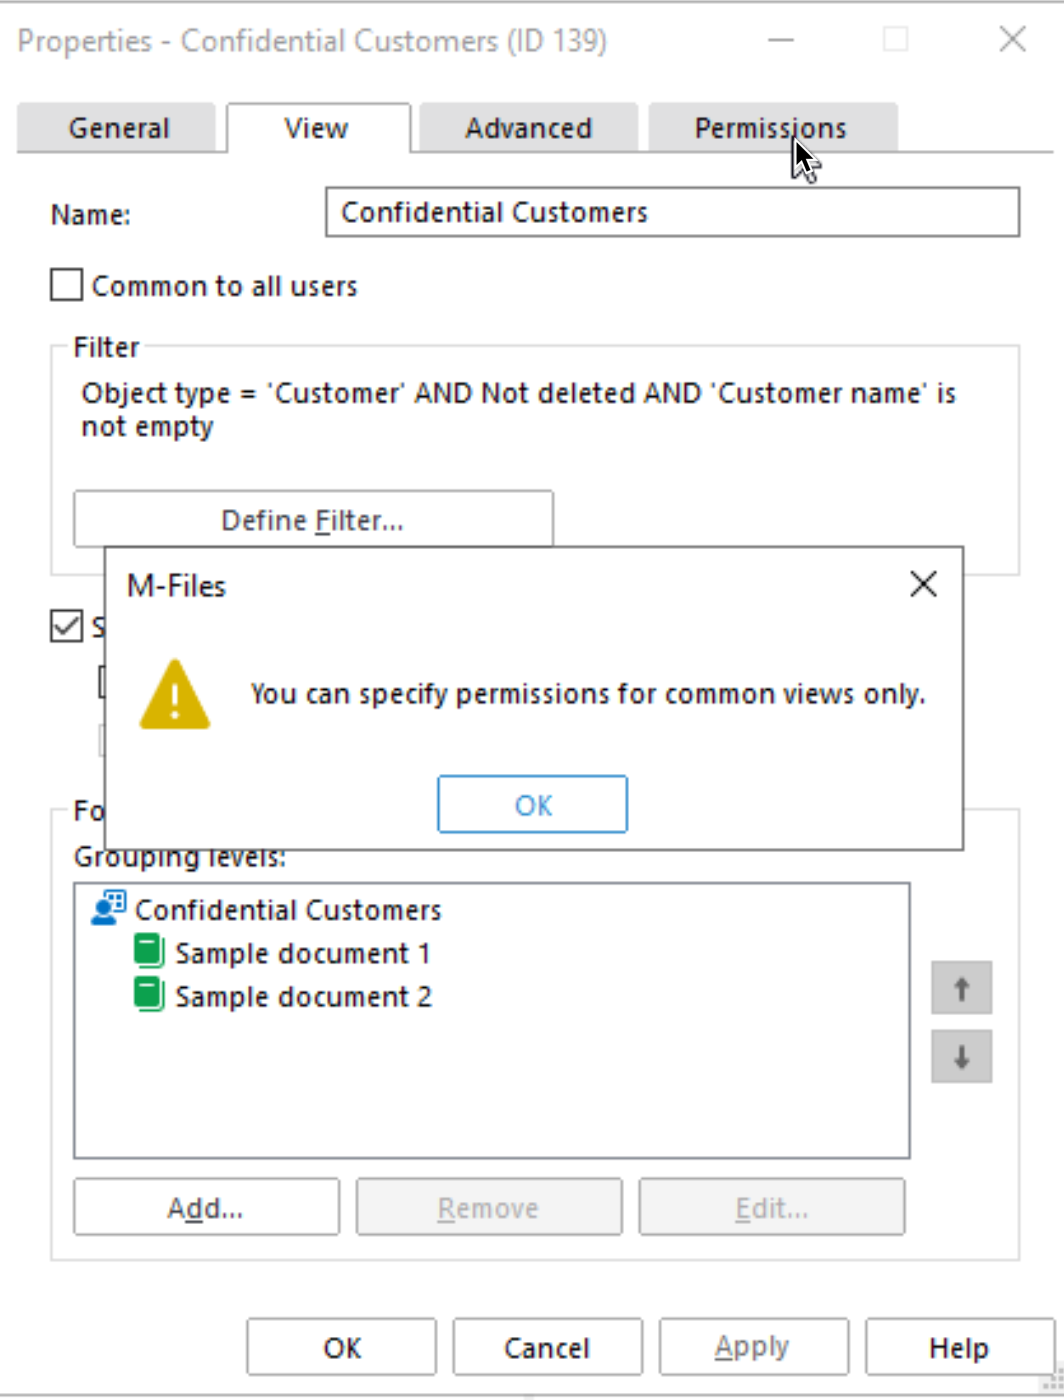
After I clicked on Permissions tab – I got following message. Please have in mind that you are only restricting access to the view, not to the objects under view!! Objects have their own Permissions.
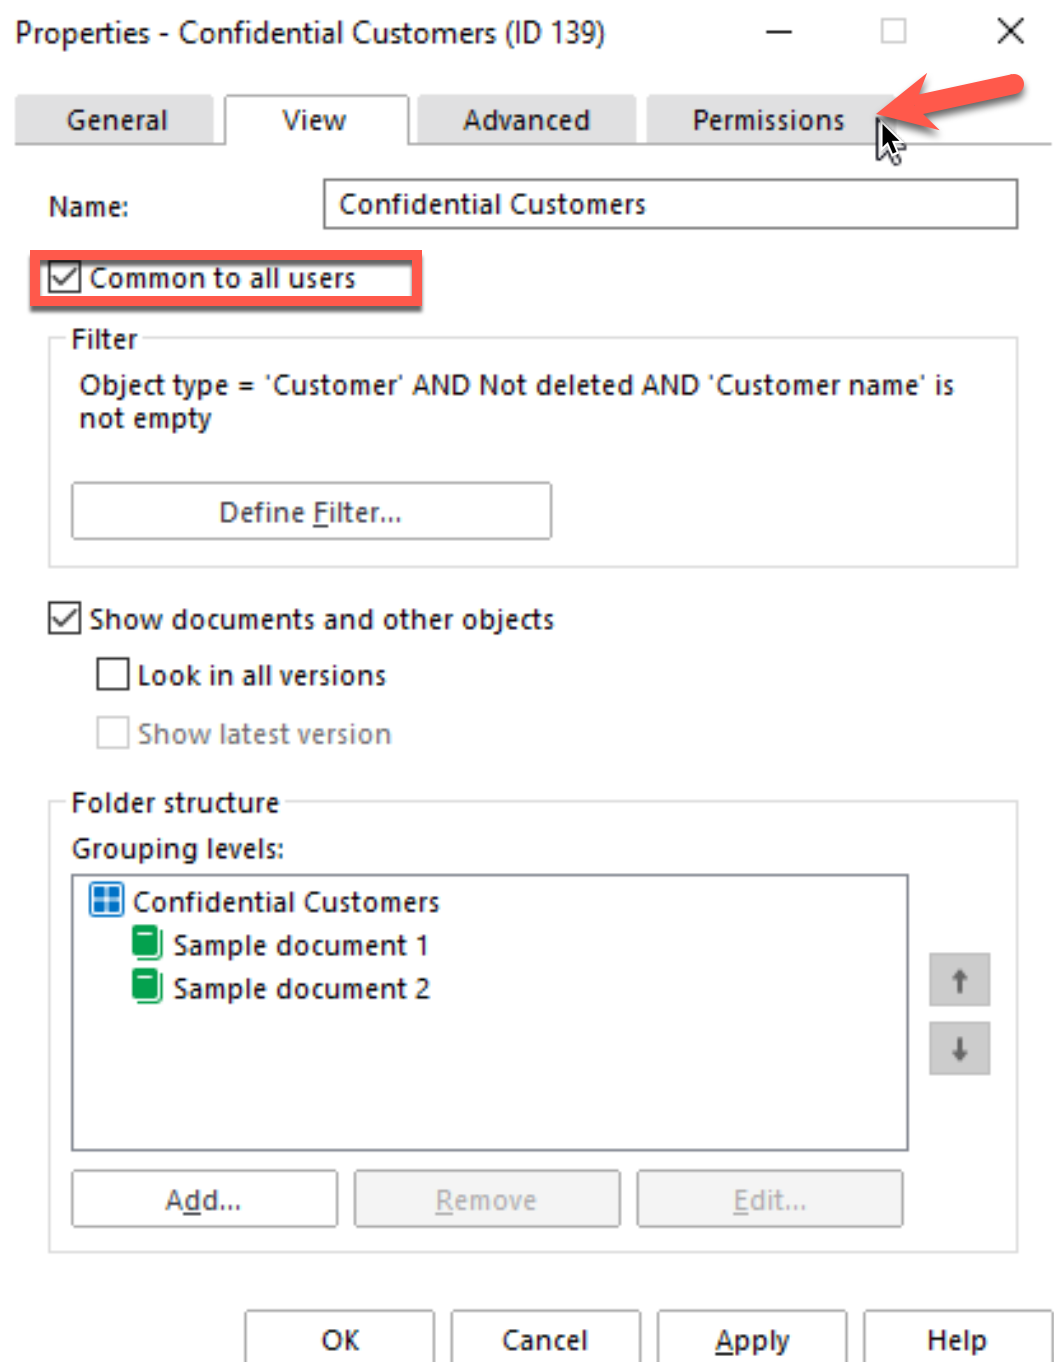
So, in order to define Permissions, we must first enable “Common to all users”. Now we can click on Permissions.
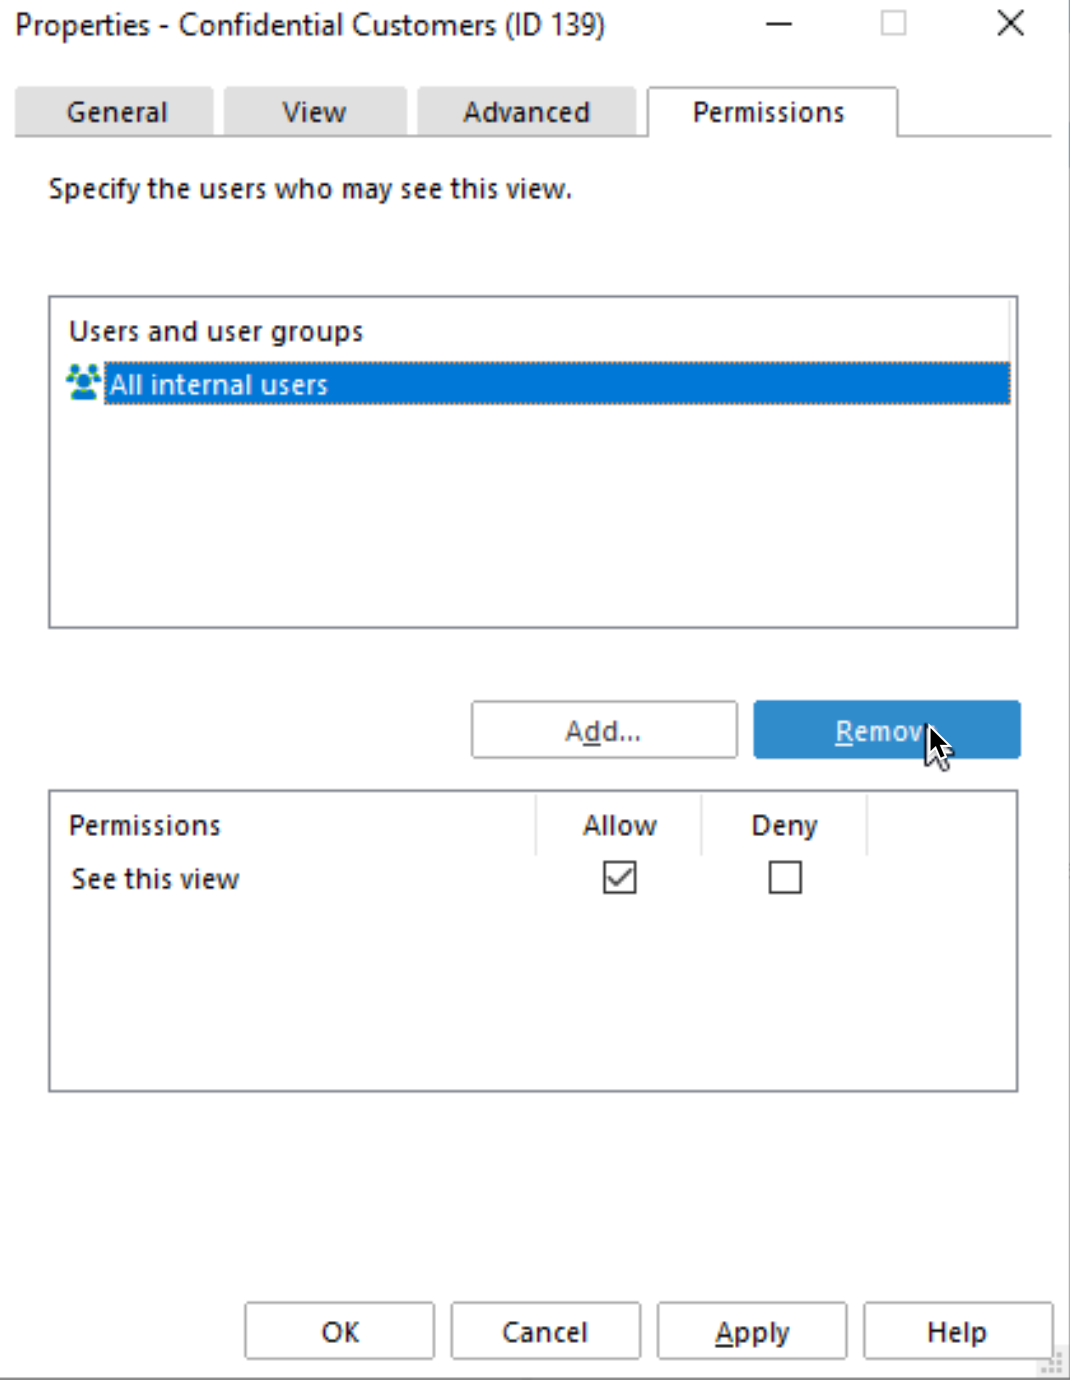
We can now select Permissions tab. Now first we will remove “All internal users” and Add… the group that should have access to this view.
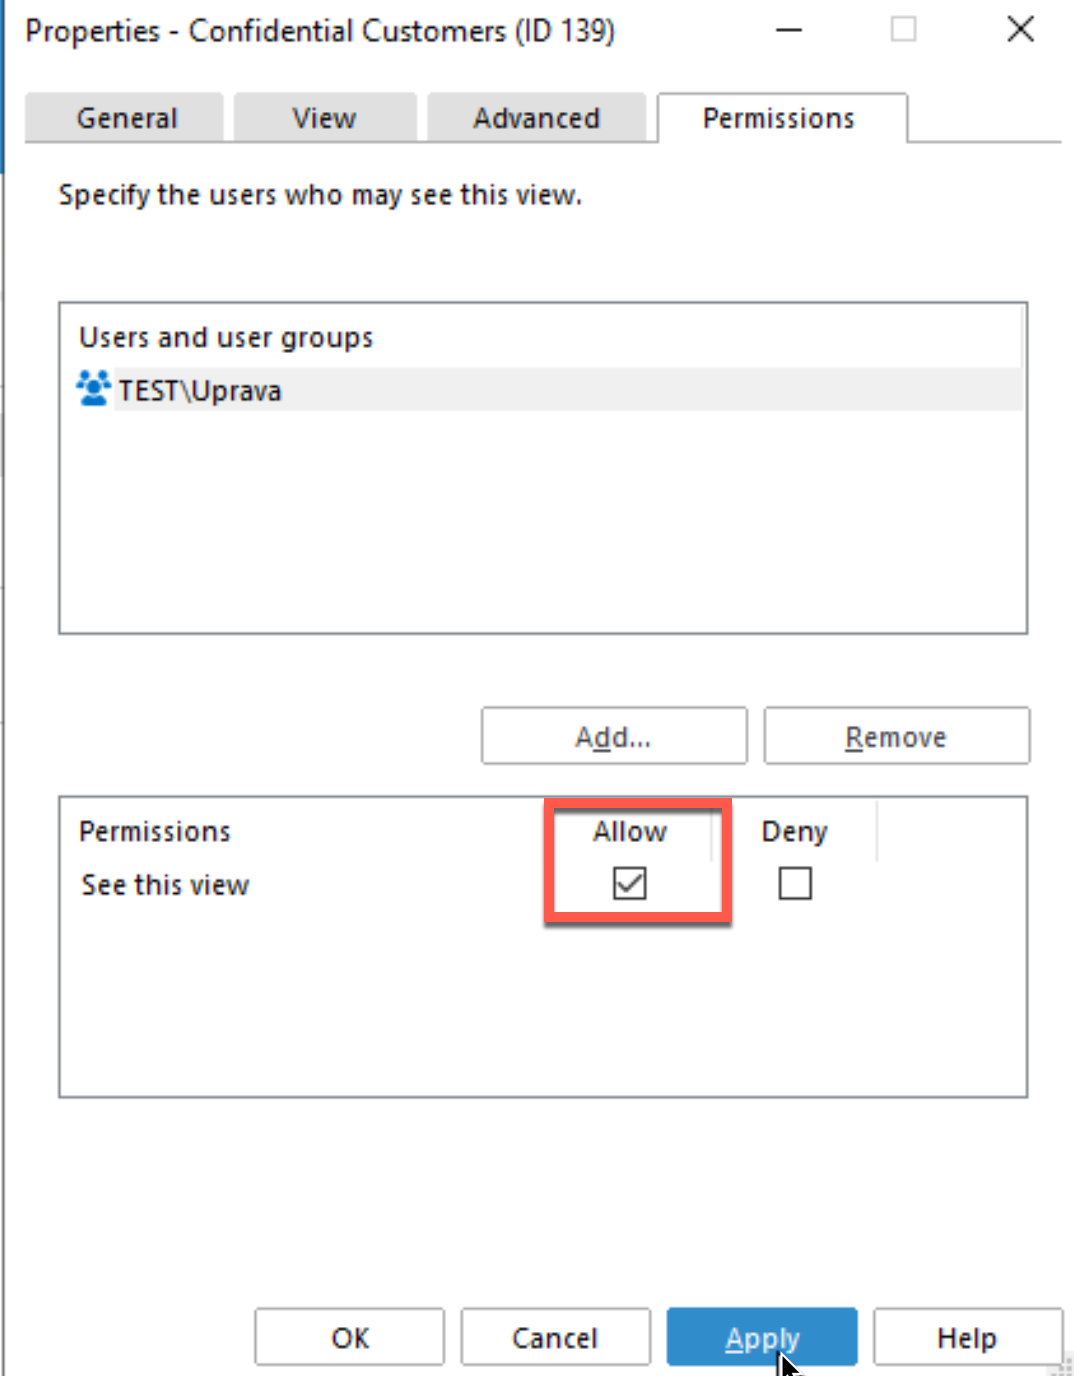
I selected group Uprava. Don’t forget to select Allow field – Apply – OK
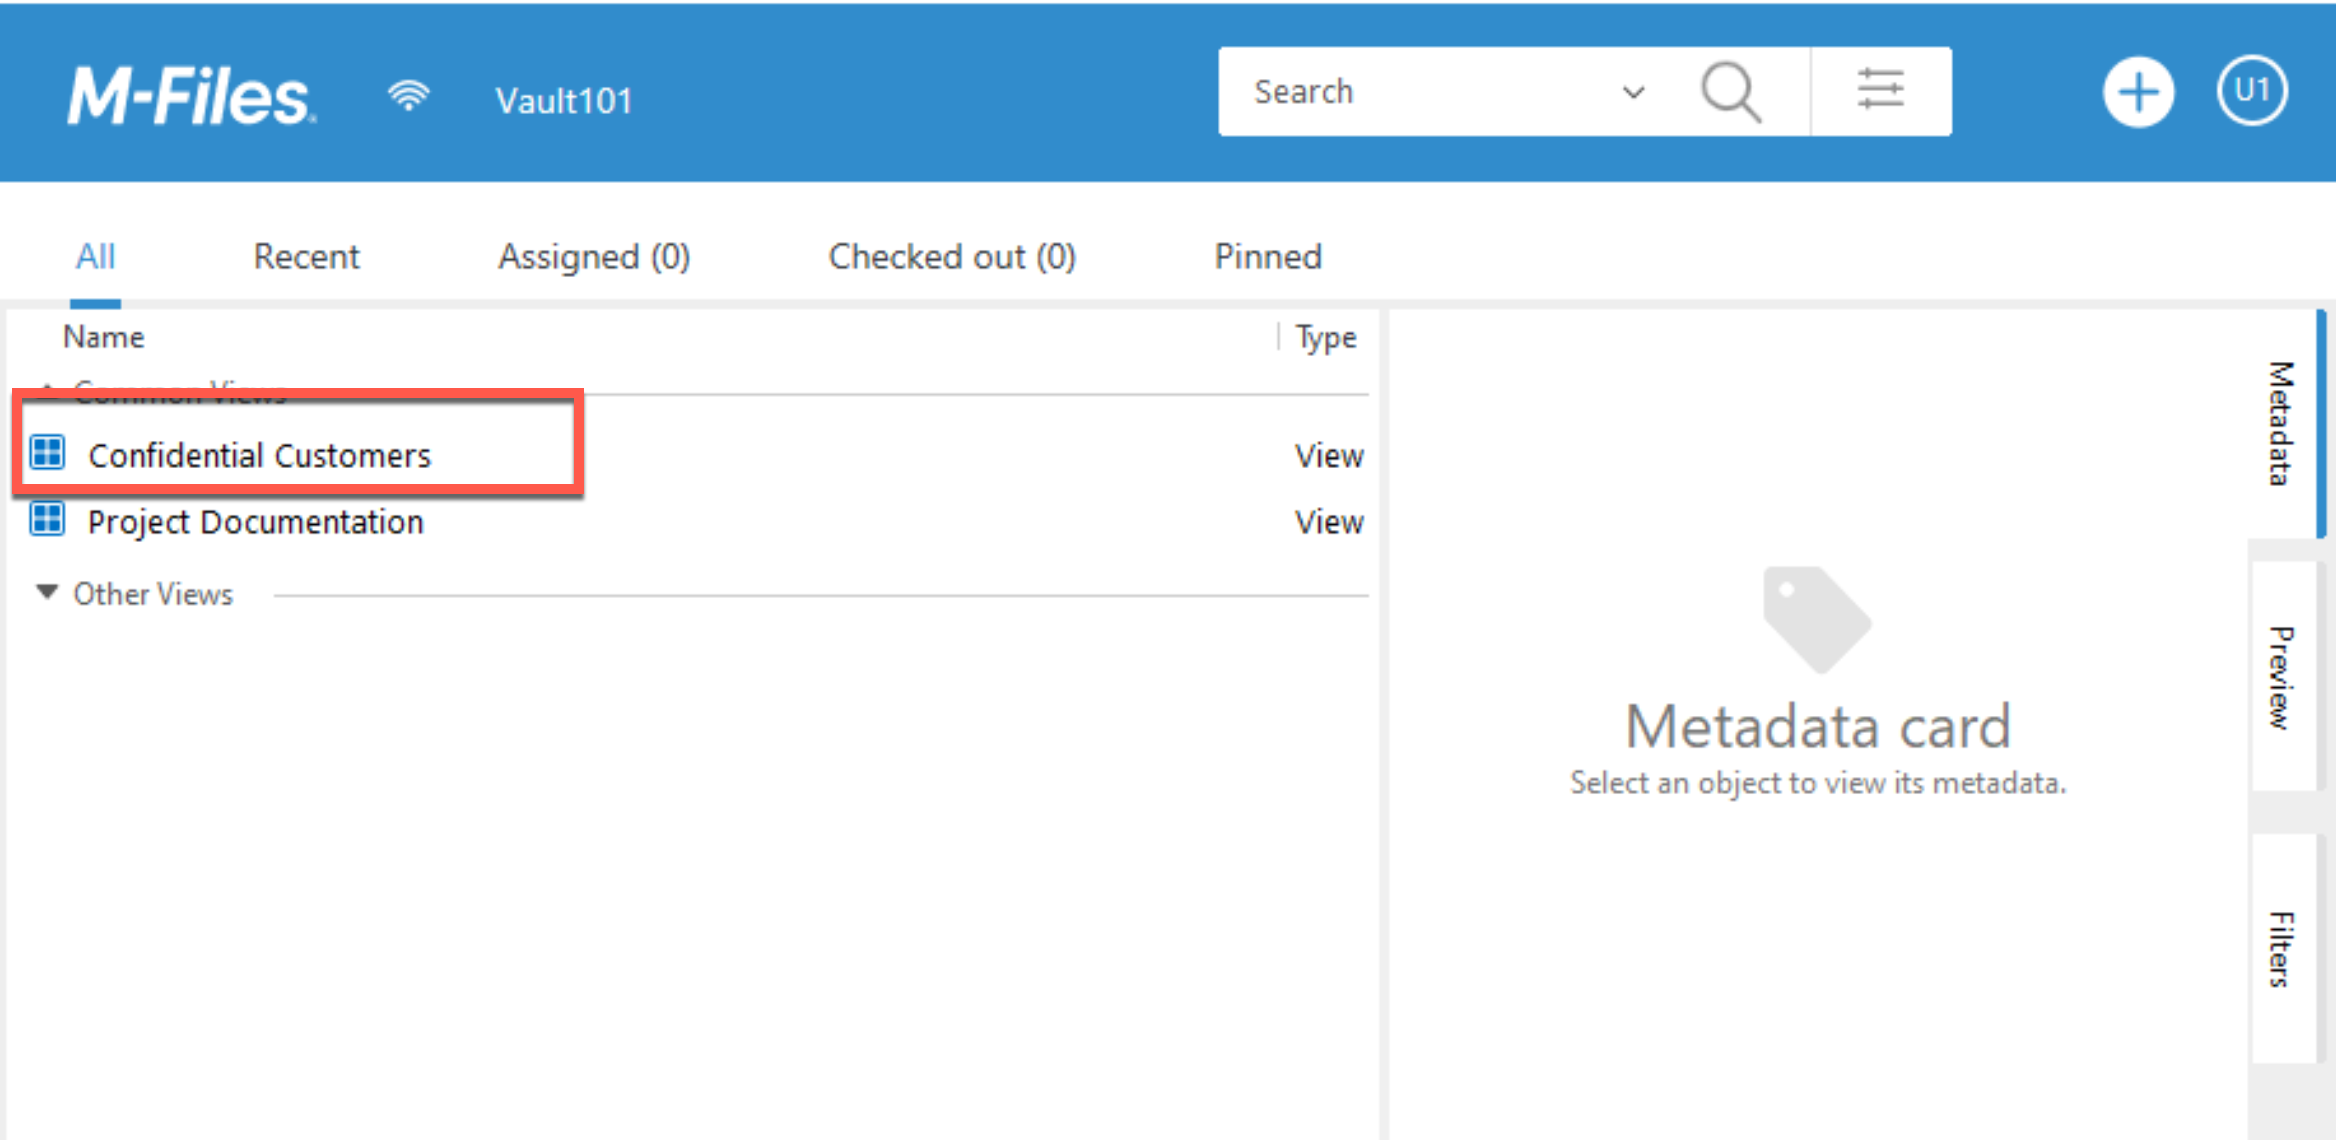
Now, let’s check if Administracija1 PC see’s this View. No, it can only see Project Documentation – which is Common View
But for Uprava1 user, which is member of Uprava group, we can see the view. It took a few minutes for view to appear.
That is it for organising views, but while we are at it, we may also organise Columns for all of our users.
Organising Columns for all Users
Ok, maybe you have some columns that your users commonly like to see. With administrative account you can also push and organise Columns for all users inside your company.
We will do that on Project Documentation view. As you can see below, currently there are two columns – Project and Type, as seen from Administracija1 account.
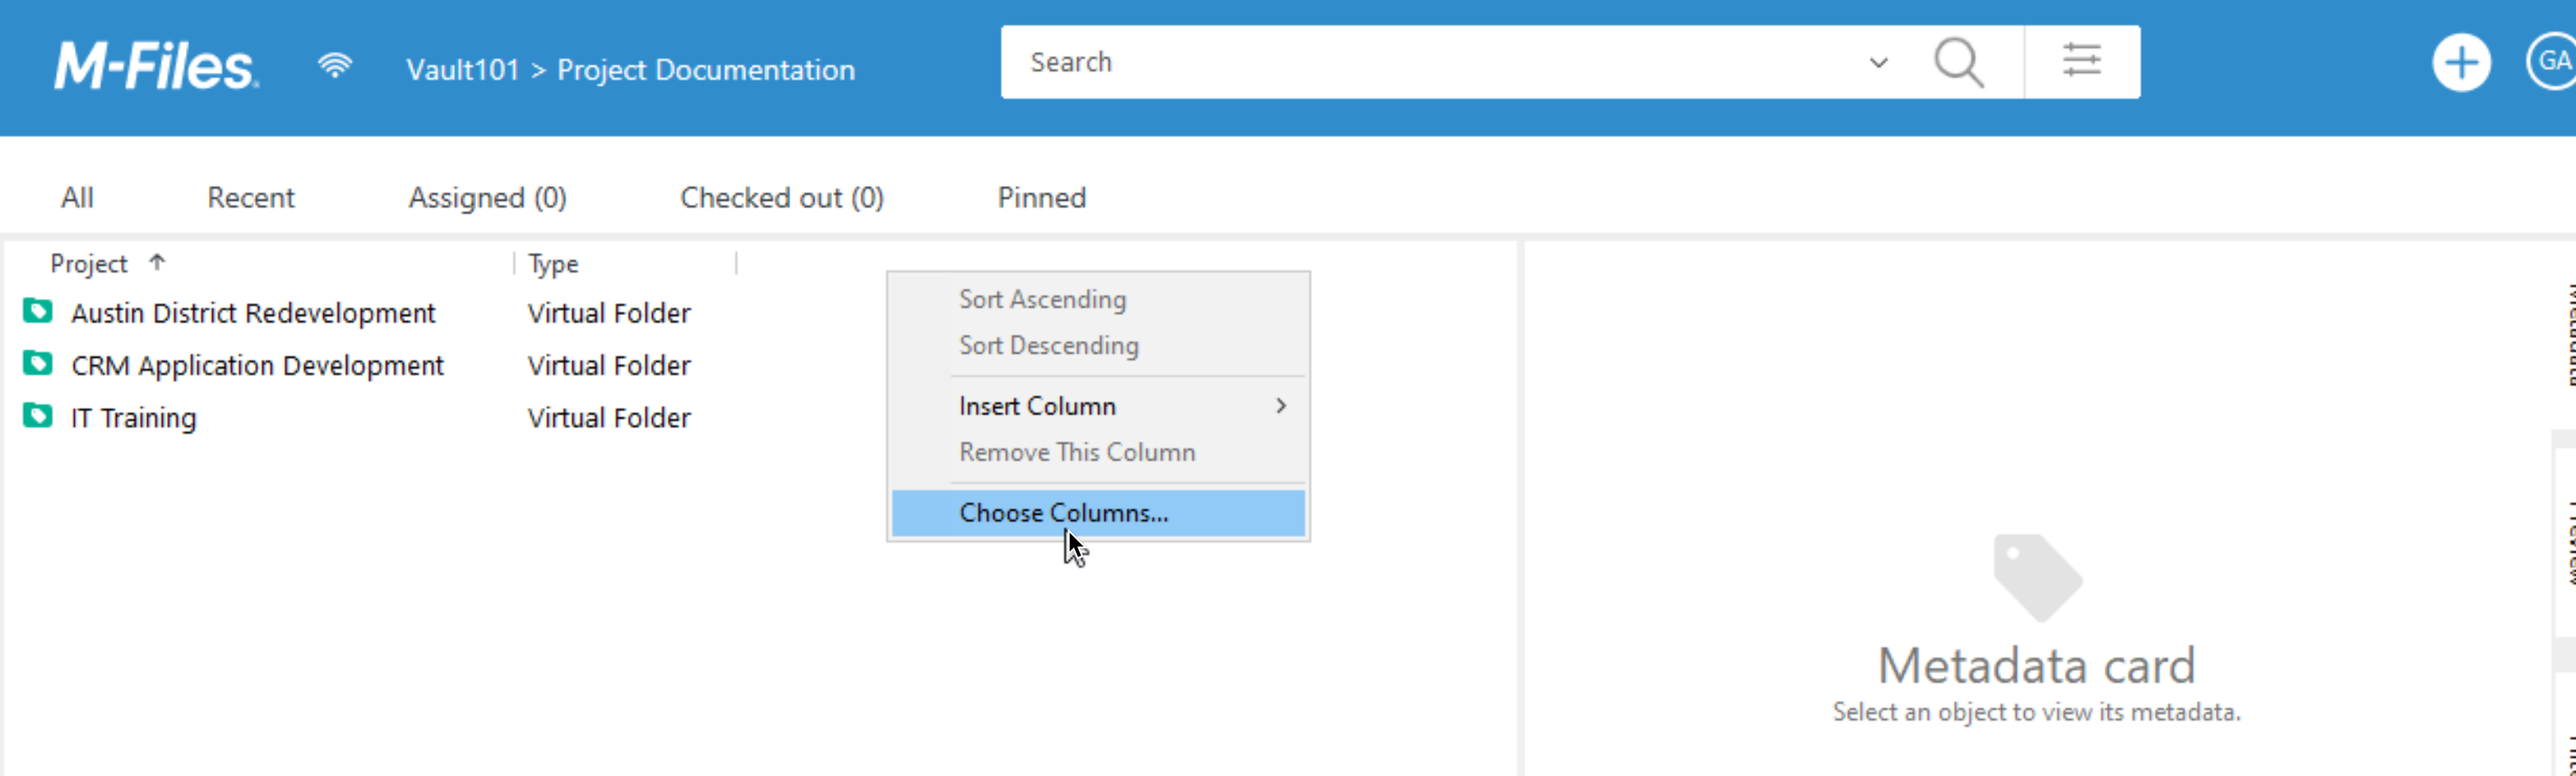
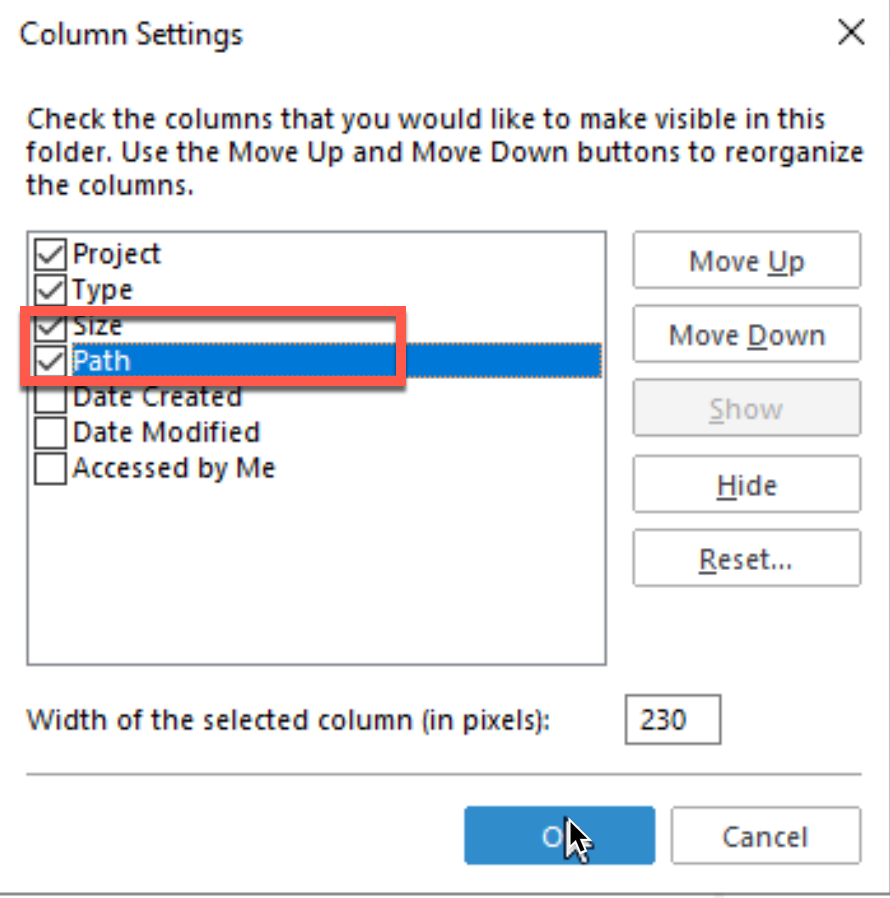
Ok, we will now on M-Files Administrative PC enter Project Documentation View, click on Column and select – Choose Columns…
We will select two – Size and Path and confirm everything with OK.
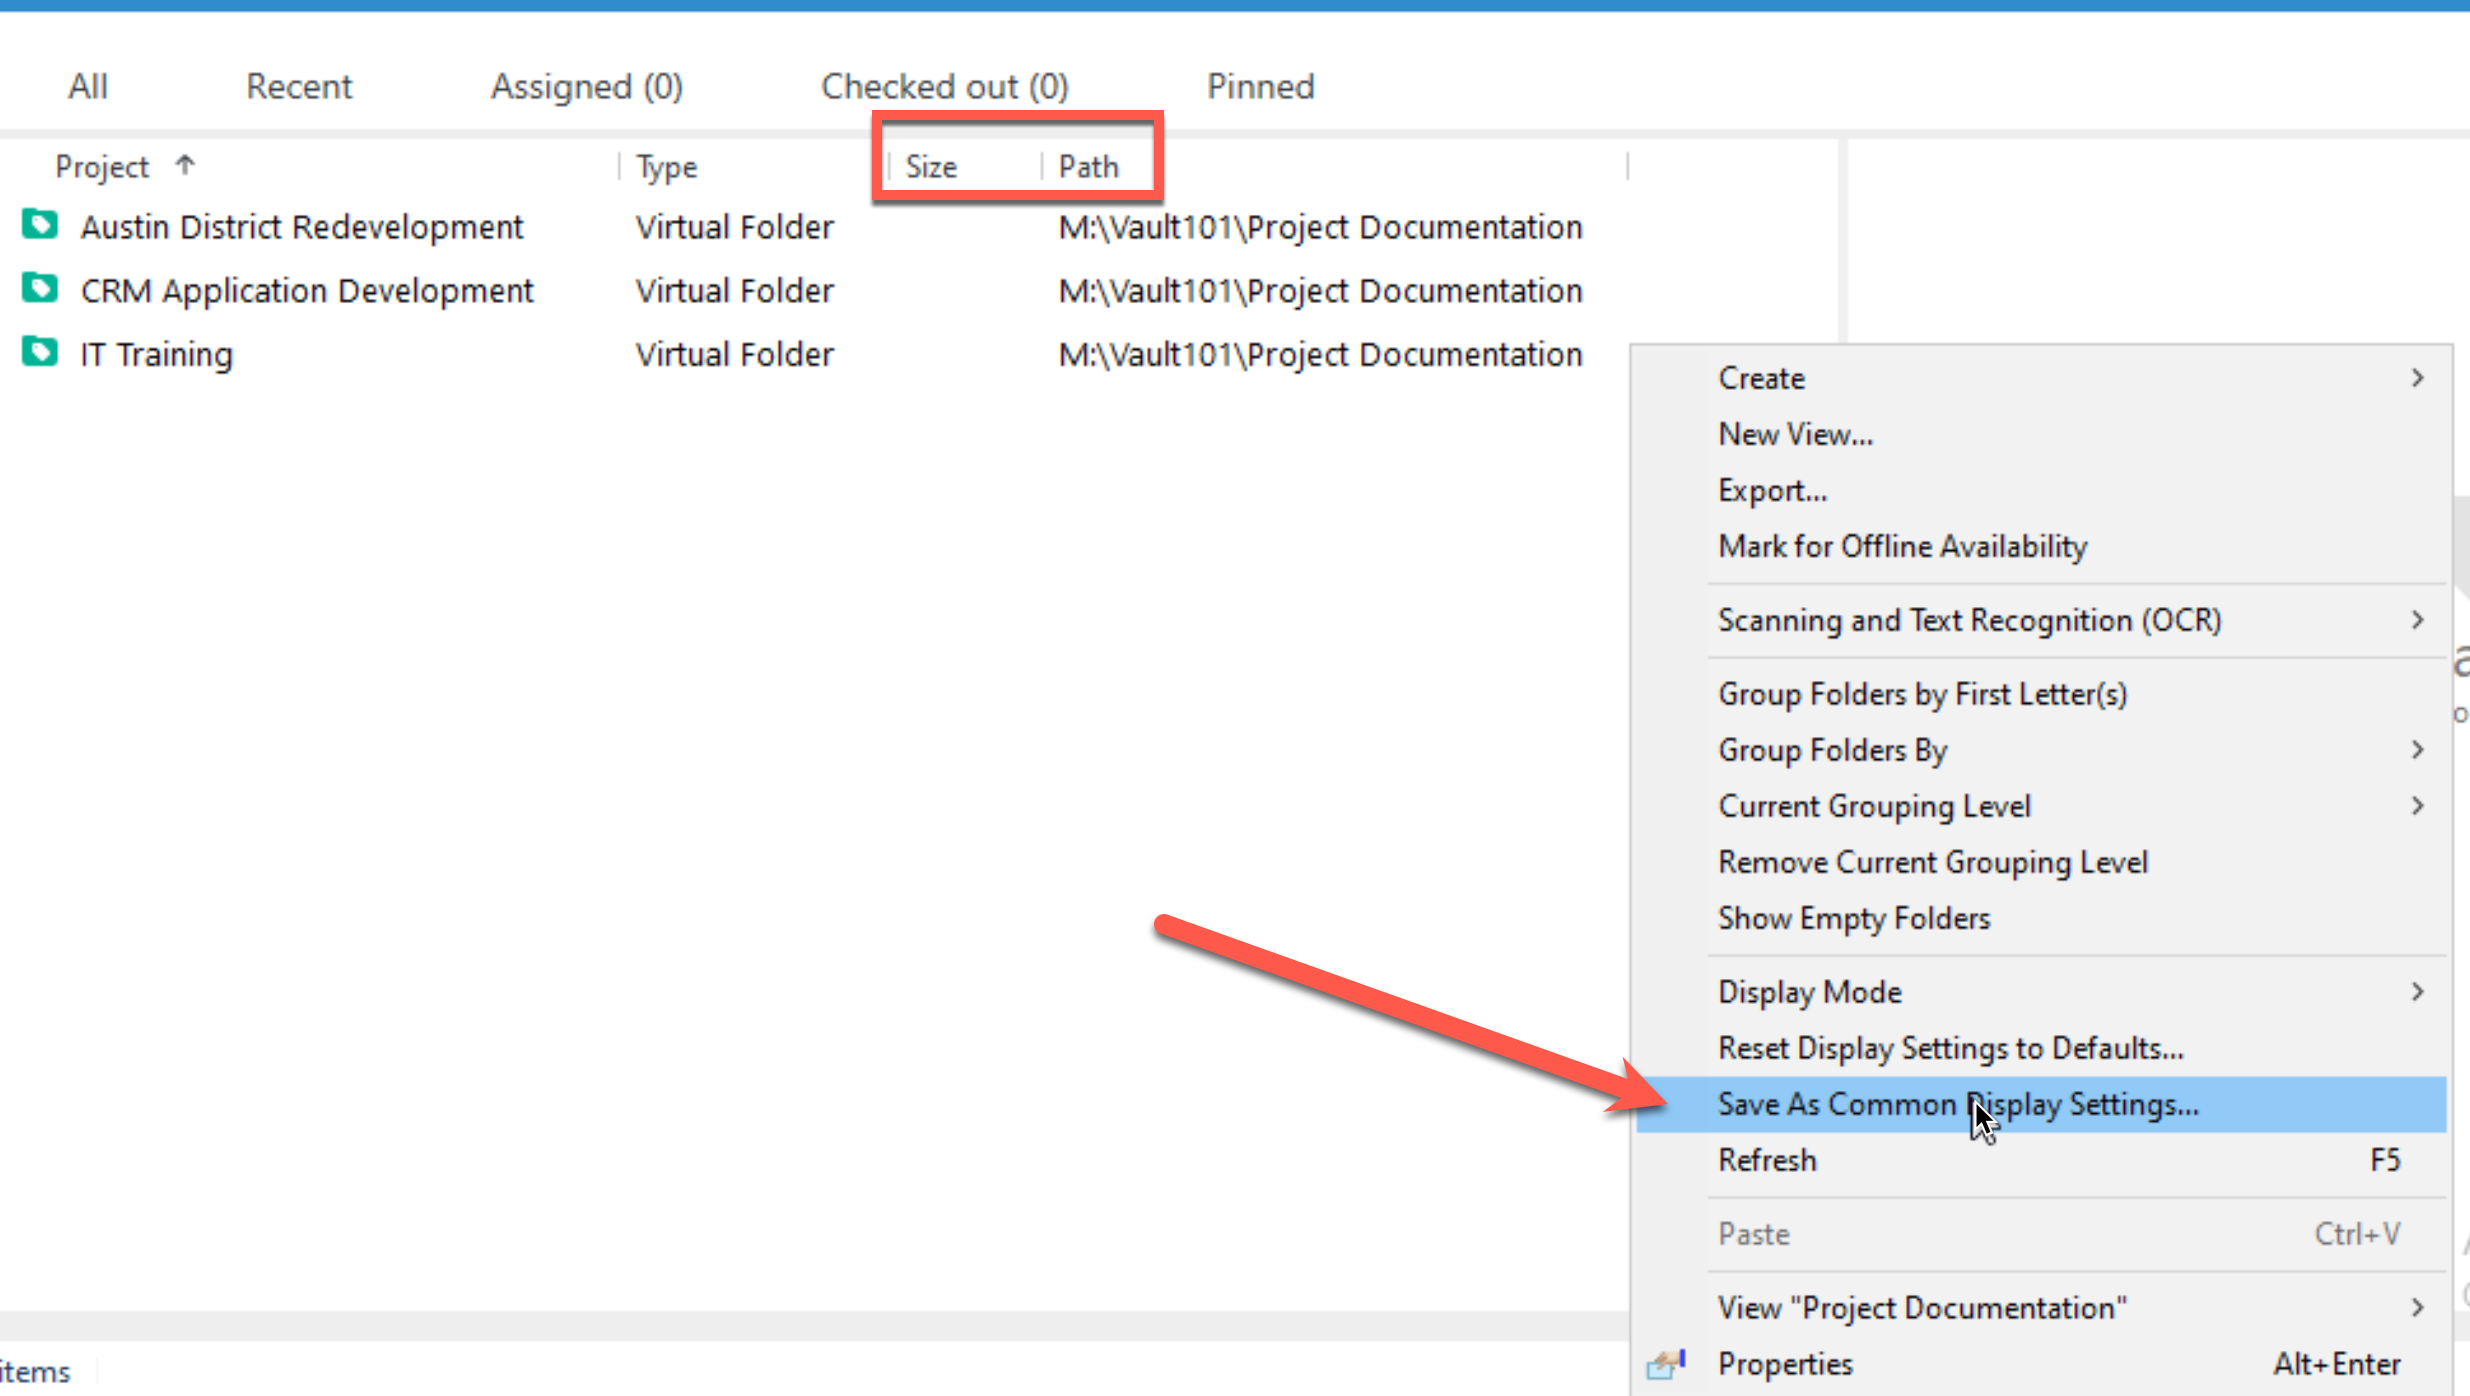
Now, we can see two additional columns – Size and Path.
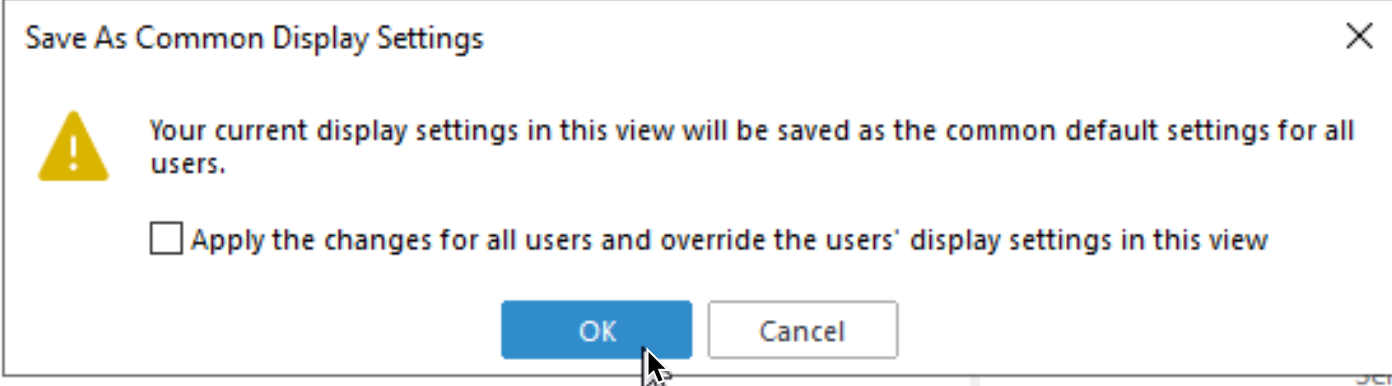
To make these common for all – right click somewhere in the space and select “Save as Common Display Settings…”
OK
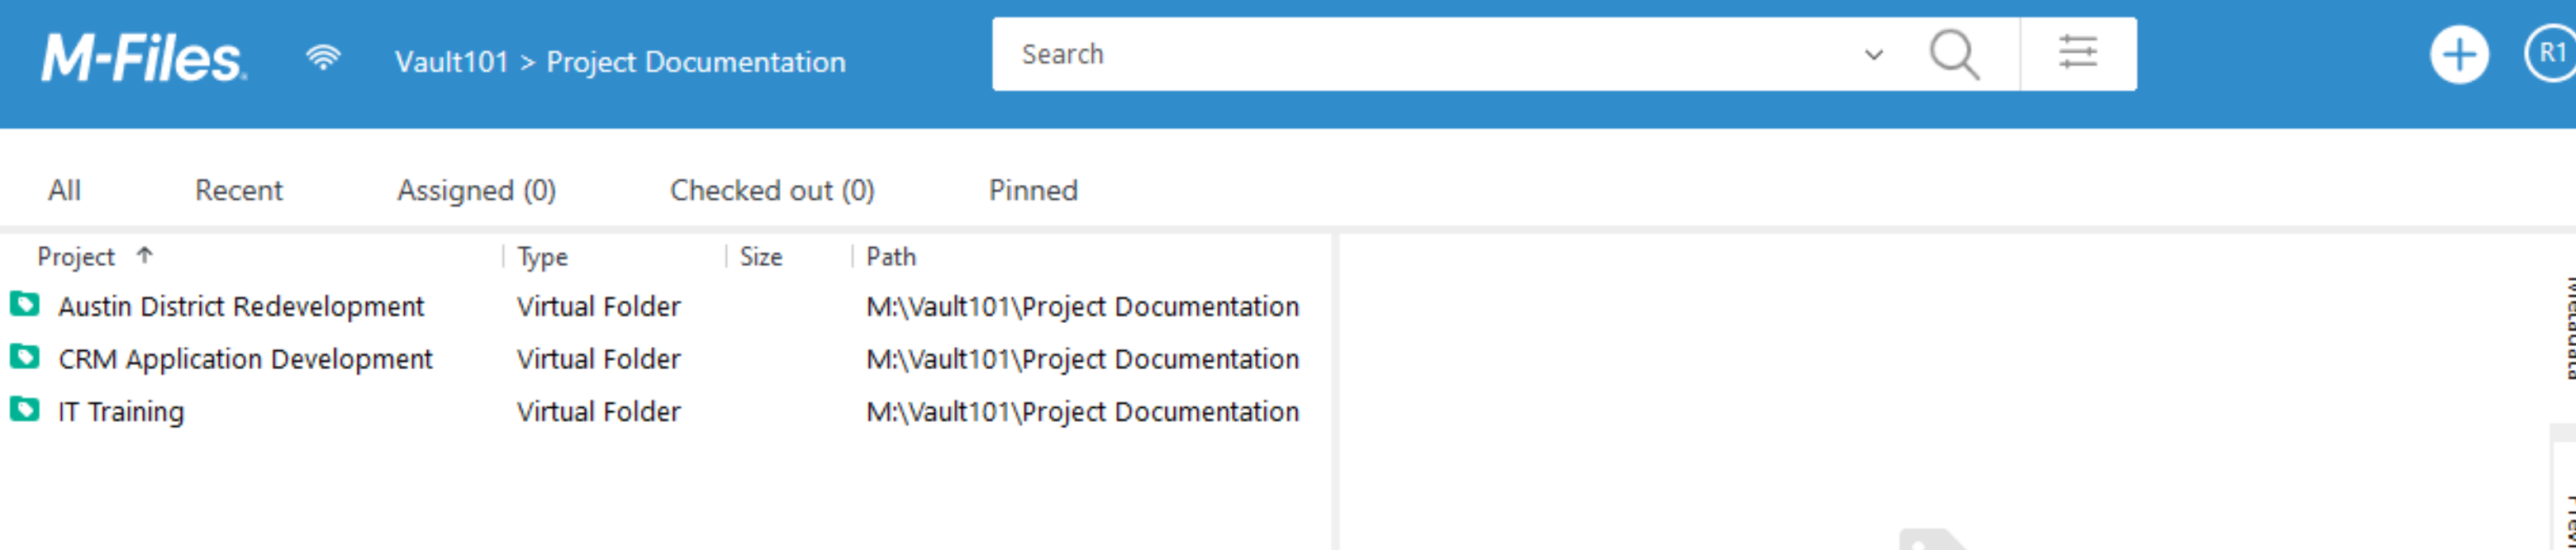
I now selected random user computer – I selected Racunovodstvo1, which has same user settings as Administracija1 user.
However, I have to say this took more then few minutes to propagate.
That is it, we now have better understanding of M-Files Desktop environment and know how to manage simple things.
My series of articles about M-Files
Server
M-Files how to configure Metadata
M-Files – users and user groups
M-Files – Create and manage simple workflow
M-Files – Create Workflow with assignments
M-Files – Create Workflow with Approvals
M-Files – Manage permissions for Workflows
M-Files – how to create and use document templates
How to backup and restore M-Files Vault
M-Files – How to enable access to M-Files through website
M-Files how to secure connection between server and clients (HTTPS)
M-Files Migrate from Firebird DB to Microsoft SQL DB
Desktop
Understanding M-Files logic + Overview of M-Files desktop
M-Files Creating Views for M-Files Desktop
M-Files how to save or modify documents?
M-Files How to share documents? How to save eMails to M-Files?