Document Templates can be huge life and time saver in M-Files for repetitive tasks. Idea is that you have repetitive task – let’s say a contract template, and instead of copying existing contract and manually going through contract every time to correct and enter new data in it – we can do it simpler and easier way with templates in M-Files.
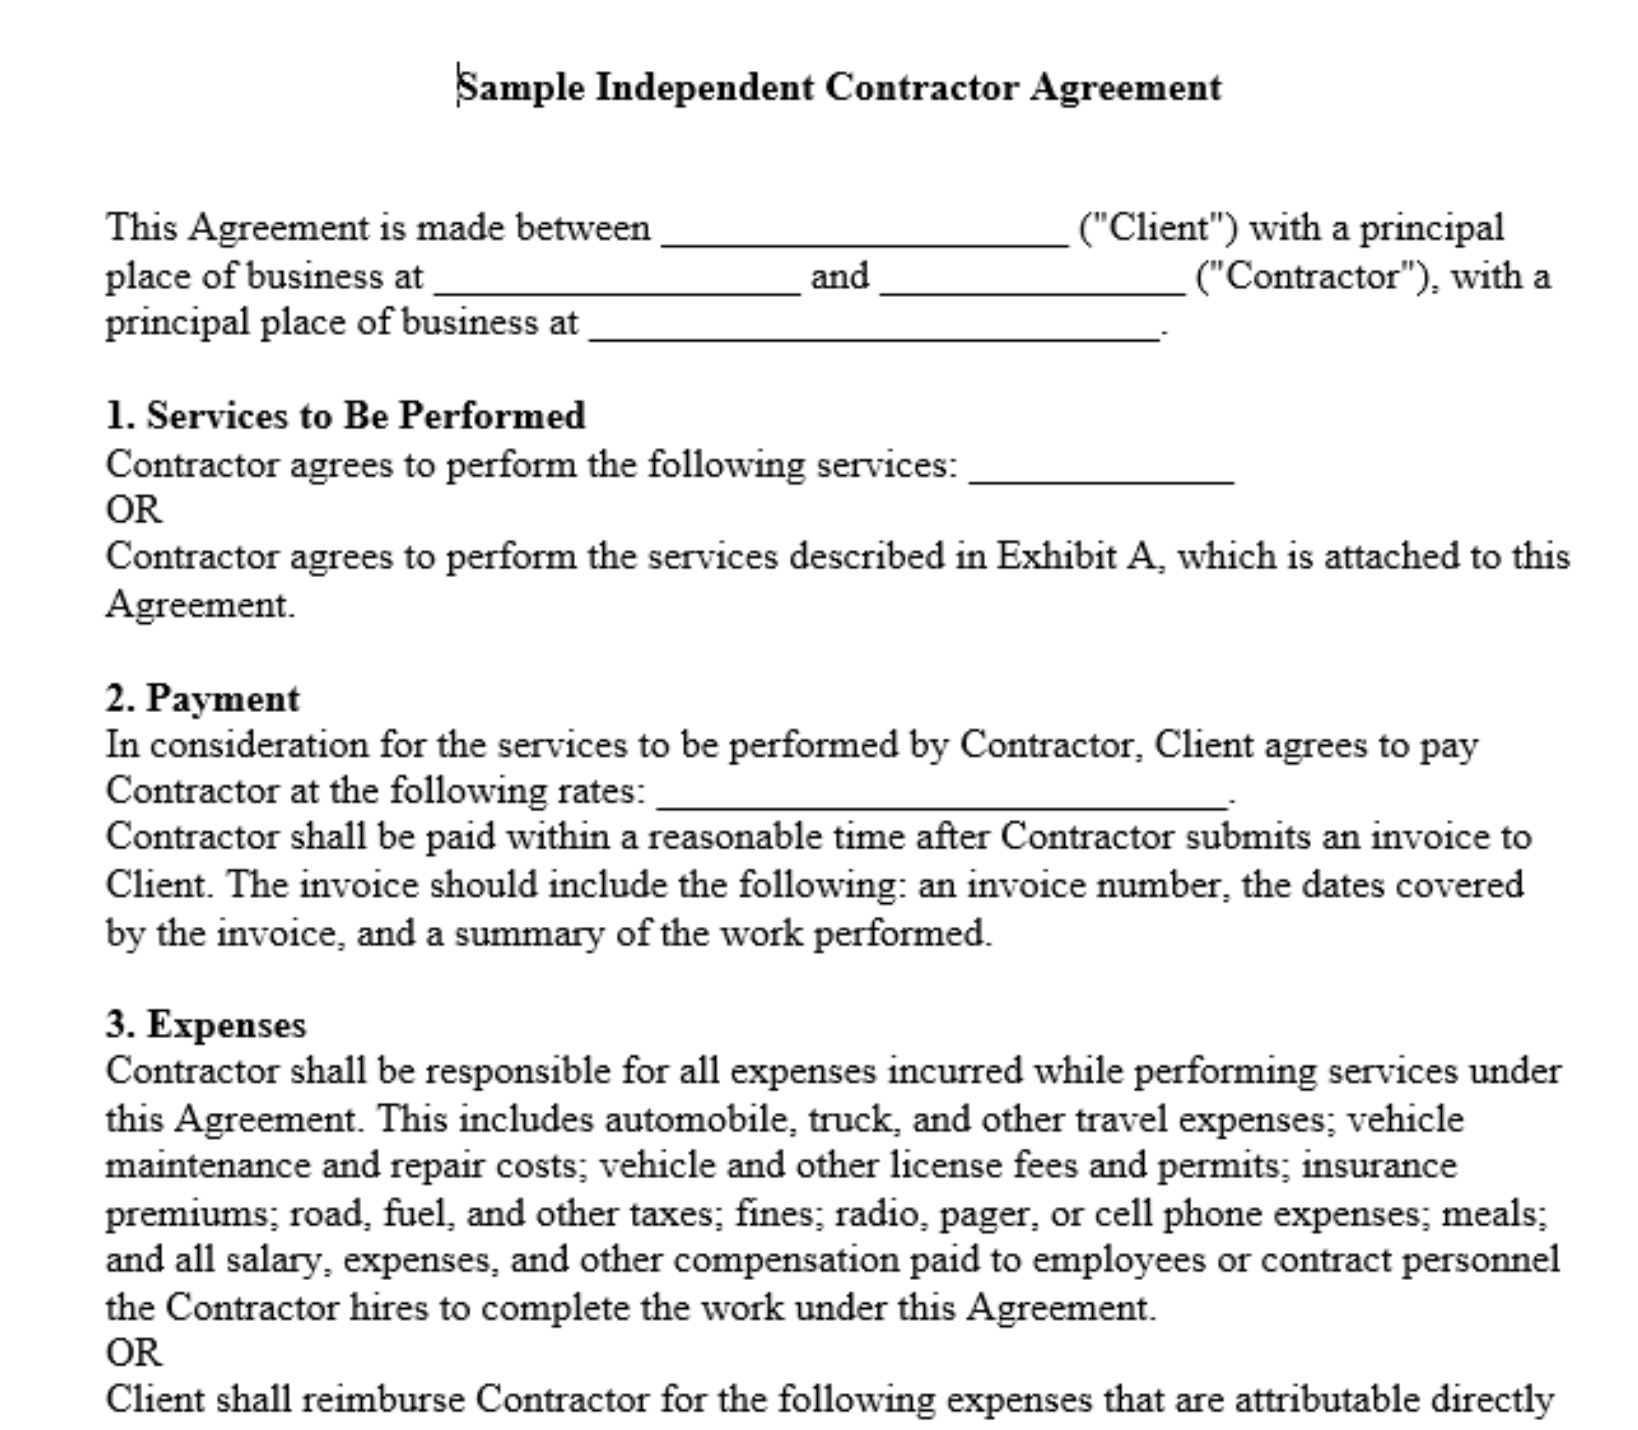
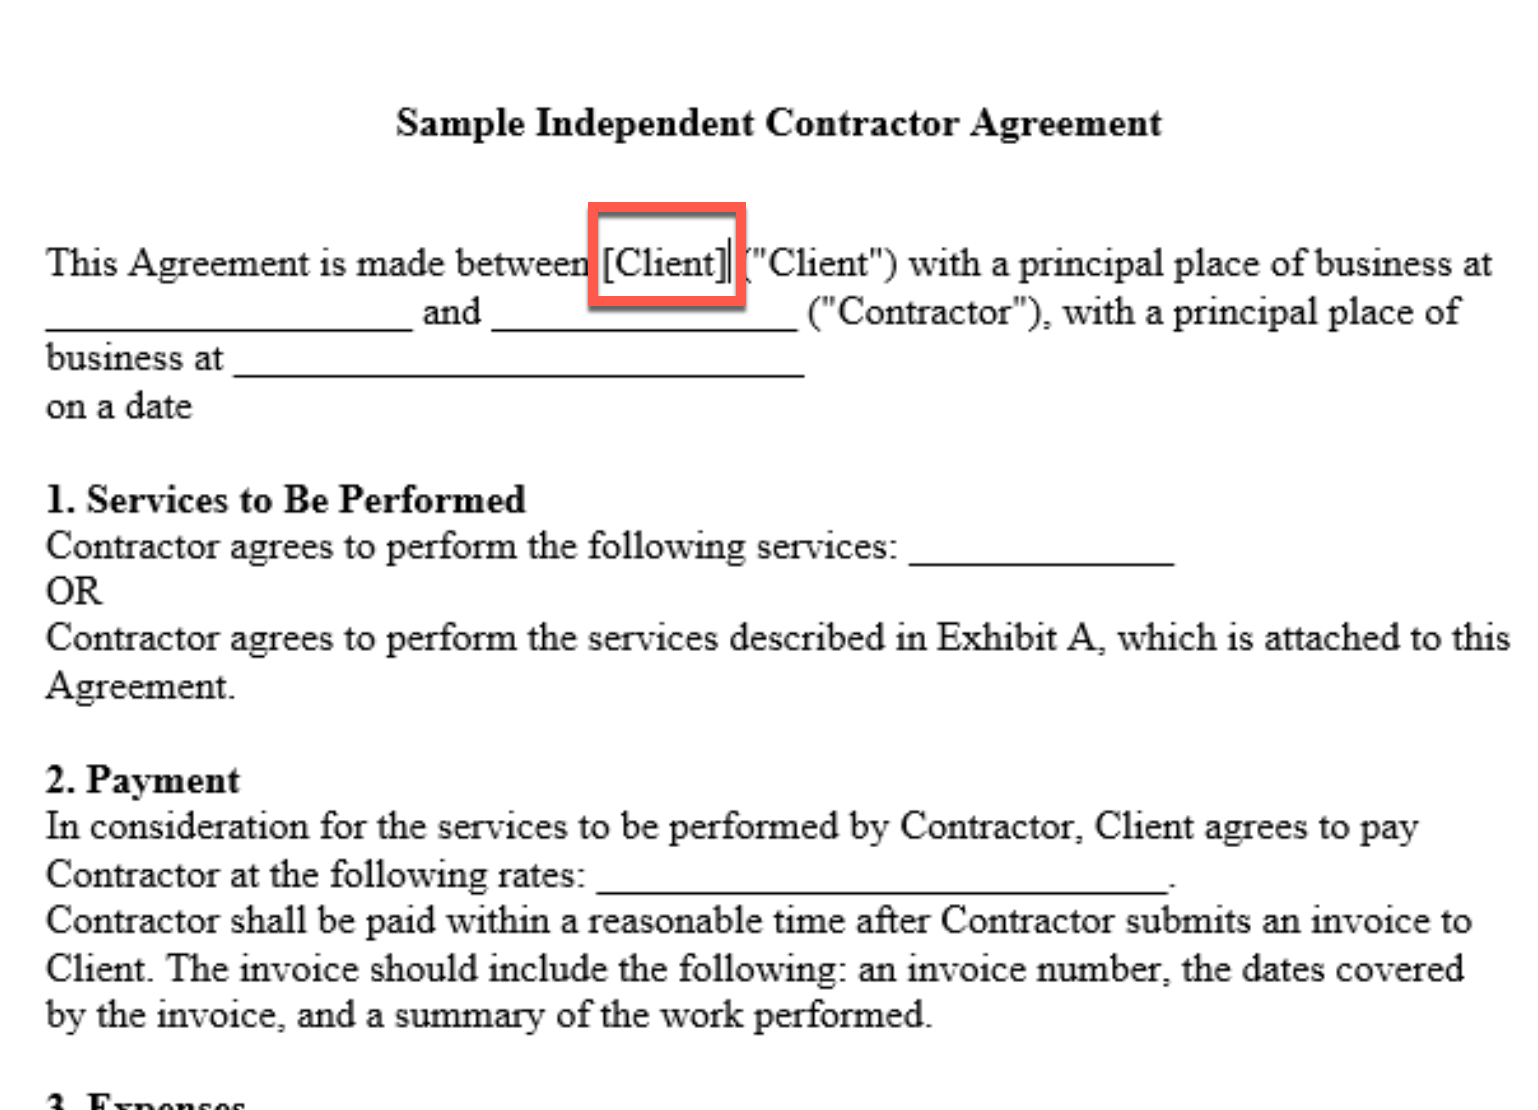
Let me try and explain a bit better – you do contracts – a lot of them. You already have a template in word – which you just copy and paste and change the data from previous one to new one, or you just have empty one like the one below, which you go through every time.
Chances are – you will maybe leave data from old contract in your new document (I’ve seen that a lot of times), and generally, you will lost some time going through document every time and have a sense of dread that you skipped something in a bunch of text and pages…
Sample Independent Contractor Agreement – Berkeley Law
https://www.law.berkeley.edu › files › SampleInd…
This is where M-Files can save you time and automate the process a bit.
Let’s go step by step on the above agreement example.
1.Creating Metadata for a new agreement
First of all, we will create a few Objects, classes, properties and values. Metadata is very important part of M-Files so, be sure you understand that topic. I wrote already about that in my other article “M-Files how to configure Metadata” – be sure to check it out, and understand the data structure and function in M-Files.
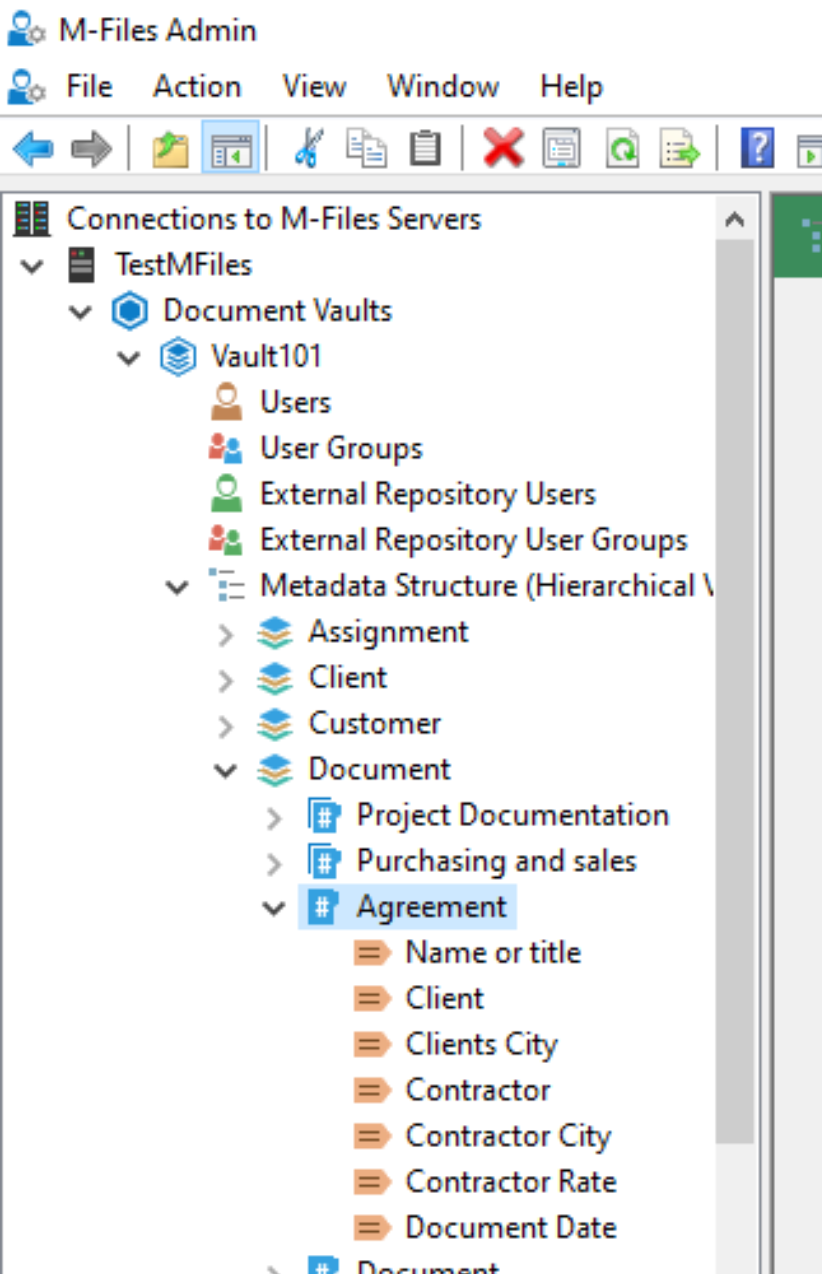
Here is what I created for this agreement template task. Under Document object I created agreement class.
Agreement class has following properties:
Name or title, Client, Clients City, Contractor, Contractor City, Contractor Rate and Document Date. These are all values that will be in our agreement.
Of course it is up to you to define what you need for your templates.
Under Clients City I have few values defined (cities) – (Osijek, Zagreb,Varazdin)
Same goes for Contractor City (Dubrovnik, Pozega, Vukovar)
2. Add your Word document to M-Files as Template
Next step for as would be to import our Agreement into M-Files and make it template under Agreement class.
Let’s to it.
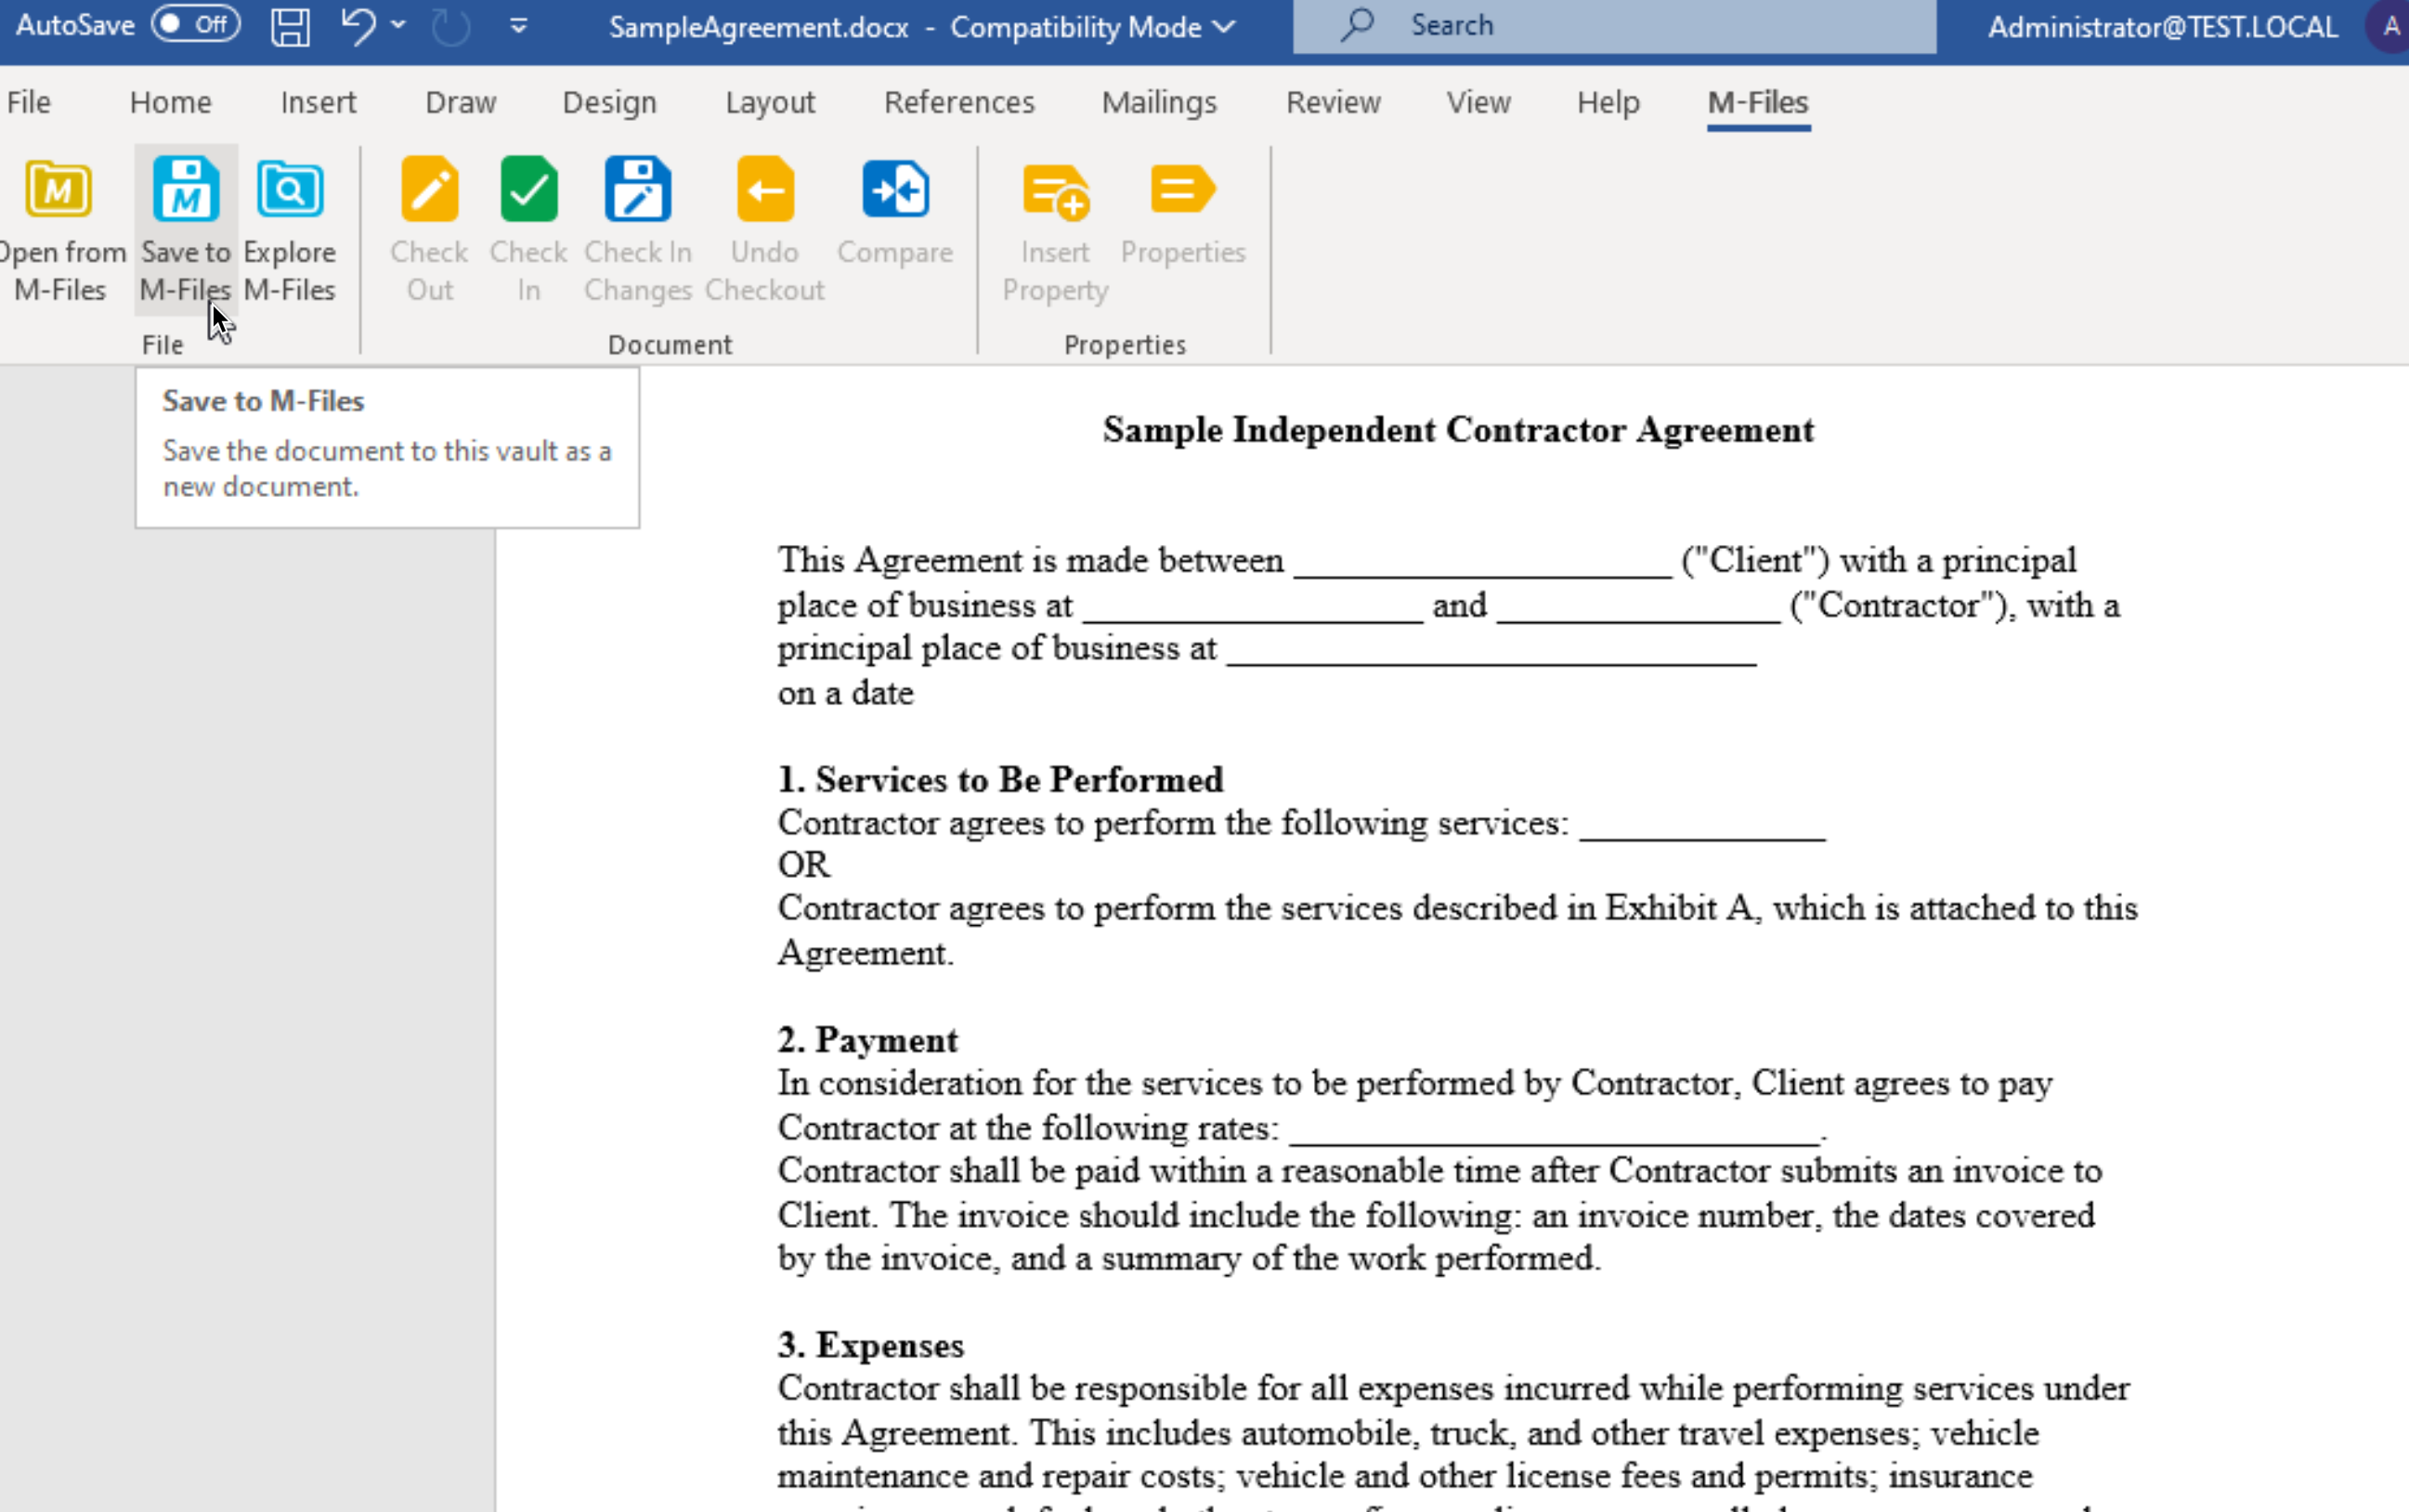
Open Word with your document you wish to import and use as template in M-Files (in my case it would be agreement from the beginning of the article.
On top of your Document there should be M-Files menu (you should have installed M-Files desktop on the PC you are doing this)
Click on Save to M-Files
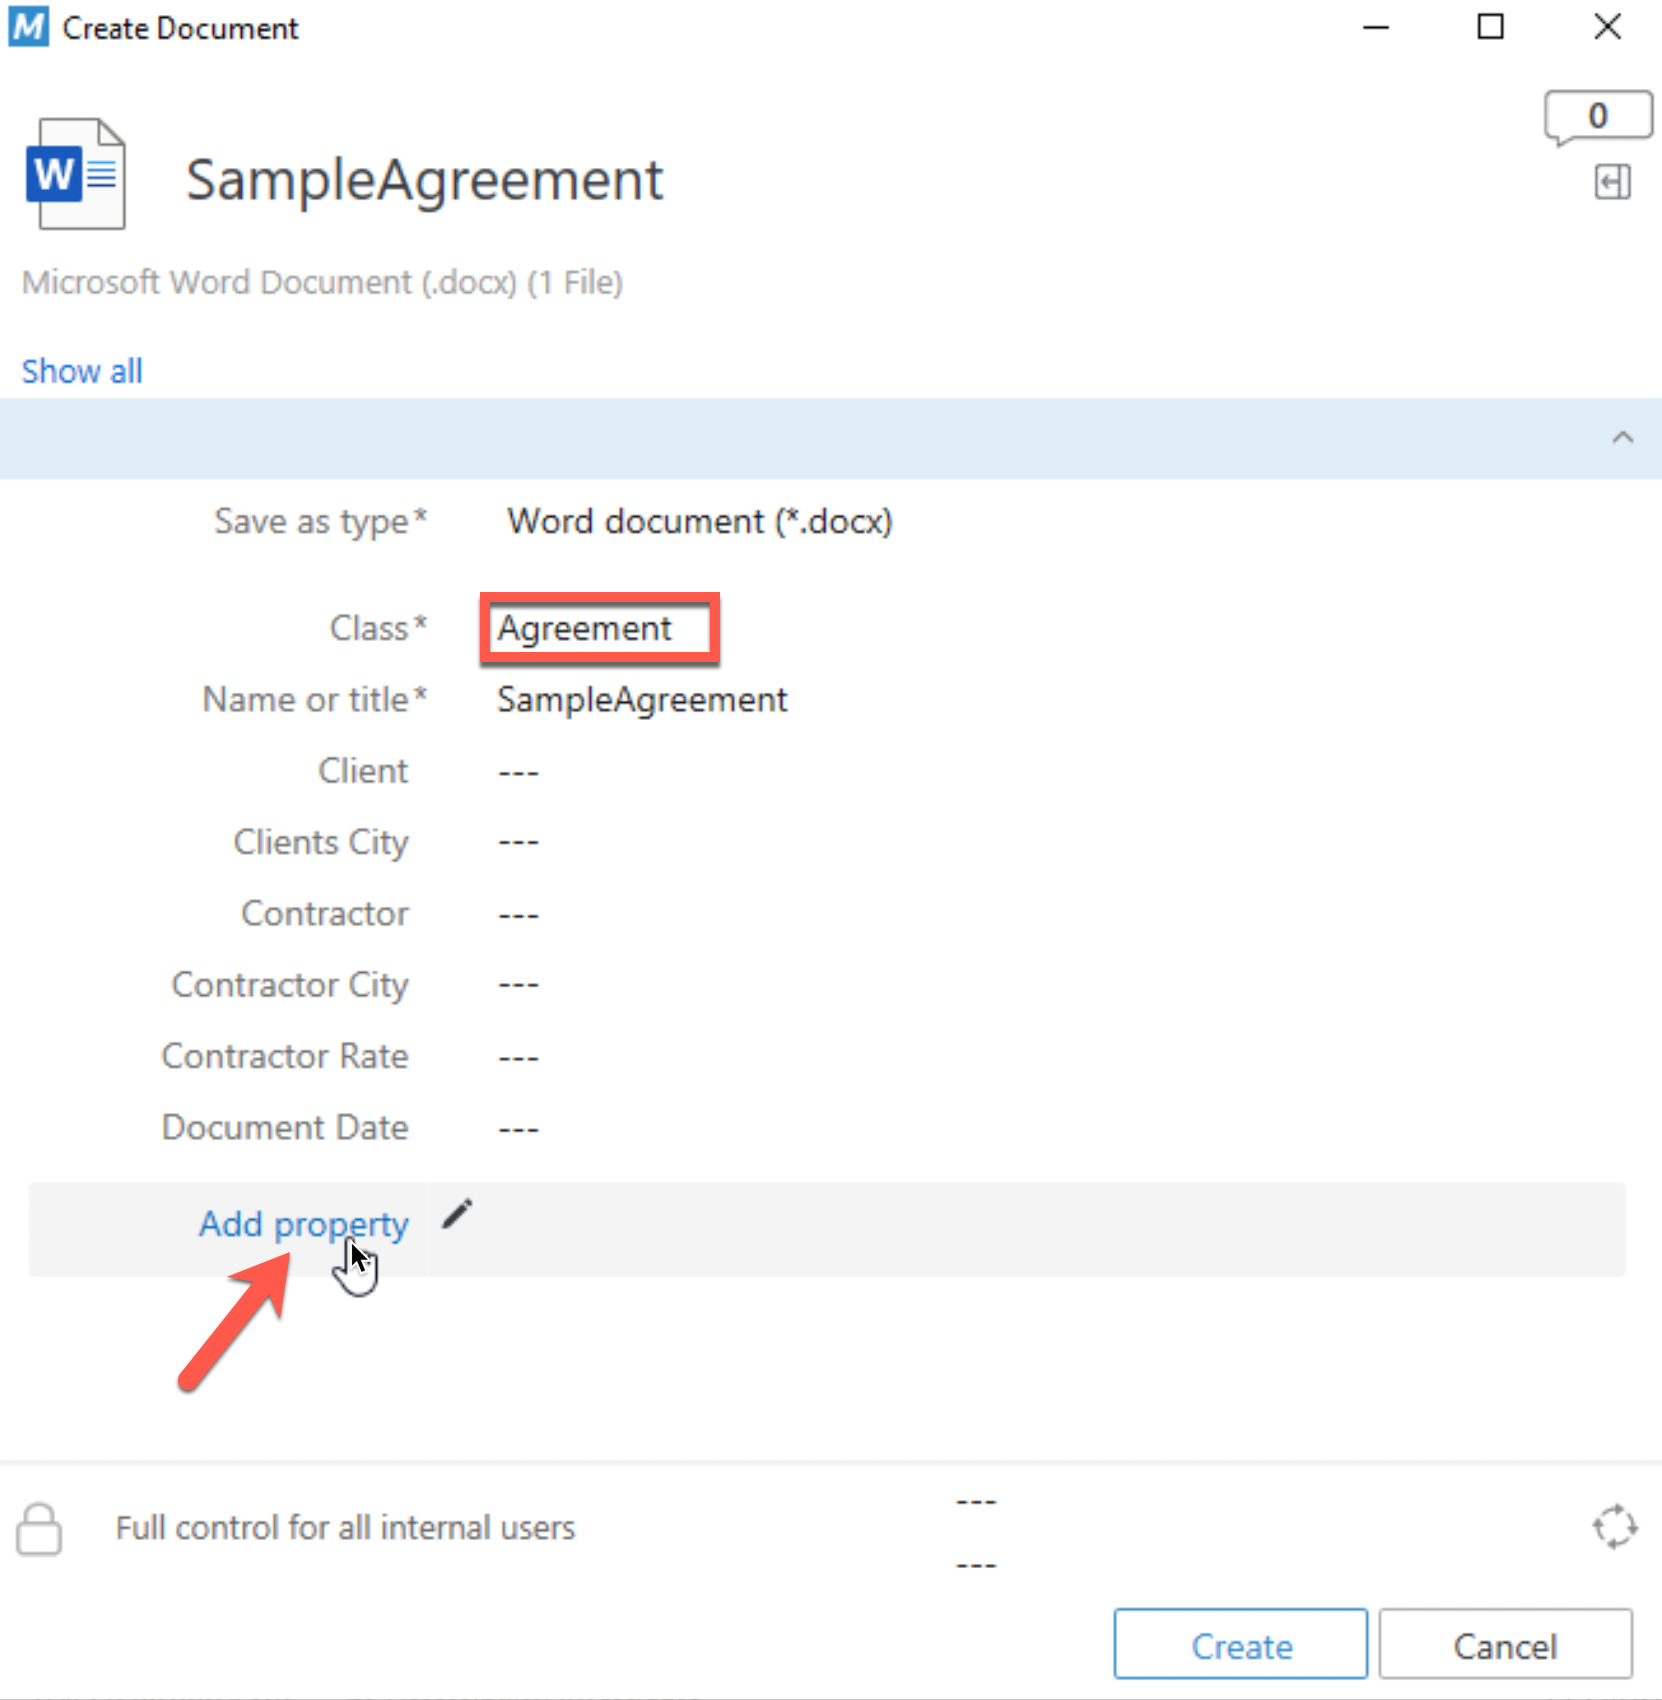
M-Files will open – under Class select Agreement – since this is Agreement template. Name or title – make it something recognizable.
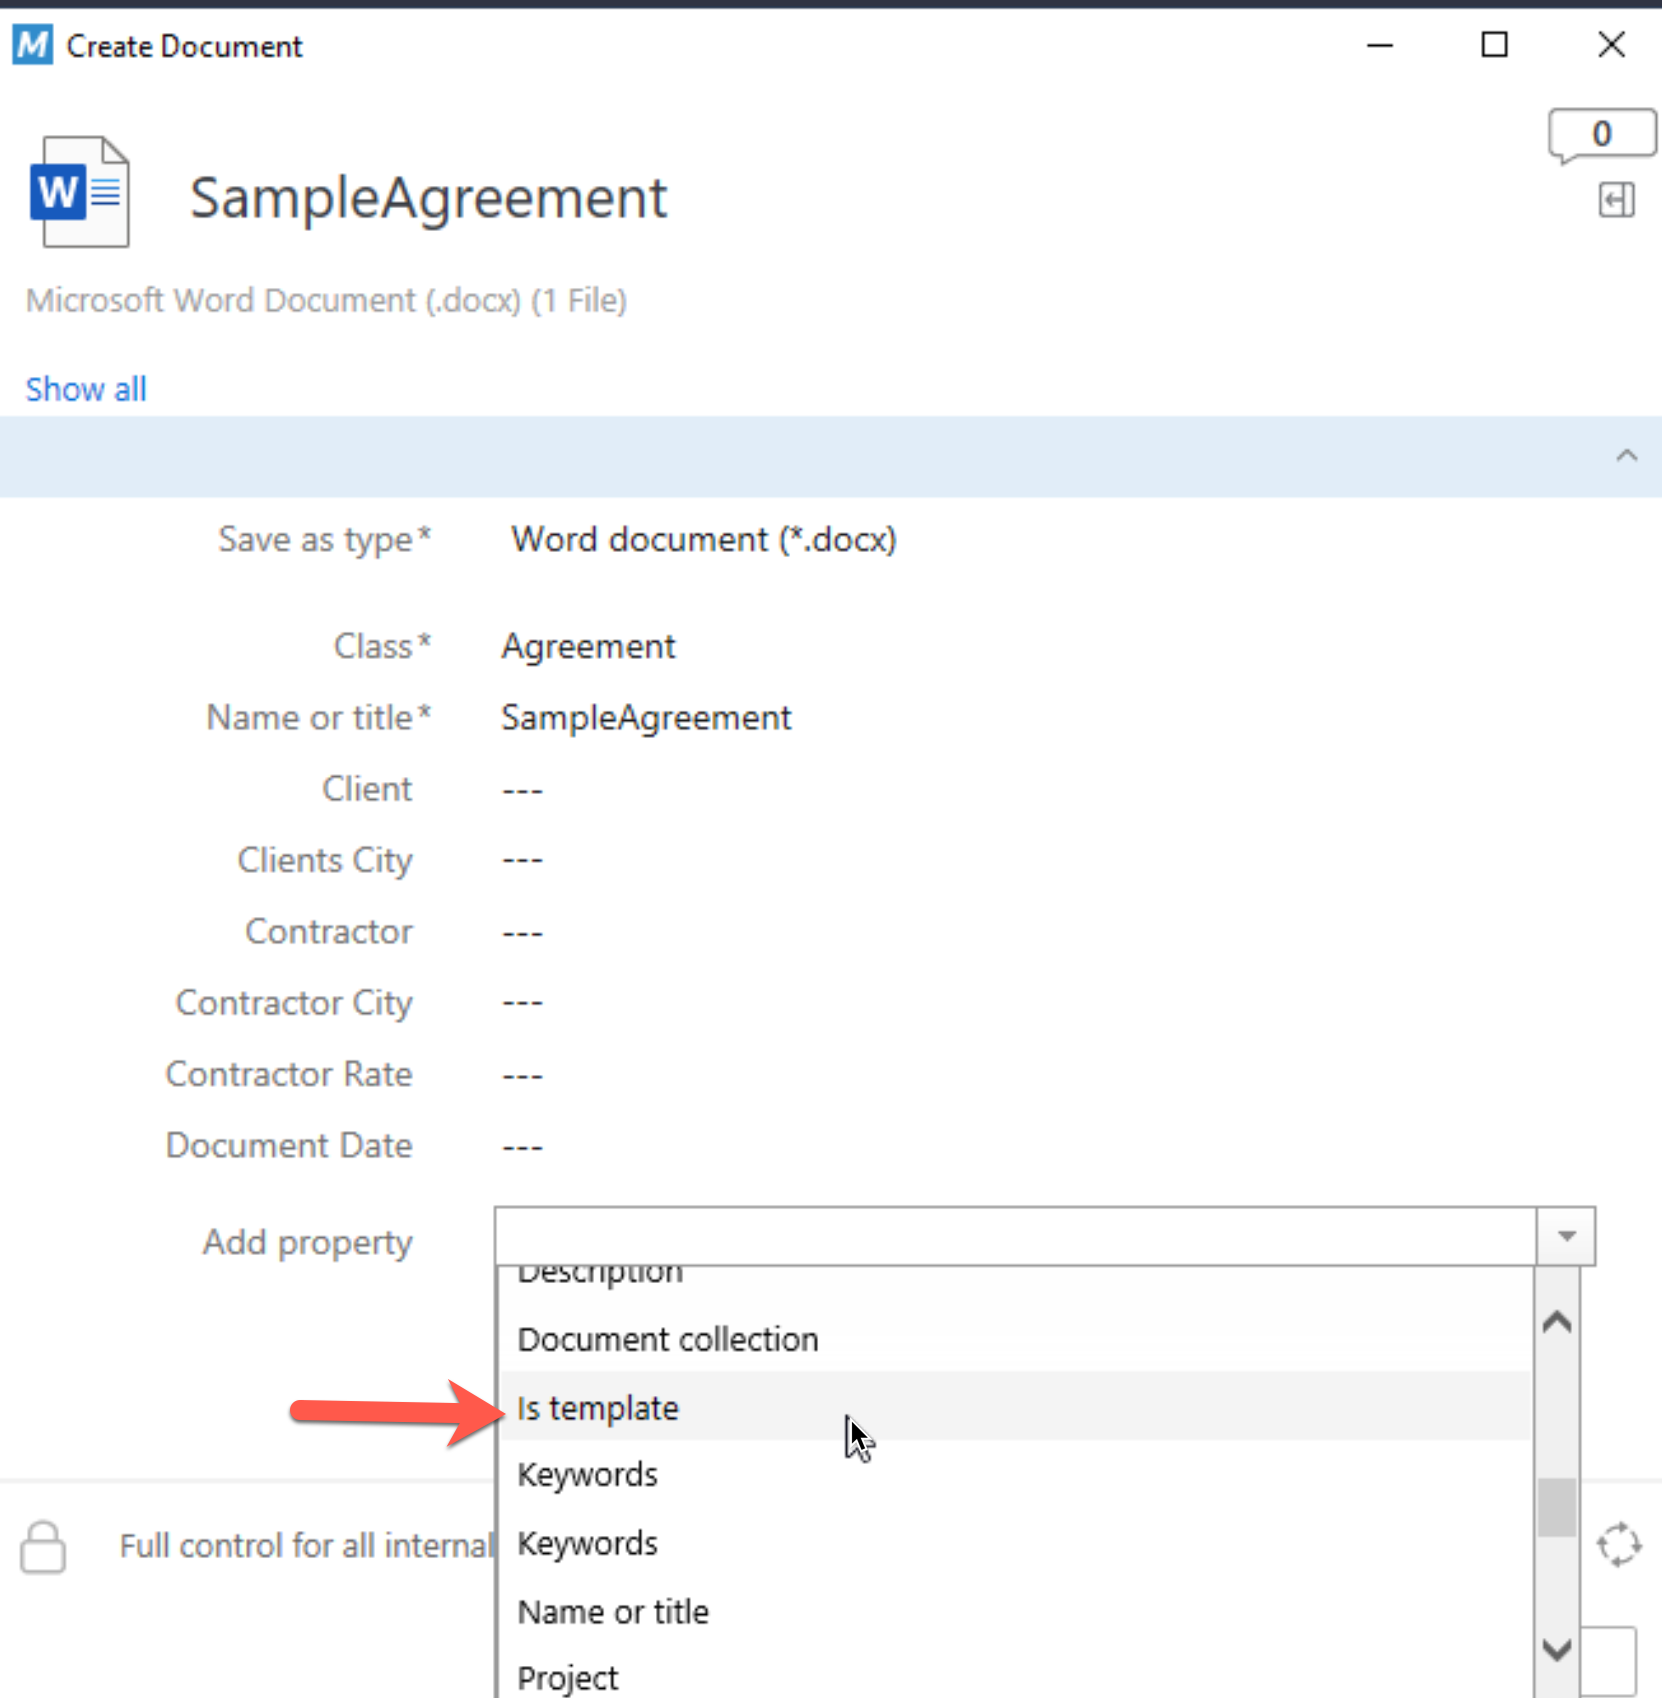
Then click on Add property
From Add property select – is template
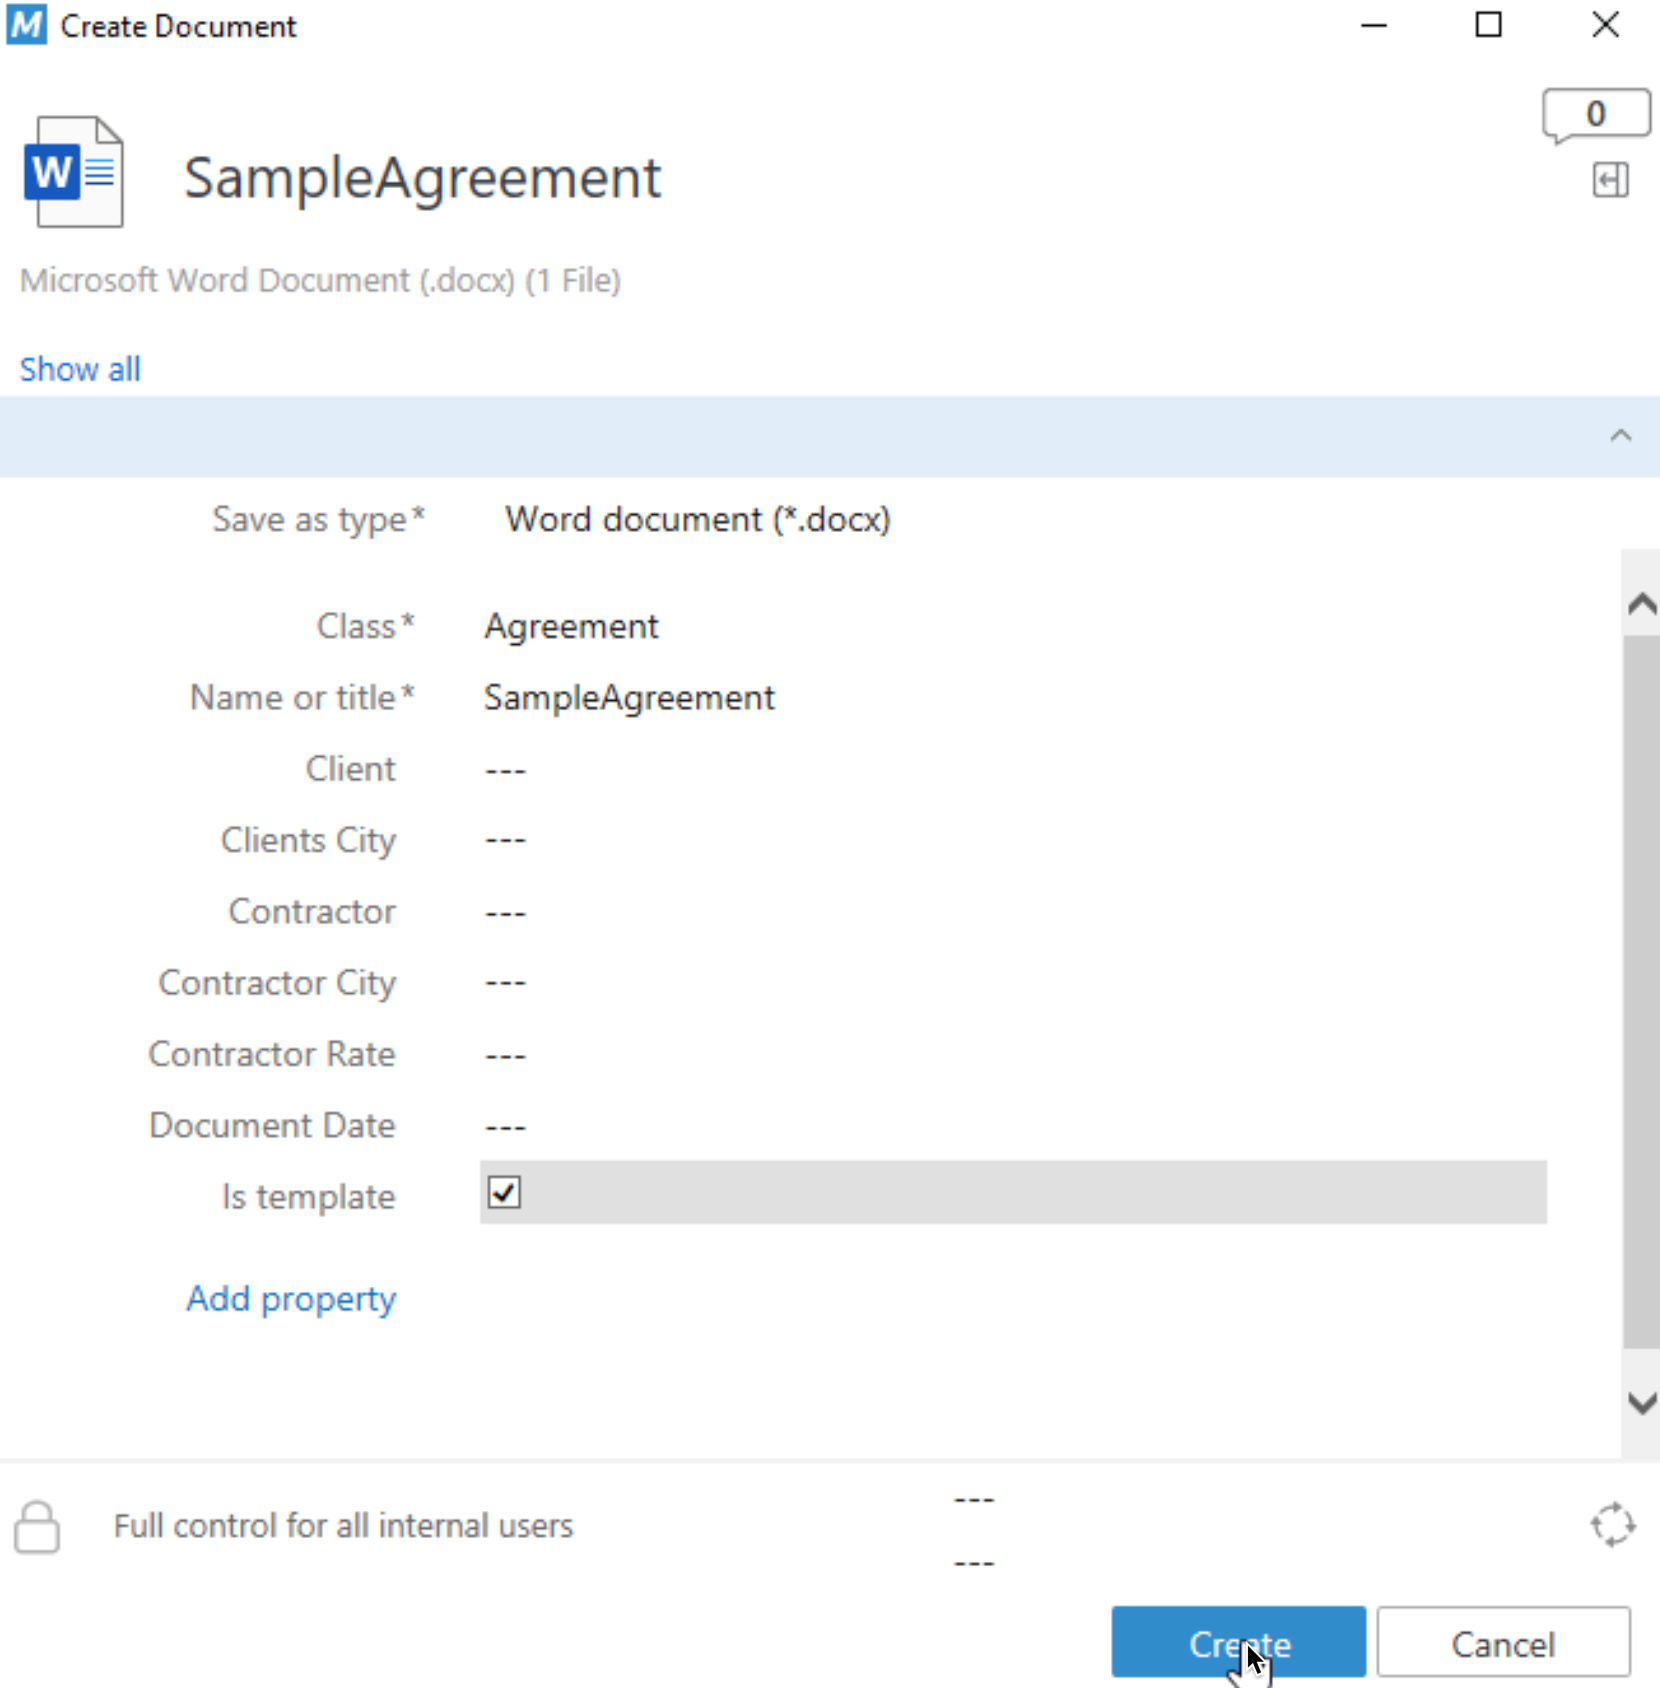
After that click to check is template field and click on Create
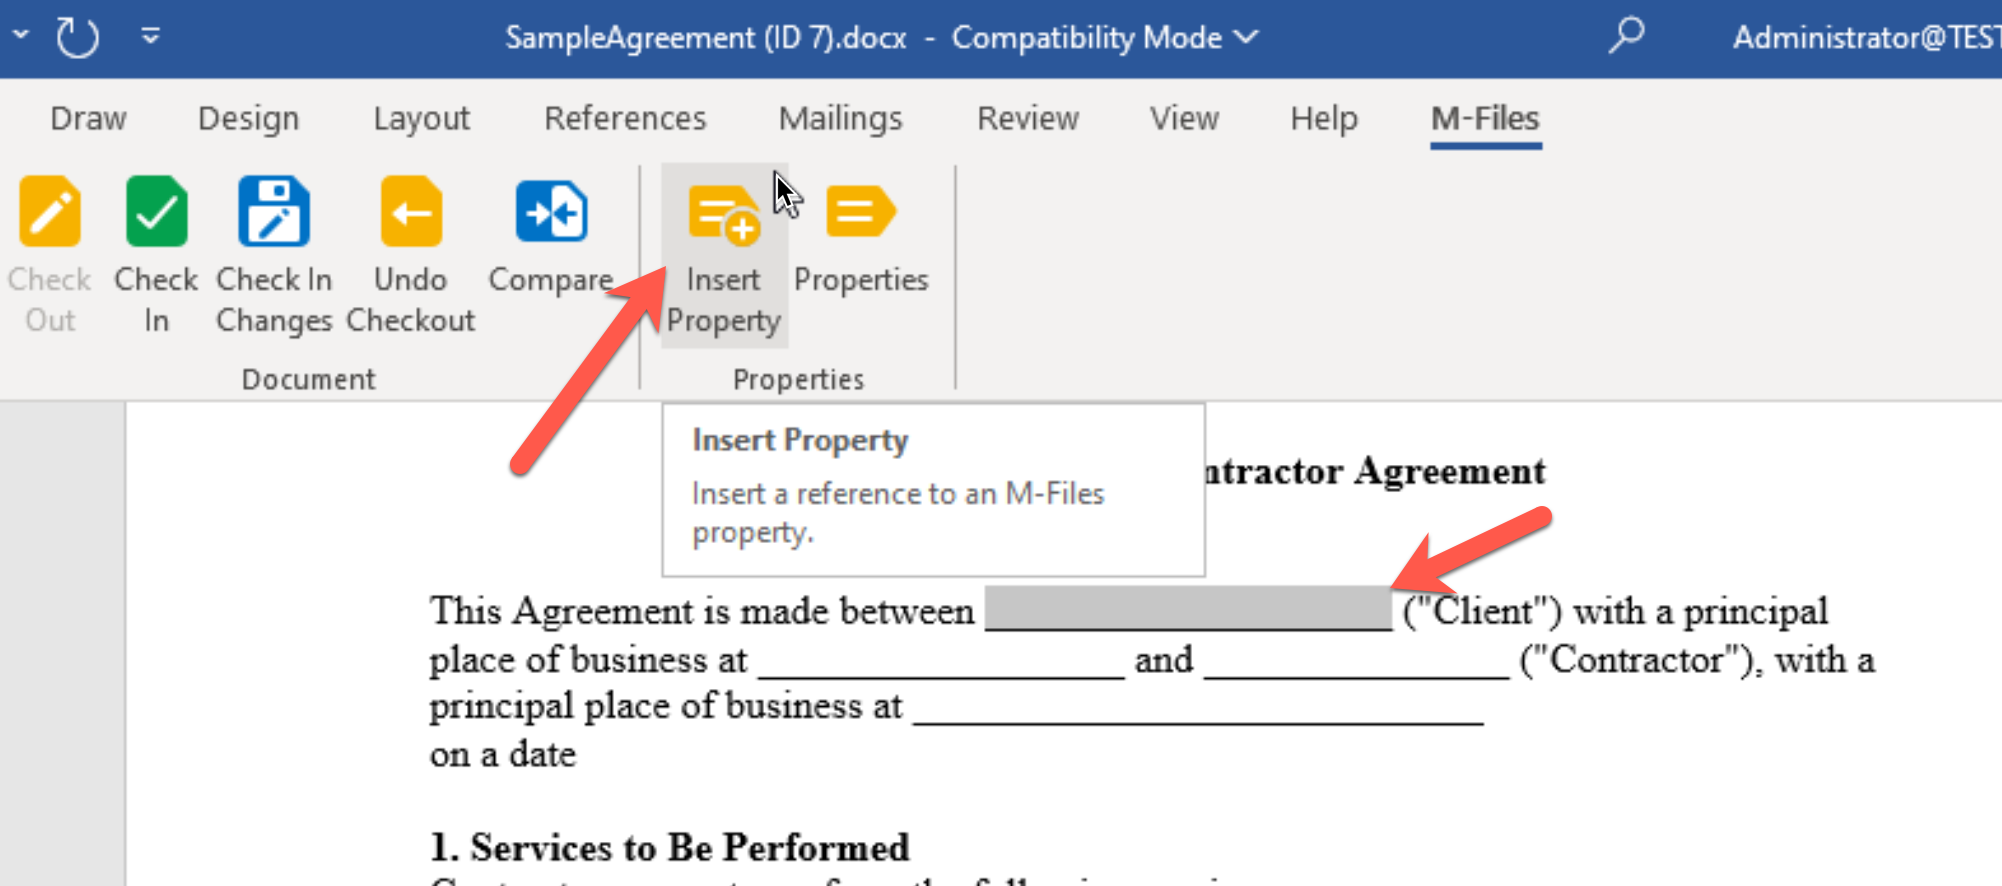
After we clicked on Create, we are back in our Agreement in Word
Now, we need to add Properties we defined earlier (Client, Clients City, Contractor, Contractor City, Contractor Rate and Document Date) to our Agreement template.
I will first select field in Word where I want Client property to sit, and then from M-Files menu select – Insert Property
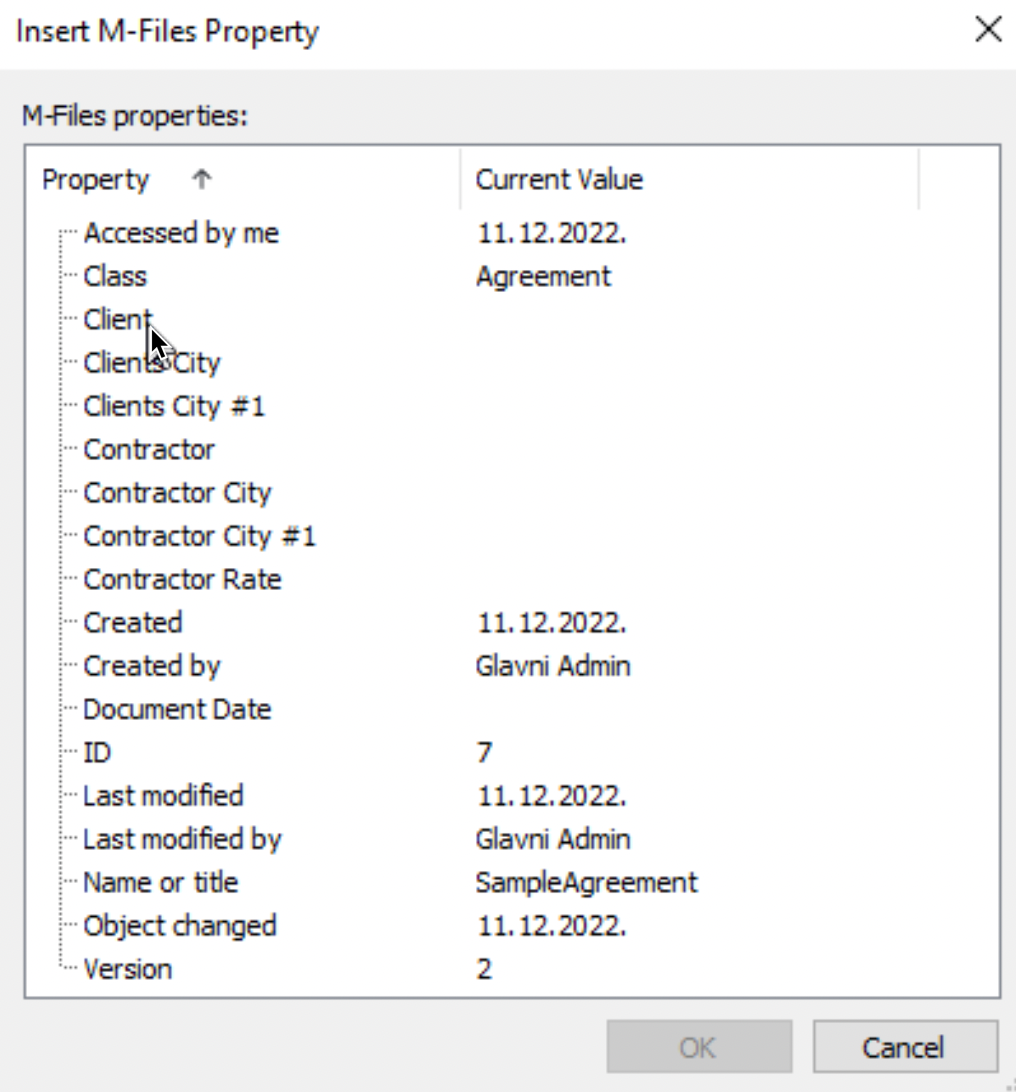
New window will be opened, and I will select Client, and after that press ok.
Line is gone, and now we can see this
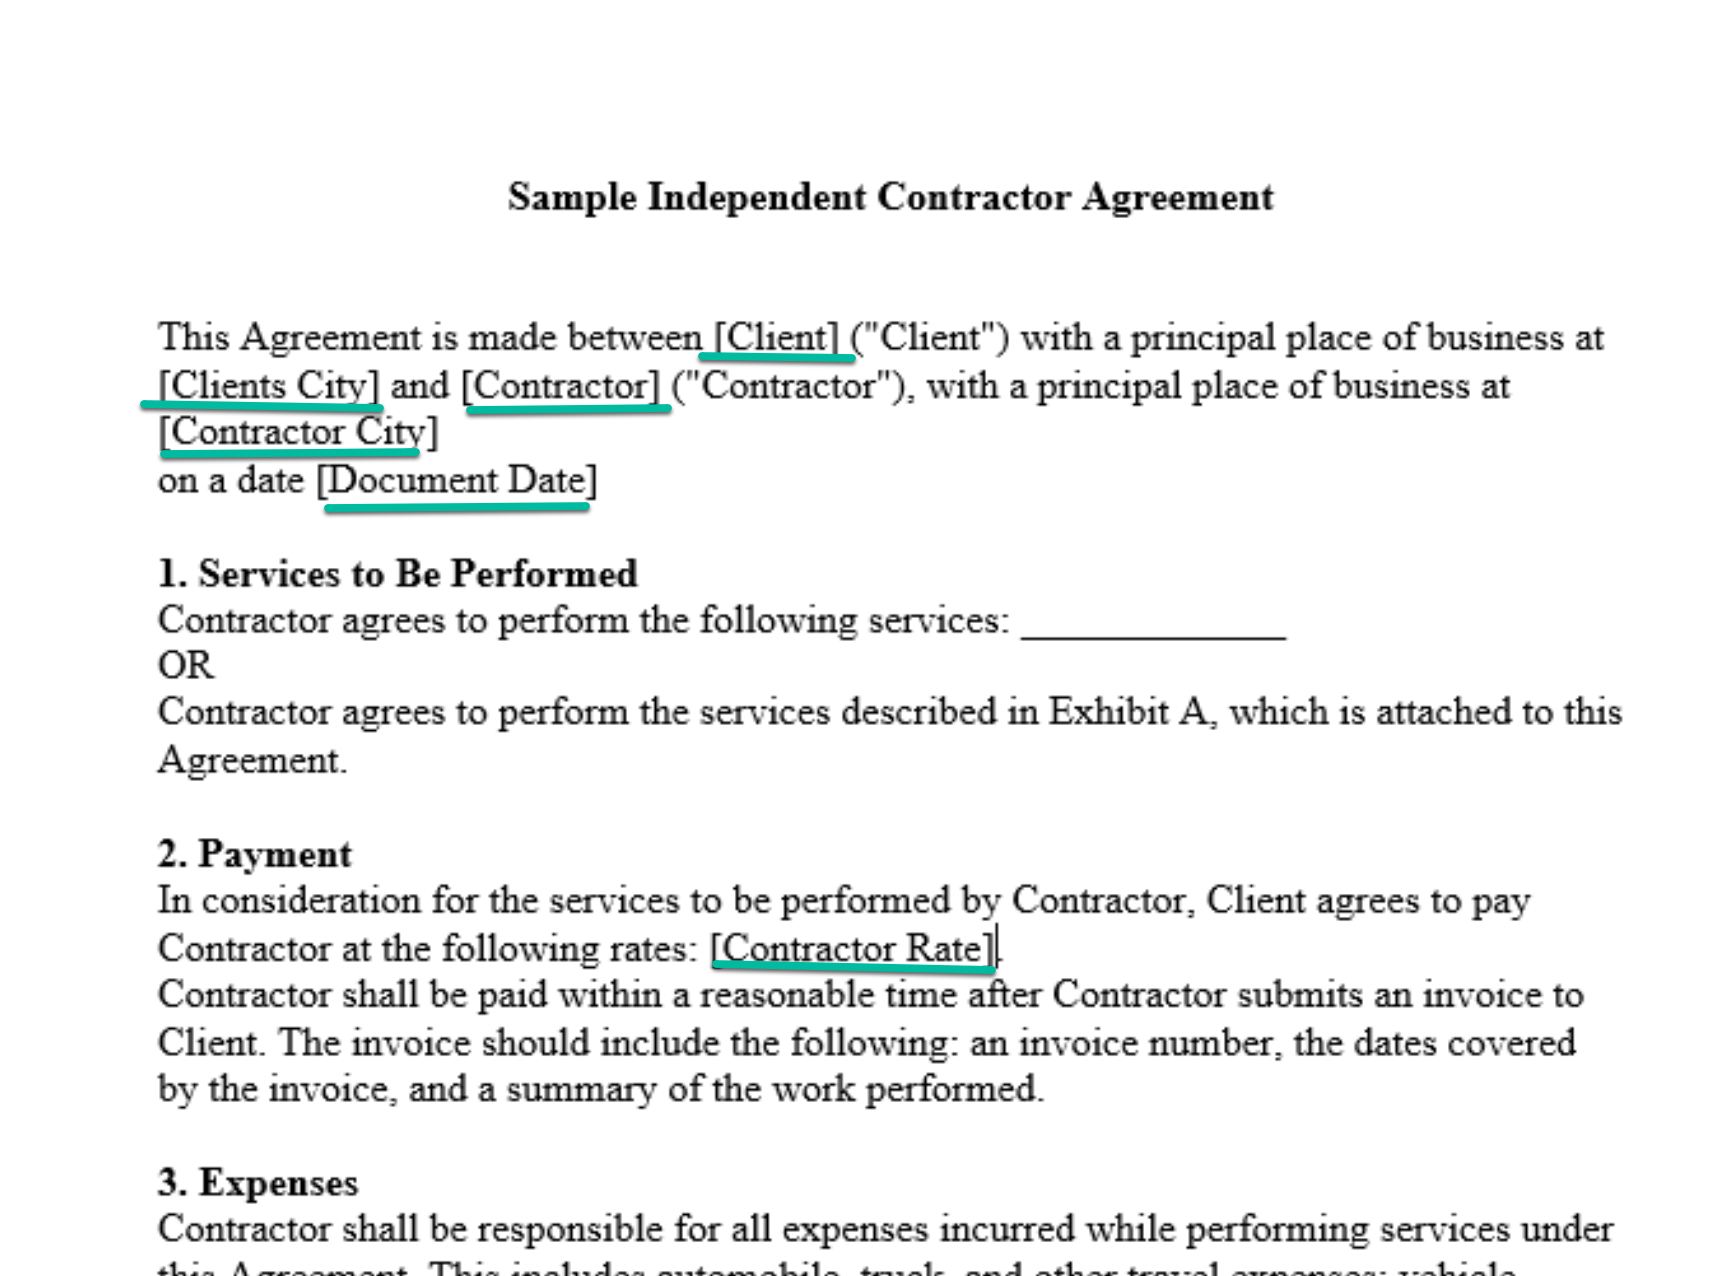
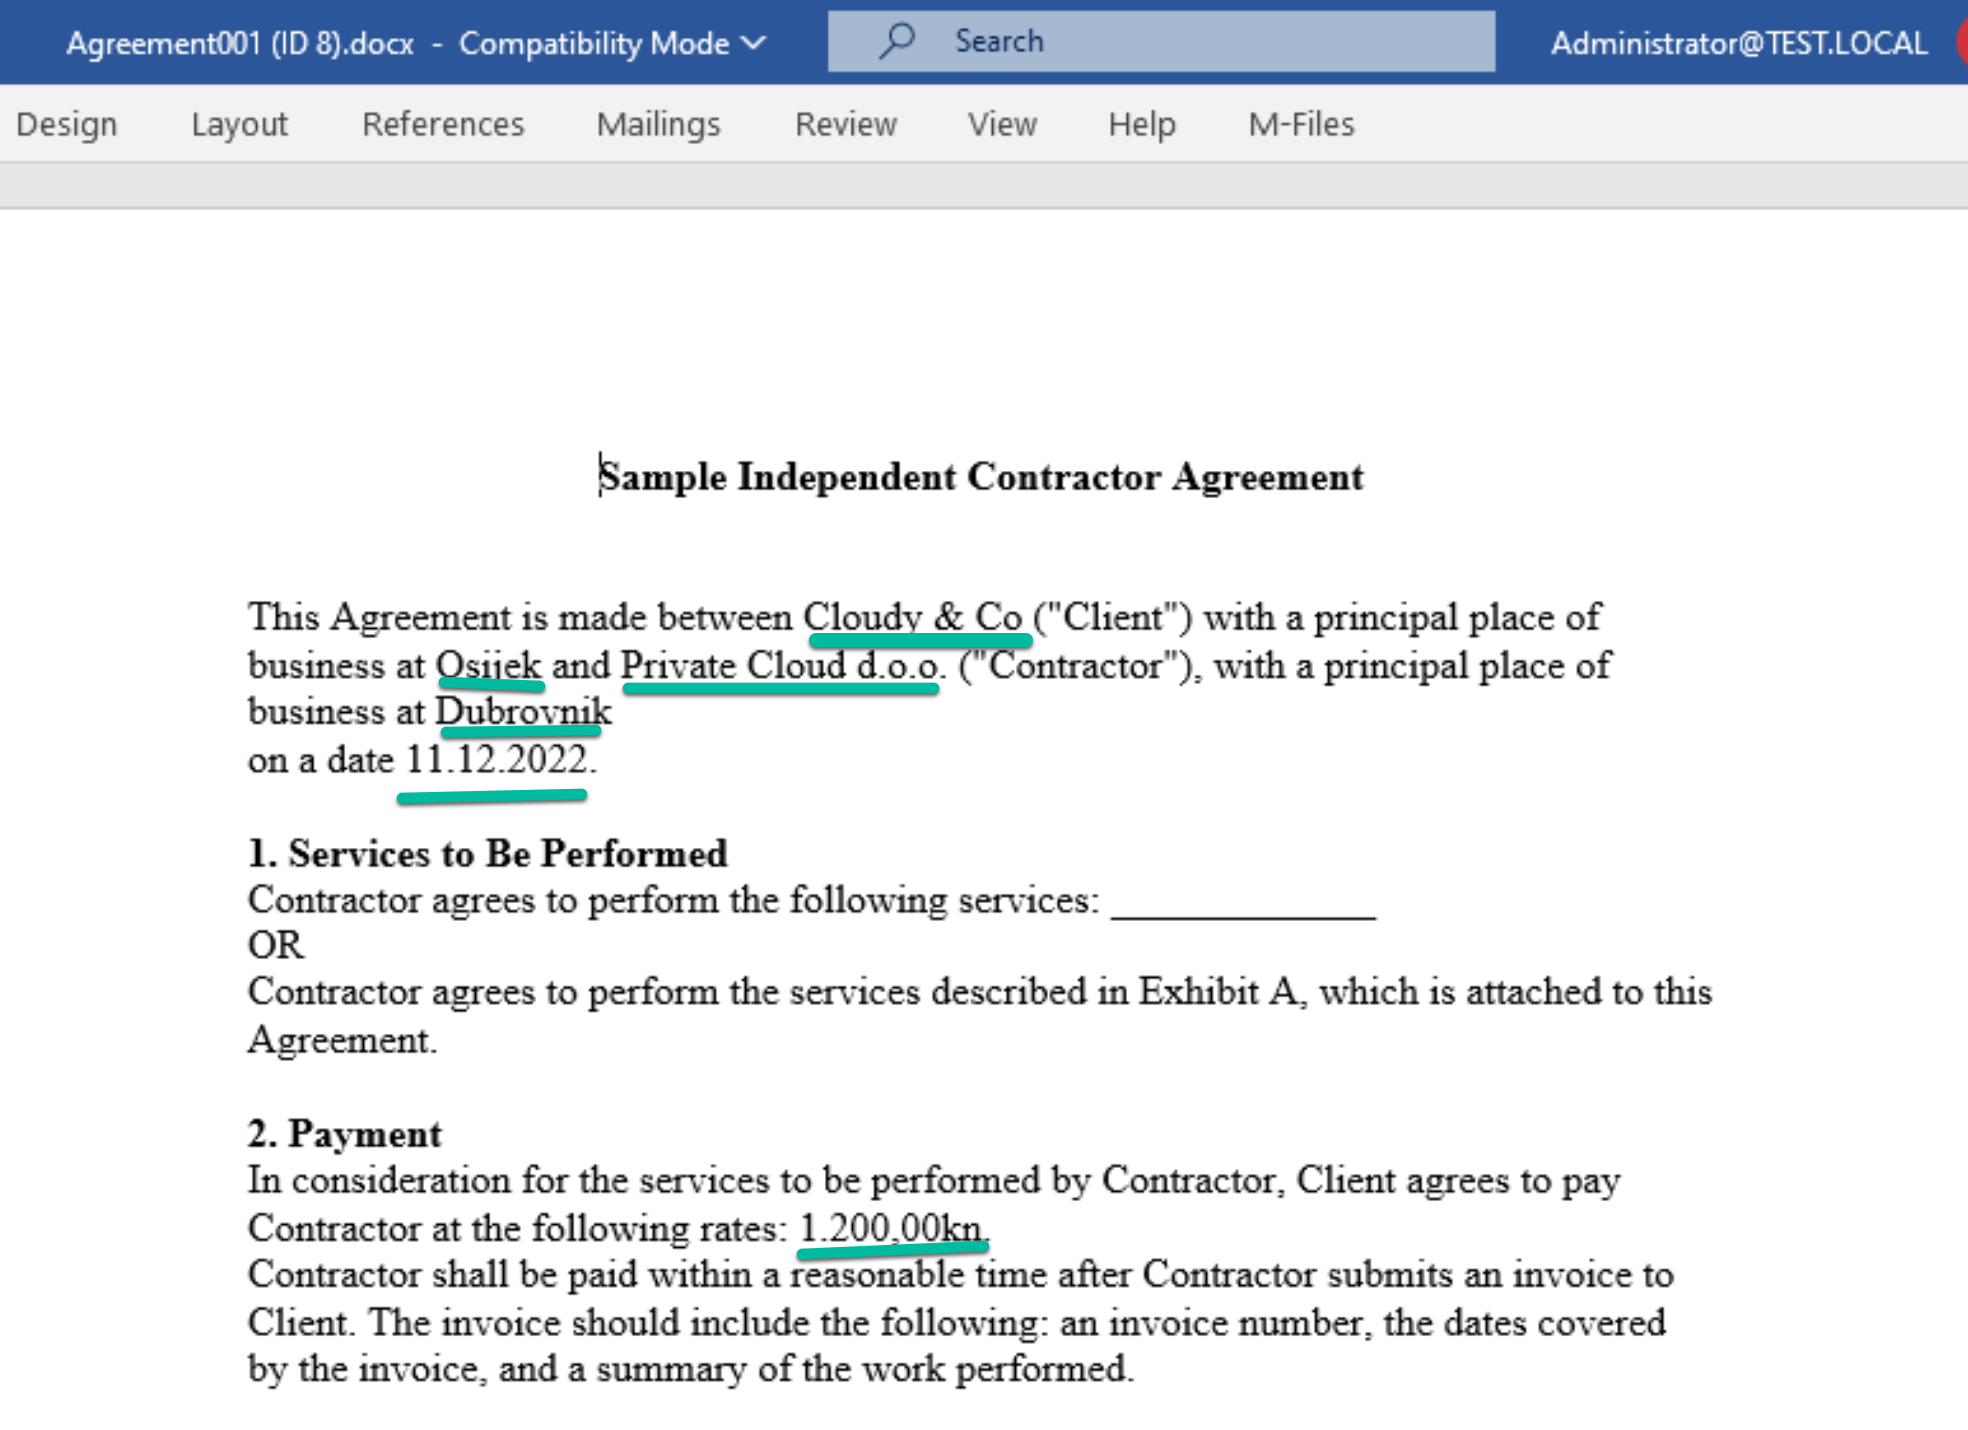
I will repeat steps for other properties, so in the end my Agreement template looks like this.
This is it, values with green underline should be changed next time we need this template.
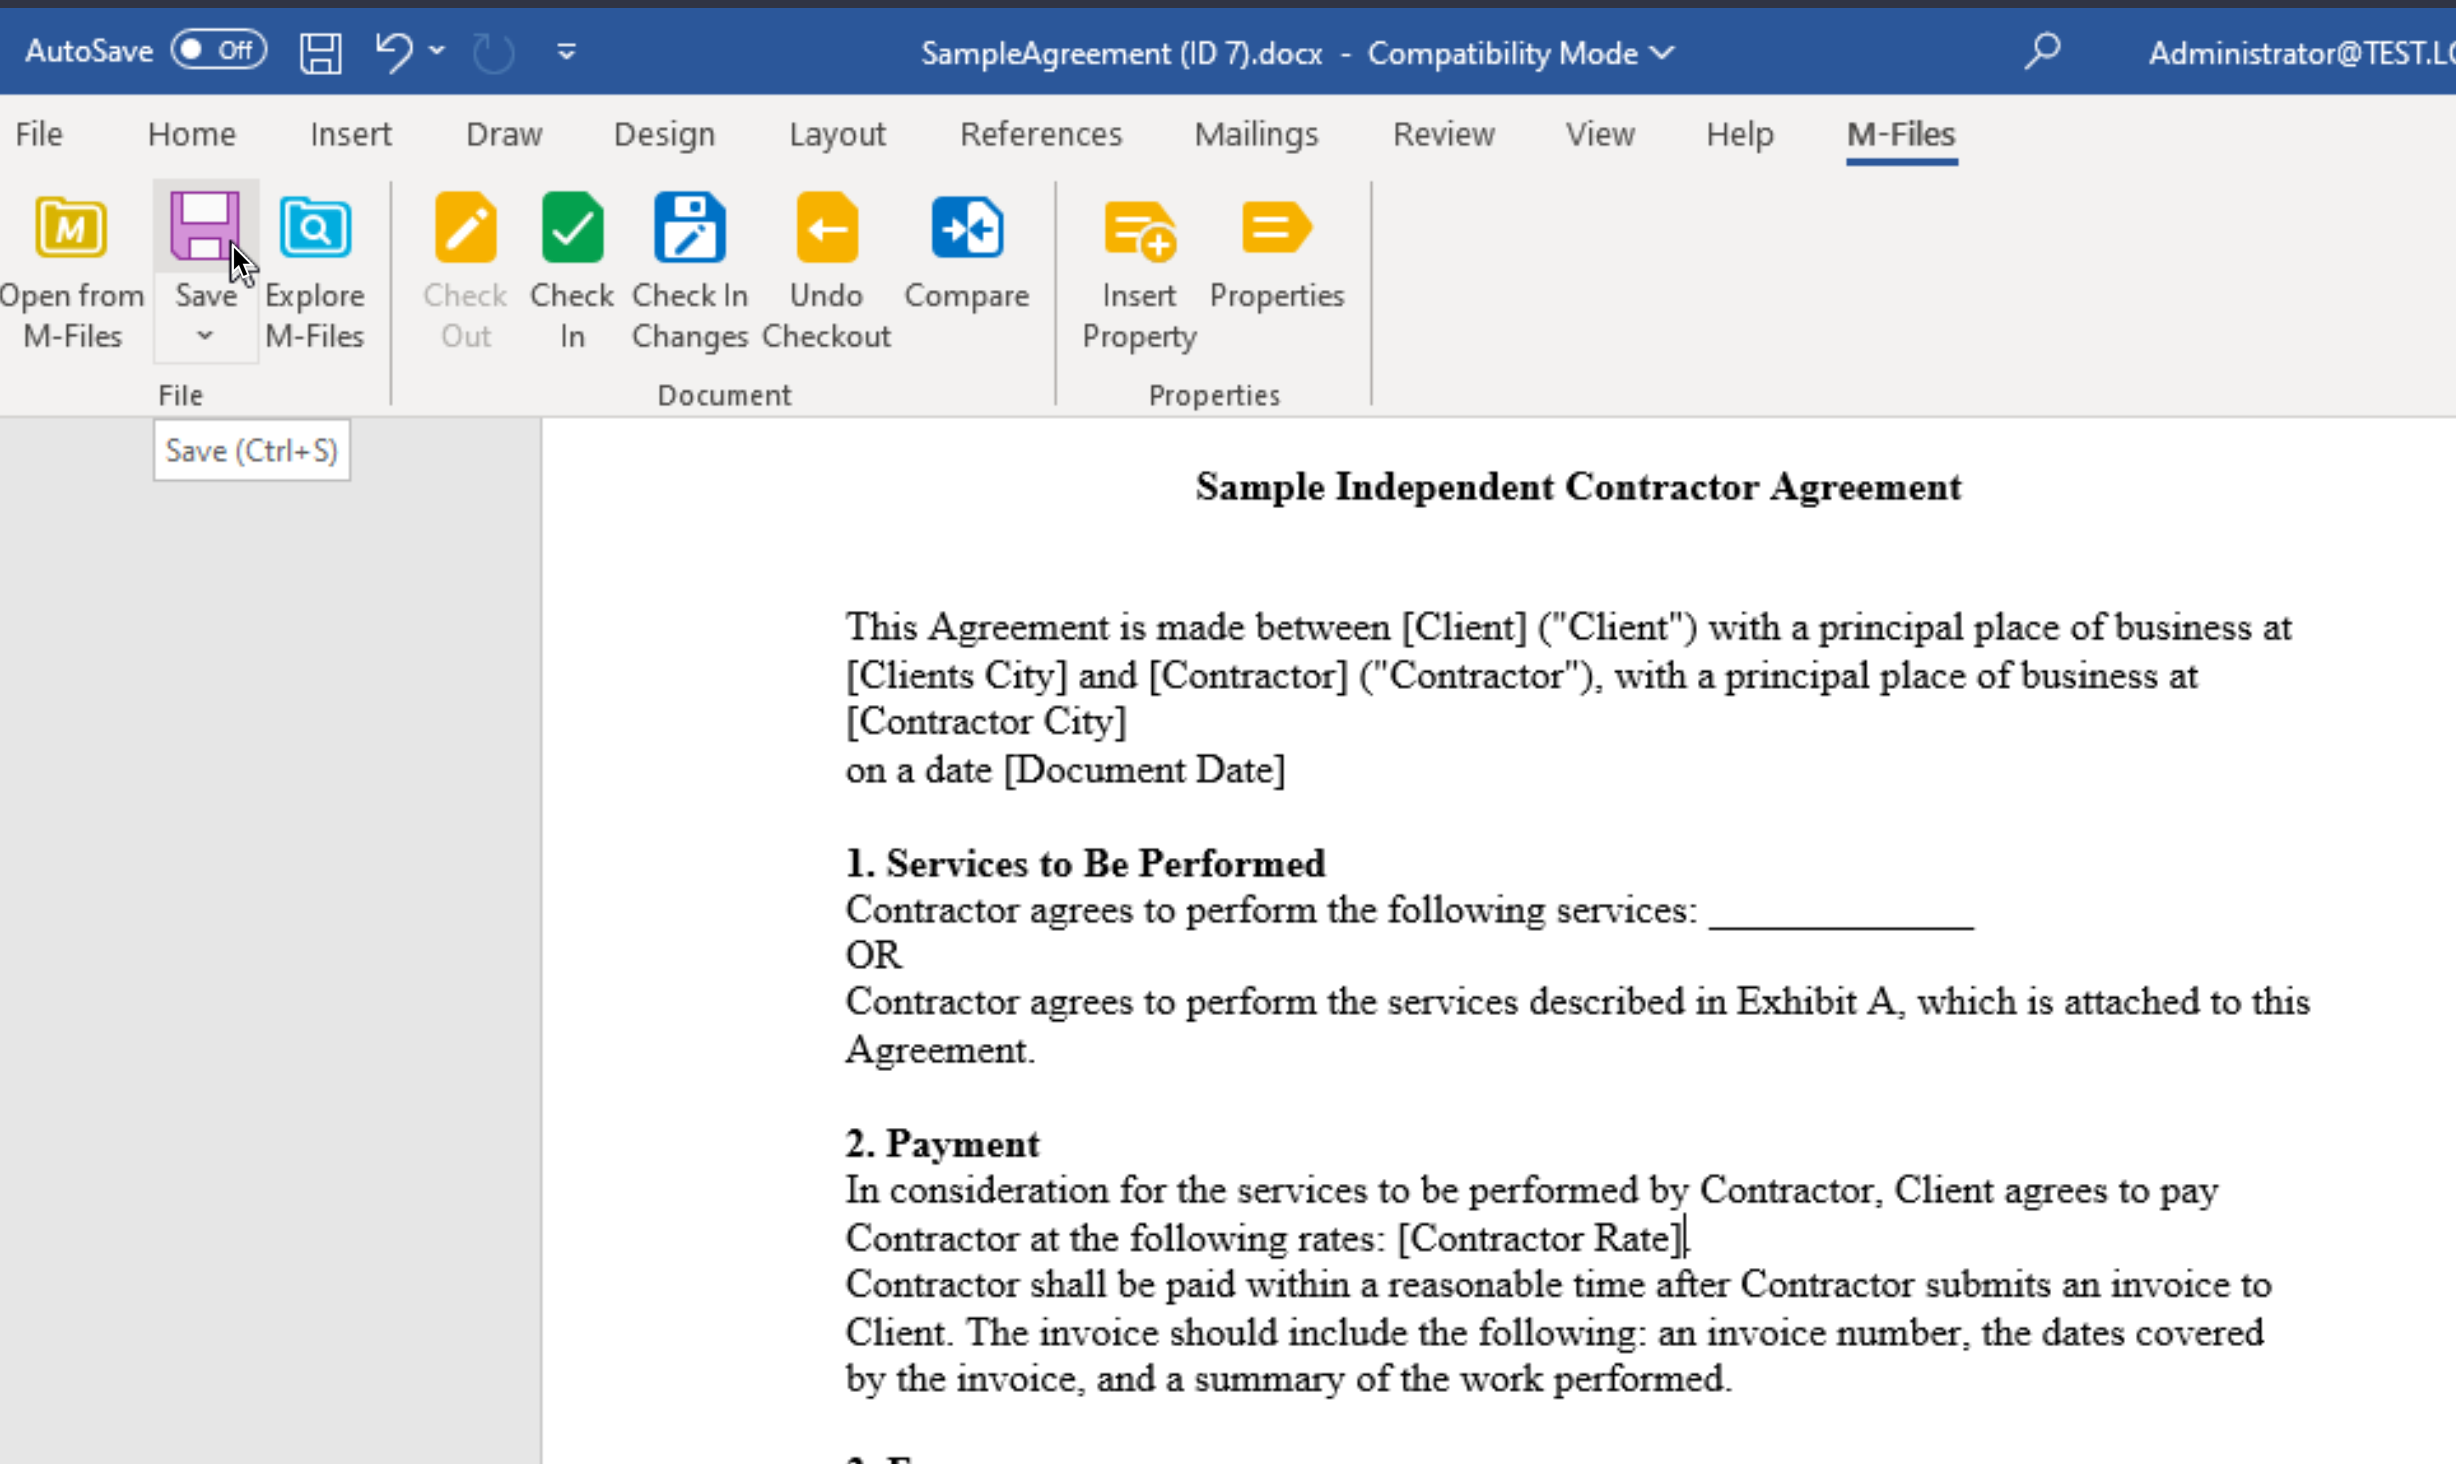
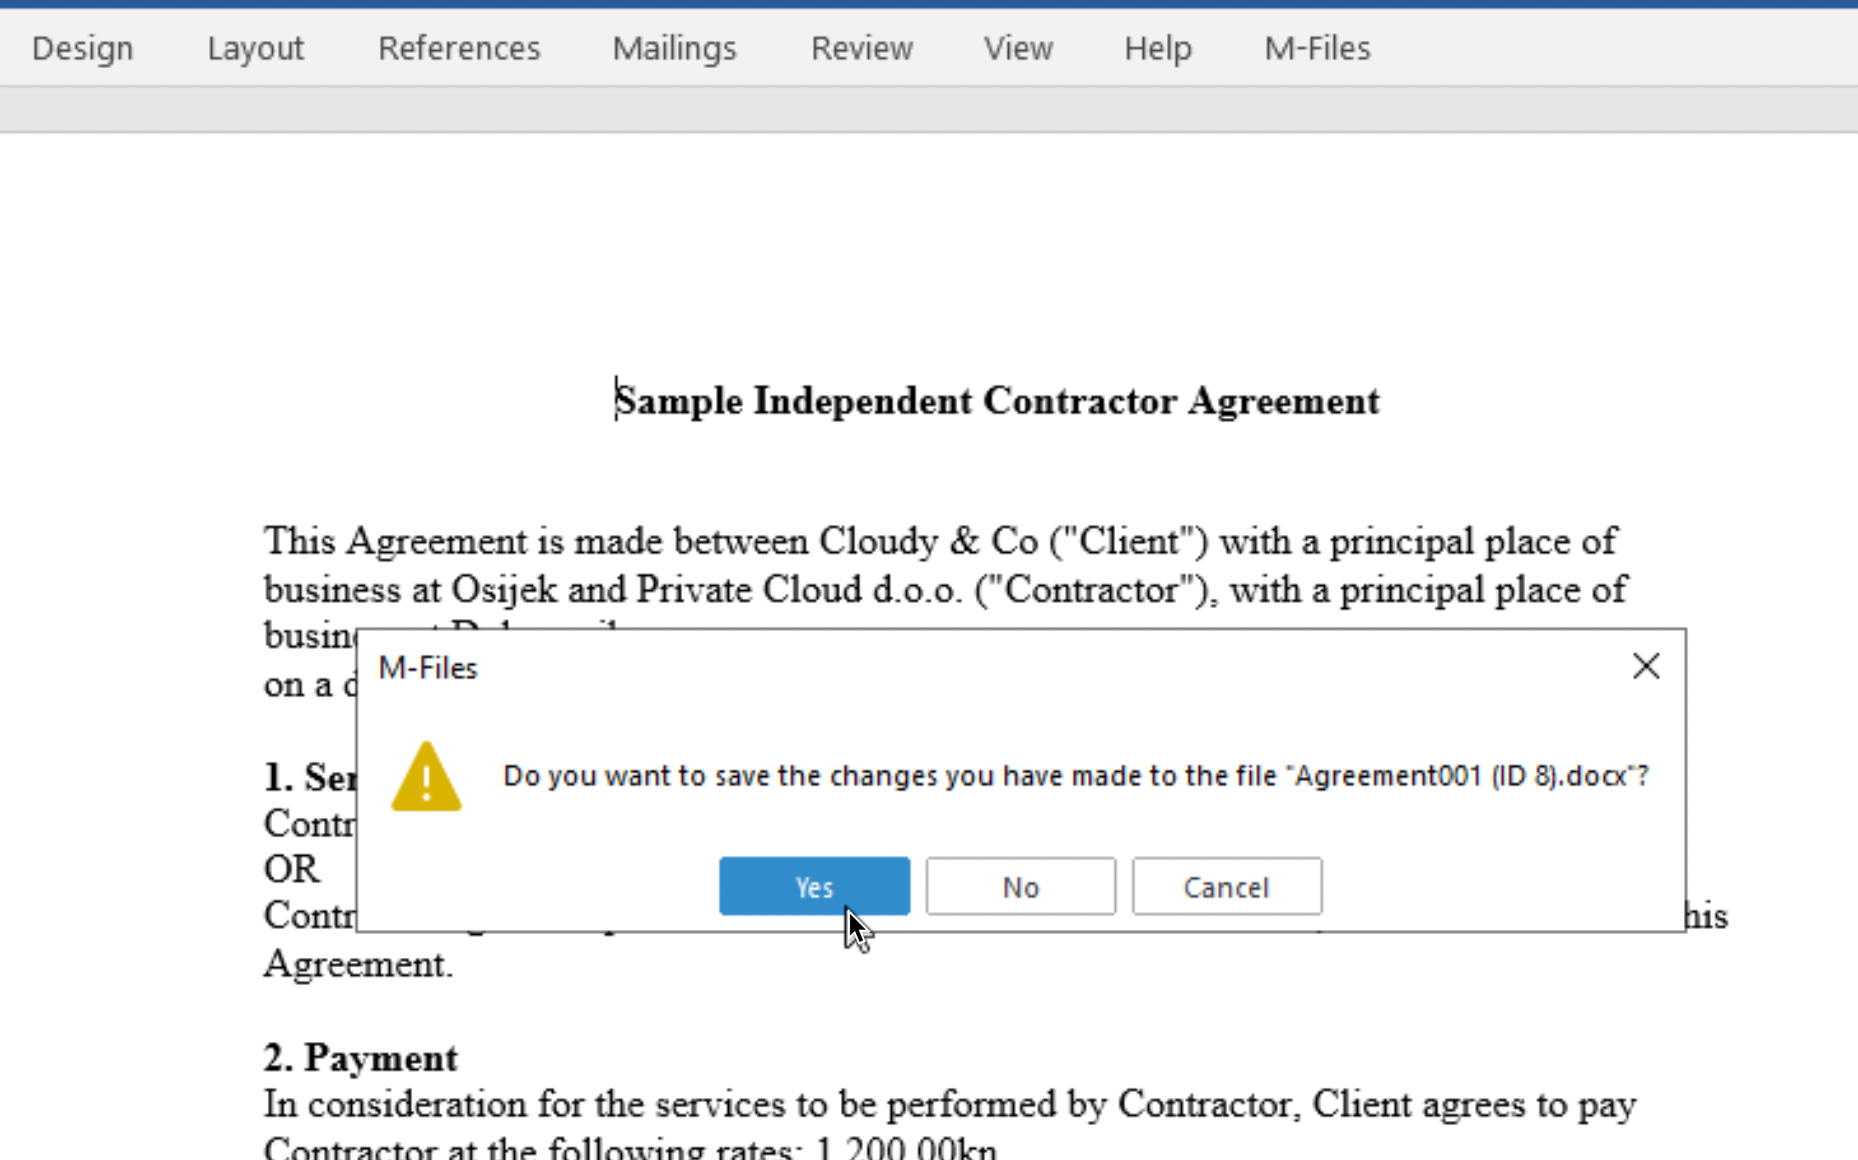
After we are done, click Save under M-Files menu in Word
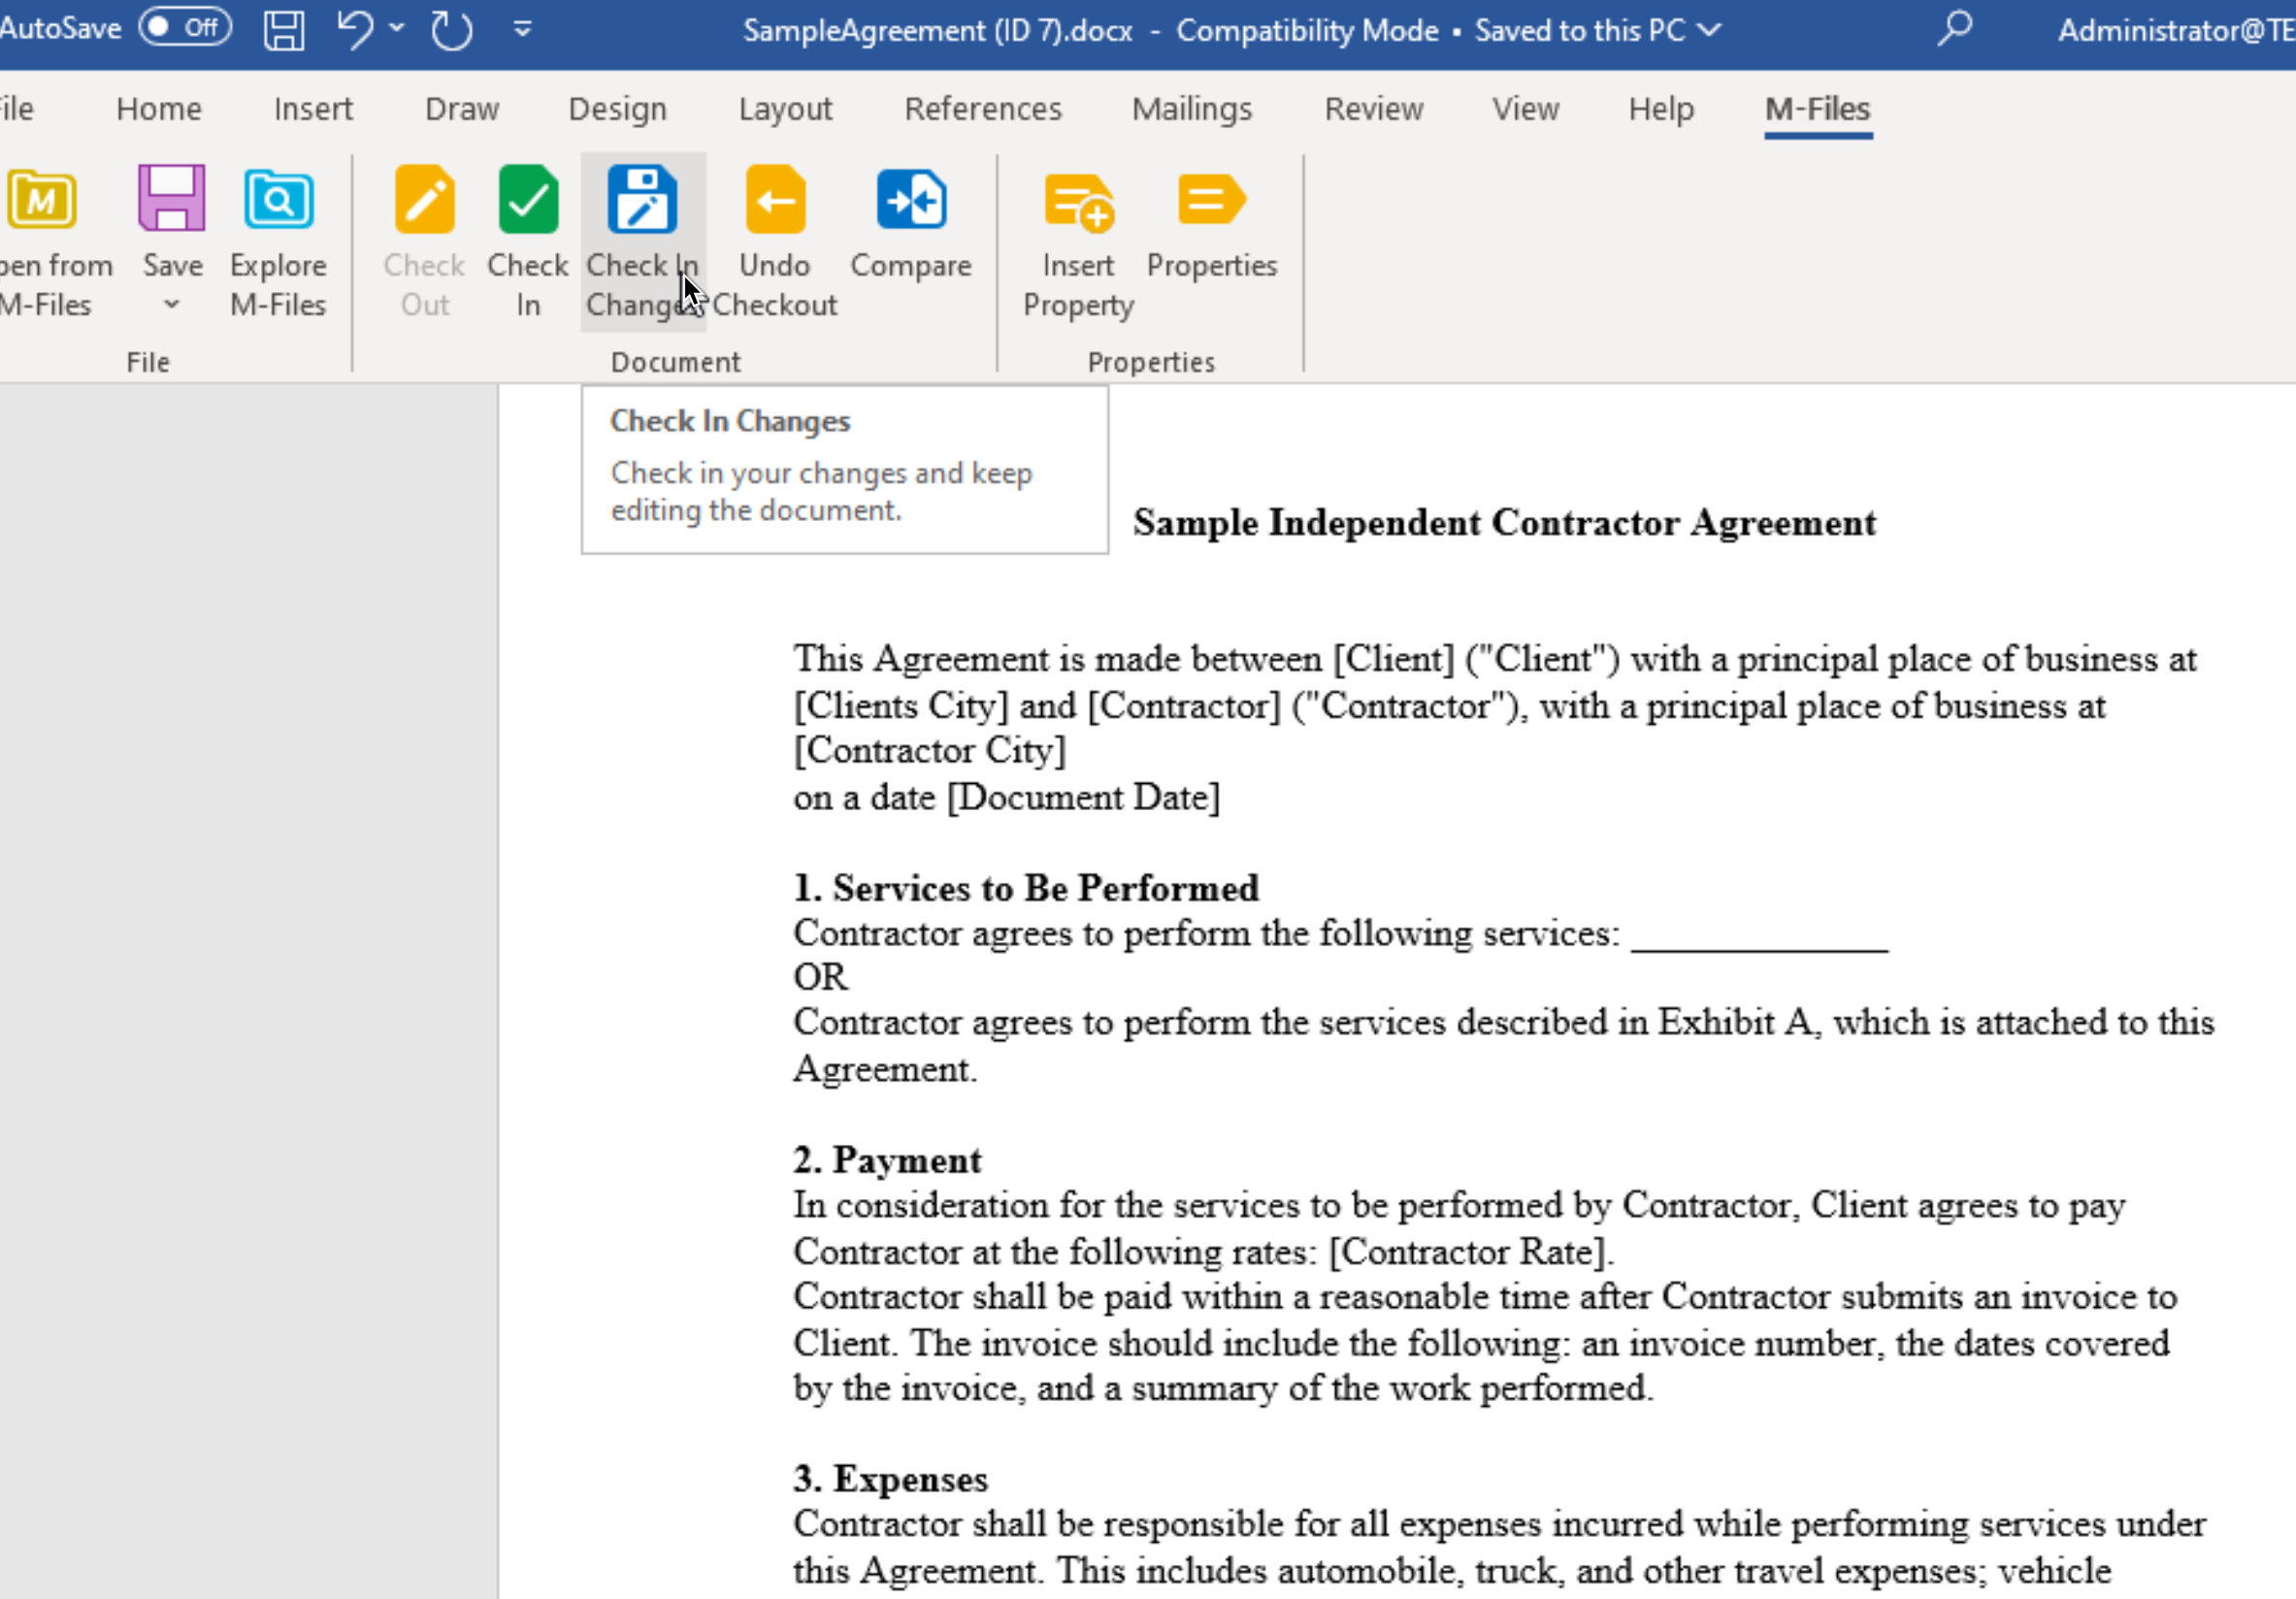
After that you can select Check in Changes under M-Files menu in Word.
Ultimately when you close document, you will once again be asked to check in – select yes
3. Creating new Agreement in M-Files from Agreement template
Ok, time to see if our magic works
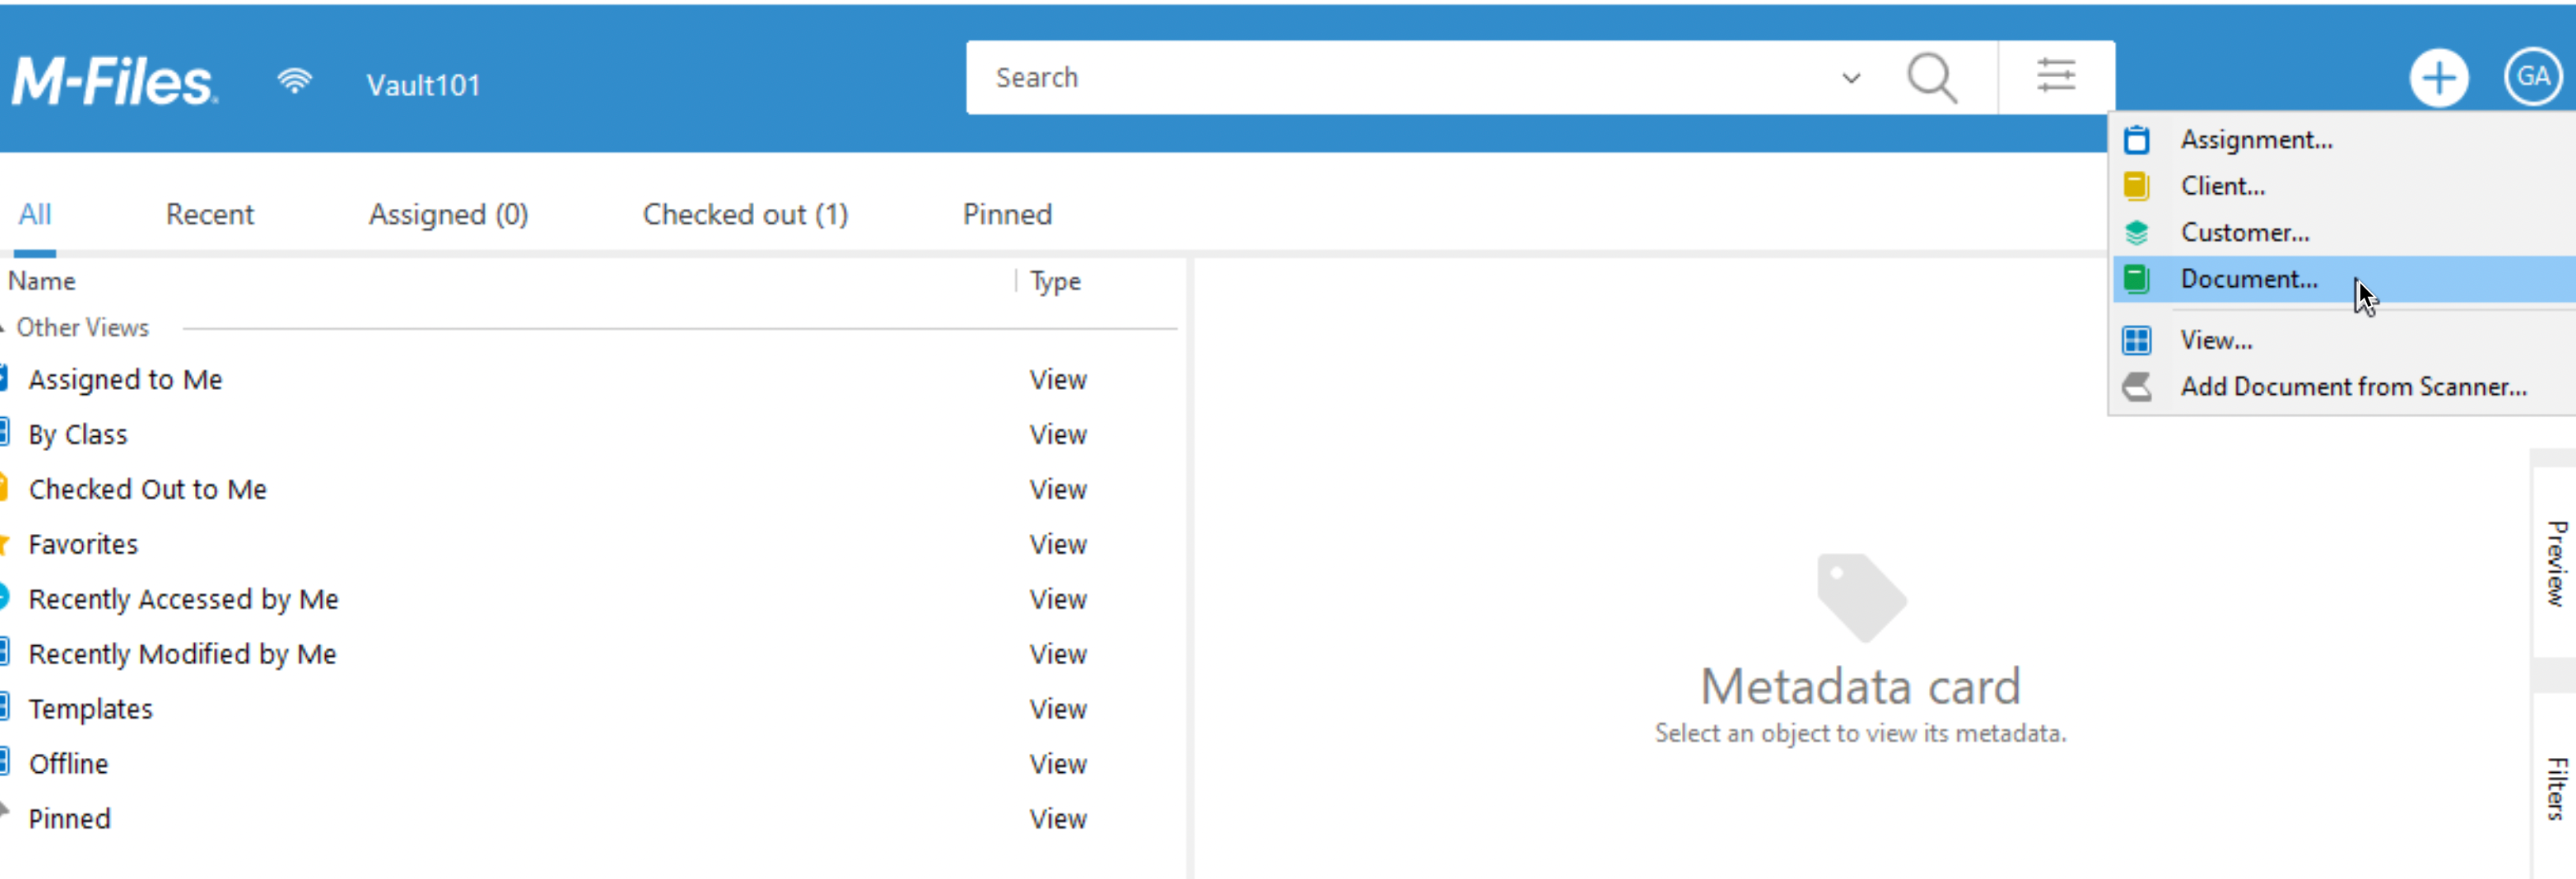
On your Desktop Client open M-Files click on + on top right part of screen and select Document Object
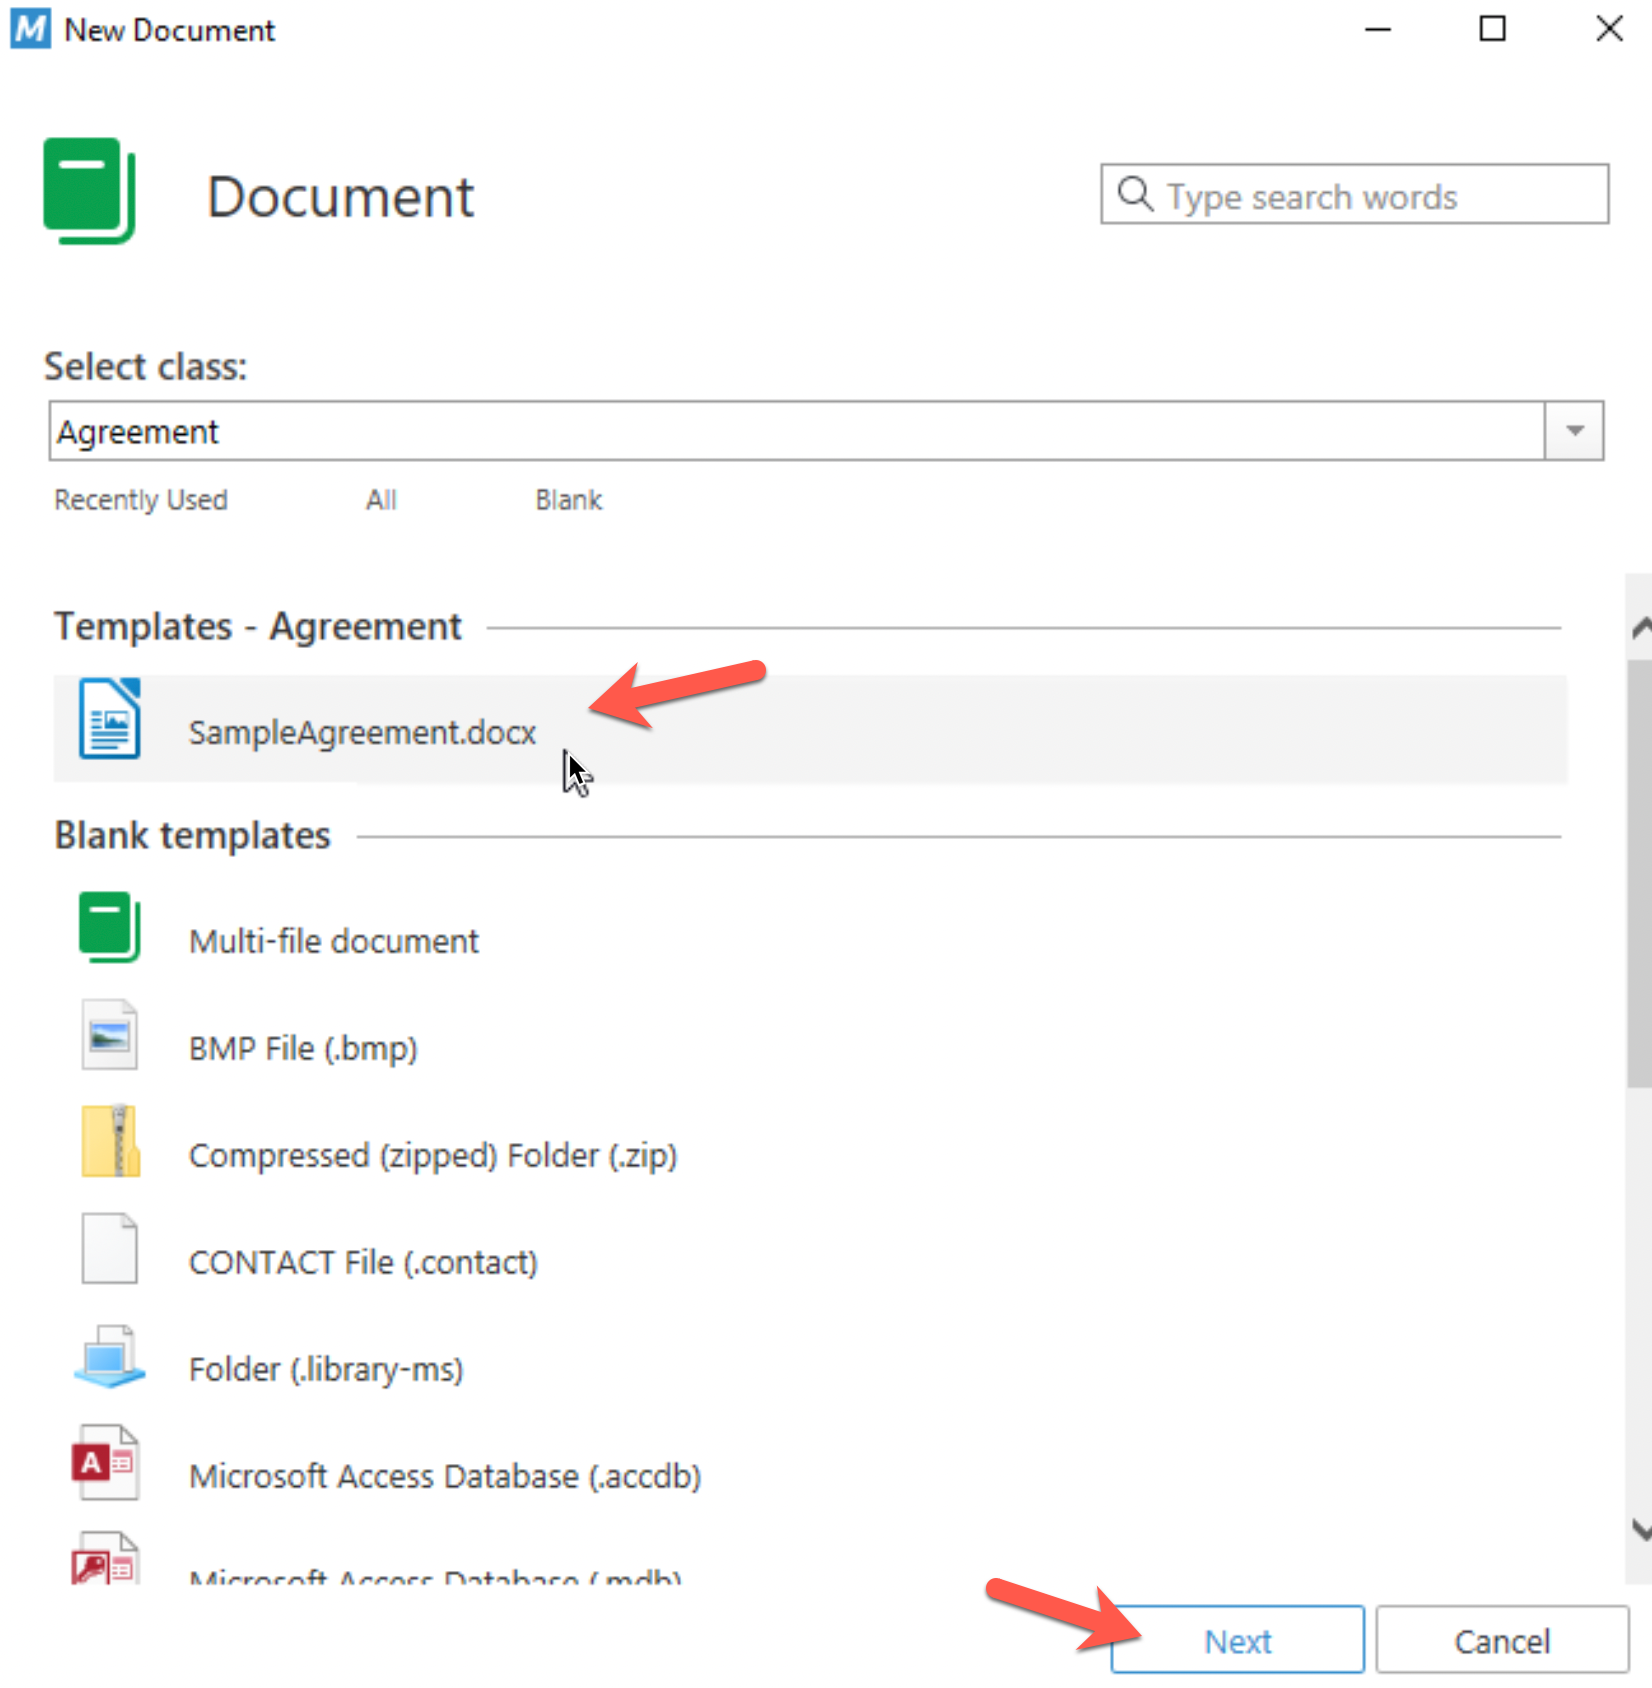
From Select class – select Agreement class

Now, after we selected Agreement class, we can now choose SampleAgreement.docx as a template! So far, so good, let’s hope we made document right. Next
We entered name for the agreement, and all the other details we need – Open for editing is selected, let’s click on Create
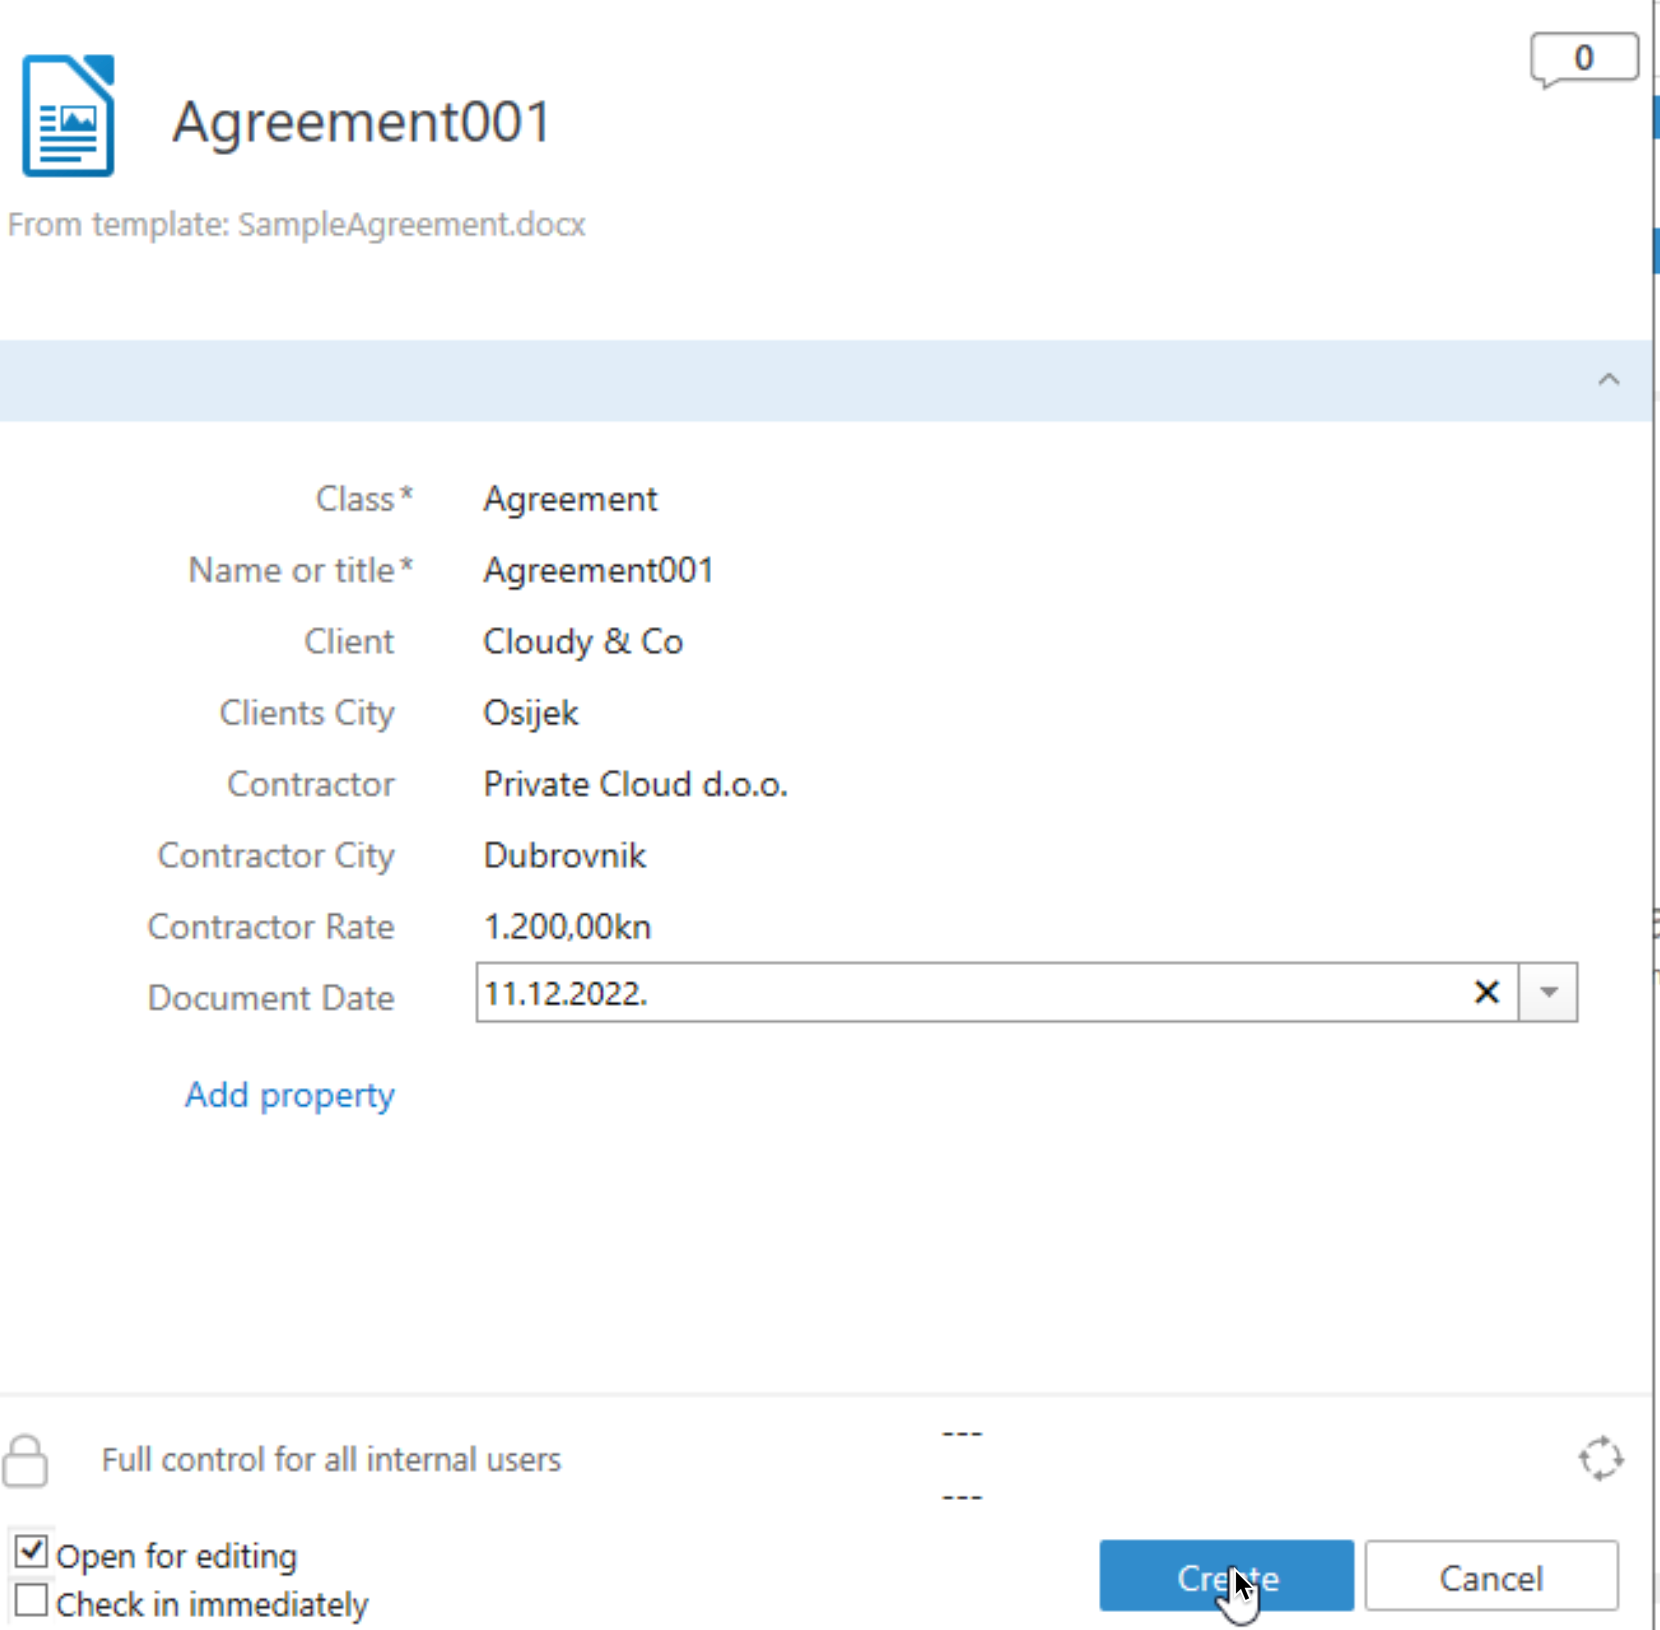
All the data we entered in metadata is now in the document!!! This is great.
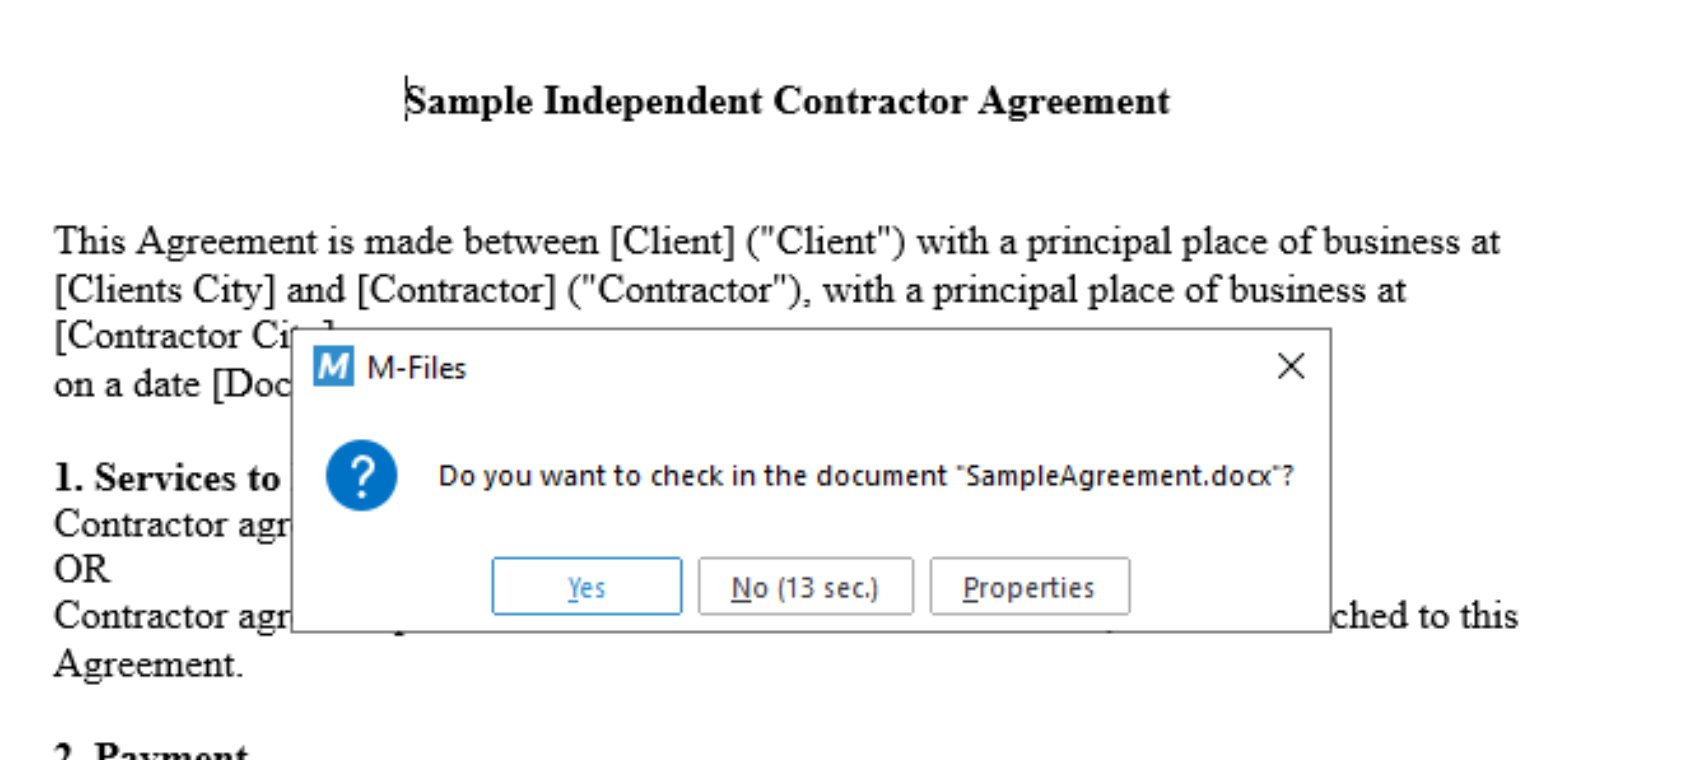
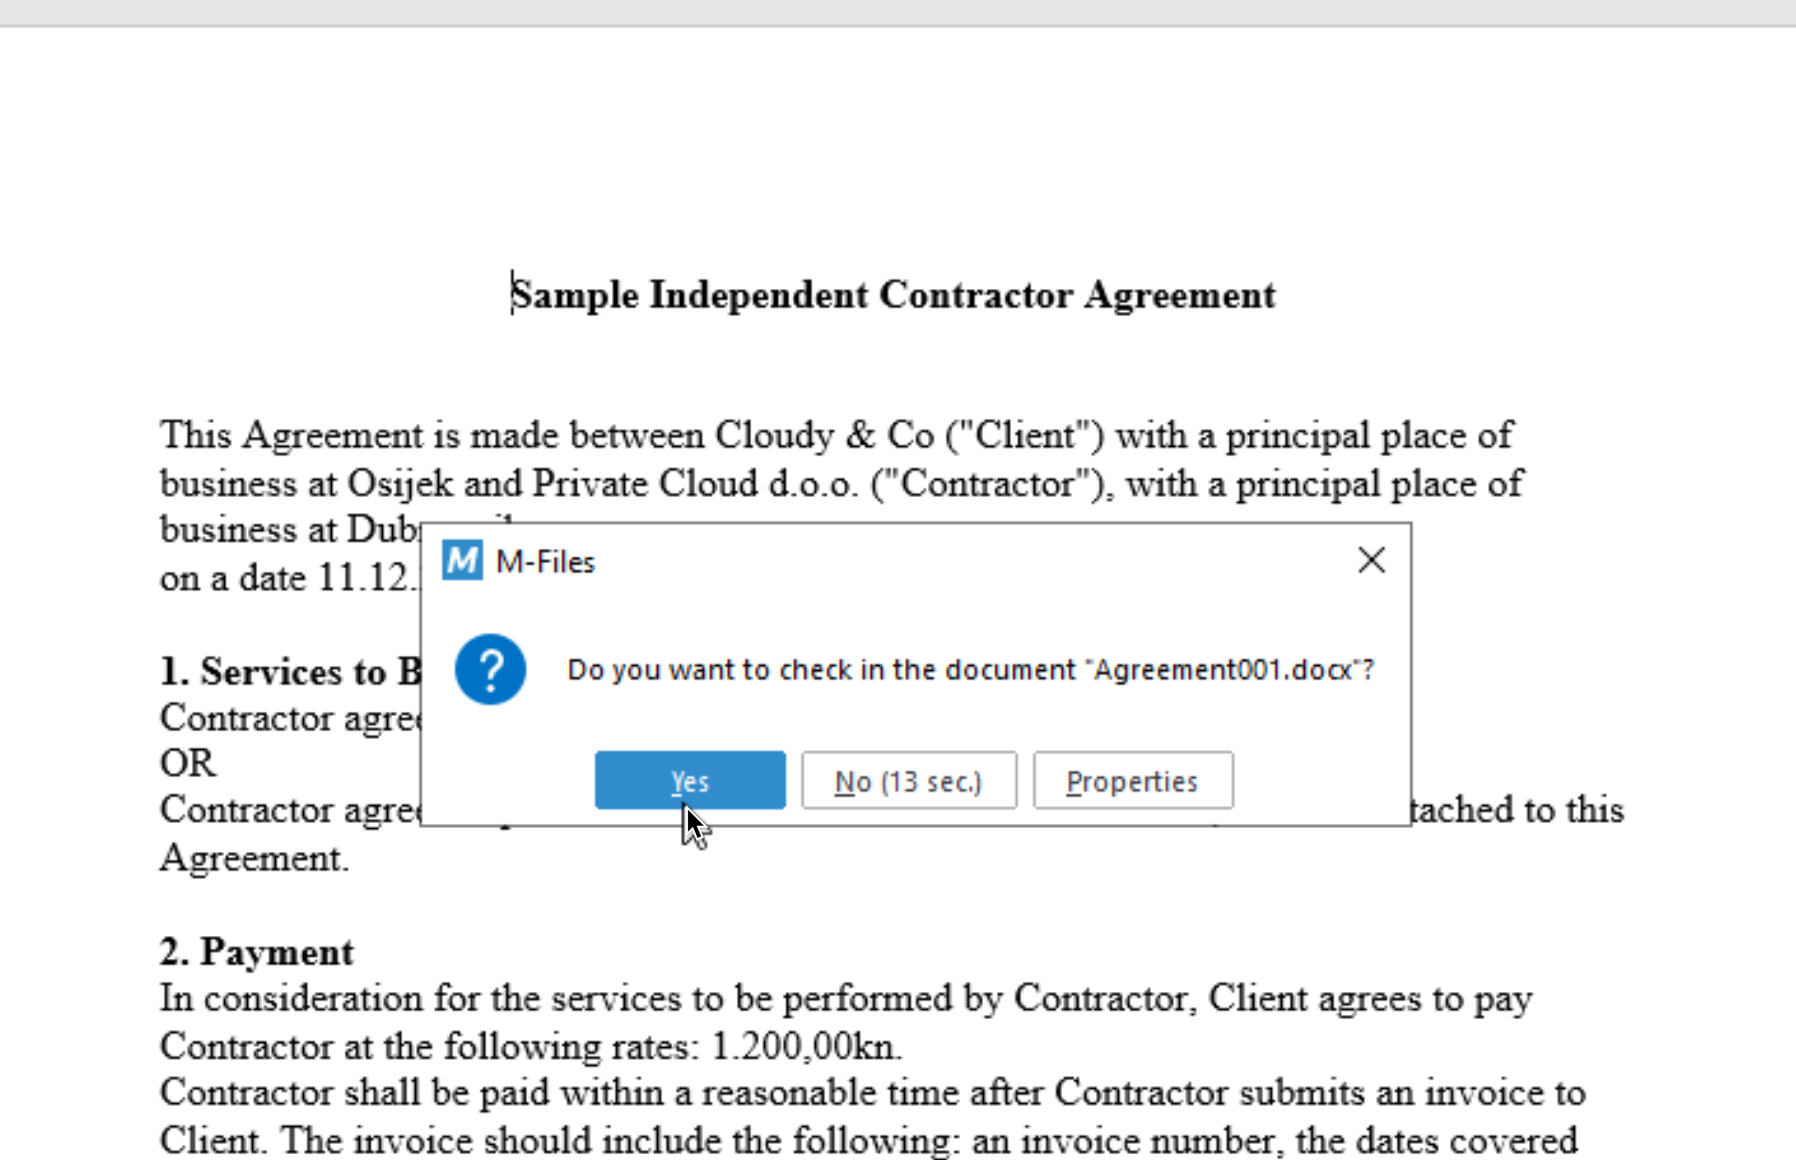
I want to close the document, so I’m greeted with following – select Yes
After that we need to check in the document
That is it, we now have our first agreement done through M-Files. It doesn’t look much, you can do all of that through Word, but it is convenient and clear in M-Files and saves you a bit of time since you don’t have to go through document every time if you defined your templates nicely.
For the end – there is a documentation on the M-Files on the topic – https://www.m-files.com/user-guide/latest/eng/Use_template.html
My series of articles about M-Files
Server
M-Files how to configure Metadata
M-Files – users and user groups
M-Files – Create and manage simple workflow
M-Files – Create Workflow with assignments
M-Files – Create Workflow with Approvals
M-Files – Manage permissions for Workflows
M-Files – how to create and use document templates
How to backup and restore M-Files Vault
M-Files – How to enable access to M-Files through website
M-Files how to secure connection between server and clients (HTTPS)
M-Files Migrate from Firebird DB to Microsoft SQL DB
Desktop
Understanding M-Files logic + Overview of M-Files desktop
M-Files Creating Views for M-Files Desktop
M-Files how to save or modify documents?
M-Files How to share documents? How to save eMails to M-Files?