I was looking for a good software firewall solution since Microsoft abandoned ISA product line. I went on and researched a bit and found pFSense – great product that I use for years now. Since I use it in all my LABs and few production sites, I decided to give it some space on my blog. Since March 2021 I have new updated guide you can check out – https://www.informaticar.net/how-to-install-and-configure-pfsense-on-hyper-v/
We`ll start with simple install procedure. I`m using Hyper-V as my main hypervisor, so we`ll be doing tutorial on Hyper-V.
Hypervisor doesn`t matter a lot, setting up a new VM is similar on all the platforms.
This LAB will be based on – Hyper-V hypervisor, Windows Server 2016 and pFSense v2.3.4
In case you use some other hypervisor – FreeBSD (64bit) is platform you want for pFSense setup.
Before we create VM and start install, let us first download pFSense installation
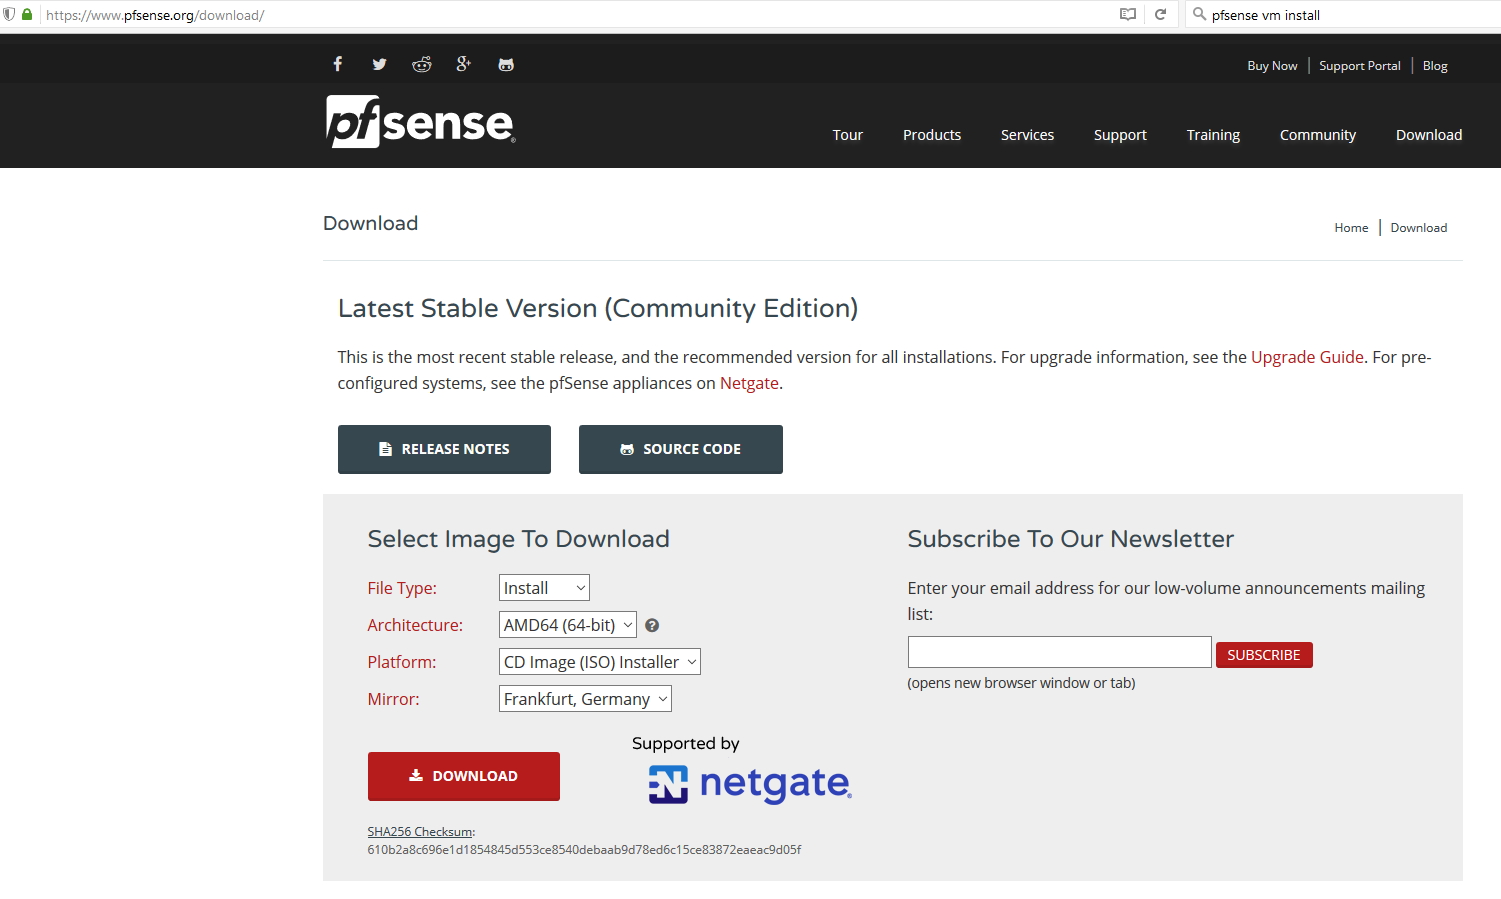
Head to -> https://www.pfsense.org/download/
Again – there is updated version of this article on this link – https://www.informaticar.net/how-to-install-and-configure-pfsense-on-hyper-v/
Choose Latest Stable Version (Community edition) | File Type: Install | Architecture: AMD64 (64-bit) (or 32bit if you like) | Platform: CD Image (ISO) Installer | Mirror: (closest to area where you live) in my case Frankfurt, Germany | Download
ISO is small, about 306MB
While ISO is downloading, lets setup VM that will host it
Minimum hardware specs for pFSense can be found here – https://www.pfsense.org/products/#requirements
So, minimum is 500Mhz CPU and 256MB RAM, optimal config is 1Ghz CPU and 1GB RAM. 1GB of HDD is required.
Lets start.
Again – there is updated version of this article on this link – https://www.informaticar.net/how-to-install-and-configure-pfsense-on-hyper-v/
Hyper-V
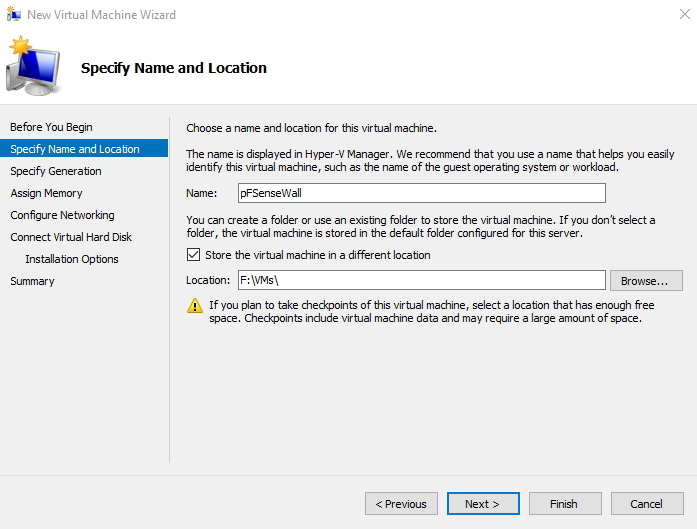
Hyper-V Manager | Actions (right side of the window) | New | Virtual Machine…
(I`ll be skipping few Windows with general info)
Choose a name and location for your VM | Next
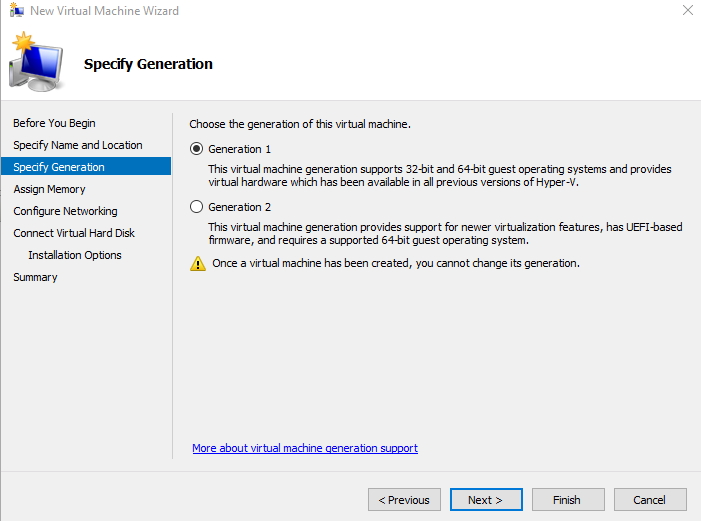
I want Generation 1 VM since pFSense won`t boot on Generation 2 (I initially done all the screenshots for Gen2 VM – but besides a little GUI differences all is the same in Settings for Gen1 and Gen 2 VM) |Next
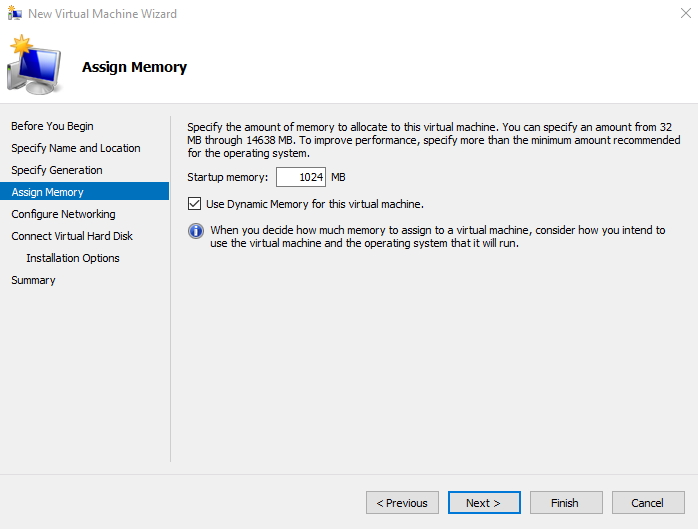
Assign RAM to the VM – 1GB is enough for testing. If you have large network with heavy loads, you`ll of course need more |Next
For networking – I`ll choose not connected – but we`ll configure networking right after we`re done with initial setup. We`ll need 2 NIC for this LAB. One for internal network, and other for internet access.

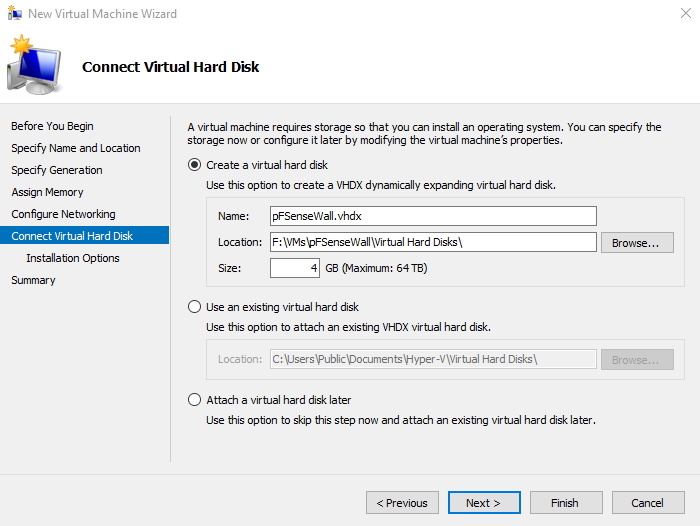
Create a virtual hard disk – I`ll assign 4GB. | Next
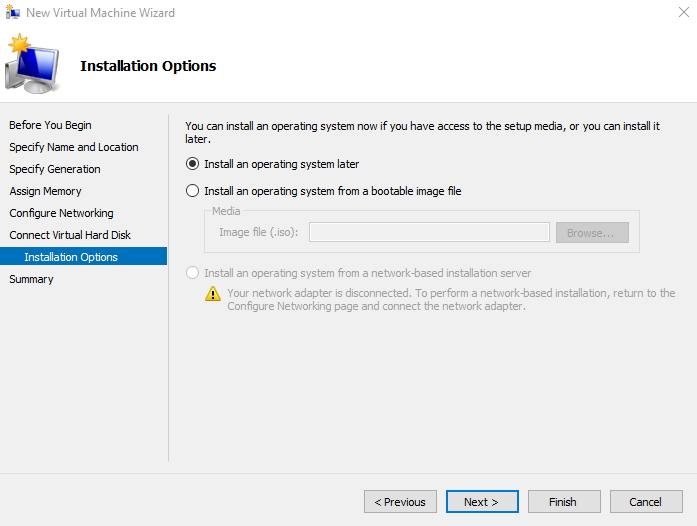
Install an operating system later (since we need to define few more things before) |Next
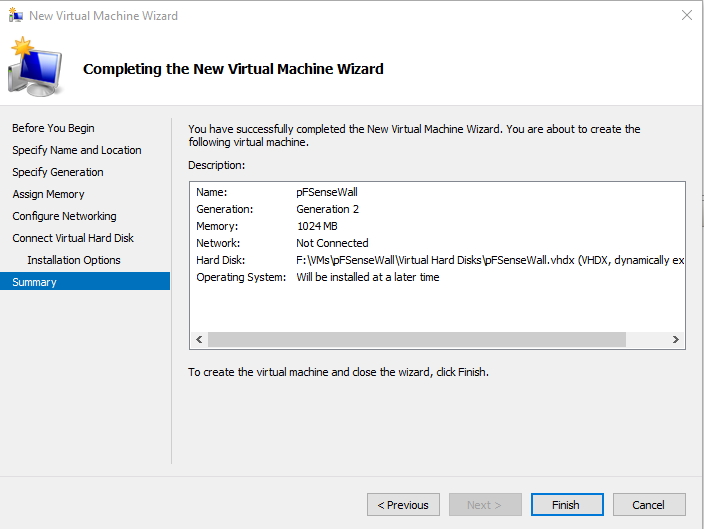
Summary |Finish
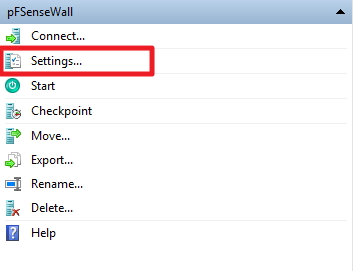
Select created virtual machine and then from the right part of the Screen select | Settings
______________________________________________
!!Before we go further – you need to create two network adapters in Virtual Switch Manager – one for internal communication between virtual machines, and one adapter for access to the internet.
I will not be covering this, but I`ll just write very quickly where you can do it. Hyper-V Manager | Actions | Virtual Switch Manager…
Select New virtual network switch and create – Internal and external switch. Internal as its name says will be for internal communication between VMs, and external will be for internet access. You need to connect External adapter to the NIC that has internet access. Internal switch is virtual and doesn`t need physical NIC.
When you are done and have two adapters ready – we can proceed – go back to the settings of the newly created pFSense VM.
______________________________________________
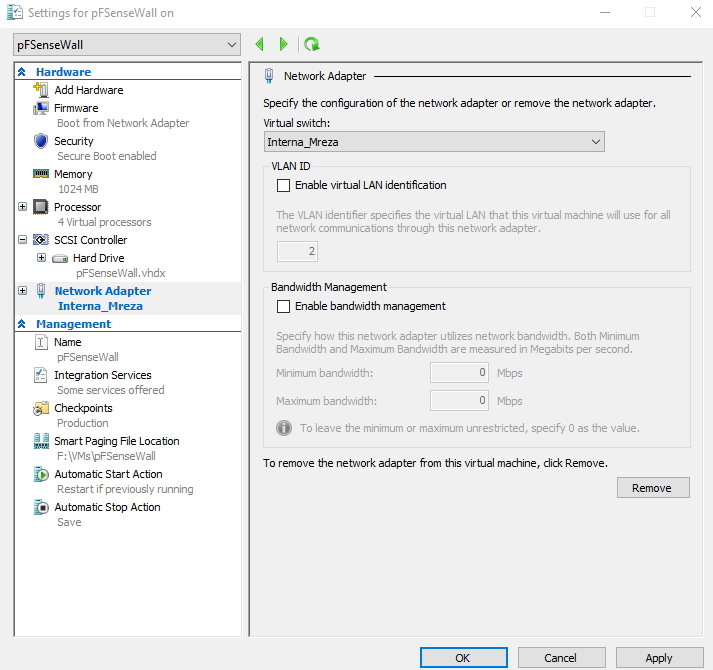
Under Hardware |Network Adapter we`ll define virtual switch that we`ll use in this LAB. I firstly selected Interna_Mreza (my internal adapter)
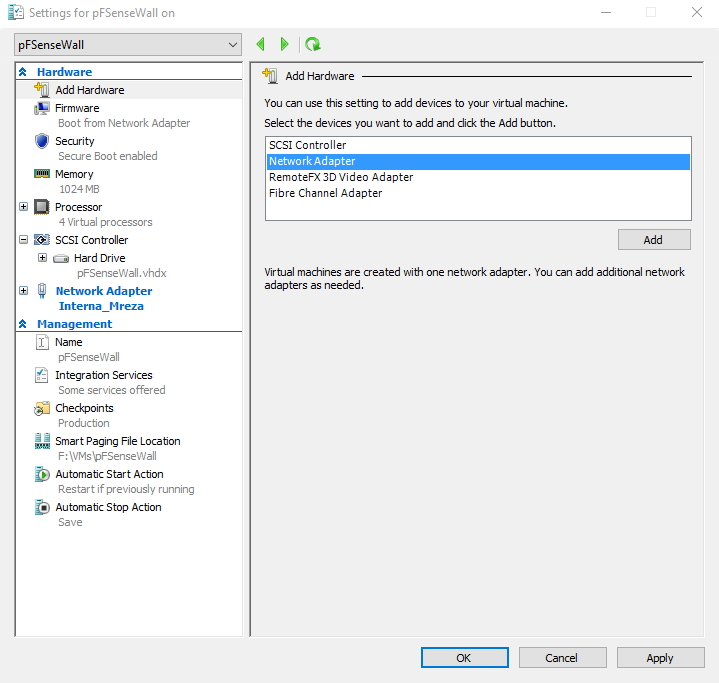
Then, we`ll need to create another adapter
Head on to Add Hardware | Select Network Adapter |Add
For the newly created adapter I selected NIC “Vanjski_LAN” which is my external NIC
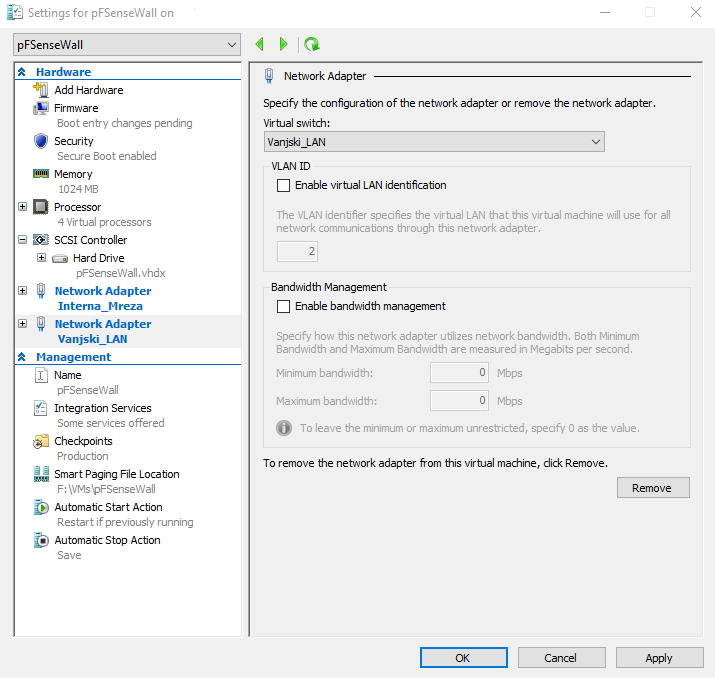
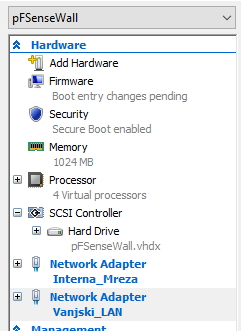
Now we have two NIC adapters we need for this LAB
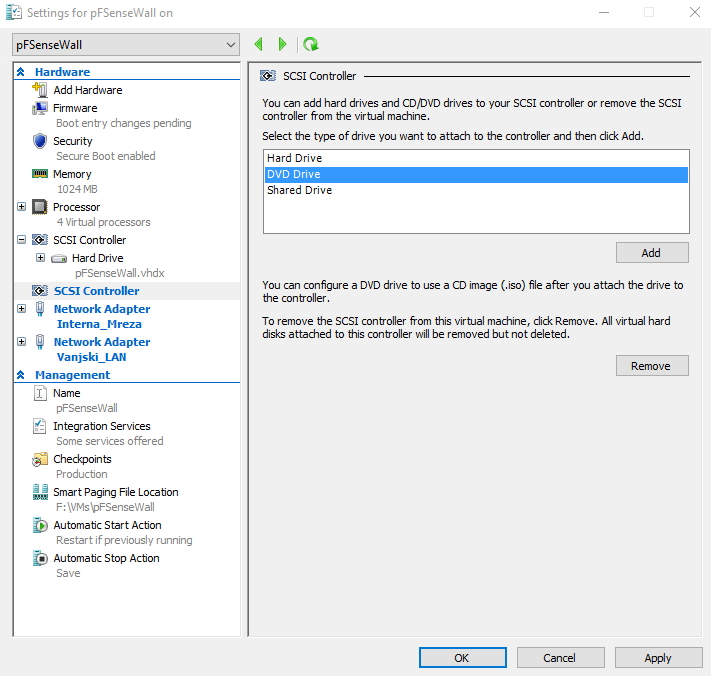
Before we close settings of the pFSense VM, we need to add one more “hardware piece” and do one more change.
Add Hardware | SCSI Controller |Add
New SCSI Controller will be automatically selected – select DVD drive |Add
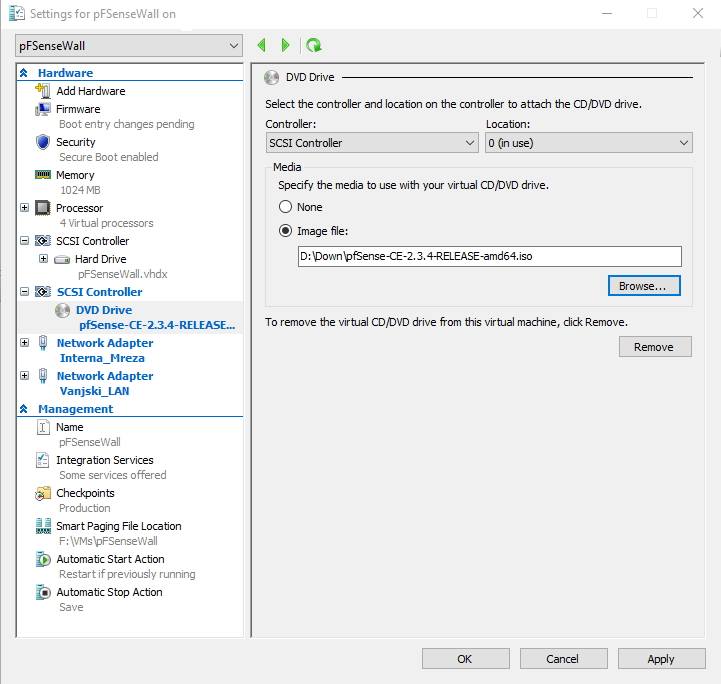
Now, select Image file and find downloaded pFSense ISO image install. pFSense will be probably downloaded in is.gz format. You can extract ISO from .gz with 7Zip or similar tools (if you are using Microsoft Windows platform)
Apply
And final change – under Settings | Hardware | select Firmware and move DVD drive to the top. |Apply |OK

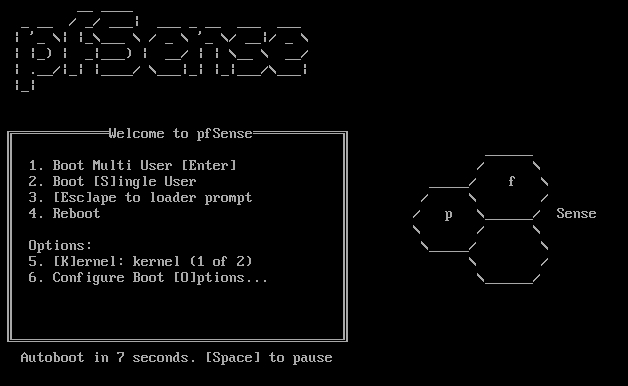
Now we are finally starting pFSense installation – select your virtual machine and start it.
Again – there is updated version of this article on this link – https://www.informaticar.net/how-to-install-and-configure-pfsense-on-hyper-v/
pFSense
Let the countdown finish so the autoboot can load
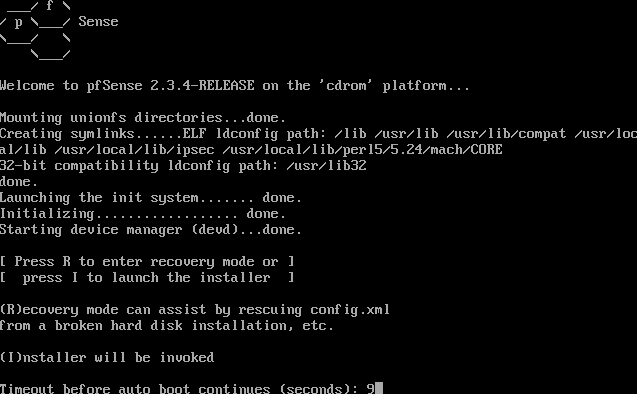
Once again, let the countdown finish and installer will be invoked
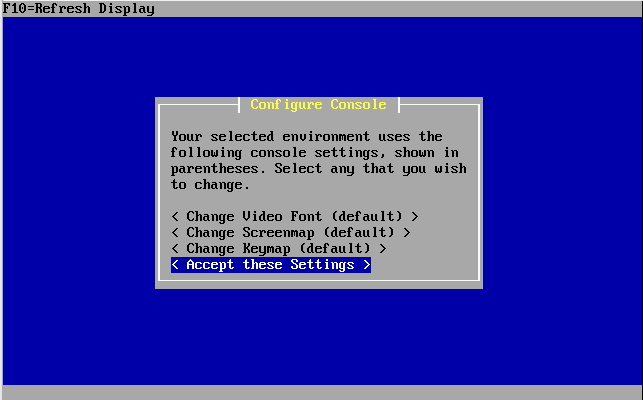
I`ll leave default settings and select | Accept these Settings
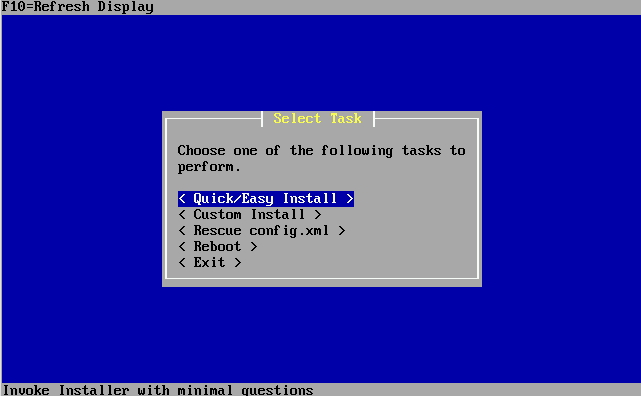
Quick/Easy install
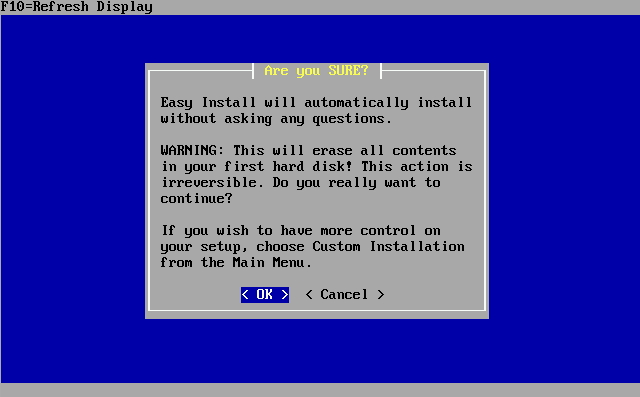
OK
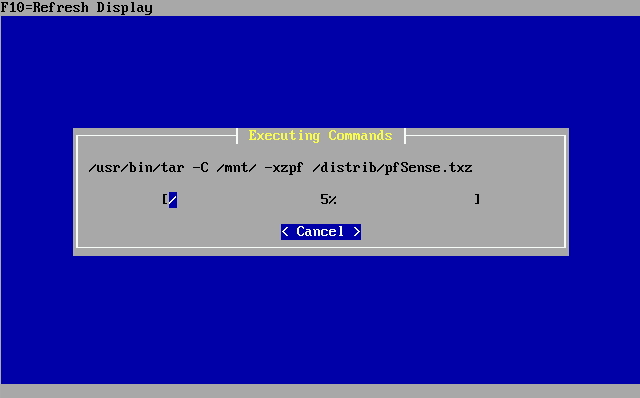
…
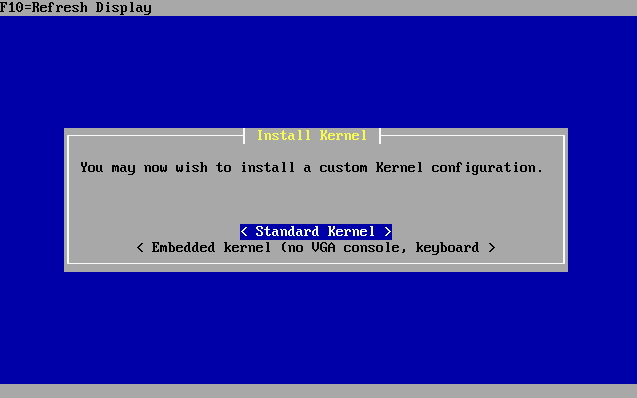
Standard Kernel
…
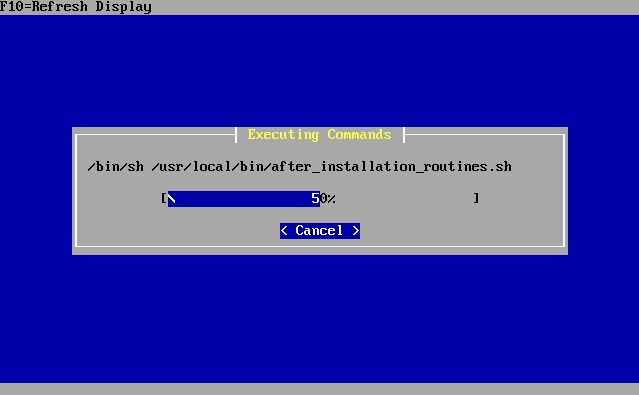
Install is finished – select reboot.
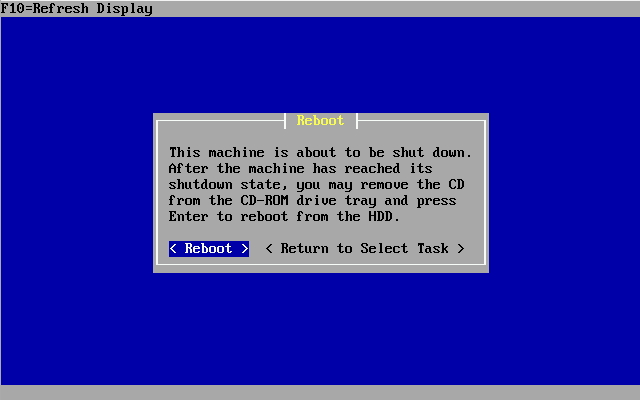
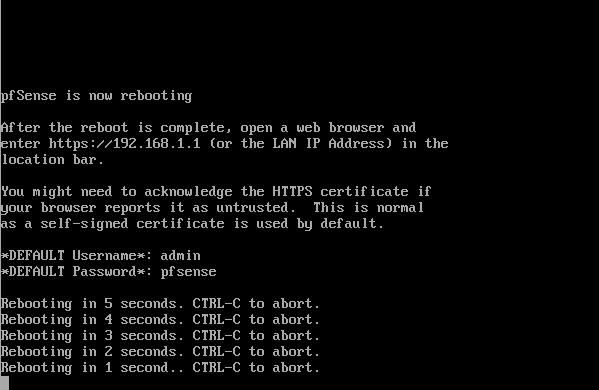
After rebooting – remove virtual ISO image.
That is it, installation should be done now, and you should get following screen after reboot

That is it for the installation – if you are interested in simple configuration for the pFSense – follow this link -> https://www.informaticar.net/how-to-configure-pfsense/
pFSense article series:
How to install pFSense on Hyper-V – https://www.informaticar.net/how-to-install-pfsense-on-hyper-v/
How to configure pFSense – https://www.informaticar.net/how-to-configure-pfsense/
How to define firewall rules on pFSense – https://www.informaticar.net/how-to-define-firewall-rules-on-pfsense/
How to create port forwarding on pFSense – https://www.informaticar.net/create-port-forwarding-on-pfsense/
How to setup OpenVPN on pFSense – https://www.informaticar.net/how-to-setup-openvpn-on-pfsense/
How to setup OpenVPN on client (pFSense) – https://www.informaticar.net/how-to-setup-openvpn-pfsense-version-on-client-pc/
OpenVPN on pFSense: Enable access to the LAN resources – https://www.informaticar.net/openvpn-on-pfsense-enable-access-to-the-lan-resources/
How to revocate user certificate on pFSense – https://www.informaticar.net/how-to-revocate-user-certificate-on-pfsense-openvpn/
How to import PFX certificate to pFSense – https://www.informaticar.net/how-to-import-pfx-certificate-to-pfsense/