I have a wildcard certificate originally issued for Microsoft IIS web server that I want to use for pfSense vpn access.
Certificate is in .pfx format, and pfSense won`t recognize it. If I want to use the same certificate for pfSense, some changes are needed.
You first need to export certificate from IIS and I won`t be going through that procedure here. Certificate should be exported in PFX format with private key and all certificates in the certification path if possible.
When you have pfx certificate, we need to go through these steps.
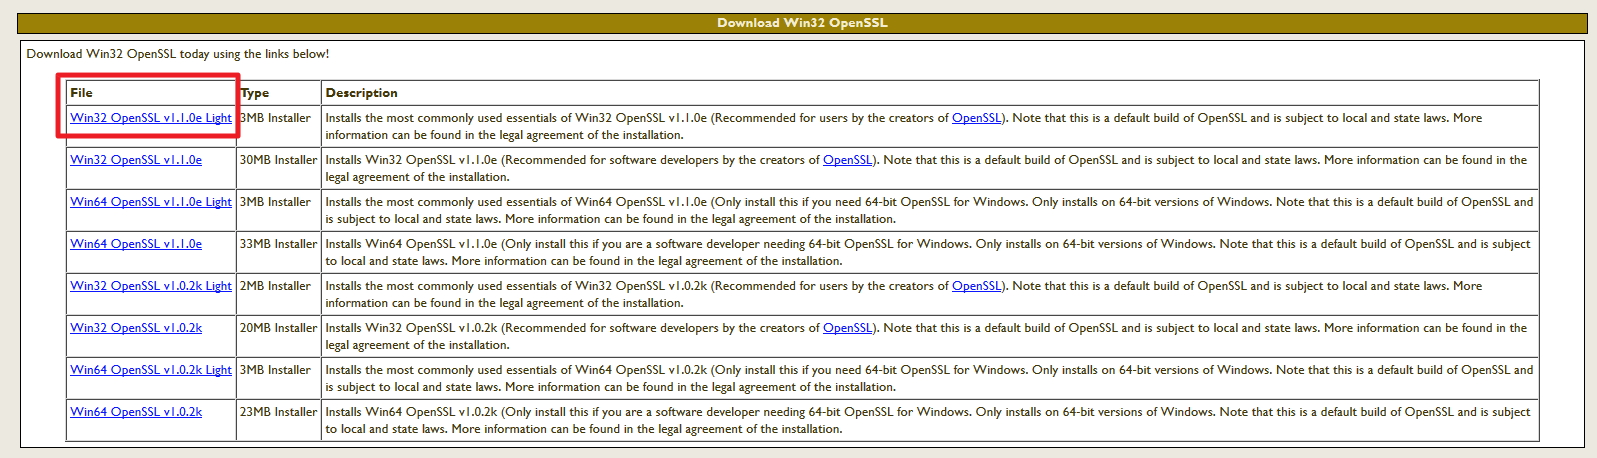
We will use OpenSSL tools for conversion. We need Win32OpenSSL Light package from here – http://slproweb.com/products/Win32OpenSSL.html
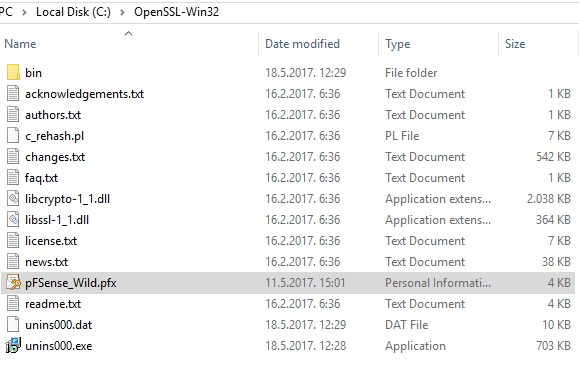
It will be installed into C:\OpenSSL-Win32

Copy exported PFX certificate to C:\OpenSSL-Win32 (or directory in which you choose to install OpenSSL)
Open command prompt as administrator navigate to C:\OpenSSL-Win32\bin
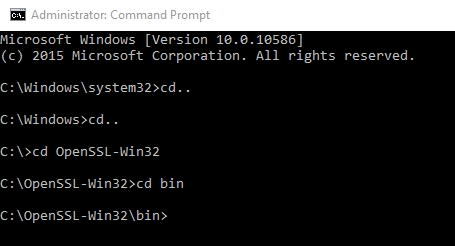
openssl pkcs12 -in c:\OpenSSL-Win32\pFSense_Wild.pfx -out C:\OpenSSL-Win32\pFSense19Cert.pem -nodesYou`ll be asked for password which you entered while exporting certificate from IIS

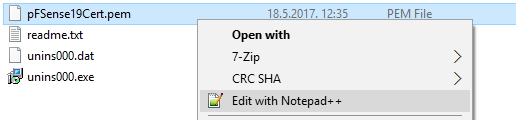
If we check back into C:\OpenSSL-Win32 – .pem cert is there

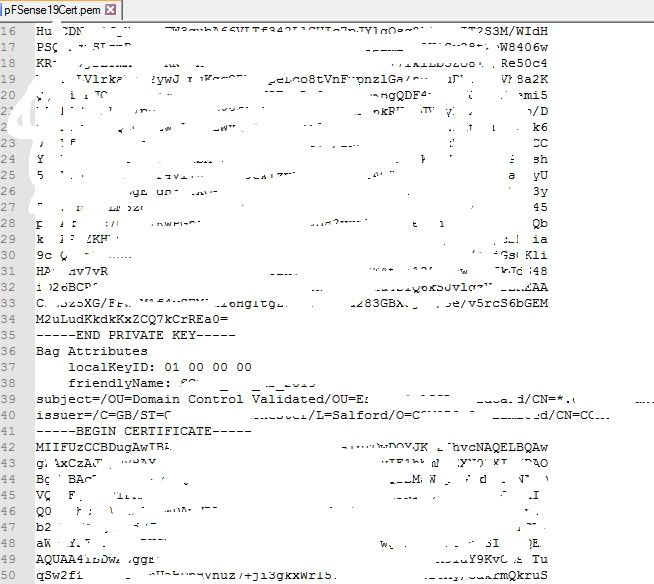
Right click on the certificate – Open with (I`ll use Notepad++)
When opened, certificate should have two parts – Private Key and Certificate –(I scrambled mine for security)
Next stop is pFSense
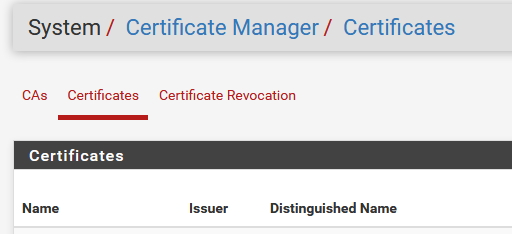
System | Cert Manager

Click on tab Certificates
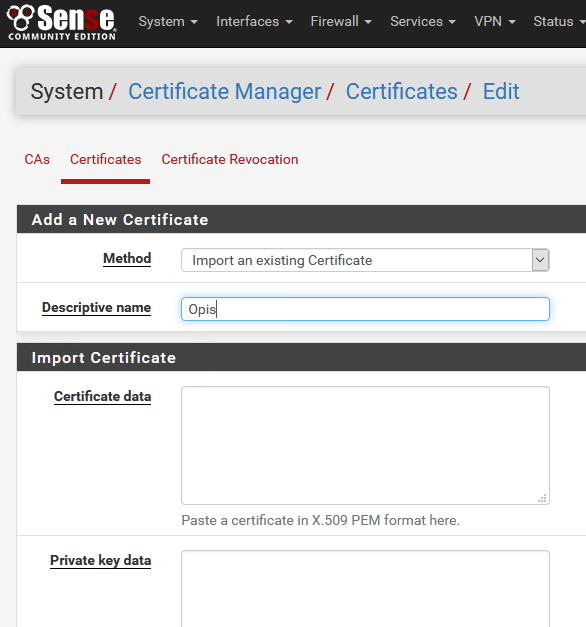
Click on +Add
Make sure you choose “Import an existing Certificate” under Method and enter Descriptive name so you know what the certificate is.
As I previously said – in your PEM certificate there should be two part – private key and Certificate.
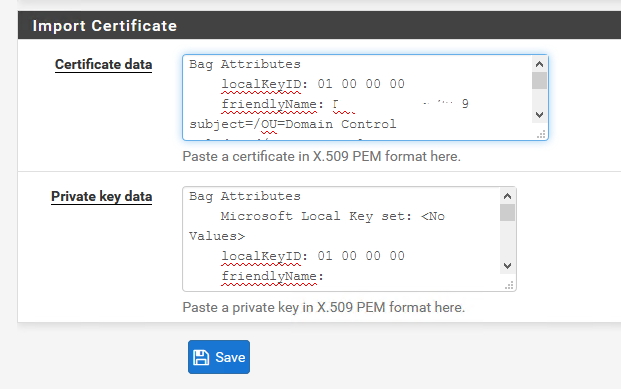
We will now copy separately both parts of the certificate into the fields.
Certificate part goes to “Certificate data” and private key goes into “Private key data”
You should select both certificates as selected in this picture (from top to bottom)
So – begin selection at “Bag attributes and end at the “End private key” – Green portions of the screen is here so you cannot see my key.

Copied key should look like this | Save
That is the procedure, after you save imported certificate you should be able to use it.
pFSense article series:
How to install pFSense on Hyper-V – https://www.informaticar.net/how-to-install-pfsense-on-hyper-v/
How to configure pFSense – https://www.informaticar.net/how-to-configure-pfsense/
How to define firewall rules on pFSense – https://www.informaticar.net/how-to-define-firewall-rules-on-pfsense/
How to create port forwarding on pFSense – https://www.informaticar.net/create-port-forwarding-on-pfsense/
How to setup OpenVPN on pFSense – https://www.informaticar.net/how-to-setup-openvpn-on-pfsense/
How to setup OpenVPN on client (pFSense) – https://www.informaticar.net/how-to-setup-openvpn-pfsense-version-on-client-pc/
OpenVPN on pFSense: Enable access to the LAN resources – https://www.informaticar.net/openvpn-on-pfsense-enable-access-to-the-lan-resources/
How to revocate user certificate on pFSense – https://www.informaticar.net/how-to-revocate-user-certificate-on-pfsense-openvpn/
How to import PFX certificate to pFSense – https://www.informaticar.net/how-to-import-pfx-certificate-to-pfsense/