I have done pFSense installation and configuration guide 4 years ago and people are still interested in those. Today we will quickly go through the installation and initial configuration process. It has change a little bit, and is nothing complicated in my opinion. I still use a lot pFSense especially in my LAB environments – it has become standard for me.
Before we begin
I’m going to install pFSense inside Hyper-V. If you are doing it on some other platform, procedure is more or less the same.In case you are doing this on some other hypervisor (vmware, virtualbox..) You will need to select FreeBSD (64bit) as a base for your VM.
For the VM I’m going to assign 2vCPUs, 1o24MB of RAM, and 2GBs of storage. I will add 2 NIC cards to this LAB – one card will be connected to interent, and other wan will be internal (private) for VMs, just like local LAN.
I created two Virtual Switches for this lab – one is named External and I named it – External – that network will be our WAN network for pFSense and connect our VMs to the internet. Other one is Private type and I named it LABPrivateNet – it will be internal lan network for our VMs.
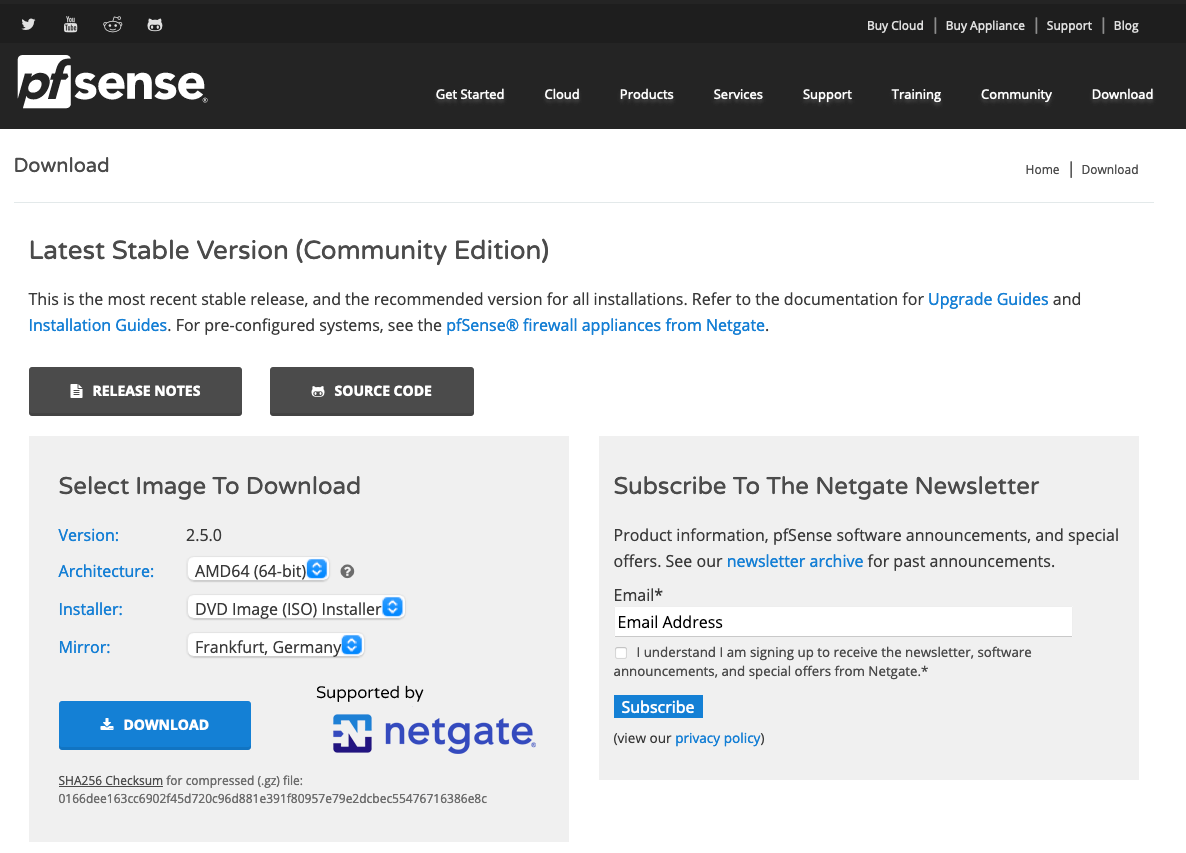
You can download installation from here – https://www.pfsense.org/download/
This guide assumes you know how to create VM and adjust settings of a VM inside Hyper-V. I wrote here about simple VM setup and settings of VM inside Hyper-V so you can check that out if you need.
Create VM in Hyper-V
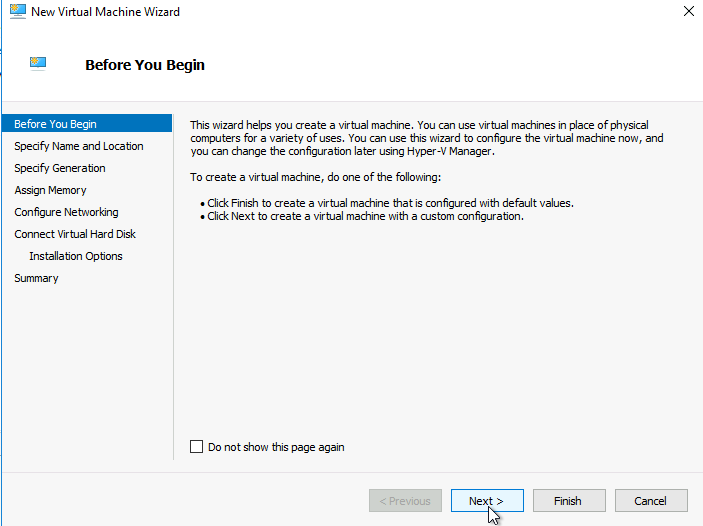
This is my virtual testing lab, I really don’t have anything to hide, but in this case I did just so you don’t get confused, because I already have pFSense setup for that LAB.

Next
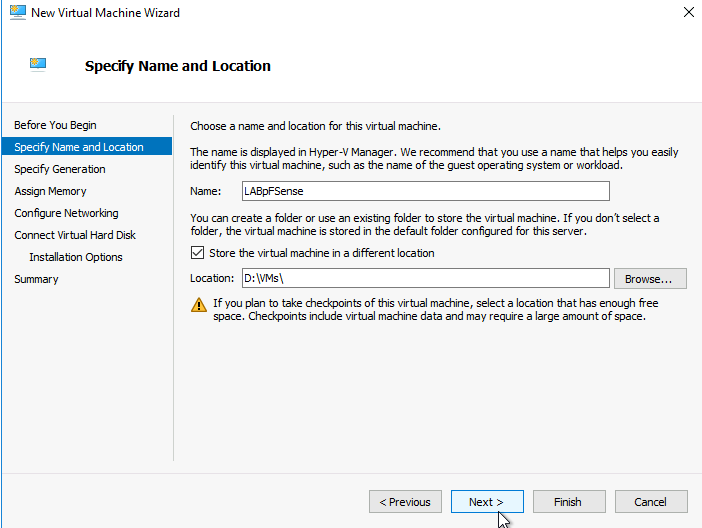
I named my VM LABpFSense (you can name yours as you can see fit) and placed it inside my VMs directory (again, it is up to you to select location for VMs)
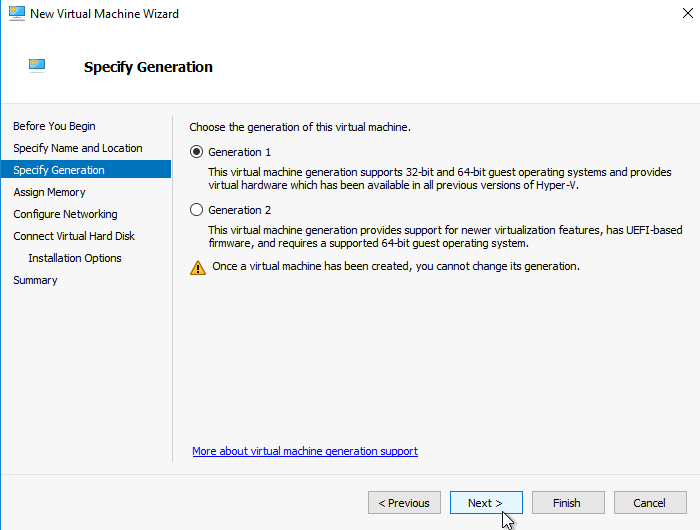
If I’m still correct, pFSense will work only as Generation 1 VM, so select it – Next
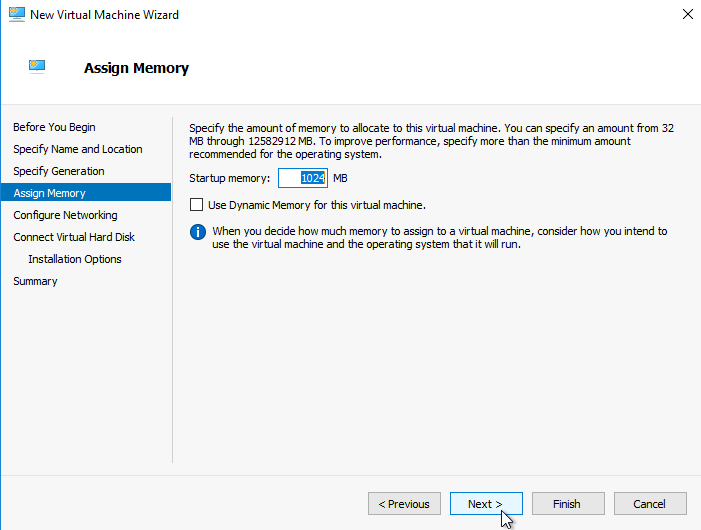
Assign 1GB of RAM (or more) – Next
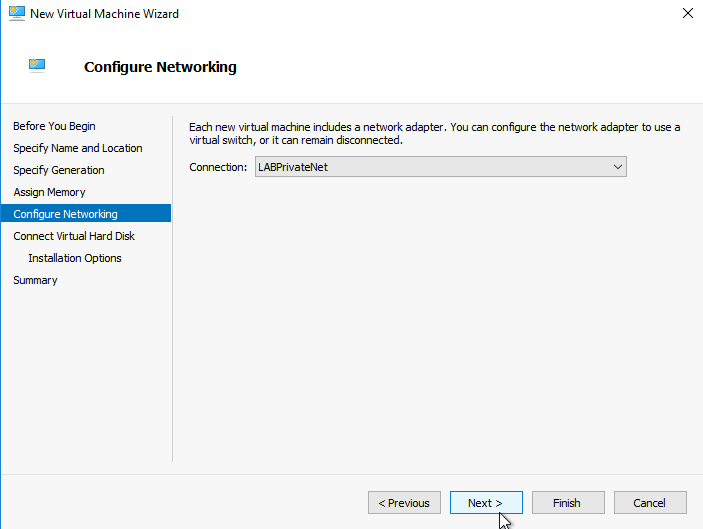
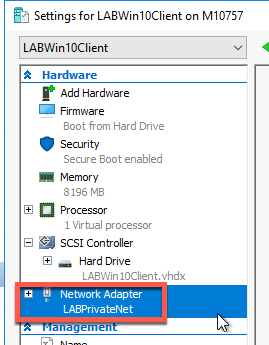
I will now add LABPrivateNet network card, which will be internal private network between VMs and pFSense. Later on, I will add External network card…
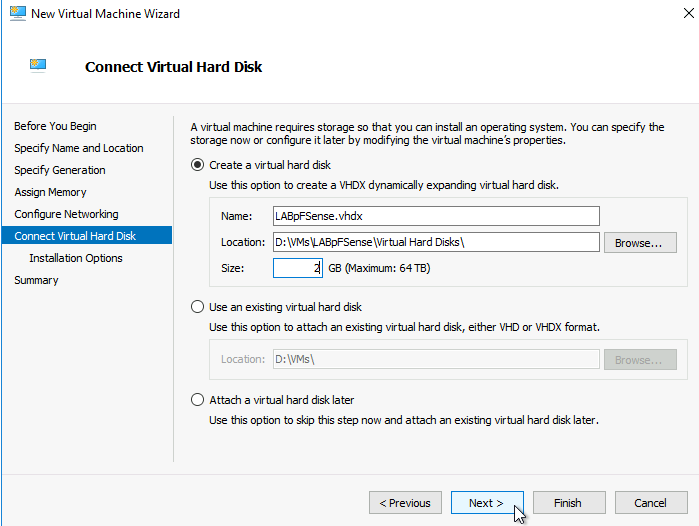
I will assign 2GB of disk space to the pFSense VM, although 1GB should be enough.
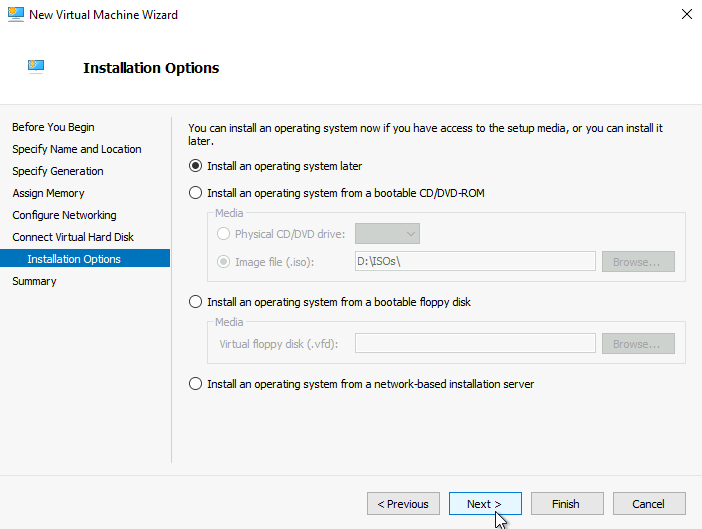
I will select “Install an operating system later” because we need to do a few more settings – Next
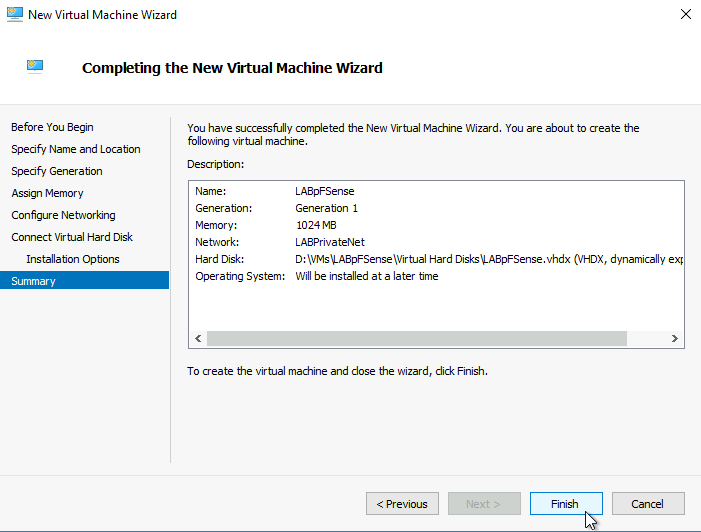
Check settings, and select Finish
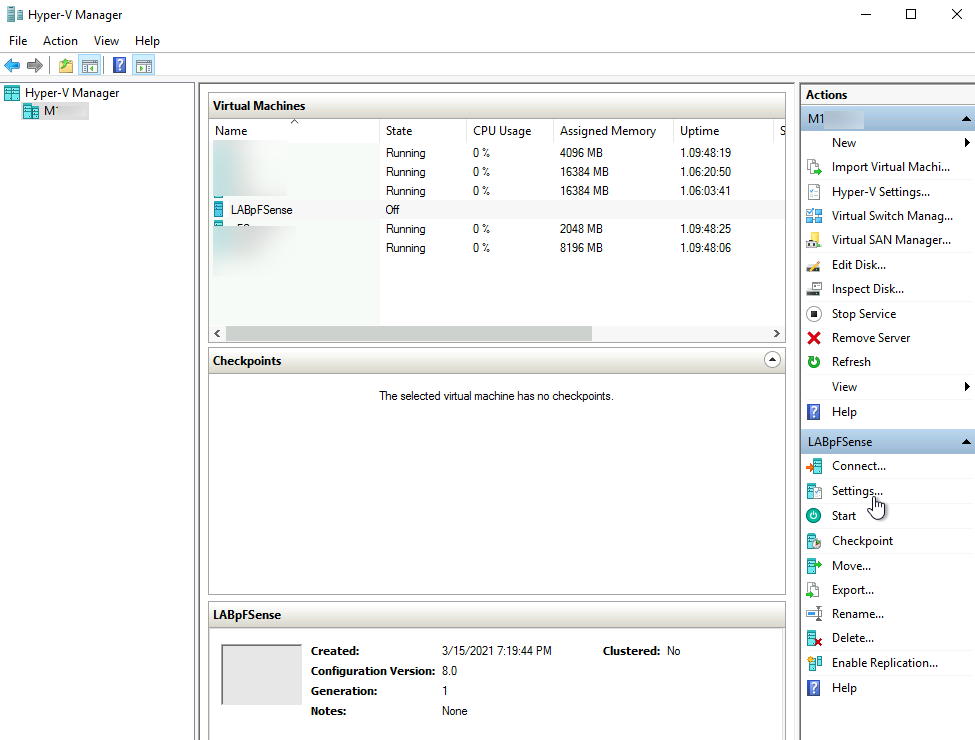
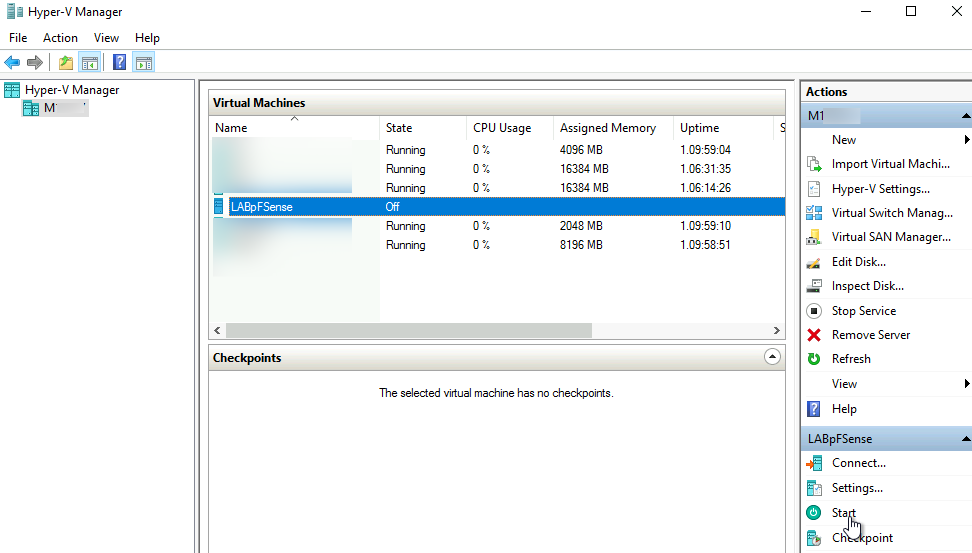
After VM is created, select it in a Hyper-V Manager and select Settings from the right side of the menu
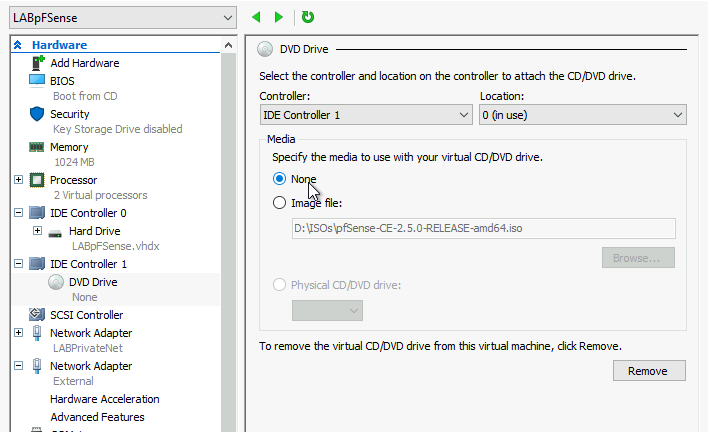
I added another network card (External) and also mounted pFSense iso image to DVD drive.
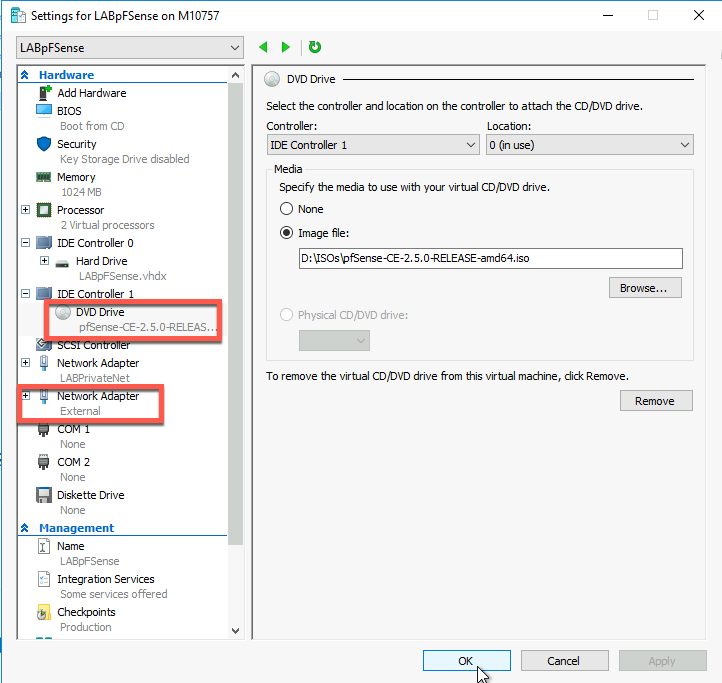
This is the place where you will also go back after setup of the pFSense is done, and at the moment you wish to configure WAN and LAN interface.
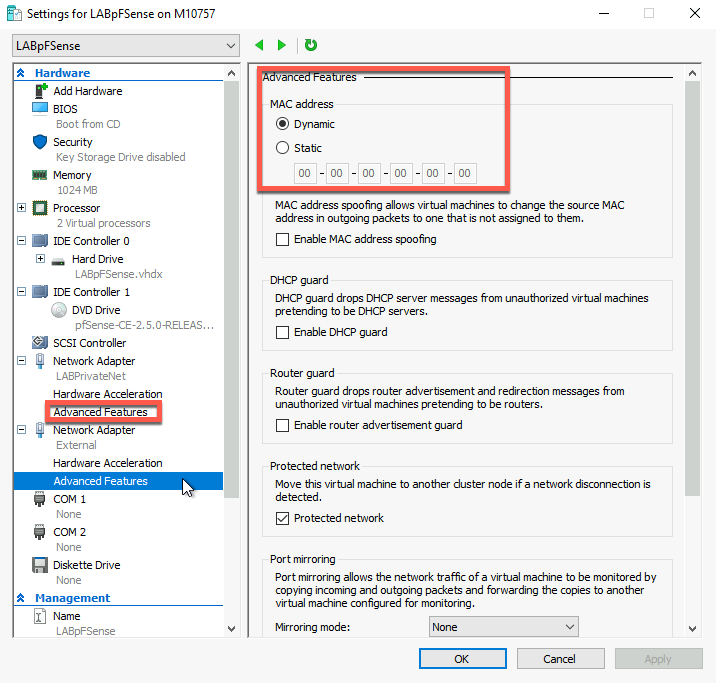
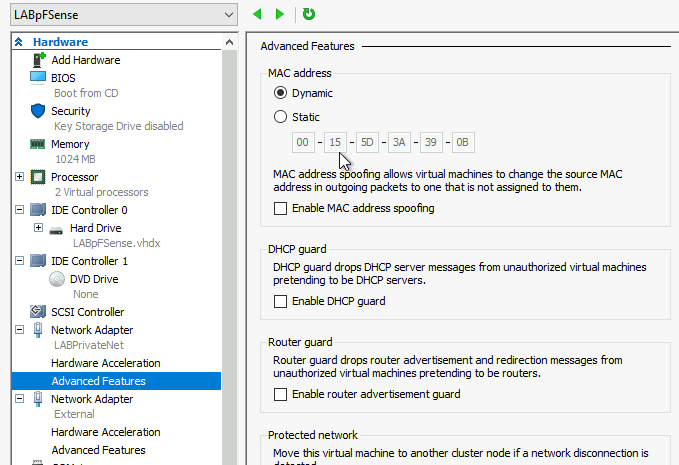
The easiest way to establish which card is WAN and which is LAN at the moment of the configuration in pFSense is by noting MAC address settings from Network Adapter of the settings of VM inside Hyper-V. Remember this location, MAC address will be assigned after we start VM and install it.
OK, close the settings
Start the VM
pFSense Installation
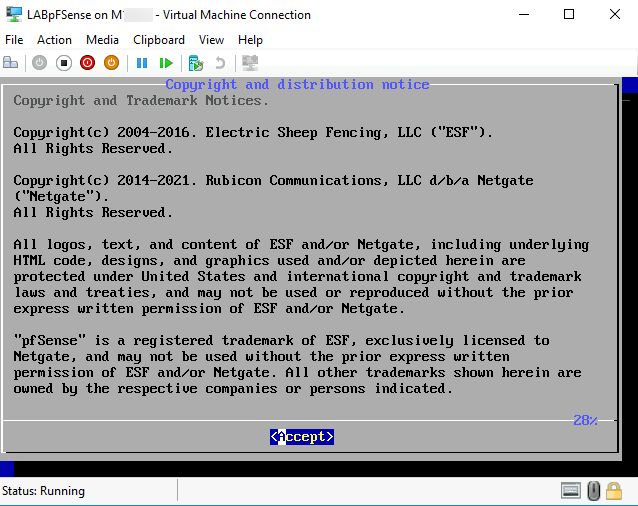
Double click on VM to open VM console
If you done everything correctly pFSense setup should start…
Accept
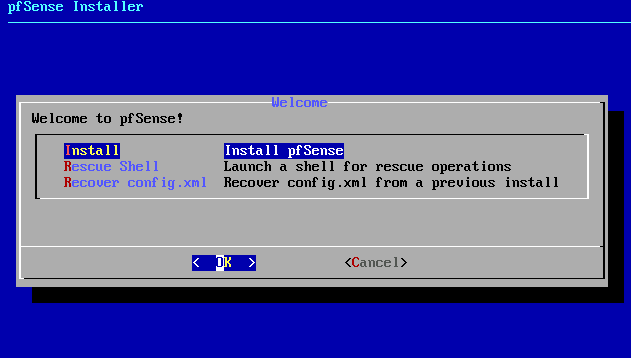
Install – OK
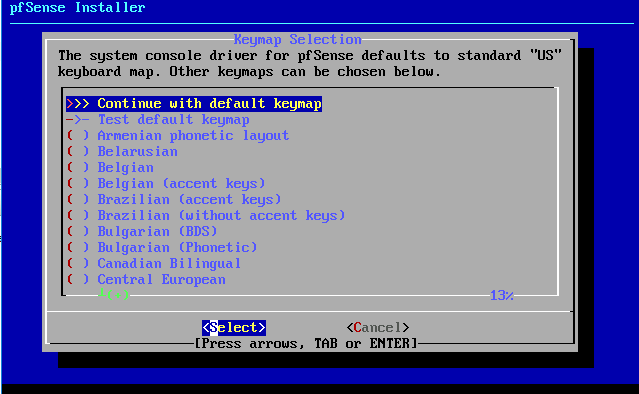
I will leave default keymap
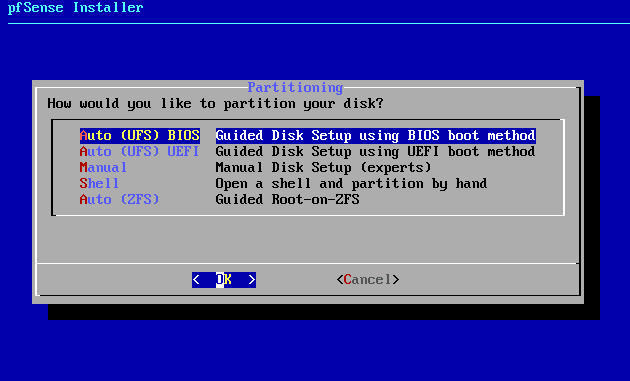
I will also select Auto (UFS) BIOS – OK
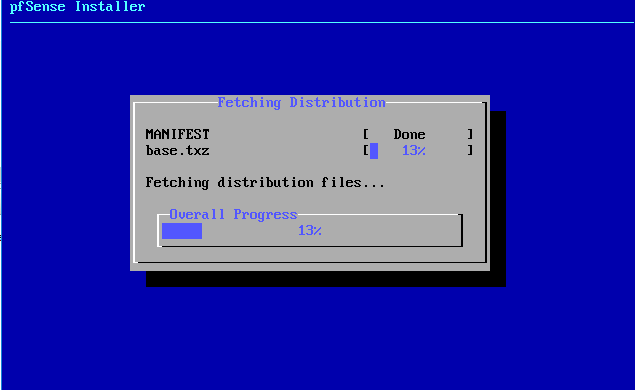
Install will start…
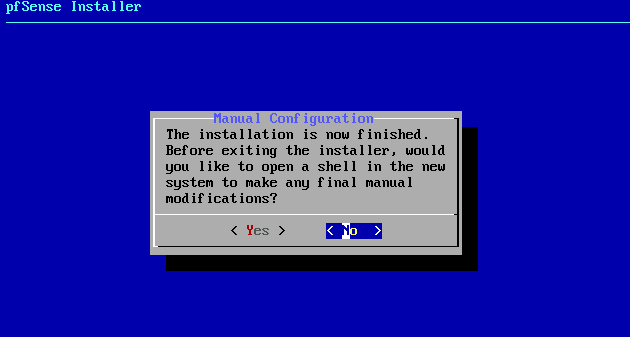
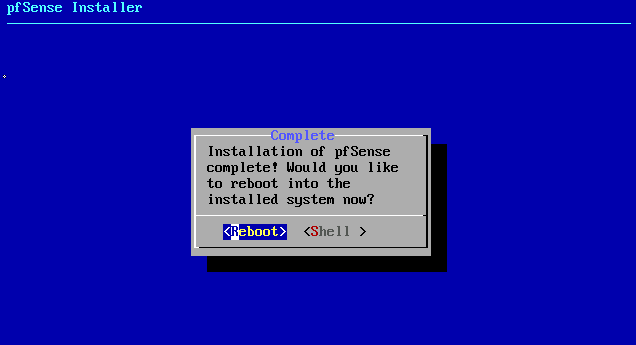
I will select No, and that answer will end setup and we will reboot VM
Reboot
After machine reboot to bios screen, turn it off and remove attached ISO image from Settings of the pFSense VM
Also, mark MAC addresses of the attached network adapters as we are already here
Ok, close Settings screen and start VM again
pFSense Configuration
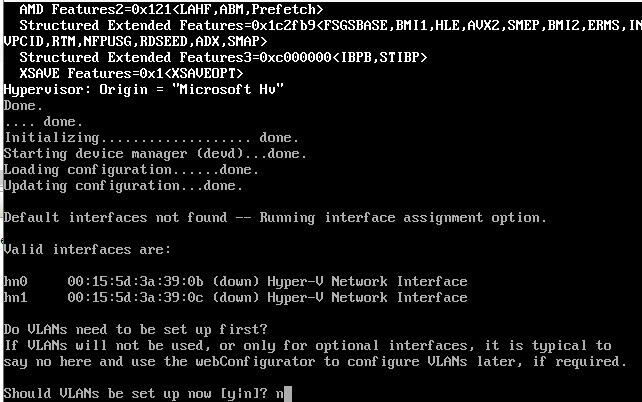
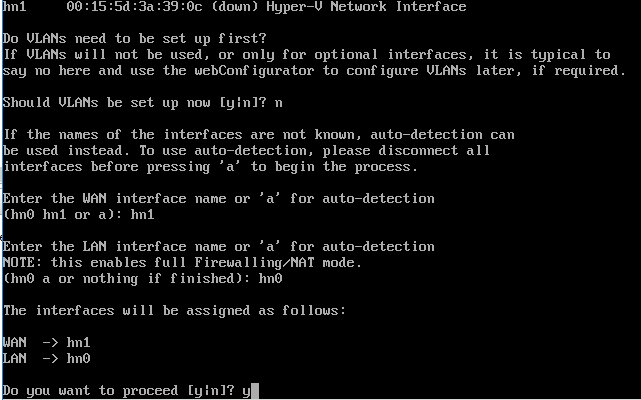
After first start of the VM, first question that you will be asked is – Should VLANs be set up now – I selected n
We don’t want to set VLANs now.
At the same screen you can notice “Valid interfaces are:” part of the screnn with hn0 and hn1. Interface hn0 has MAC address of 00:15:5d:3a:39:0b – that looks like my lan interface when I compare it to the screenshot above of the network interfaces for my pFSense VMs.
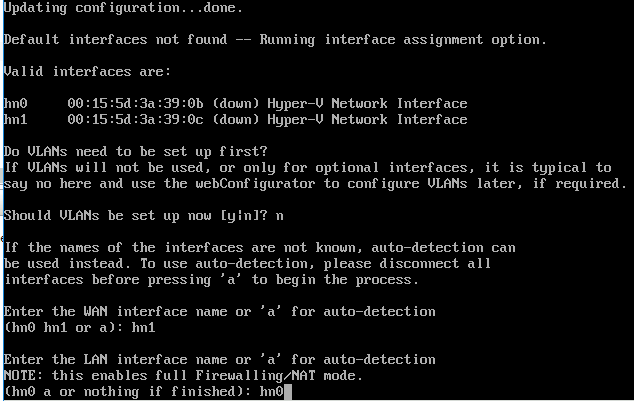
So, in my case
hn0 – LAN (LABPrivateNet -network interface)
hn1 – WAN (External network interface)
No, next question will be what is your WAN interface – hn1 is my answer – we already resolved that

hn0 is LAN interface
You should once again be warned how your interfaces will be assigned – confirm your assignment by entering y.
If you have mistaken, you can always enter n and repeat process.
After some configuring you will be greeted with main screen
Ok, so WAN interface hasn’t been configured, but LAN is – our pFSense is on 19.168.1.1/24
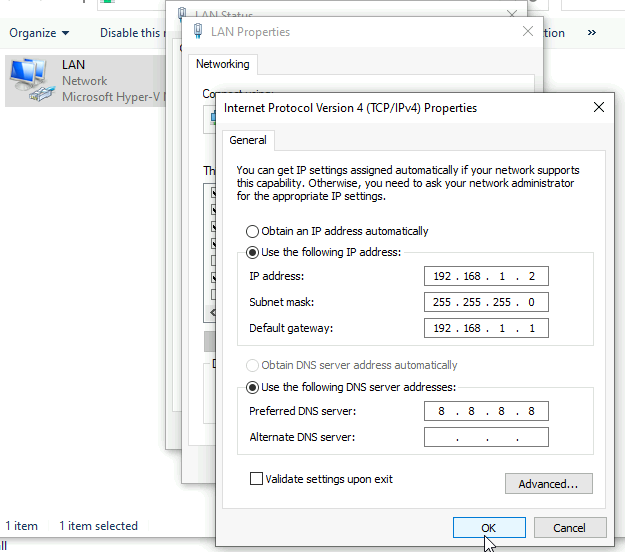
I created Windows 10 VM for this LAB. Only important part is network to which you wish to connect Windows 10 VM. That is (in my case) LABPrivateNet for that VM. So, VM can communicate with the LAN interface of pFSense and with other VMs on that (LABPrivateNet) network, but it cannot go out on the internet on its own, or communicate with host. So – LABPRivateNet is completely isolated network, meant only for local communication between VMs (as LAN in real world). pFSense will be the one that will connect these VMs to the world.
I will put my VM in the same subnet as pFSense – I will give it IP 192.168.1.2/24 set pFSense as default gateway – 192.168.1.1 and for this lab I will put 8.8.8.8 as DNS (Google DNS)
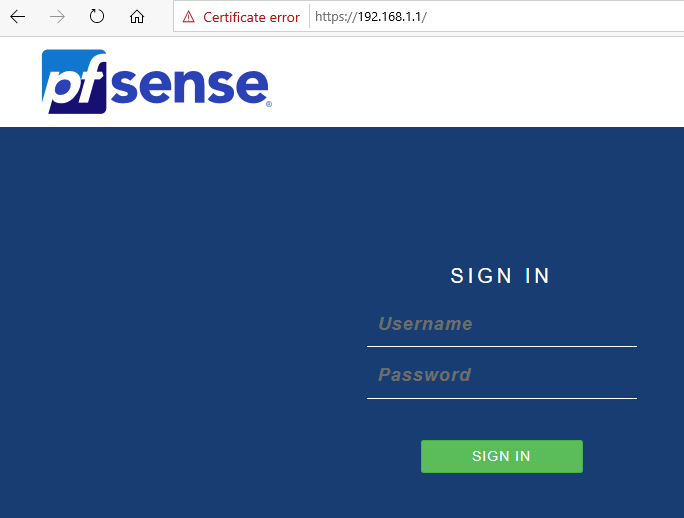
Now, lets open browser inside our VM and open https://192.168.1.1
You will probably be greeted with certificate error
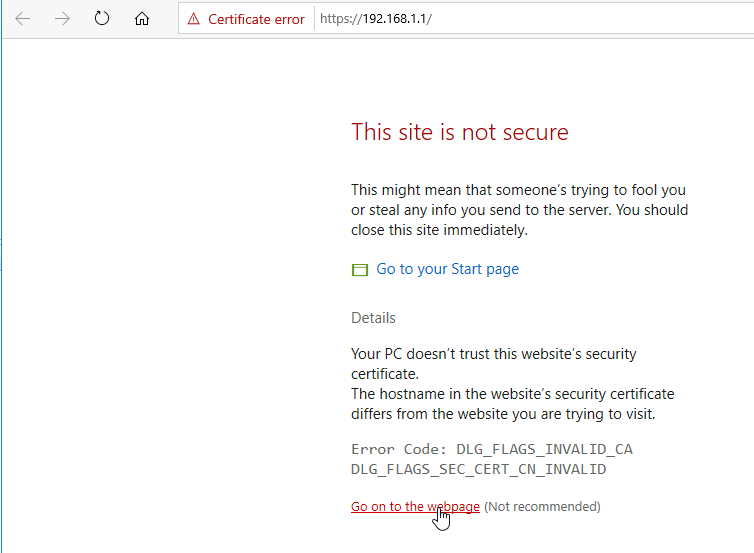
And after that, you will be greeted with sweet blue pFSense login screen
default username: admin
default pass: pfsense
Sign in
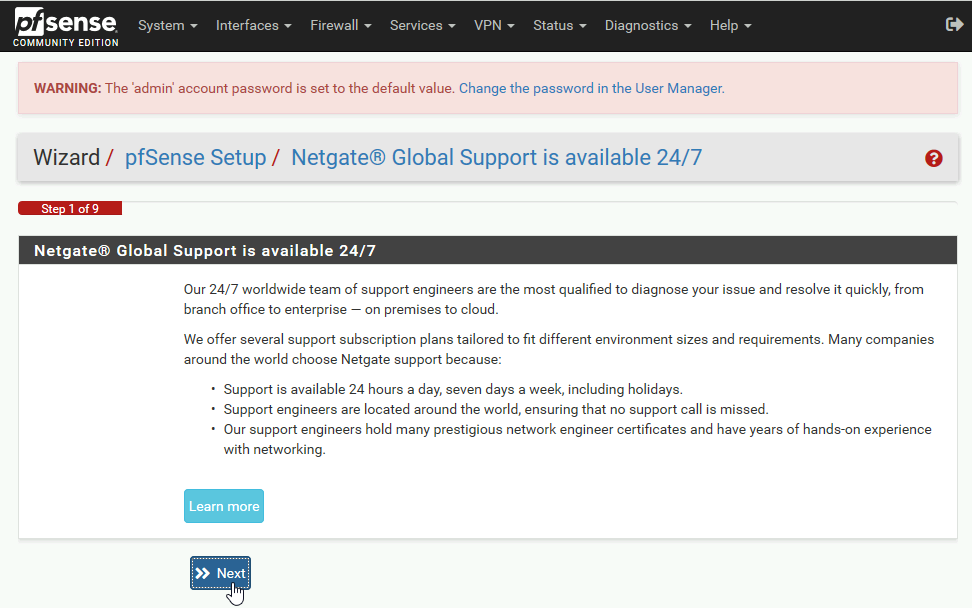
Next

If you are going to use this in production I recommend you support the project and buy pFSense at some point (just some heads up for the project) Next
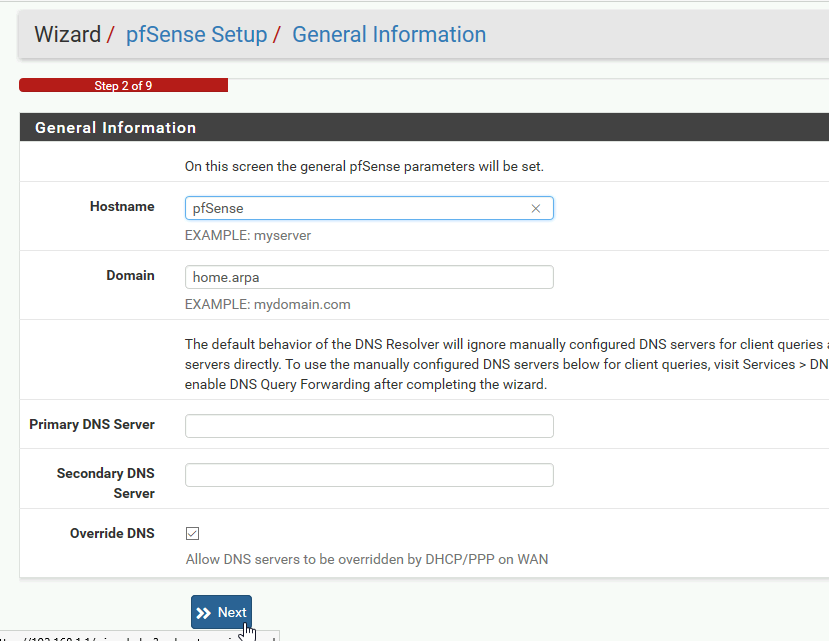
DNS Screen should stay as is, so with default settings!! Change hostname and domain if you will, but DNS servers leave empty!! Next
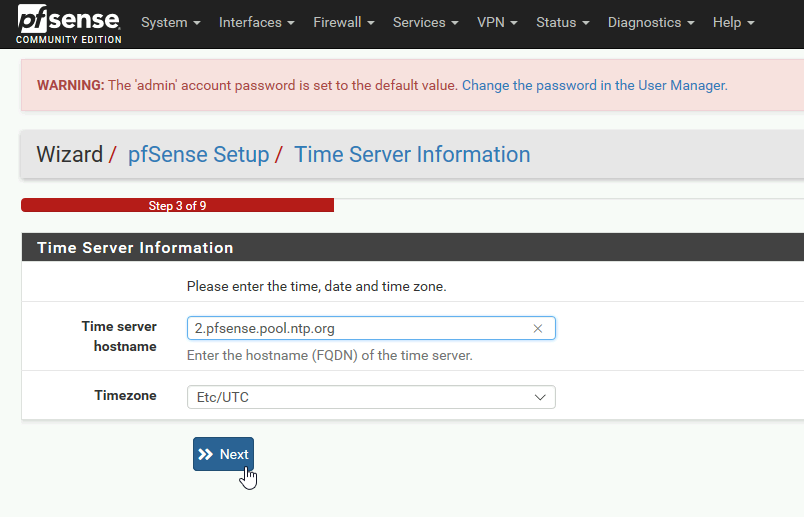
Change NTP settings if you need – Next
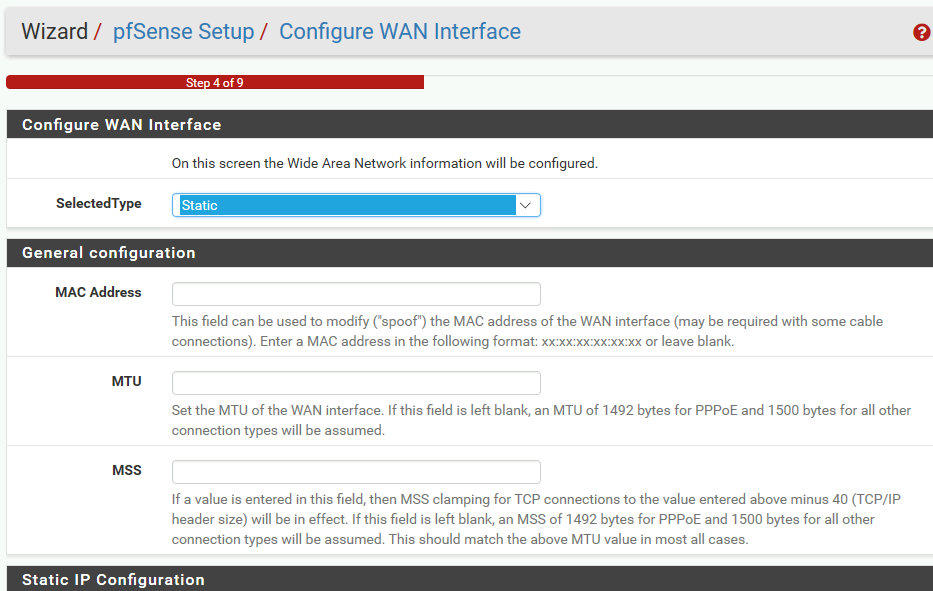
Next is WAN screen. You can select Static/DHCP/PPoE, PPTP as a network type. I have static IP so I will select that
We are still on the WAN part of the wizard, in the Static IP configuration section I entered public IP I got, subnet mask for the IP I was assigned to and Upstream Gateway (gateway for the public IP that provider assigned to me)
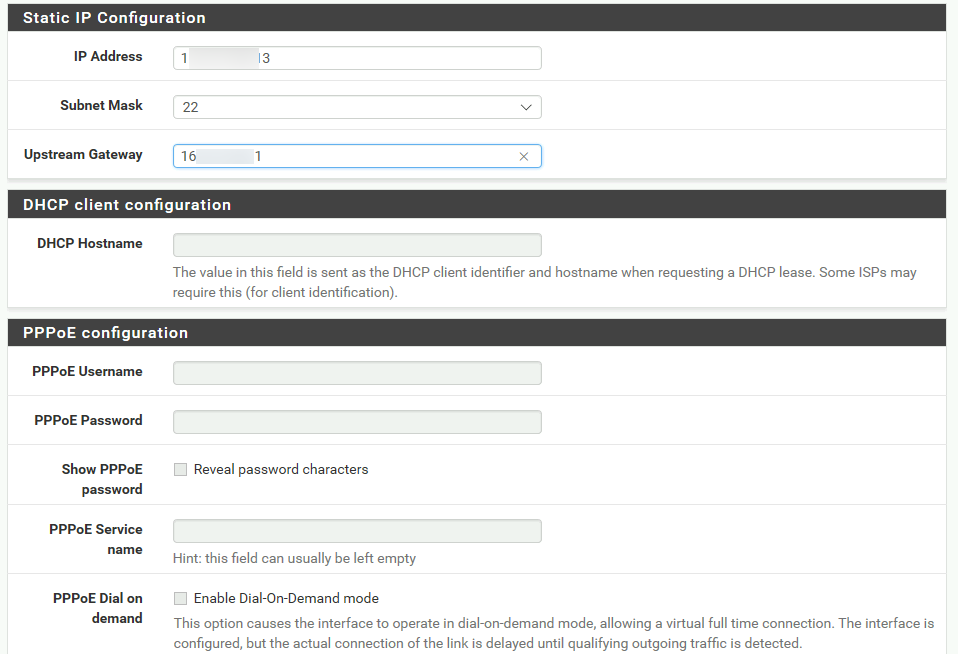
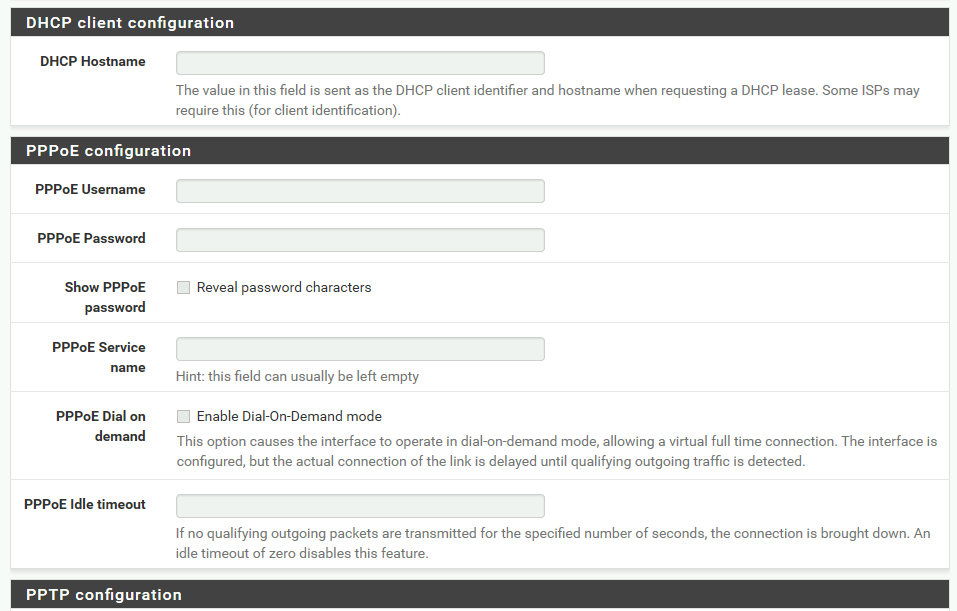
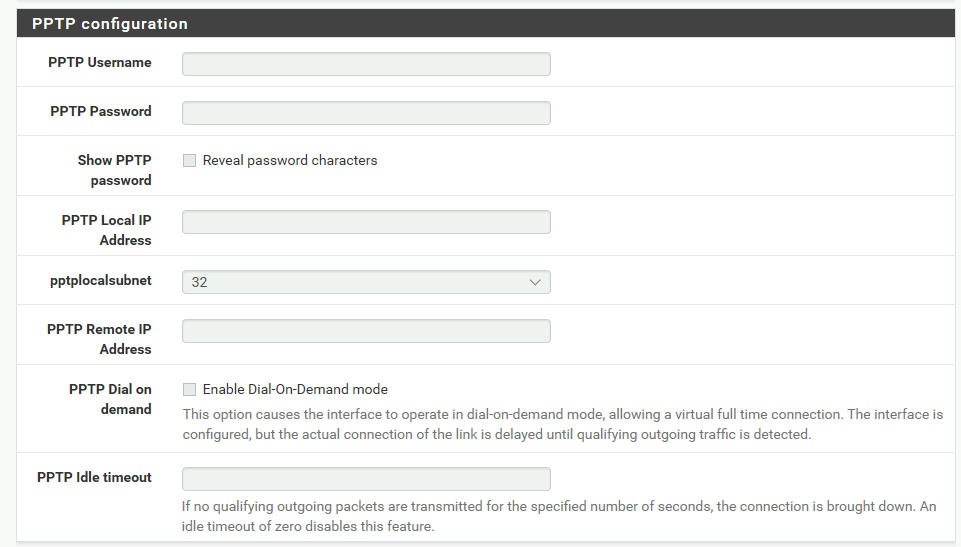
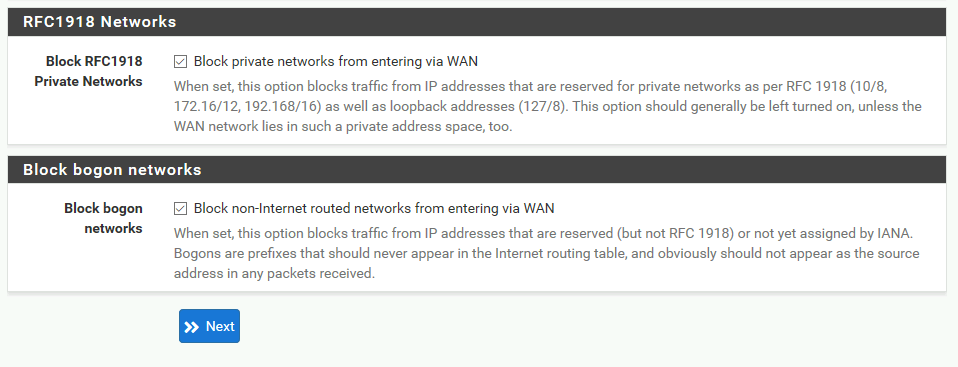
I will leave all the other fields blank/default. You may need to fill some of these sections if you are running other type of WAN link
Next
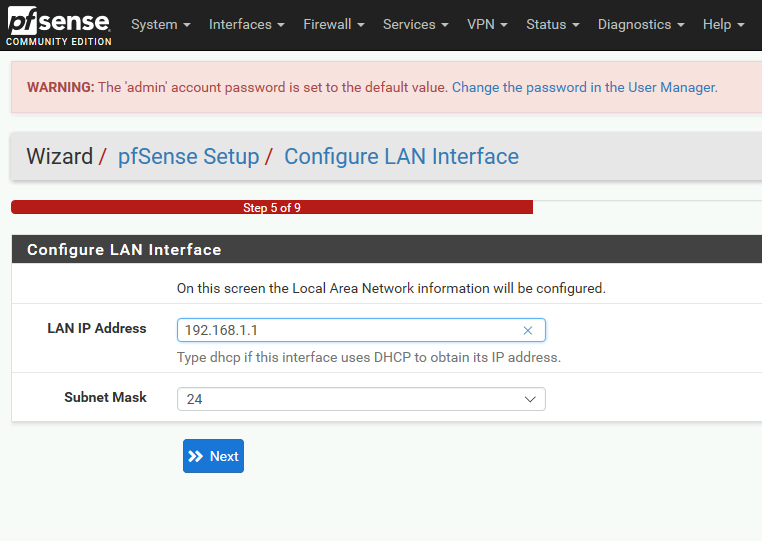
I will leave LAN ip as is. You can also change IP and subnet of the pFSense, just don’t forget to change IP of the machine after you set new network.
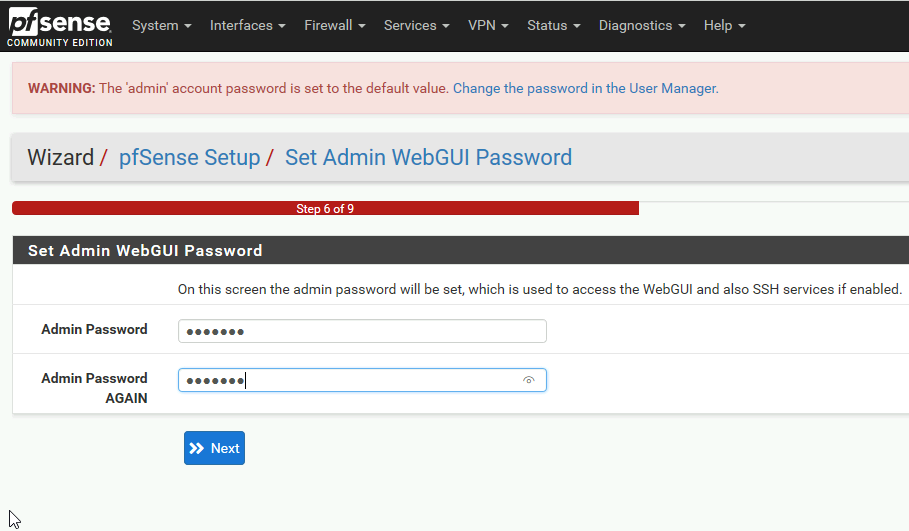
Also, set a new admin password and make it extremely strong. Because this device is facing internet
Reload
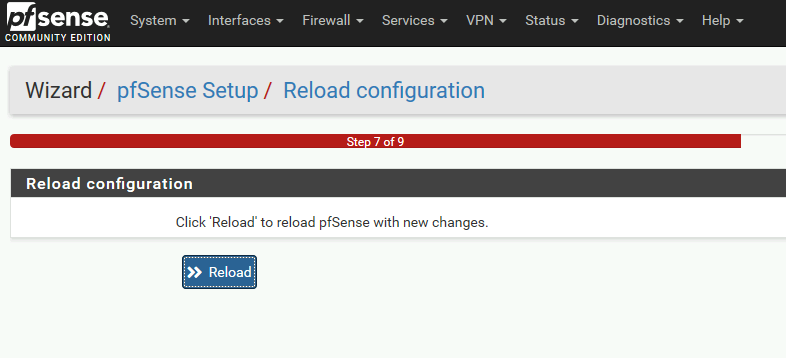
In progress…
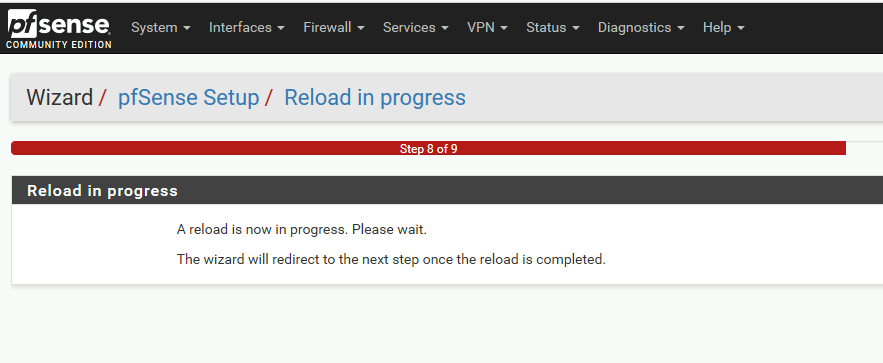
We are done – Finish

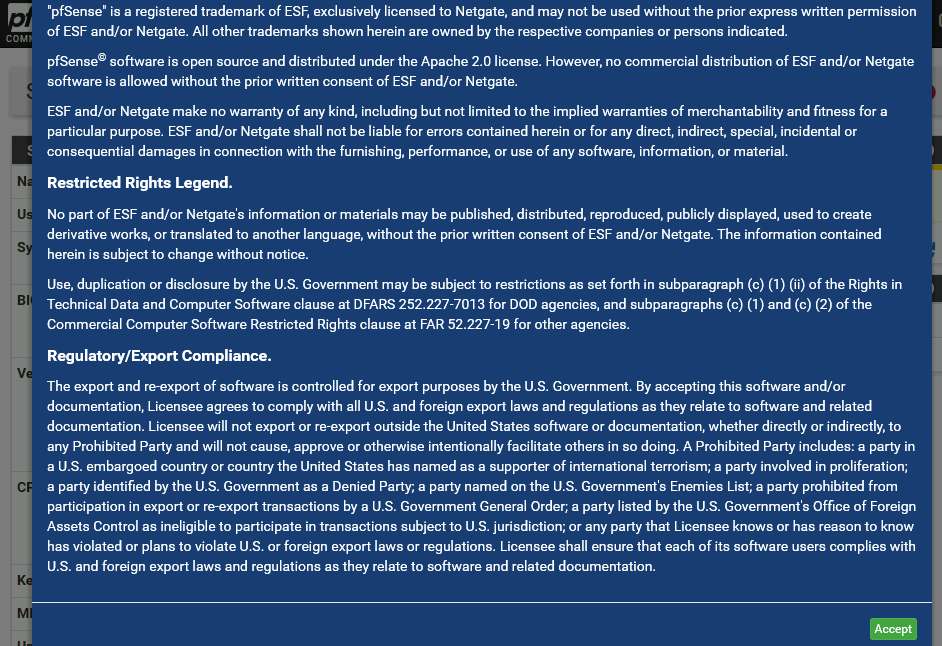
You will now have to accept license agreement
And that is it, you should now be at the main screen of the Dashboard in pFSense, you should also be able to go to internet if you set your WAN interface correctly.
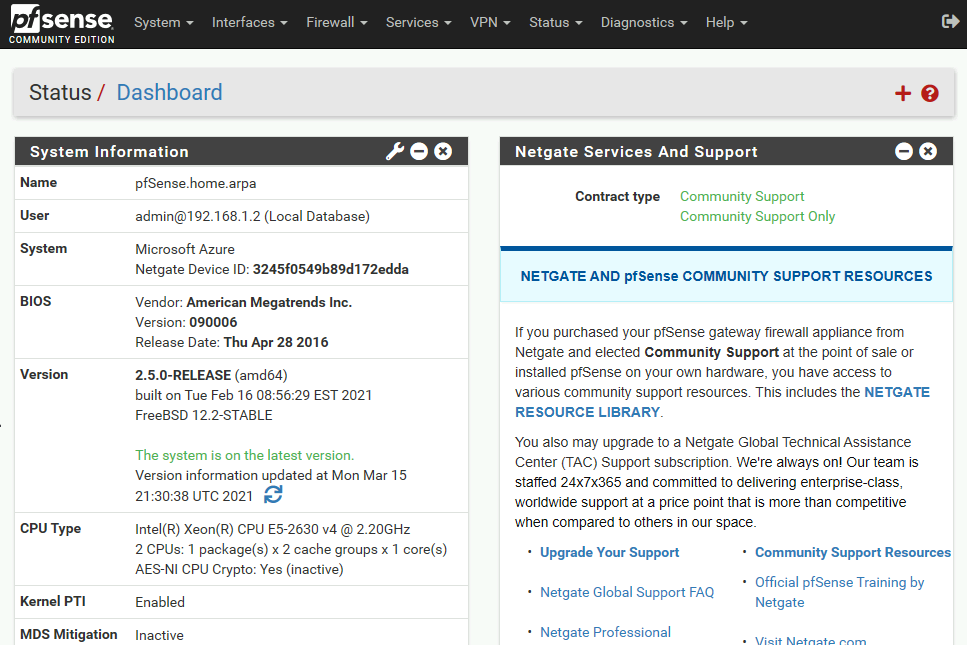
That is it for the simple installation and configuration of pFSense.