Email service is at the heart of every company – and since this series is about Windows Server 2019, we are going to install Microsoft Exchange Server 2019 and skip cloud services, because this is on-premise series.
Maybe not the best timing because of recent Exchange server breaches, but, anyway – still good tool in you know how to maintain it
Before we begin
Email server is product for itself, I will show in this series basic installation and config steps which may then evolve into more articles beyond Server Basics series.
In today’s world email can be complicate to maintain, mostly because your mail server has to know how to speak send and receive email with every other email server on the planet. Next HUGE problem is spam and security…
Have that in mind before you decide to host email yourself for the company.
Prerequisites
I created new VM from template called SBasicsEx1 (you will maybe see in screenshots SBEx1 as a name of the machine)
IP address is 10.0.0.36
It has to be part of the domain informatiker.local. Exchange server is deeply integrated in every domain.
Something to think about in real production – This would be also good time to think how deeply you want to integrate your Exchange server into your internal domain. This can potentially be security issue that could bring down your whole domain (if you exchange is breached, the got your domain admin, and your whle AD). Isolating Exchange into separate domain and network does not look like bad idea now.
Before we can even start Exchange Server 2019 installation, we need the installation media and few prerequisites.
Installation media
Installation media is not available through Evaluation Center unfortunately. Exchange server was available in trial mode for years, but that obviously changed. You need to have VLSC account to be able to get Exchange server 2019 – you have to buy it (as I understand it)
So, for this lab to try you can even ask your company or organization to borrow you installation media for learning/testing purposes – of course check all the terms before you go ahead with this.
Next best thing I can offer is Exchange Server 2016 CU19 – you can get it here at the time of writing this article – https://www.microsoft.com/en-us/download/details.aspx?id=102532
If that does not work when you read this article try to google Exchange Server 2016 CU download…
Things are then getting even a bit more complicated, because for Exchange server 2016 to work, you need to install it on Windows Server 2016 – https://docs.microsoft.com/en-us/exchange/plan-and-deploy/supportability-matrix?view=exchserver-2019
I know – complicated.
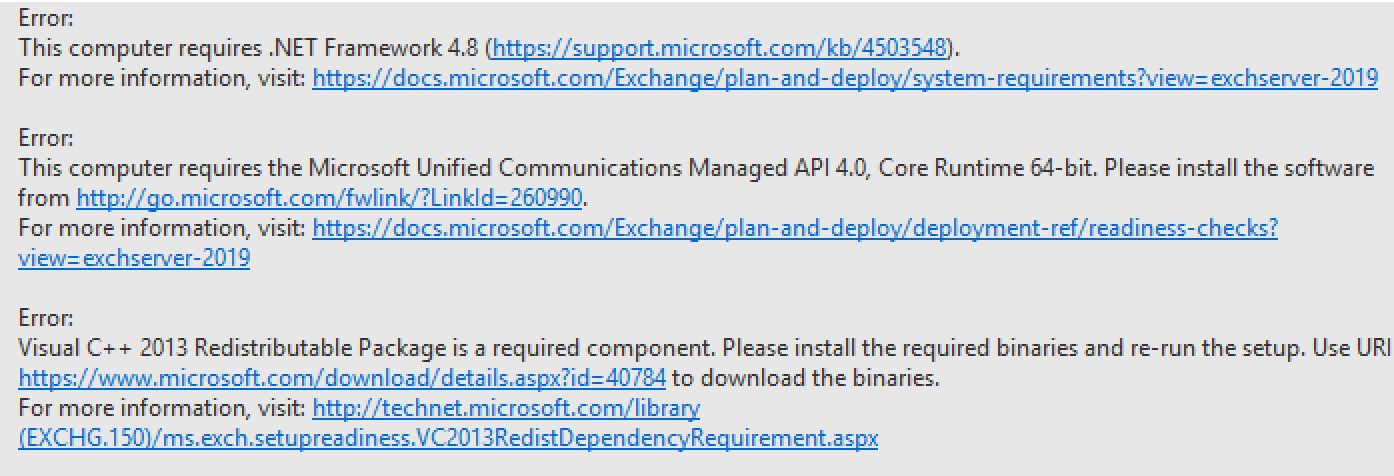
Prerequisites
.Net Framework 4.8 – https://go.microsoft.com/fwlink/?linkid=2088631
Microsoft Unified Communications Managed API 4.0 – https://www.microsoft.com/en-us/download/details.aspx?id=34992
Visual C++ Redistributable Package – https://www.microsoft.com/en-us/download/details.aspx?id=40784 (download both 32 and 64bit installs and install them)
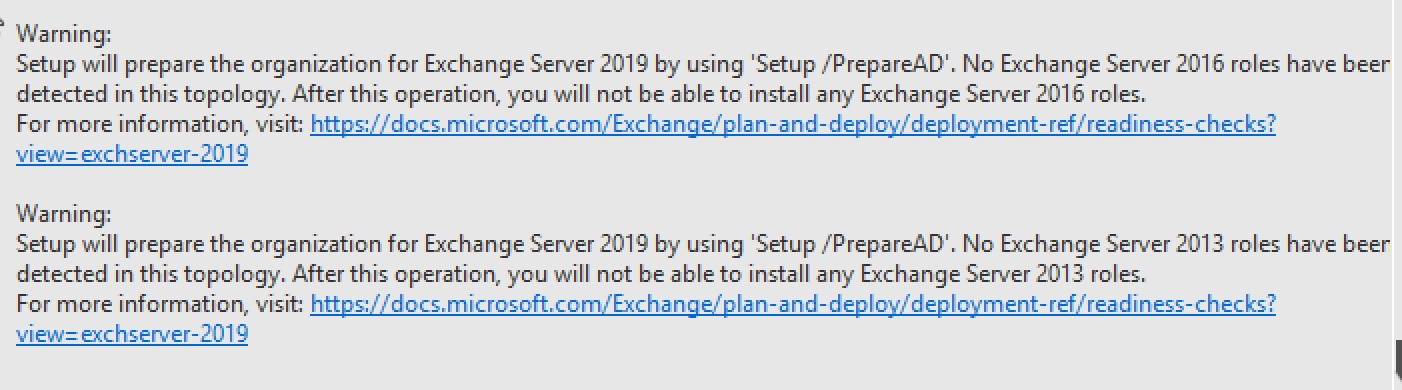
If you are running this installation as domain admin/schema admin, no need to do AdPrep – installer will do it for you despite warning below.
This would be also good time to think how deeply you want to integrate your Exchange server into your internal domain. This can potentially be security issue that could bring down your whole domain (if you exchange is breached, the got your domain admin, and your while AD). Isolating Exchange into separate domain does not look like bad idea now.
I will not go specially through these installation, they are simple next – next installs.
If you won’t be running Exchange setup with domain/schema admin, you will then have to login to Windows Server 2019 you plan to install Exchange Server 2019 with domain admin account, open command prompt as Administrator, navigate to the directory where you have your Exchange install unpacked and run following command:
setup.exe /IAcceptExchangeServerLicenseTerms /PrepareSchema

setup.exe/PrepareAD  /IAcceptExchangeServerLicenseTerms /OrganizationName FirstOrganization
Be sure to change FirstOrganization with the name you would like to set for your organization. I also always make sure that OrganizationName does not contain spaces or special characters – only simple and nice name.
For this guide, I will be running installation as domain admin, so I will not be needing the command above, Exchange should do domain preparation for me.
But I use the above command when I’m updating CUs for Exchange, then I like to do it manually.
Installation
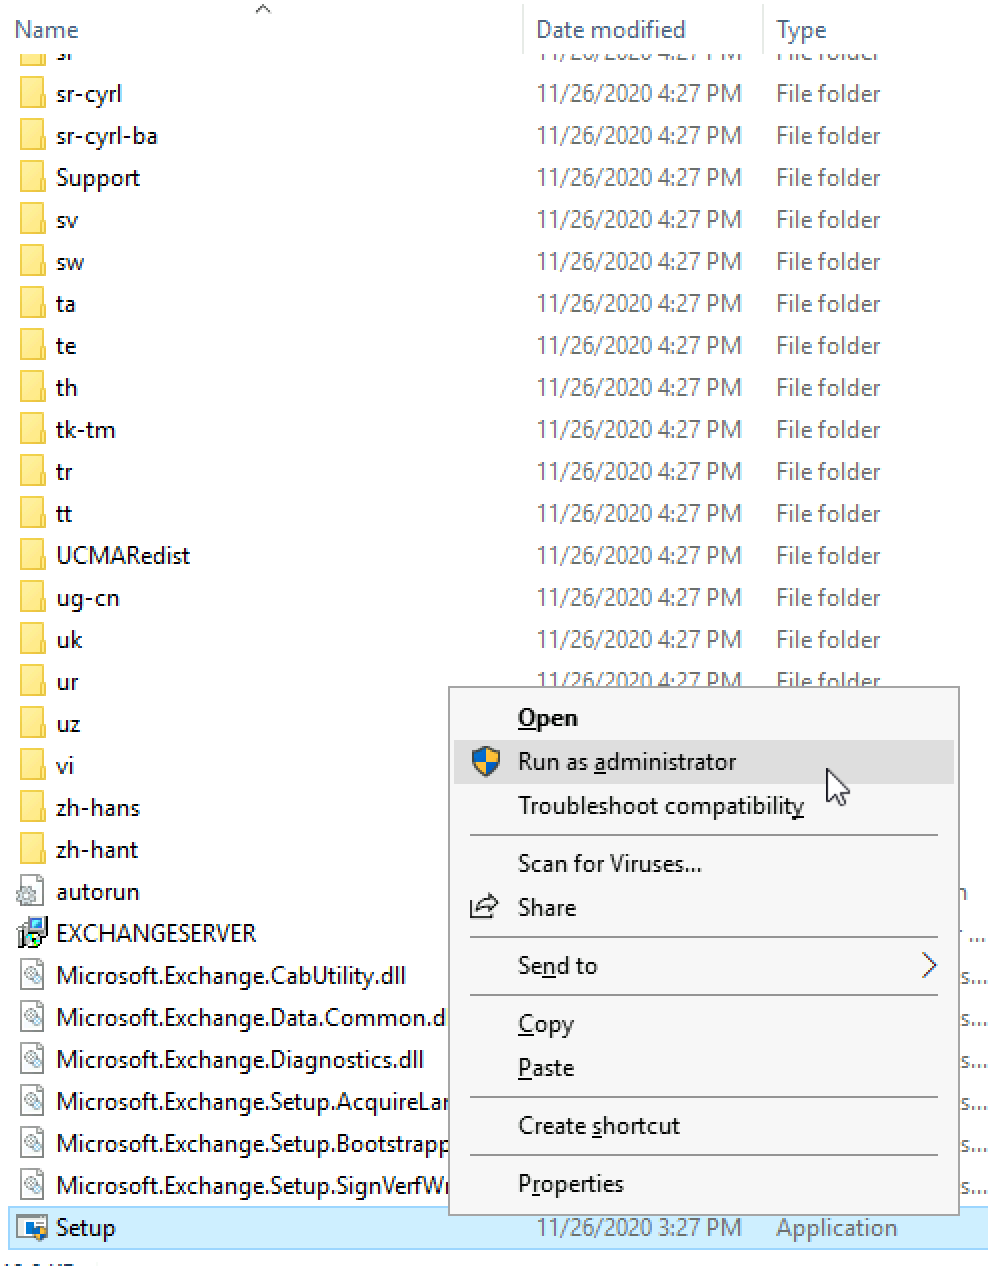
Let’s start installation of the Exchange 2019. Open directory where you expanded Exchange 2019 (Ex2019) installation files, right click on setup.exe in the root directory and select Run As Administrator.
Again, I’m running this as Domain Admin.
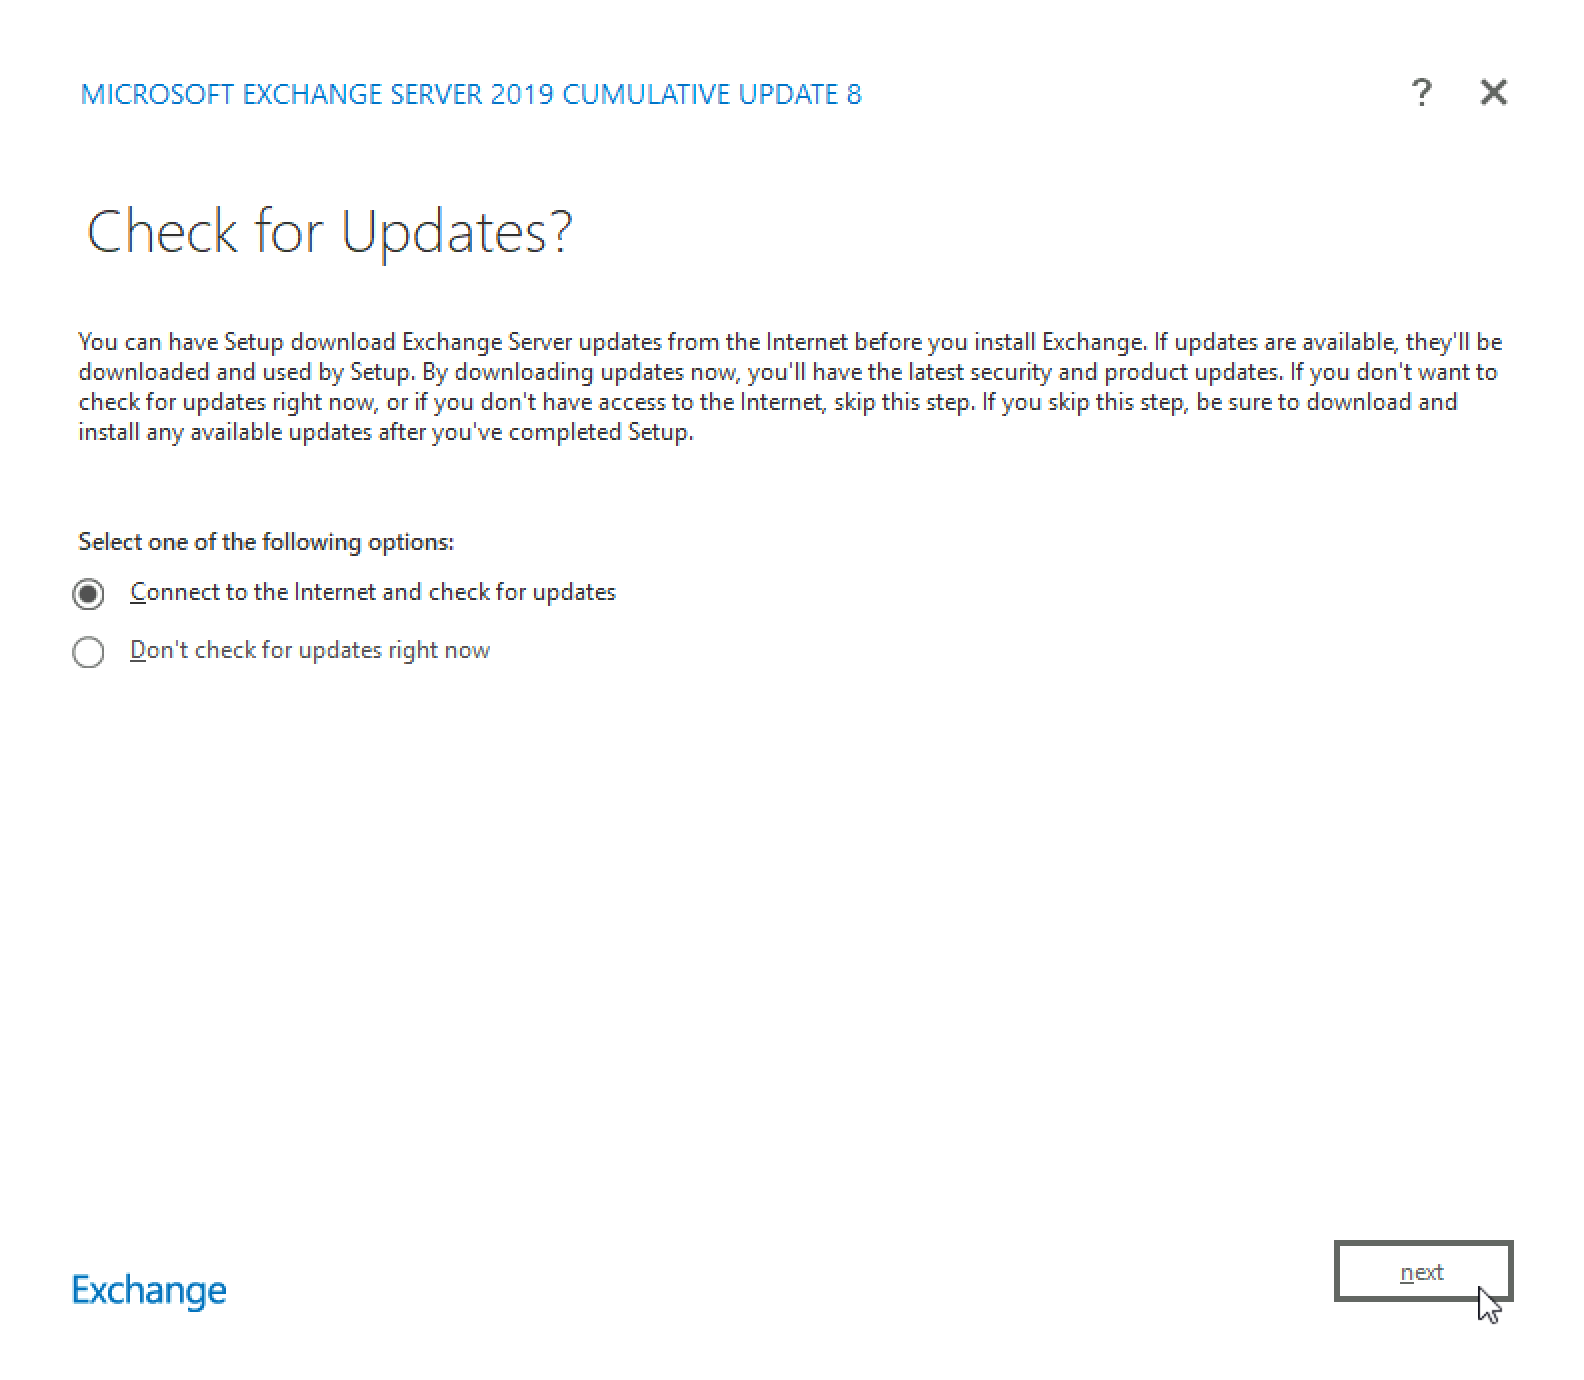
If the pop-up appears, select Yes, and soon you will have following screen
I will select “Connect to the internet and check for update”, you don’t have to do it, you can skip this and check later. Select Next
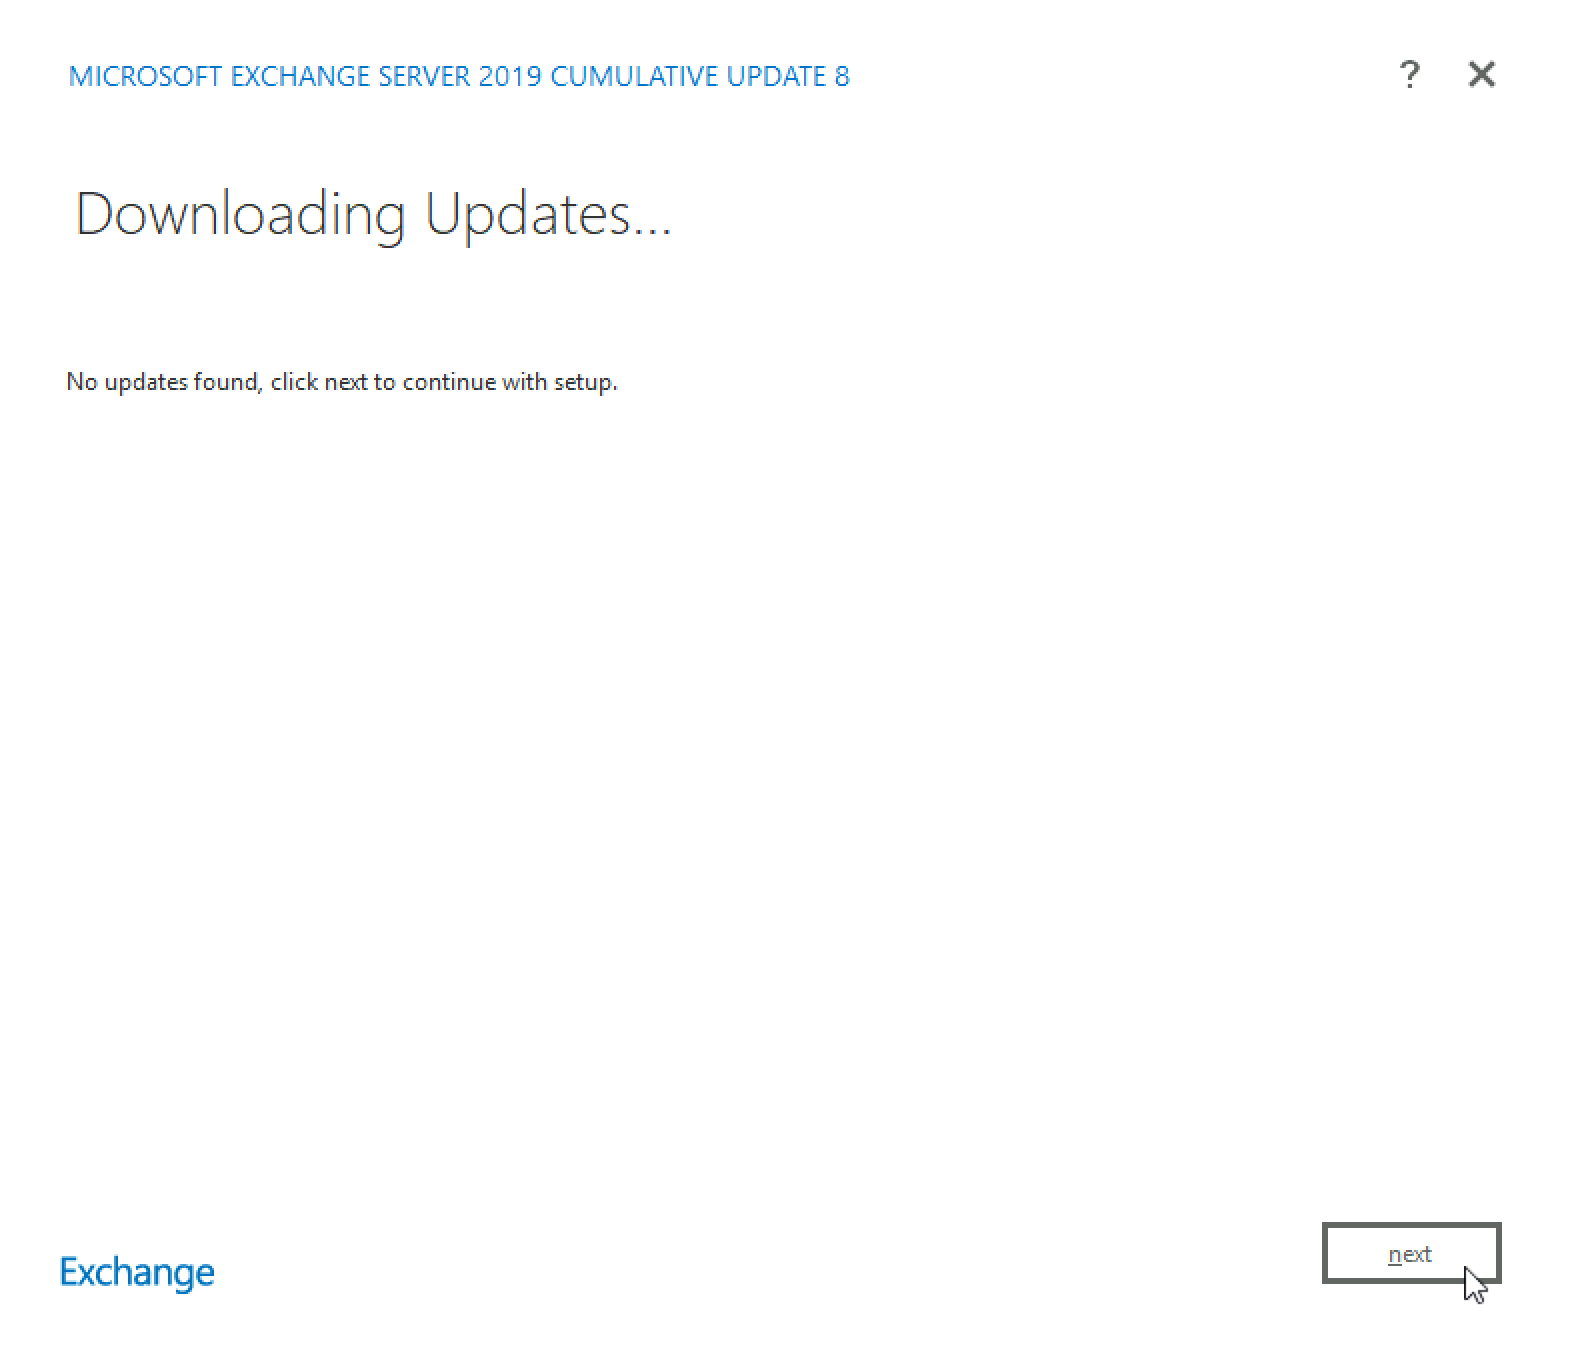
No Updates found. Next
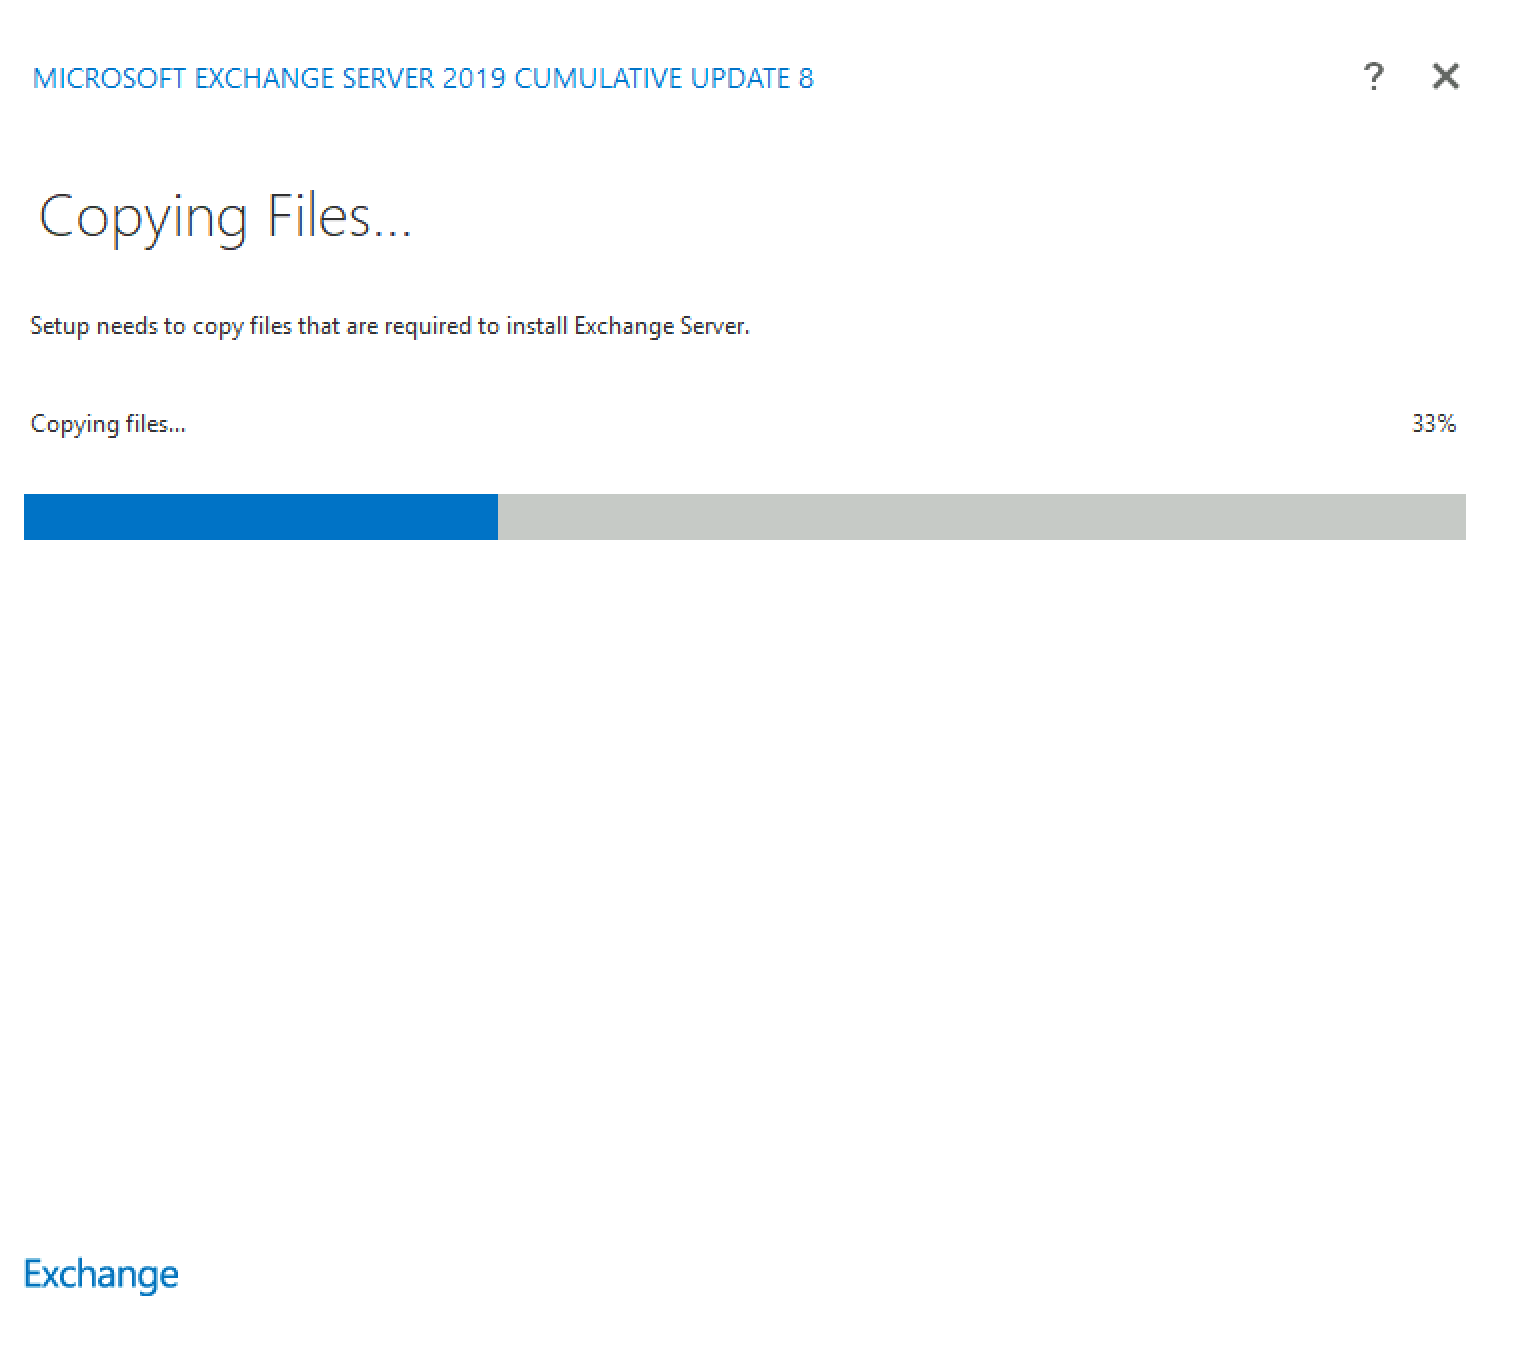
Copying Files… When it is done, it will go to the Next screen automatically
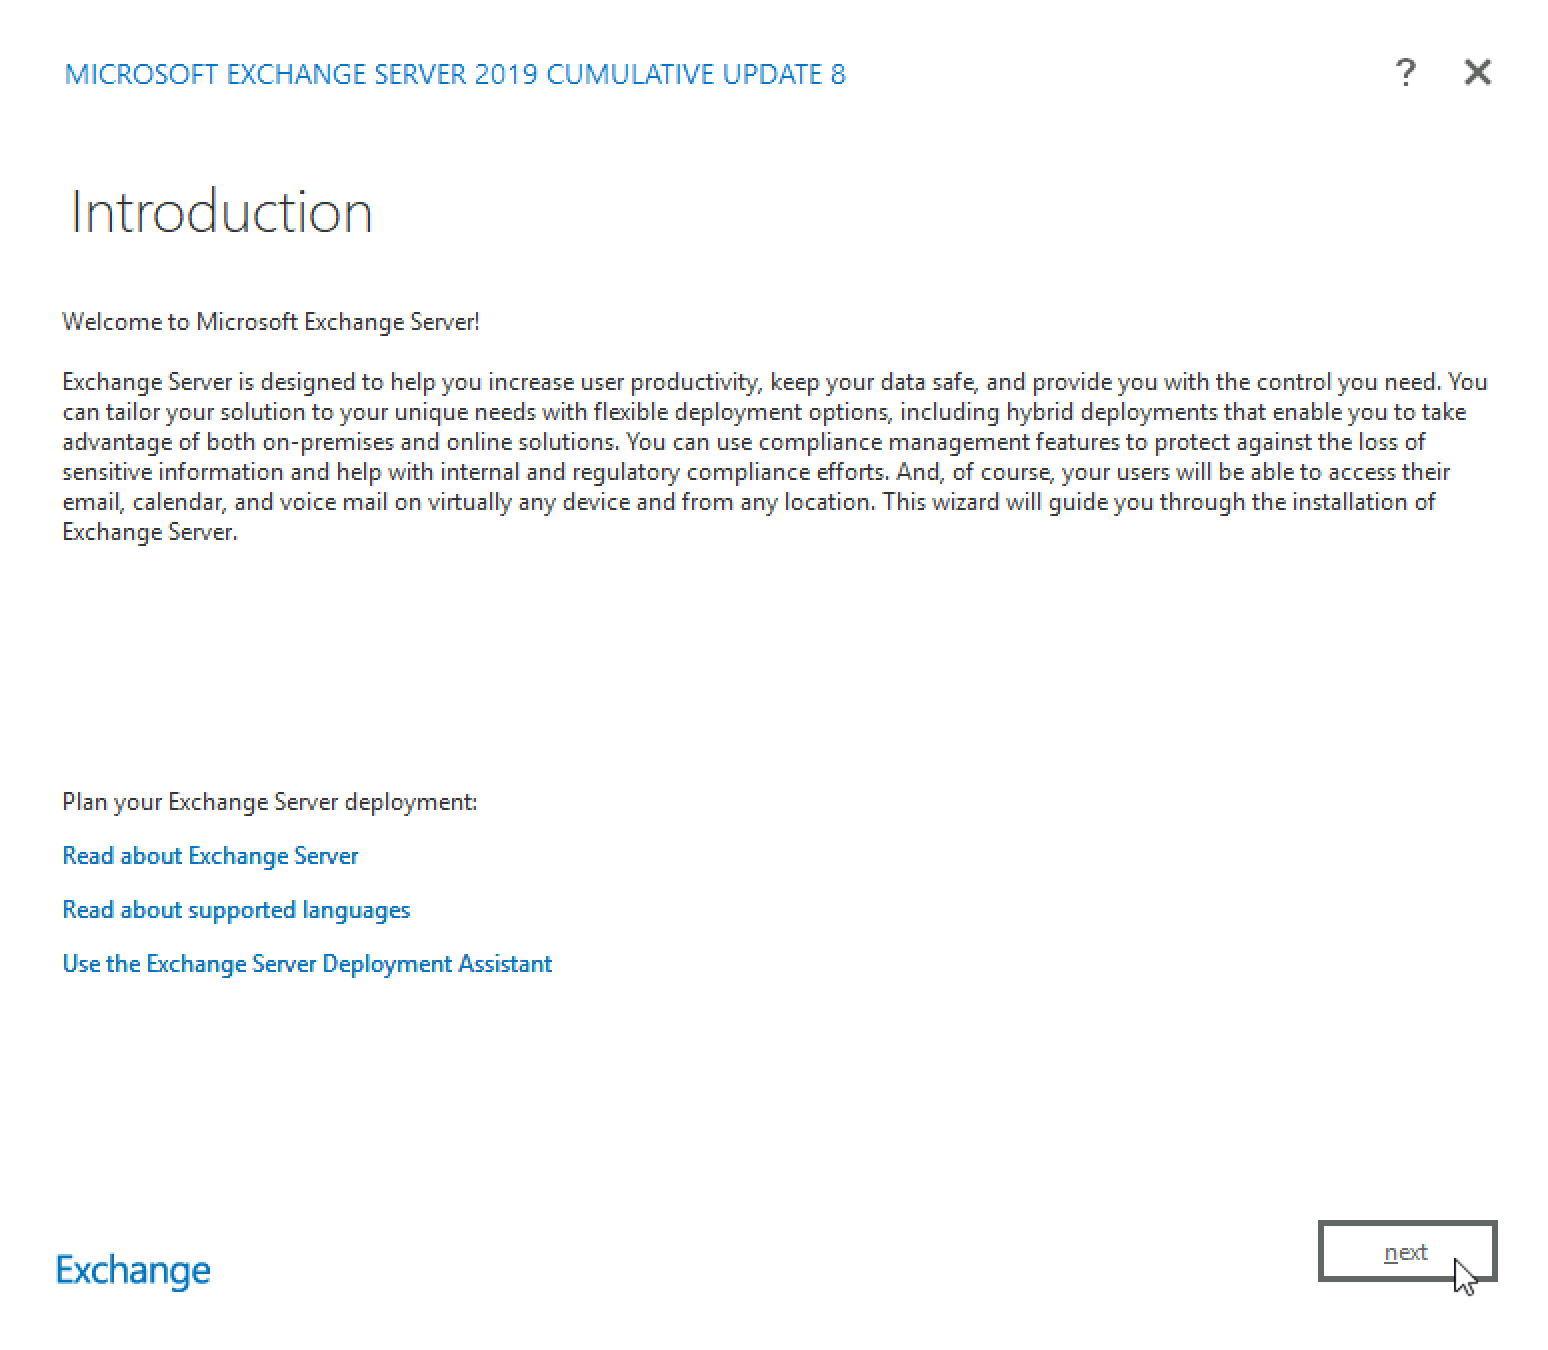
Introduction screen… Next
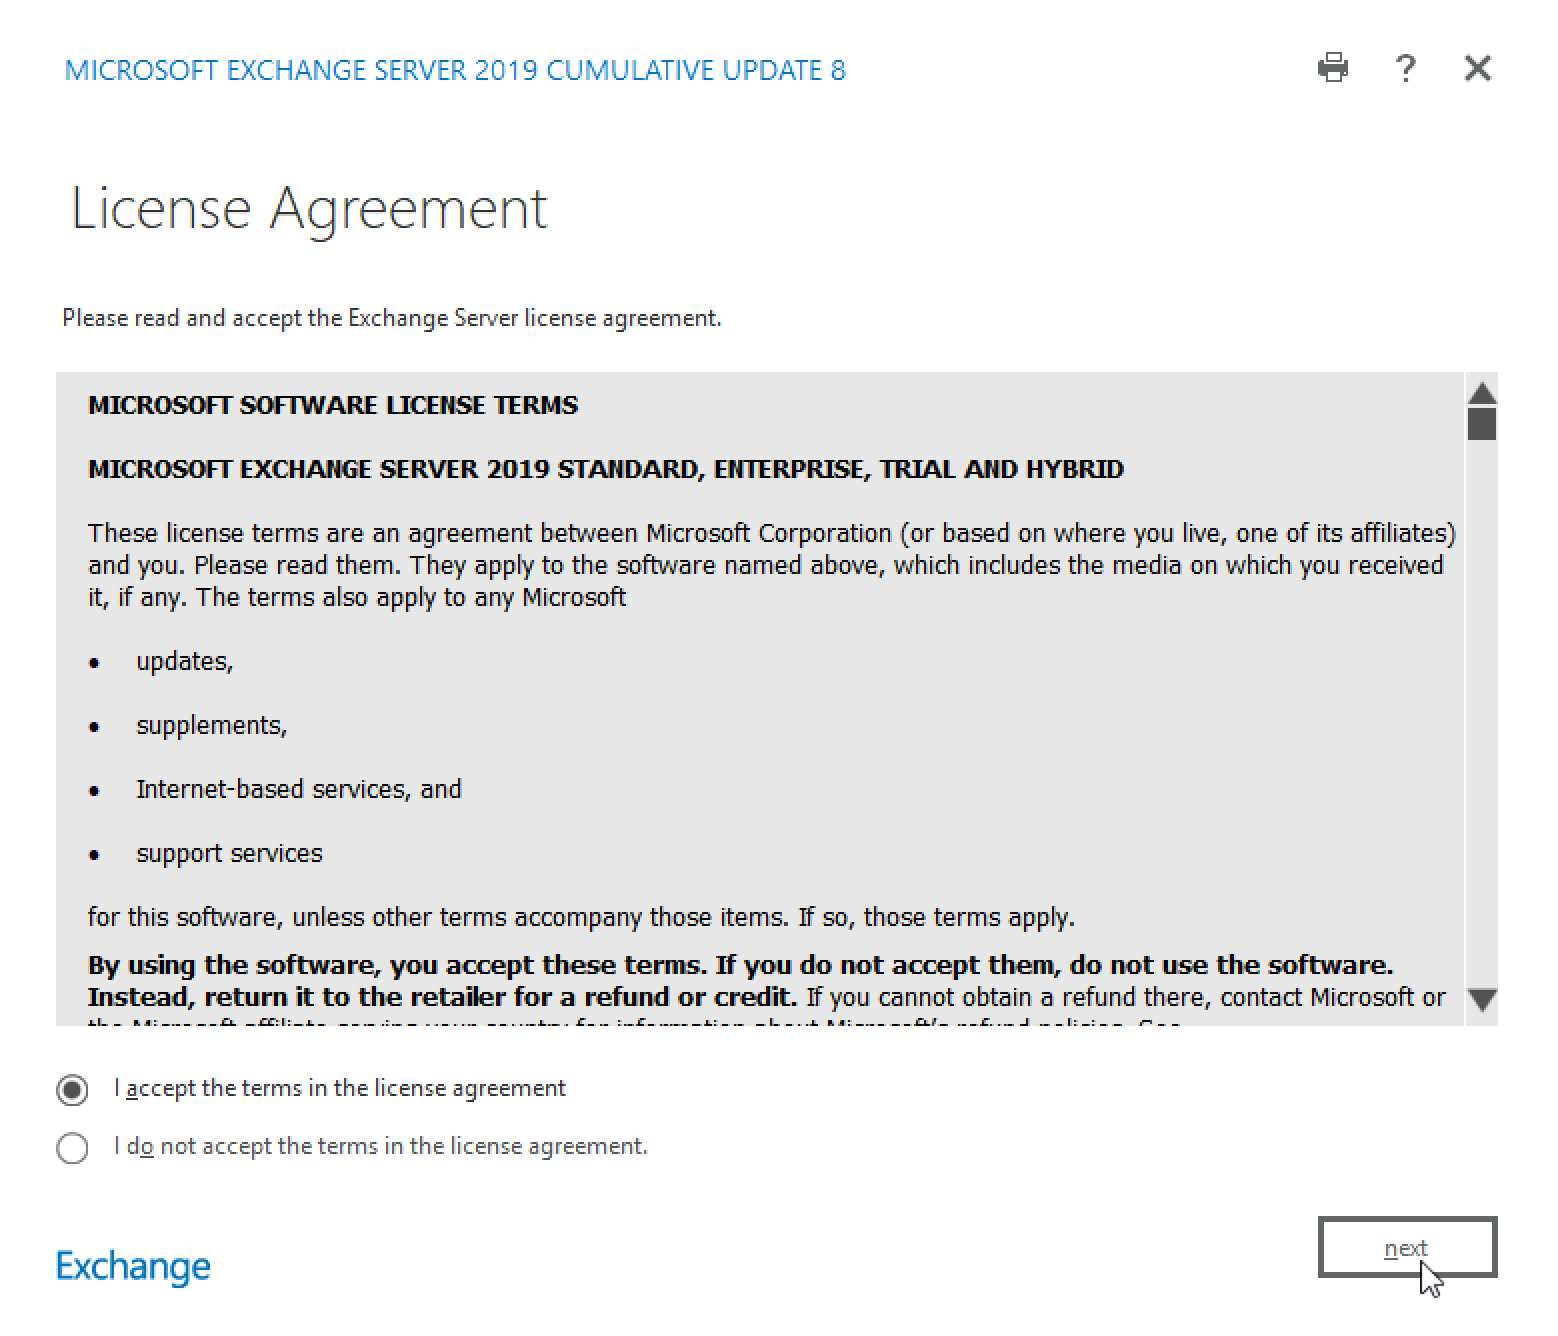
Read License Agreement and select “I accept the terms in the license agreement” (if you agree)- Next
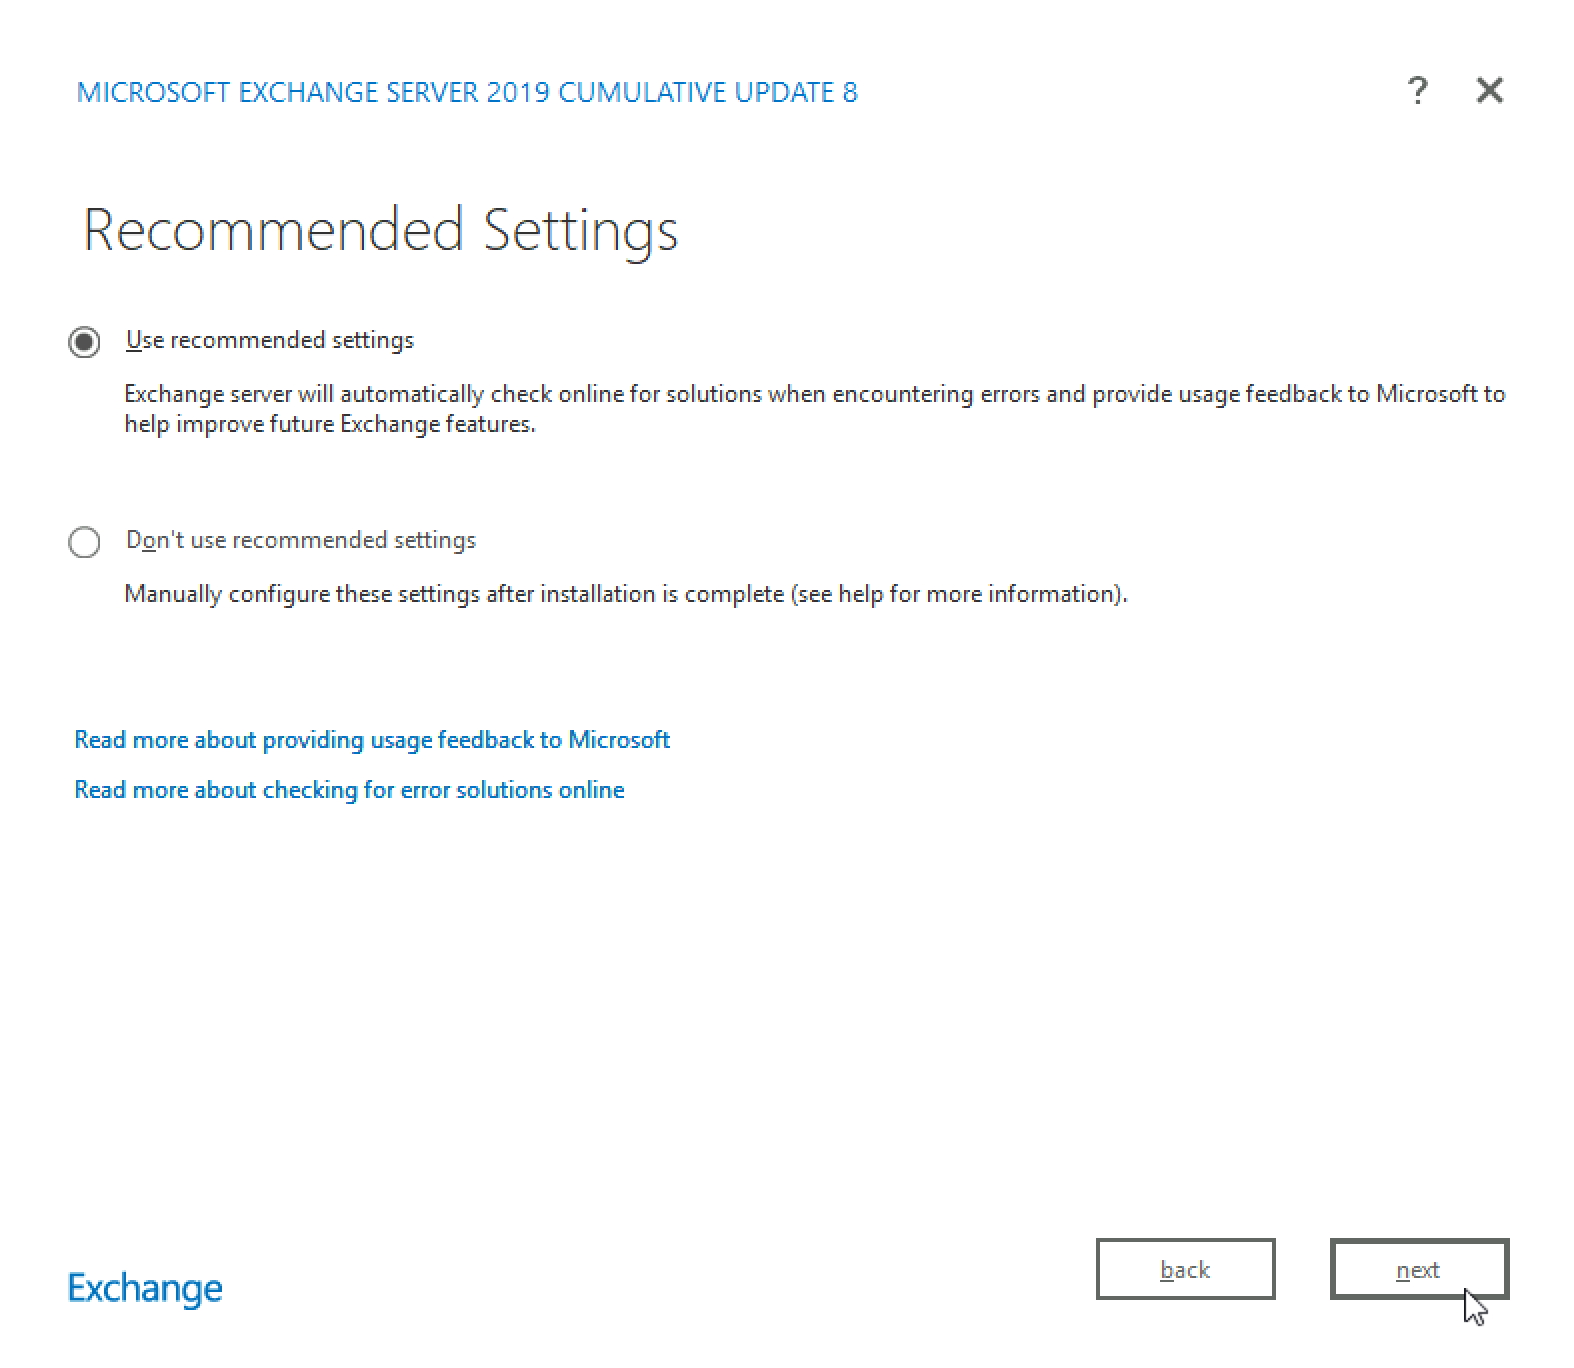
I will use recommended settings – Next
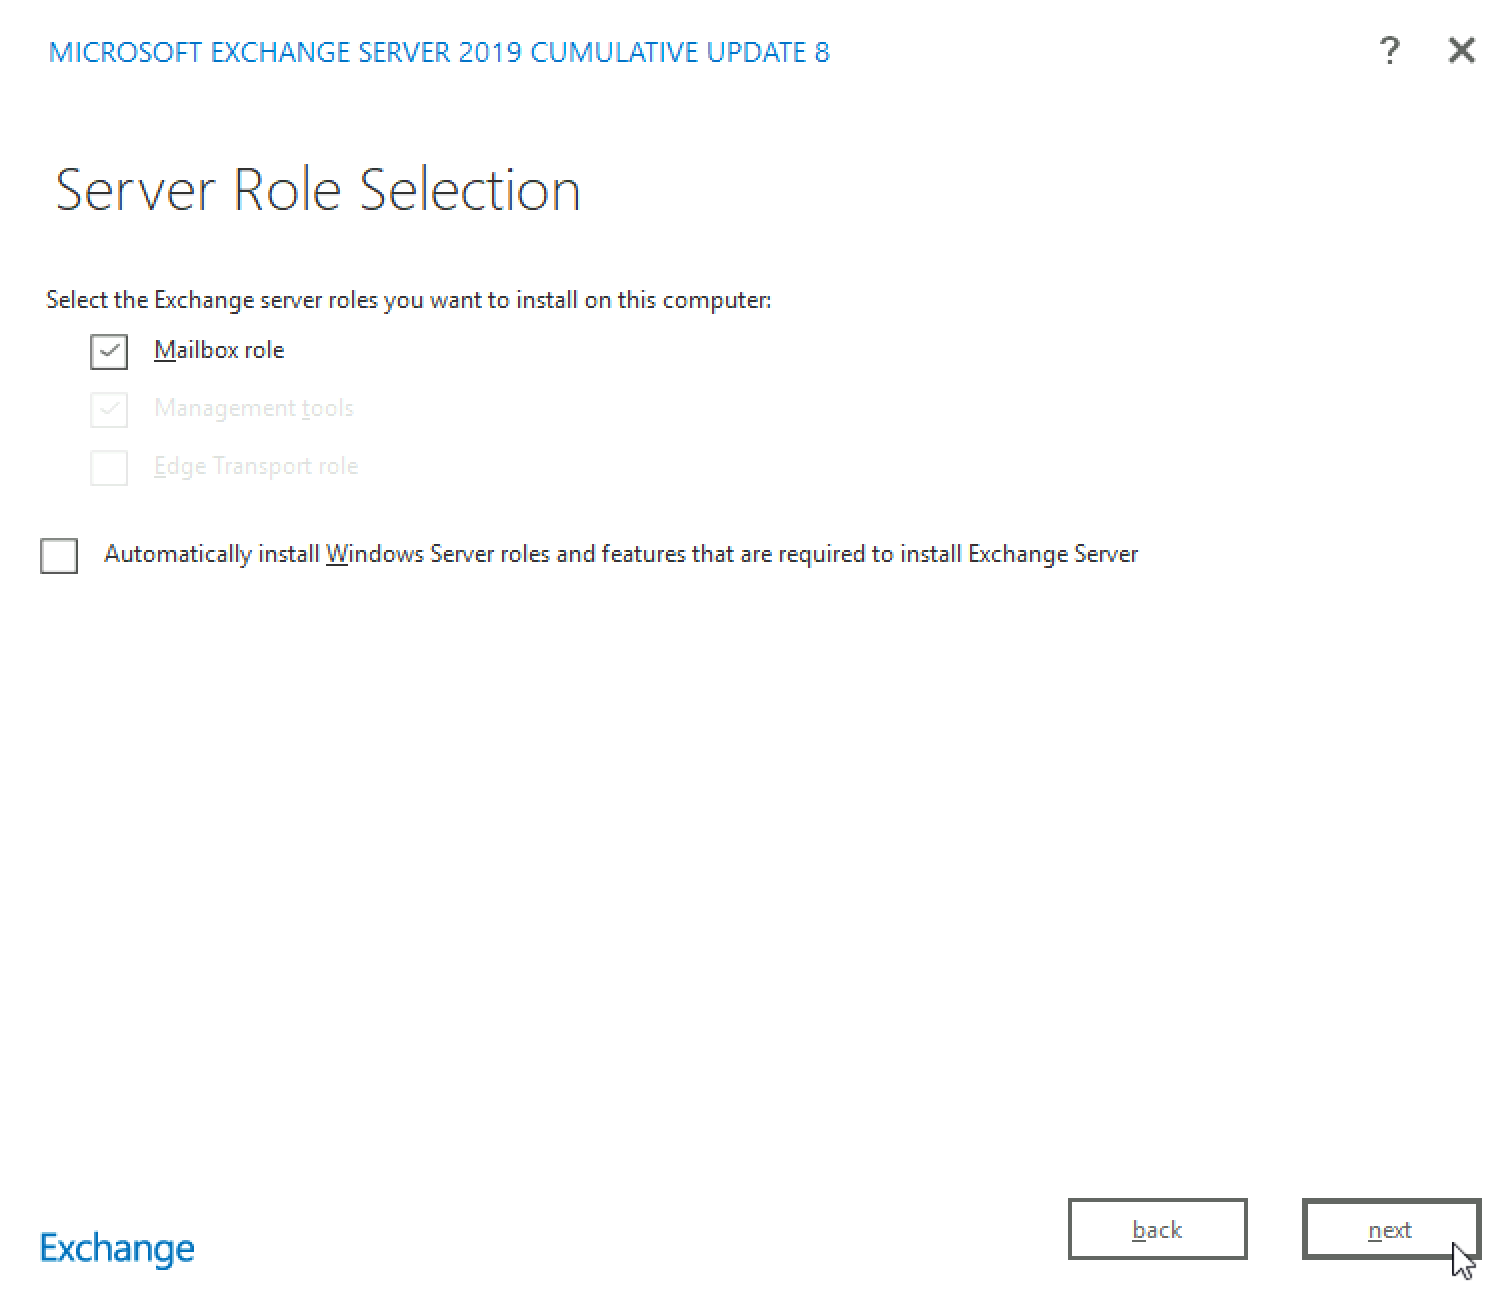
We will be installing Mailbox and Management tools. In production scenario, I would also recommend deploying Edge Transport role in front of these services. I will talk about that scenario some other time – but I highly recommend it. Next
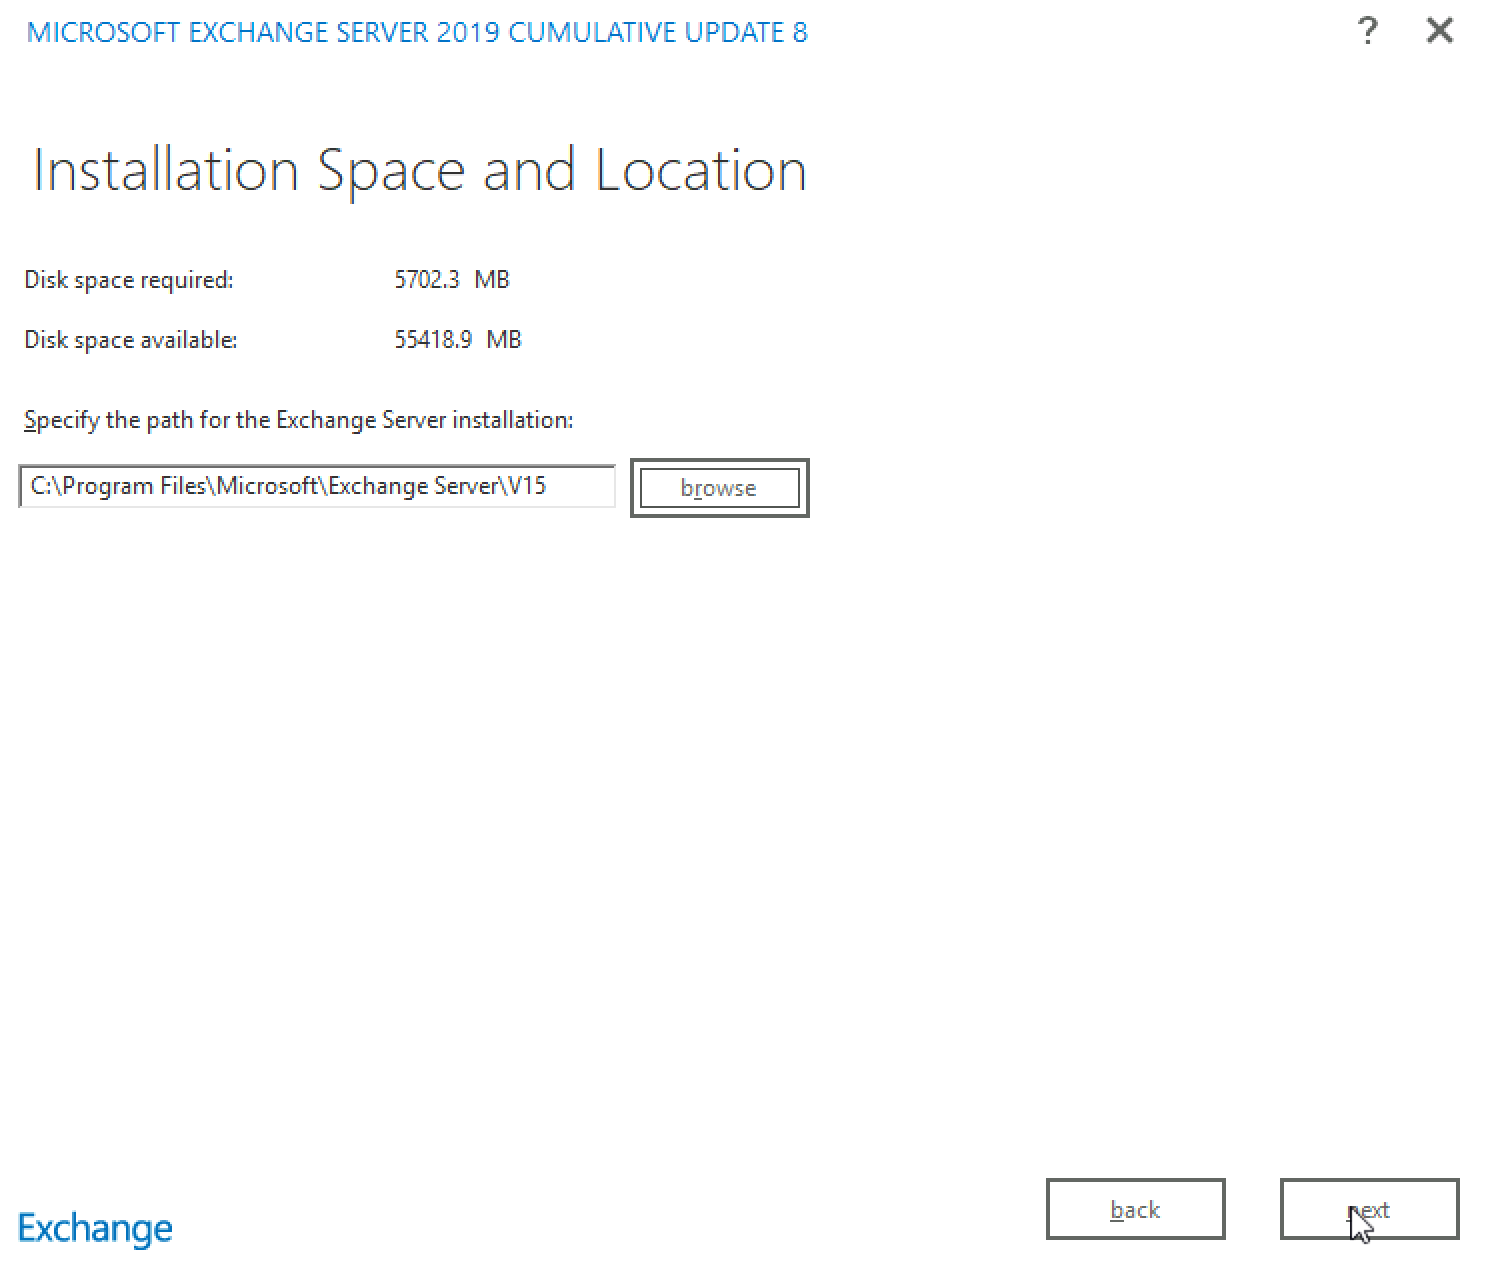
For this scenario we will select default installation location. Next
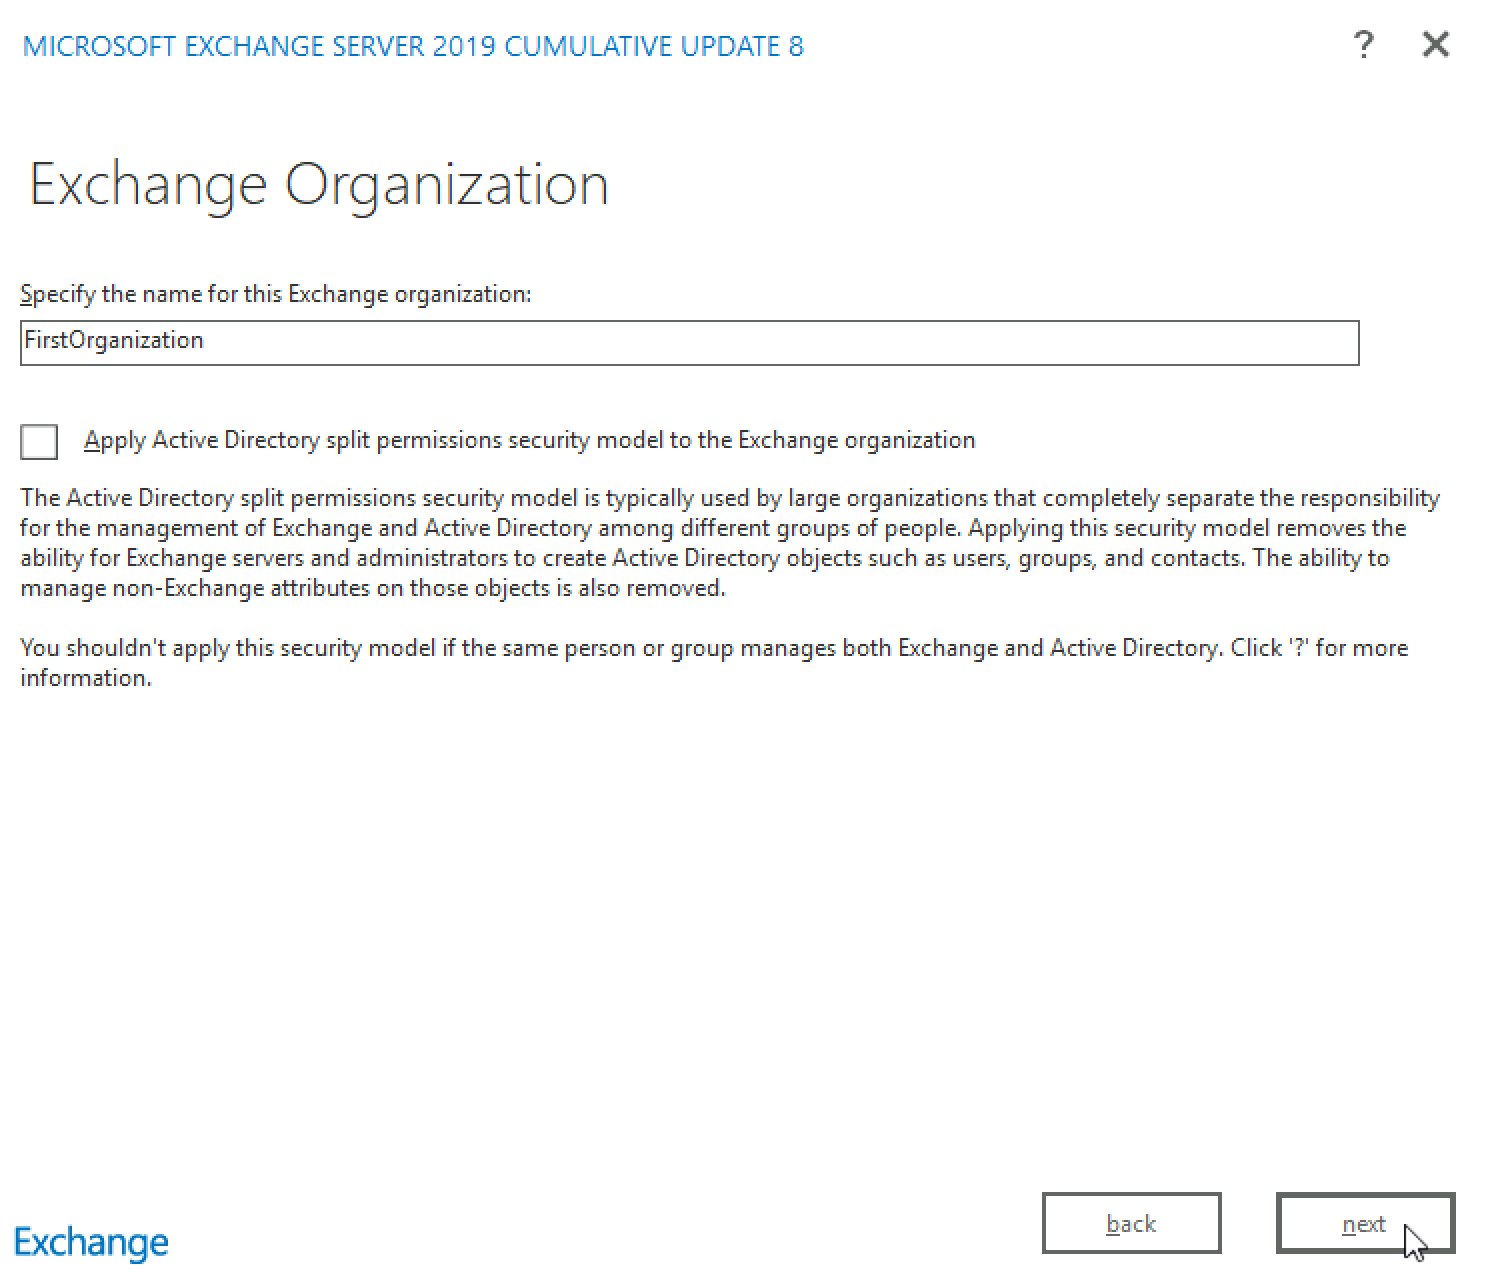
I will name my organization – FirstOrganization. Before we go further, it is still time to think. In the light of recent breaches and all the damage that it done, it would be wise to split permissions if you install Ex2019 server, especially if you are using same domain for Exchange and all of the other production systems.
Other good scenario would be to use separate domain for Ex2019 and physically separate it form production domain environment. Think about these scenarios. Next
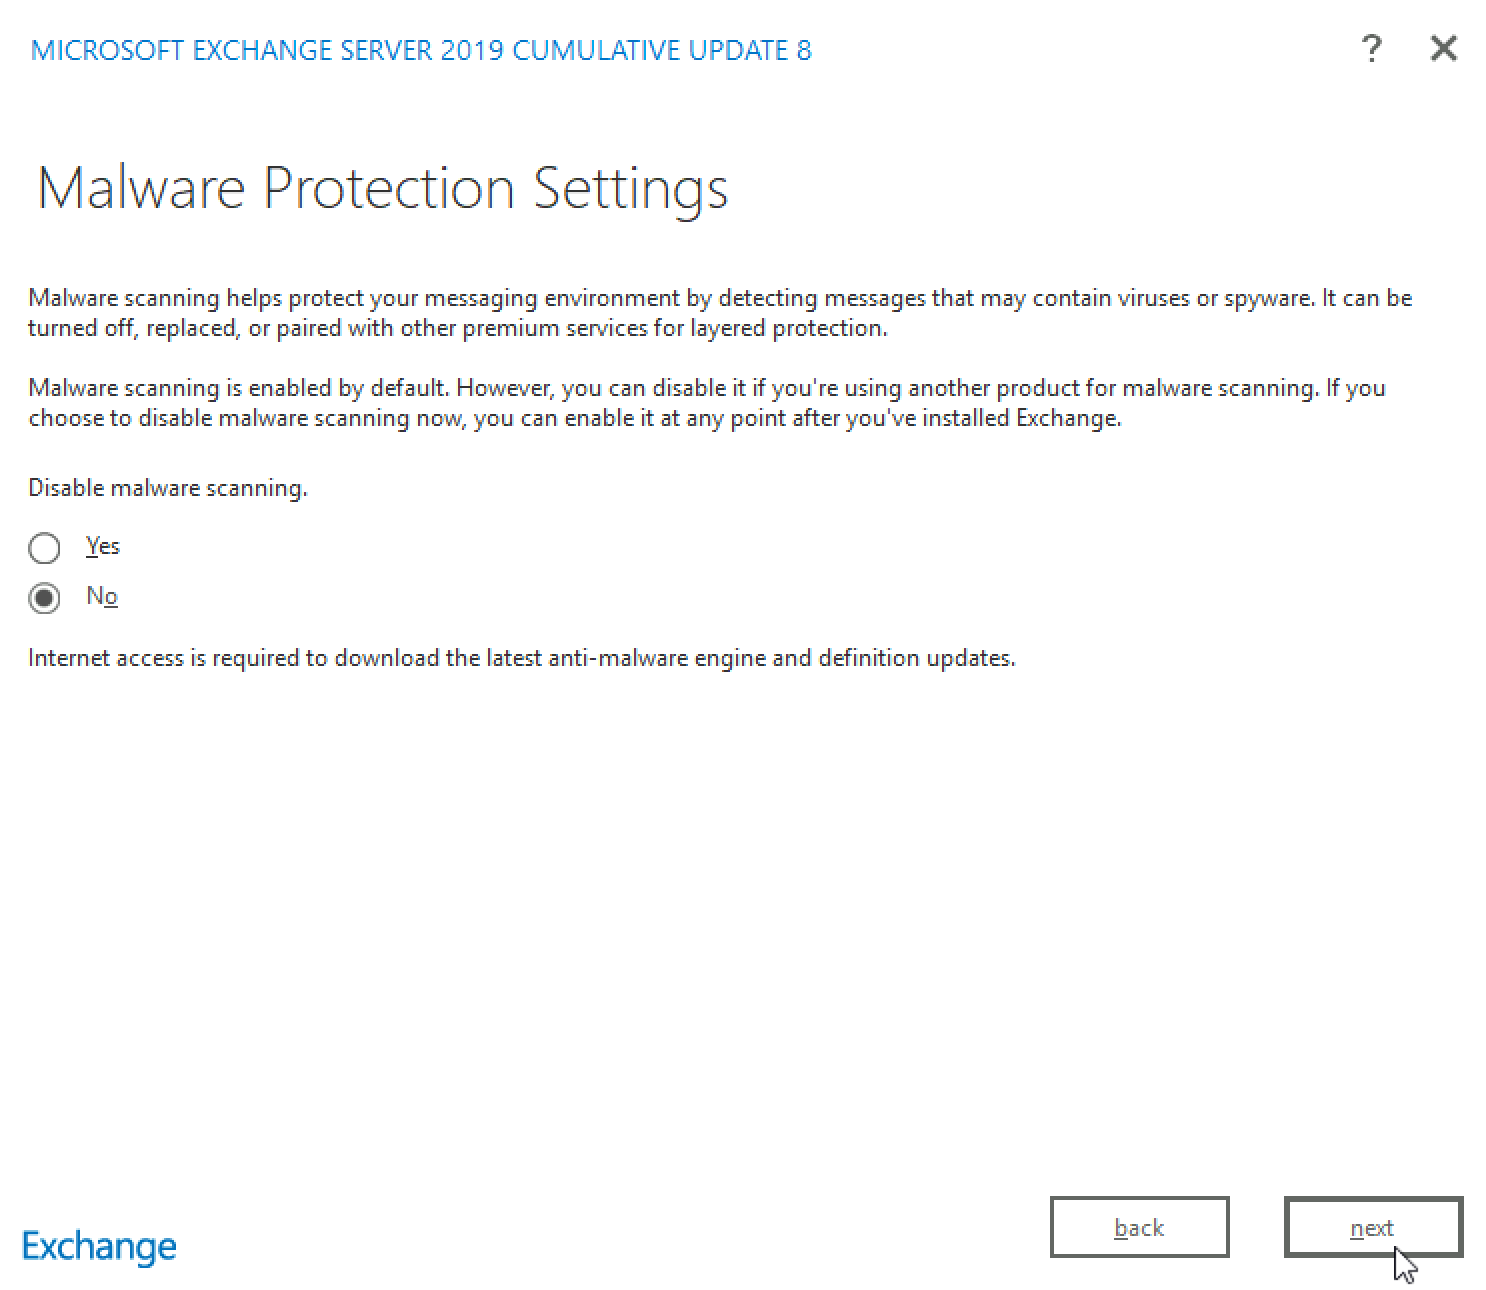
In my experience malware protection works well in addition to other security tools on Ex2019, so I will select no, and click on Next
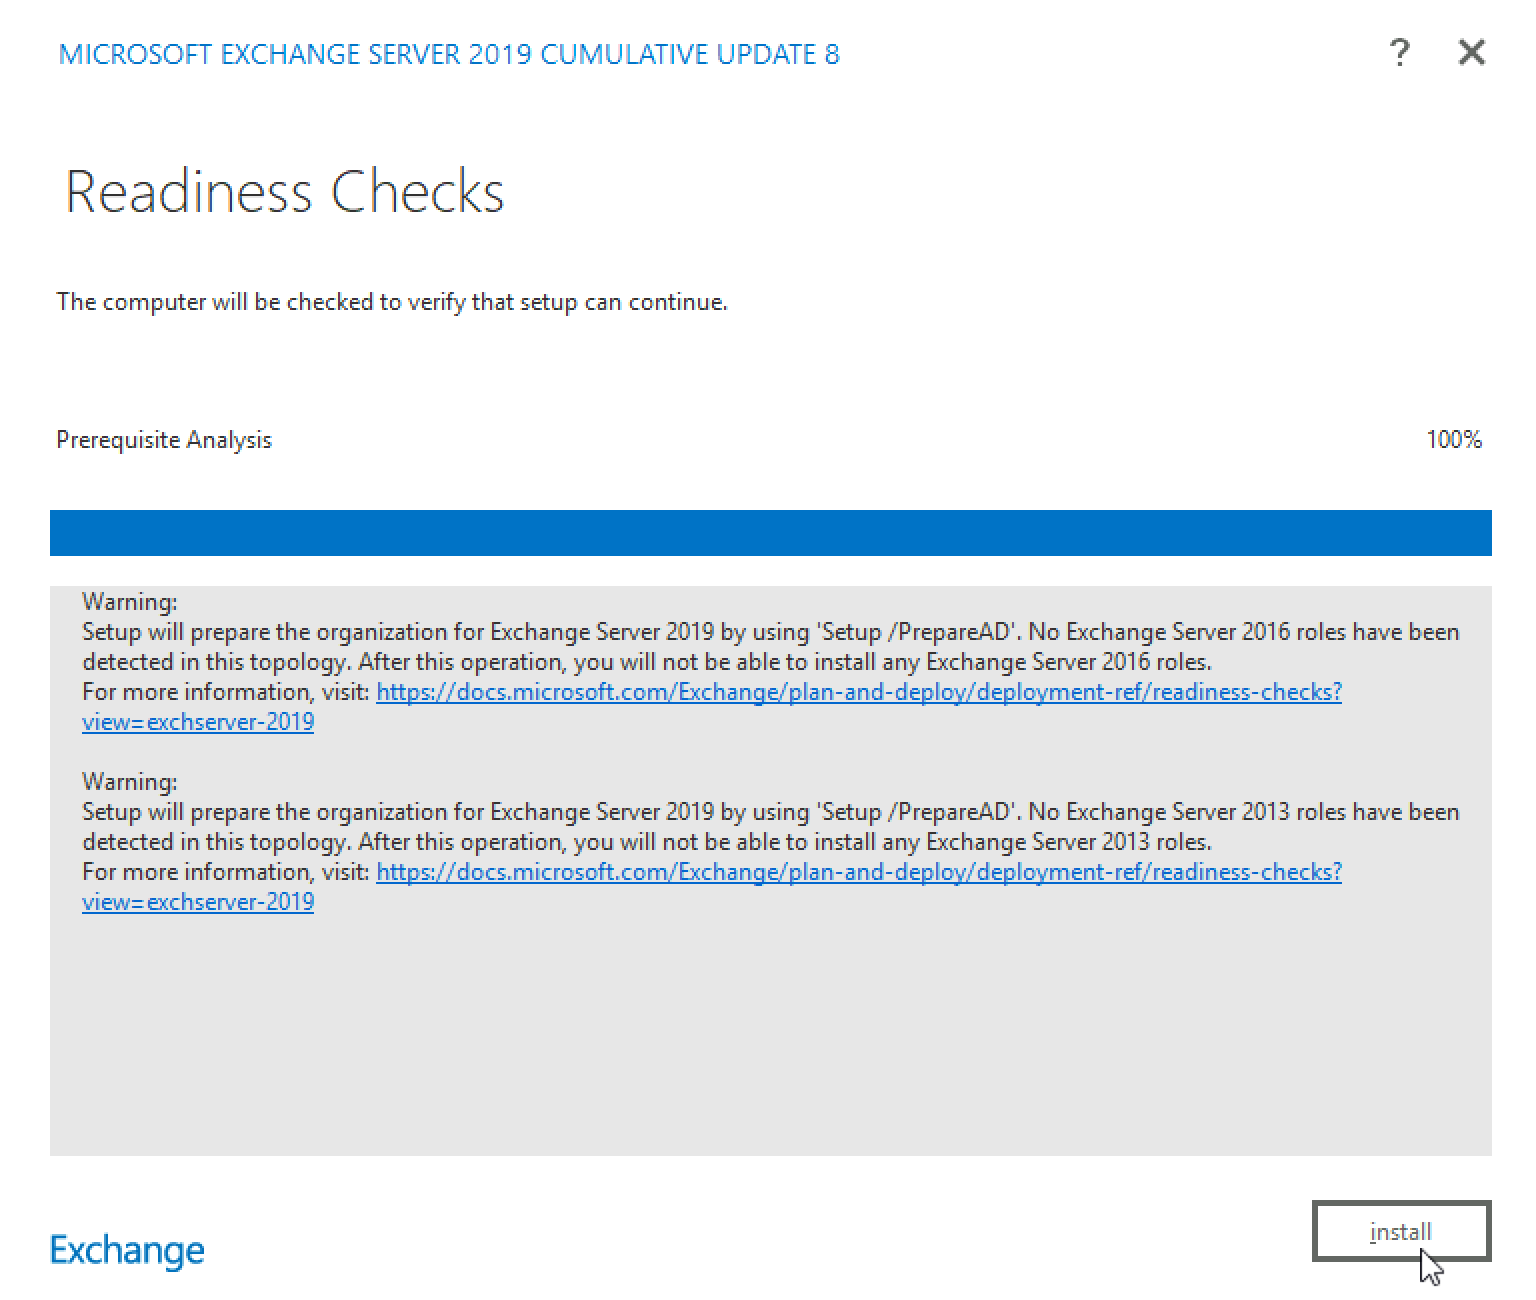
And now, prerequisites check…
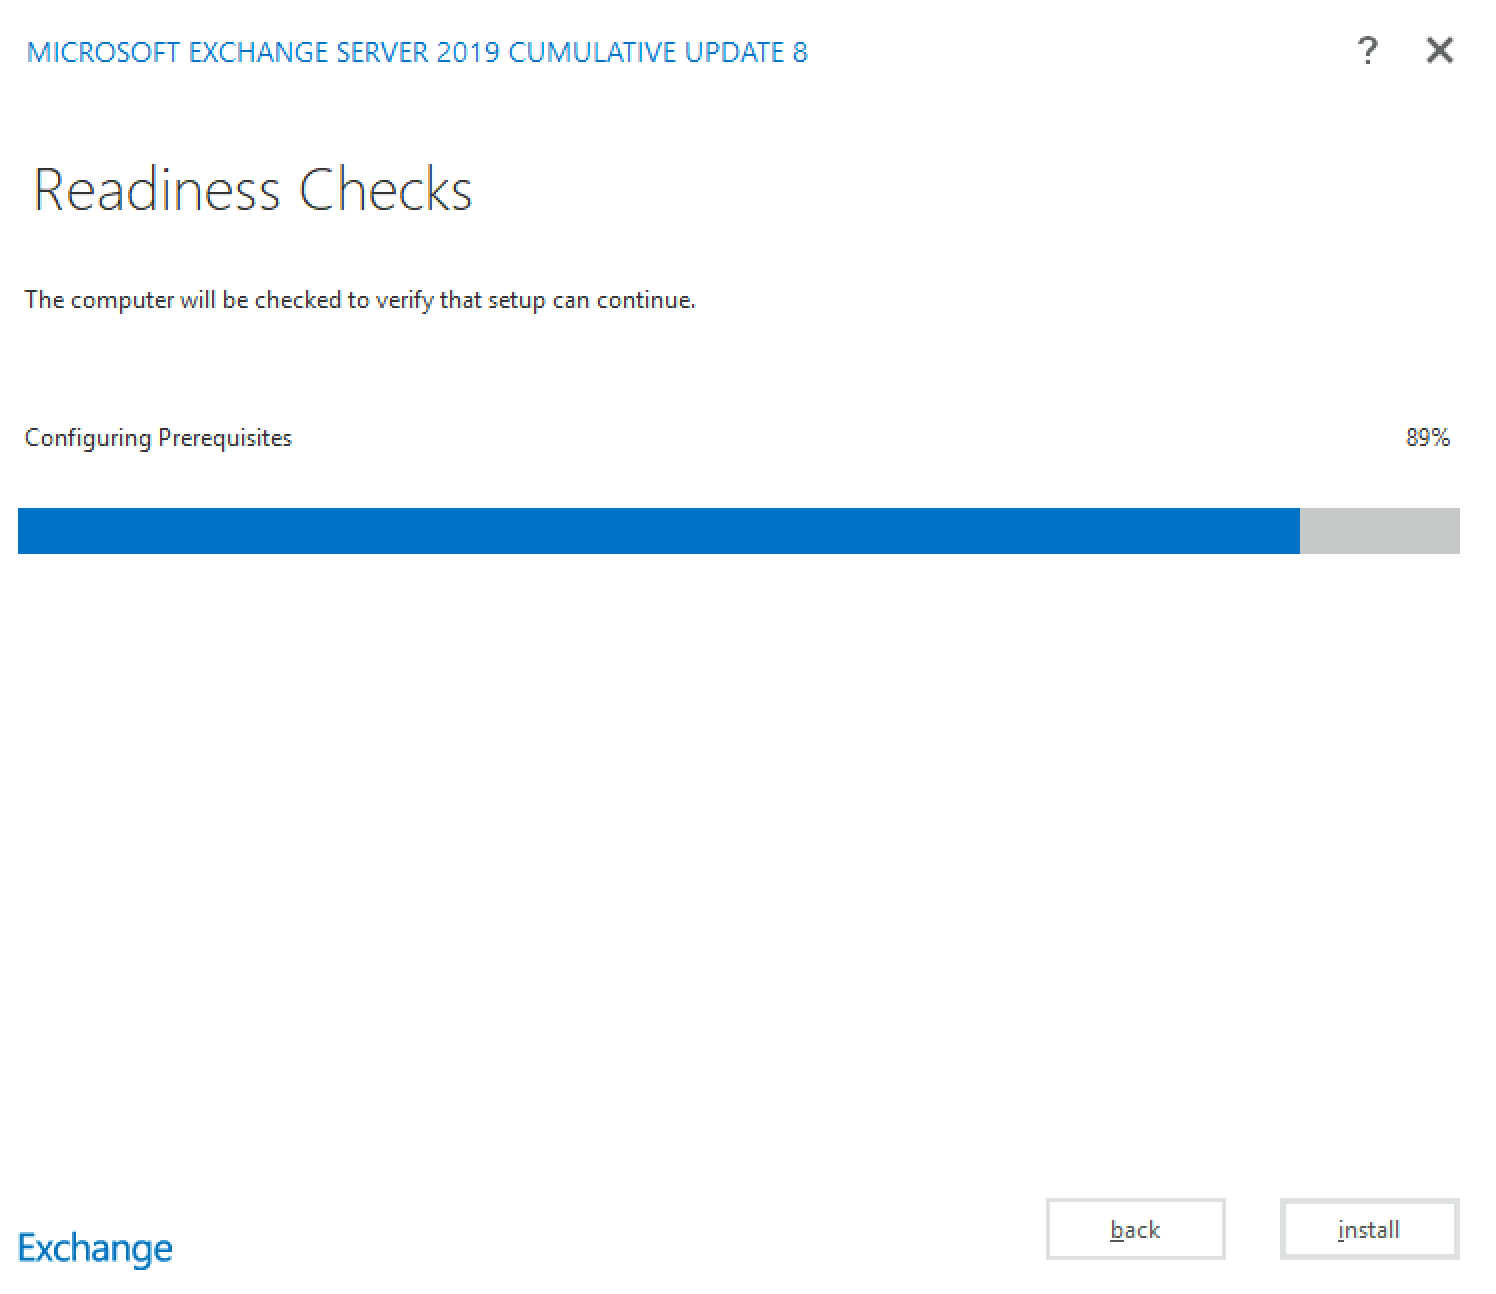
If you done already prerequisites install and you run installation as domain admin account (which will make sure to do adprep) you will get screen like this…
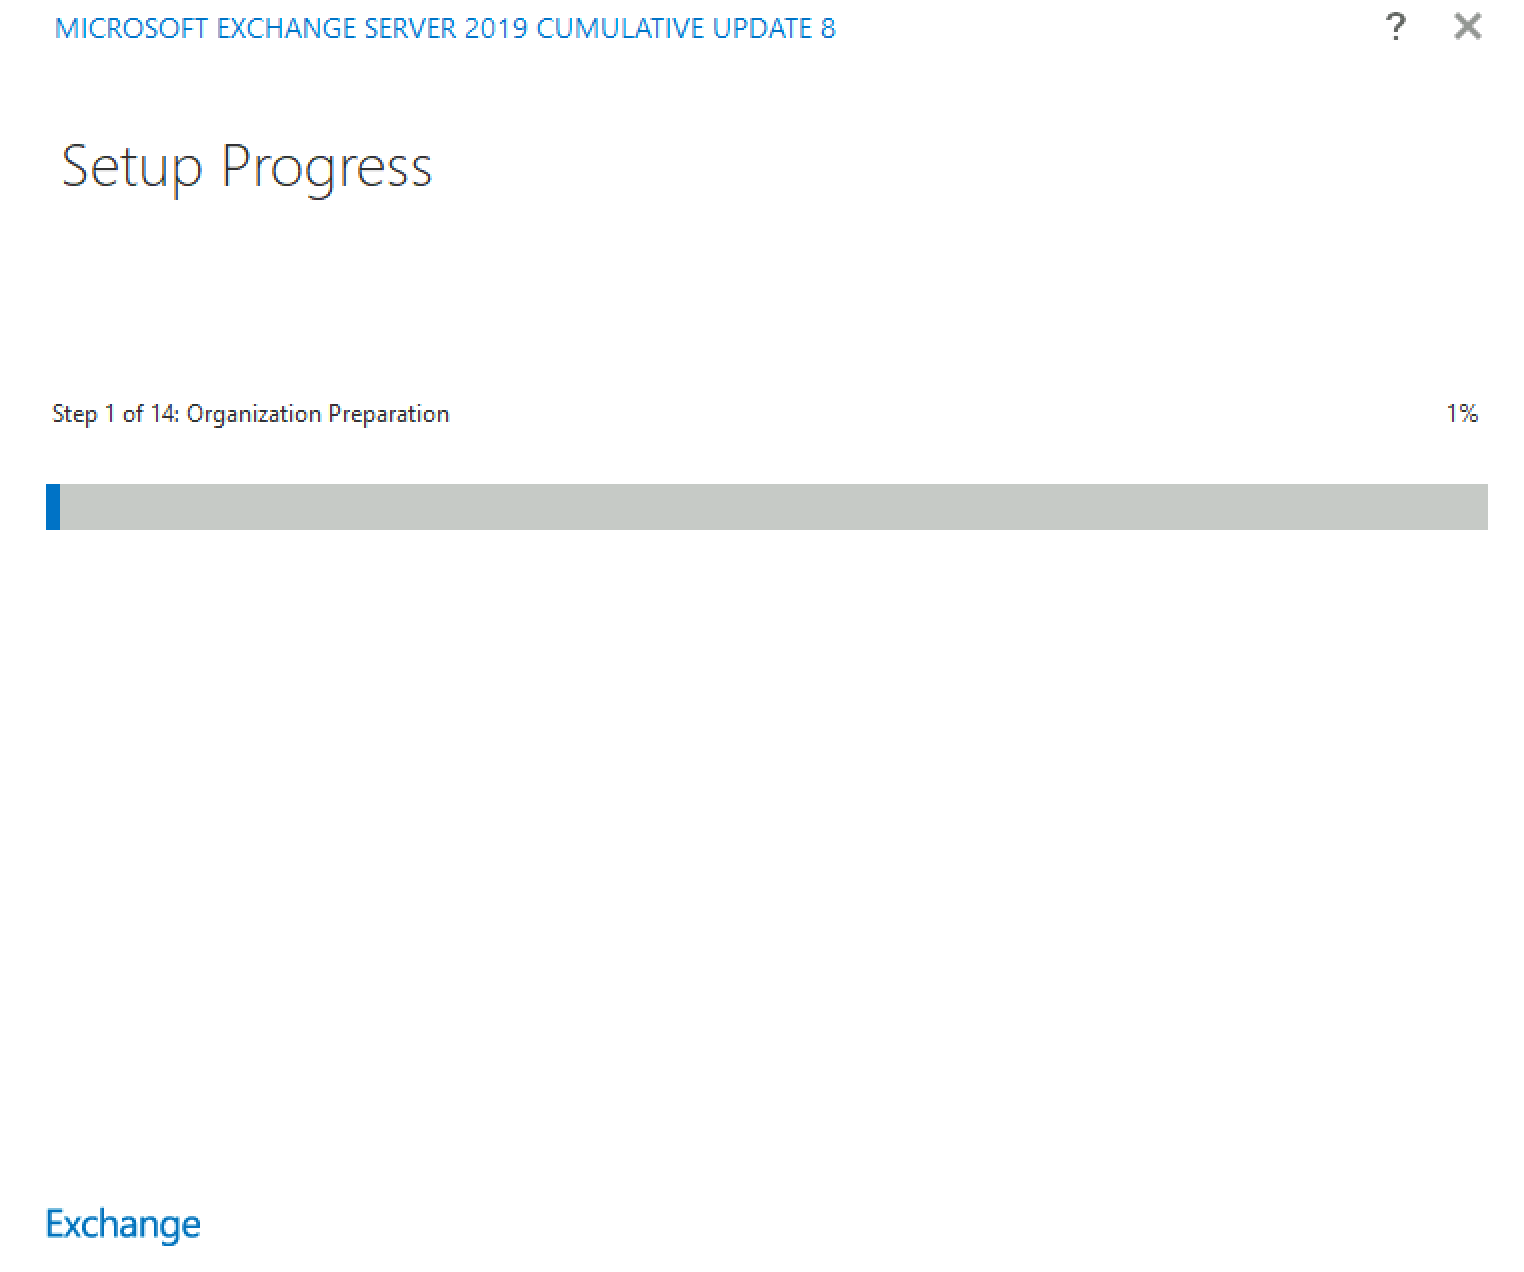
Install
14 steps are ahead of us… I won’t screenshot each of them.
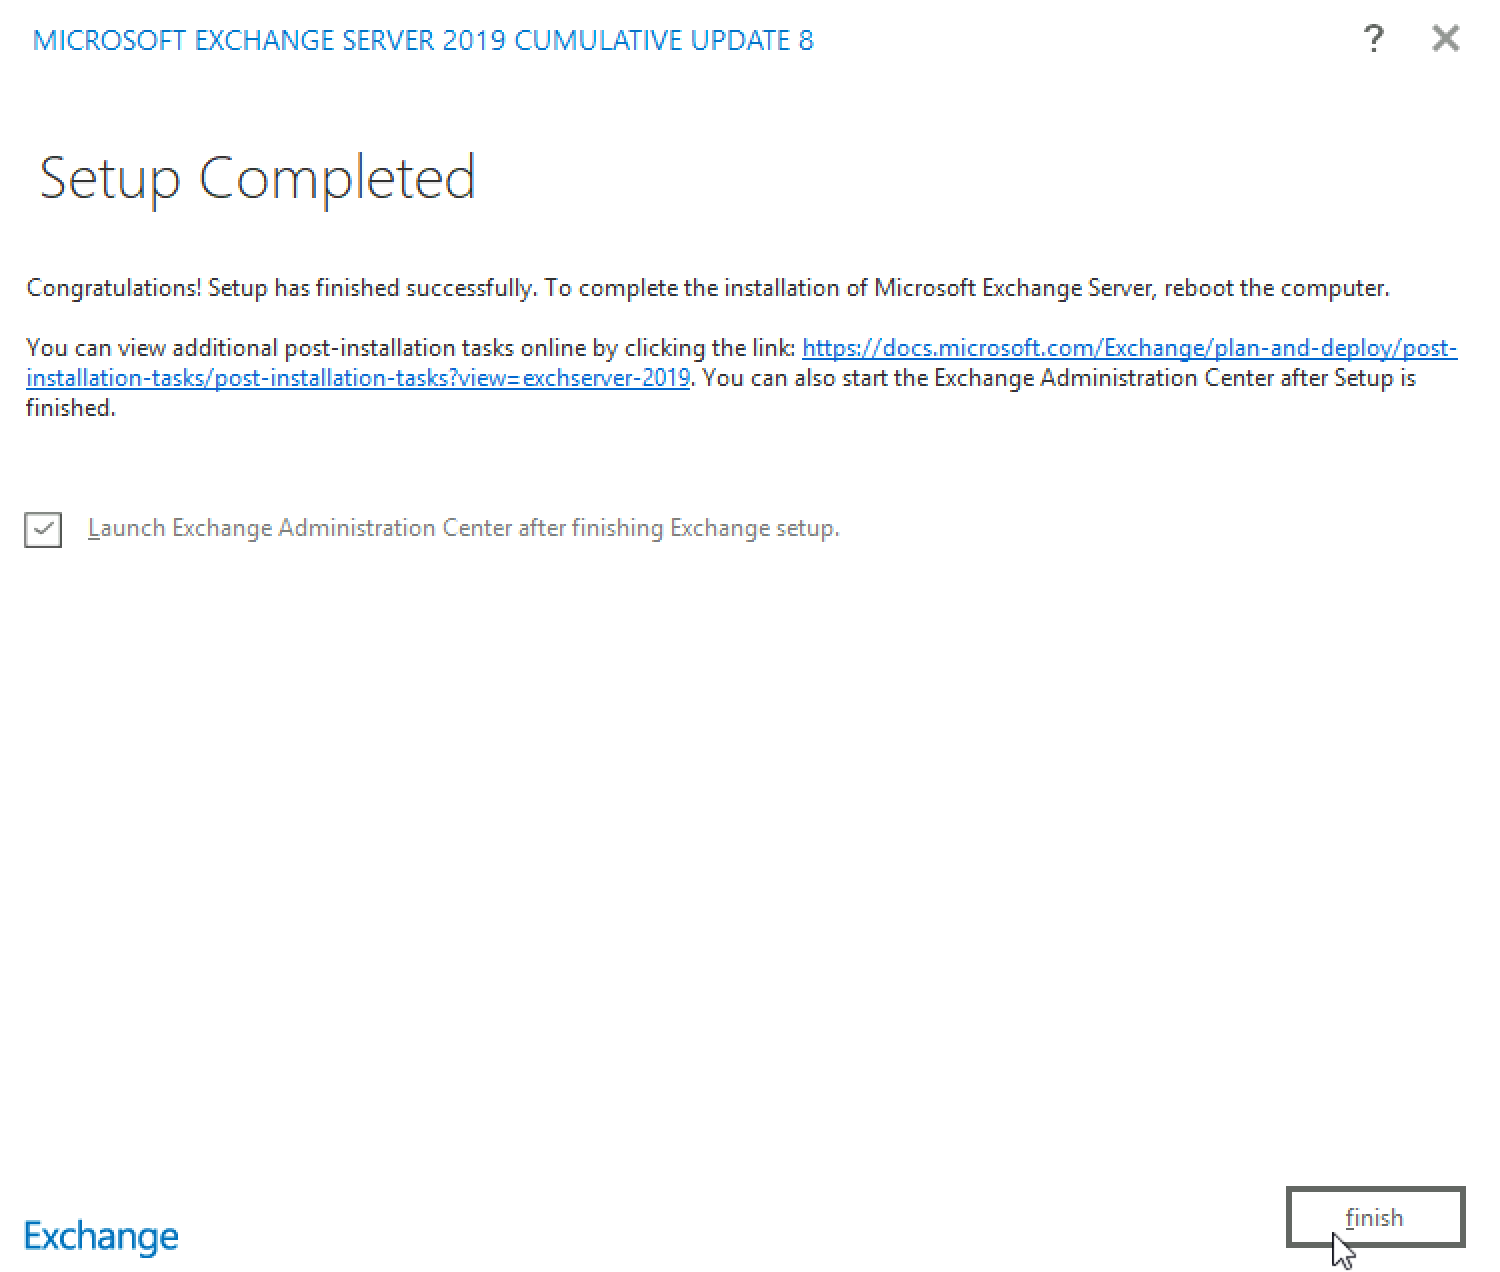
Some time later, mostly depending on the speed of the configuration Ex2019 is placed on, we will get to following screen.
I also selected “Launch Exchange Administration…” Finish
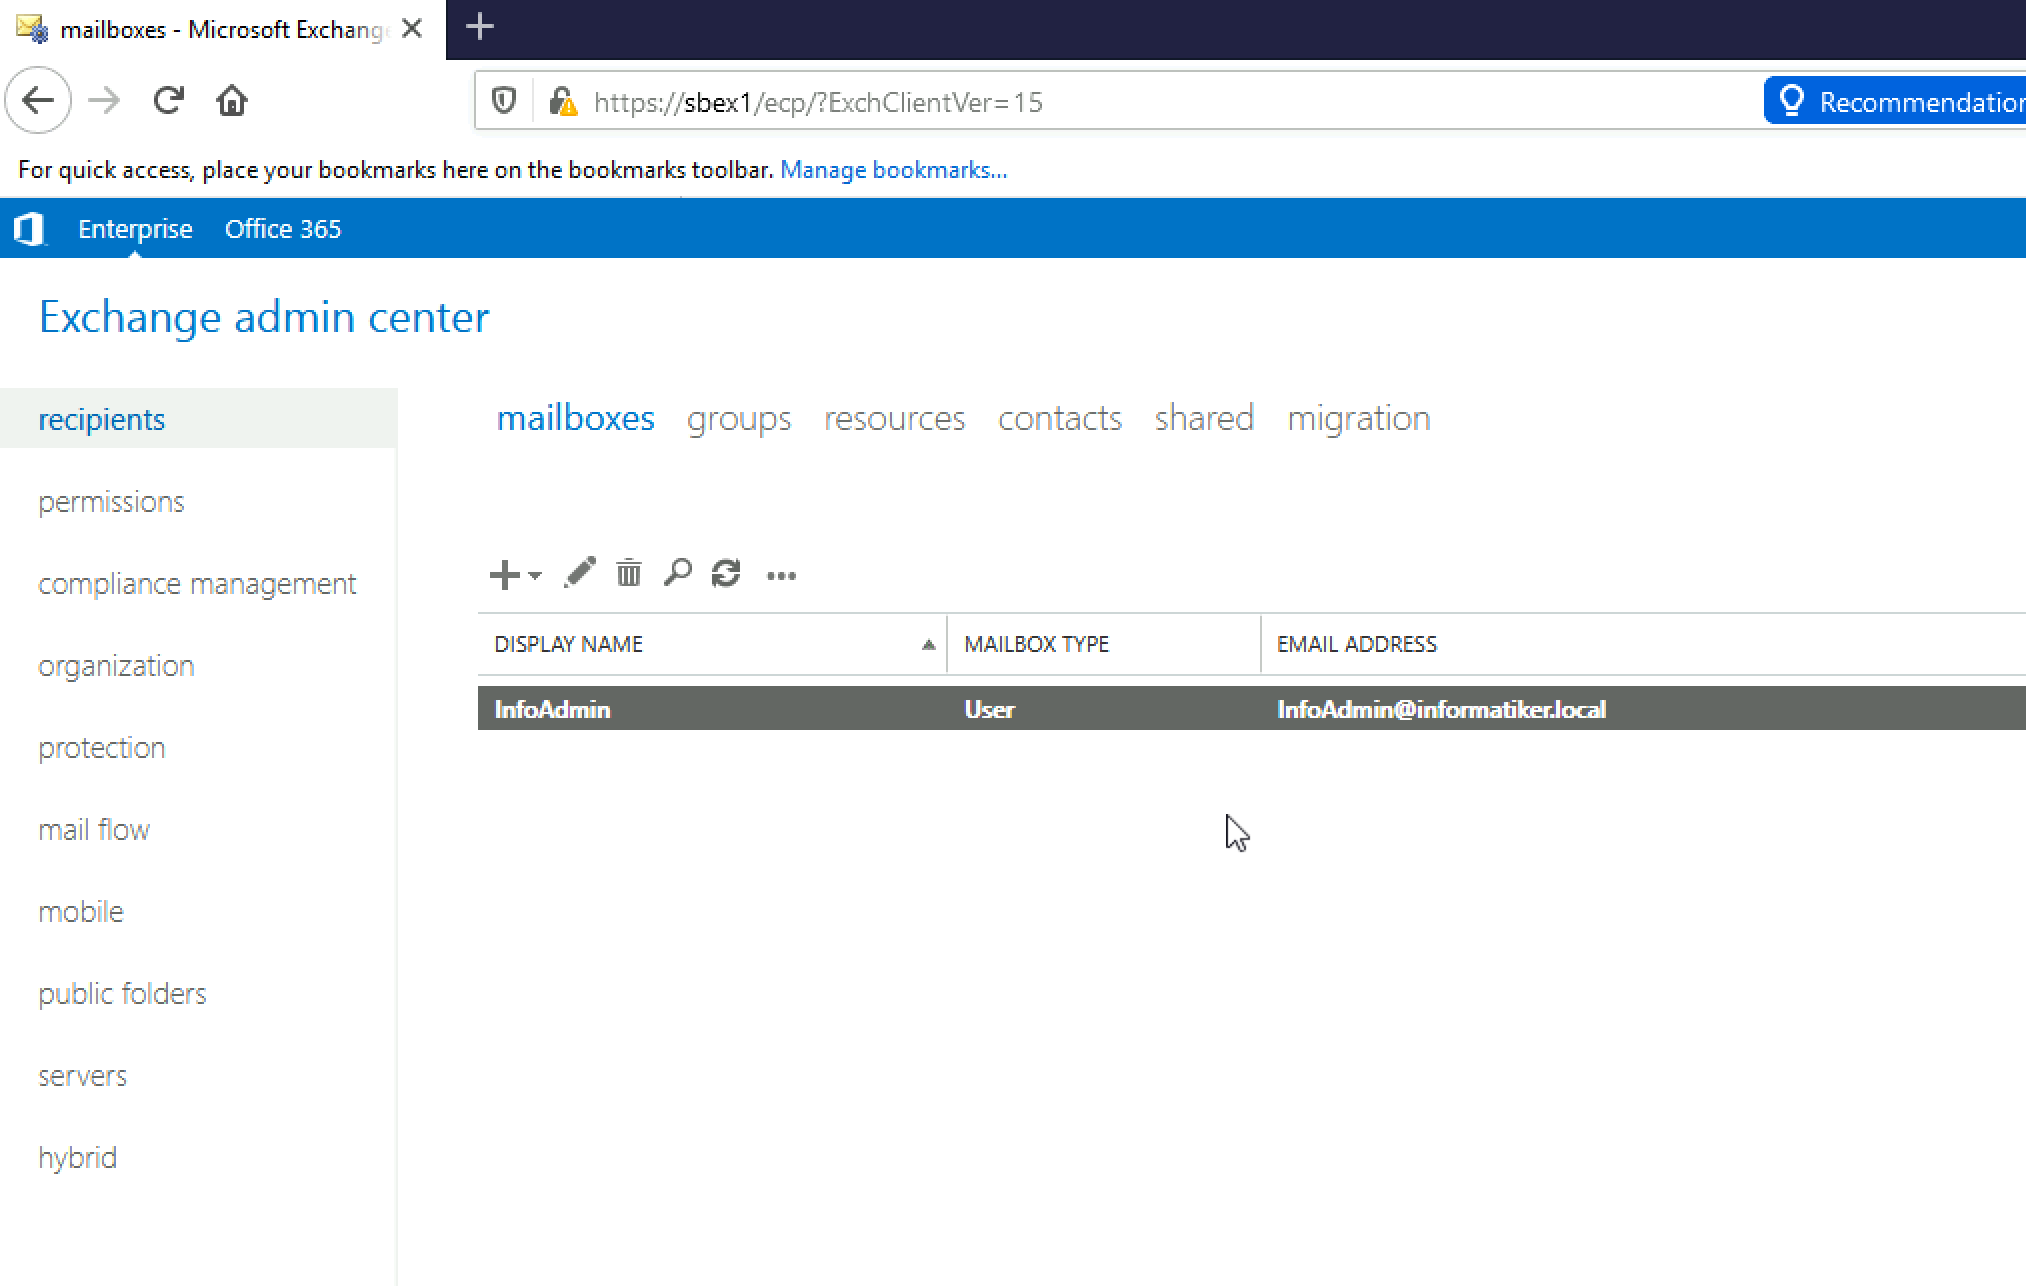
I entered login data (INFORMATIKER\InfoAdmin) and selected “sign in”

That is it, we are in
Installation is easy part. Configuring and securing Ex2019 + preventing spam is something that needs special attention. Email system can be complex to configure and maintain, that’s why cloudy solutions are so popular – no hassle, spam and security are somebody else’s worry – but at the same time you are loosing control of that part of your business.