I use Nextcloud a lot, and in this short guide we will install together Nextcloud 21 on Ubuntu 20.04.
Before we begin
I’m doing this on a VPS machine with public IP address. Also, I’m using valid wildcard certificate for my test domain, so there will be no Let’s Encrypt certificates in this guide.
You will need to install LAMP stack for Ubuntu – you can find details – here
We will also need to enable https on our web server, you can follow guide here. You can ignore self-signed certificates part described in that guide. I will be importing my wildcard certificate I bought for my domain.
Make sure you got port 443 through firewall for this guide.
sudo ufw allow 443Let’s begin.
Download Nextcloud
Ok, so again, before you start with downloading Nextcloud, make sure you finished Ubuntu LAMP guide.
Go to the Nextcloud download site, right click on the huge Download button and copy the link. At the time of writing this article, this will result in the link I put below.
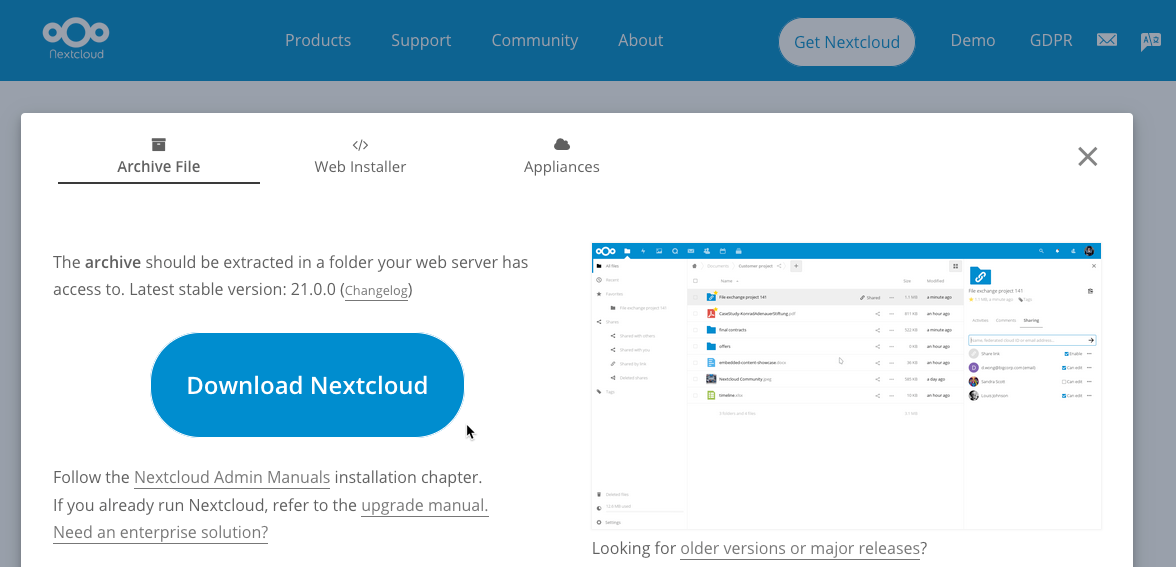
We will just put wget in front of the link and that will download us nextcloud zip file. I’m doing this in the home directory of my Ubuntu user.
wget https://download.nextcloud.com/server/releases/nextcloud-21.0.0.zipWe need to unzip downloaded install, so we will need first to install unzip and then extract downloaded install.
sudo apt install unzipNow, we will unzip downloaded installer and opy it to /var/www folder.
sudo unzip nextcloud-21.0.0.zip -d /var/www/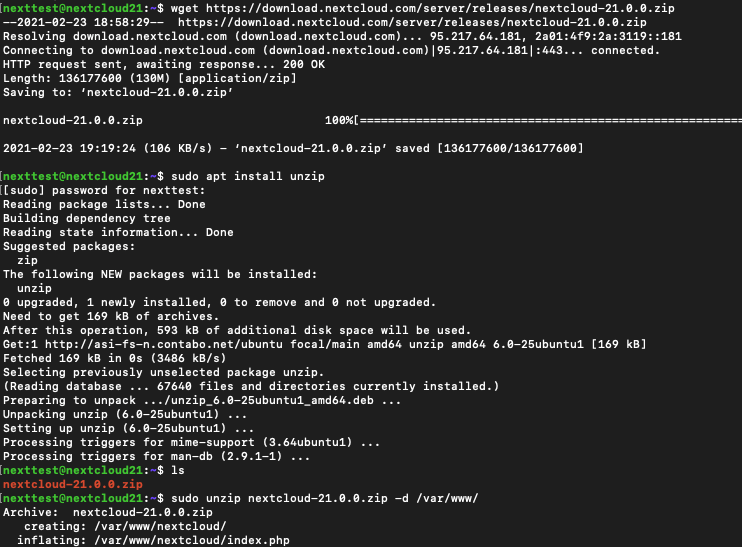
Now, that we extracted it, we need to modify permissions so that apache has rights to the folder.
sudo chown www-data:www-data /var/www/nextcloud/ -RSet data folder
It would be smart to put data folder for Nextcloud out of default /var/www/nextcloud to some other location.
I will create folder – /home/clouddata (you can create folder where you think it will fit).
sudo mkdir /home/clouddataand we will also set permissions on that folder right away
sudo chown www-data:www-data /home/clouddata/ -R
You can reboot apache after doing this
sudo systemctl restart apache2Better yet, you can do a fresh reboot of the web server.
Create Database
Next step will be to create database for our nextcloud install in MariaDB.
Change zeljko for username you like, and also change pass01 for a strong unique password. You can also change nextcloud to the database name you like.
sudo mysql -u root -p

CREATE DATABASE nextcloud;

CREATE USER `zeljko`@`localhost` IDENTIFIED BY 'pass01';

GRANT ALL ON nextcloud.* TO `zeljko`@`localhost`;

FLUSH PRIVILEGES;

exit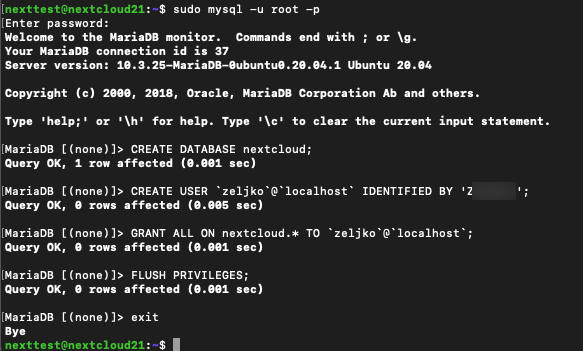
Install and enable PHP modules
In the LAMP guide, there is installation of PHP, but some modules are missing, so we need to enable some more.
sudo apt install php-imagick libapache2-mod-php7.4 php7.4-common php7.4-mysql php7.4-fpm php7.4-gd php7.4-json php7.4-curl php7.4-zip php7.4-xml php7.4-mbstring php7.4-bz2 php7.4-intl php7.4-bcmath php7.4-gmpWe also need to reload apache to enable these modules
sudo systemctl reload apache2Enable HTTPS and virtual host
Before we go further make sure you have done enabling HTTPS on Ubuntu. You can skip part with creating self-ssl certificate, because we are going to use wildcard certificate we bought for our domain. You can get cheap certificates for your domain from namecheap or ssls.com. (not in any way afiliated to me).
I copied my public part of the SSL cert to the /etc/ssl/certs on my Ubuntu install. Private part of my certificate is in /etc/ssl/private
Public part of the certificate is called – nextcloudpublic.pem and private part of the certificate is called nextcloud.key
We will now create new virtual host file for our nextcloud website.
sudo nano /etc/apache2/sites-available/nextcloud.confWe will enter following into our document. Change cloud.informaticar.net to your domain name and change names and locations of your ssl certs.
<VirtualHost *:443>
   ServerName cloud.informaticar.net
   DocumentRoot /var/www/nextcloud

ErrorLog ${APACHE_LOG_DIR}/nextcloud.error
        CustomLog ${APACHE_LOG_DIR}/nextcloud.access combined

        <Directory /var/www/nextcloud/>
            Require all granted
            Options FollowSymlinks MultiViews
            AllowOverride All

           <IfModule mod_dav.c>
               Dav off
           </IfModule>
  </Directory>
   SSLEngine on
   SSLCertificateFile /etc/ssl/certs/nextcloudpublic.pem
   SSLCertificateKeyFile /etc/ssl/private/nextcloud.key
</VirtualHost>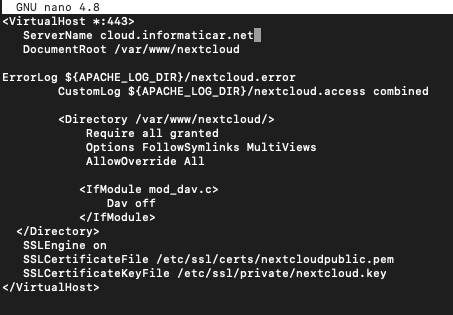
Save the file and exit.
Enable virtual host by running following
sudo a2ensite nextcloud.confWe also need to enable additional apache modules
sudo a2enmod rewrite headers env dir mime setenvif sslNow we will test the config
sudo apache2ctl configtest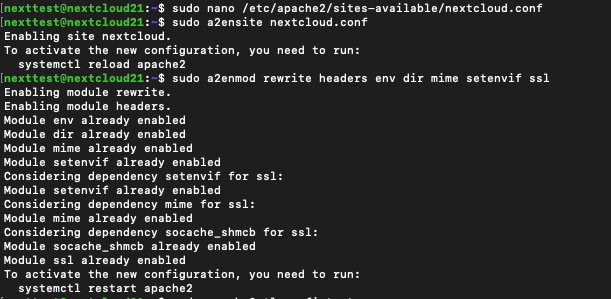
My test gave back ok.

Let’s now reboot apache one more time.
sudo systemctl restart apache2At last, make sure that you made DNS record for your nextcloud installation.
I created new A record name cloud under my informaticar.net domain with my public IP.
You can also check you certificate chain here. Ideally you should get A grade for your certificate, but the B grade also worked for me. Good certificate grade is important, so that you are sure you will not have problems with your Nextcloud install on iOS, Android…
Installation
Ok, now, moment of truth. If we done everything correctly, when I enter https://cloud.informaticar.net I will be greeted with Nextcloud installer.
It works
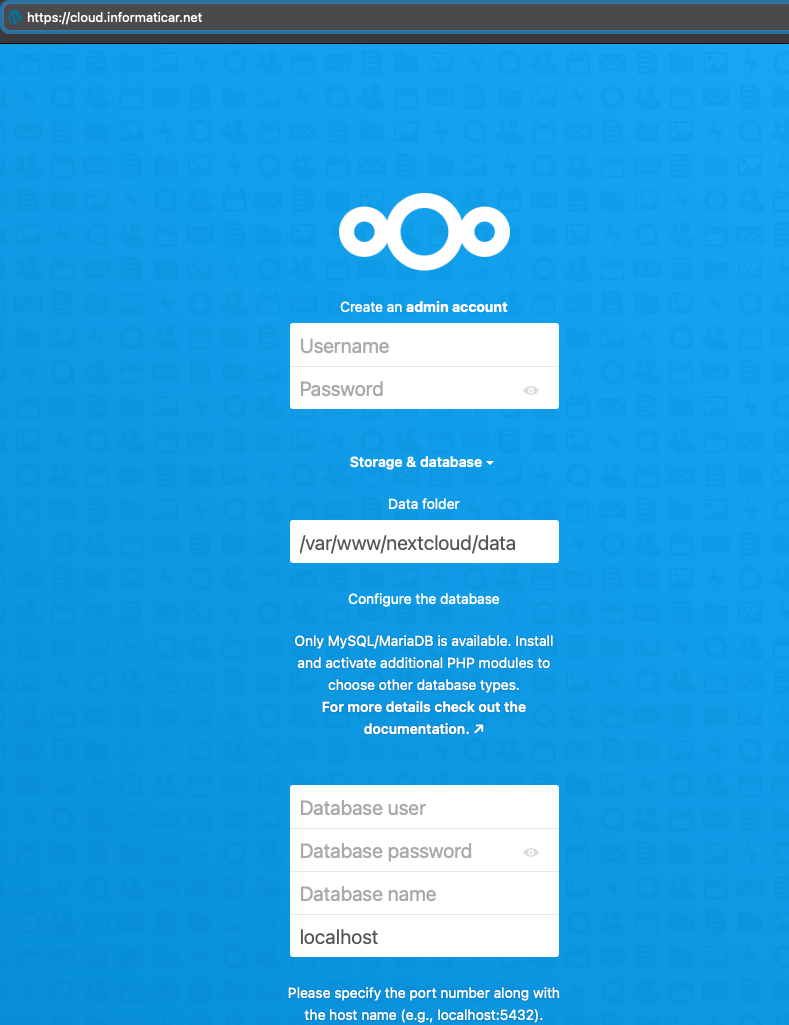
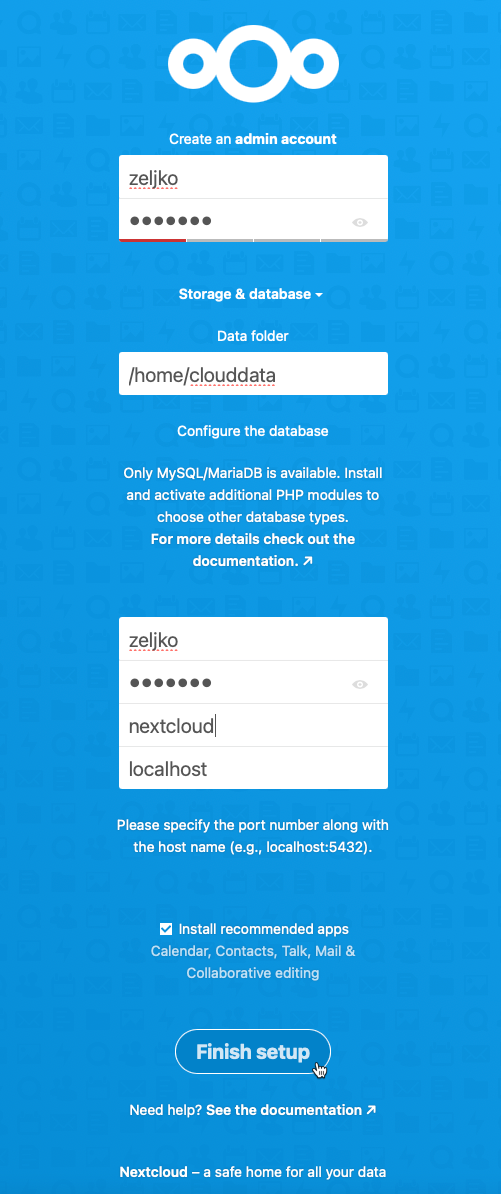
Under “Create an admin account” we will need to create new admin account for our Nextcloud installation. I named user zeljko and gave him lousy password. Don’t be like me and use strong passwords. This install is for test, so it is going down literally 5 minutes after this guide is done.
Data folder – we create data folder in /home/clouddata, we will use that now.
Database – user is zeljko, password is whatever you defines, in my case pass01, and name of the database is nextcloud.
When you are done, click on Finish setup
Screens will roll
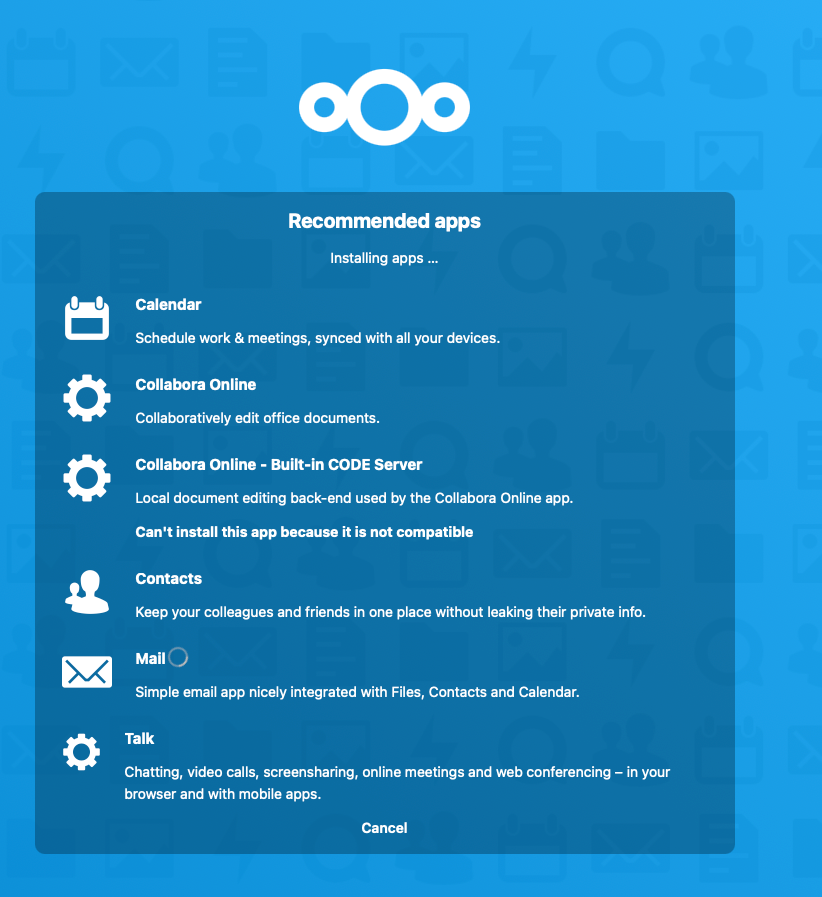
And if you done everything correctly, you will be greeted by this.

That should be it, you are done with Nextcloud installation.
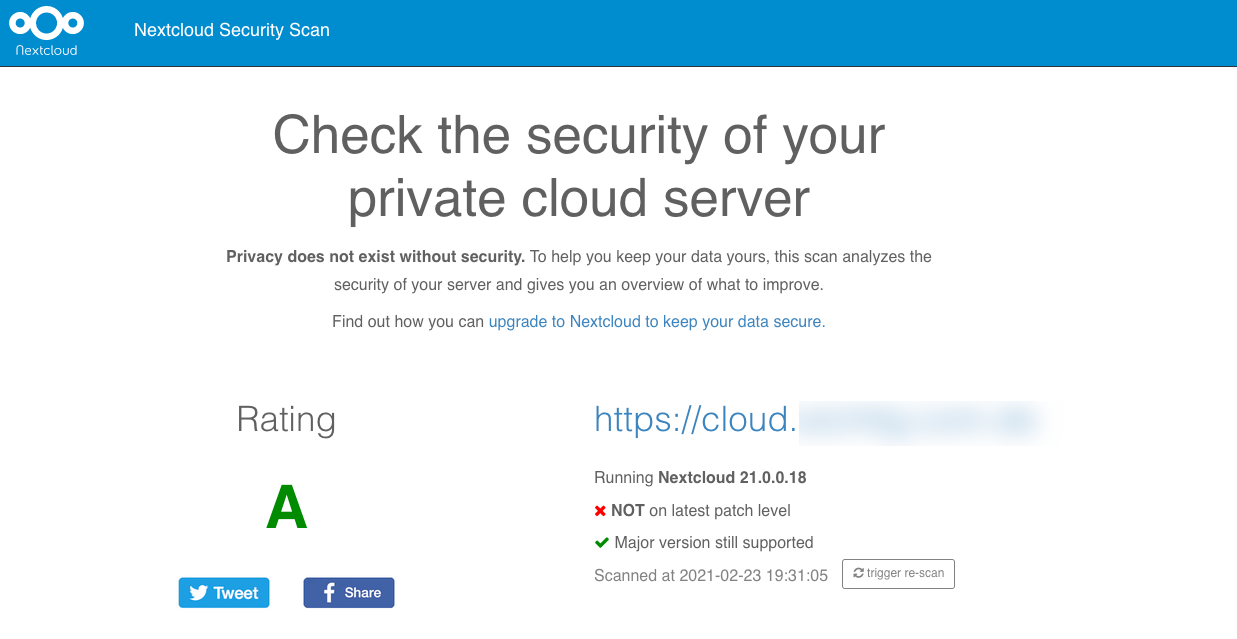
After you are done, I would also suggest that you check security of your Nextcloud installation by visiting this site.
I got “only” A, because I’m not at the latest patch level – although – I’m.
You will get a few errors after you installed Nextcloud, when you go to the Overview part in the Settings of your Nextcloud install.
You can check my earlier guide on how to resolve errors here.