This would be the last of the three foundation tutorials for Windows Server 2019 environment. First, we learned how to install Windows Server 2019 – here, then we went through basic configuration – here and now we will install Hyper-V virtualization role, on which we will build our lab even further.
After we install Hyper-V on our Windows Server 2019 all other tasks will be done on virtual machines.
Today, in age of cloud services, everything is virtualized/containerised. It does not make sense to use one server for only one role or installation. Virtualization enables you to deploy multiple operating systems on one physical machine. We will start with virtualization and deploy Hyper-V. Rest of the Server Basics series will then be inside Hyper-V, deployed as virtual machines (VMs).
Before we start
Machine that will host virtual machines will need to have significant resources if you plan to deploy couple of machines. In production environment you will have to plan and scale your deployments. Make sure you have a CPU with a few cores (two is doable, four or more would be nice) at least 16GB or RAM (more is better) and couple of hundreds of GB of storage.
If you create a VM with 2vCPUs, 4GB of RAM and 40GB of hard drive, and have a few machines with these specs, resources will melt quickly. Don’t forget that Hyper-V host also needs some of those resources. If you don’t want this LAB to be painful experience, you will need to invest in some hardware, it will save you significant amount of money and time. You can use older hardware, and if you are using old hardware, just save some money for SSD drives and use them for your labs.
If you are trying to do this in a virtual machine…
First, you will need to have a CPU that supports nested virtualization. You will have to research that for yourself and your CPU model.
There is also a part, again, called nested virtualization in your virtualization software. Basically it is virtualinception – you will install virtualization software inside other virualization software. I will install Hyper-V inside VMware vSphere – by selecting “Enable hypervisor applications in this virtual machine” in a Proccessors & Memory section of the VM.
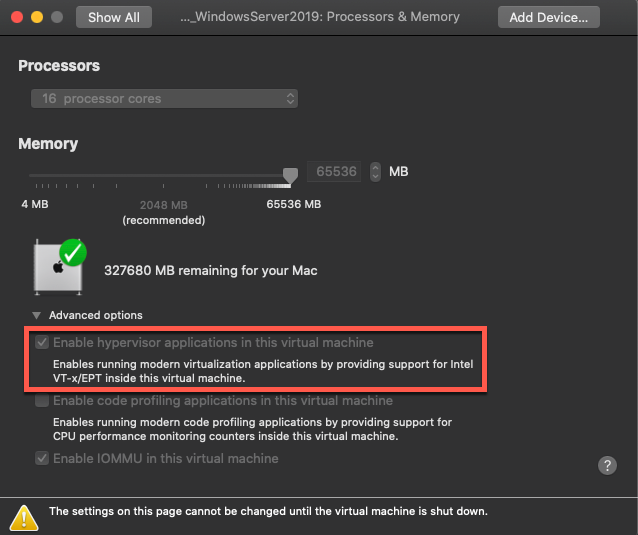
Check nested virtualization for your virtualization software.
Installation
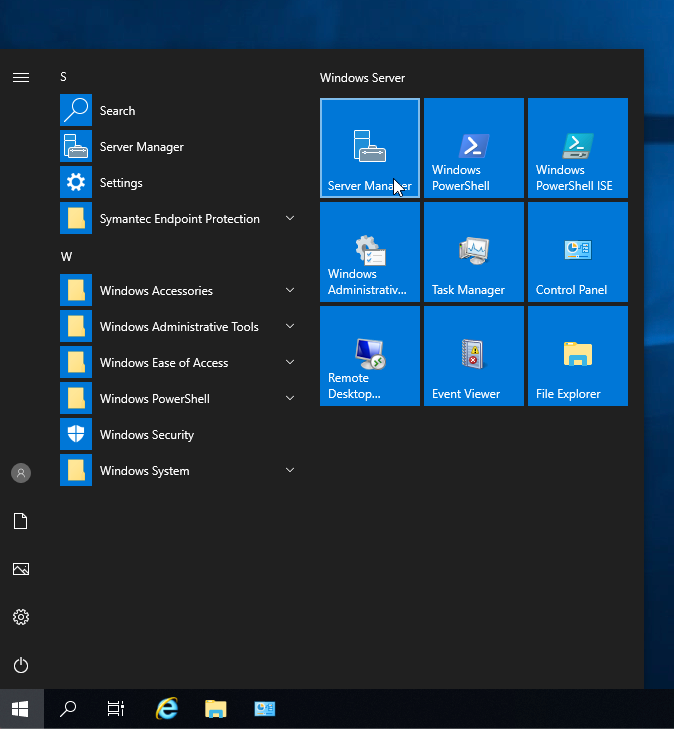
Click on start, and from the right panel select “Server Manager”
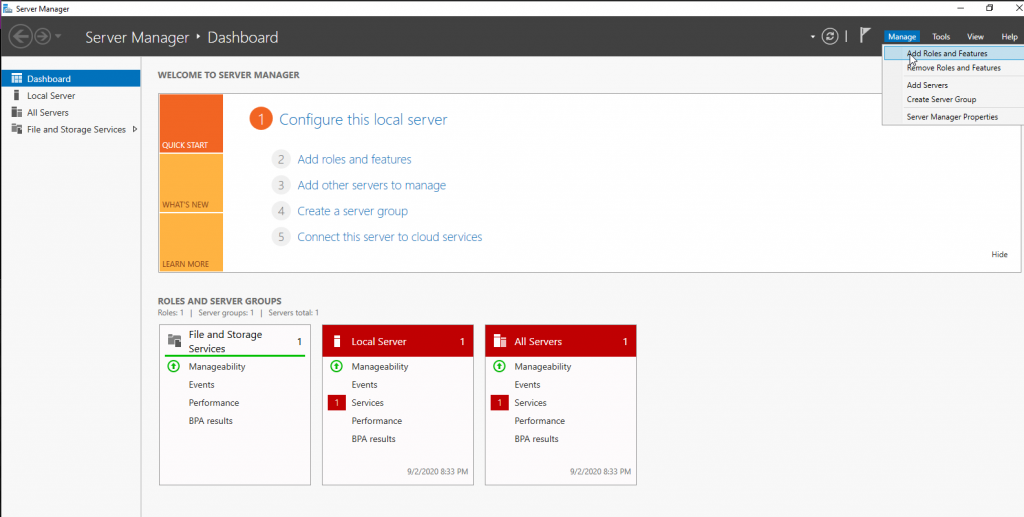
Once you are in “Server Manager” from the top right corner select Manage | Add Roles and Features.
!!!! This is the place from which we will deploy all the services in the Windows Server 2019, this will be our go to place many times in this series, so remember this.
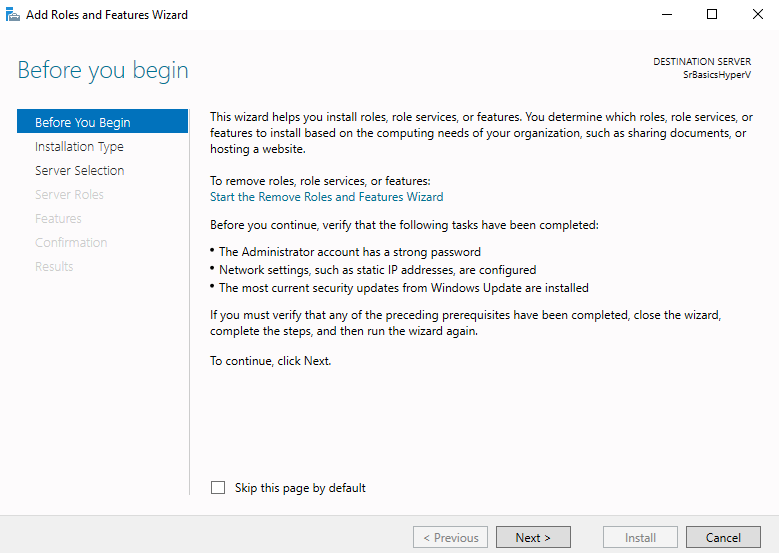
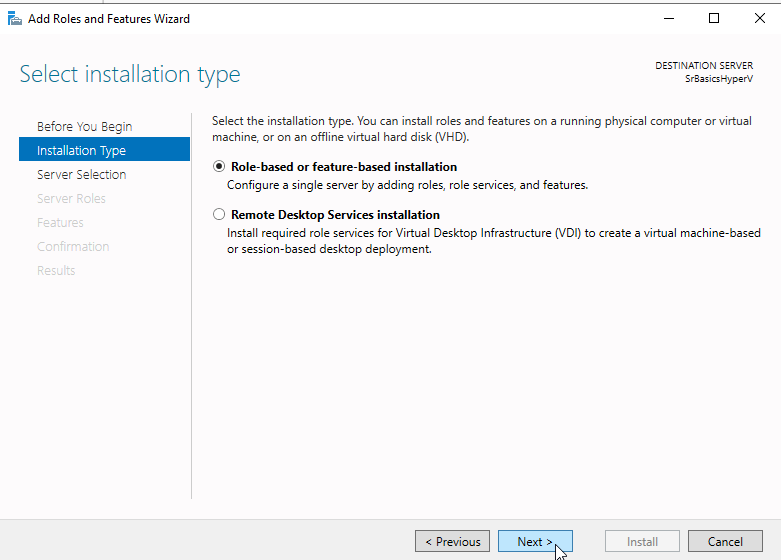
Select Next
Select “Role-based or feature-based installation” | Next
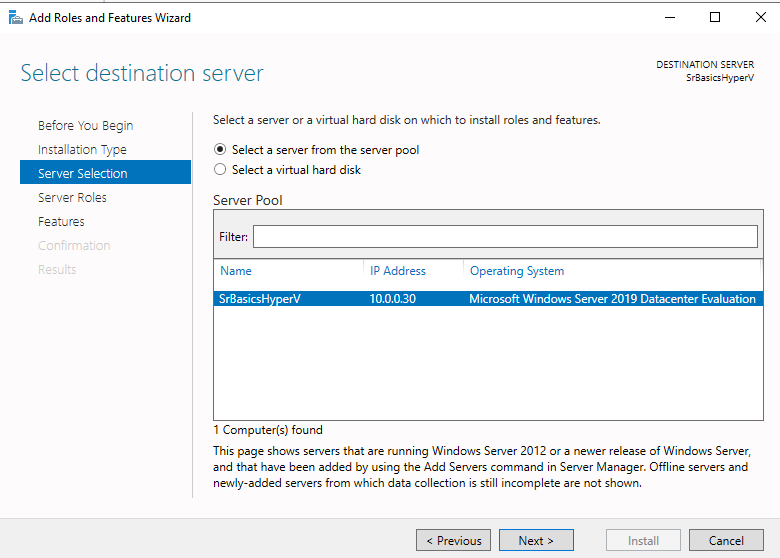
I will select my Windows Server 2019 installation I prepared for this role and click on Next
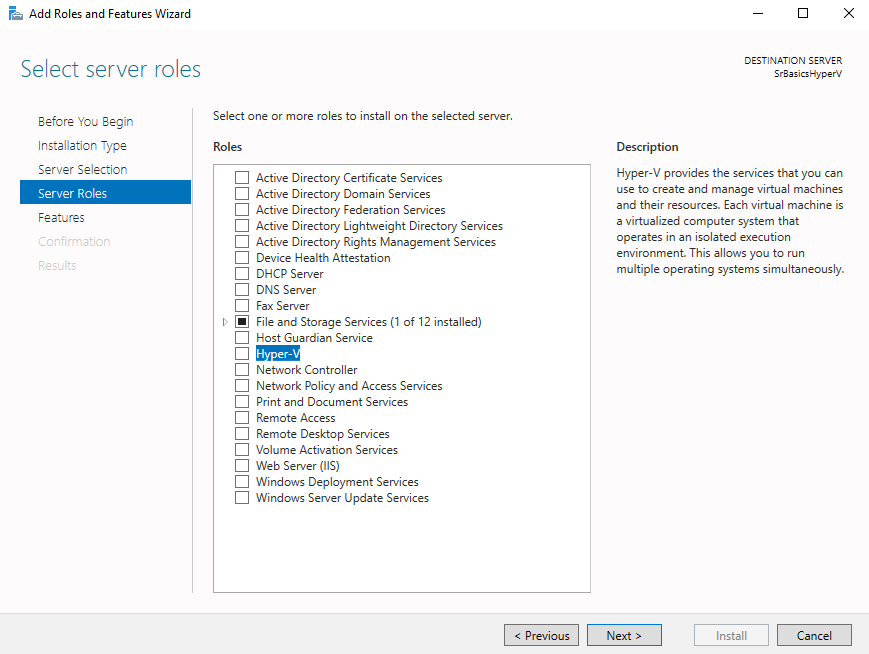
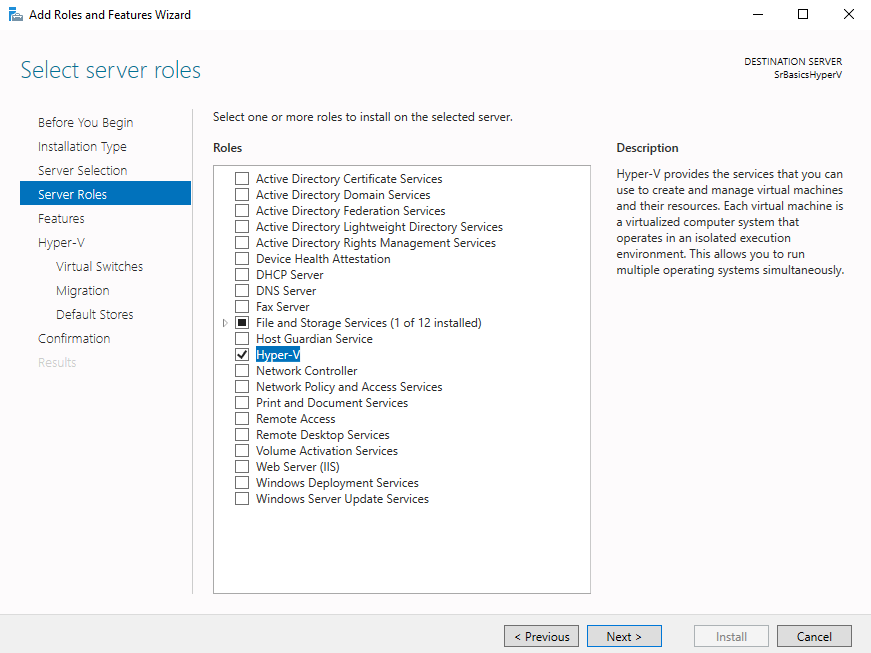
We need Hyper-V role so I will click on the box next to it.
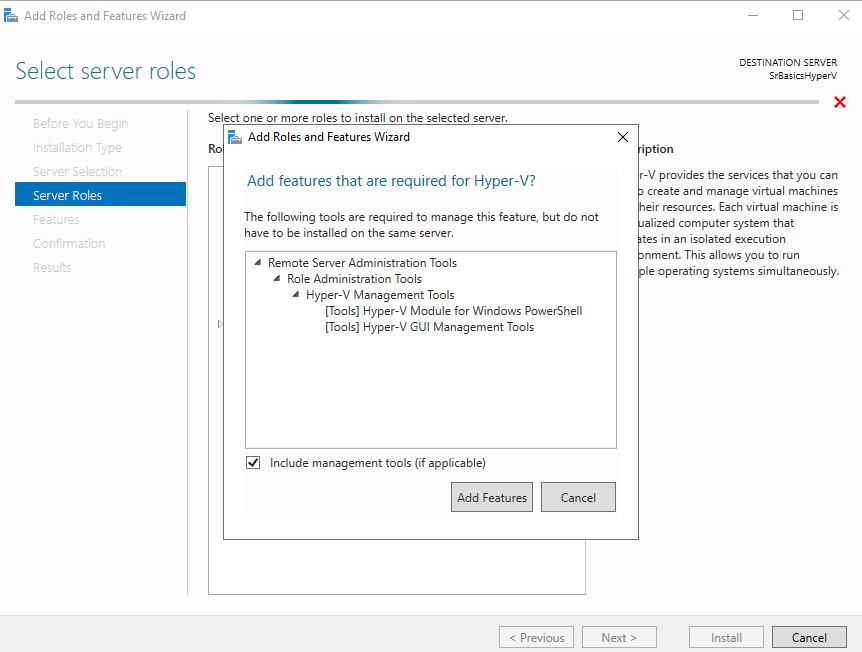
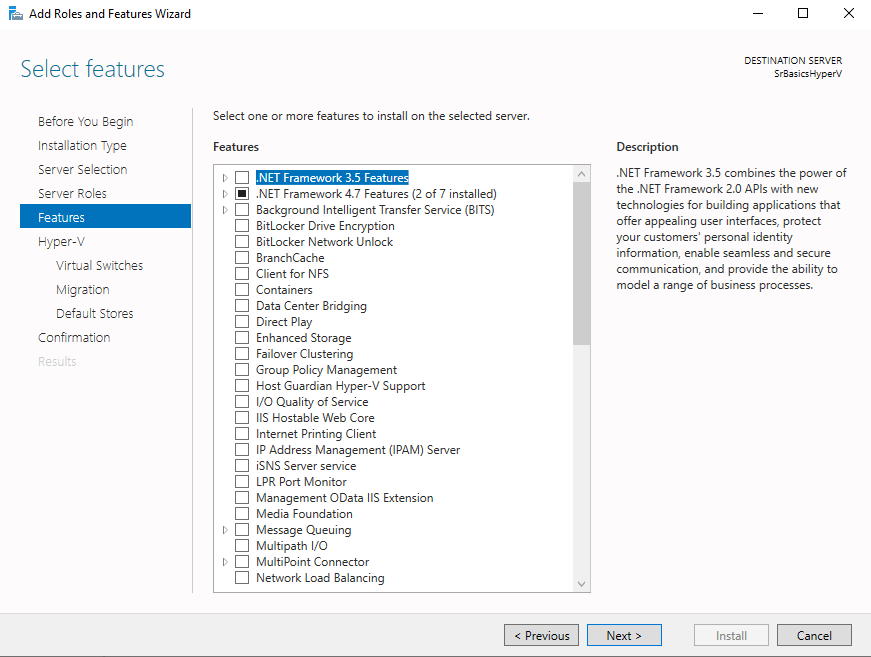
Additional pop-up will be shown, I will just click on “Add Features”
Hyper-V is now selected, we can go further, by clicking on Next.
We don’t need any roles, we will just select Next
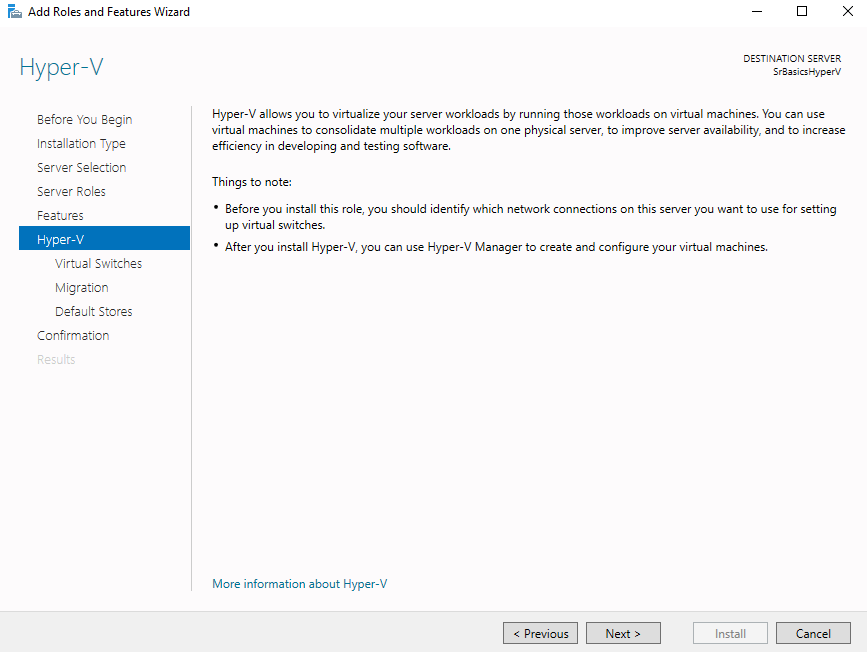
A little explanation – Next
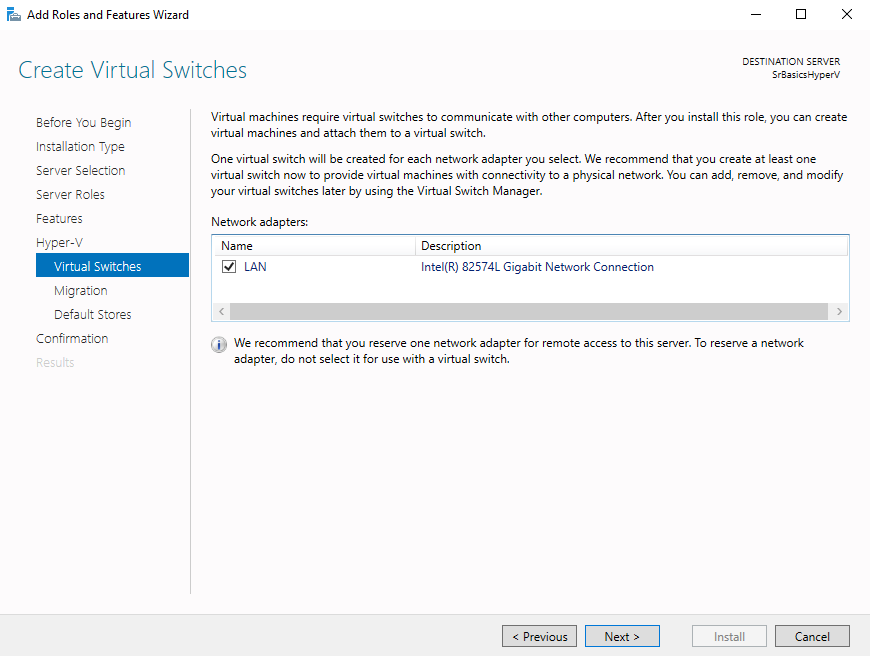
I will select one and only network adapter I have. In production environment, you may have more adapters. Usually good practice is to create network teaming before any of this is done. Next
More about network teaming can be found here – https://www.informaticar.net/windows-server-2012r2-how-t-oconfigure-nic-teaming/
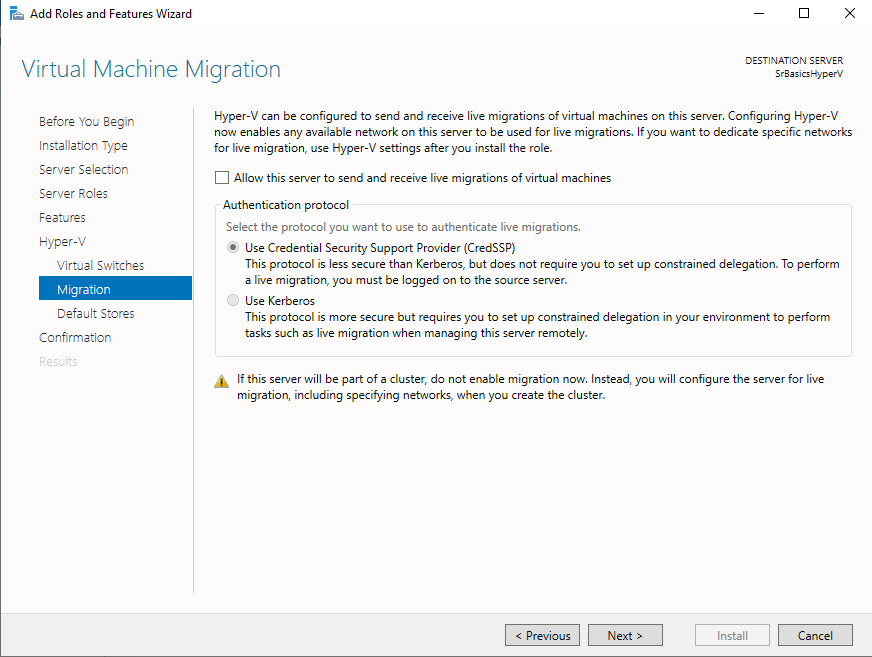
e will not touch Virtual Machine Migration now, we will leave it as it is, it will be theme for some other time. Click on Next
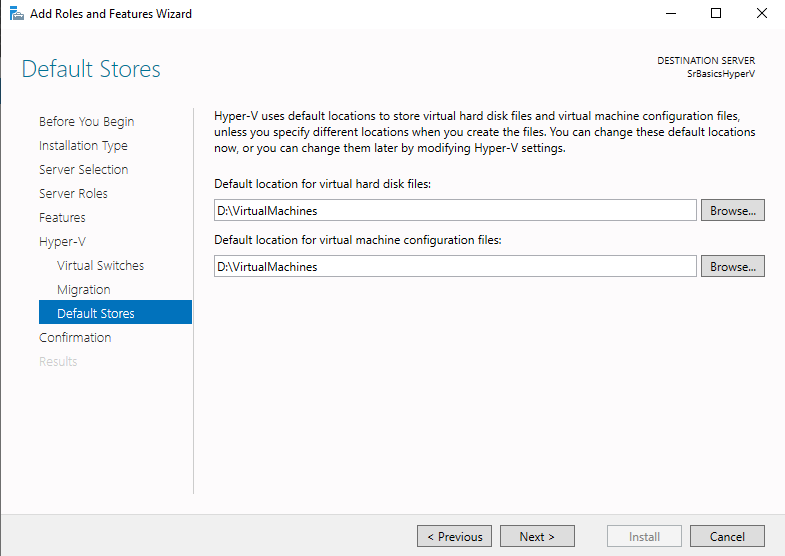
Default Stores is the place where you will specify location for your virtual machines. I usually do it on a separate disk in dedicated folder. Make sure you have enough disk space if you plan to deploy multiple machines.
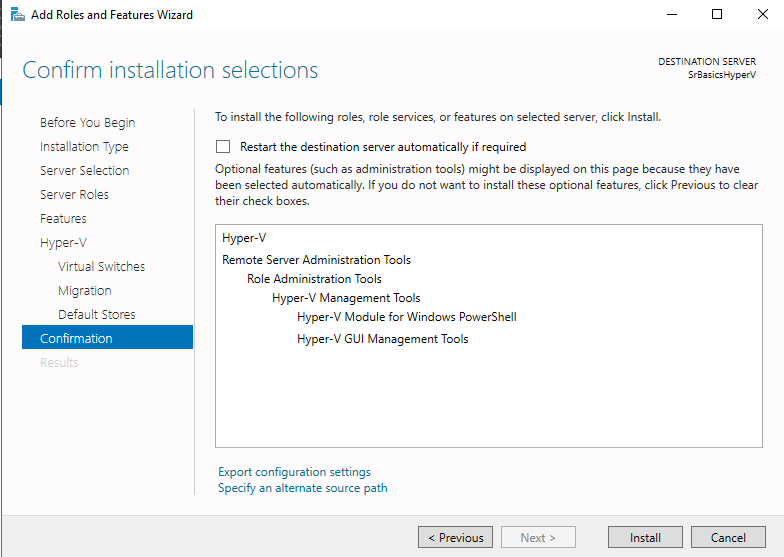
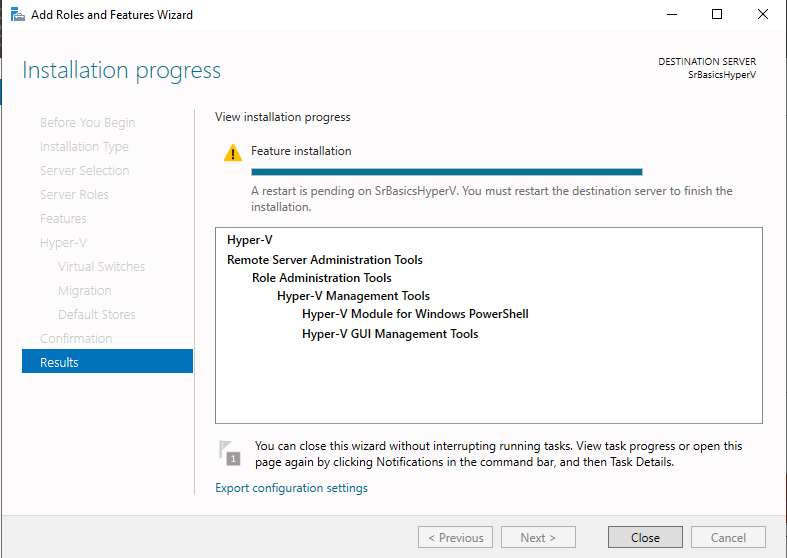
In the end, we will confirm our selection and select – Install
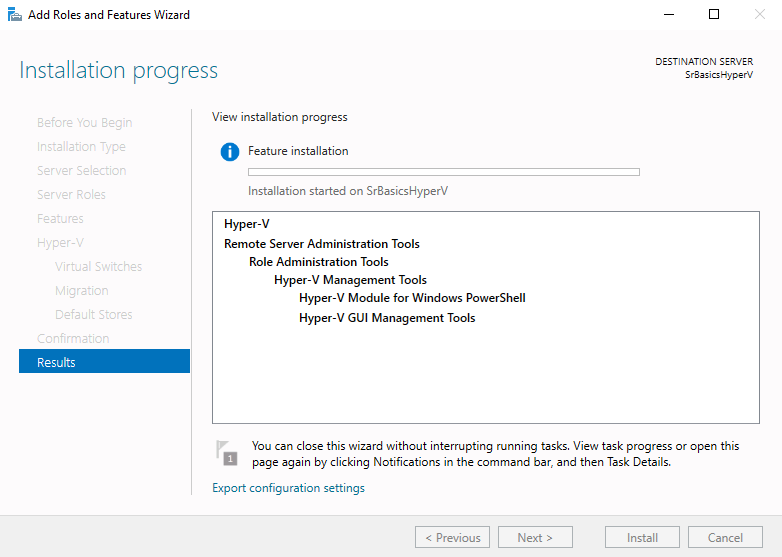
Installation is starting…
Installation is finished, we will close this screen and reboot our Windows Server 2019 manually.
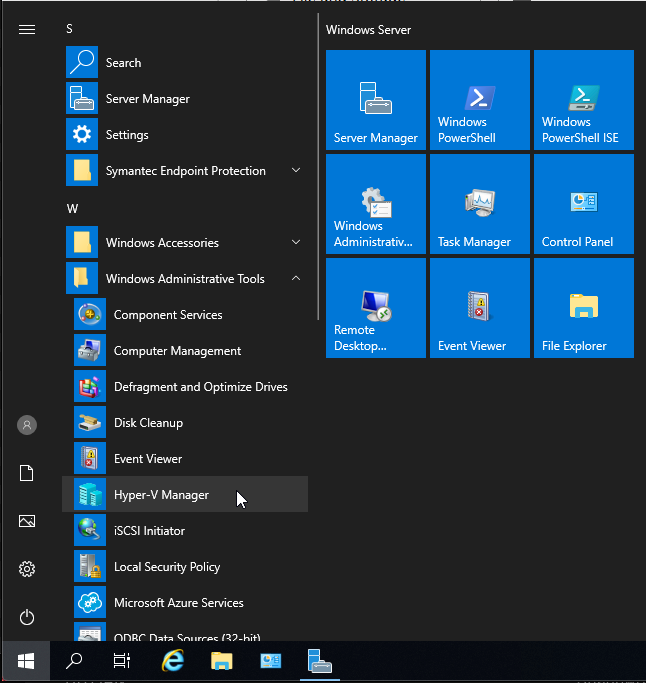
After reboot, click on start go to Windows Administrative Tools and select Hyper-V Manager.
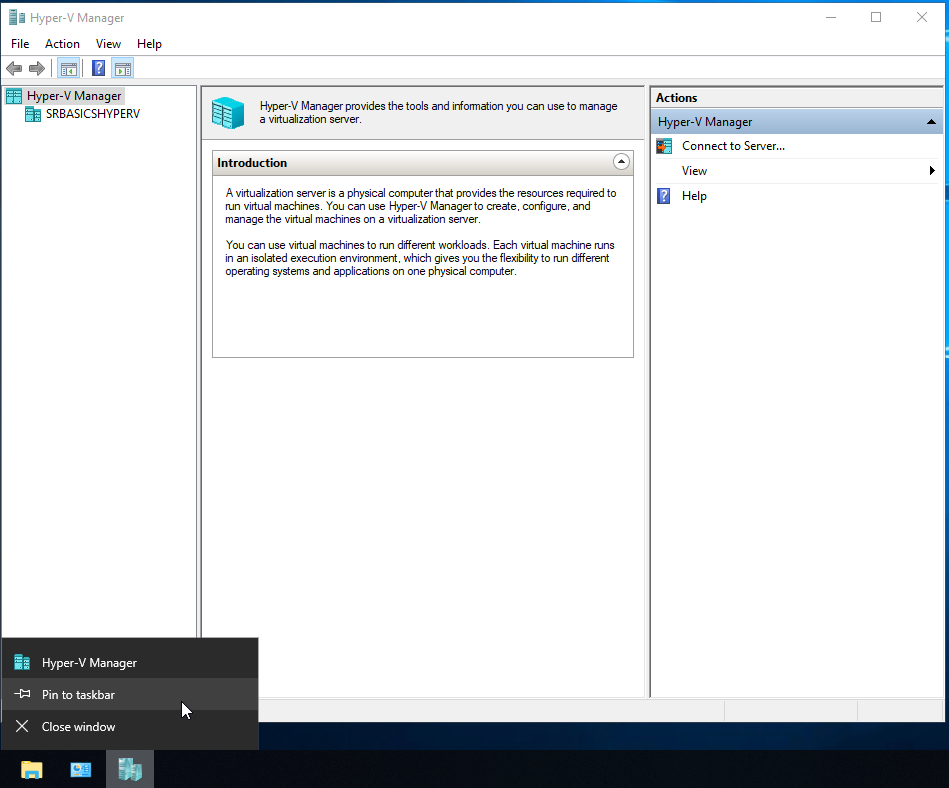
Here it is, I will pin it to taskbar, so that I can see it at the bottom of the screen every time.
Configuration
Through role installation we define disk storage for our virtual machines, we won’t for now use live migration or replication options – although these are great options to use.
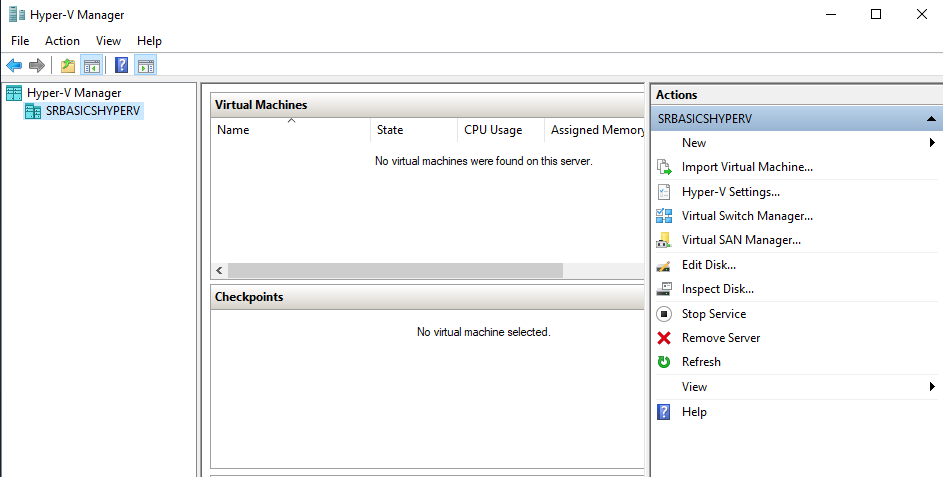
Only thing that we will configure at this stage is “Virtual Switch Manager”. Select it from Actions screen at the right side of the “Hyper-V Manager”.
For this scenario we will create only “External” virtual switch. Confirm by clicking on – Create Virtual Switch.

(Usually in production, I create External and Private networks. I attach external and private virtual networks to my router VM (I usually use pFsense for small and lab deployments and Fortinet solutions for larger) and to all VMs I attach only private network, so they can communicate between each other and send traffic to internet through router VM.)
If you want to know more, I already wrote about that here – https://www.informaticar.net/how-to-install-pfsense-on-hyper-v/
For this Server Basics scenario we will use simple setup and define only external adapter and all our VMs will use it.
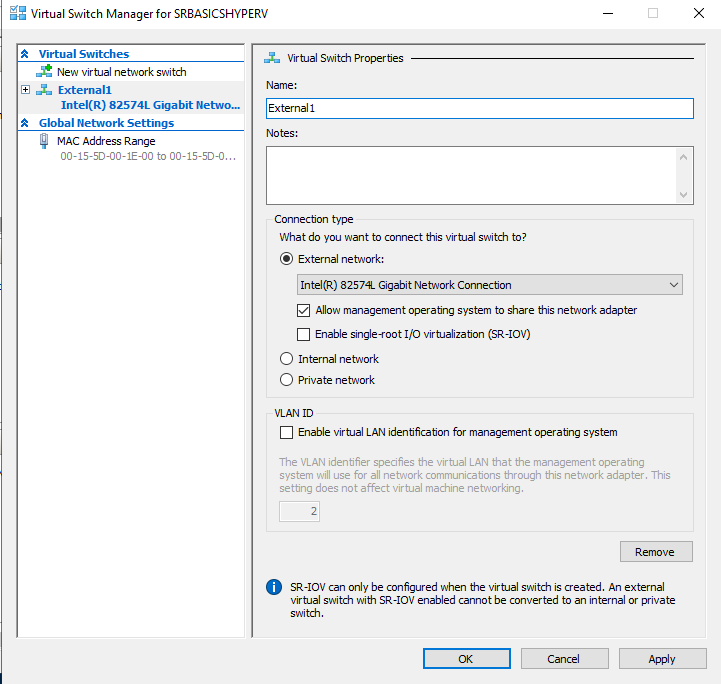
I will only change name of the network to “External1” and I will select “Allow management operating system to share this network adapter”. I usually have two network adapters (at least) so I don’t use this allow management option in production and I highly recommend that scenario to you too, don’t save money on (physical) network adapters and switches .
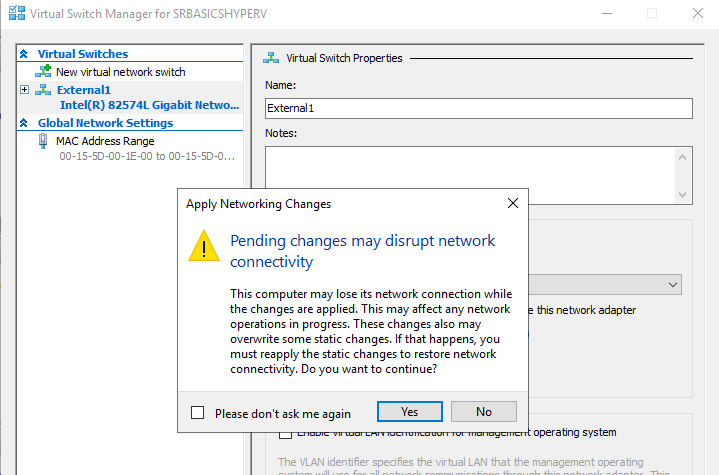
Apply | OK
Pop-up will appear be aware that you will lose you network and internet connection to this machine for a brief moment – select Yes
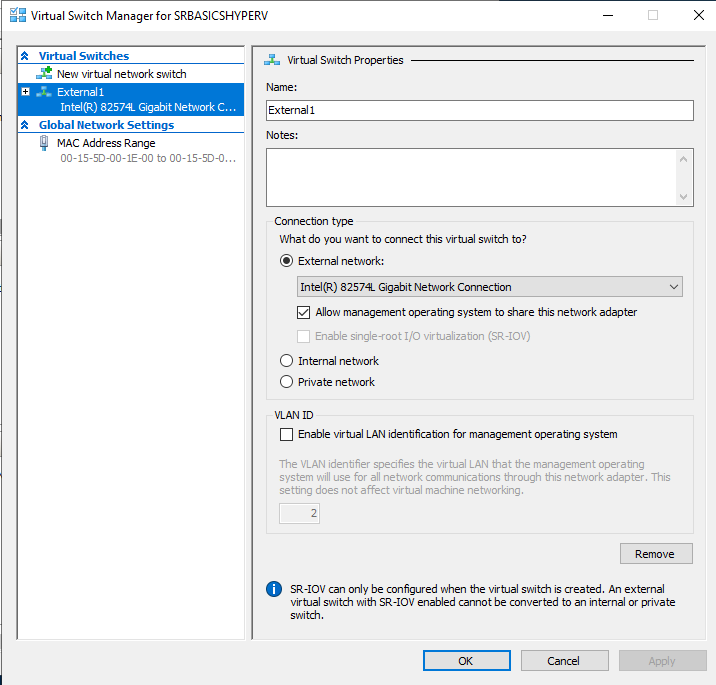
Adapter is created
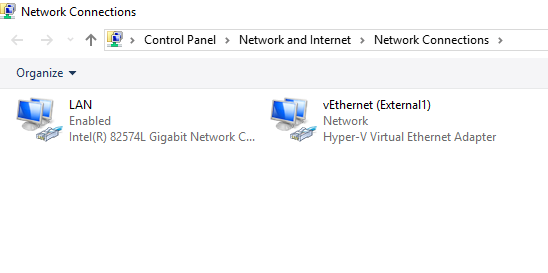
Since you selected “Allow management operating system to share this network adapter” if you go to Control Panel | Network and Sharing Center | select Change adapter settings from the top left part of the screen, you will see two adapter now.
Right one is created by Hyper-V and that is the way it will look if you only have one network adapter on your machine.
Conclusion
That is it for a very basic setup of Hyper-V, in a next tutorial we will create our first VM in Hyper-V and start with some serious business.
If you are interested in video version of this article, click here