This tutorial will show you how to put Hyper V virtual machines into cluster on Windows Server 2016.
Before we begin, few informations.
This tutorial will not be covering Failover Cluster creation. If you need that info you can find it here – https://www.informaticar.net/windows-server-2012-r2-failover-clustering-dhcp/
Follow that tutorial until it gets to the DHCP installation part (Adding DHCP to Failover Cluster).
You will also need iSCSI storage configured. If you are interested in how to for that look here –https://www.informaticar.net/how-to-setup-windows-server-2016-as-iscsi-target/
LAB consists of the following:
WS2016iSCSI – 10.30.30.5/24 – Windows Server 2016 Standard is DC for the LAB on which is also installed iSCSI Target.
WS2016CL1 – 10.30.30.10/24 – Windows Server 2016 Standard – Failover Cluster Node 1.
Private Network just for Failover Cluster is 192.168.30.10
WS2016CL2 – 10.30.30.20/24 – Windows Server 2016 Standard – Failover Cluster Node 2.
Private Network just for Failover Cluster is 192.168.30.20.
HyperVCluster is the name of the cluster and it is located on the IP address 10.30.30.50/24.
Virtual Machine that are we going to install is also Windows Server 2016 Standard and is going to be named PrintVM and its IP will be 10.30.30.60/24.
Prerequisites for this LAB:
Domain environment – https://www.informaticar.net/windows-server-2012-dcpromo/
https://www.informaticar.net/windows-server-2012-dc-setup/
Failover Cluster set on at least two nodes – https://www.informaticar.net/windows-server-2012-r2-failover-clustering-dhcp/
Cluster Shared Volumes on Failover Cluster – Storage in Failover Cluster that will host Hyper V needs to have Cluster Shared Volumes. Info on converting storage to Cluster Shared Volume is covered in the tutorial for failover clustering.
Hyper V Role has to be installed on both nodes.
Hyper V Virtual Switch Manager should be configured and named identically on both cluster nodes.
Hardware should also be identical on both nodes for the Hyper V Cluster to function normally.
Notes:
Hyper V Cluster on Windows Server 2016 can also be installed in “workgroup” environment. Tutorial will be available soon.
Downside of that type of Clustering is that you can only do Quick Migration of VM, Live Migration is not available.
Quick Migration pauses your while transferring to another node while Live Migration moves VM workload without pausing. Have that in mind.
Now, after we checked all prerequisites lets go to the configuration of the Hyper V Cluster.
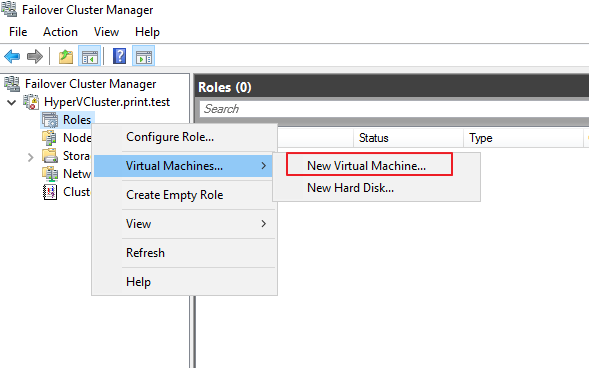
Failover Cluster Manager | expand Cluster | right click on Roles | Virtual Machines | New Virtual Machine
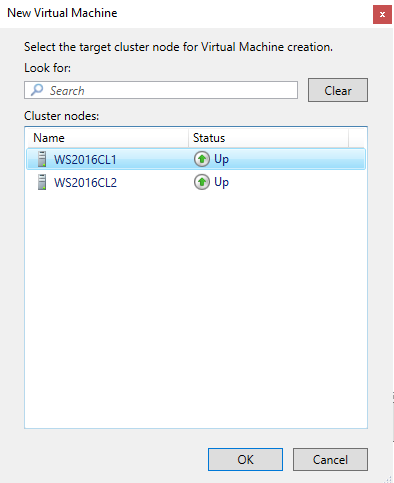
I will choose WS2016CL1 for installation | OK
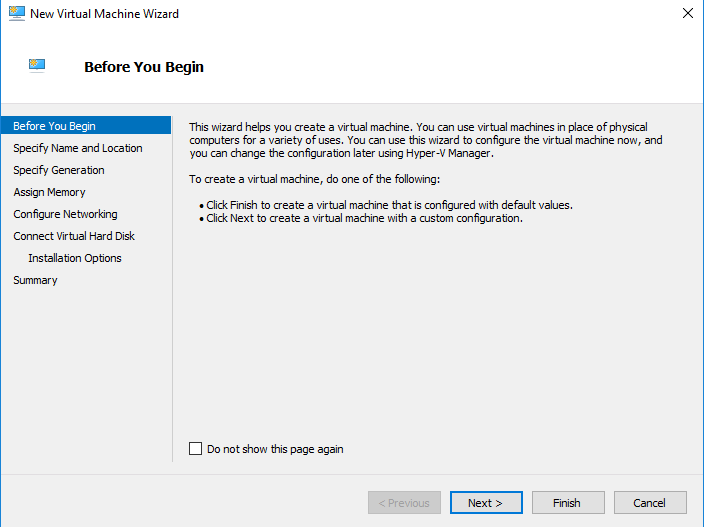
Rest of the procedure is mostly the same as you would install simple VM on Hyper V. Virtual machine location is the thing that you need to be careful about.
Next
Now, give your VM a name and choose location. IMPORTANT– location has to be on Cluster Shared Volume in order for VM to be able to failover to another node.
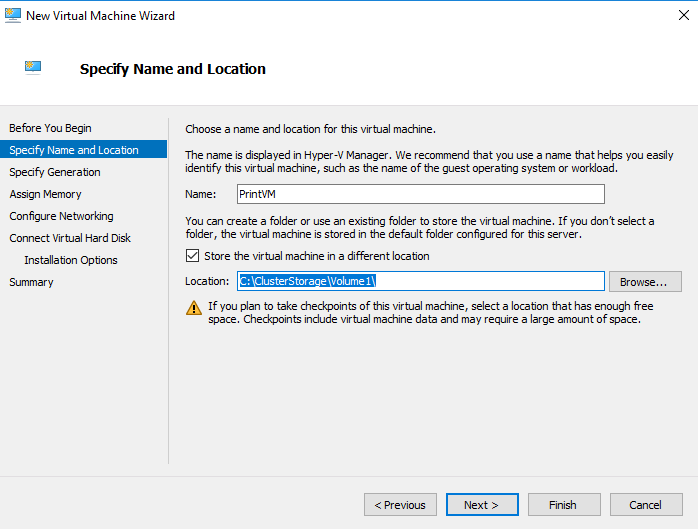
You configure Cluster Shared Volume in Storage section of the Failover Cluster Manager. Your virtual machines will reside on that storage and they need to be able to failover to another node.
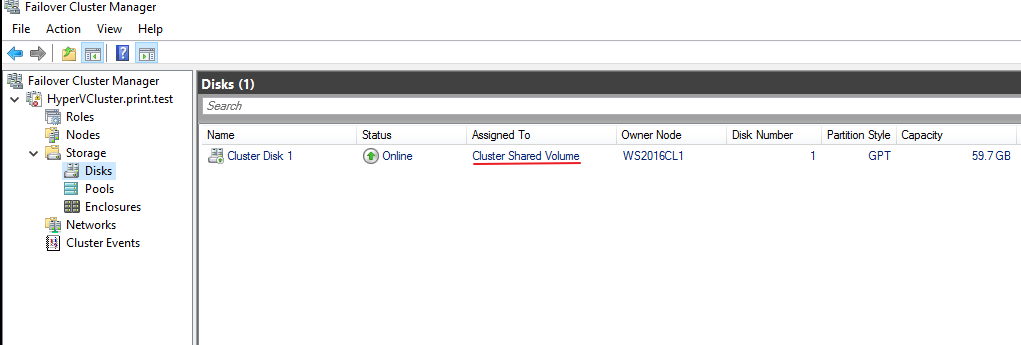
On every node in your cluster, shared storage location should be
C:\ClusterStorage\Volume1 (or some other volume if you have multiple disks)
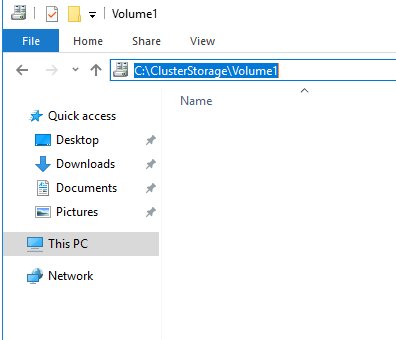
So, your entire VM (configuration and disks) should be in that location, be aware of that.
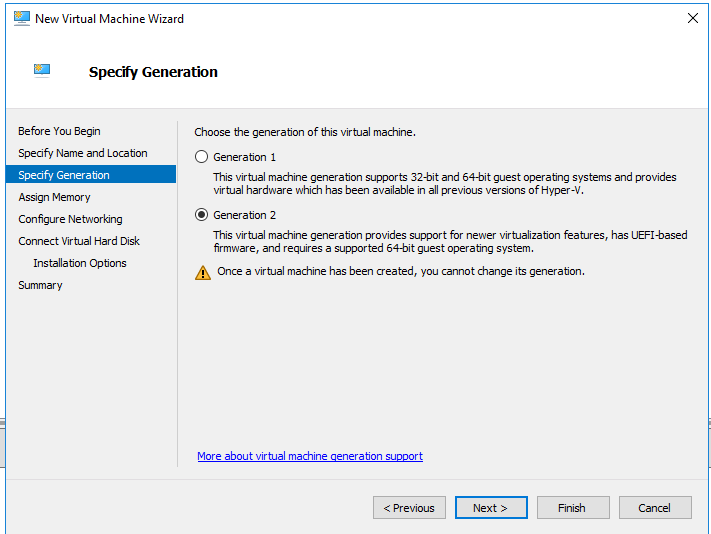
I need Generation 2 VM | Next
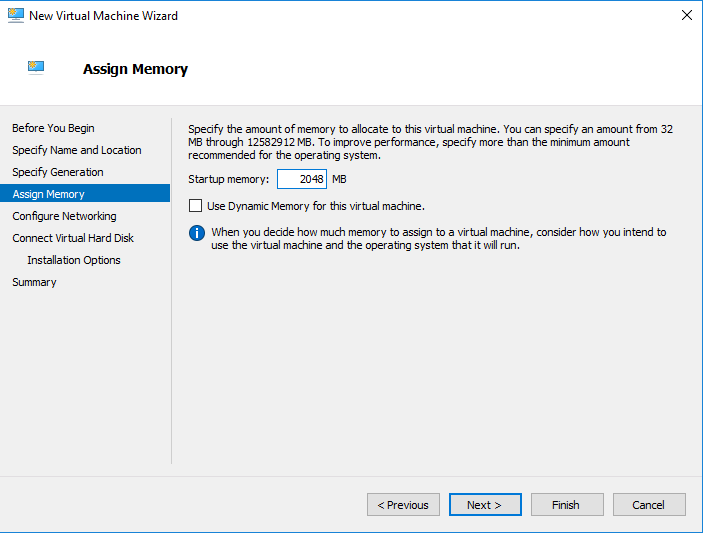
As I already said, give enough resources to the VM, and make sure hardware is the same on both Failover Nodes so you can transfer VMS properly. Next
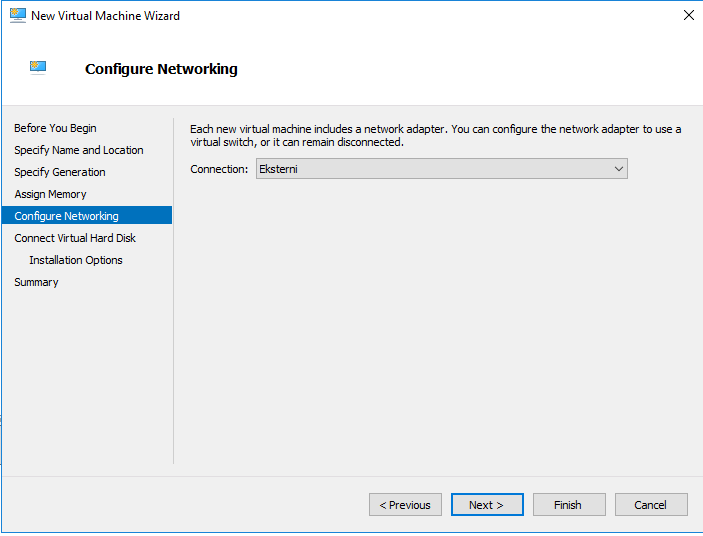
I created Virtual Switch named “Eksterni” on both Failover nodes, so that network can continue to operate in case of failover. Next
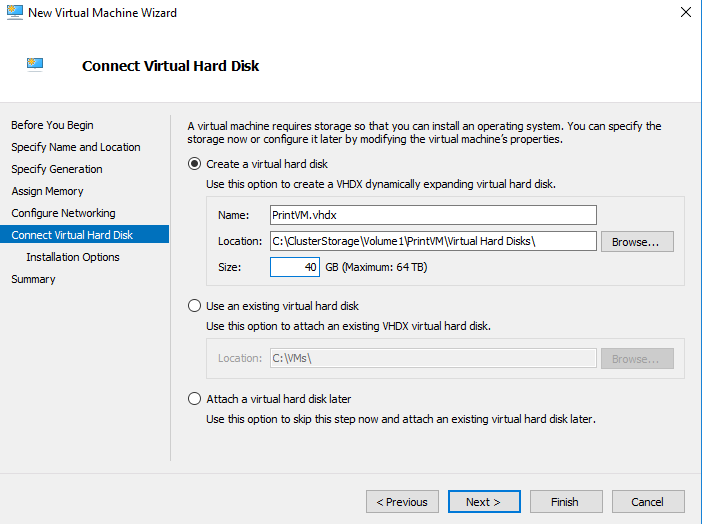
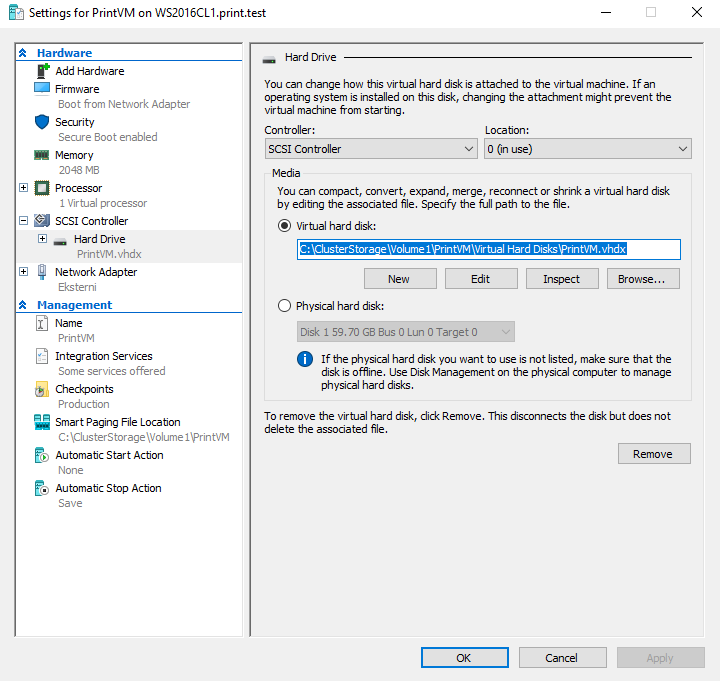
Virtual Hard Disk, make sure the location of the storage is on the Failover Cluster storage. Next
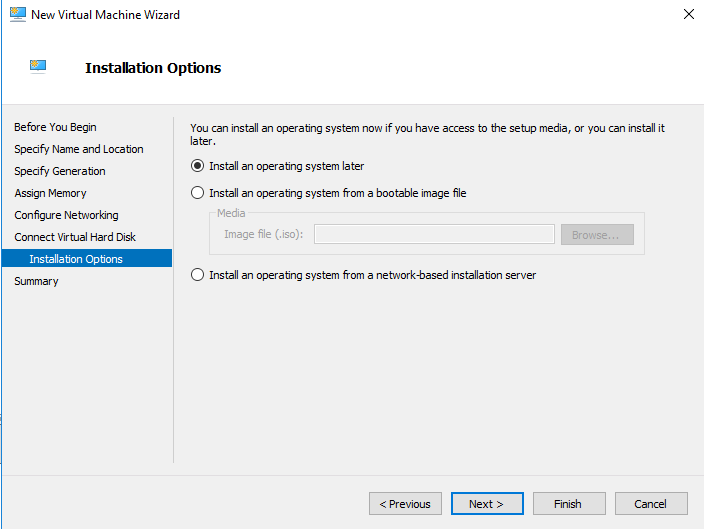
I will install OS later, and it will also be Windows Server 2016 Standard. I will not be covering installation of OS in this tutorial. Next
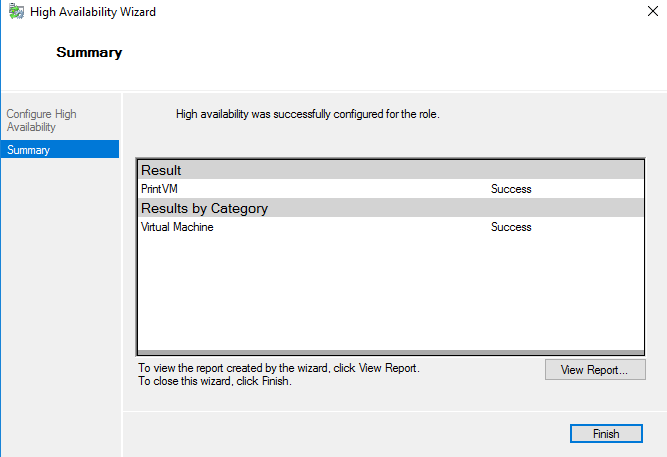
Finish
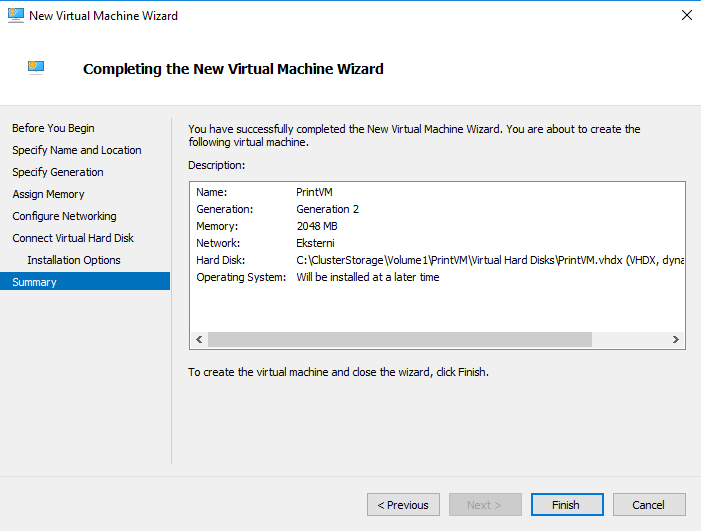
Success
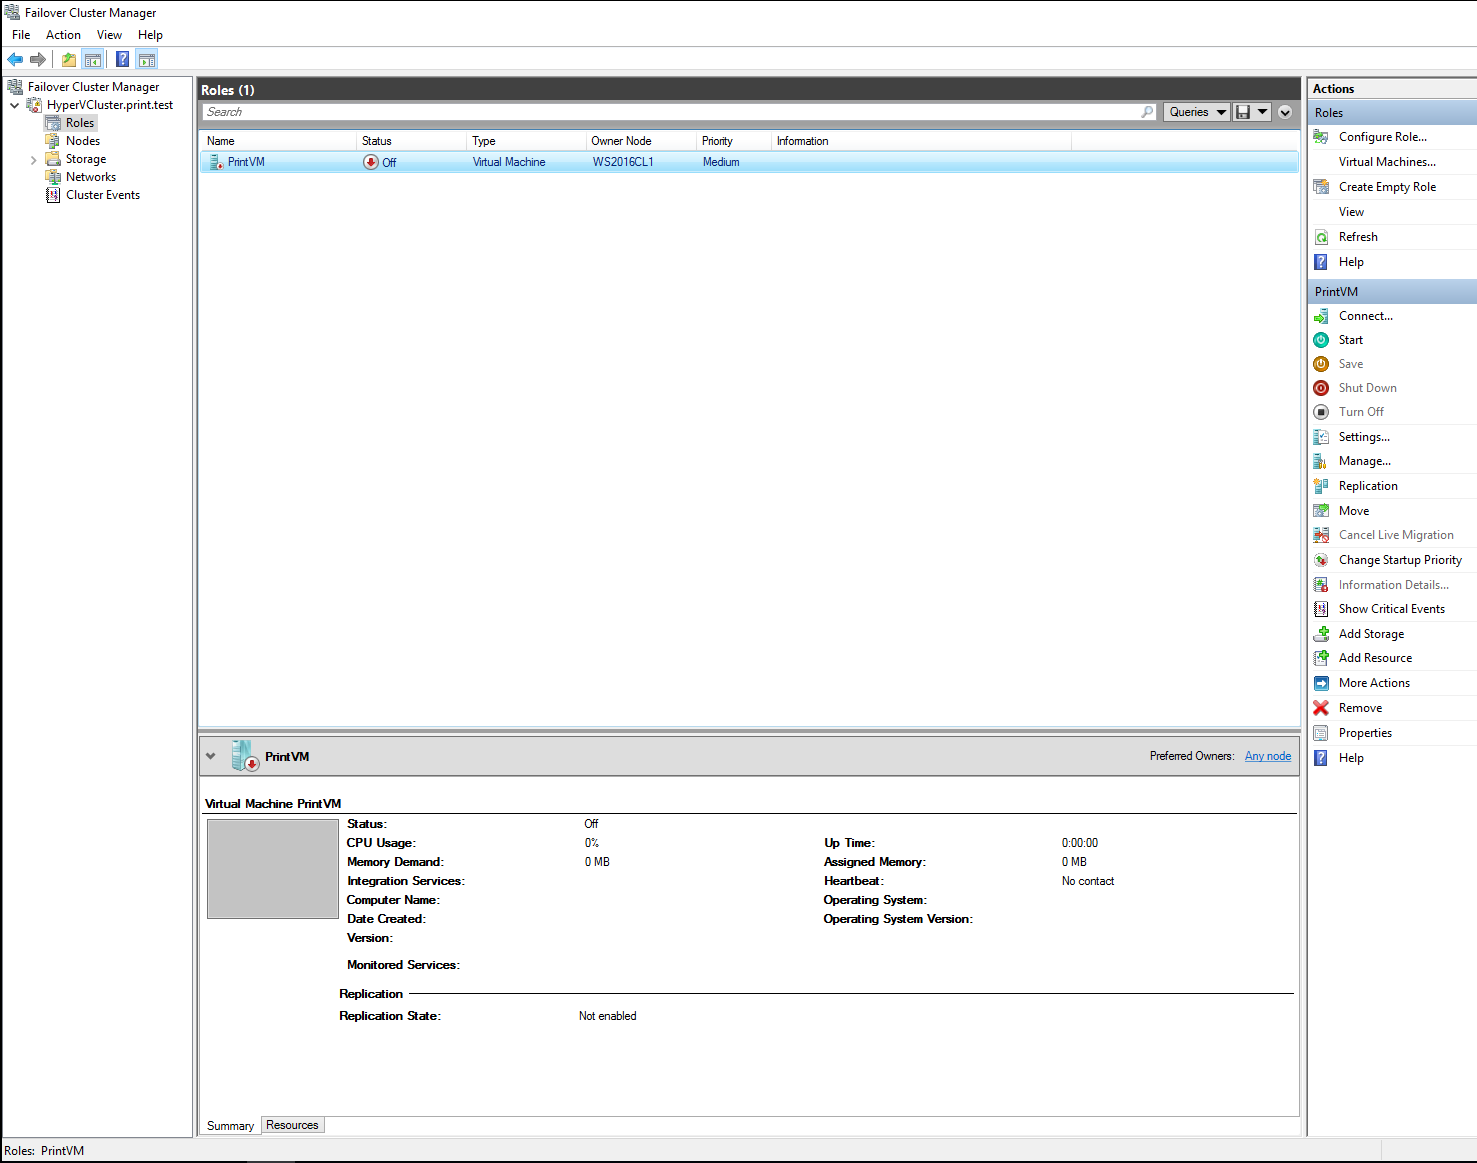
VM is created
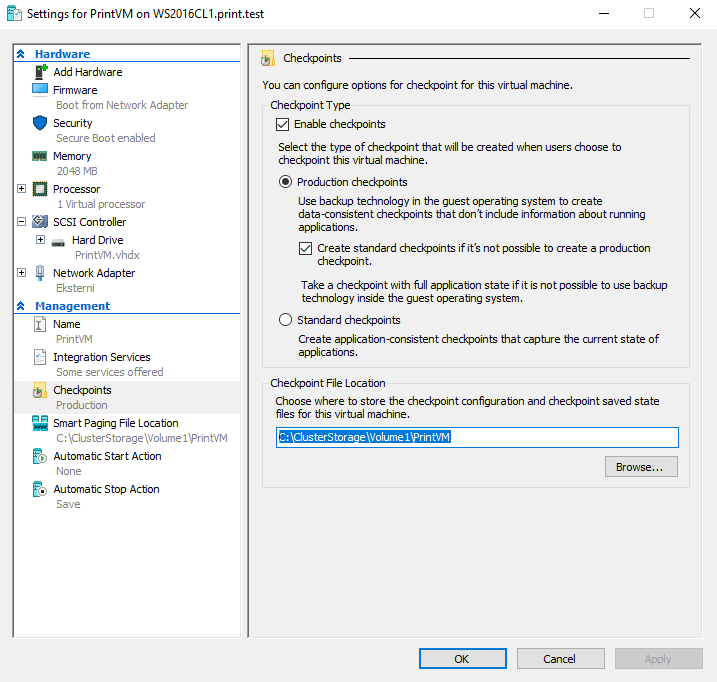
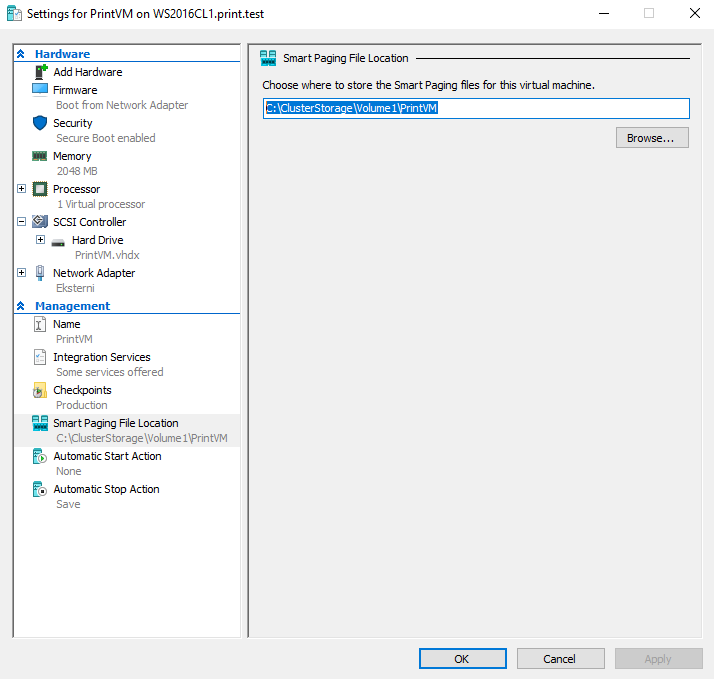
Once again go to the Settings of the VM and make sure that Virtual Disk, Checkpoints and Smart Paging are all on the Shared Storage path
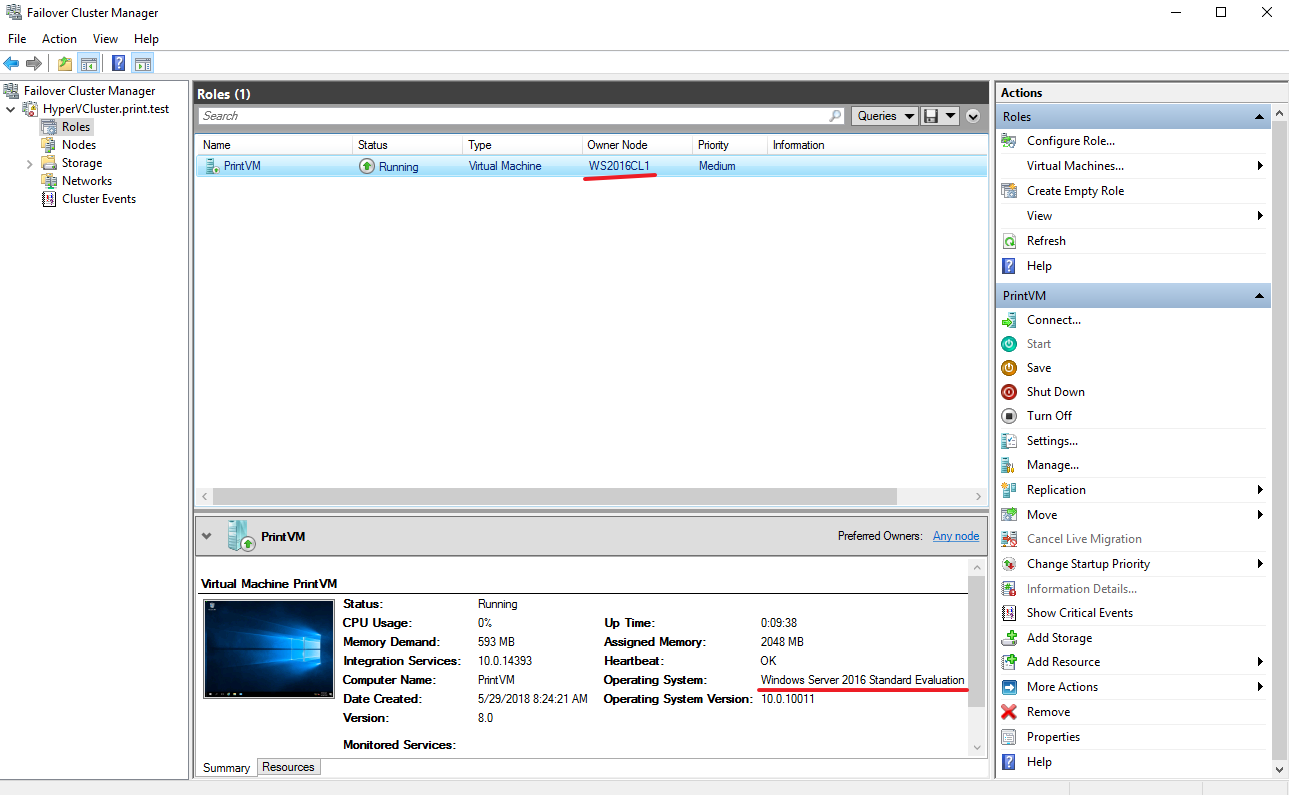
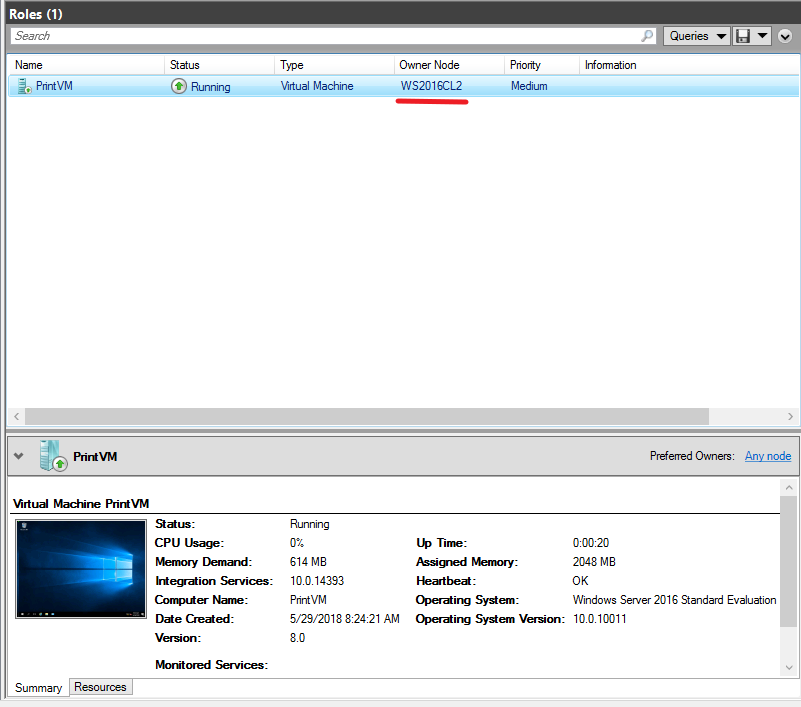
I skipped the installation of the VM, but here is the result. I installed Windows Server 2016 Standard and currently it is active on WS2016CL1 Node.
Now we will attempt Live Migration (wont work in workgroup based cluster) and Quick Migration.
Before attempting failover, be sure that you detached locally based storage or .iso image. You will not be able to migrate VM if something is locally based on one node, and not cluster shared.
Live Migration
Right click on VM in Failover Cluster Manager | Move | Live Migration | Select Node
I will choose only node available – WS2016CL2
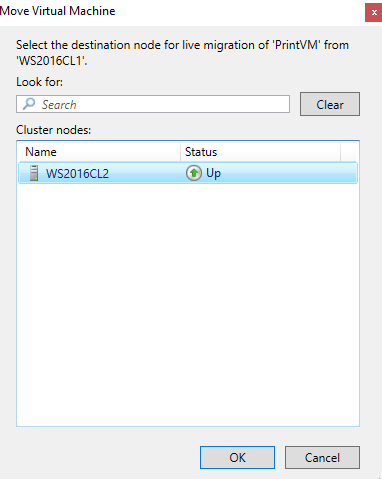
Migration immediately started

Transfer is a success, VM is now active on another node
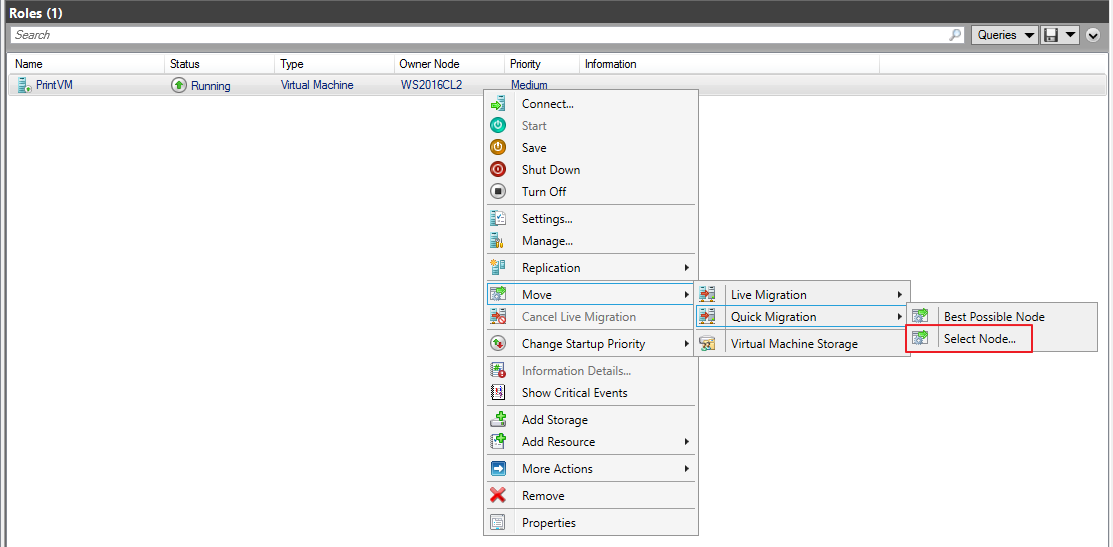
Now, lets try again with Quick Migration
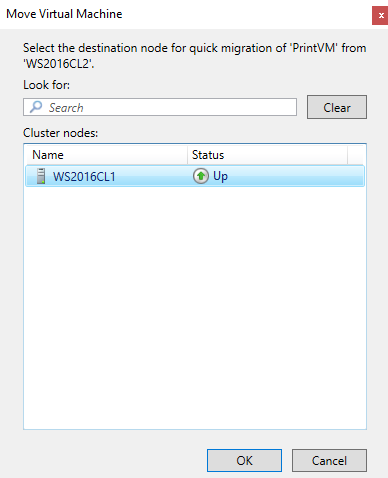
Right click on VM in Failover Cluster Manager | Move | Quick Migration | Select Node
Now I will select WS2016CL1
Quick Migration is bit different…

But also success

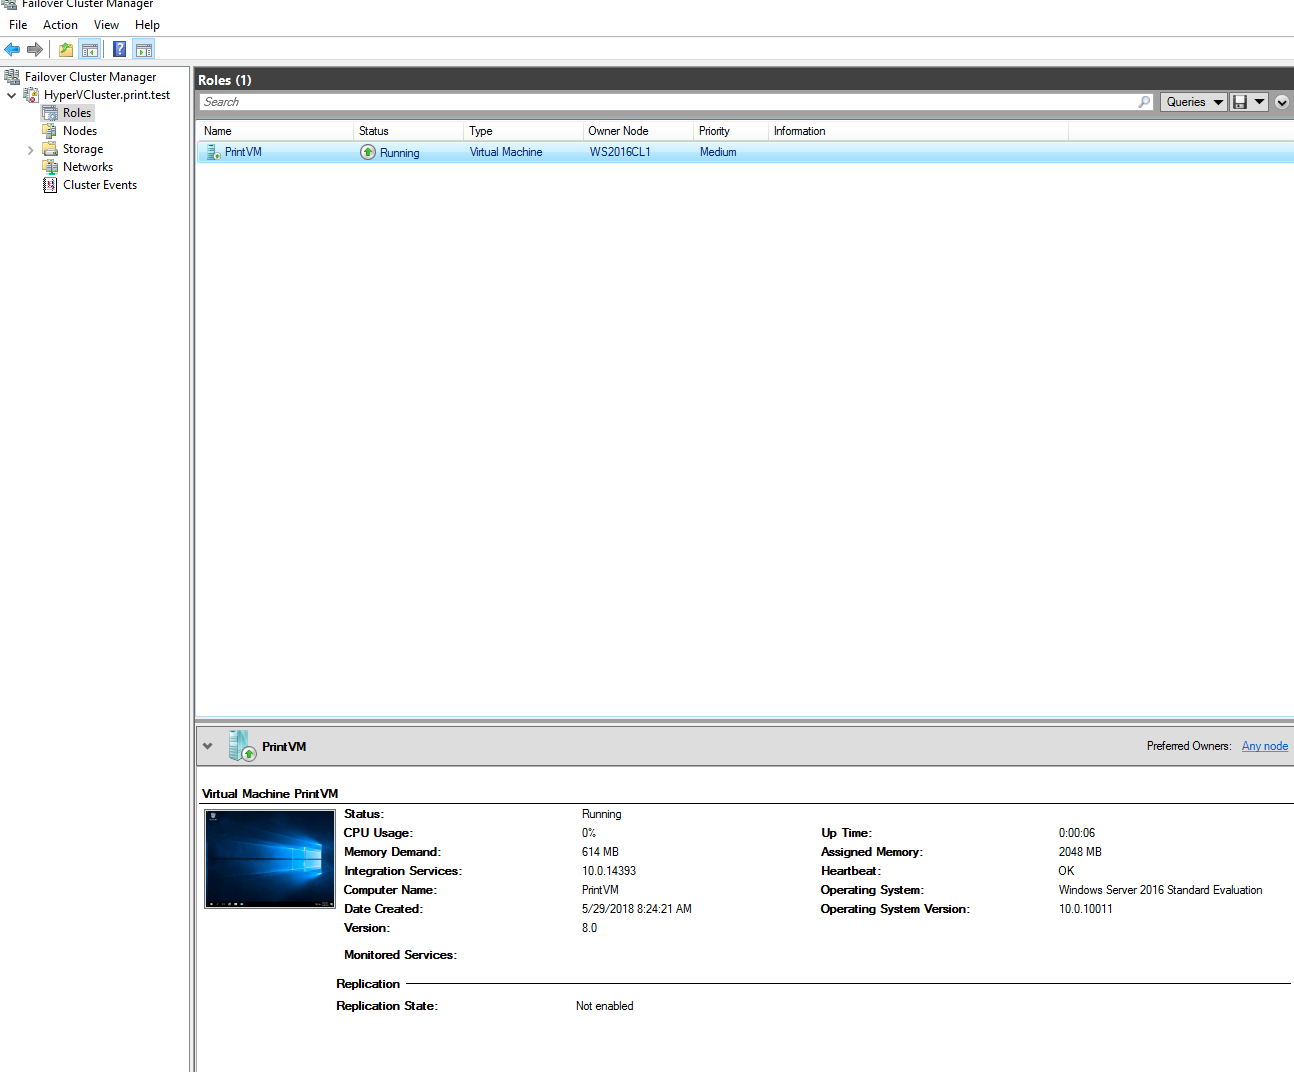
Cluster that hosts Hyper V VM is a success.
There are few options like preferred node for VM that you can set and also some failover options, but that is a theme for another time.