We already done ISCSI Target setup on the blog. We also done failover clustering guide and two node storage spaces direct guide.
All of these ingredients we will now use to configure ISCSI Target cluster on Windows Server 2019.
Before we begin
This will be a short tutorial which assumes you already have configured Windows Server Clustering component and two node Storage Spaces Direct configured (S2D) on that cluster.
Prerequisites
I will do this on top of two machines which are in domain.
Node1 – External IP 10.0.0.123 Private IP 192.168.5.2
Node2 – External IP 10.0.0.124 Private IP 192.168.5.3
Cluster Name TargetCluster1 with IP 10.0.0.128
I also set already two node S2D cluster on these machines with 40GB volume assigned to S2D cluster.
We will do ISCSI target cluster on top of that. You can “Create two node Storage Spaces Direct (S2D) inside VMs” already on my blog. I will build on top of that here.
On both Node1 and Node2 Add ISCSI Target Server Role.
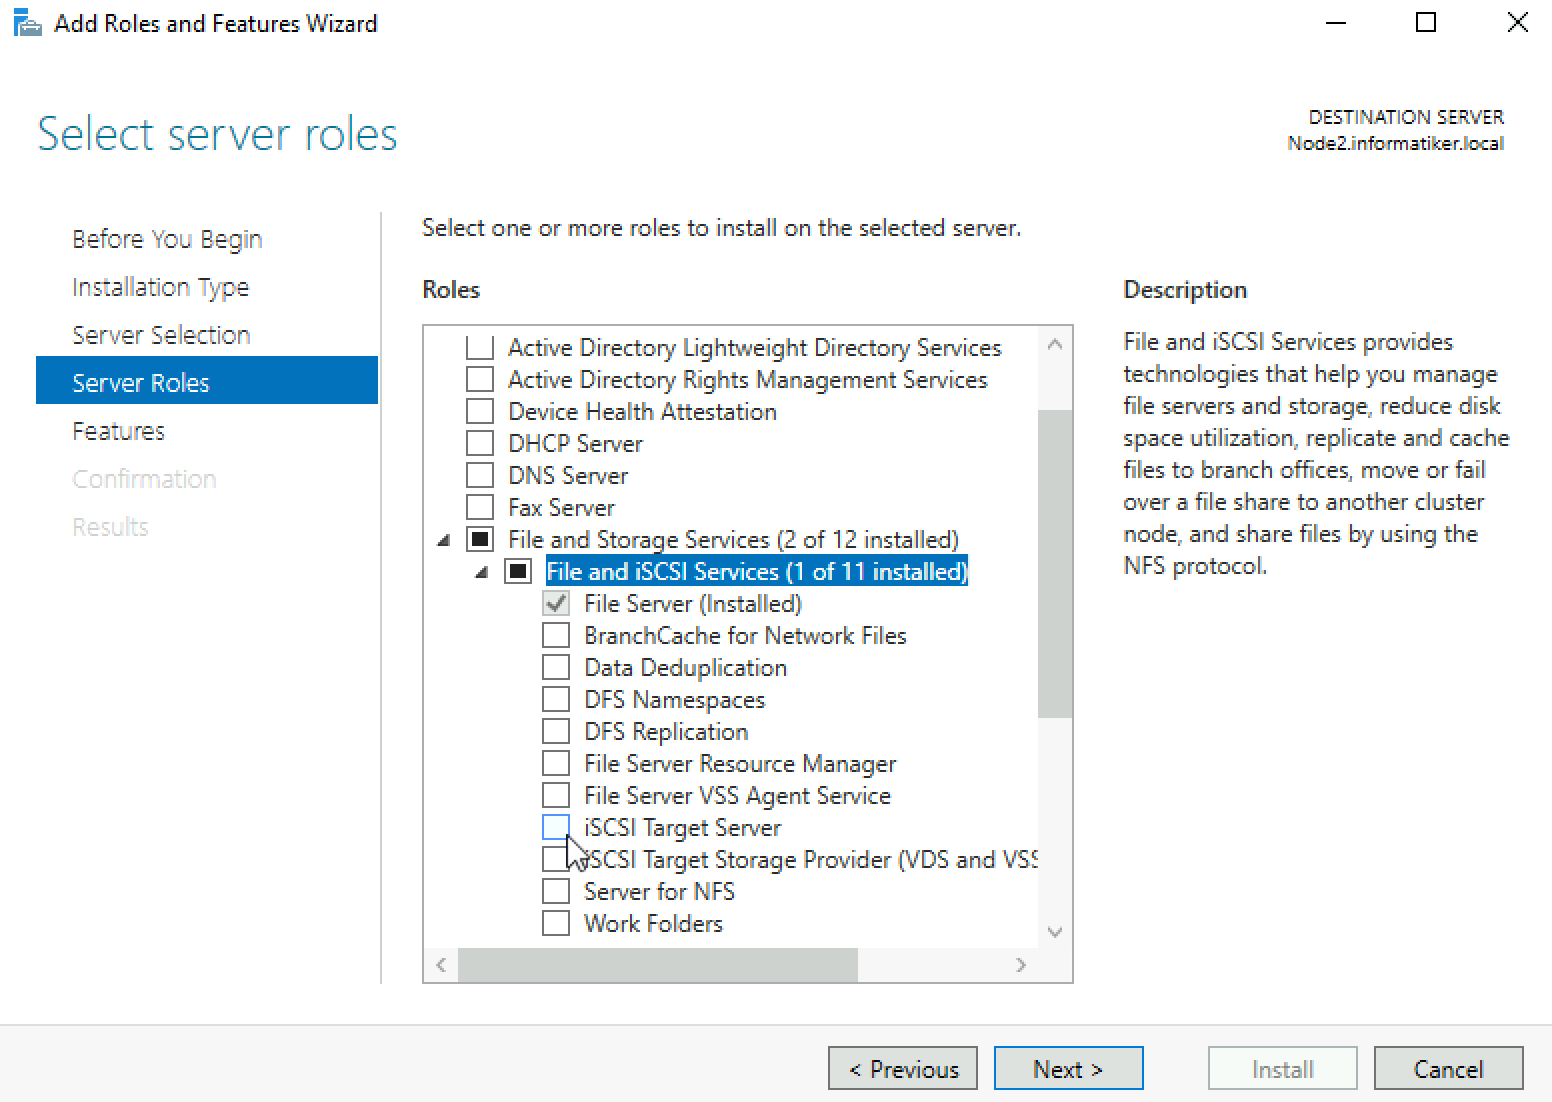
Reboot servers after installation.
Create ISCSI Target Cluster
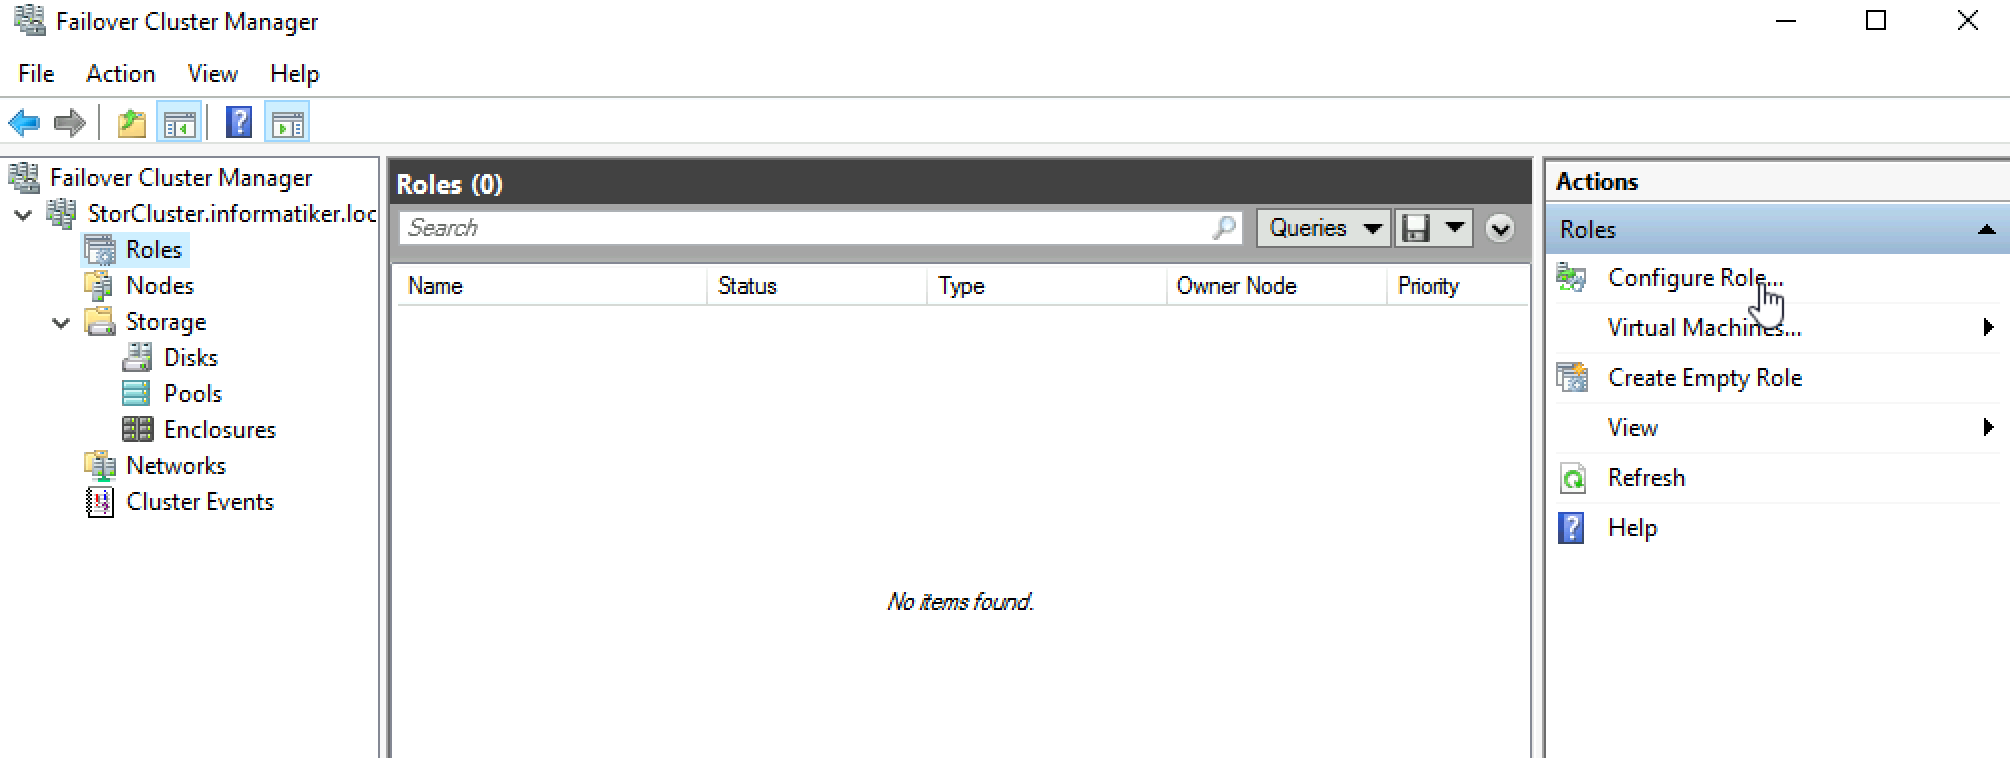
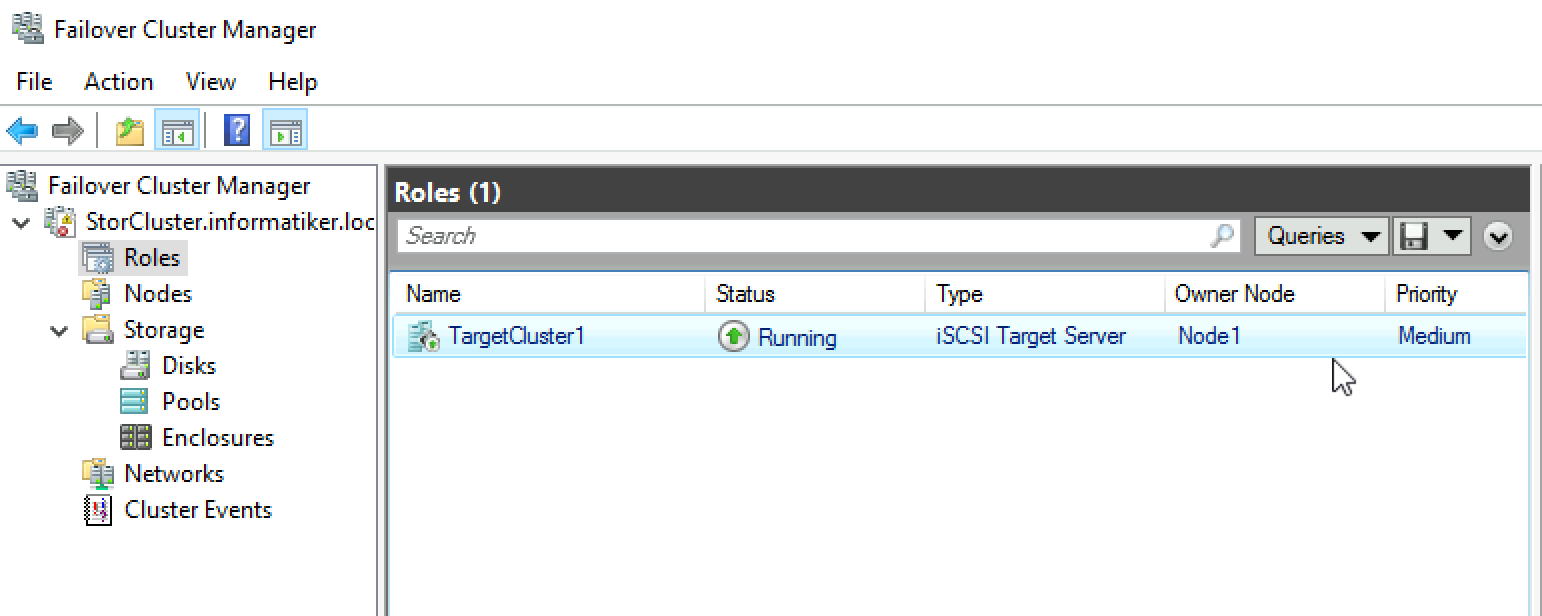
On Node1 I will open Failover Cluster Manager, extend already created StorCluster and select Roles. From the right part of the screen I will select Configure Role…
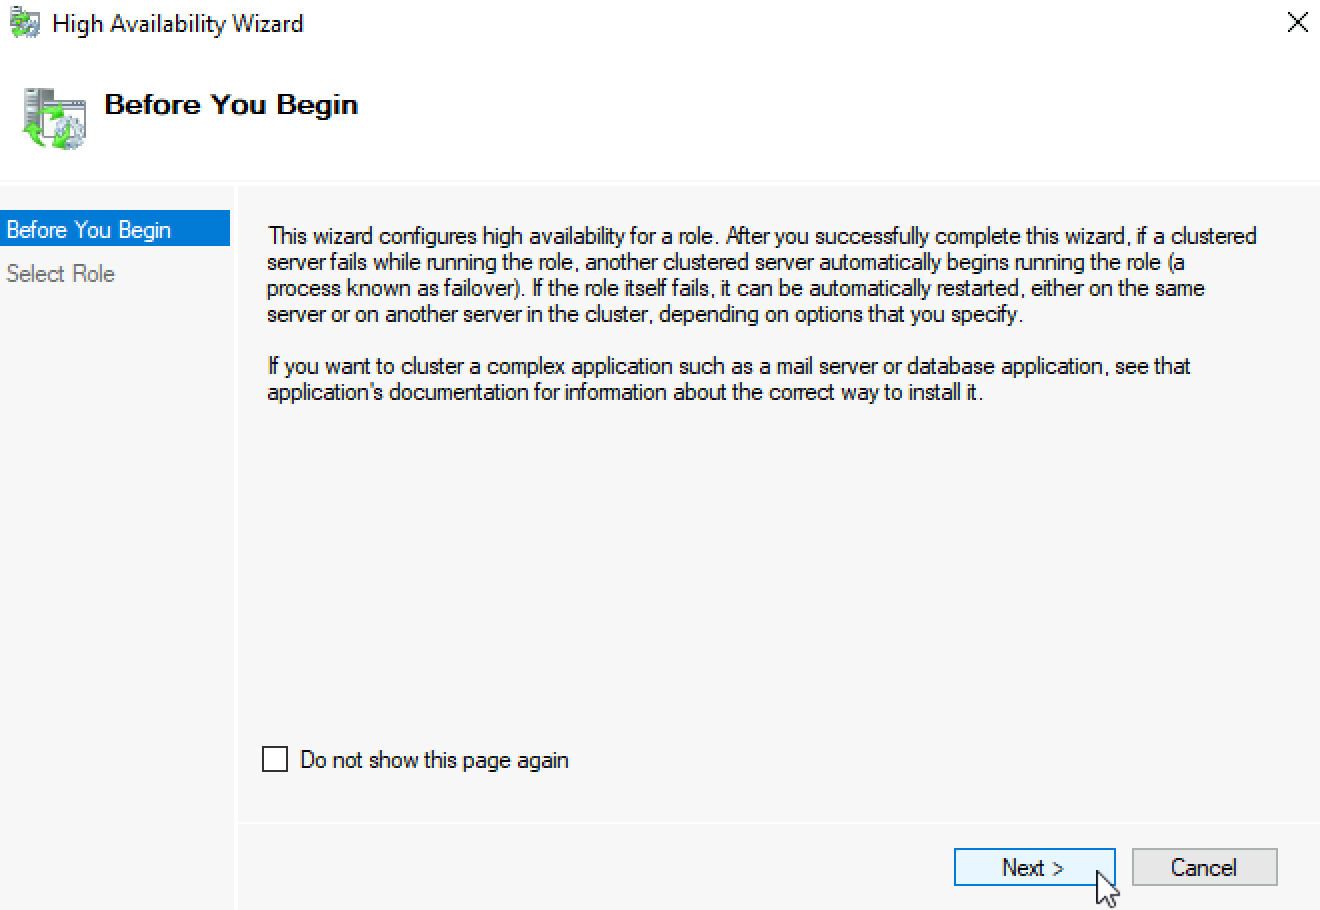
Next
Select ISCSI Target Server | Next

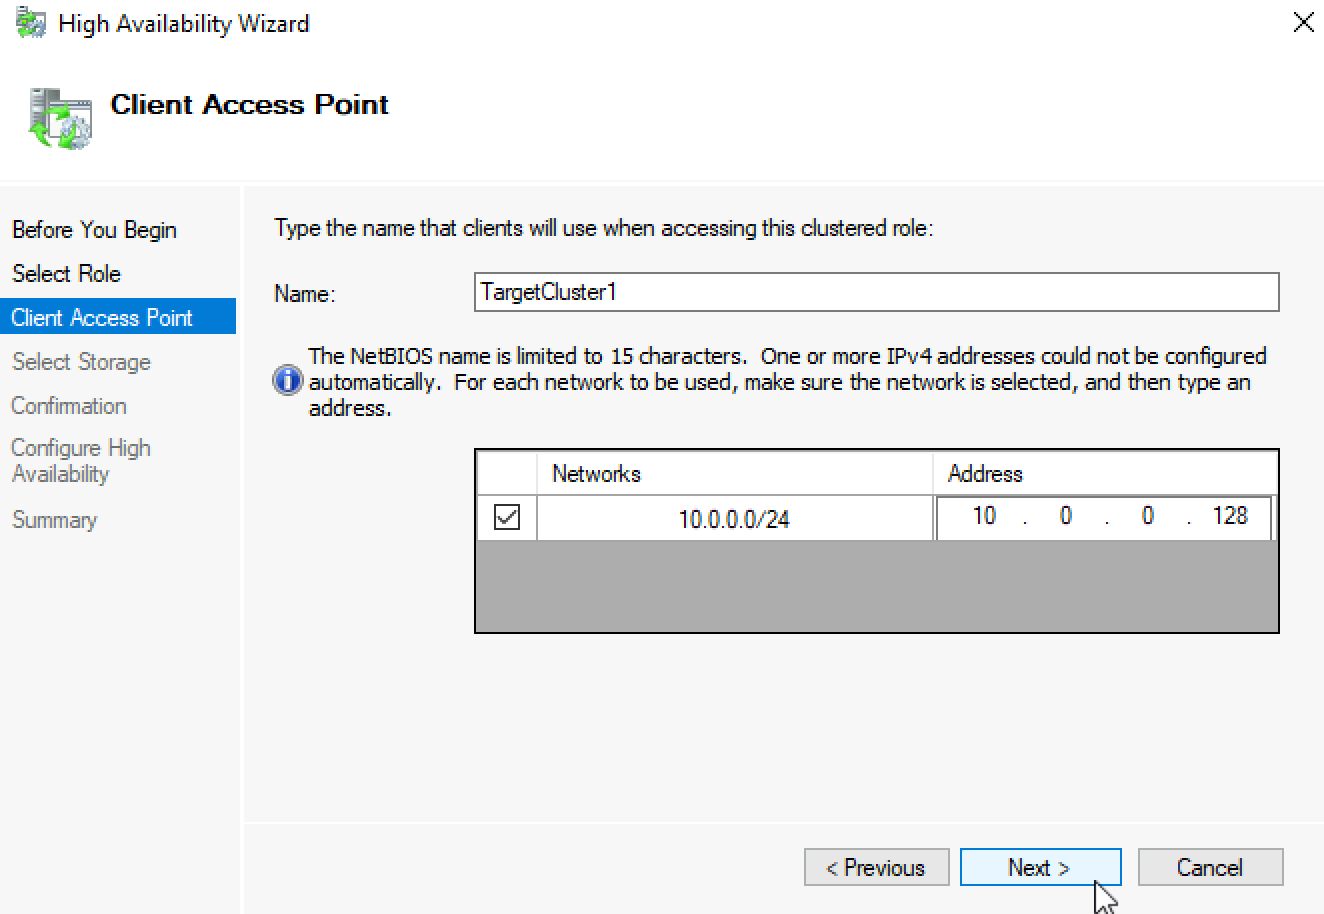
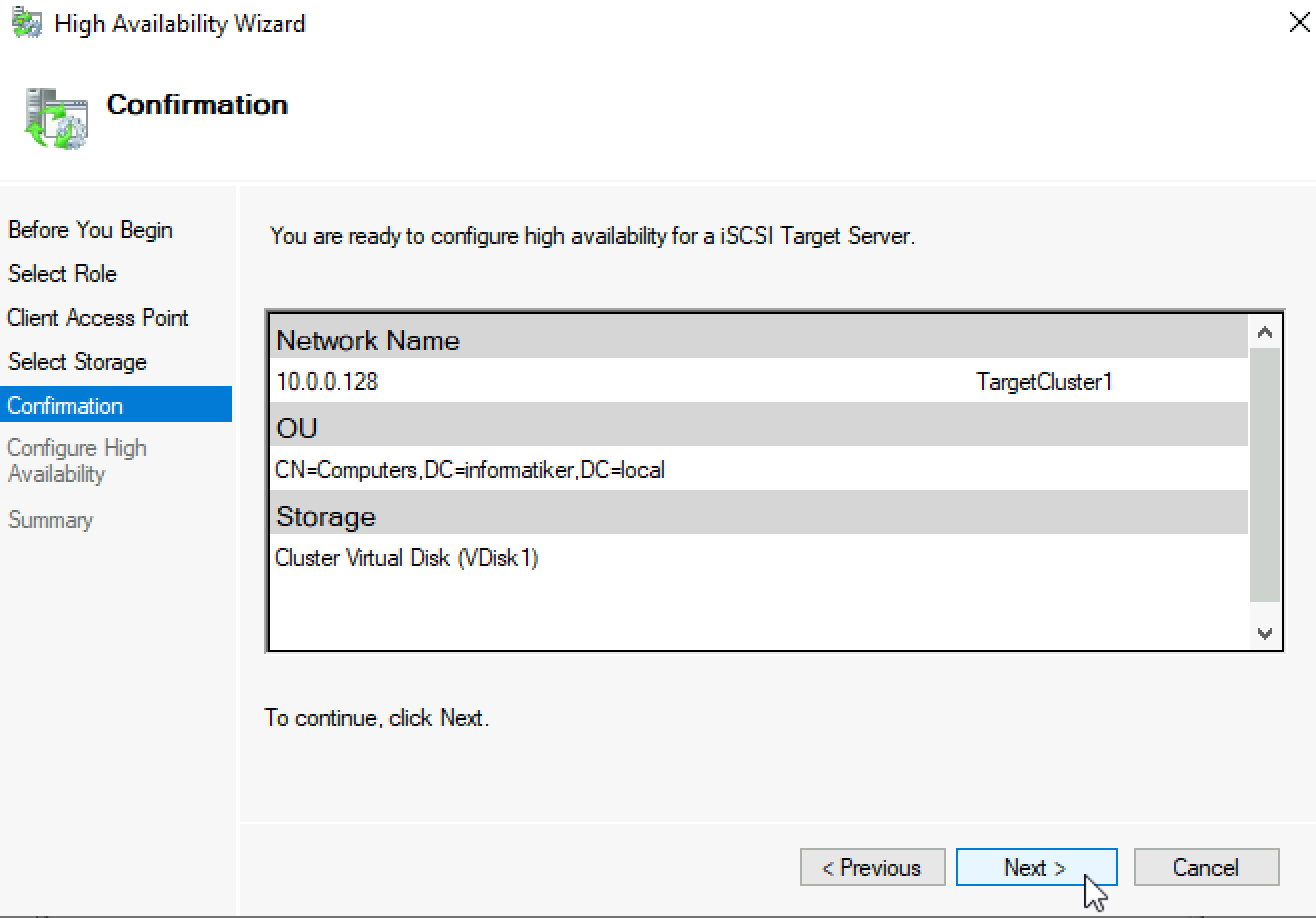
I will name my cluster and give it IP address. Next
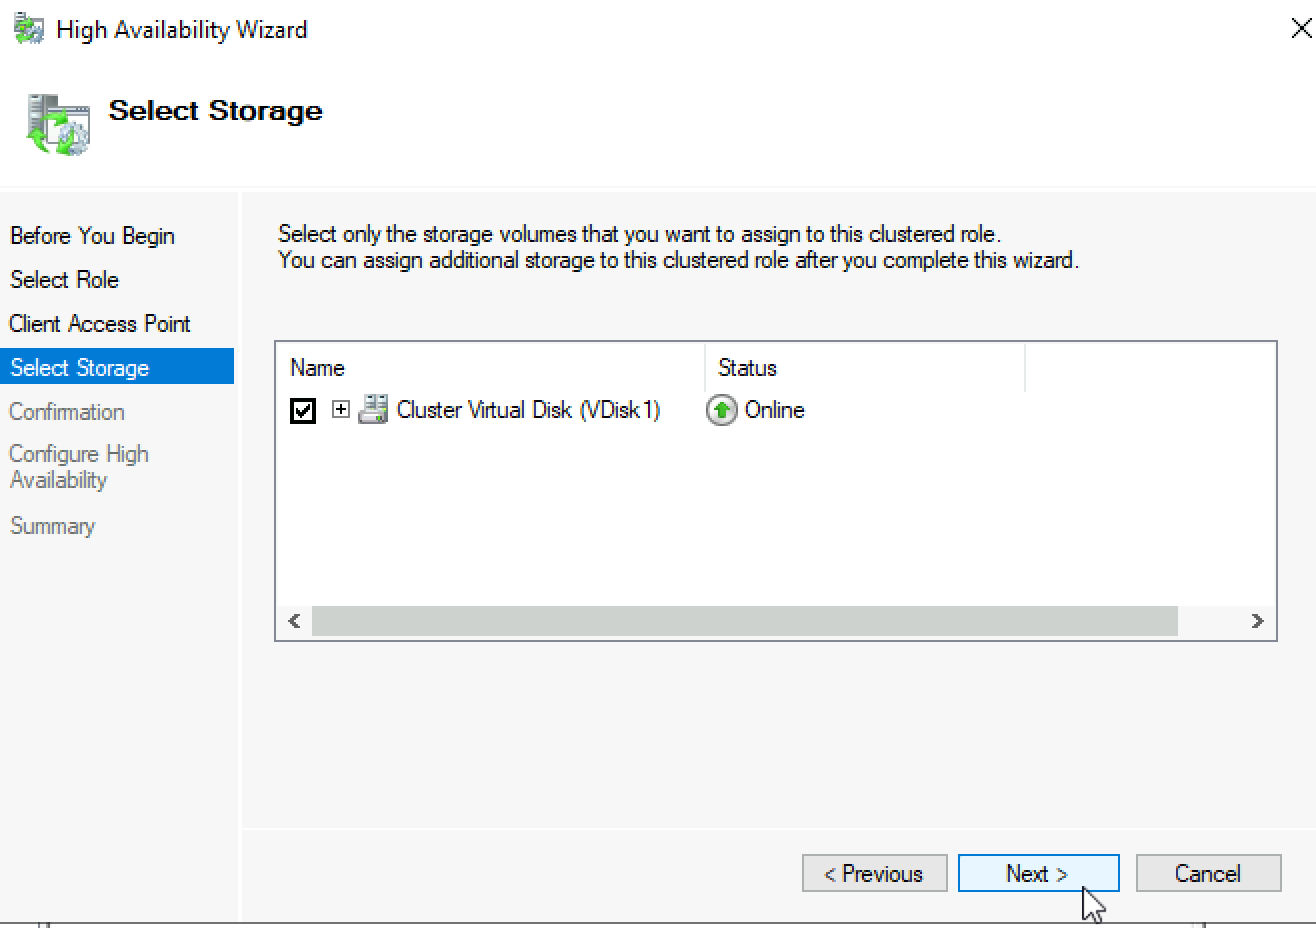
I will select create VDisk1 I already did in two node S2D guide earlier. Next
Next
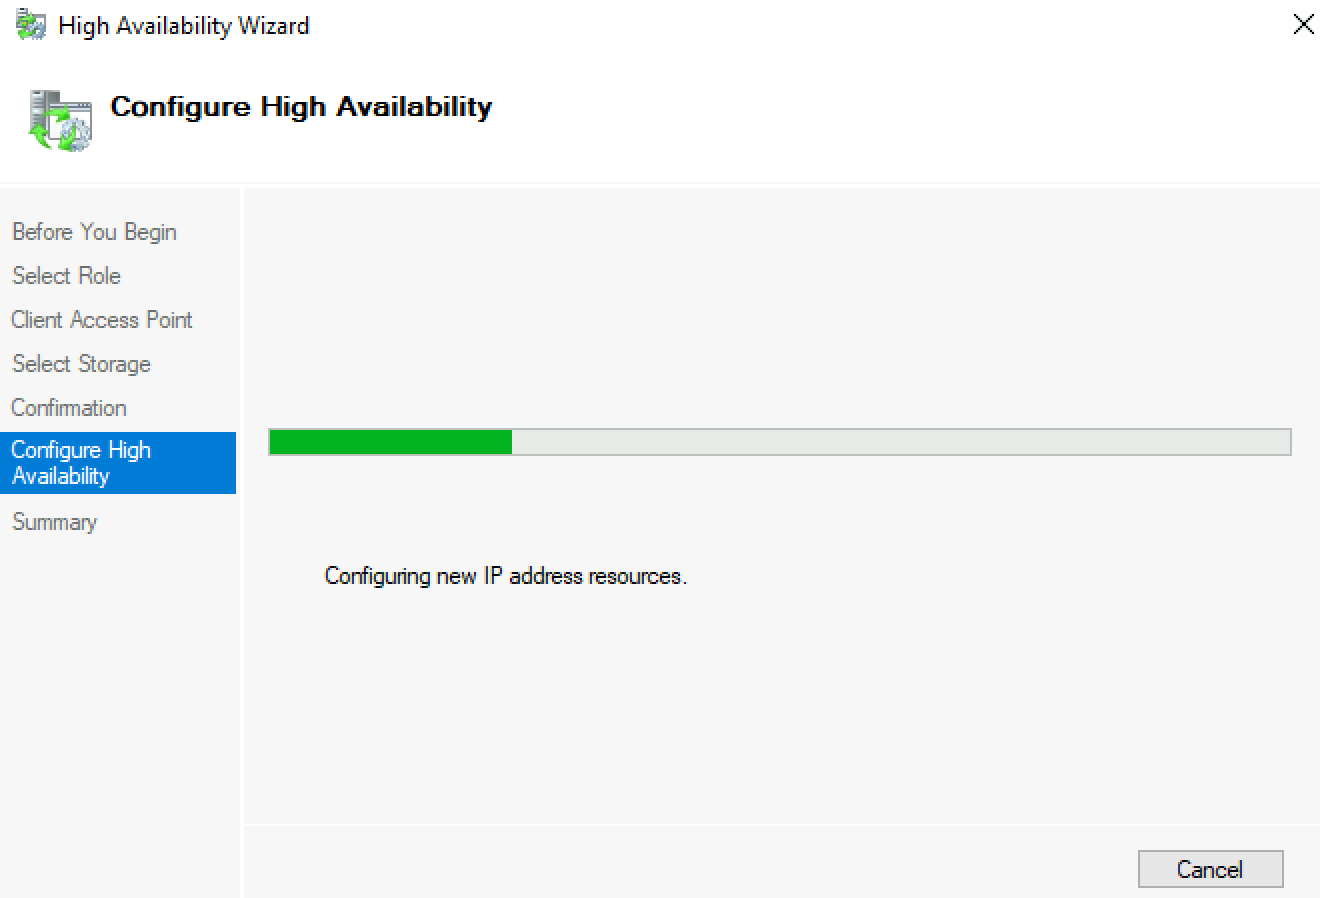
…
We are done! Finish
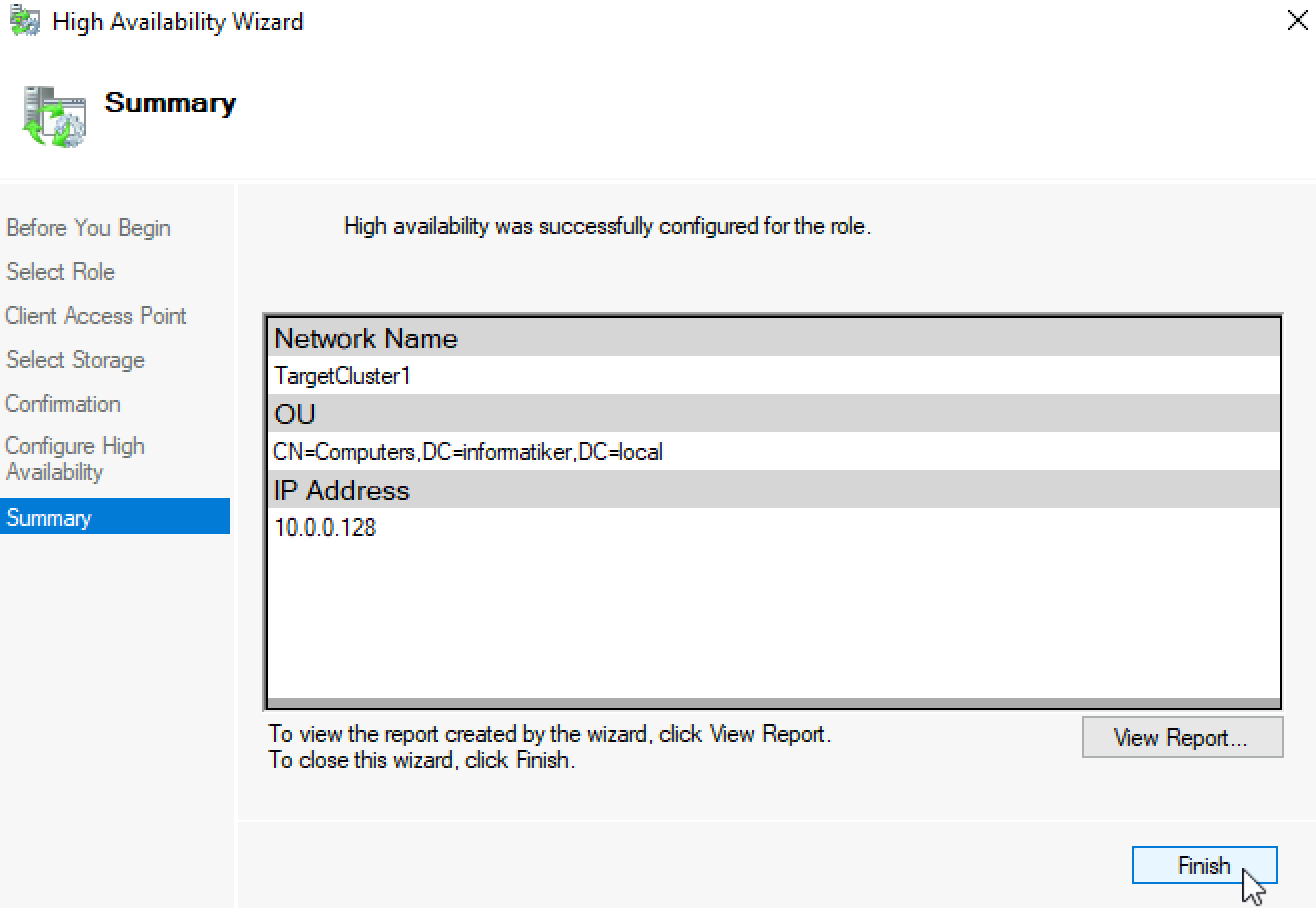
Role is created
Ok, we are done.
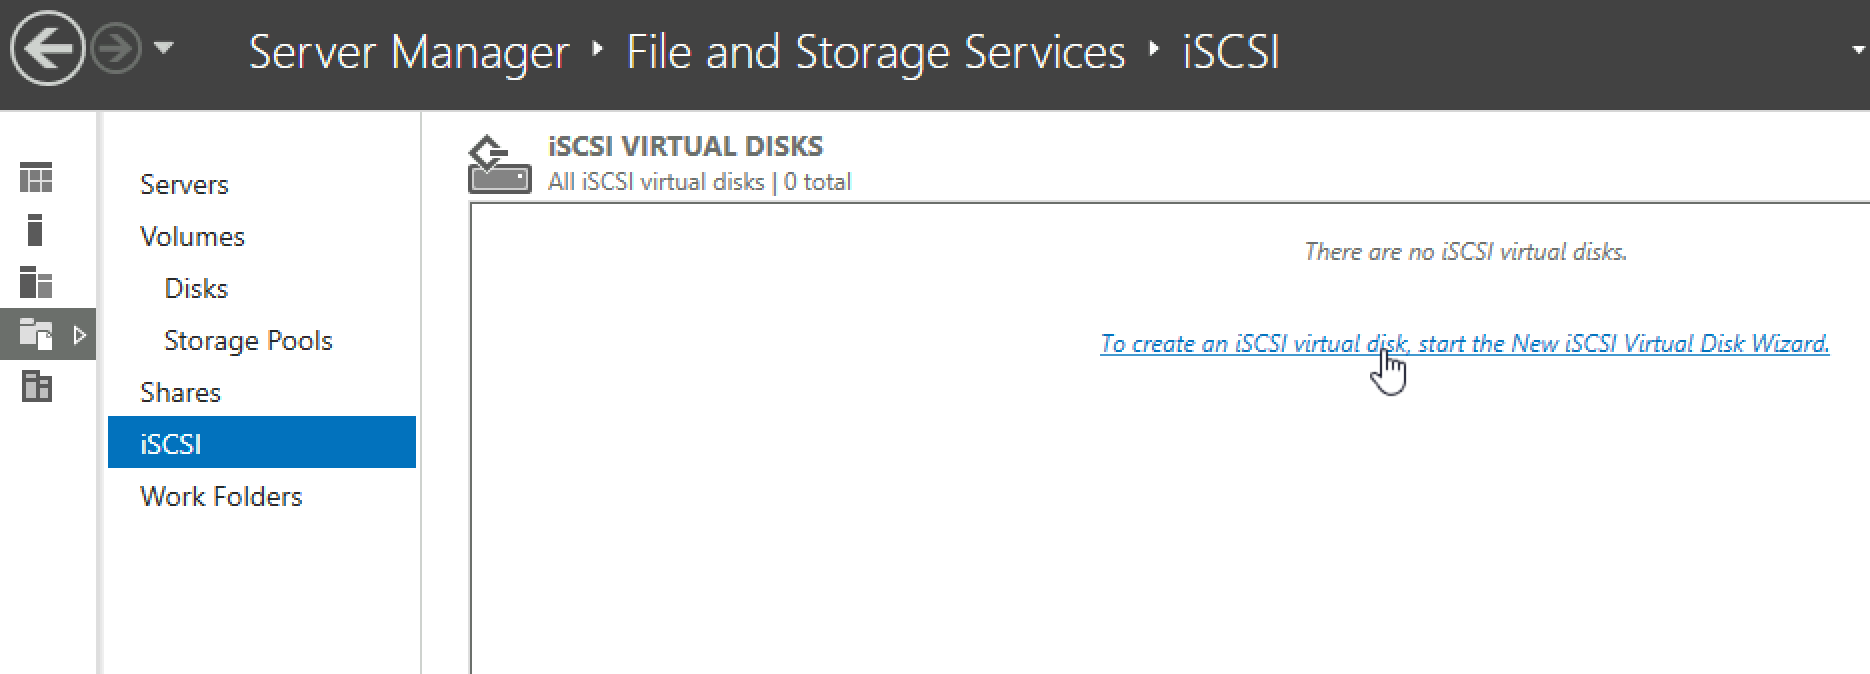
Create New ISCSI Target/ Testing
We will now create new ISCSI Target, the procedure is same as with normal ISCSI Target I already wrote about.
I will only write about this in short here, only to quickly show the process and to test availability.
We will attach clustered ISCSI Target to one initiator and see if the content of the ISCSI Target is available after one of the ISCSI Targets is down.
Let’s go
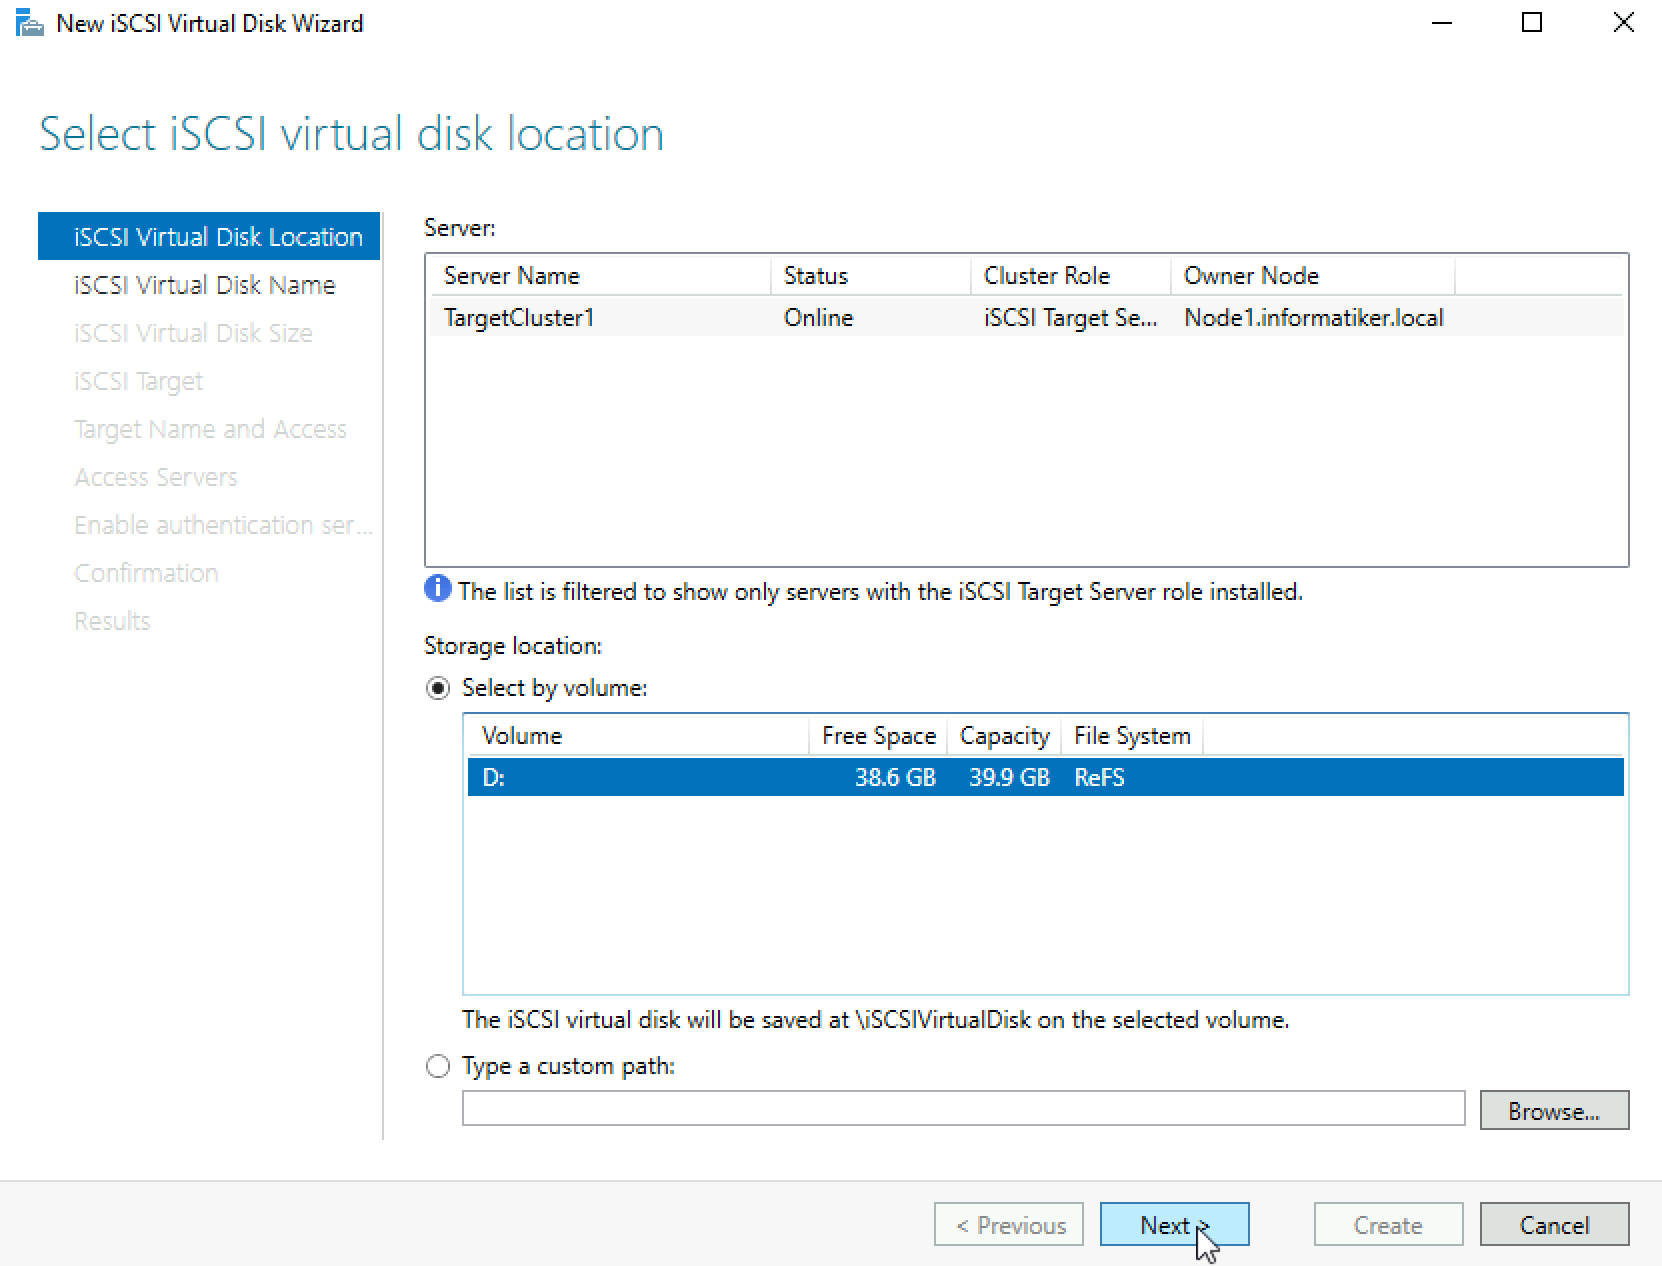
On Node1 I will start ISCSI Virtual Disk Wizard
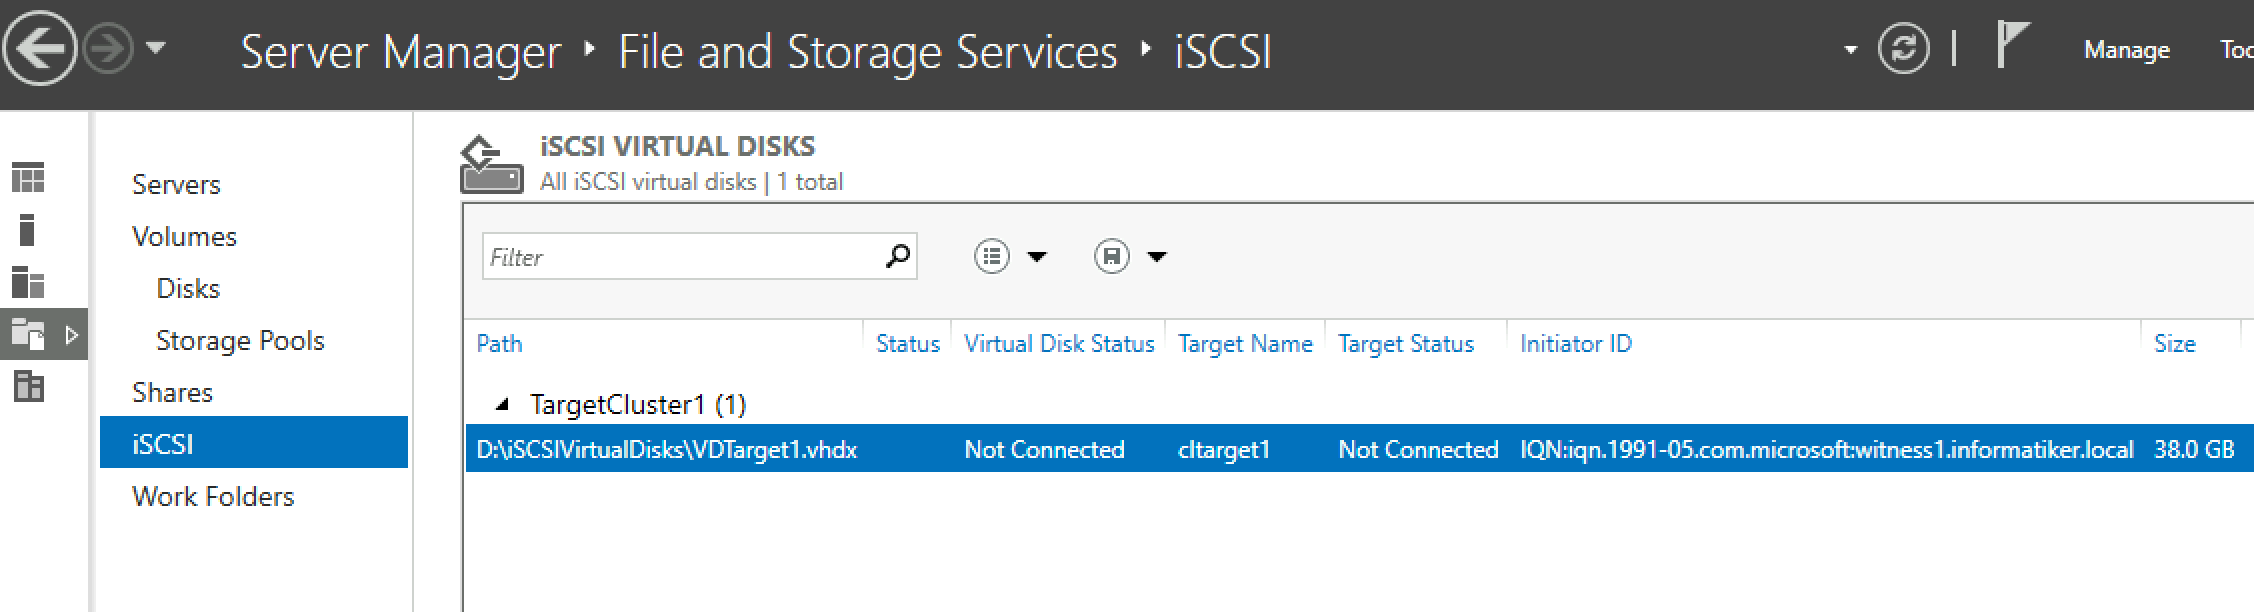
We will be offered TargetCluster1 and volume we assigned to it. So far, so good. Next
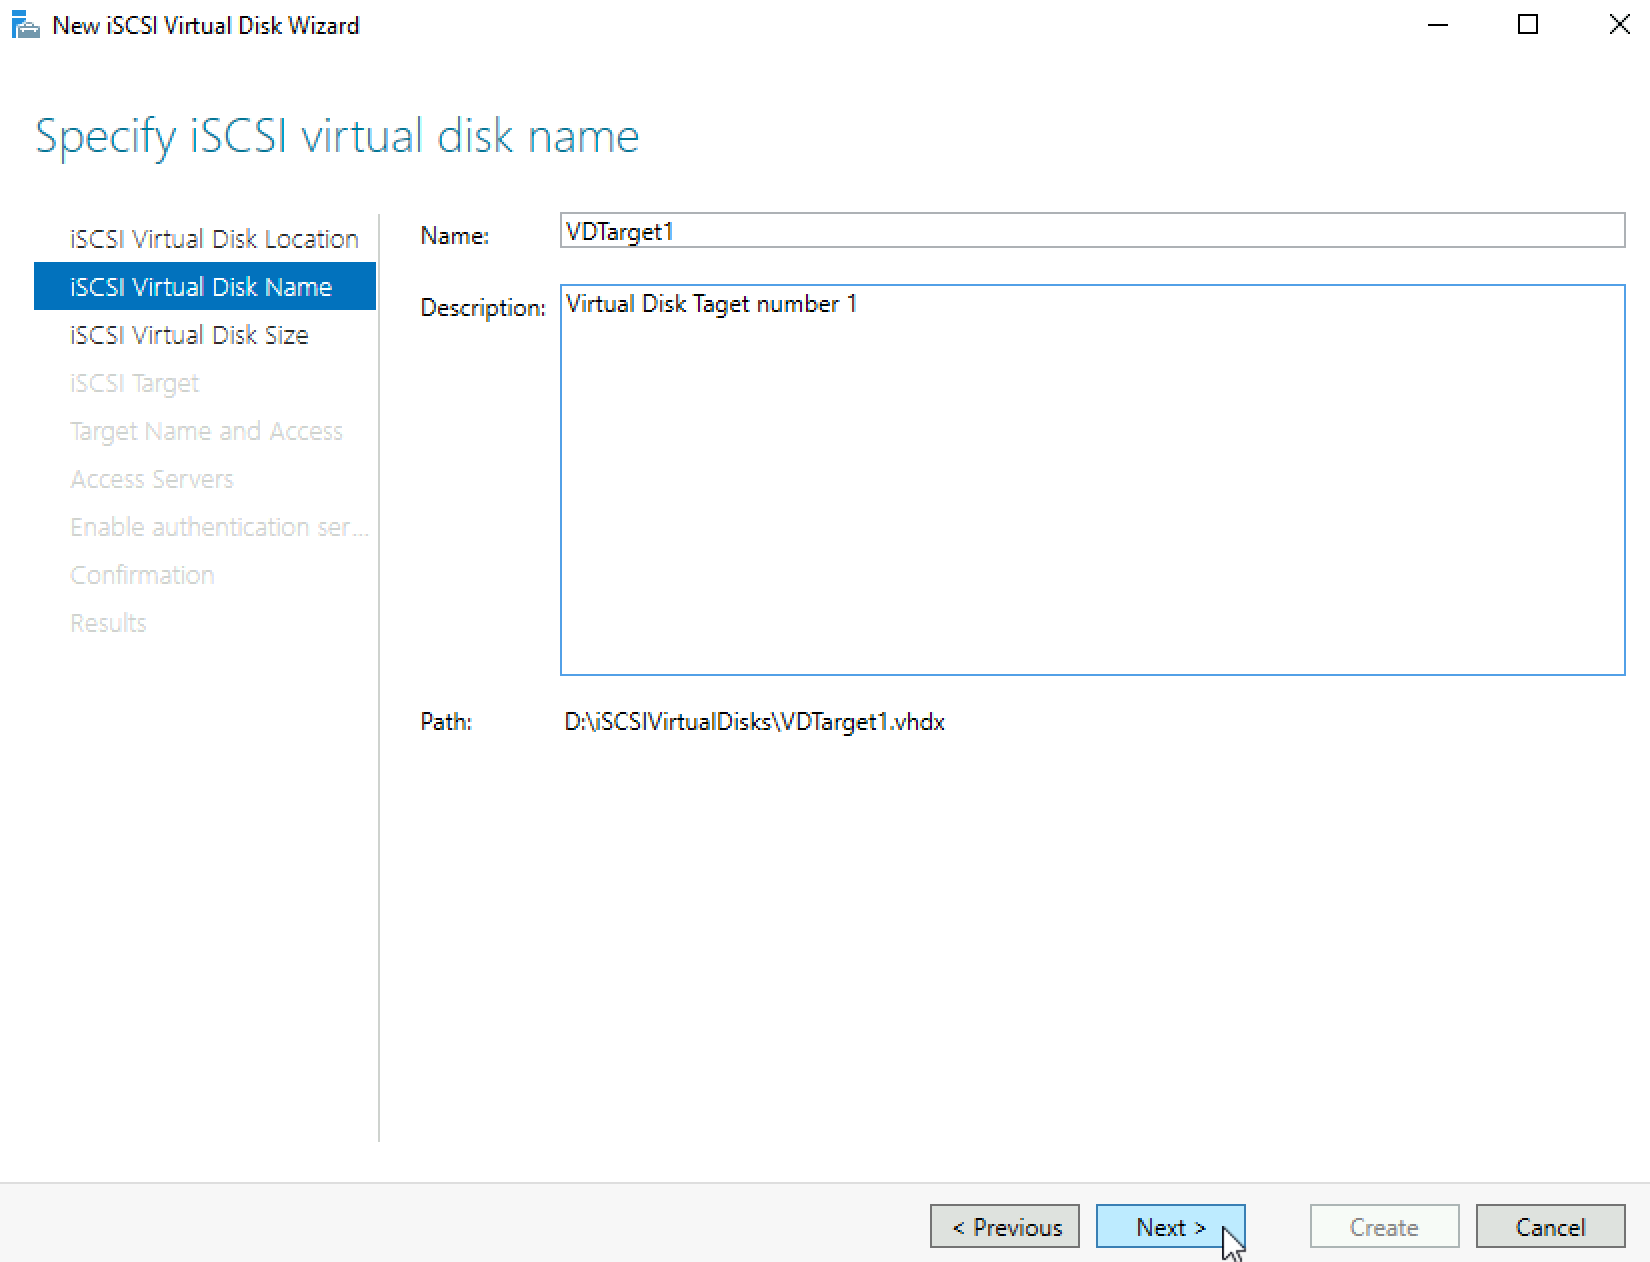
Name your virtual disk and select Next
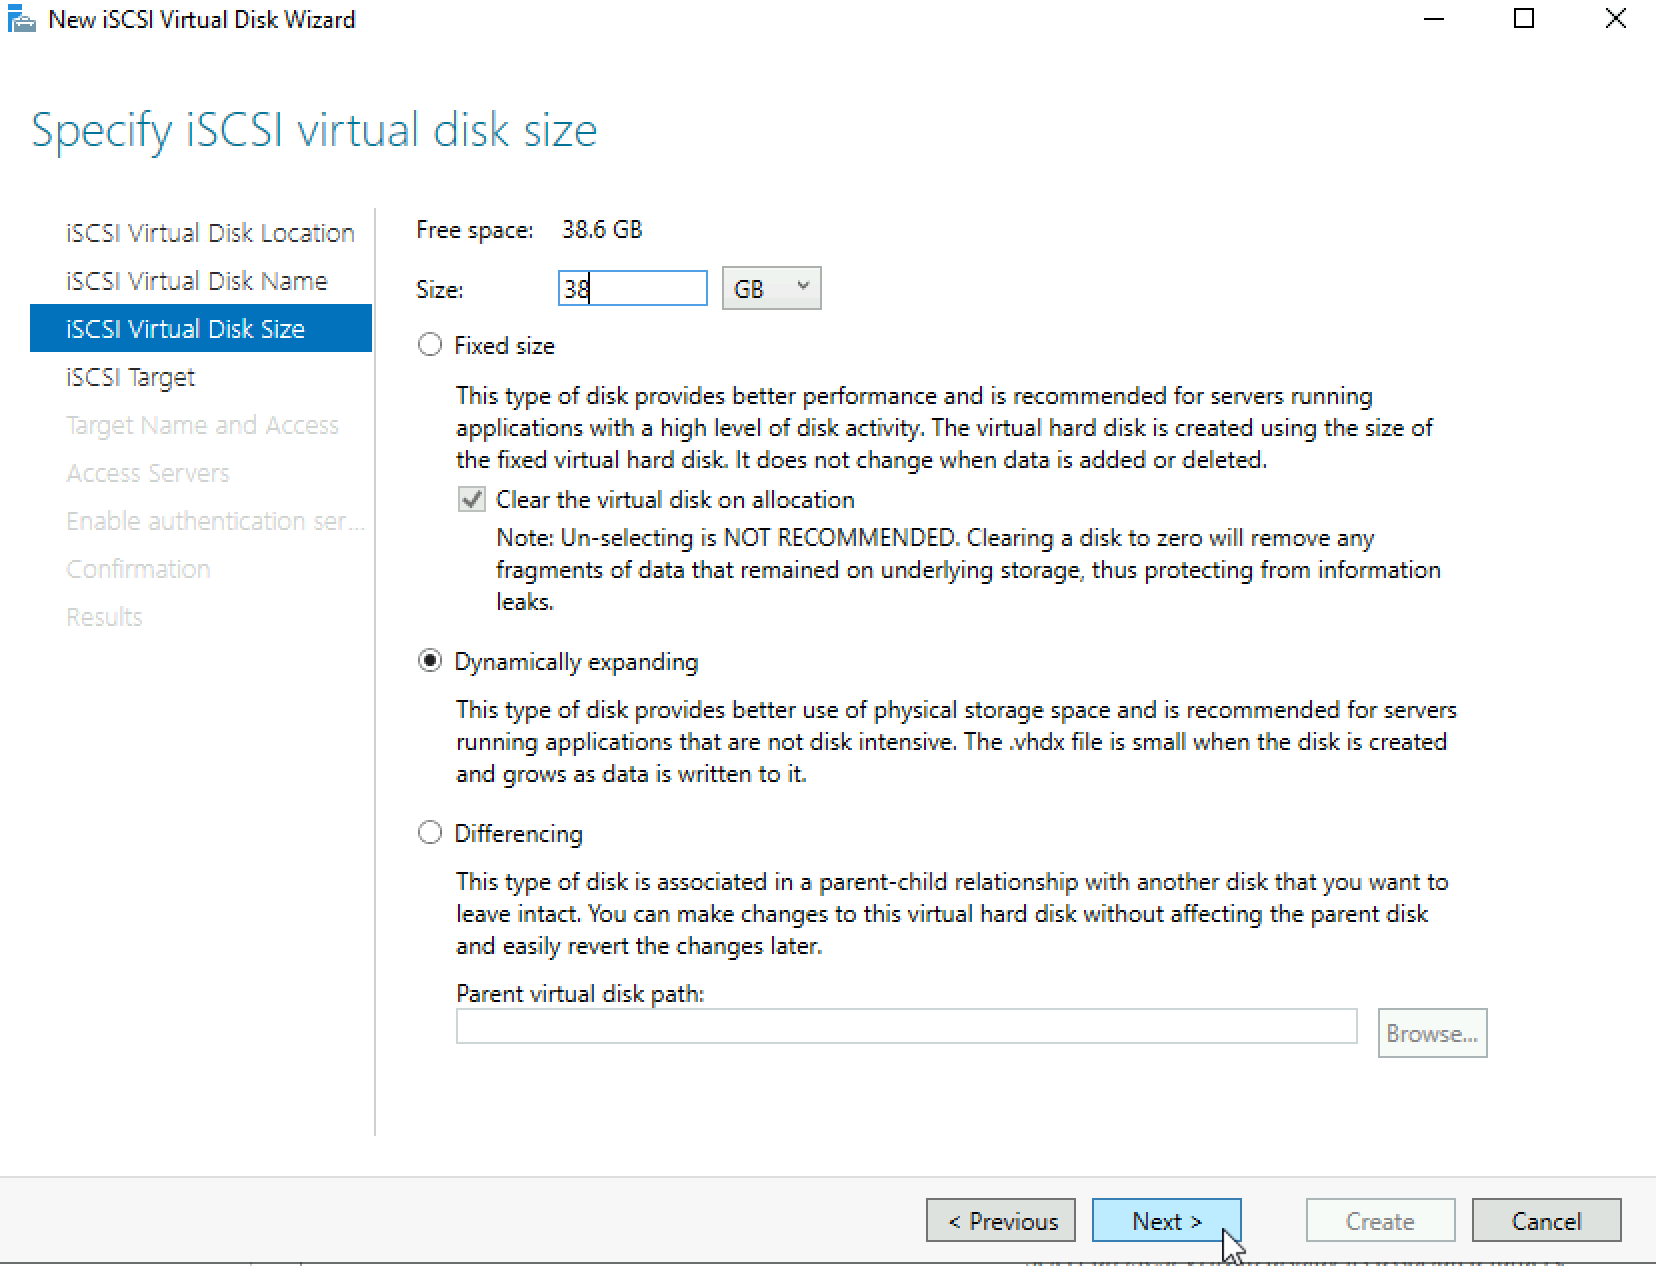
Select Size and type | Next
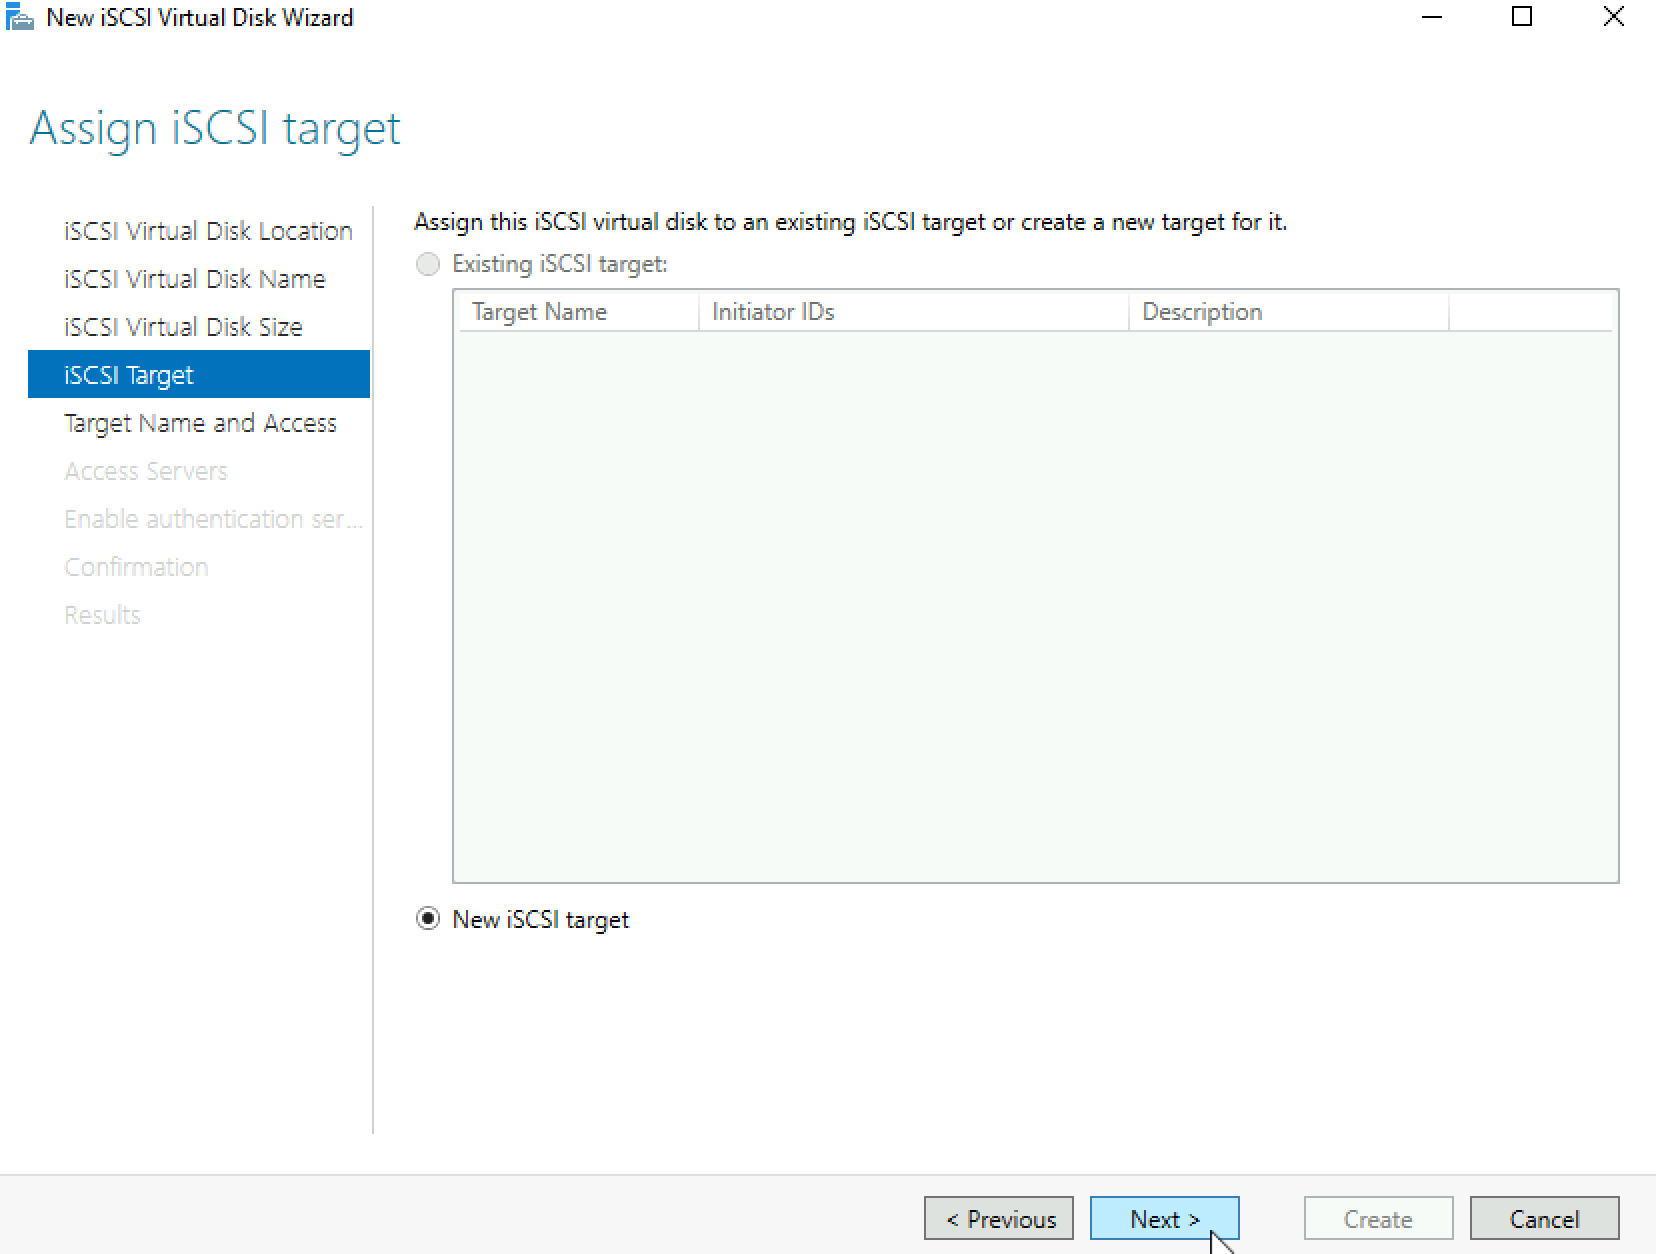
We will define new target | Next
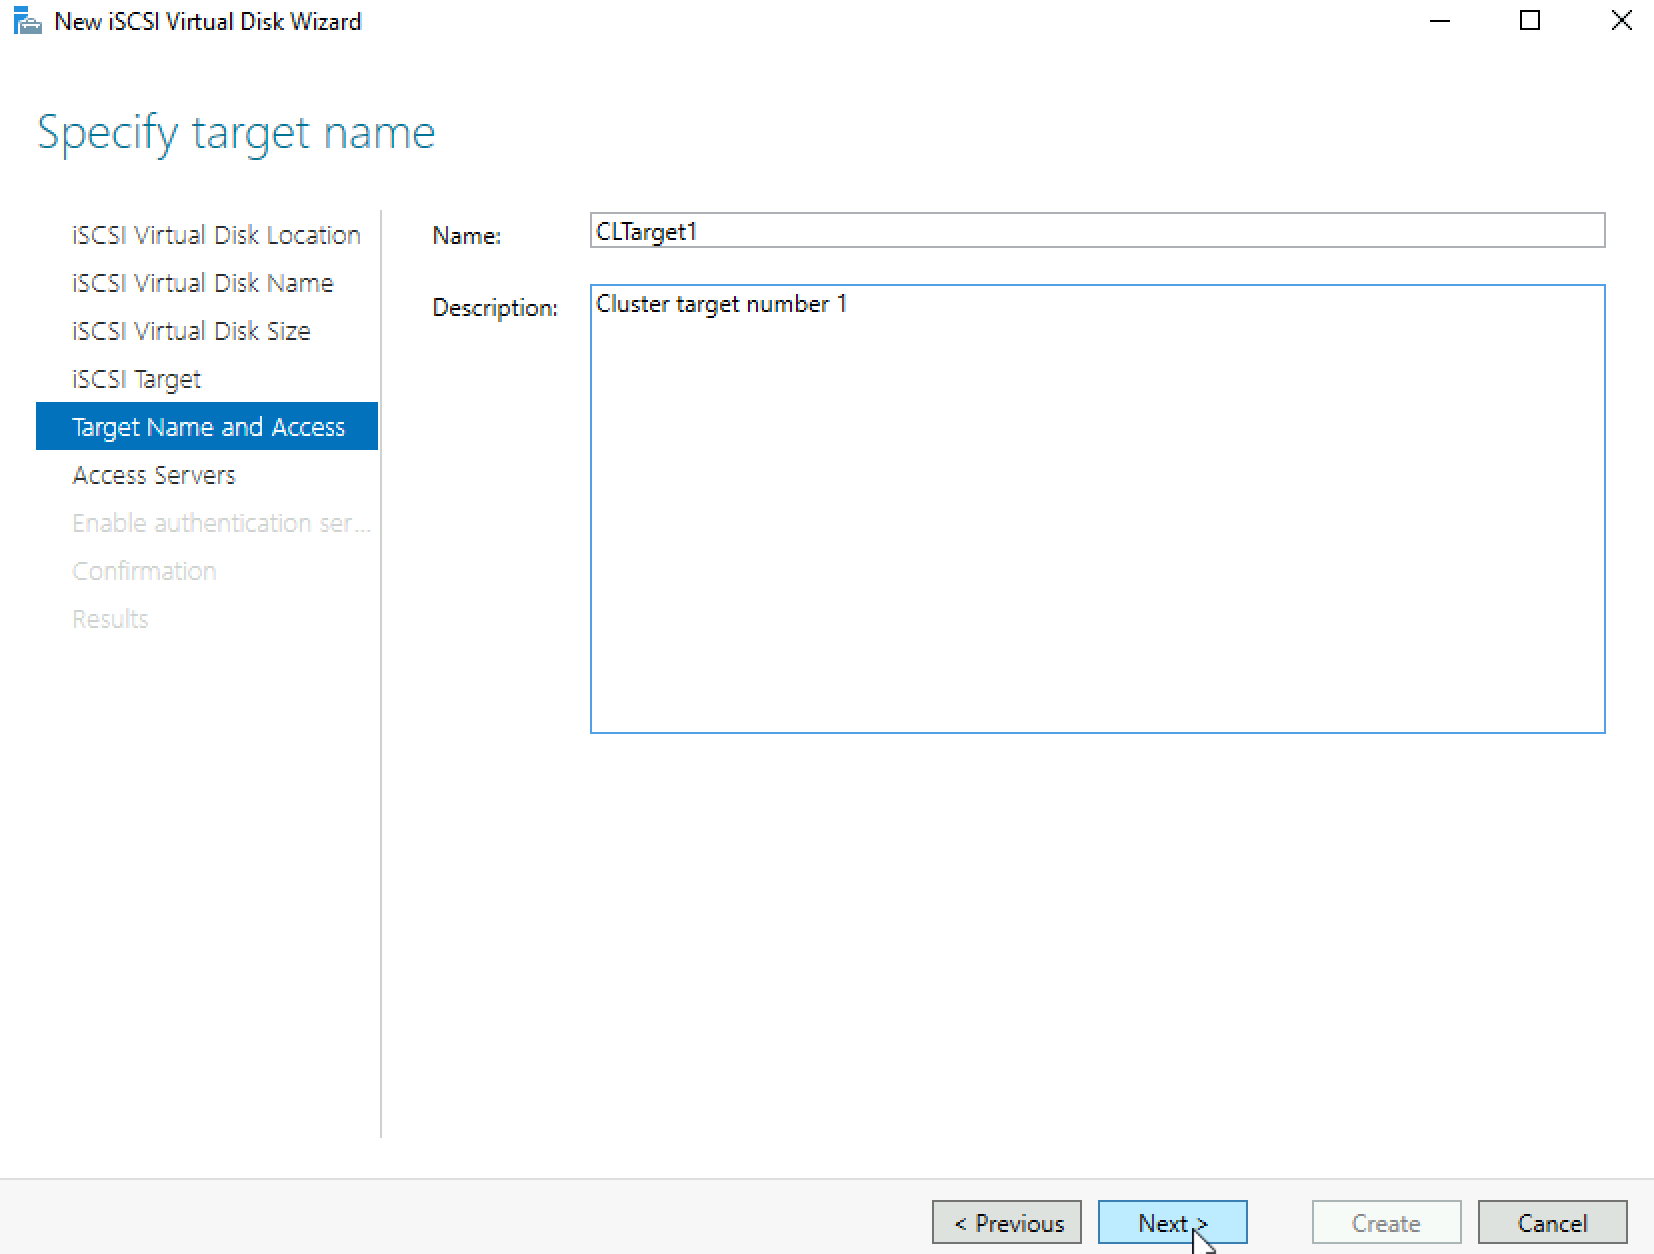
Name your new target | Next
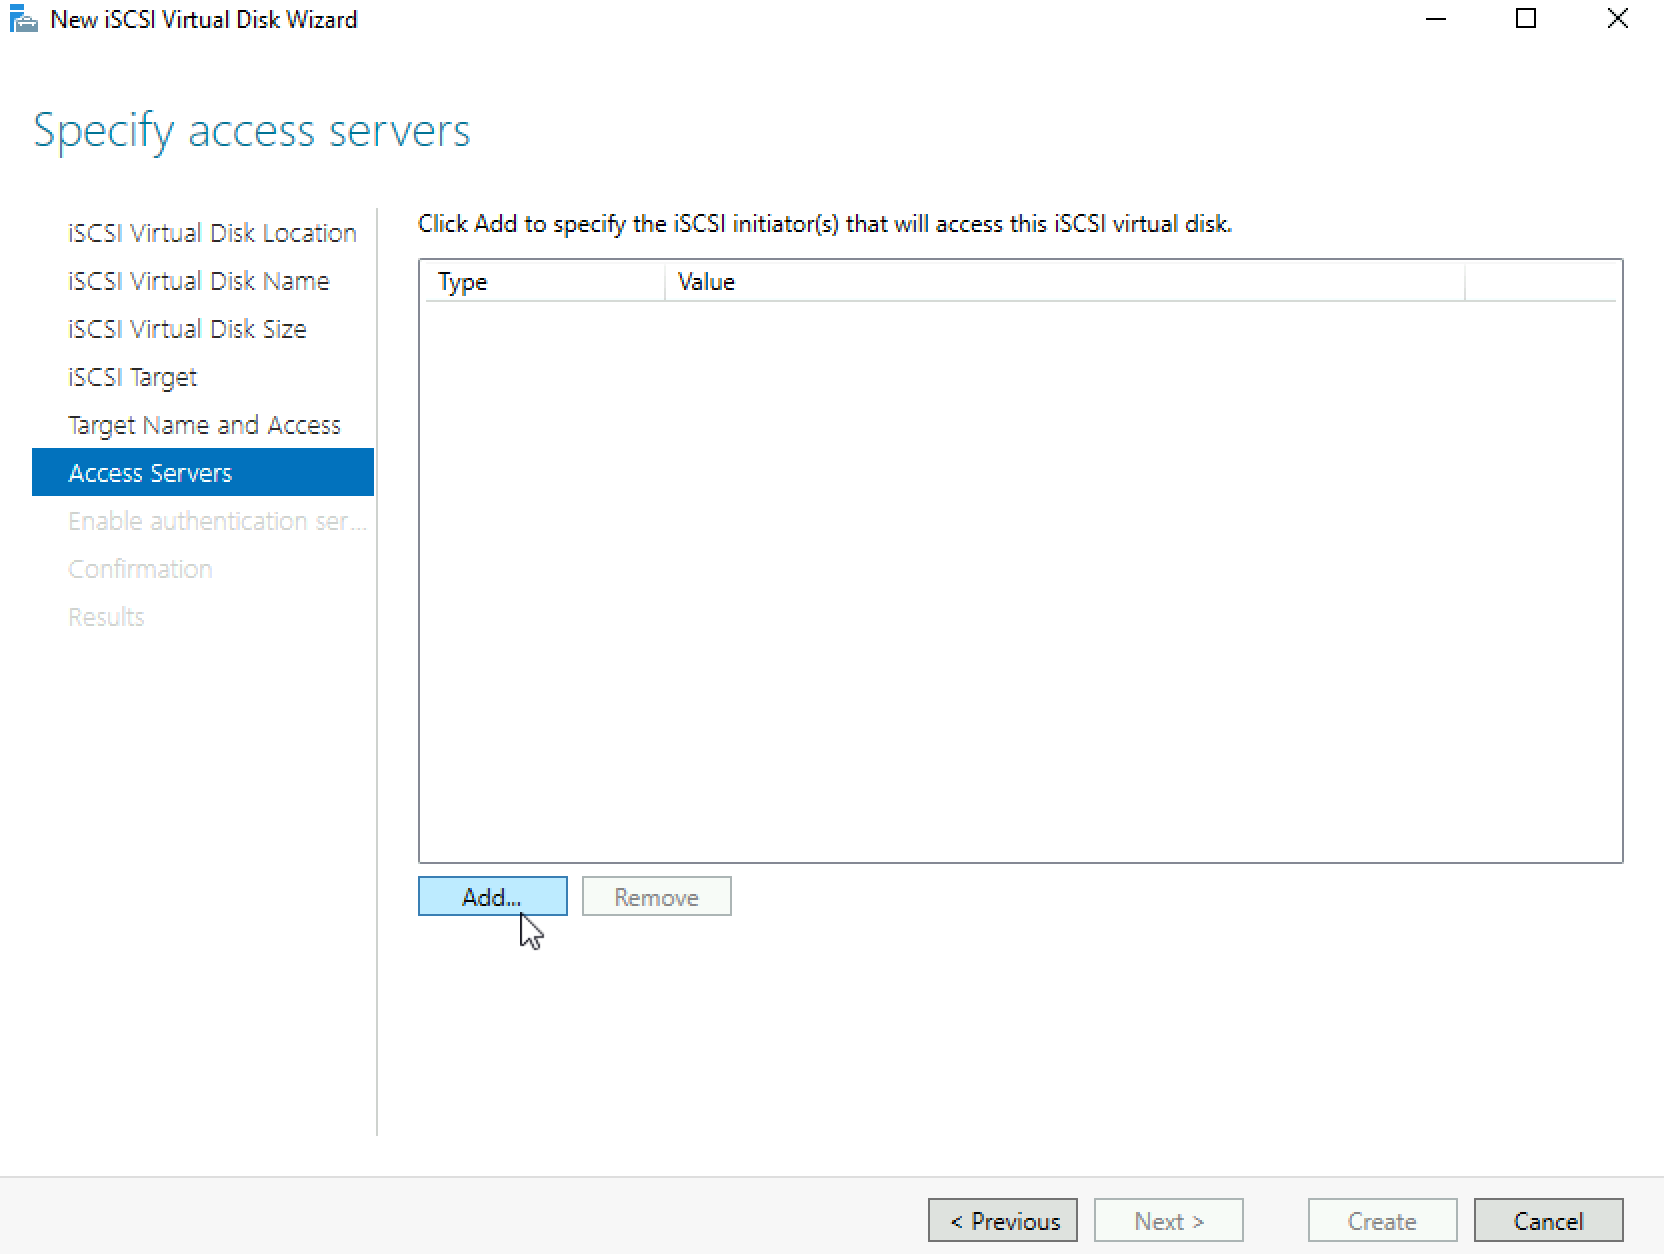
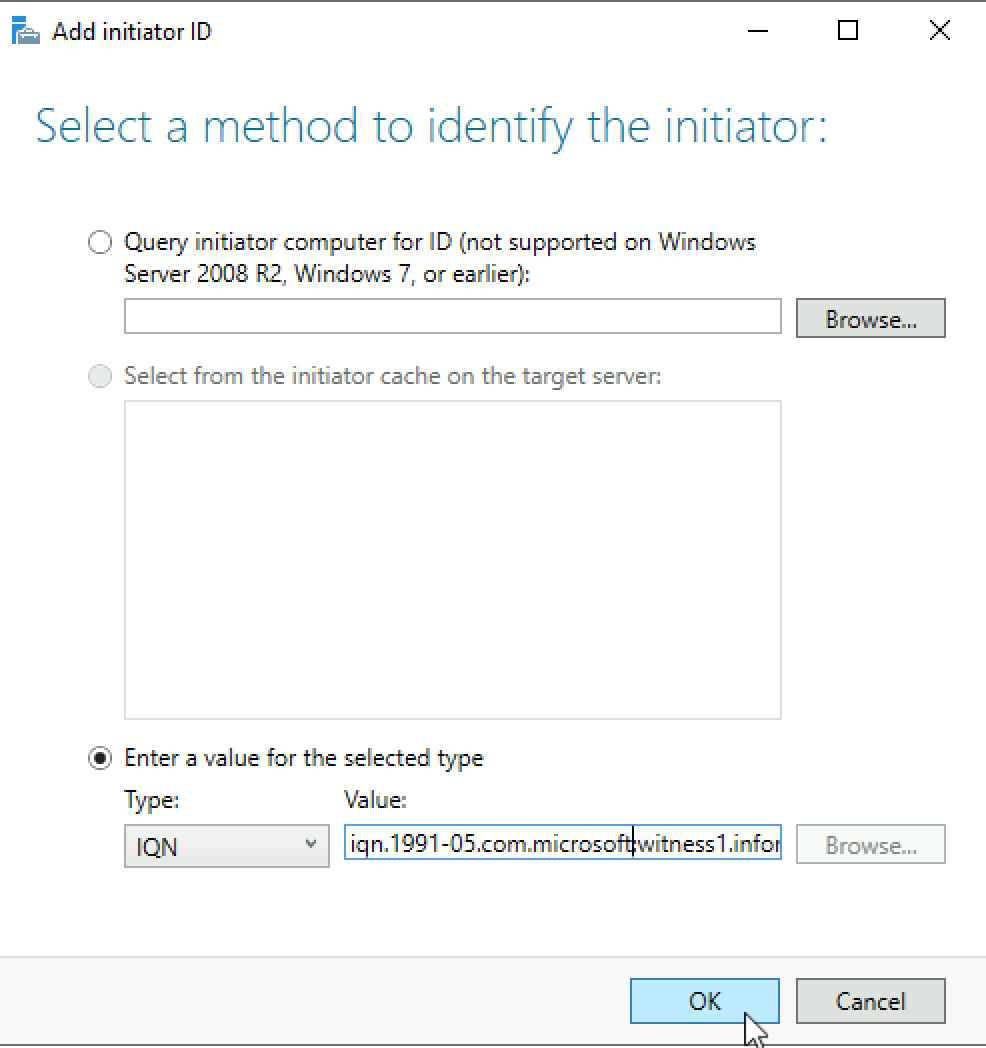
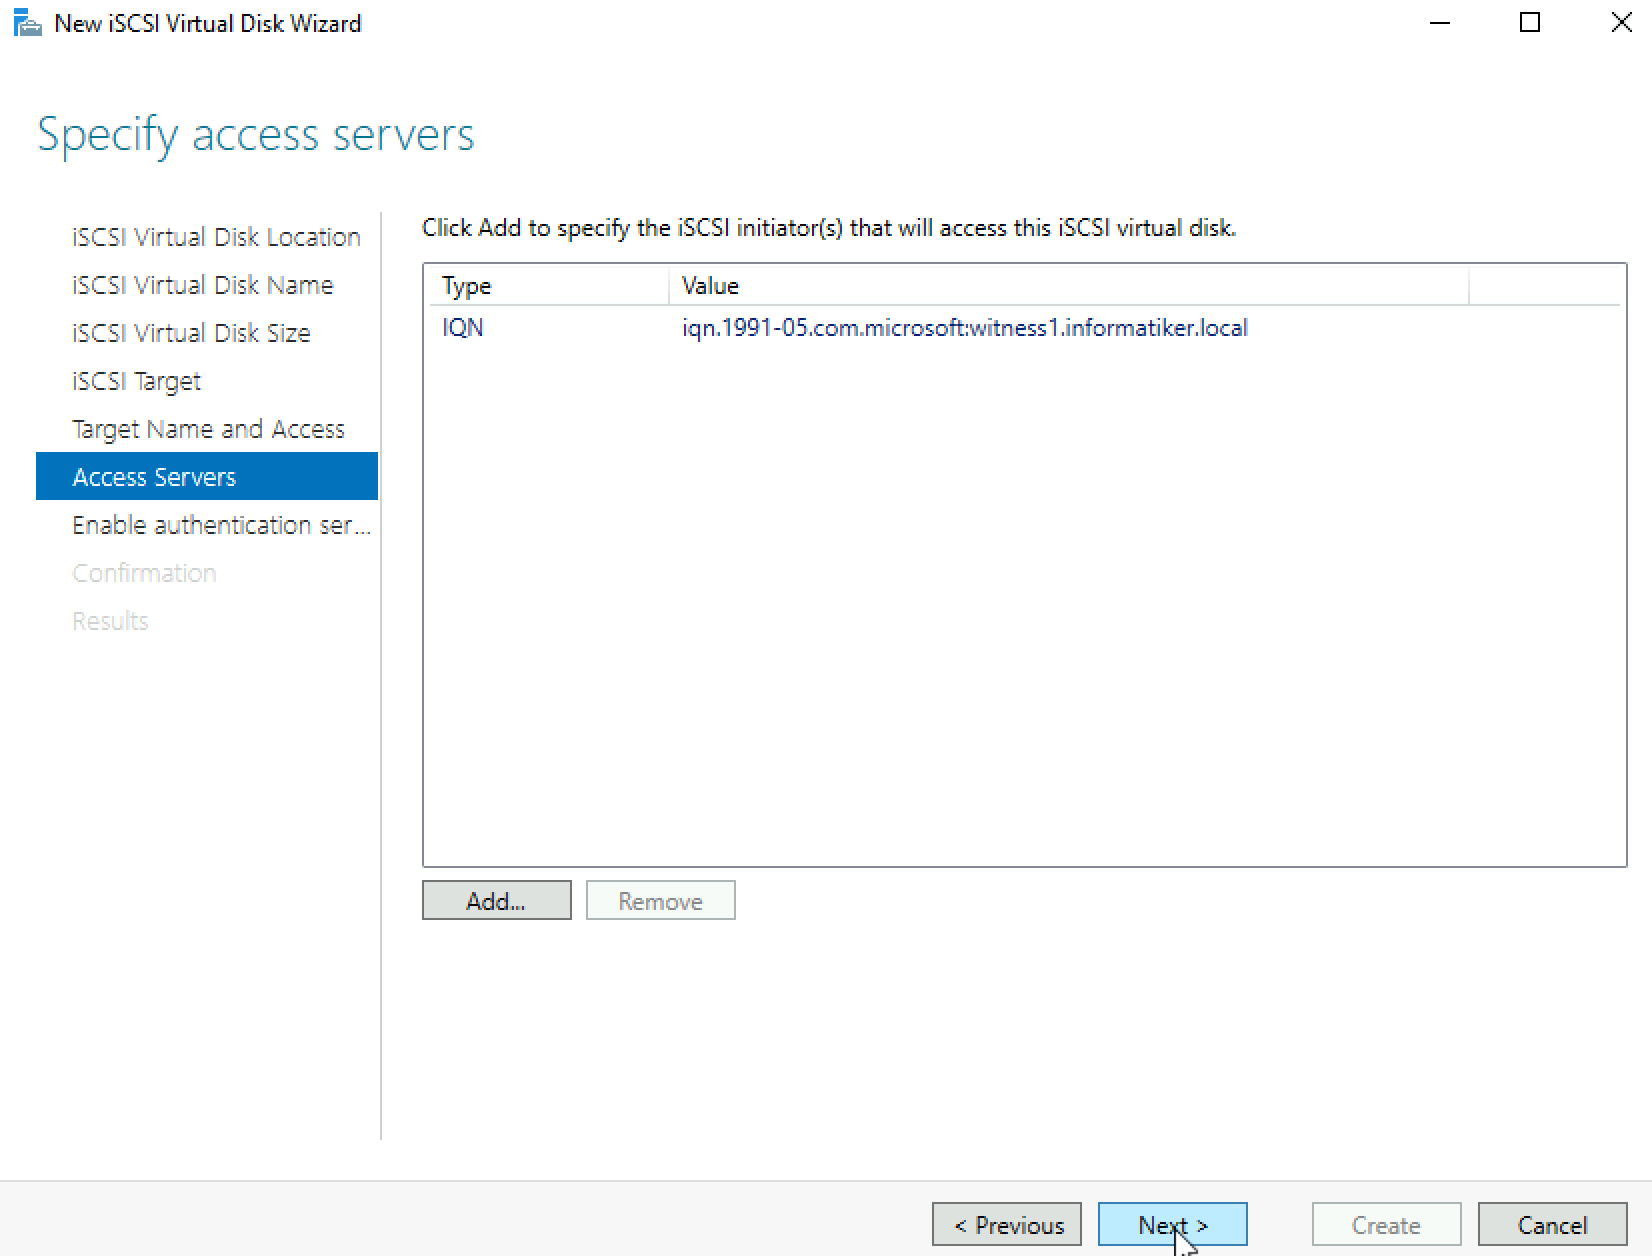
Add servers that will access this target storage | Add
I entered value of ISCSI initiator I got from the machine that the target will be attached to. OK
Next
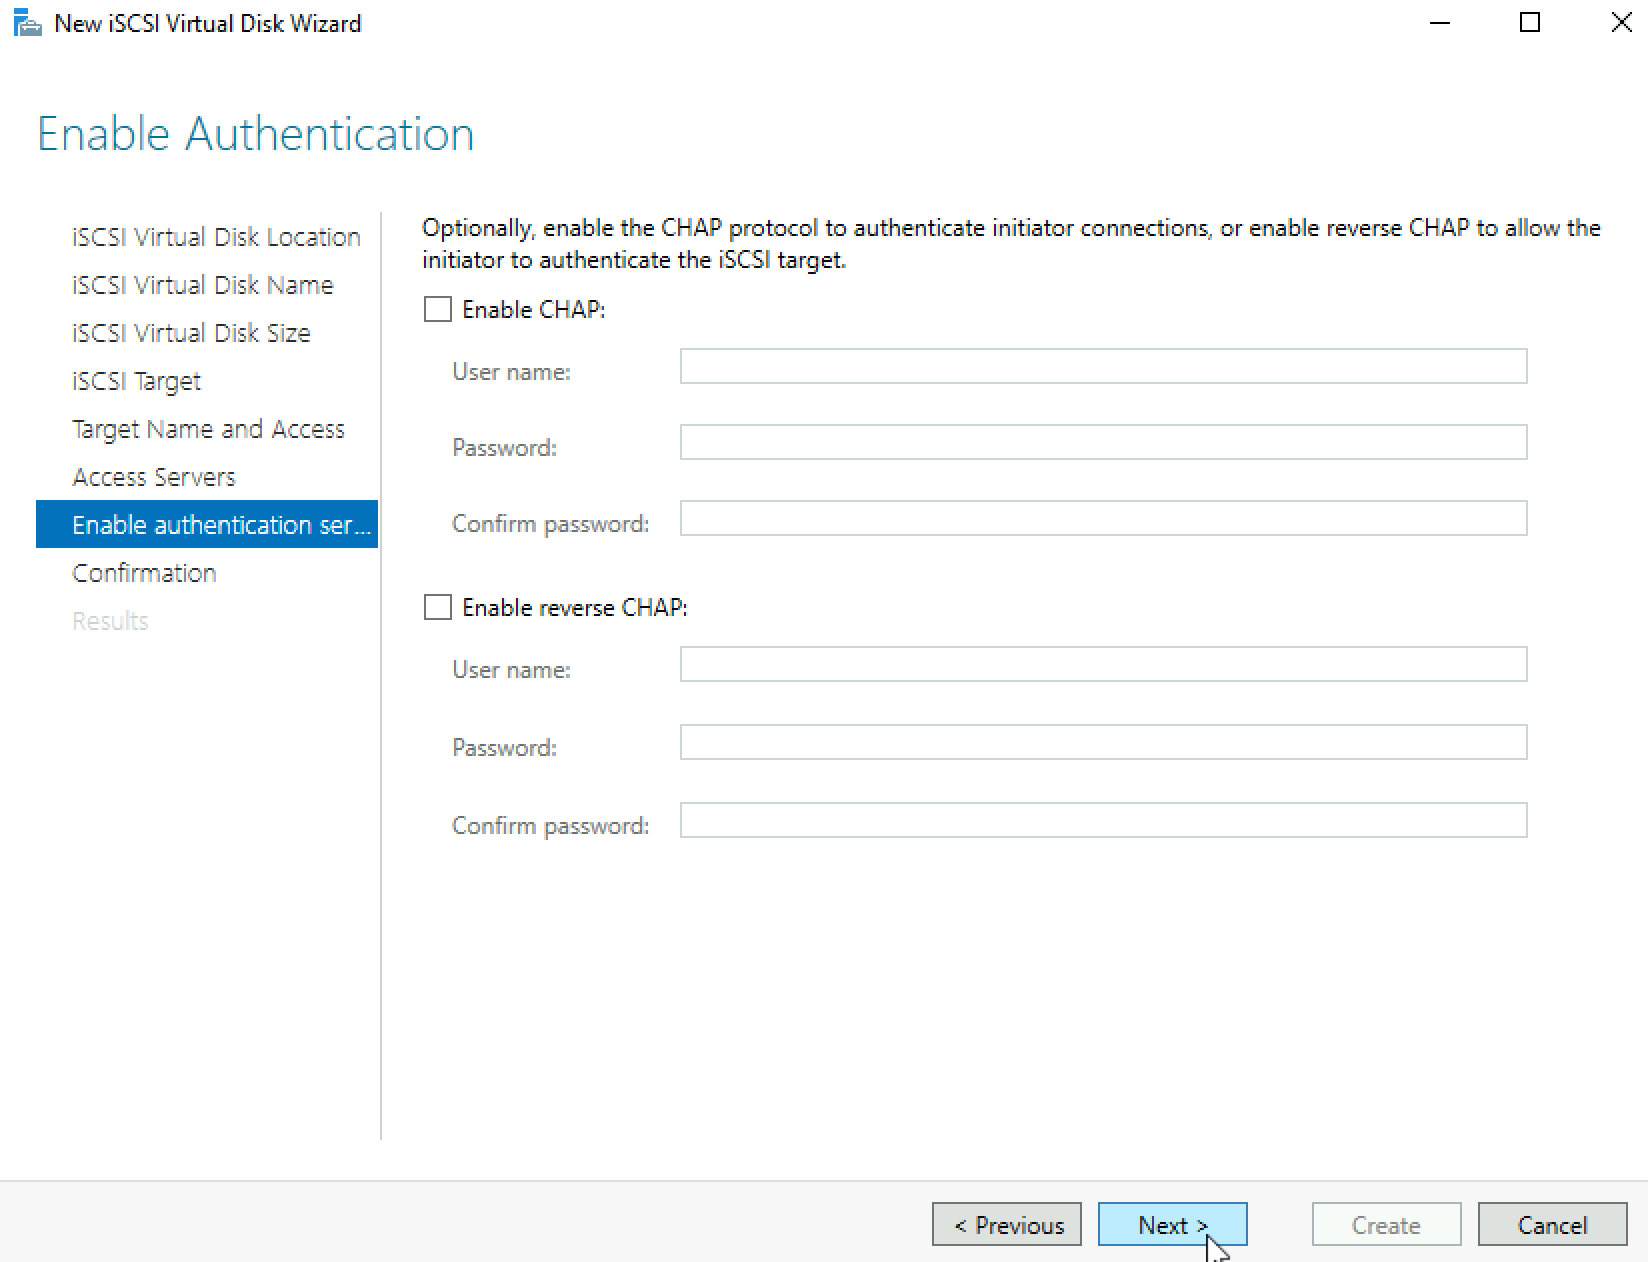
I will skip authentication | Next
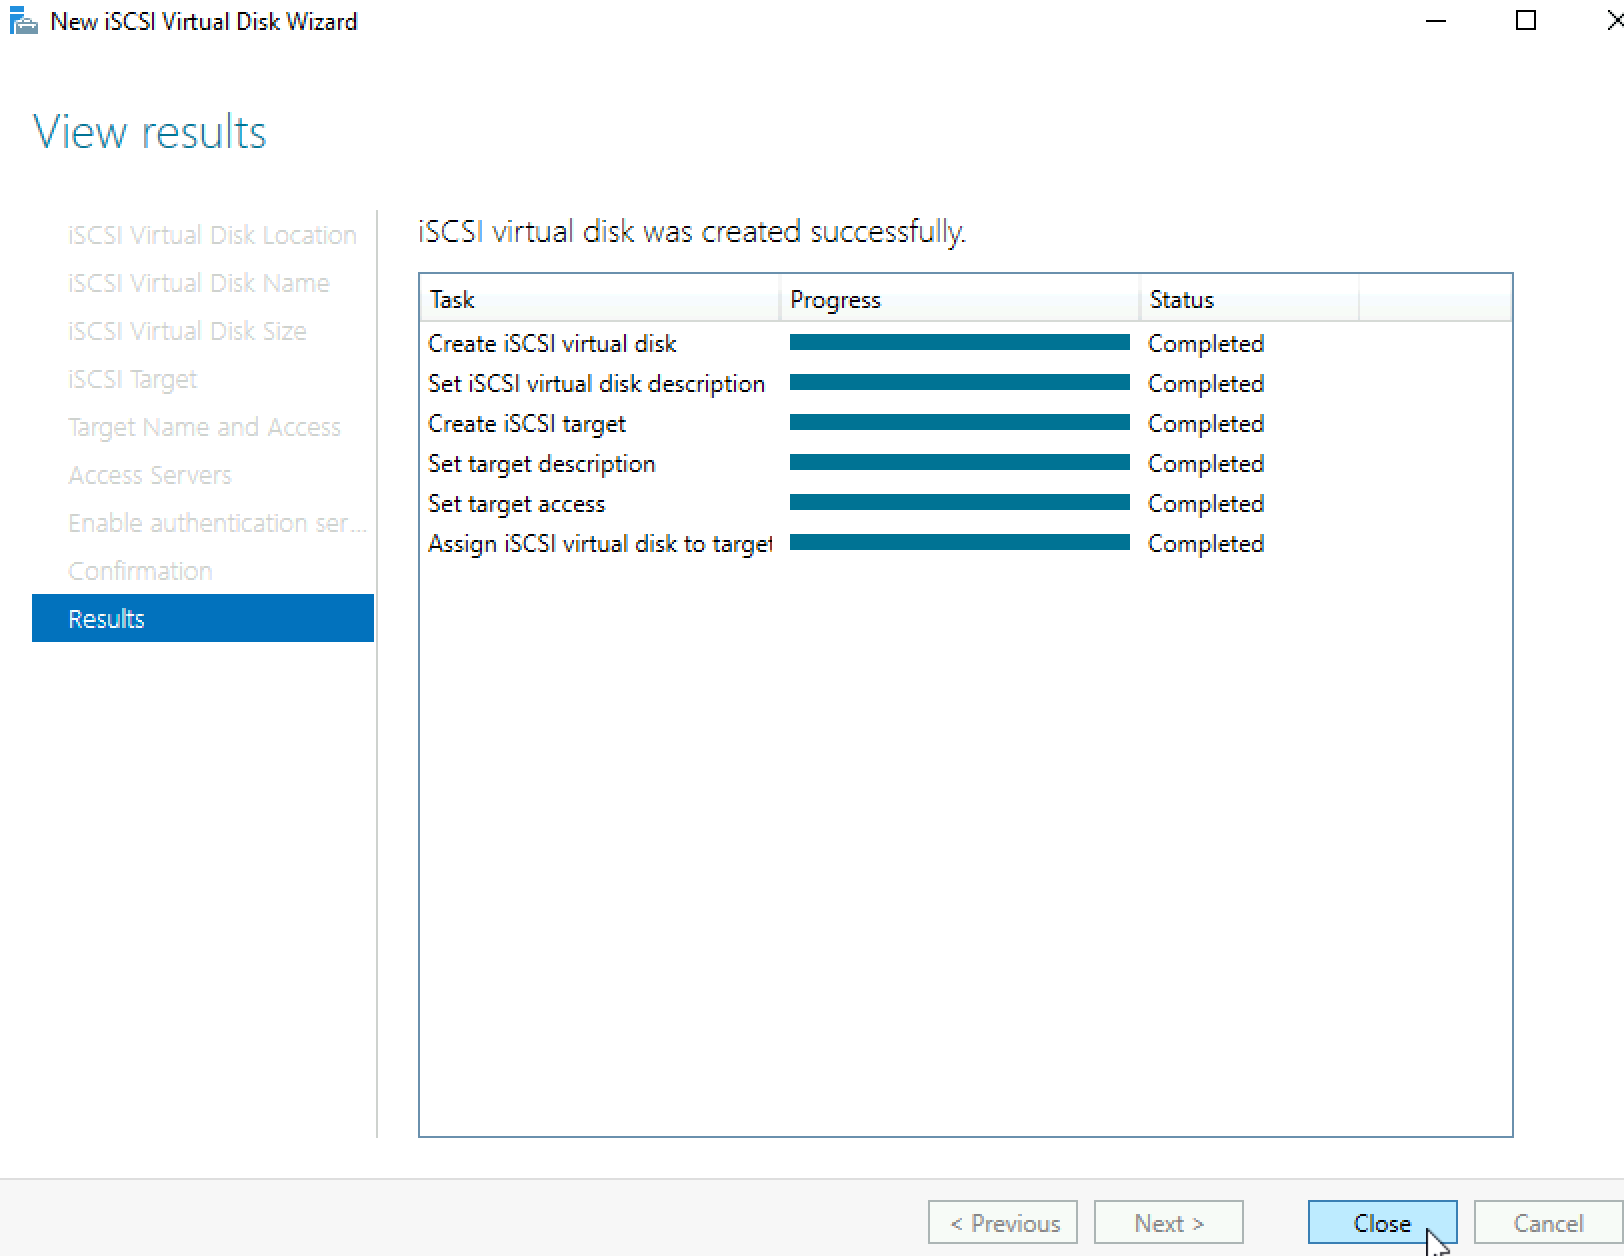
Confirm your settings and click on Create
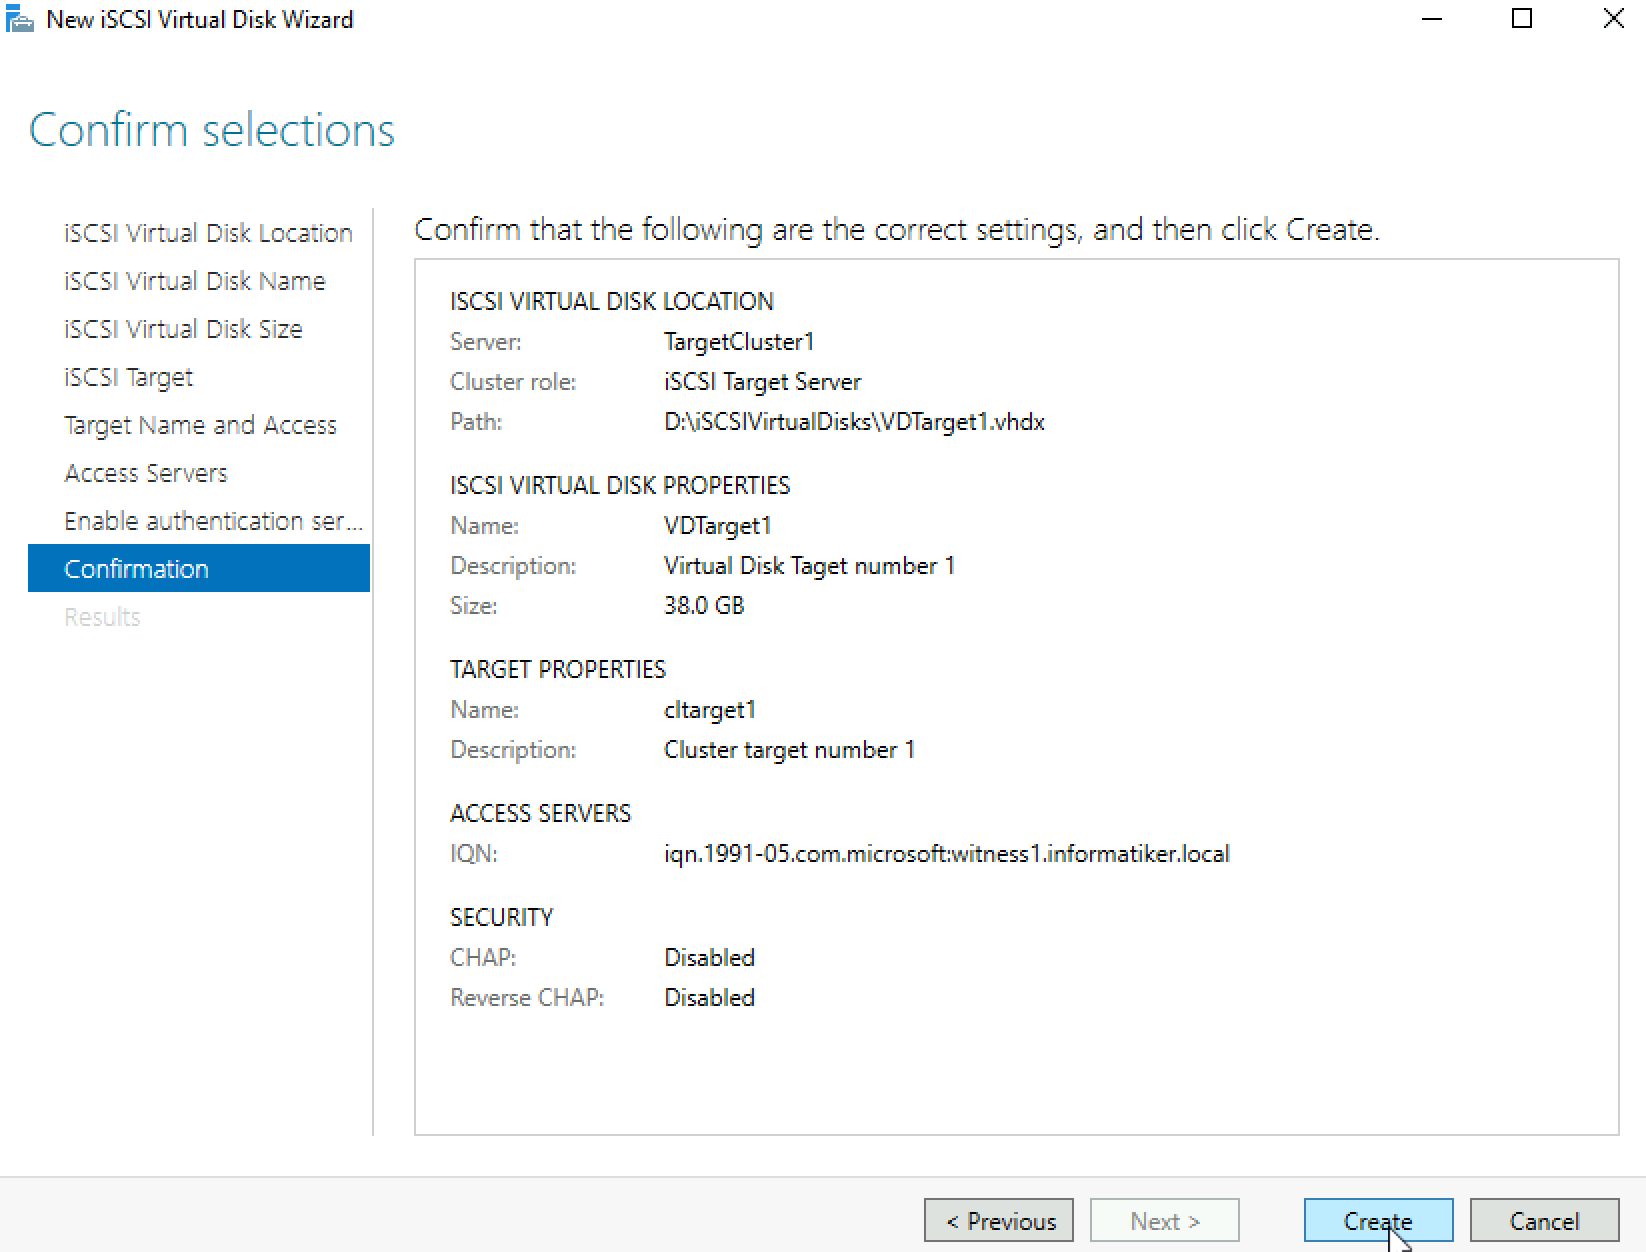
We did it! Everything is created. Close.
Now, to the machine we are going to connect our ISCSI target. In my case, initiator is on witness1 machine inside domain.
On witness1 machine I started ISCSI initiator and installed MPIO.
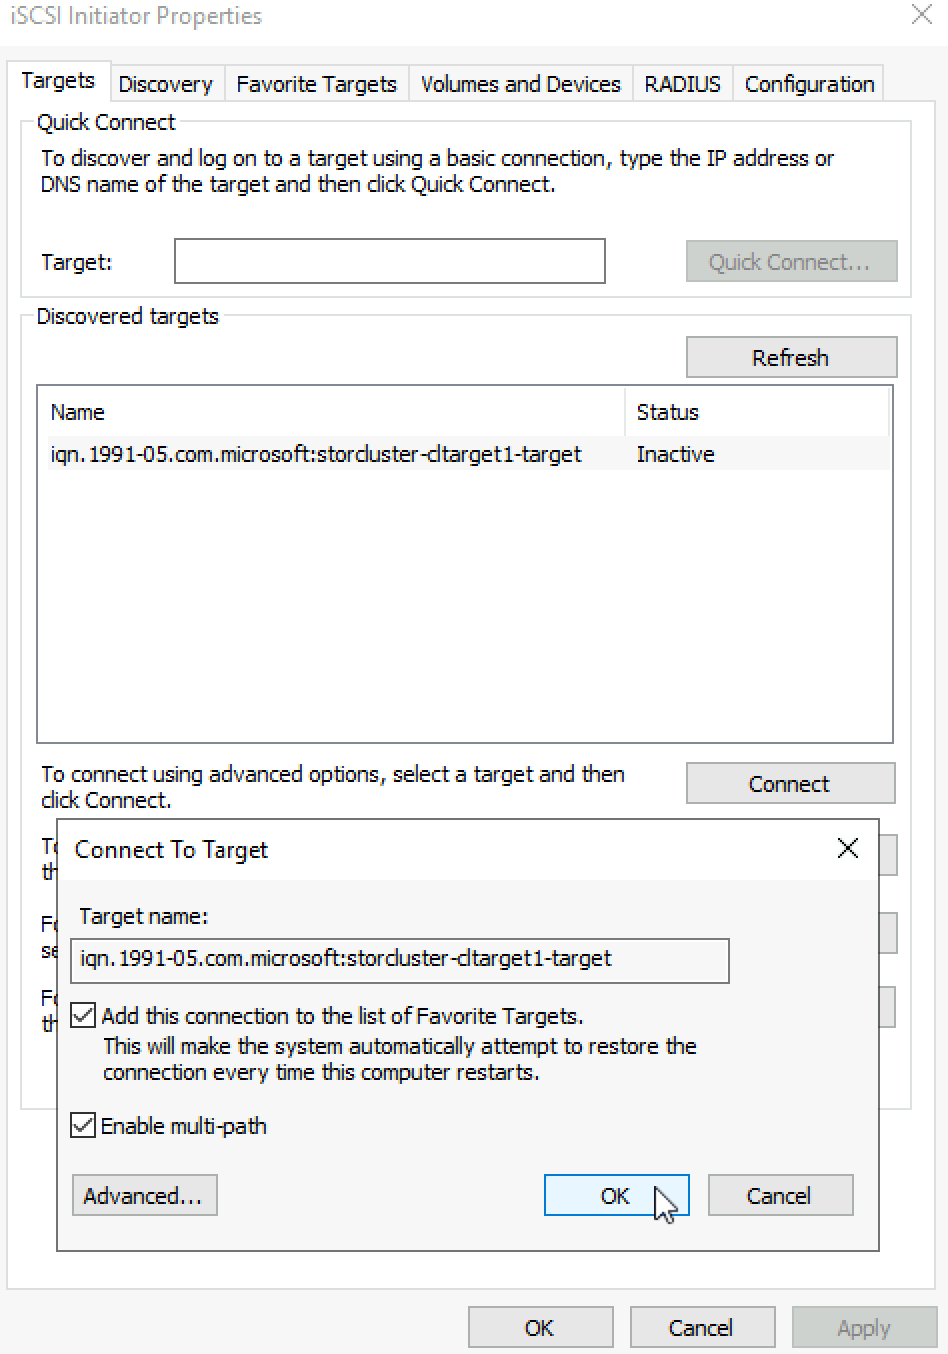
In ISCSI initiator inside Discovery tab I entered 10.0.0.128 as target portal. It is important you enter IP address of the ISCSI target cluster, not individual members of cluster (Node1 or Node2).

On targets tab I selected Connect to the offered cltarget1. In the window that appeared I selected MPIO.
If we go back to the Server Manager of Node1 we can see that our TargetCluster is now connected to the ISCSI initiator.
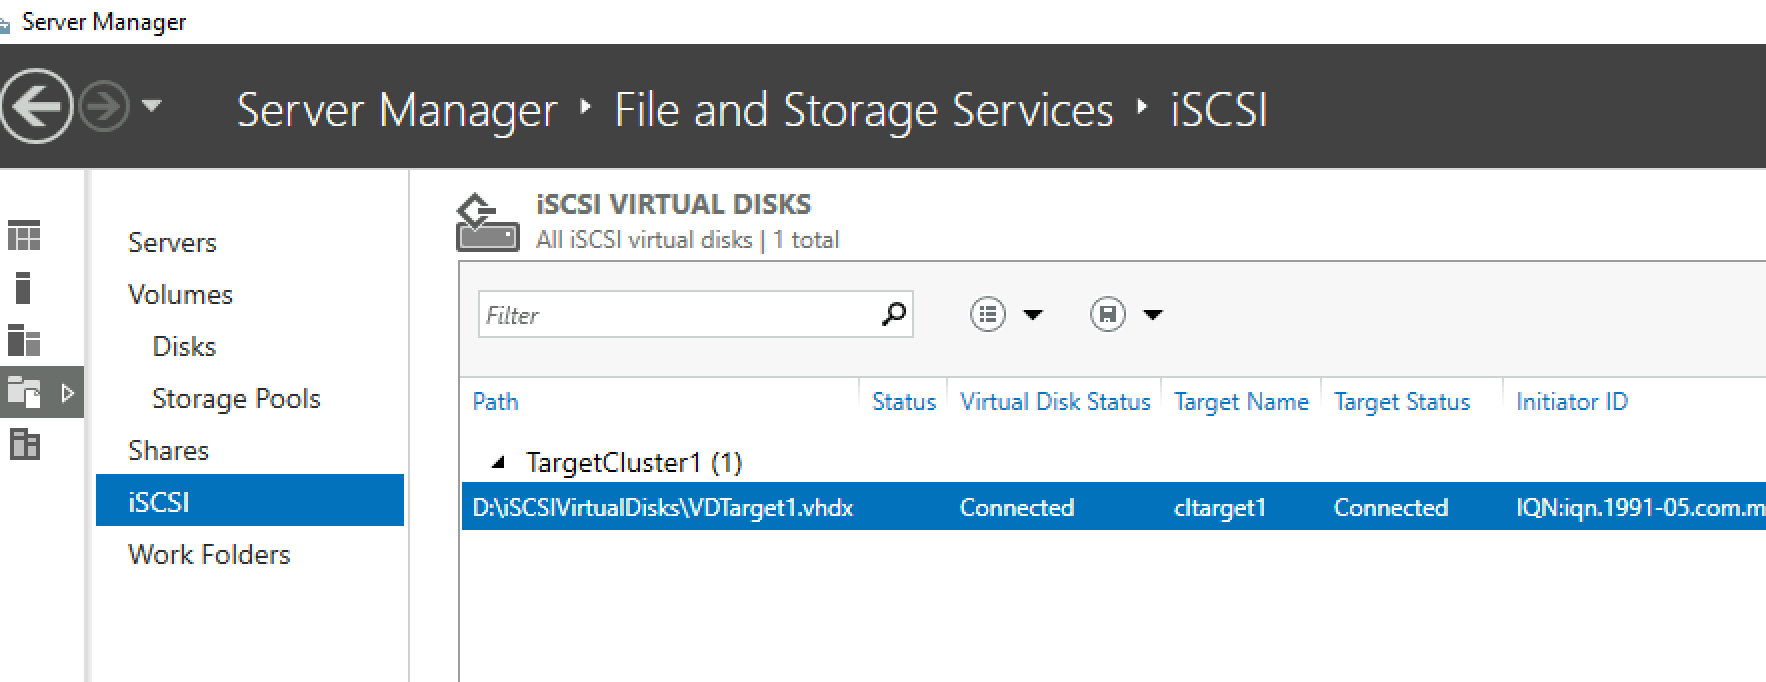
All is good.
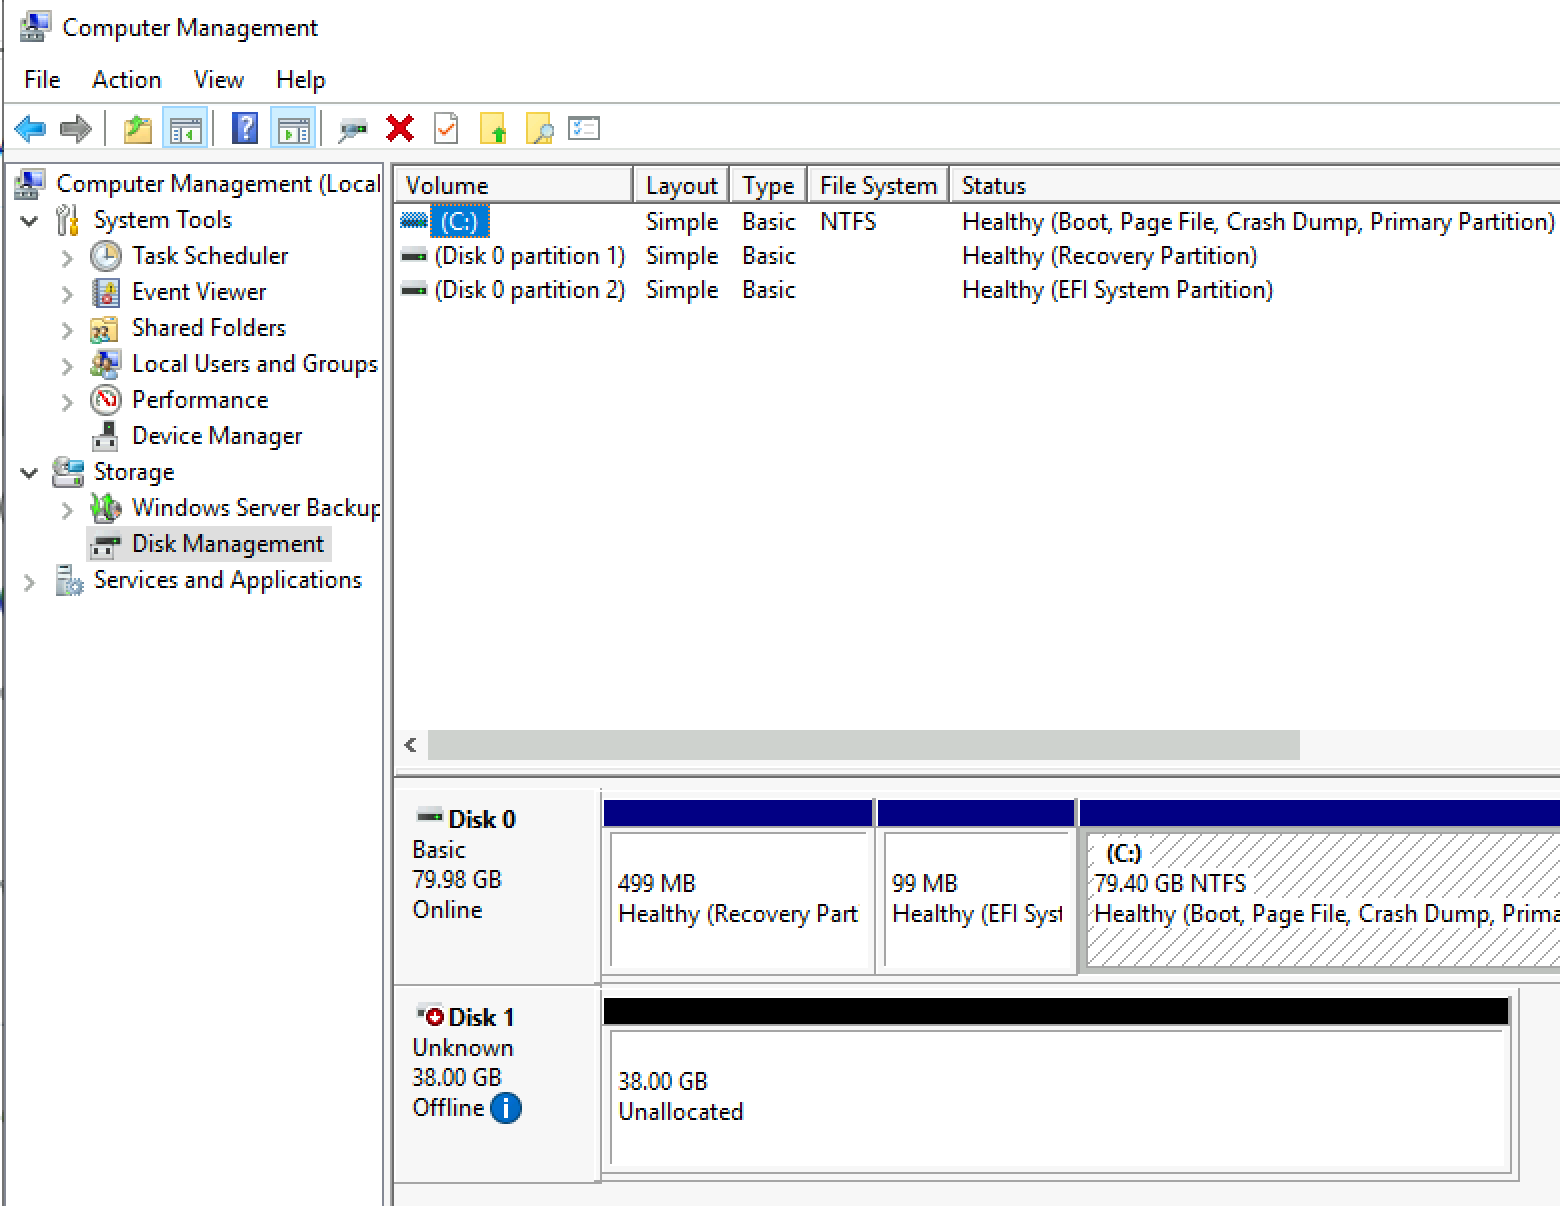
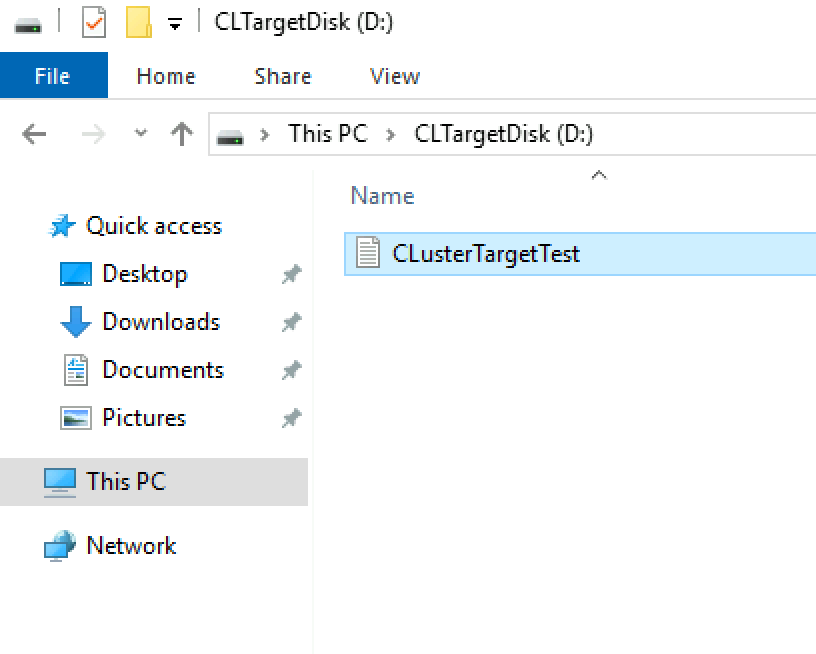
On the witness1 machine to which our ISCSI Target is now connected we can see a new unformatted disk inside Disk Management. I will format it and put simple file on it.
I created new drive and put simple txt file on it.
Testing
It is important you test these scenarios in detail, so you don’t end up with corrupted data.
I formatted attached ISCSI Target on witness1 machine. I created simple .txt file on it. I simply tested by turning off one of the ISCSI target nodes.
I tested by turning off Node1 and then after I powered it up, I downed Node2. Everything was fine, data was available.
Be sure to test this extensively before you put it in production. Test inside lab with production data and make sure everything works…
Conclusion
We have done Failover clustering, S2D on VMs and ISCSI Target in the mix. You will need to see if this fits your production needs, Microsoft recommends S2D only in physical hardware scenarios, but I found (for myself) I can use virtual version for some scenarios. You will need to test for yourself and decide if you want to “risk” this setup.