Failover clustering will enable you to make you Windows Server services highly available. In this guide we will go just through simple setup of failover clustering on Windows Server 2019 without setting up any services.
Before we begin
These are the resources you will need if you are completely new to Failover Clustering – https://docs.microsoft.com/en-us/windows-server/failover-clustering/create-failover-cluster
Prerequisites
I assume you know basic things about Windows Server before you attempt to do this.
DC
LAB for this guide consists of following:
Domain: informatiker.local
Domain Controller named DC1 – 10.0.0.31
ISCSI
One Windows Server ISCSI Target server named ISCSI1 (if you don’t know how to make ISCSI target server, here is the guide)
ISCSI1 – 10.0.0.50
That machine has one additional disk of 40GBs that will be assigned to ISCSI Target.
Optionally, you don’t have to bring up iscsi target server and configure iscsi for failover cluster – you can also bring up failover cluster without storage.
Failover cluster
We will have two nodes that will have failover clustering installed. These machines will have two network cards – one for communication with network, and another one for clustering communication.
Failover1 – NIC1 10.0.0.52 NIC2 192.168.4.2
Failover2 – NIC1 10.0.0.53 NIC2 192.168.4.3
192.168.4.xx network is only for internal cluster configuration (heartbeat). On netowrk cards that will serve you as heartbeat and internal cluster communication – Control Panel | Network and Sharing Center | Change Adapter Settings | right click on network adapter that will serve for cluster communication – Properties | under Networking tab select IPv4 – Properties | click on Advanced button | under DNS tab deselect Register this connection’s addresses in DNS | WINS tab – select Disable NetBIOS over TCP/IP. Do this ONLY ON network adapters that will server for internal cluster communication!
All of these machines should be part of domain.
Be sure to enable MPIO Feature and iSCSI Initiator on both Failover1 and Failover2 machines. Be sure to follow my guide I posted above for creating ISCSI target, it has all the details in it.
MPIO is very important when you use shared storage.
Connect one 40GB disk you defined as ISCSI target to both Failover1 and Failover2, leave it offline at failover2 node.
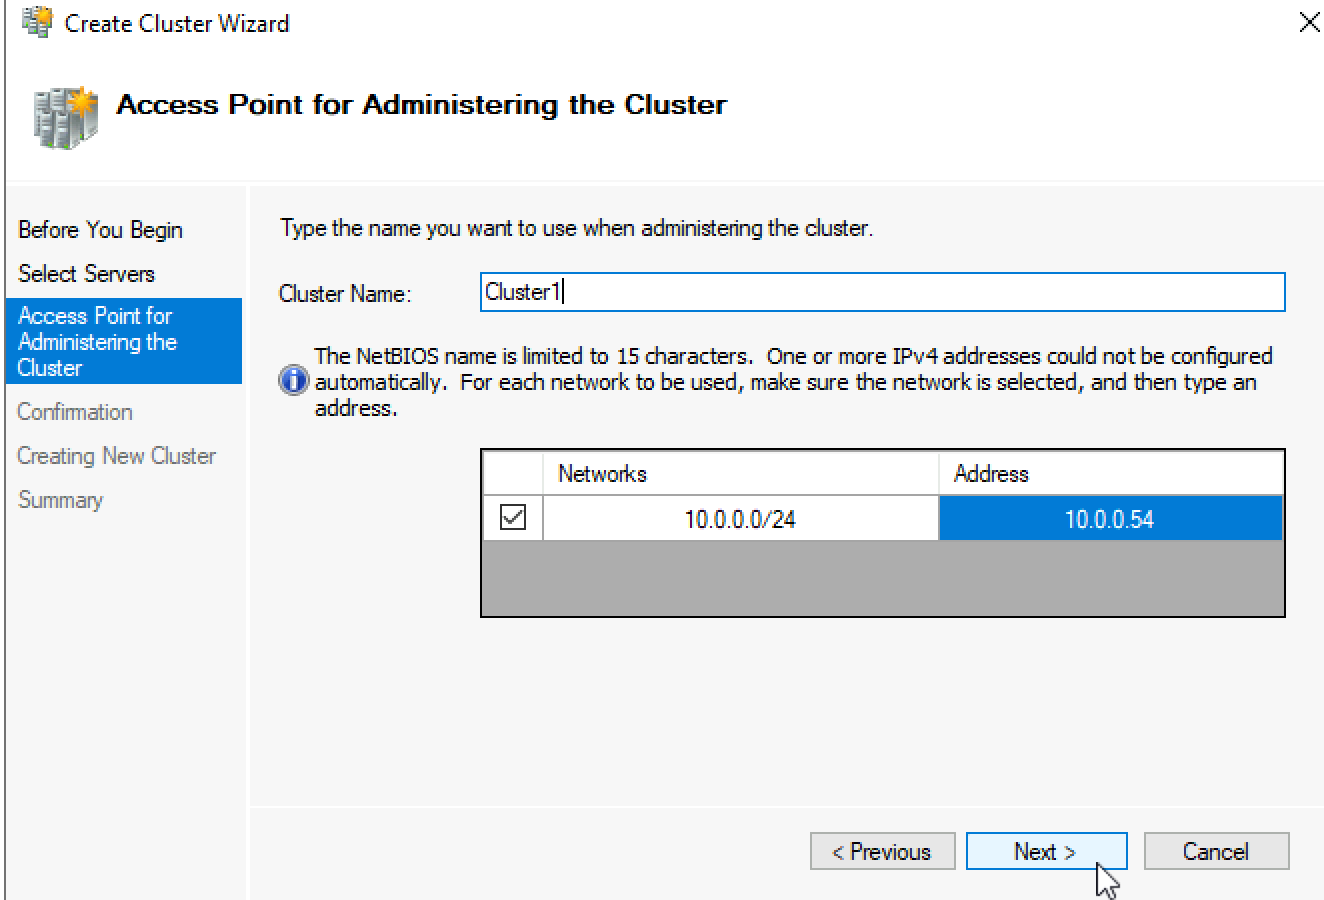
Cluster is going to be named Cluster1
Cluster1 – 10.0.0.54
Cluster Witness. We need additional VM that will hold file share that ill be available to our cluster – Witness1
Witness1 – 10.0.0.55
Install Failover Clustering
We will go through the process on Failover1 node, you will repeat the process on Failover2 node. I will show you only important parts, I assume you know how to use Server Manager.
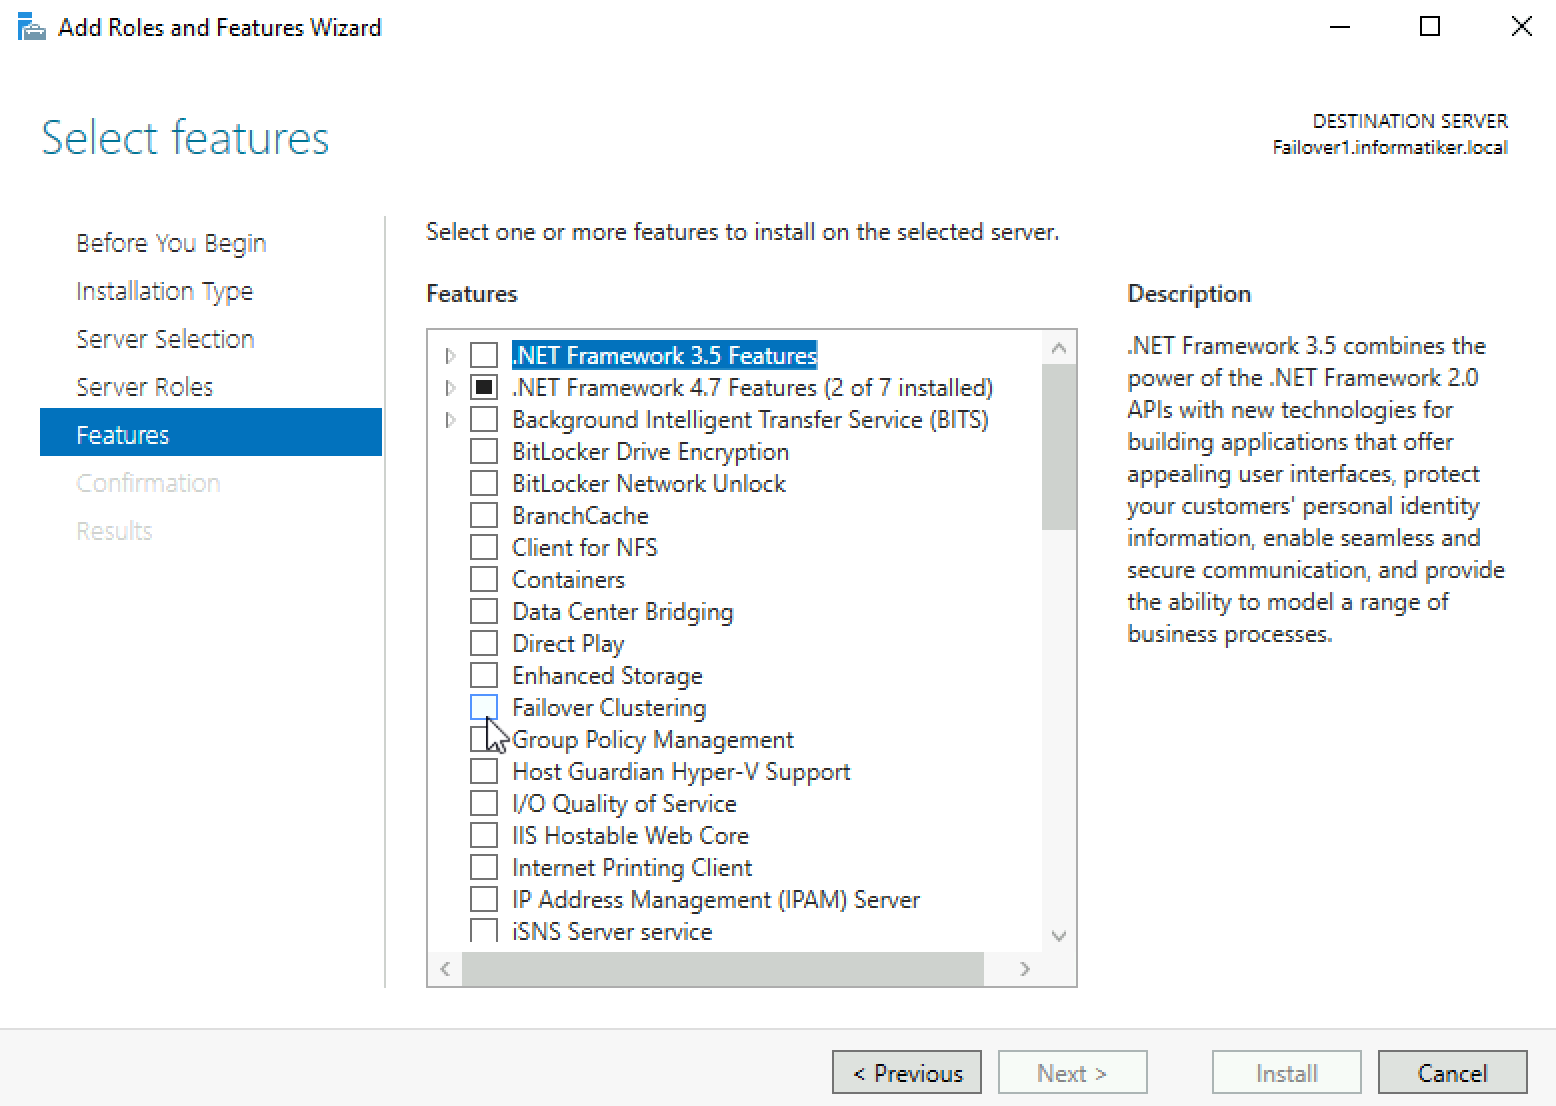
Open Server Manager | click on Manage | Add Roles And Features | on Features screen select Failover Clustering
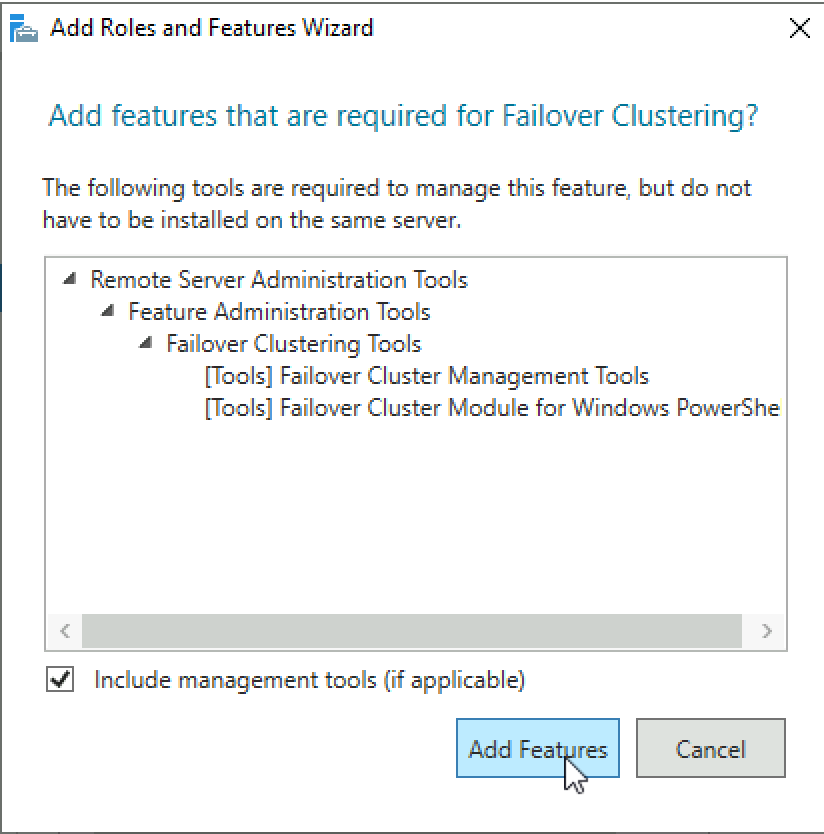
Additional pop-up will appear, click on Add Features
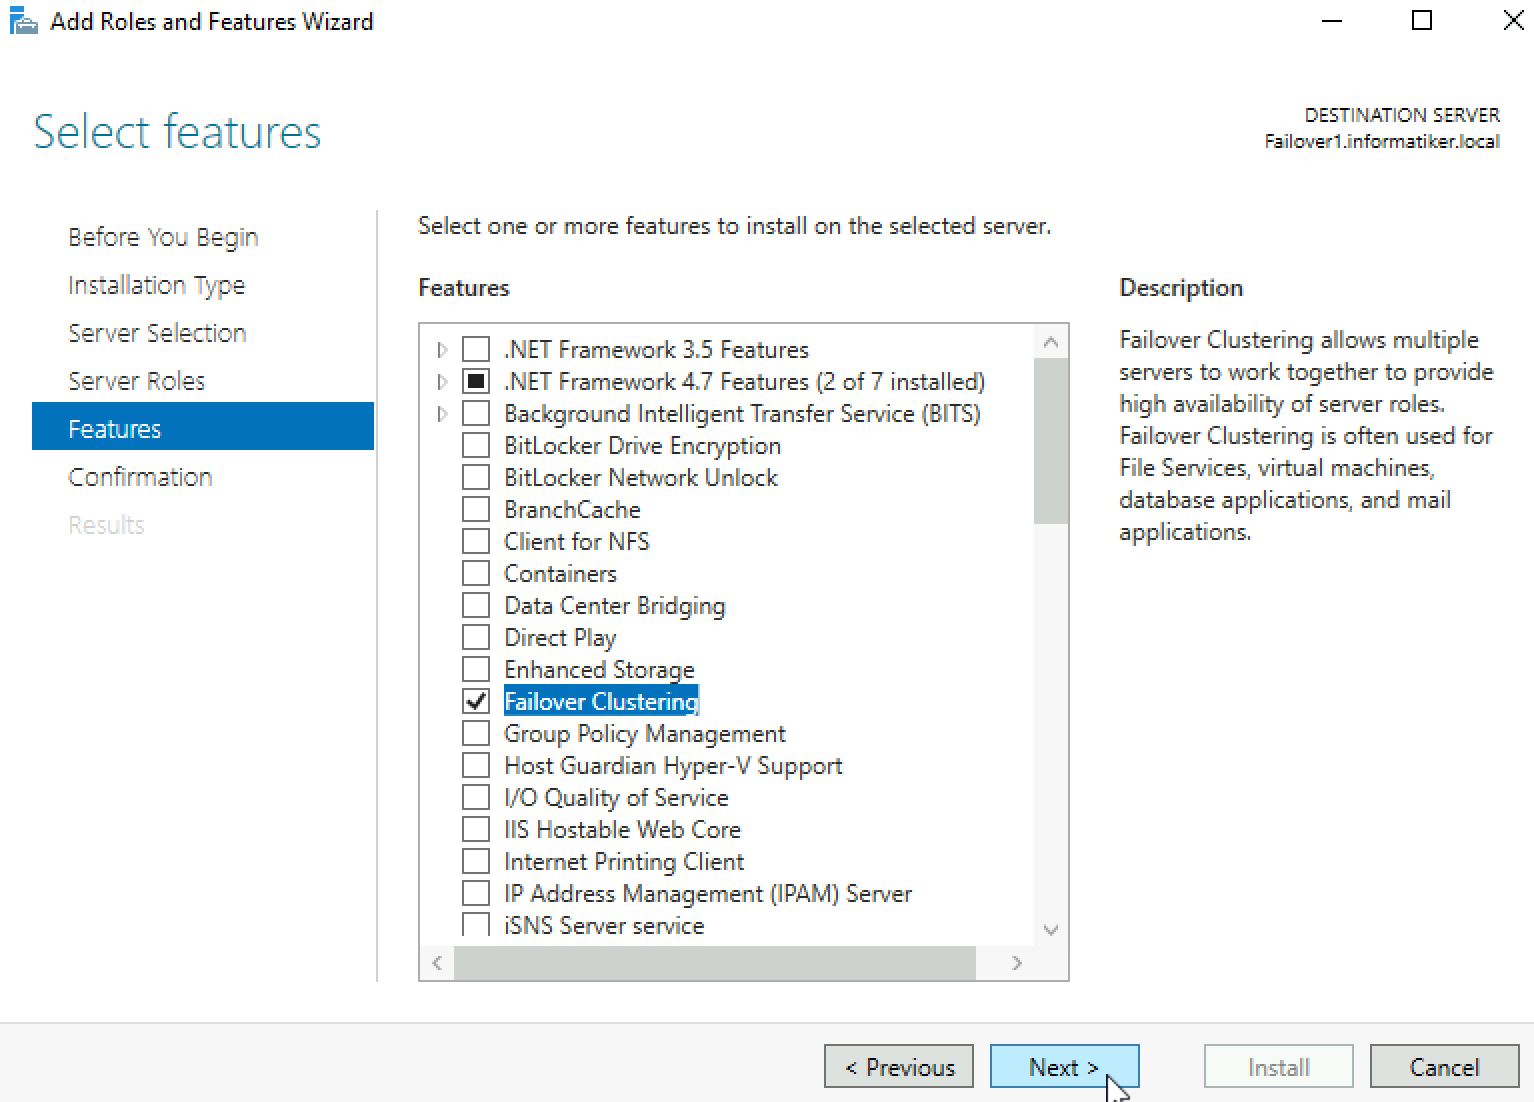
Next
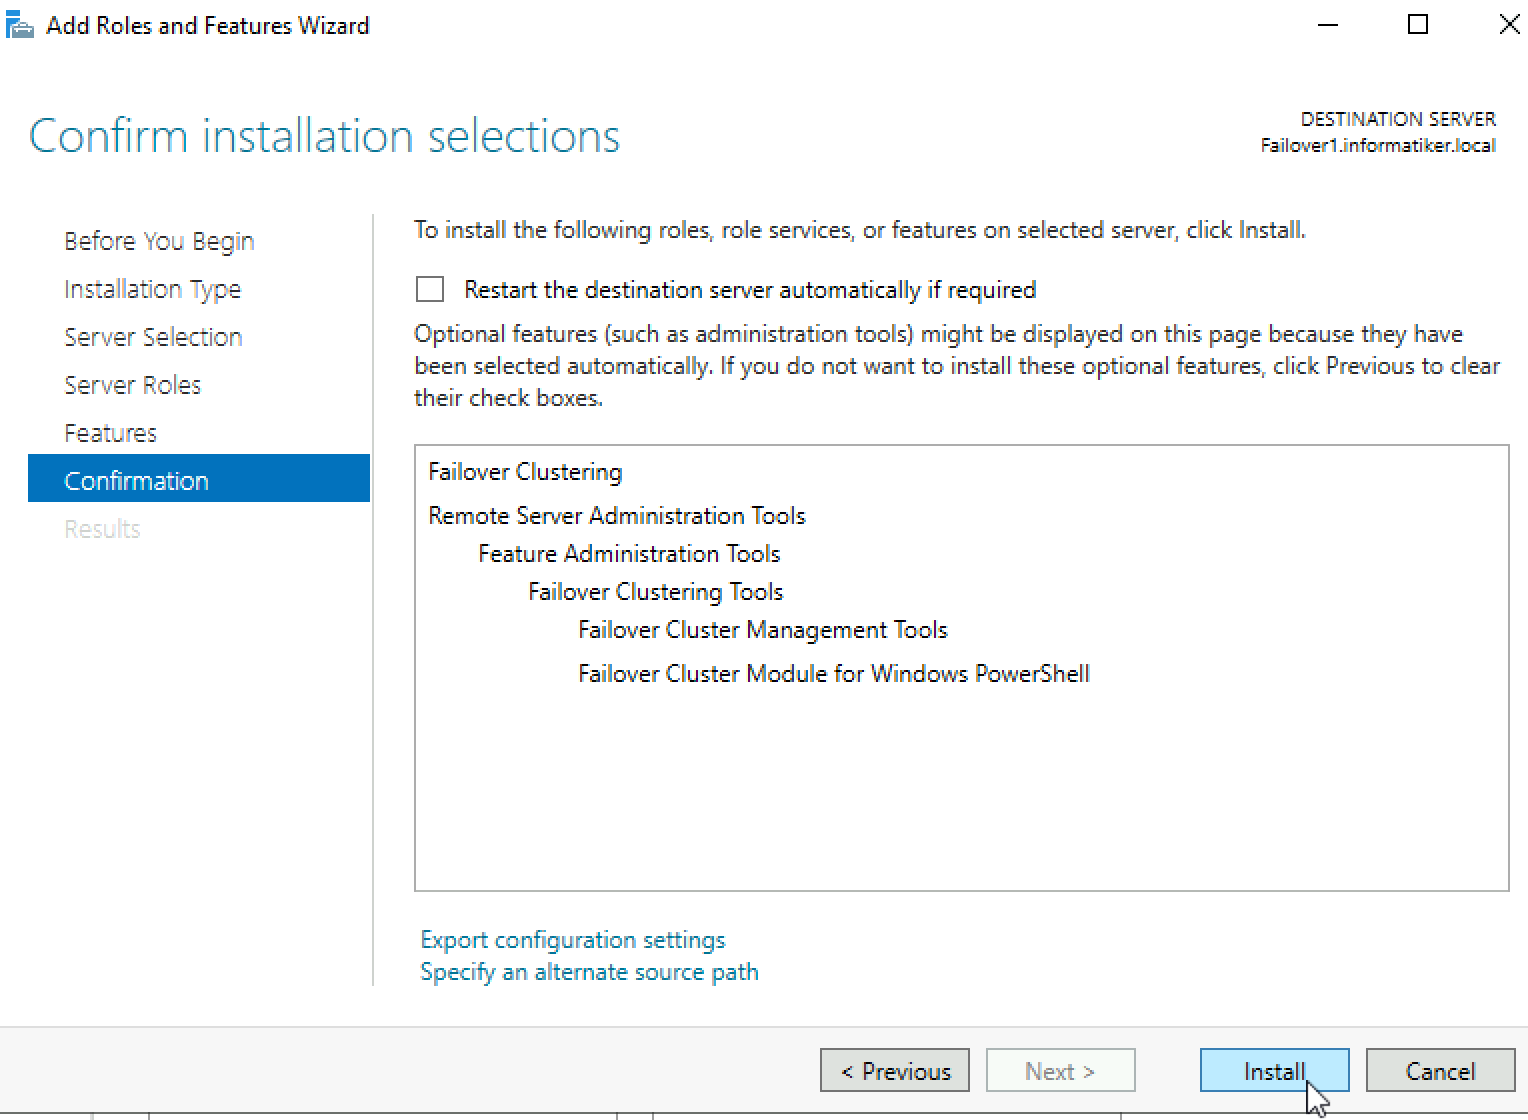
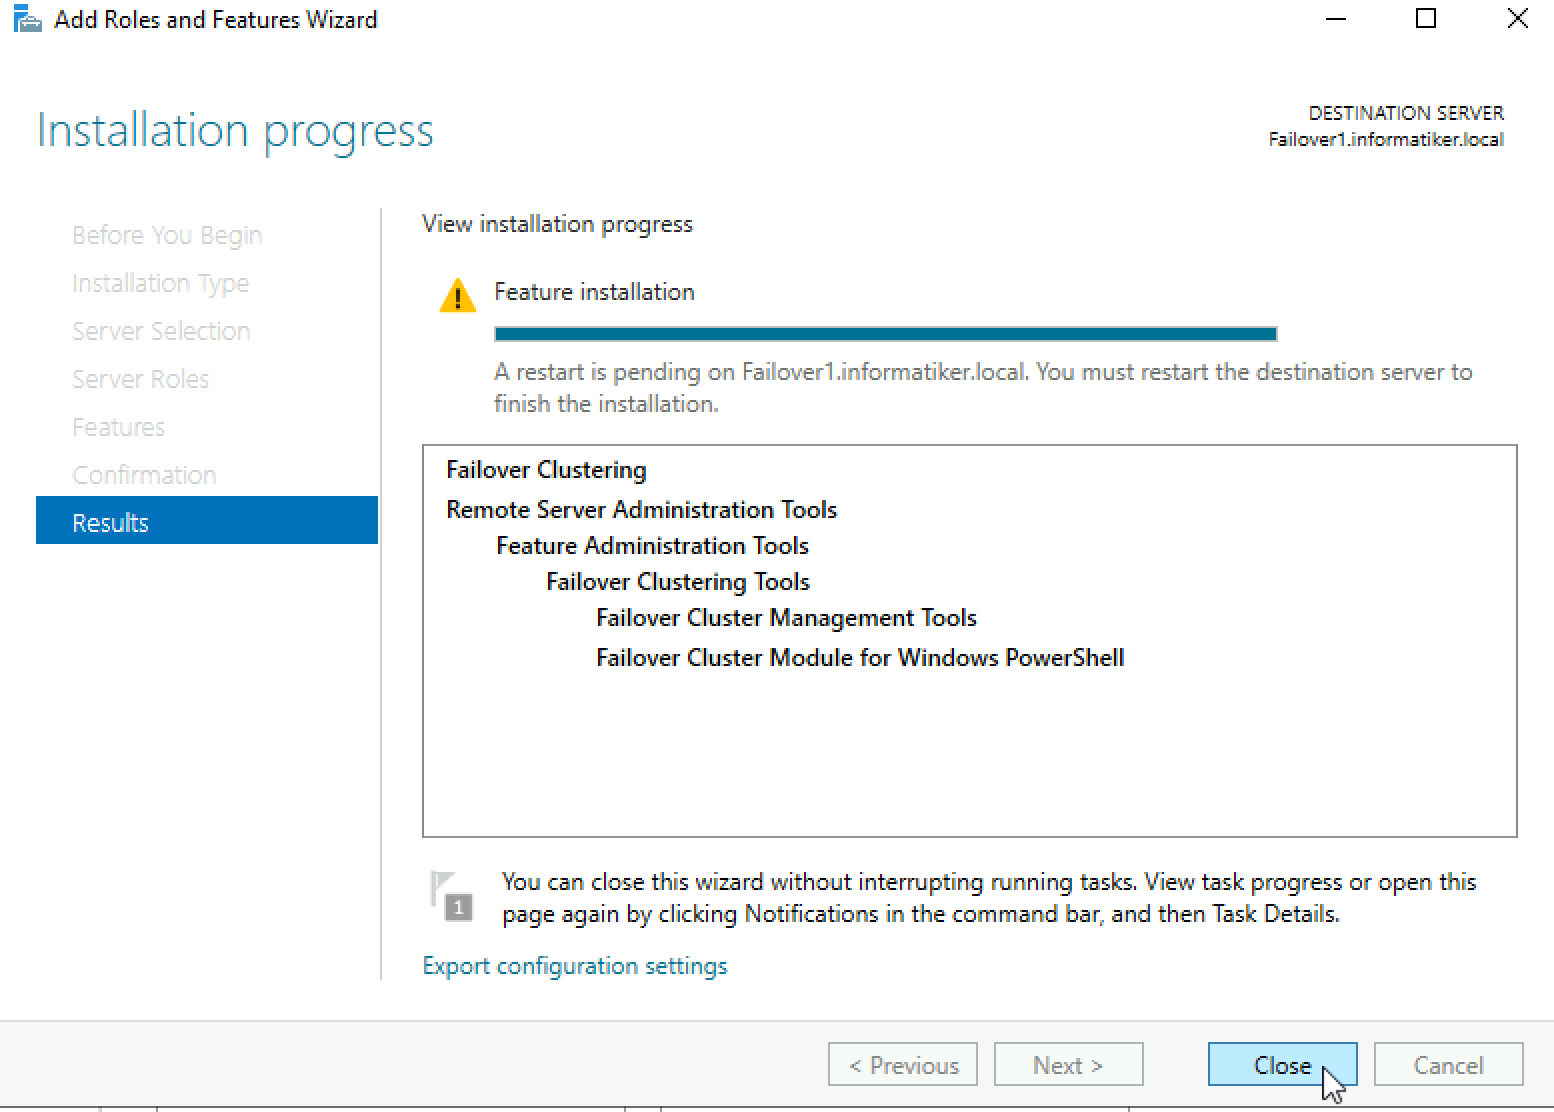
Install
Close wizard and reboot server.
Repeat this process on Failover2 node.
Validate Cluster Configuration
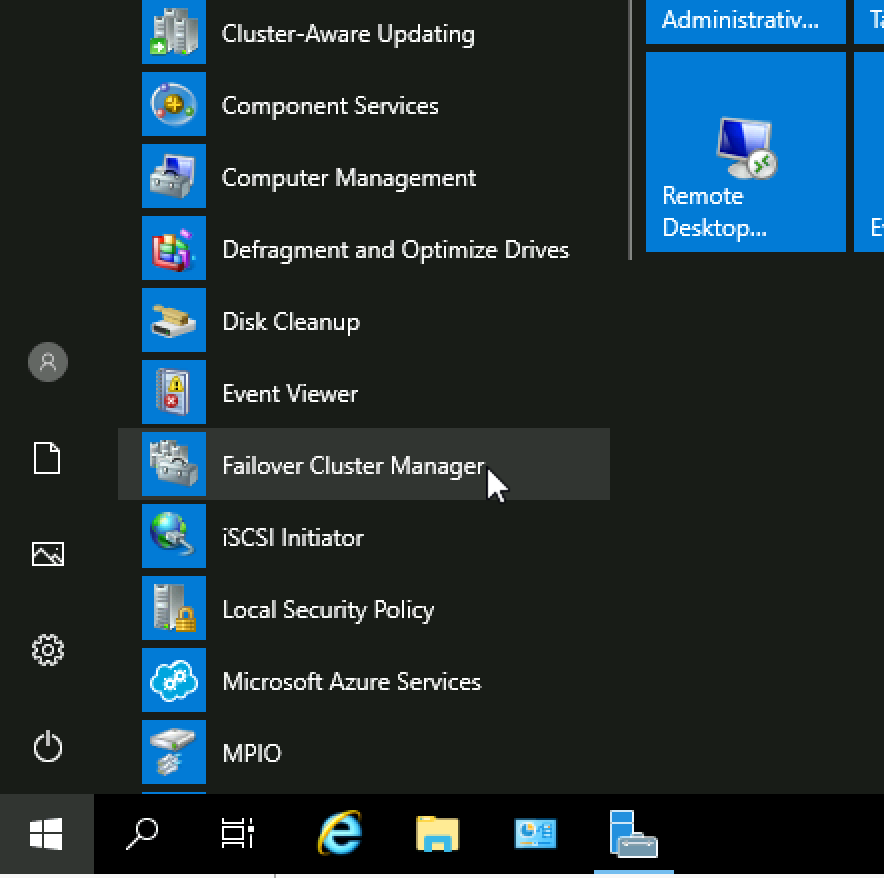
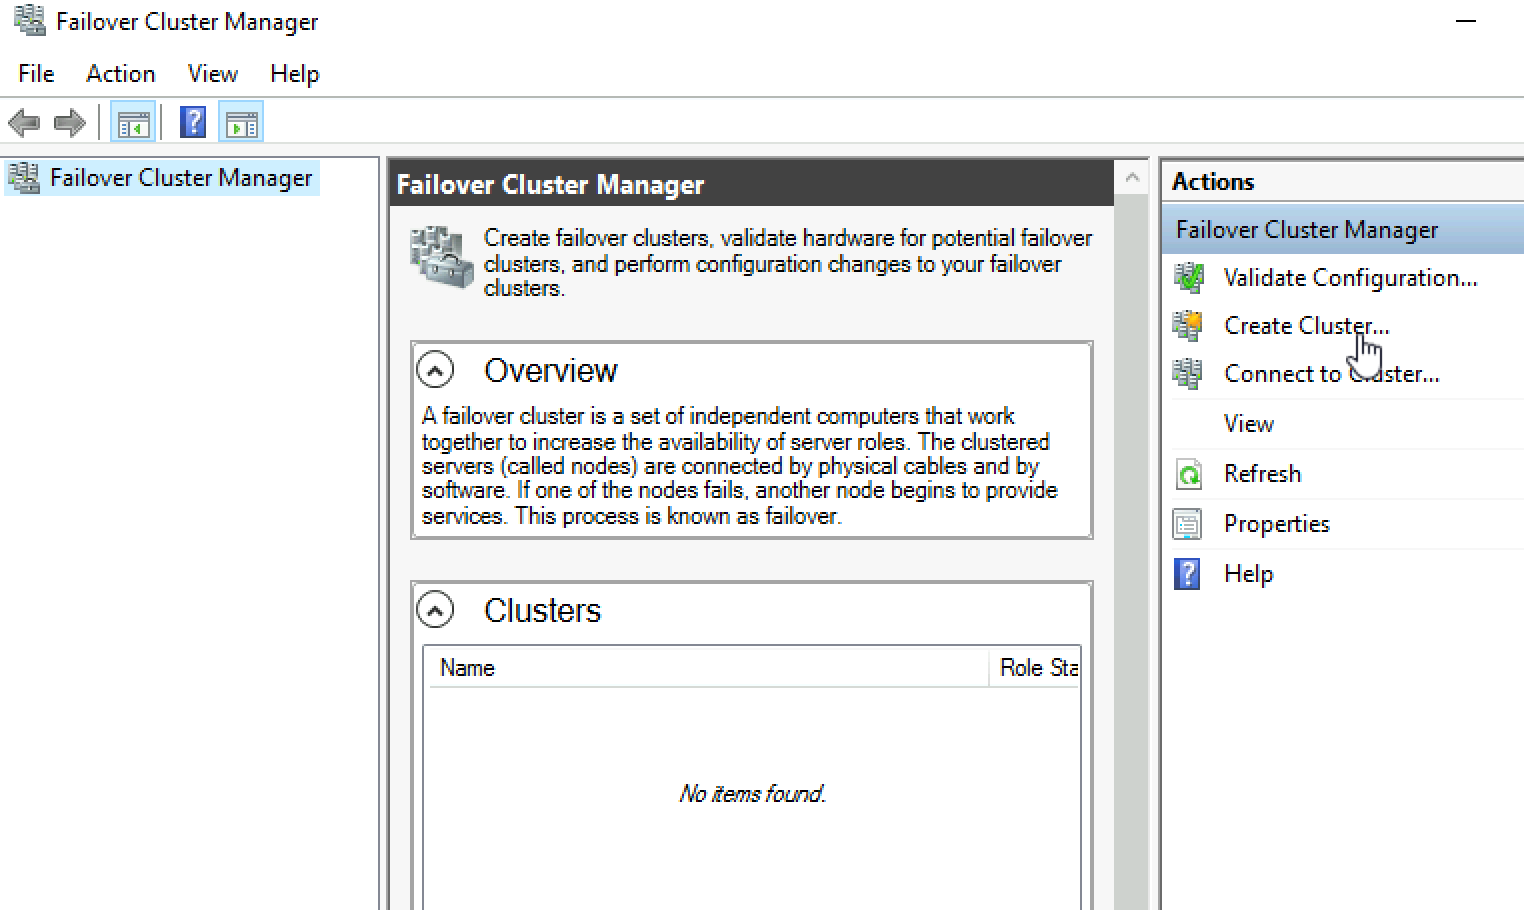
After you installed Failover Clustering on both nodes, login to Failover1 node, click on Start | Windows Administrative Tools | select Failover Cluster Manager
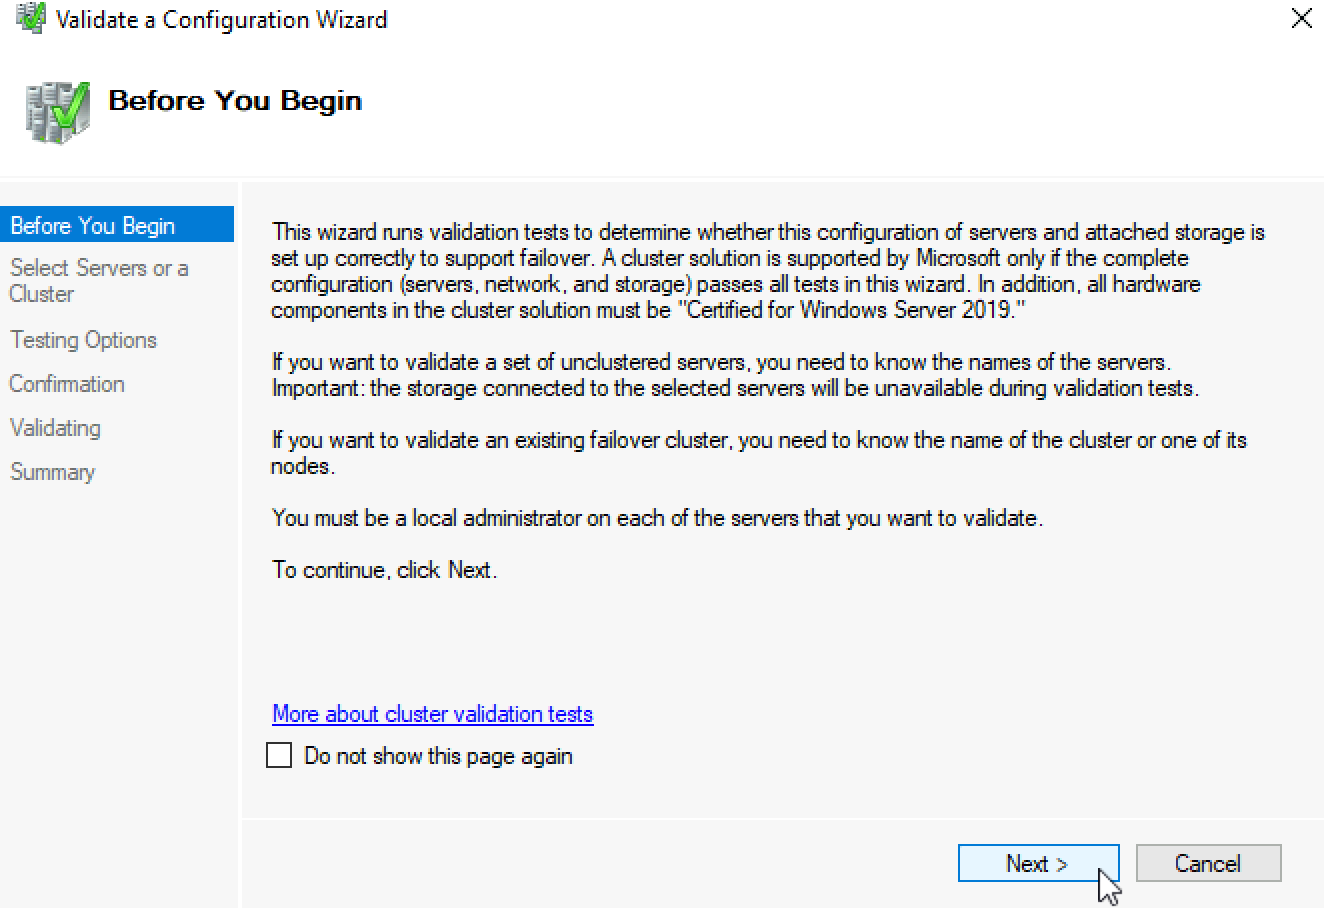
Click on Failover Cluster Manager, and from the middle screen select Validate Configuration…

Next
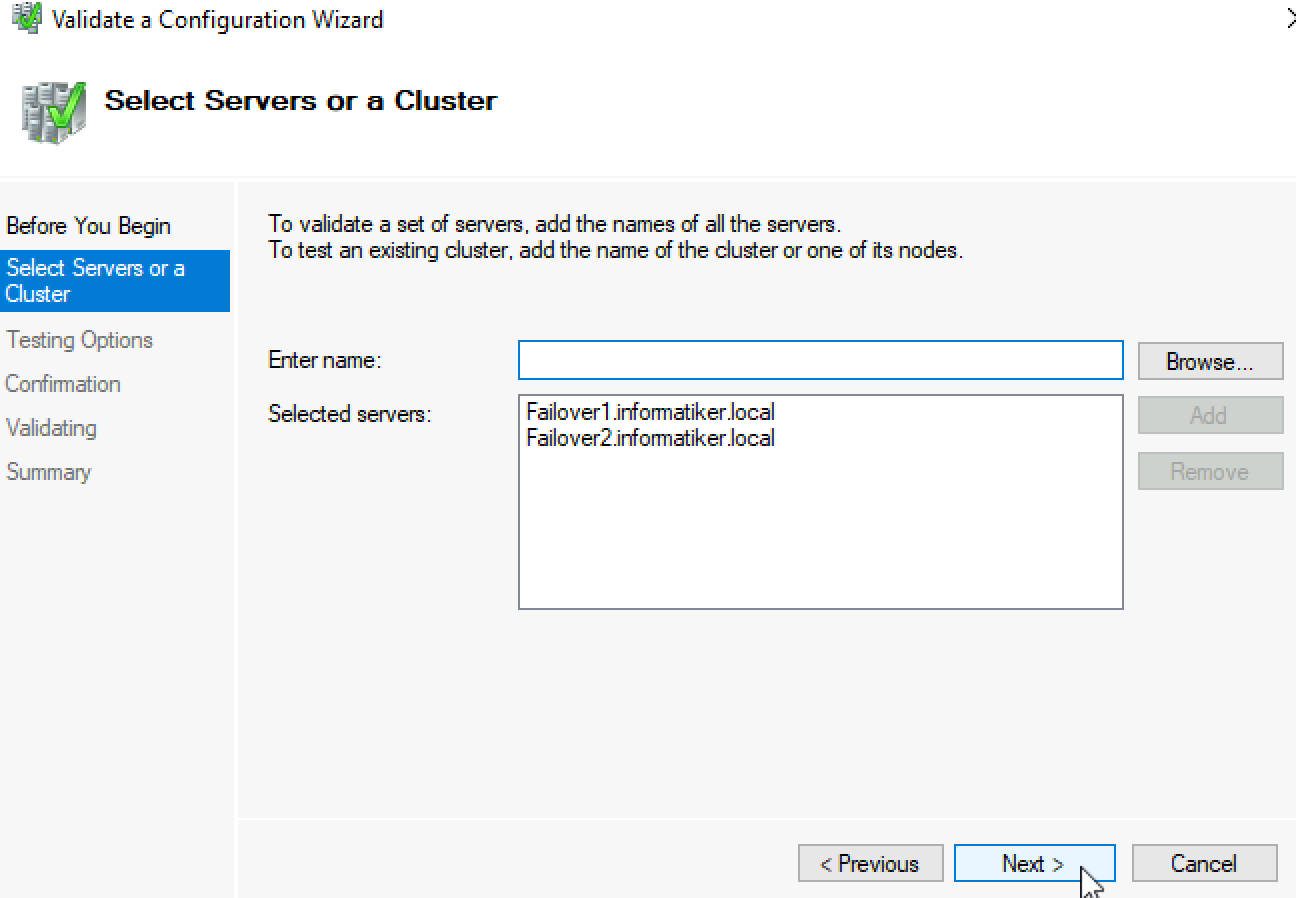
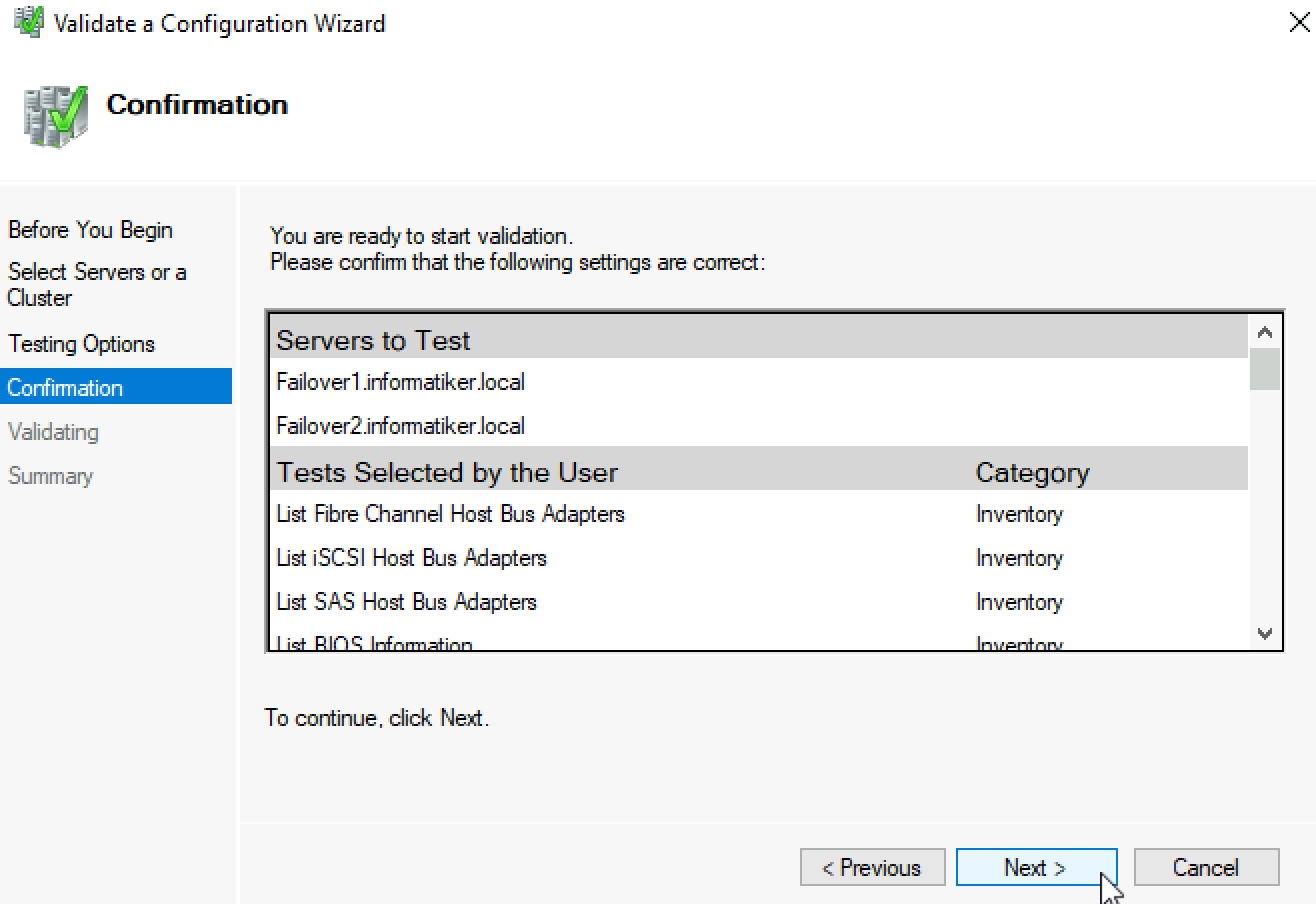
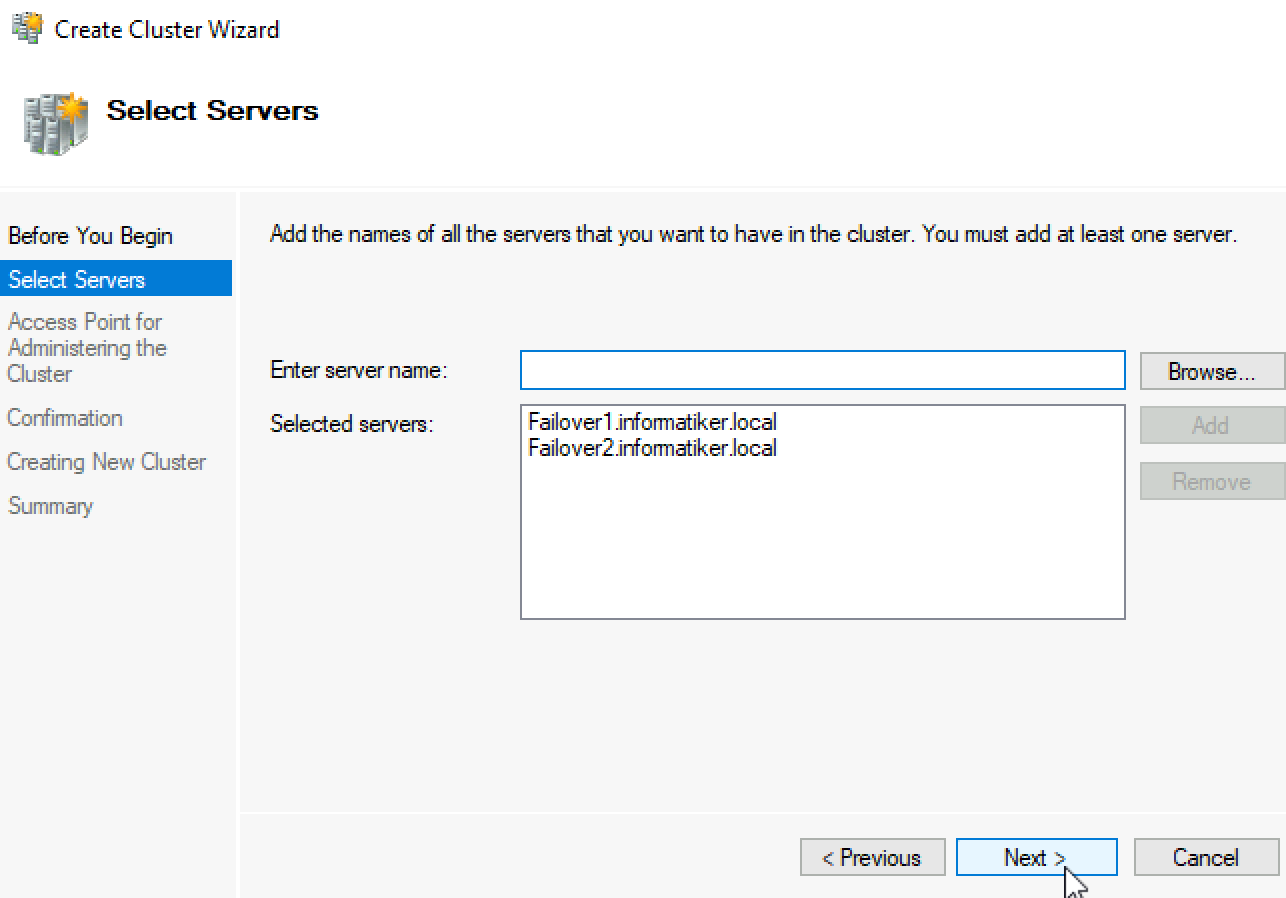
Select both servers (in my case Failover1 and Failover2) and select Next
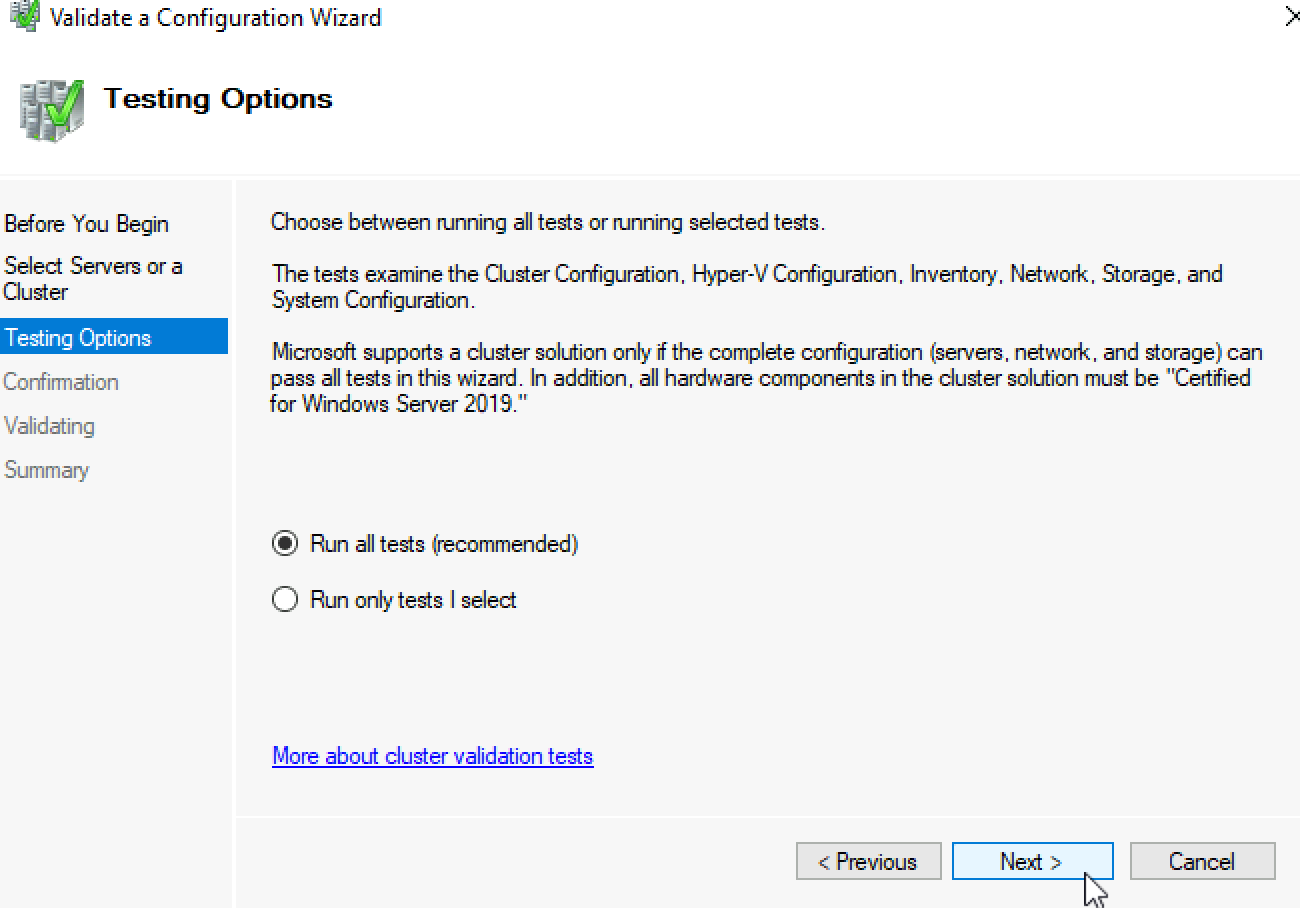
Run all tests | Next
Next
…
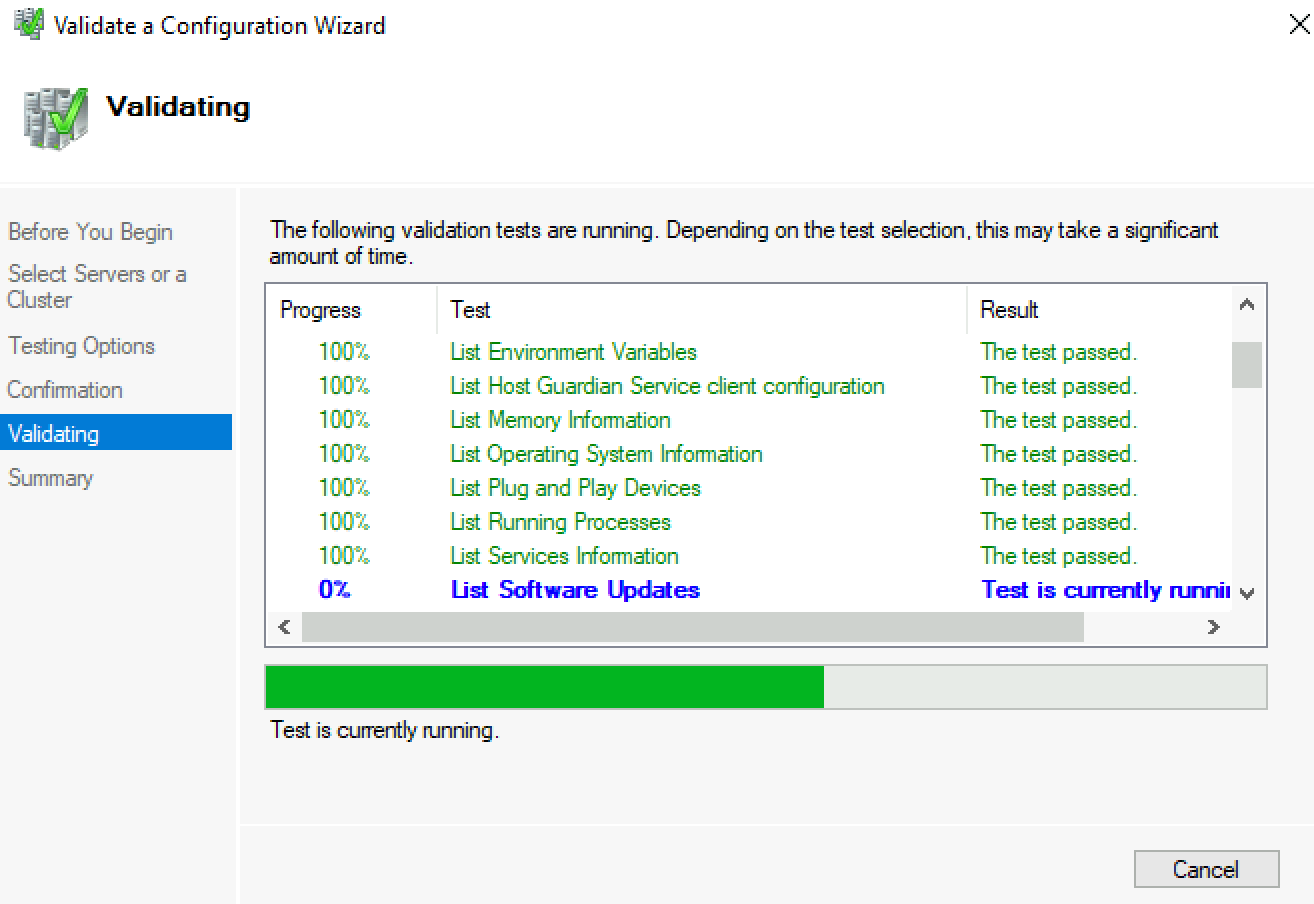
All test were success | Finish

We can proceed to creating cluster
Create Failover Cluster
Failover Cluster Manager | from Action screen, select Create Cluster
Next
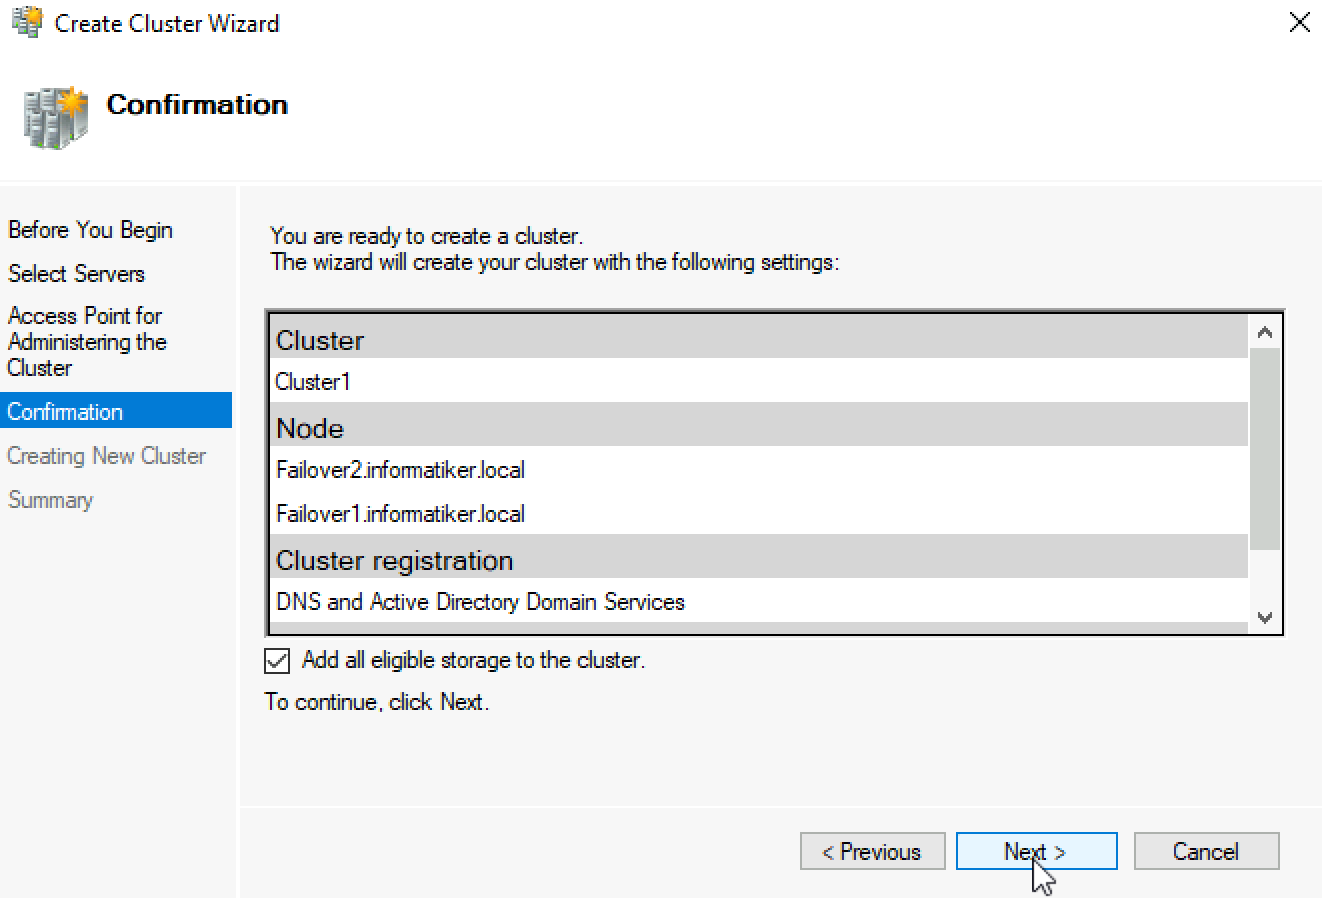
Again select both servers that will be part of the cluster | Next
I will name cluster – Cluster1 and give it IP 10.0.54 | Next
Next
…
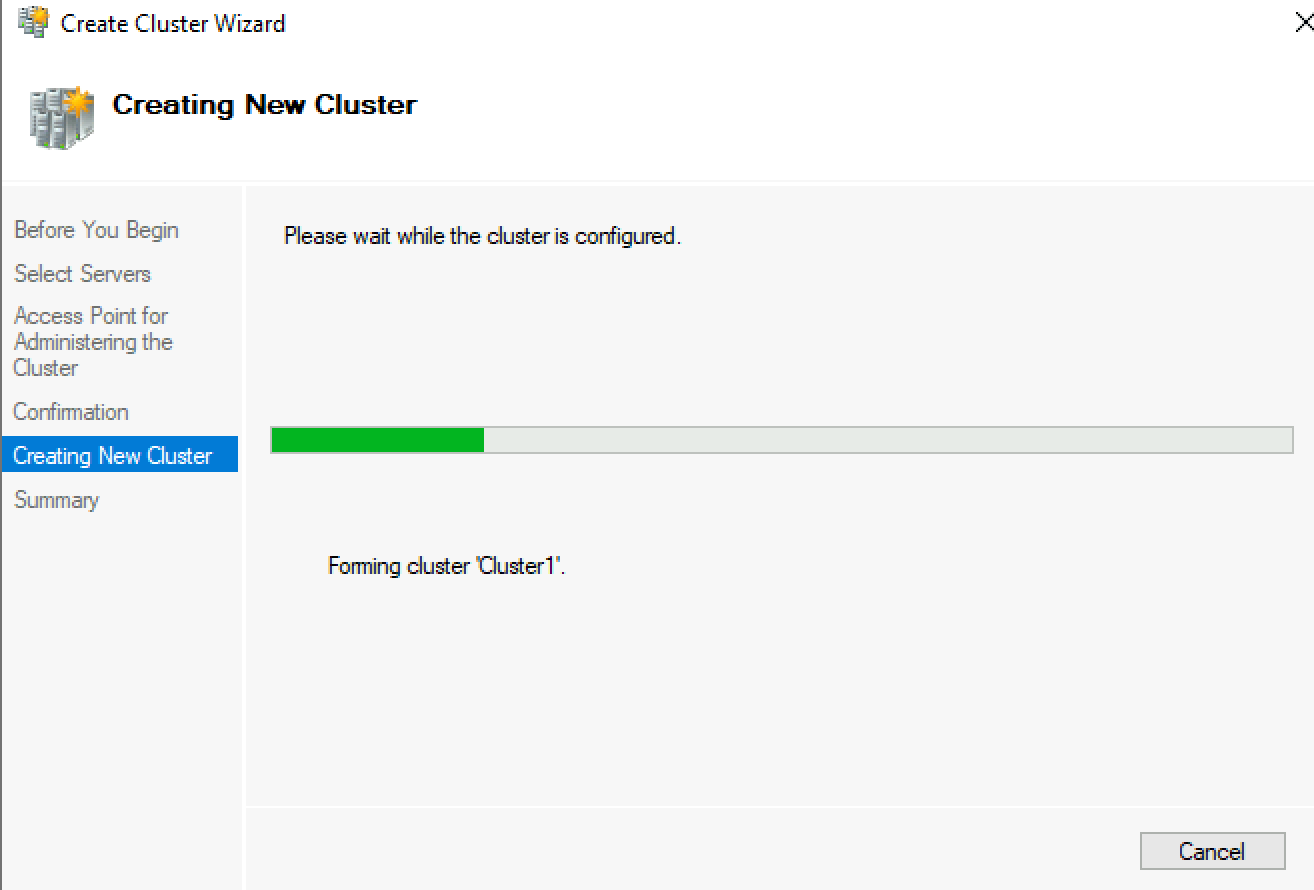
Success! Finish
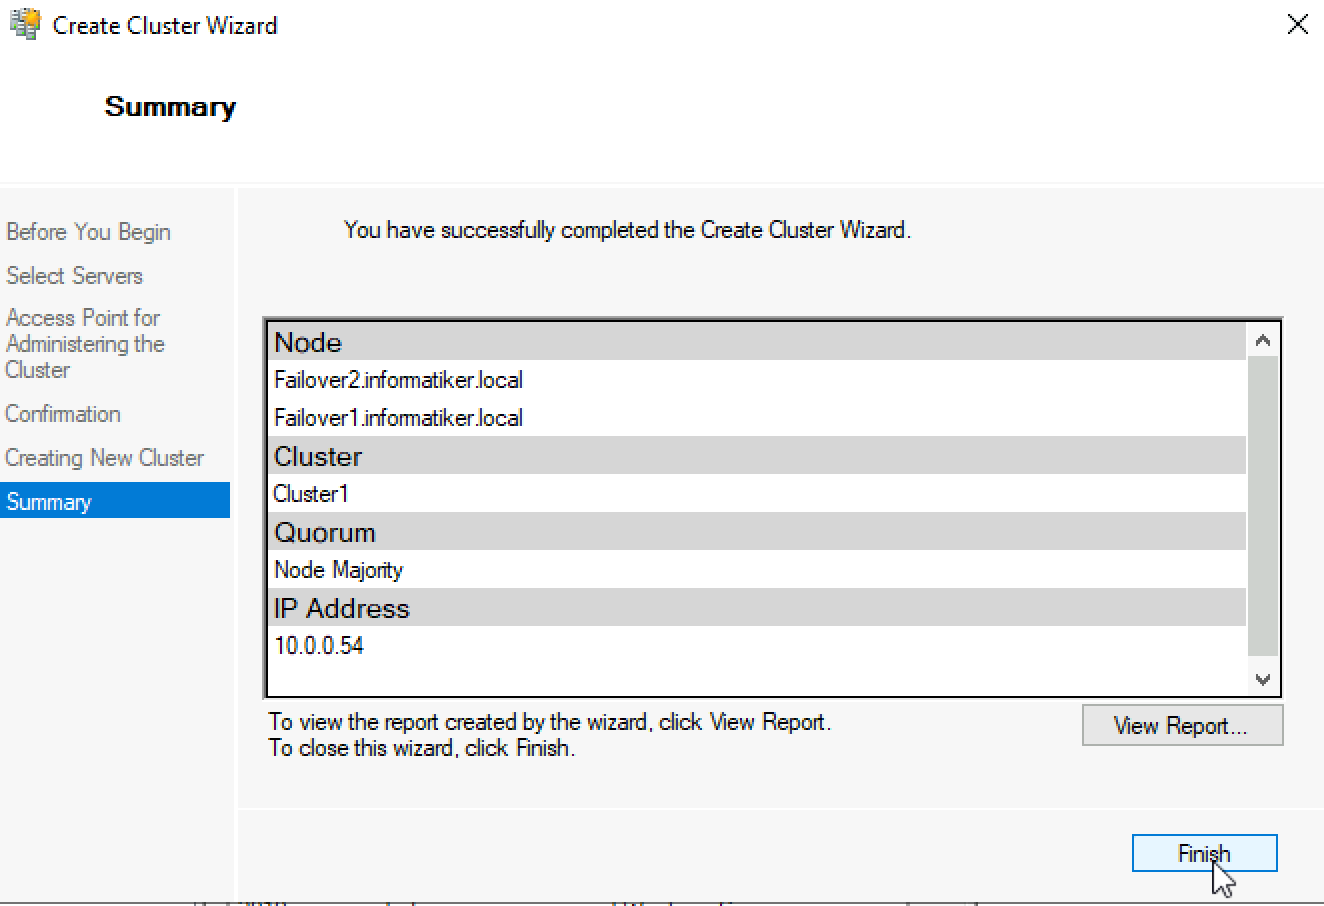
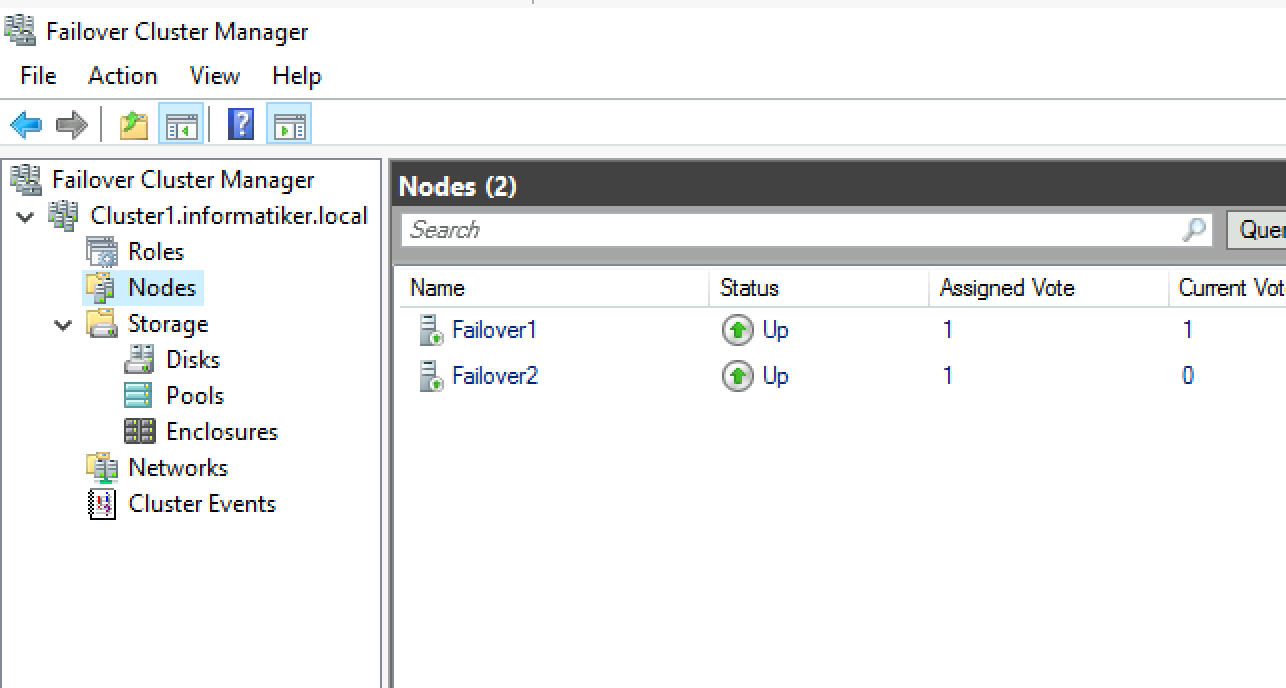
We can now see created cluster1 and two nodes as part of it.
Add Cluster Quorum Witness
Cluster Quorum Witness will enhance your Failover Cluster Availability. I will not go into detail about witness role, you can find many more details here – https://docs.microsoft.com/en-us/windows-server/failover-clustering/manage-cluster-quorum
In our scenario, we will add File Share as Witness. since we have only two nodes, witness and one node will always have to be up, for cluster to be valid. So, make sure you plan you outages and patching so that you always have two nodes up.
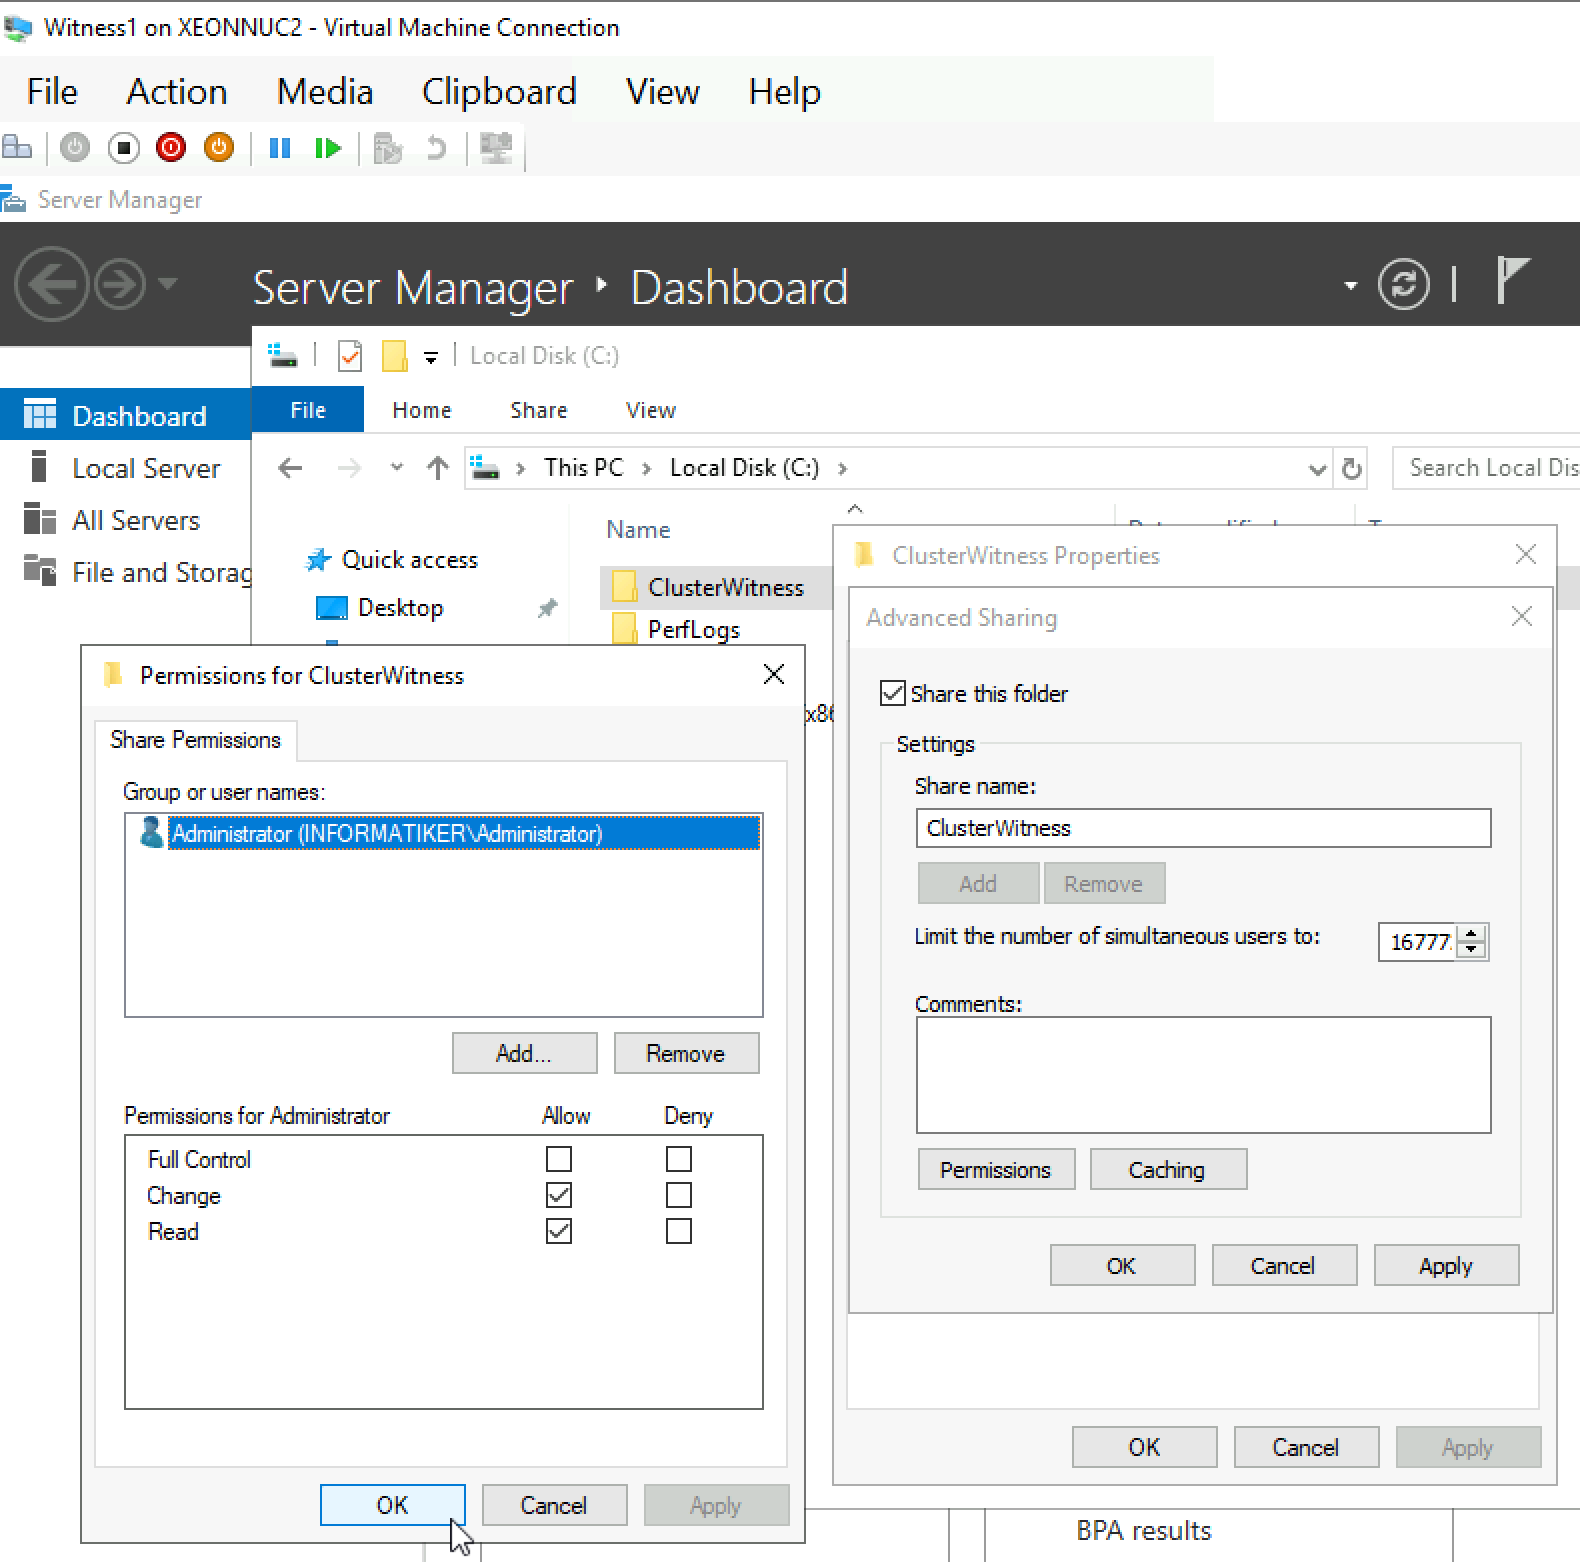
On Witness1 machine, I added folder named ClusterWitness and shared it. In the screenshot below – three things are MISSING – you should also add Failover1, Failover2 and Cluster1 computers to this fileshare with full rights. Also, visit security tab of the shared folder and repeat procedure there!!
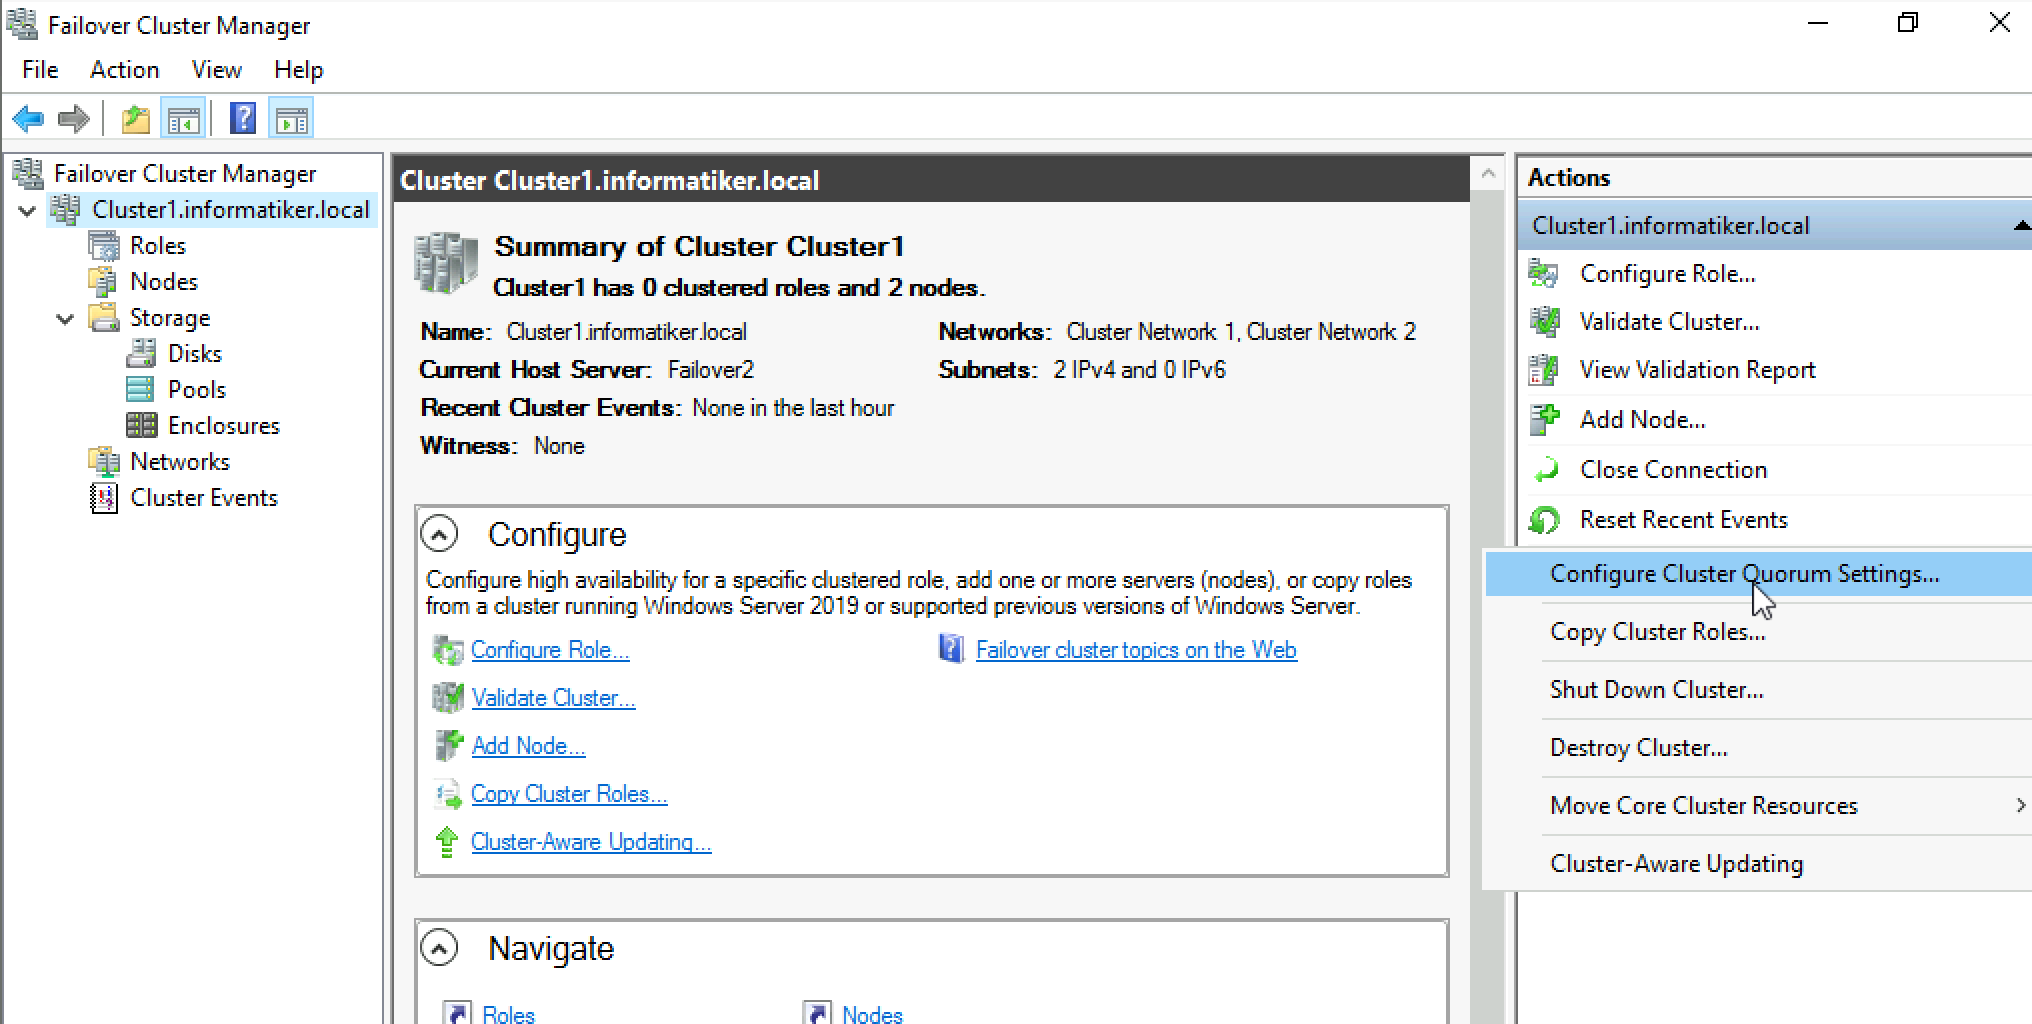
Back to Failover1 node – Open Failover Cluster Manager | select Actions | More Actions | Configure Cluster Quorum Settings
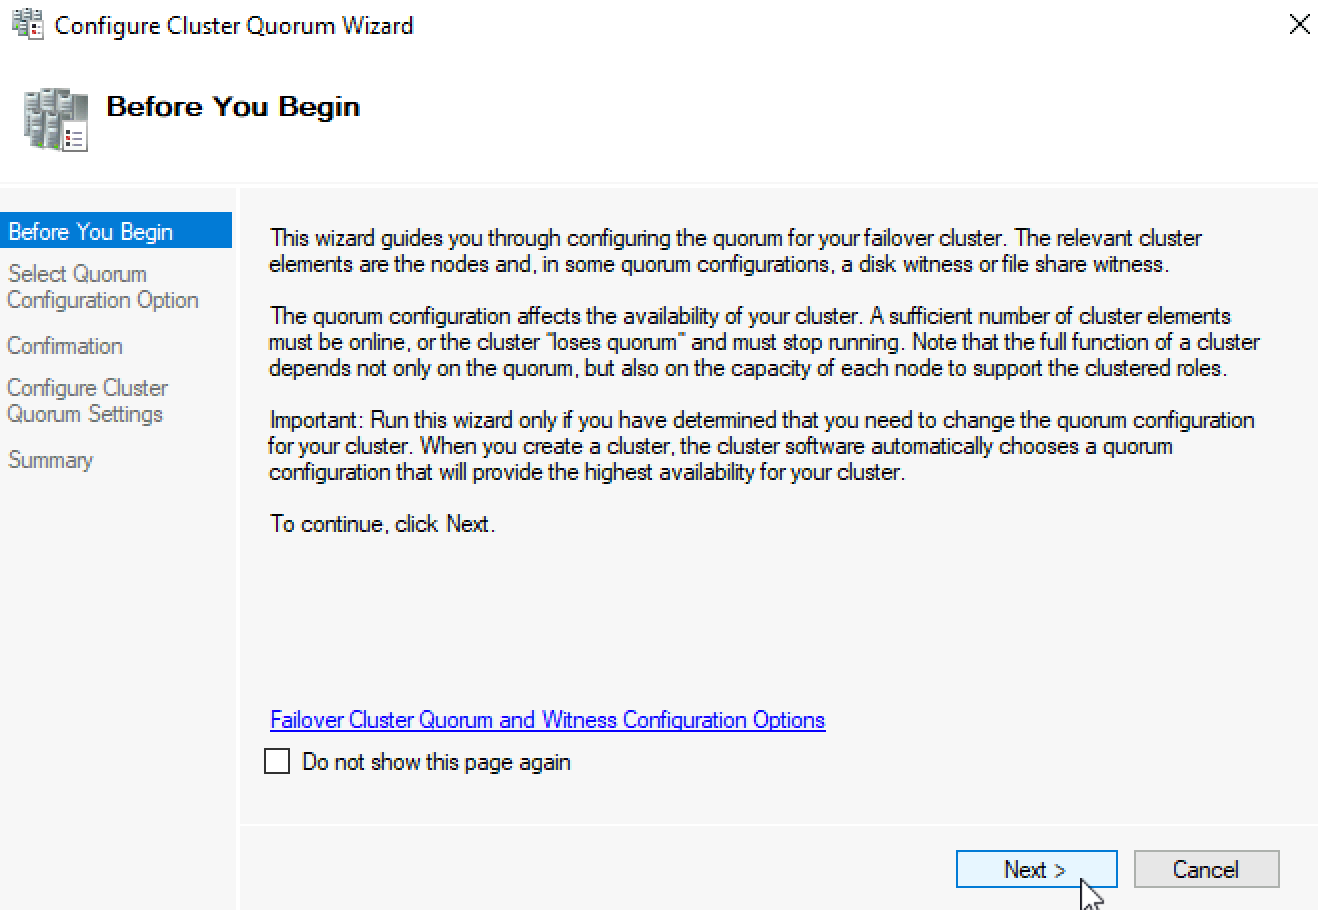
Next
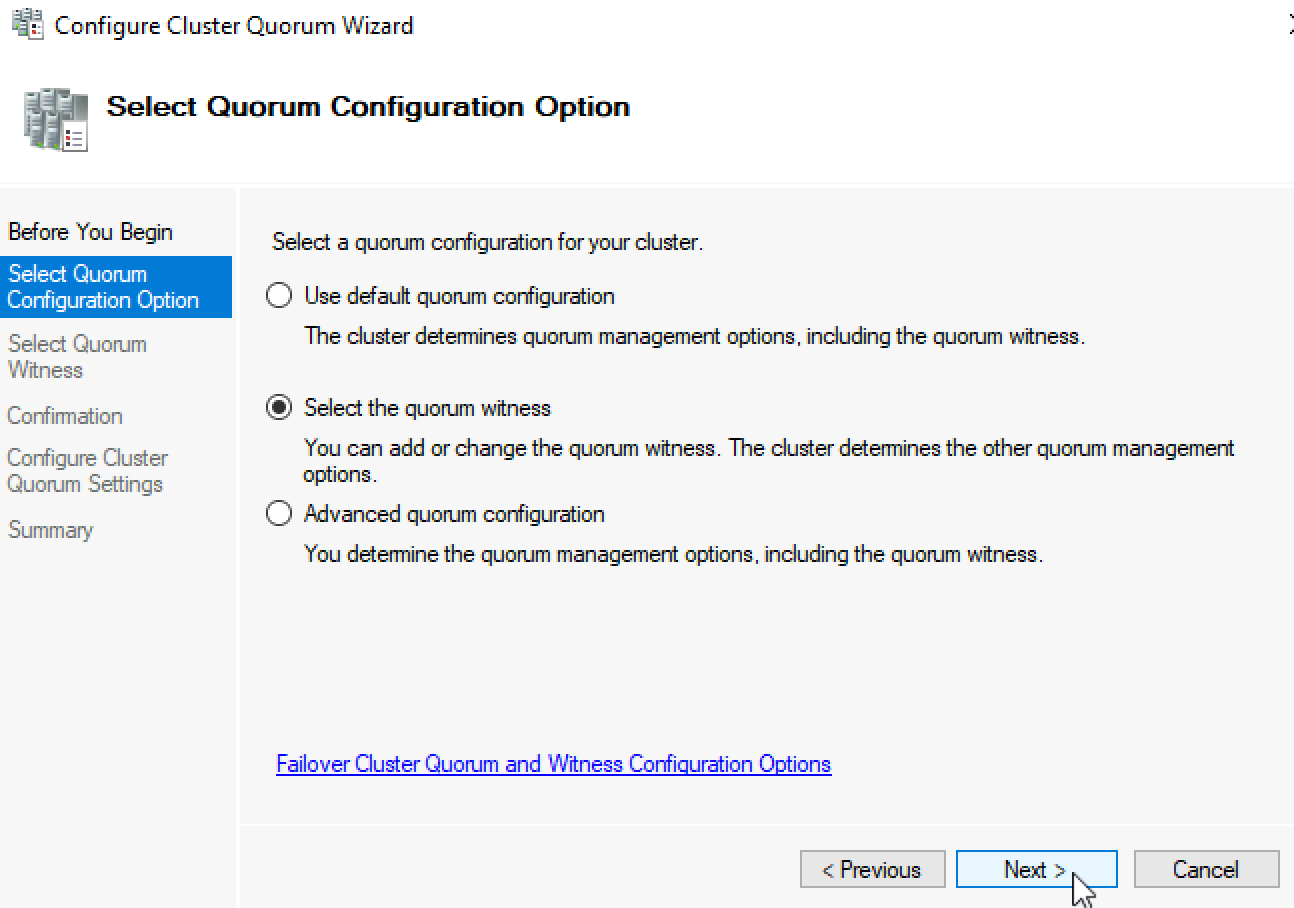
Select the quorum witness | Next
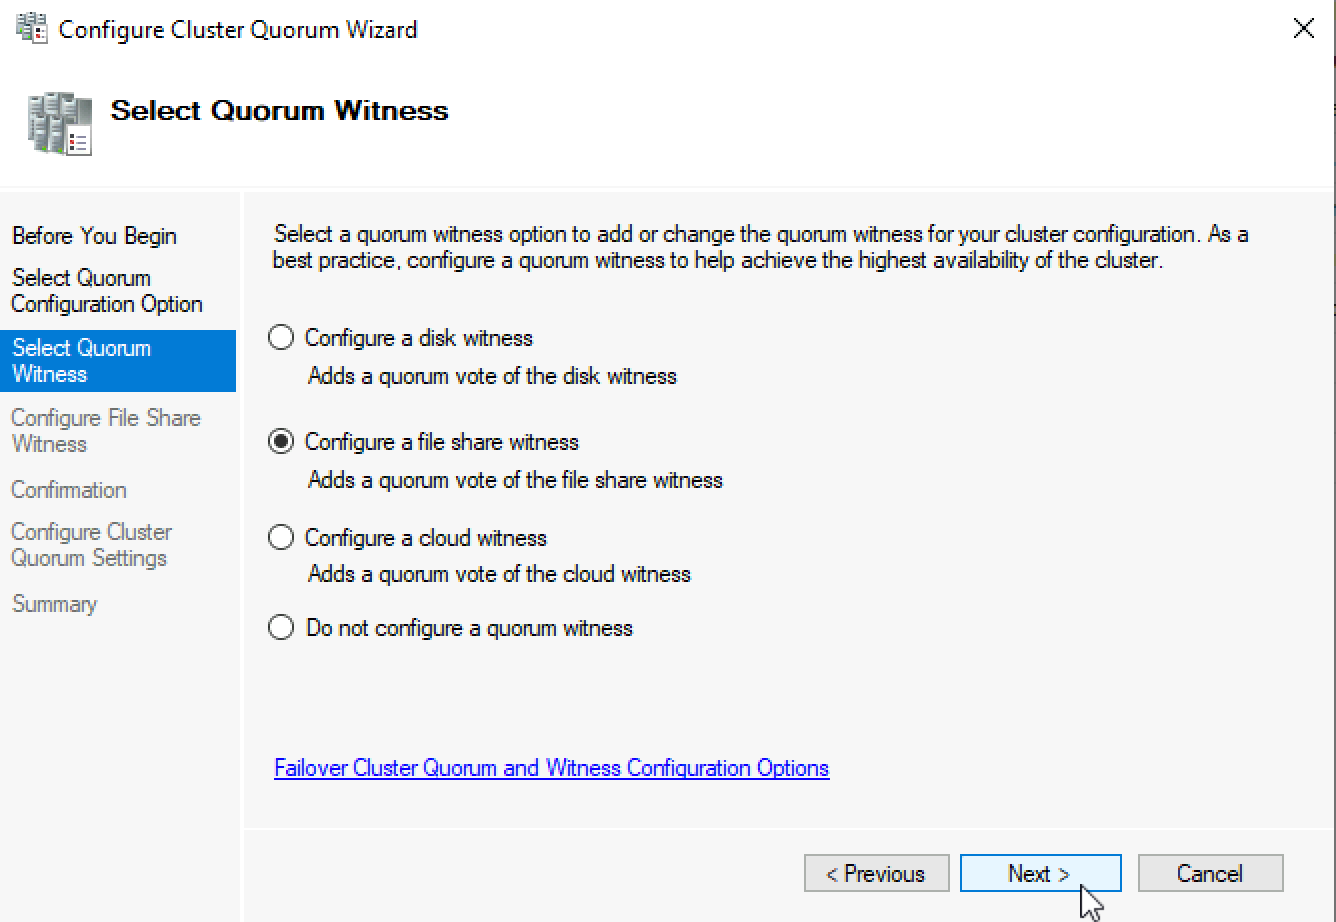
You have many options, today we will select “Configure a file share witness” Next
Enter FQDN to your file share on witness1. In my case it is \witness1\ClusterWitness | Next
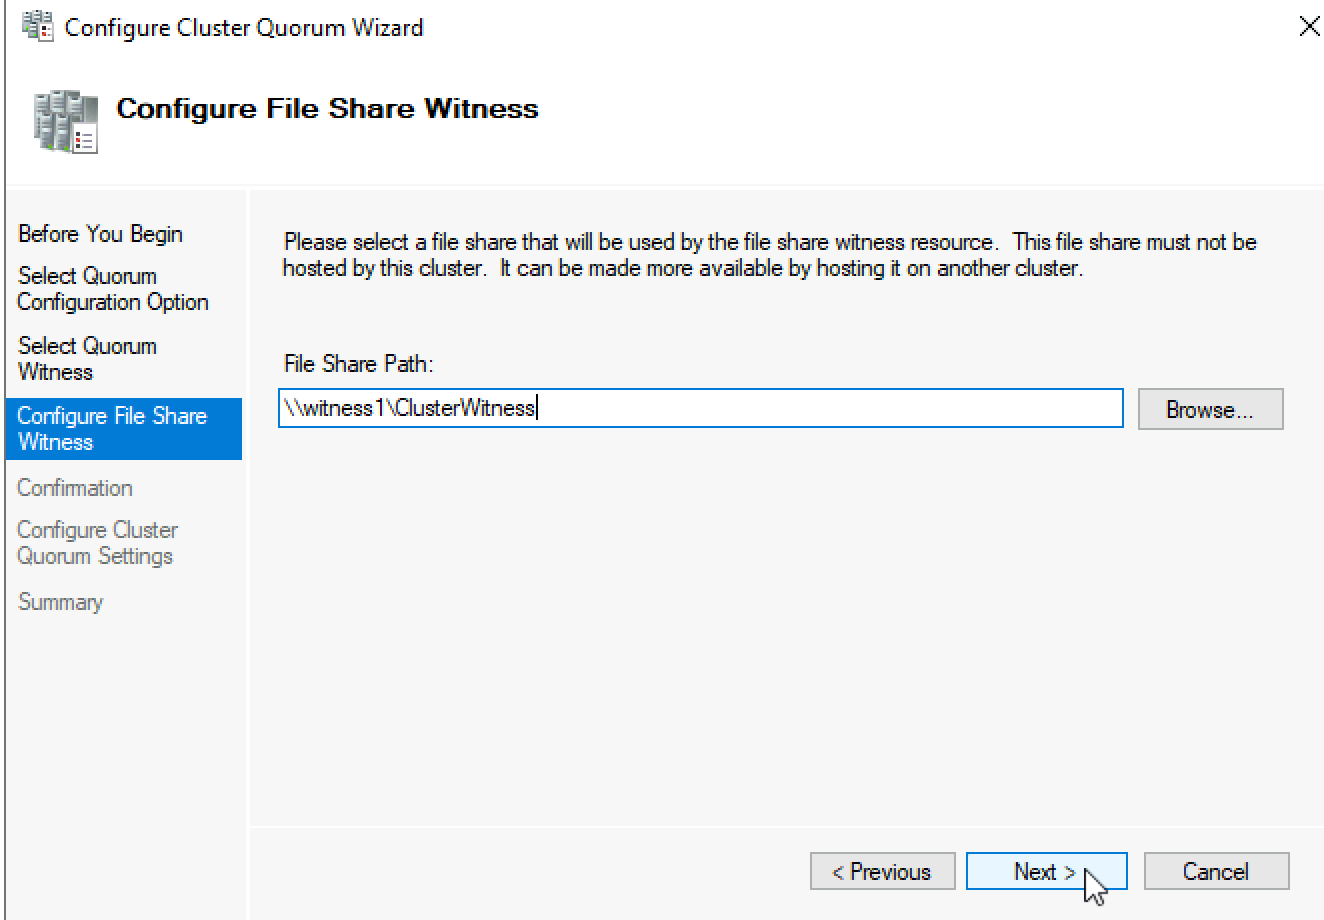
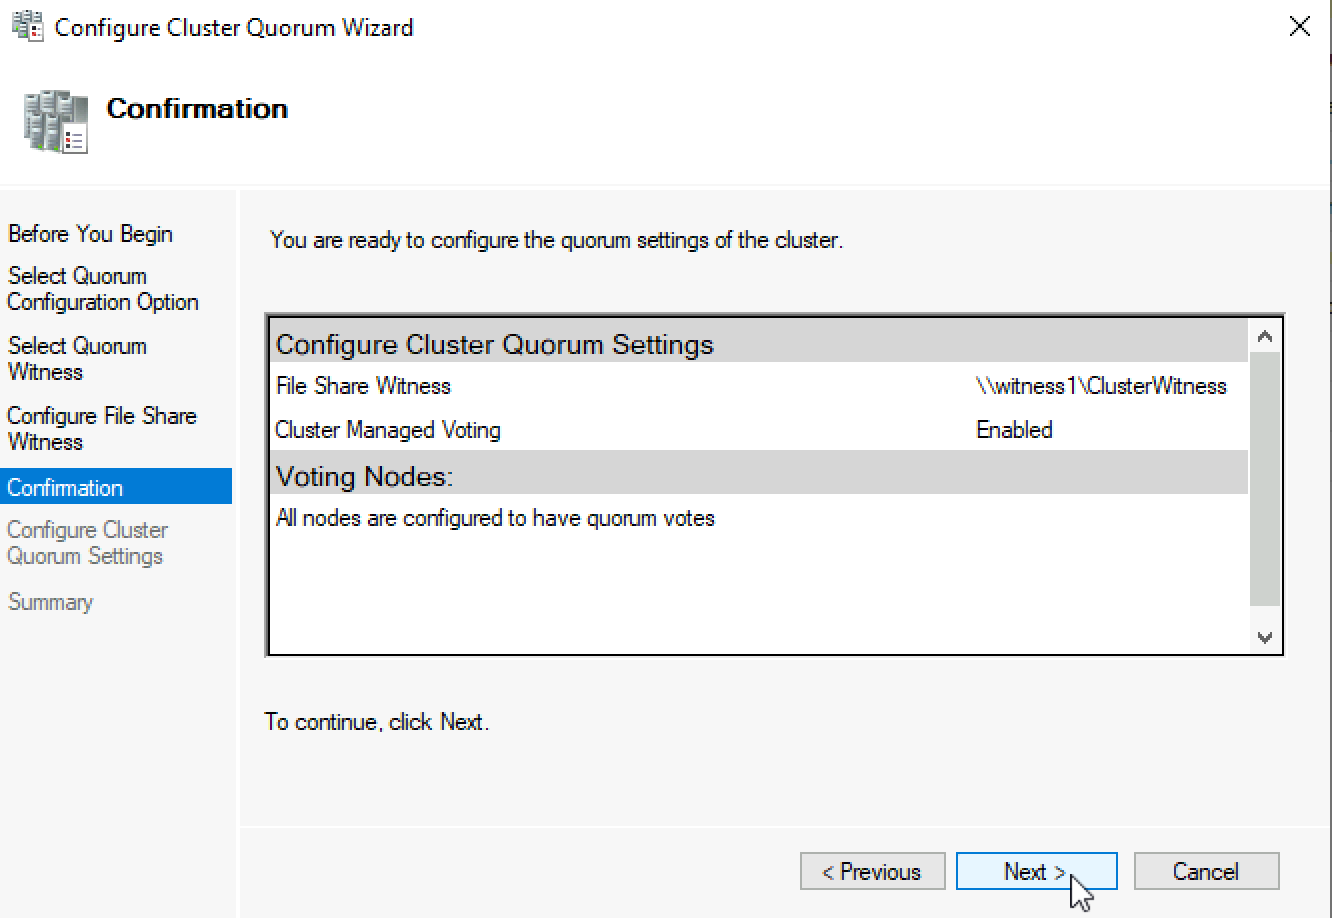
Review and click Next
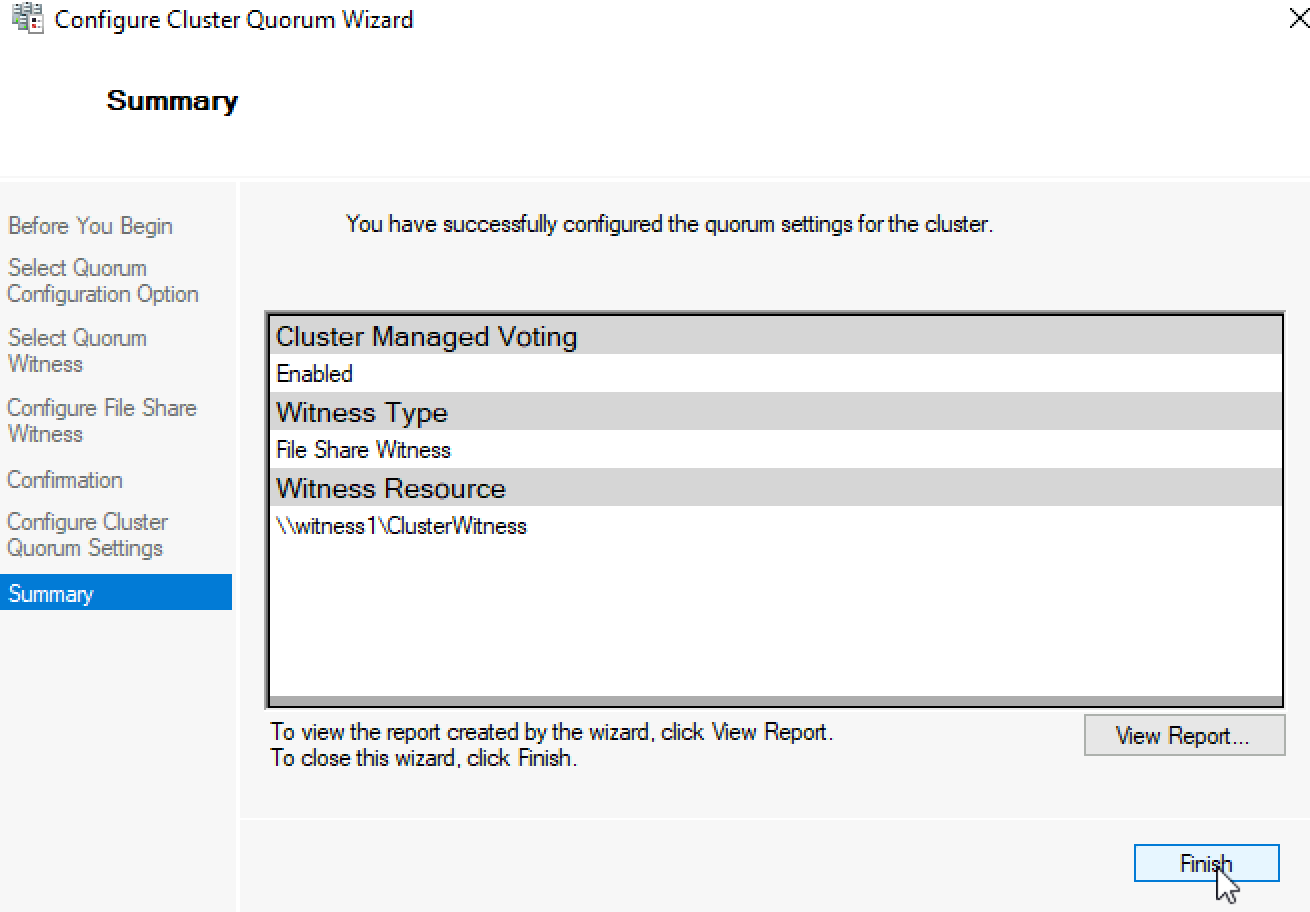
Success! Finish
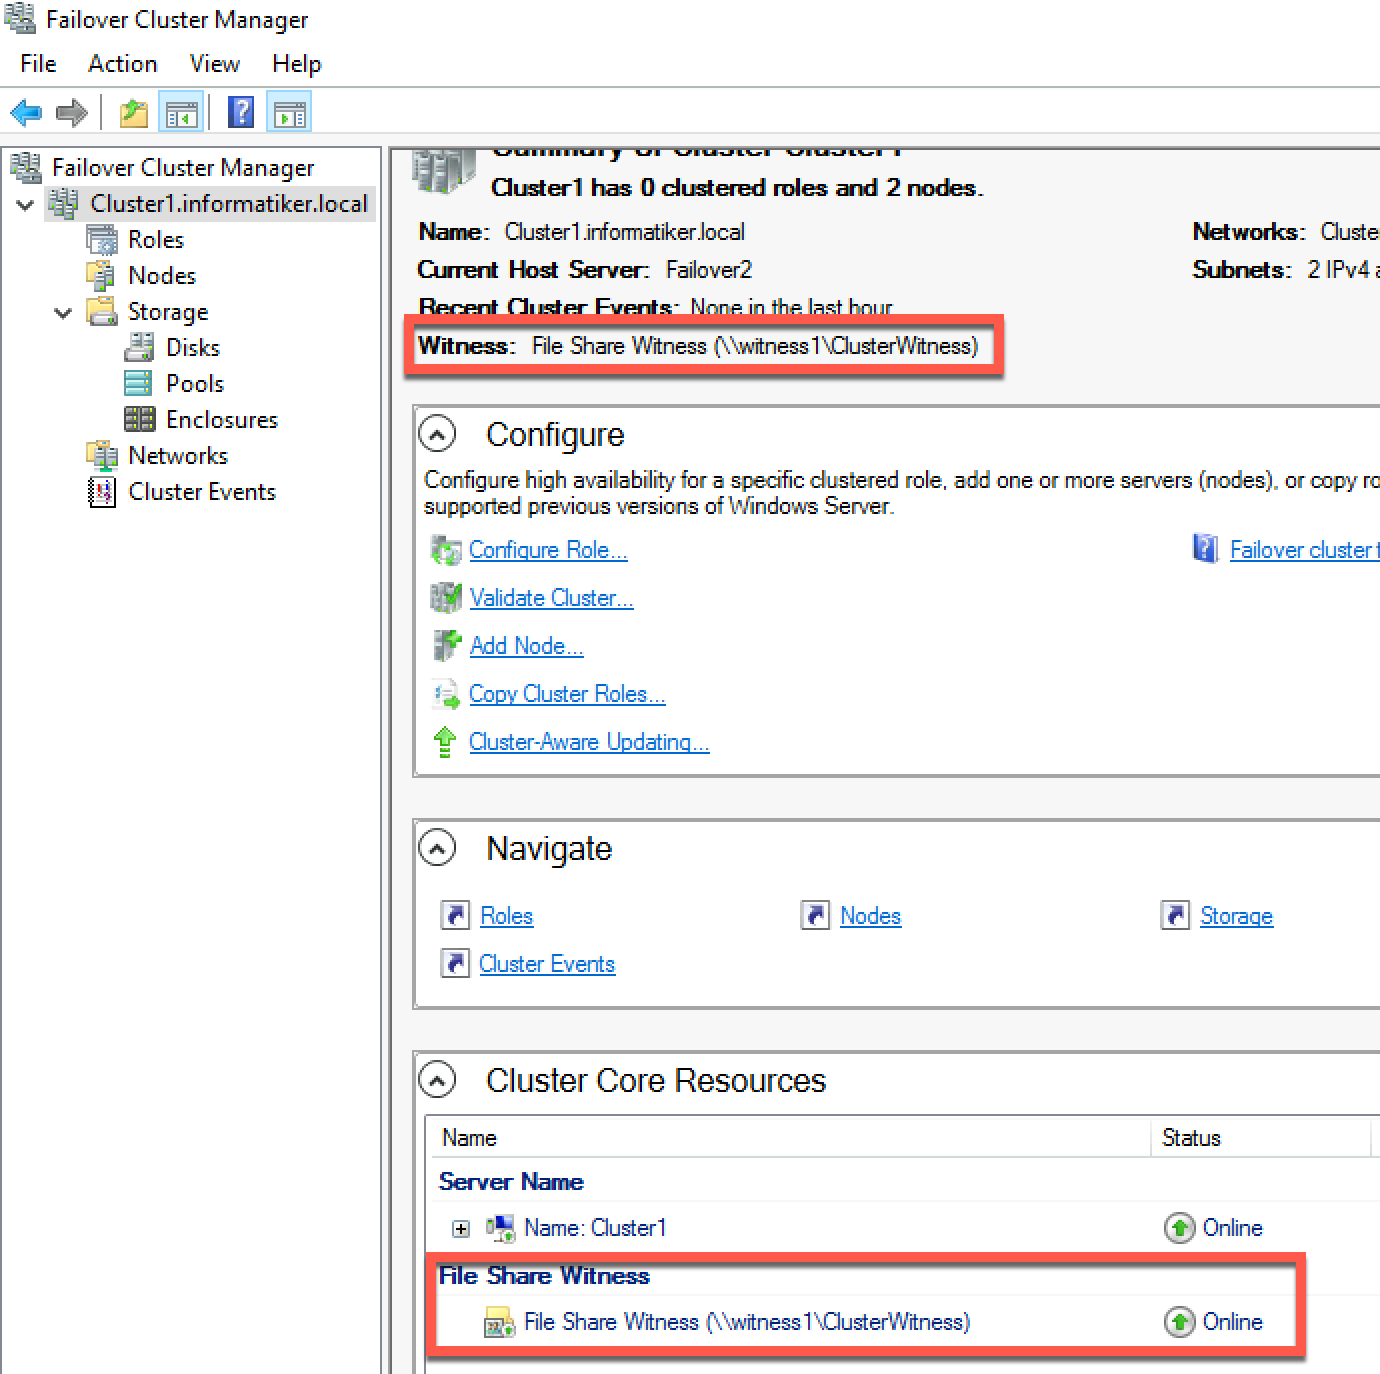
Now, we can see in Failover Cluster Manager that Witness is available.
That is it, we covered the basics and we can now start deploying various services in our clustered scenario.