After we went through all the basic settings, and learned how to install Windows Server 2019, set basic configuration for it, installed Hyper-V and created our first virtual machine, it is time to get our hand dirty with enterprise services. First – Active Directory.
Now, these are your first steps into Windows based enterprise environment. Active Directory is at the foundations of every serious enterprise.
Server Basics series is oriented more to hand-on and less to theory, so, let’s set our first domain and domain controller.
Before we start
It would be wise to go through Server Basics 02: First steps after Windows Server 2019 installation guide I already wrote, because some of the prerequisites written down below for domain controller are described there, and if you are not sure how to do them, check that tutorial.
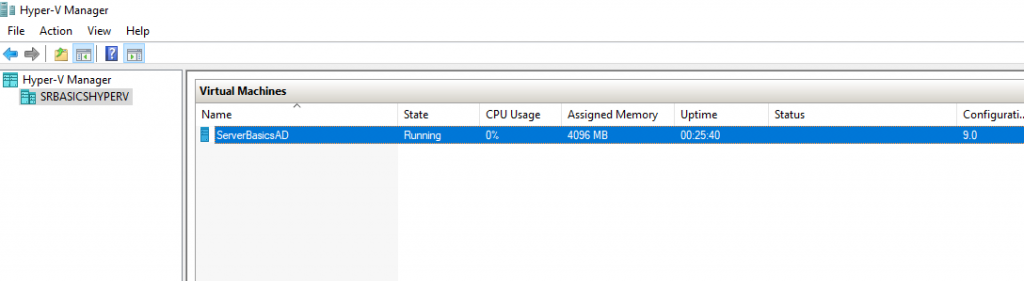
Create and setup new VM inside Hyper-V. I named my VM ServerBasicsAD.
Active Directory machine can work with 2cores, 3GB of RAM, and 40GB of HDD (if you can’t afford a bit more)
These are my settings for domain controller:
I will name my VM for Domain Controller: SBasicsAD
(Don’t mind screenshots below, you should always name your machine with less than 15 characters)
My Administrator Account will be: InfoAdmin
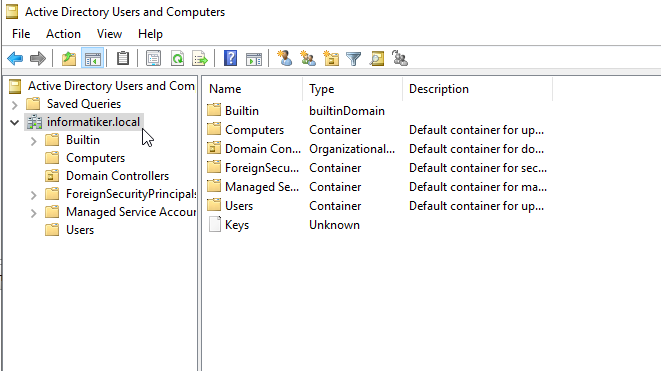
Domain name: informatiker.local
My network settings:
IP: 10.0.0.31
Subnet mask: 255.255.255.0
Gateway: 10.0.0.31
DNS: 127.0.0.1
It is important that future domain controller has its own fixed IP as a DNS.
Installing Active Directory Roles
Lets create our first domain and setup our domain controller.
Start following on the VM you prepared earlier. I will start the process on ServerBasicsAD VM.
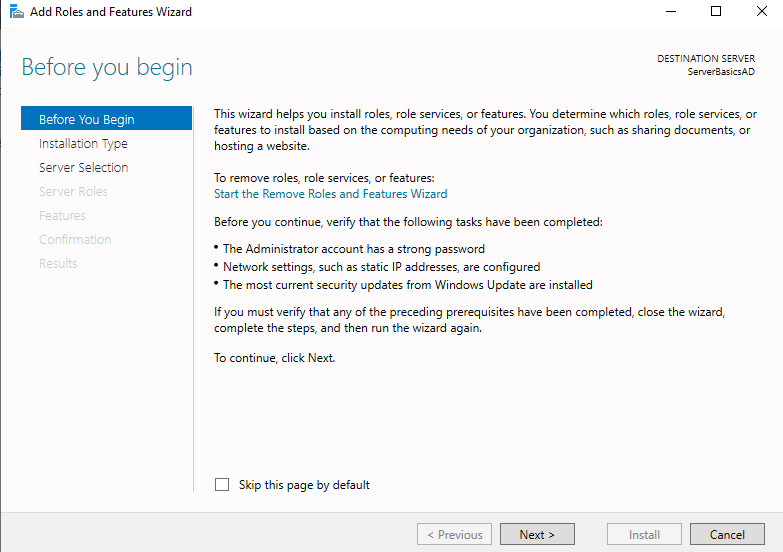
Start | Server Manager | Manage | Add Roles and Features
Wizard will start…
Next
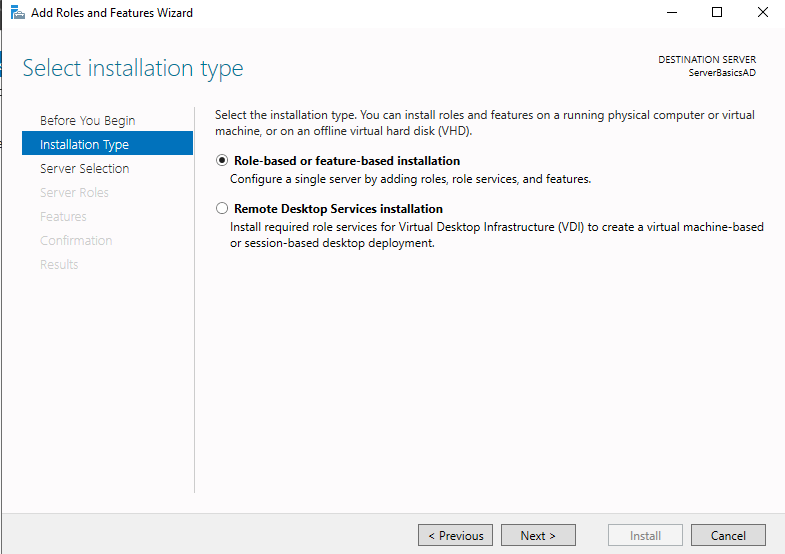
Role-based or feature-based installation | Next
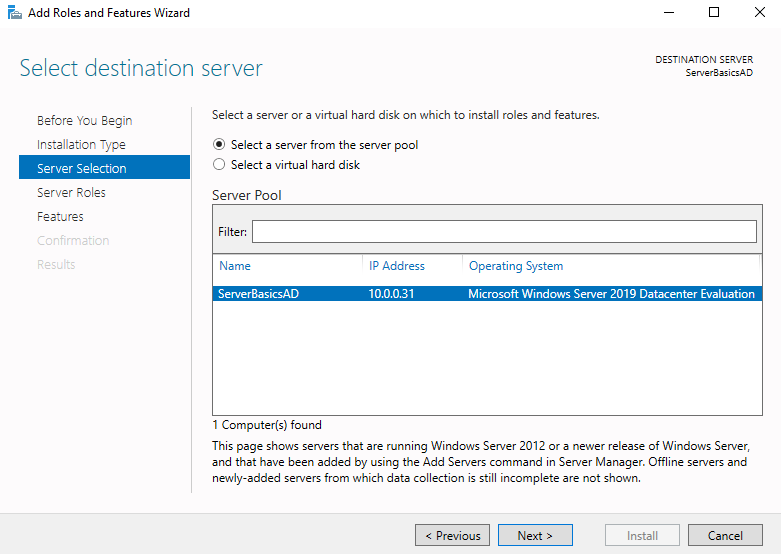
Select a server from the server pool. Select your VM on which you started this…
Next
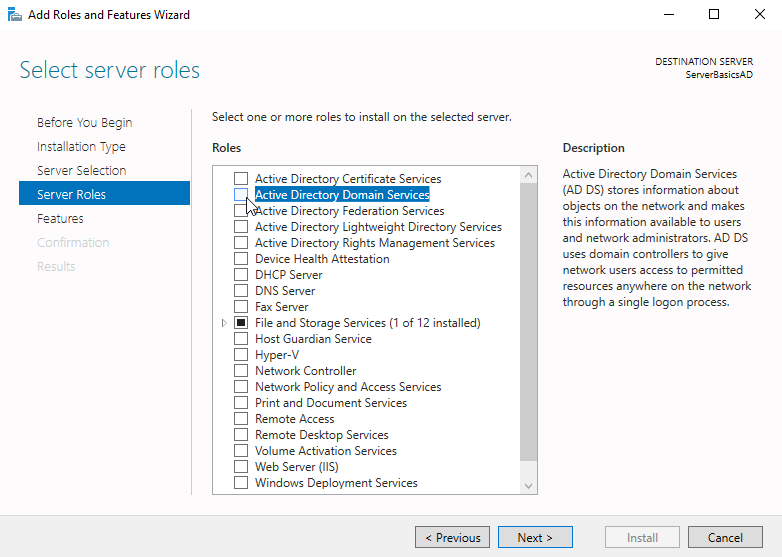
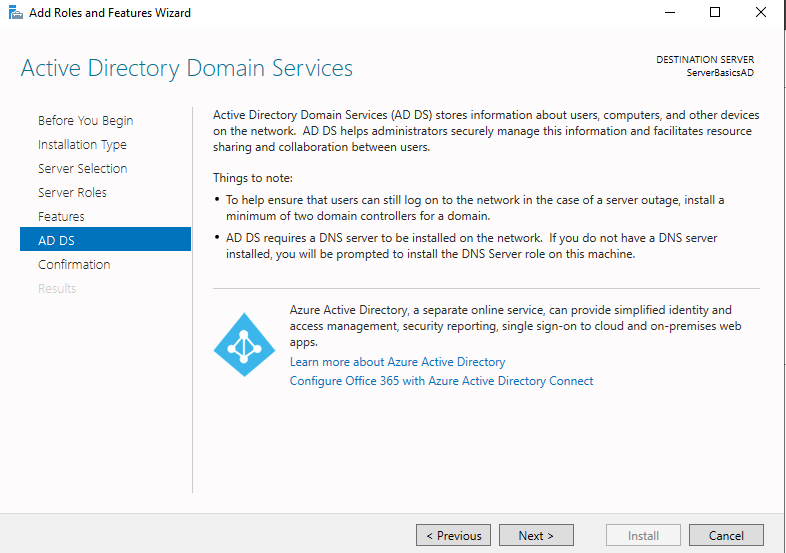
From the Server Roles screen we need “Active Directory Domain Services” – click on the box next to it.
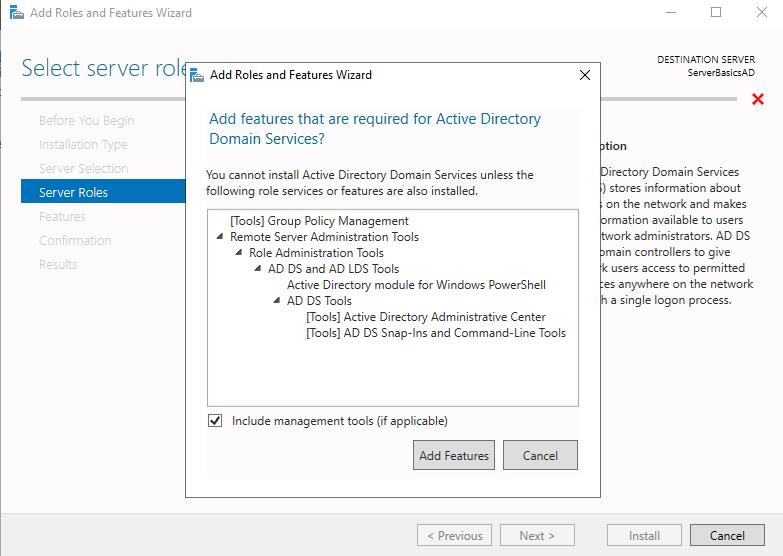
Additional pop-up will appear. Confirm all by clicking on Add Features
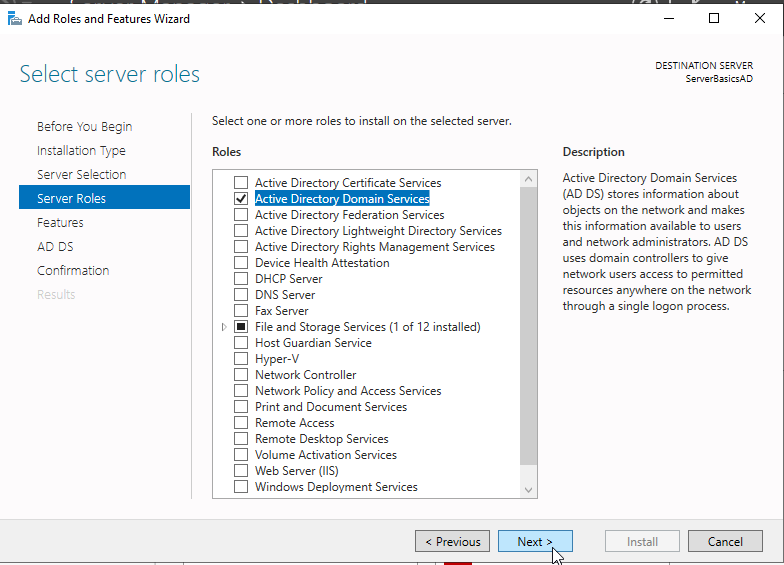
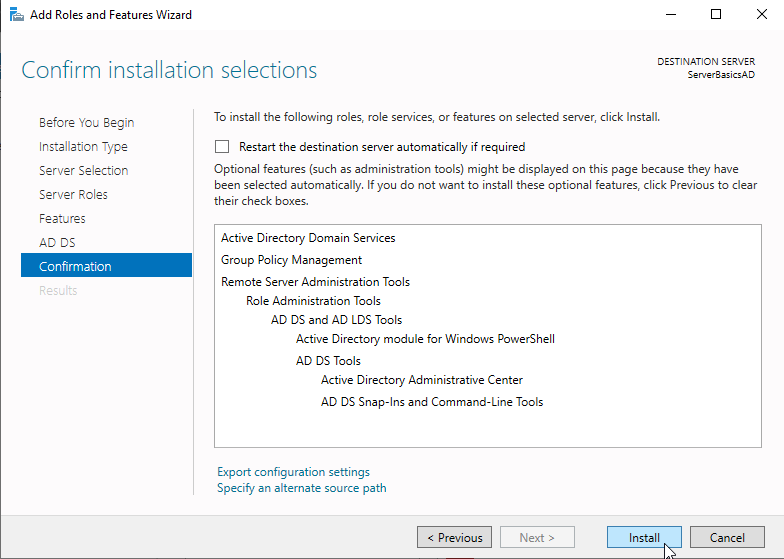
Now, Active Directory Domain Services is selected – Next
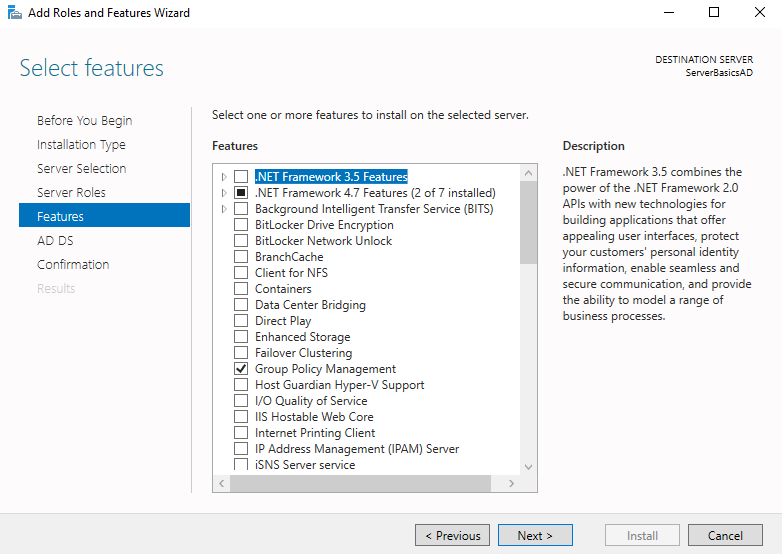
Next
Next
Install
…
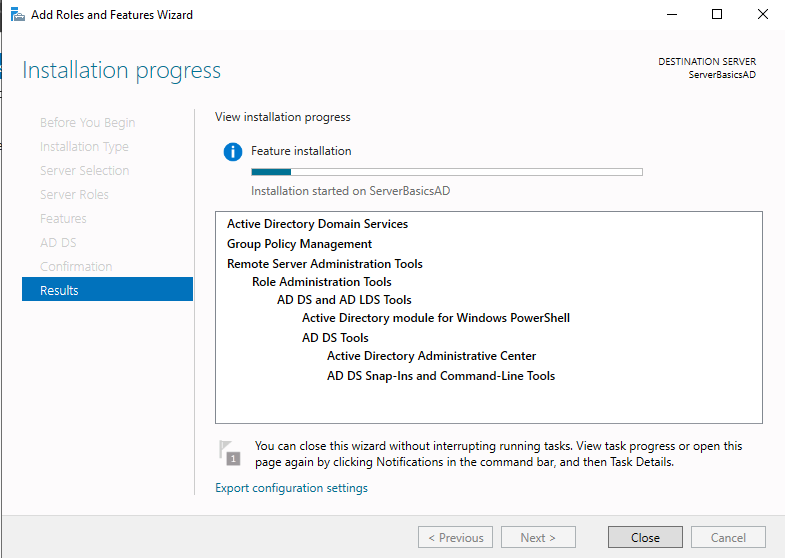
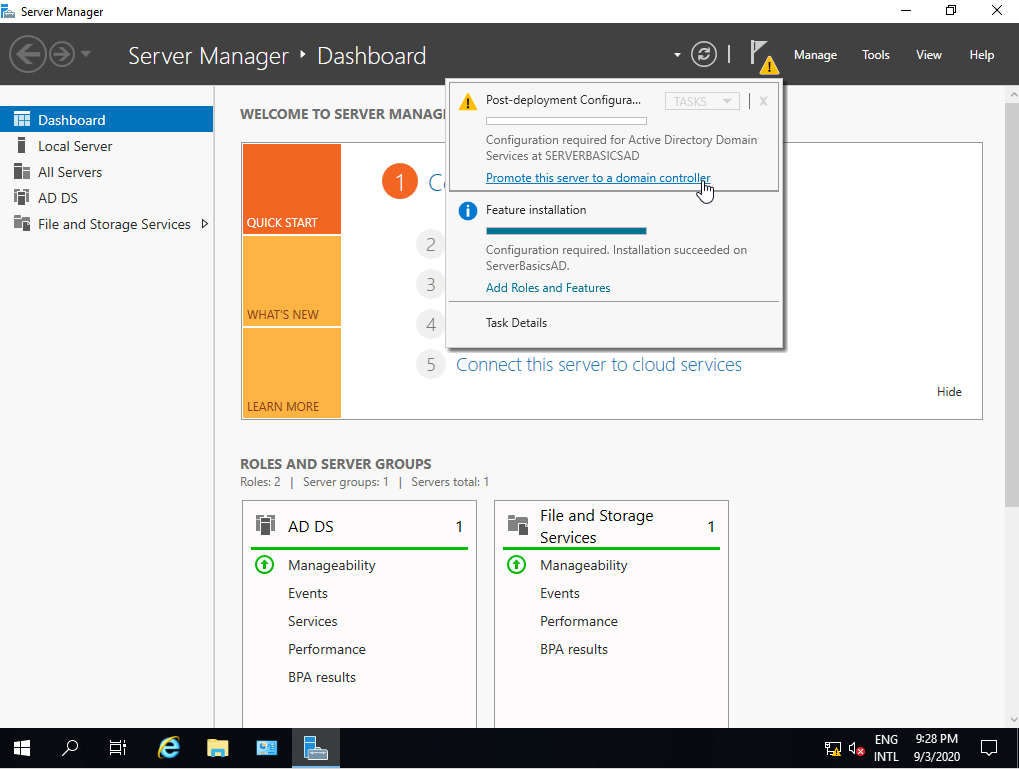
Installation is a success, but we will need to configure more after we select Close on bottom of this screen.
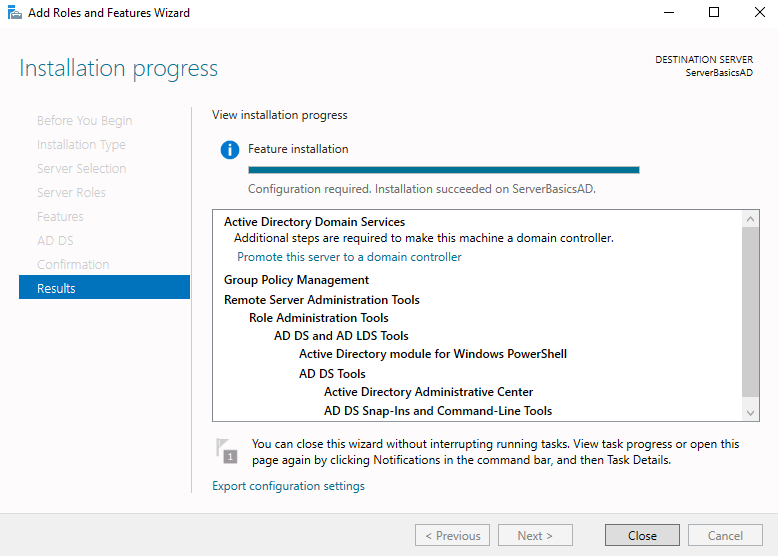
On the Server Manager screen, there is a yellow triangle under the flag on top right portion of the screen. Click on it, and select “Promote this server to a domain controller“
Now, the process of domain creation and domain controller configuration starts…
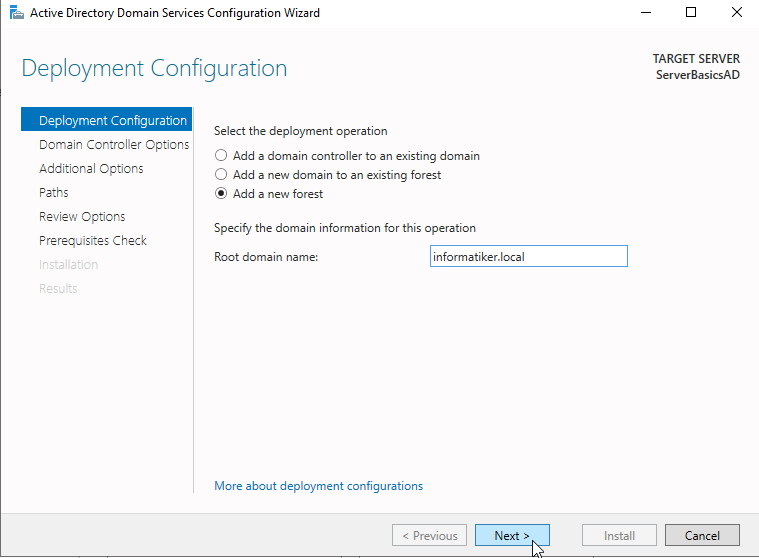
Since this is our first domain – select “Add a new forest”, and under root domain name – enter domain name, mine will be informatiker.local.
Under this name will reside your entire future local domain within enterprise. Usually domain name is a name of the company, organization unit… But you can also be creative, just stay within some business boundaries.
Next
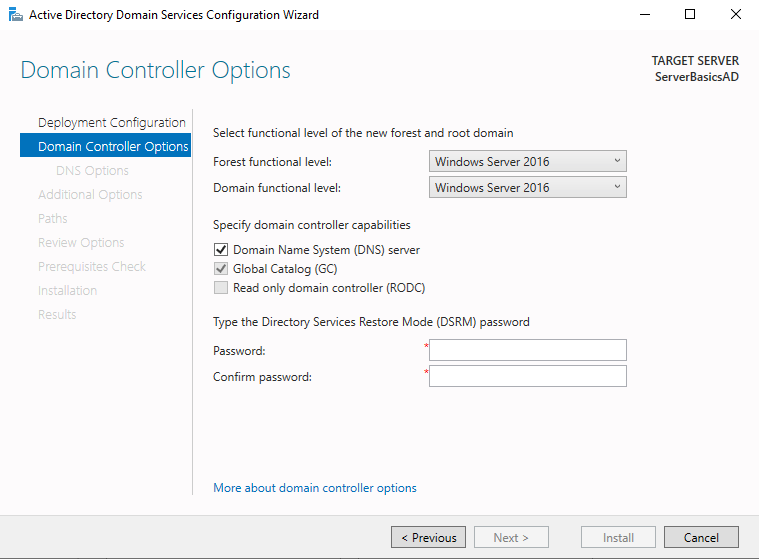
If you have some older Windows Server installations (2008 (obsolete), 2012, 2016) that will have part of your domain functions you will need to set “Forest and Domain functional level” to that Windows Server Version. Since this will be only Windows Server 2019 level lab, I will leave Windows Server 2016 for both settings.
Since this is our first domain controller, it will be both Domain Name System (DNS) server and Global Catalog (GC) – so select that.
In the end – DSRM password – enter it and write it down somewhere, remember it well !!
In case of any problems with your domain, you will need it, this is very important part. When you are done – click on Next.
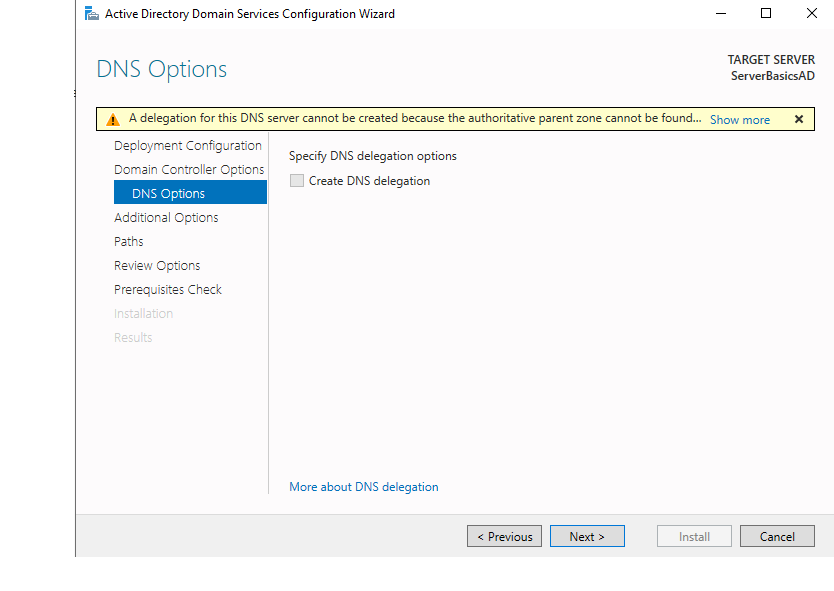
DNS is integral part of Active Directory, without DNS, domain cannot function properly. Since this is entry level tutorial, we will let Domain wizard configure it, and it will reside on our Active Directory VM. Just click on Next
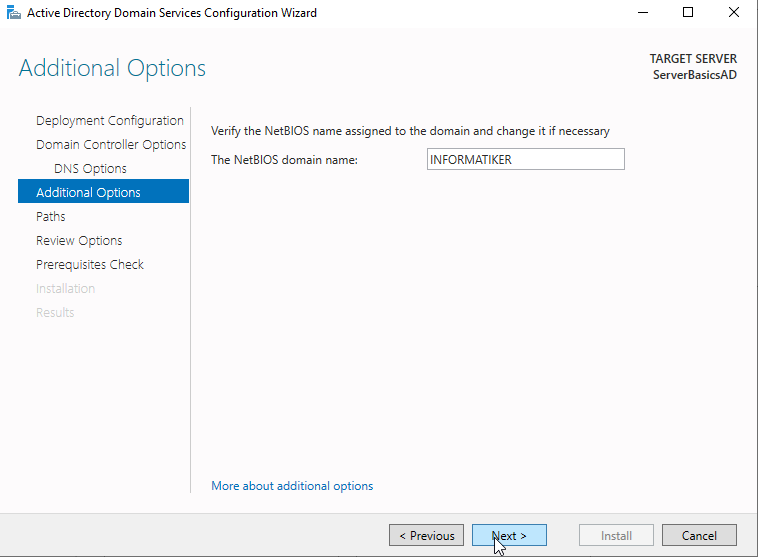
Check NetBIOS name, remember it and select Next
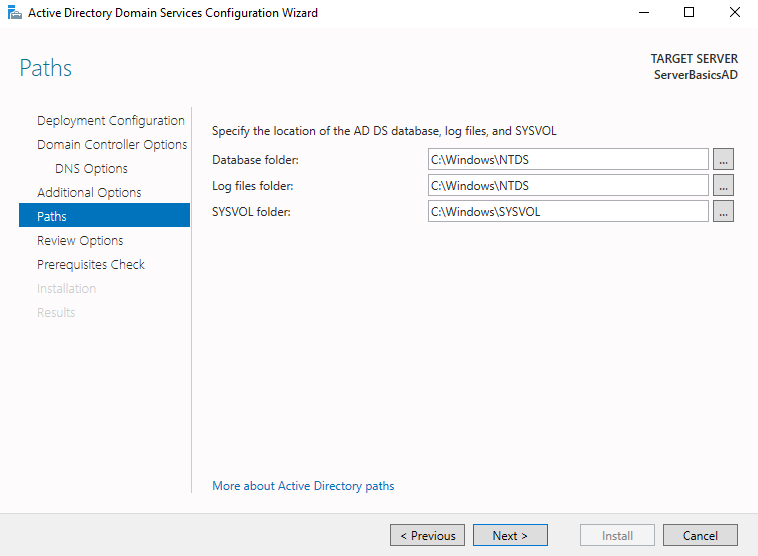
Read through paths of Active Directory (AD) database, logs and sysvol, don’t change anything and select Next.
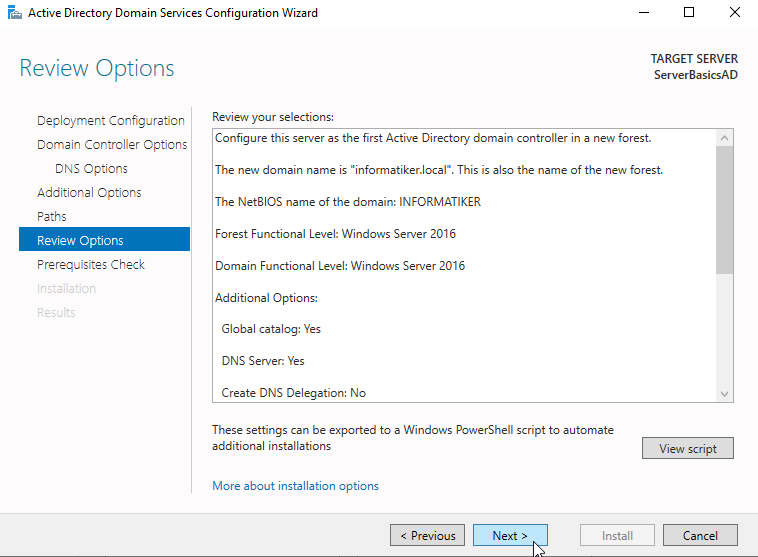
Review your settings and select Next
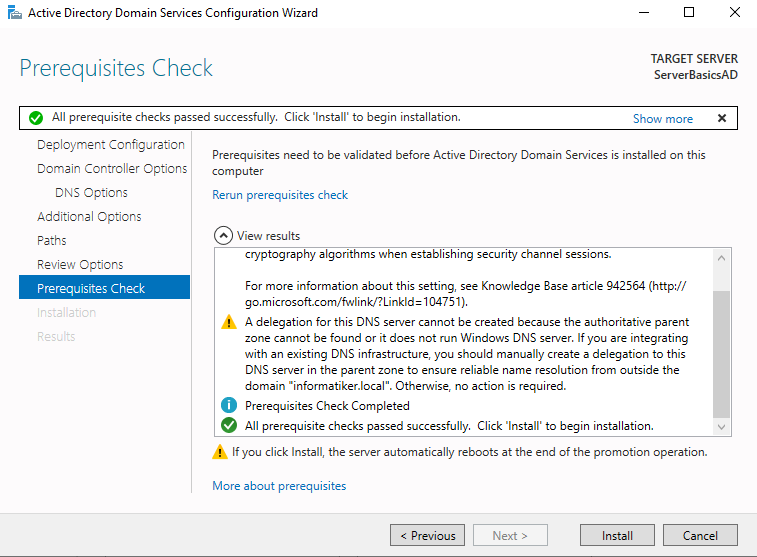
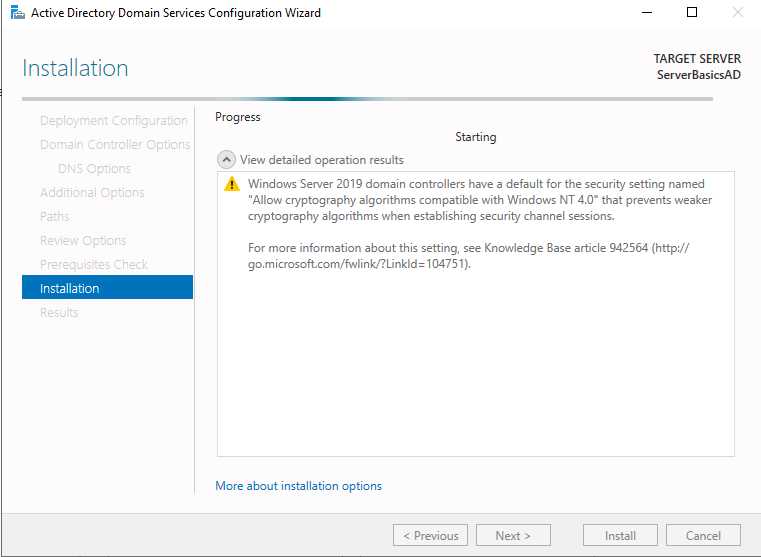
Don’t stress over yellow triangle warnings, just press install and continue with your install…
Installing…
Your VM will reboot at some point, so be aware of that
After reboot, log back in with your user and pass
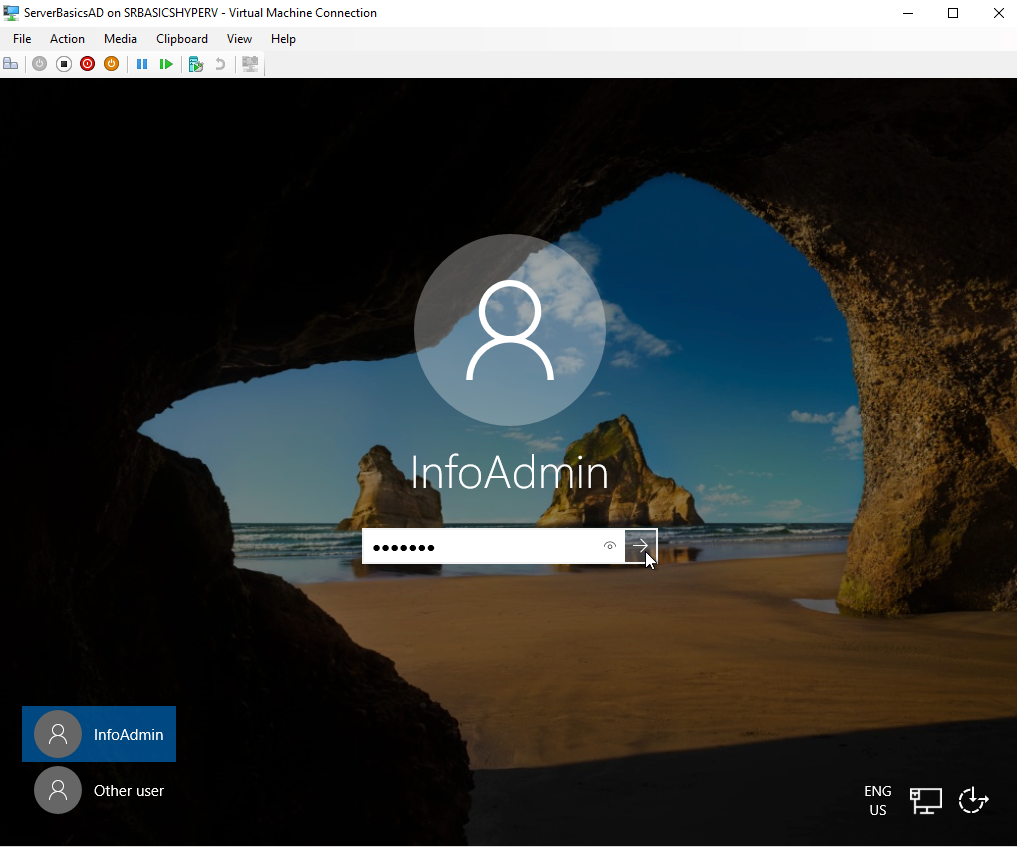
Your user account is Domain Administrator now.
On Server Manager screen after login, you see now that you have installed AD DS and DNS services.
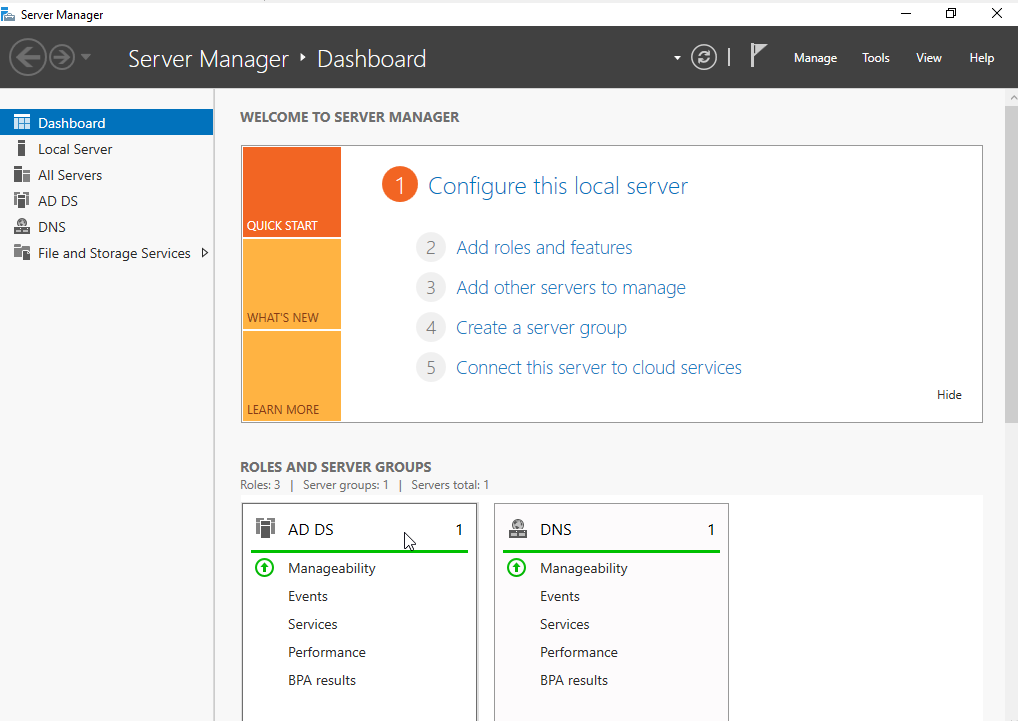
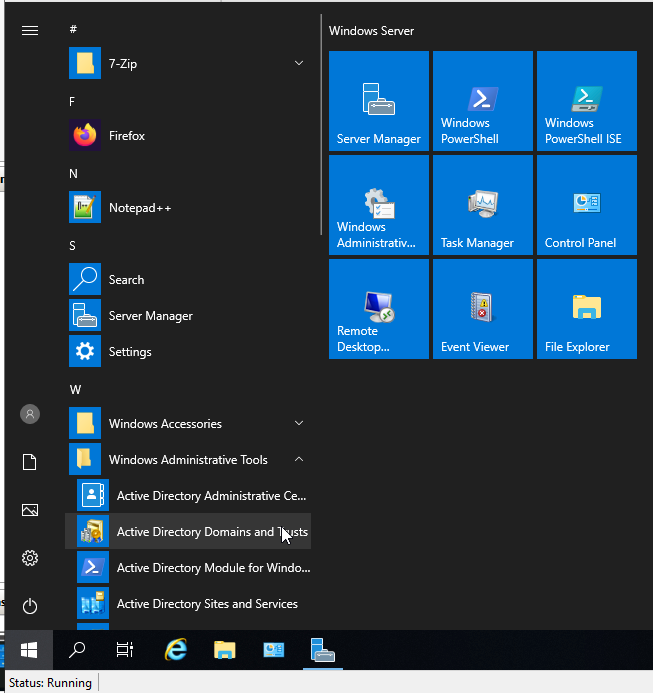
If you click on Start and expand Windows Administrative Tools, you will see that you have a bunch of new tools starting with Active Directory… That is it, we succeeded.
Congratulations, we have our first domain now up and running, foundation of enterprise IT system is up and running.
In next part of this series we will learn how to create groups and user accounts in AD, add computers to domain.
If you are interested in video version of this article, check this out