Nextcloud is great option for sharing files, something like Dropbox, iCloud, Onedrive… In this tutorial we will learn how to install it on top of the Centos with LAMP stack.
Nextcloud is enterprise grade open source project, which definitely deserves love and support.
You can learn how to install LAMP here – https://www.informaticar.net/how-to-install-lamp-stack-on-centos-red-hat/
After you are done with LAMP installation, we can start installing Nextcloud.
I will run all commands as root user.
Prerequisites
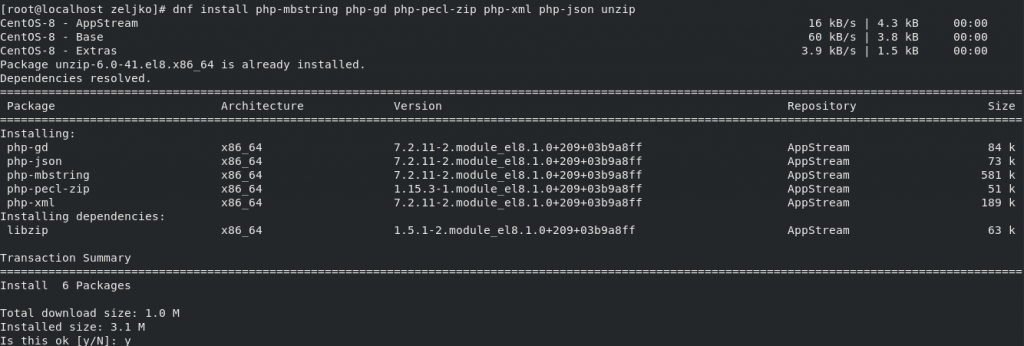
First, we will install prerequisites
dnf install php-mbstring php-gd php-pecl-zip php-xml php-json unzip
Nextcloud download & install
After we are done with prerequisites we will download and install Nextcloud
wget https://download.nextcloud.com/server/releases/latest.zip

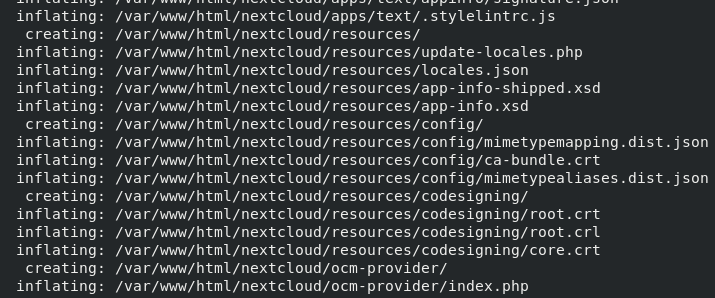
With next steps we will unzip downloaded installation into /var/www/html, make data directory and set permissions.
unzip latest.zip -d /var/www/html
mkdir /var/www/html/nextcloud/data
chown -R apache:apache /var/www/html/nextcloud/*
chcon -t httpd_sys_rw_content_t /var/www/html/nextcloud/ -R

…

Create database in MariaDB for Nextcloud
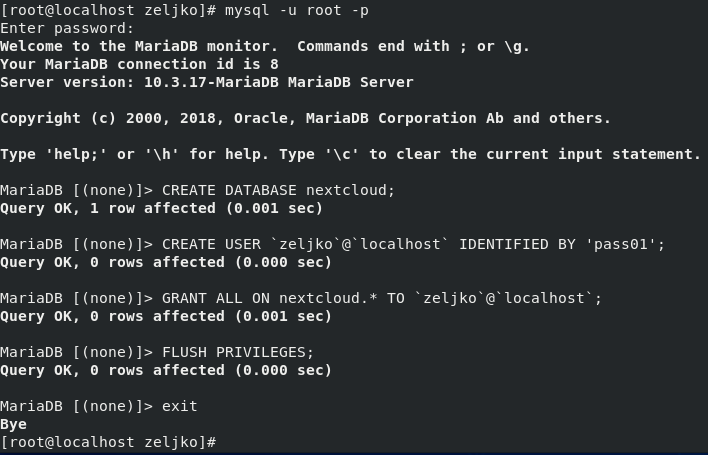
With next set of command we will create database nextcloud, with username zeljko and password pass01
mysql -u root -p
mysql> CREATE DATABASE nextcloud;
mysql> CREATE USER `zeljko`@`localhost` IDENTIFIED BY 'pass01';
mysql> GRANT ALL ON nextcloud.* TO `zeljko`@`localhost`;
mysql> FLUSH PRIVILEGES;
mysql> exit
Extra step before setting up Nextcloud.
Before we go to the next step, and that is installing Nextcloud, I would like to prepare one more thing – data folder for Nextcloud. By default, data folder is in /var/www/html/nextcloud/data. We don’t want our data to reside there.
In home folder we will make directory clouddata. (It does not have to be home folder, make the folder where you see fit.)
sudo mkdir clouddata
Next, we will give permission to Apache (this will be installed on Apache web server) to this folder, so that Nextcloud can write to it.
sudo chown -R apache:apache /home/clouddata
After that reboot web server by issuing
sudo systemctl restart httpd
Even better you can refresh your whole server by rebooting it.
!!! If you get error “cannot create or write into data directory” during initial setup – for data folder section. In terminal of future Nextcloud server enter
sestatusIf SELinux is enabled andcurrent mode is “enforcing” execute following command:
sudo setenforce 0If you enter sestatus command again after that – current mode for SELinux should be permissive. This is only temporary setting and after server reboot, SELinux will be back in enforcing mode. Check internet if you want to disable SeLinux permanently.
Setting Nextcloud
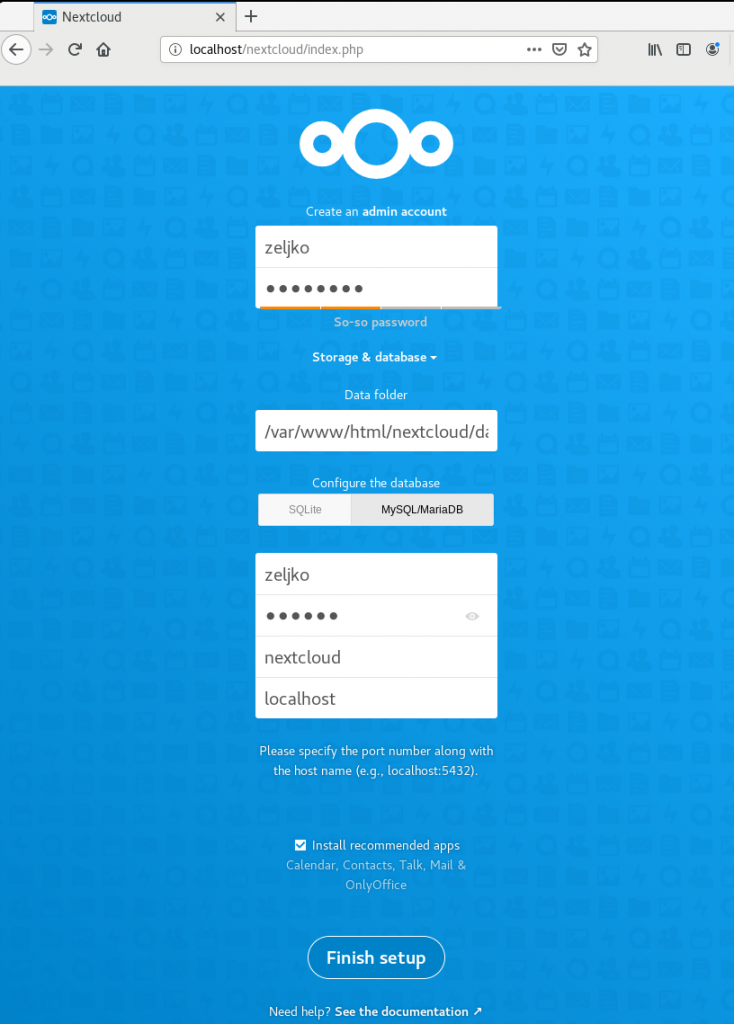
Finally, we will open browser, enter localhost/nextcloud/index.php
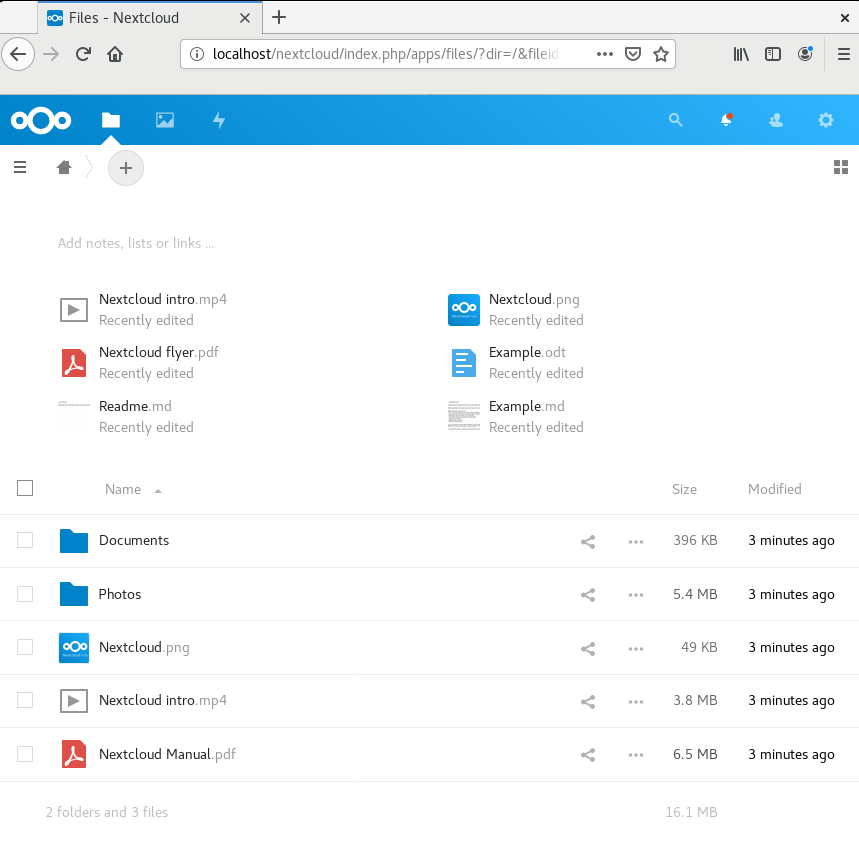
Setup screen should appear if you done everything correctly.
Under admin account part enter username and password you will use for Nextcloud. Under Storage & database leave data folder as is and select MySQL/MariaDB under database and enter user, password and database name we defined in steps earlier.
That’s it, our Nextcloud installation works. What you should do for your production environment is definitely use SSL certs, update and harden your CentOS installation.
Here is tutorial on enabling mod_ssl and creating self signed cert –
enable mod_ssl – https://www.informaticar.net/install-mod_ssl-on-apache-centos/
Self-signed cert – https://www.informaticar.net/create-self-signed-certificate-on-centos-rhel-8/