Azure is great, but Azure On-Premises would be your dream come true? Well, today we will cover just that – installation of Azure Stack Development Kit (ASDK)
I will cover ASDK installation with Azure AD support.
Azure Free Account
First thing to start with – you will need Free Azure account, you can create it here – https://azure.microsoft.com/en-us/free/
Account is truly free to use with ASDK and there is no cost for you. I will get into more details in some of my other articles about ASDK.
ASDK Prerequisites
System OS
More on a hardware prerequisite in a bit, but now it is important to point out that you will need one system disk and four data disks (at least 400GB in size for data, and 200GB for OS disk).
In my case, on system disk I installed Windows Server 2019 trial, you can get it here – https://www.microsoft.com/en-us/evalcenter/evaluate-windows-server-2019
That system disk will be the foundation on which we will download ASDK and scripts we will start our ASDK deployment from it. ASDK itself is within vhdx and is started from that system disk, and resides on it.
ASDK Download
We need to download ASDK (Azure Stack Development Kit) so follow the link below–
https://azure.microsoft.com/en-us/overview/azure-stack/development-kit-thank-you/
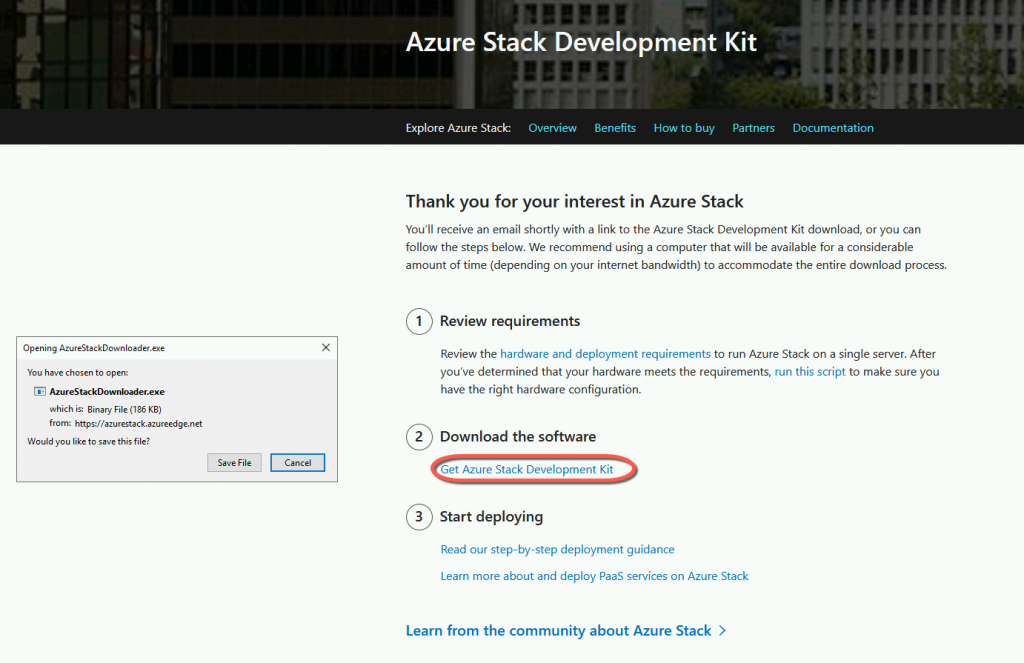
After AzureStackDownloader.exe is downloaded, start it, define download folder for ASDK and press download on step 3
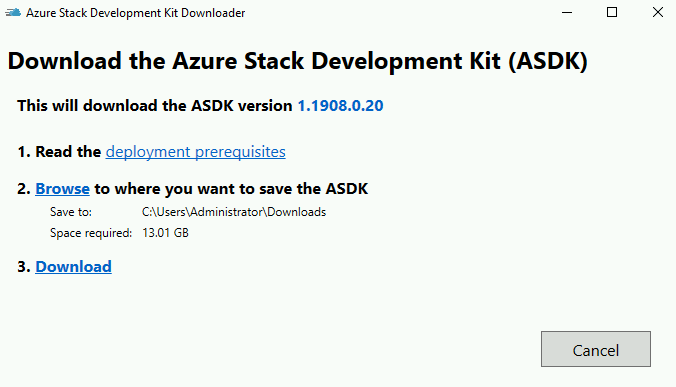

Current size of the download (ASDK version 1.1910) is about 20GB, version pictured above is 1.1908 and it was 13GB in size.
Prepare Hardware / Check Hardware Prerequisites
While we wait for the ASDK to download, let’s check our hardware compatibility with ASDK.
Go here and download the script- https://gallery.technet.microsoft.com/Deployment-Checker-for-50e0f51b
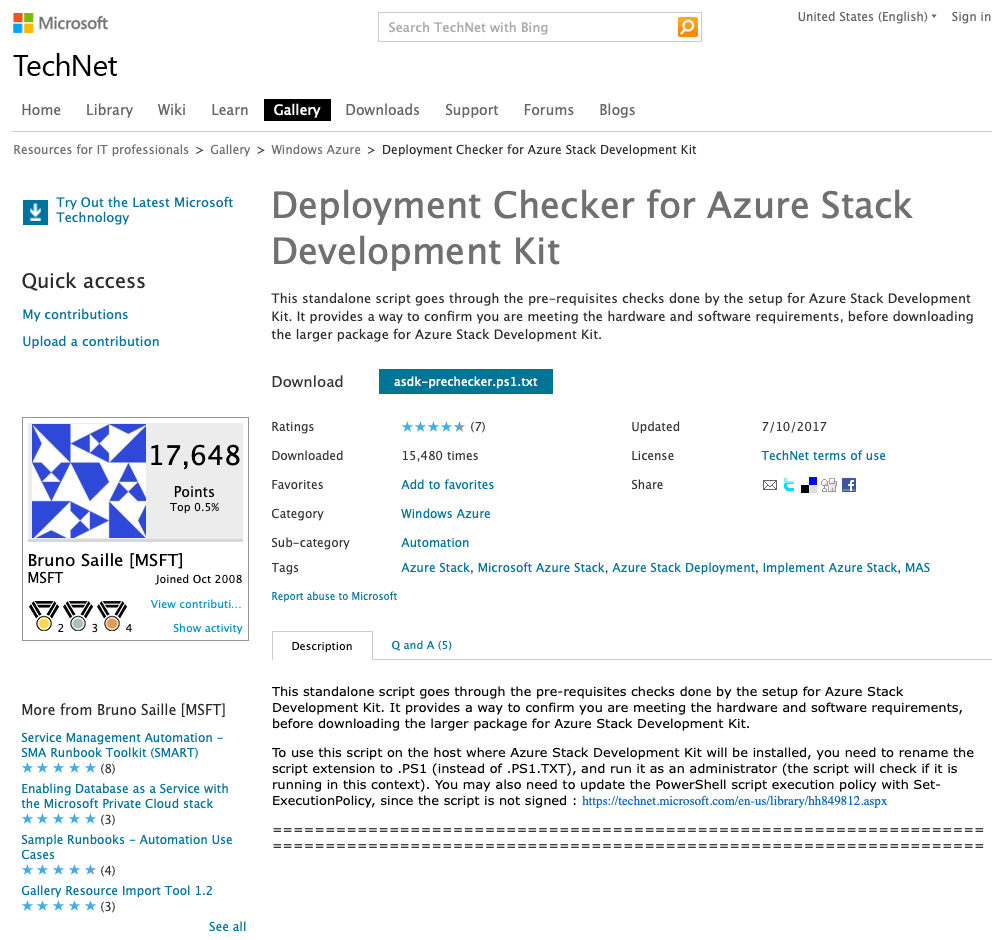
Download the script and remove .txt extension so you have the name as asdk-prechecker.ps1and we can run it as PowerShell script.
We need to run PowerShell with elevated privileges (as Administrator)
Before executing script run following command
Set-ExecutionPolicy Unrestricted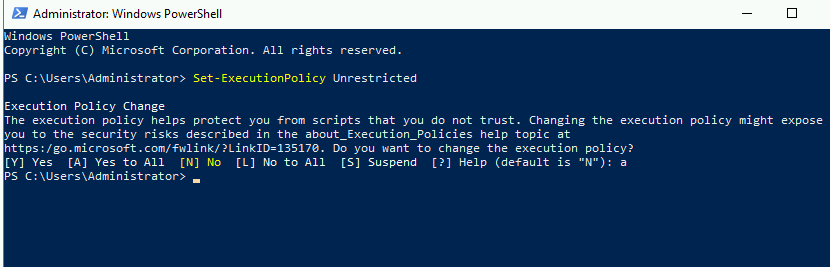
We need Set-ExecutionPolicy command, because script is not signed (and you can trust it).
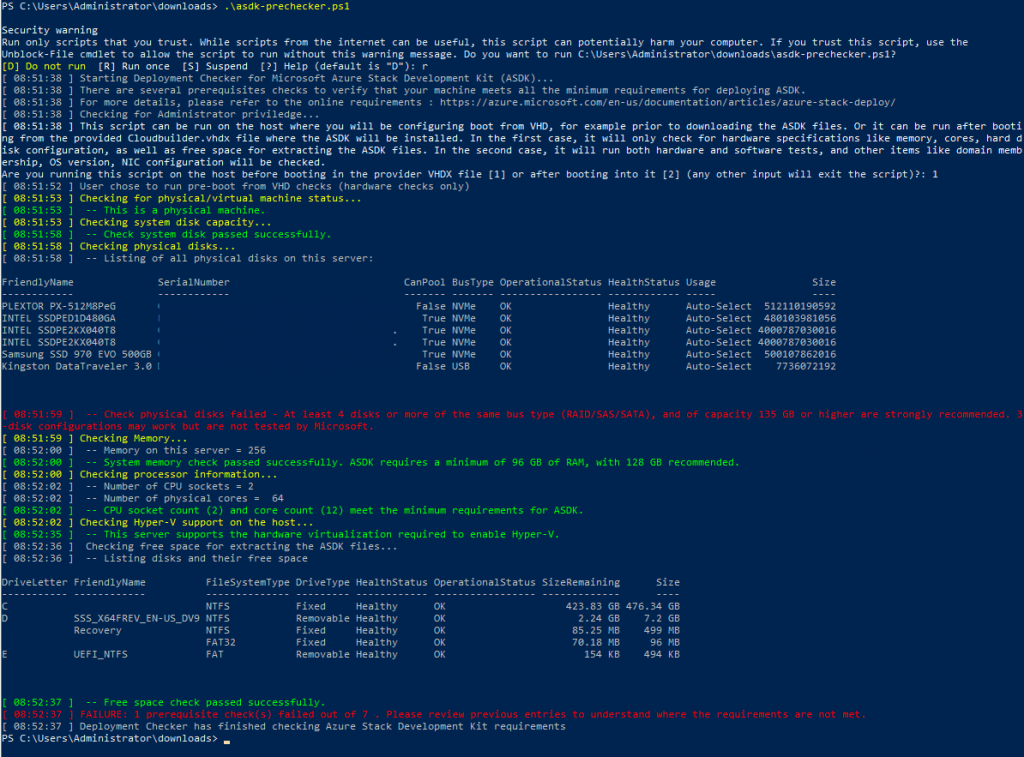
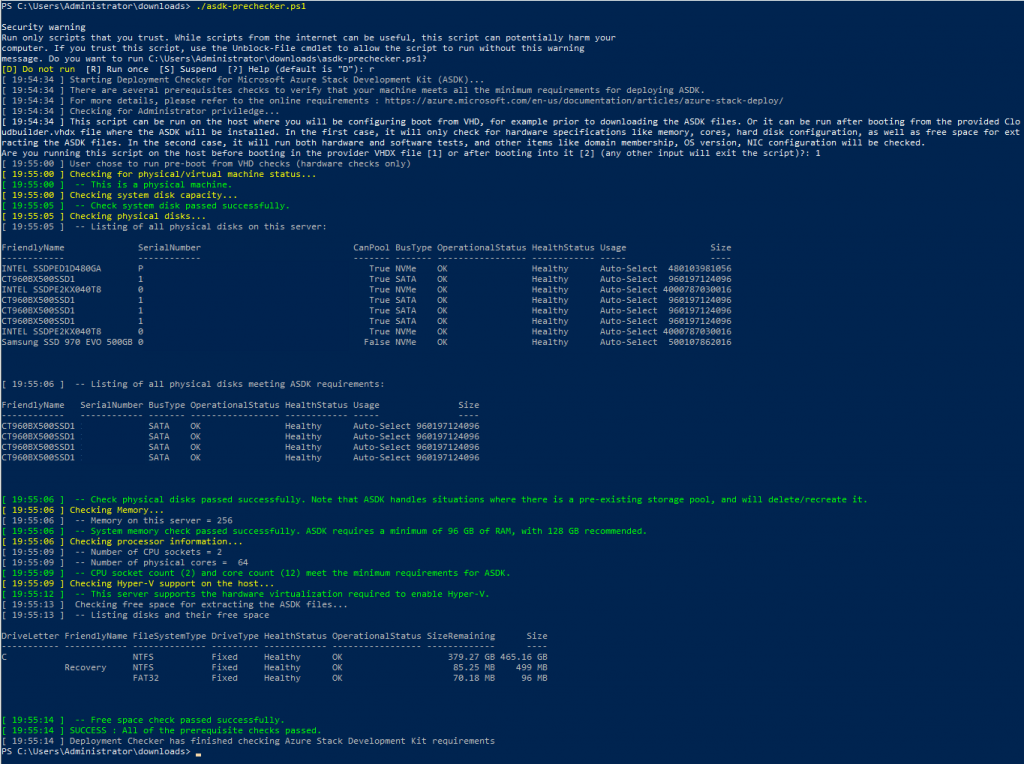
Now, let’s run the script and check if our system meets requirements
Go to the folder where you saved the script and execute it with:
.\asdk-prechecker.ps1Sooo, I failed at first…
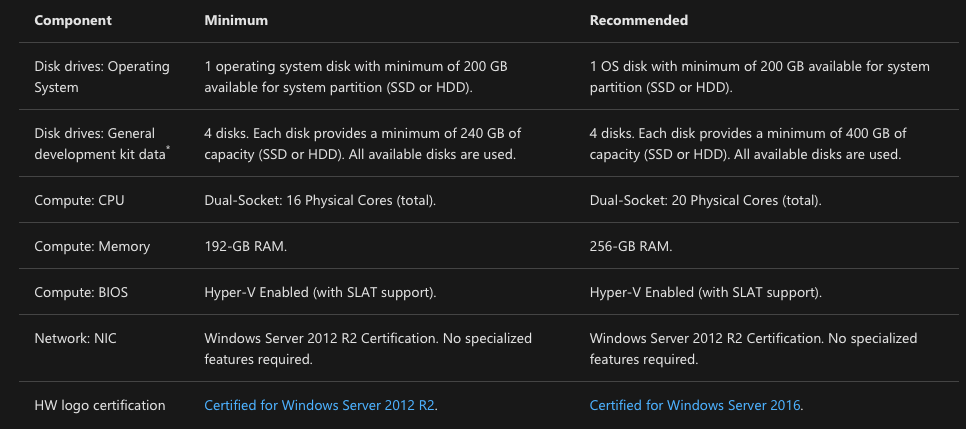
These are minimum requirements for ASDK installation and the details can be found here – https://docs.microsoft.com/en-gb/azure-stack/asdk/asdk-deploy-considerations?view=azs-1908
Well, you need to have four of the same disks (same type, same size), and I overlooked that a bit, but I corrected that situation and now everything checks out.
Before we continue, make sure you have at least minimum recommended hardware to begin with. You can alter scripts to pass checks and deployment, but your testing experience will be poor. You really need a lot of RAM and SSD drives would be in order.
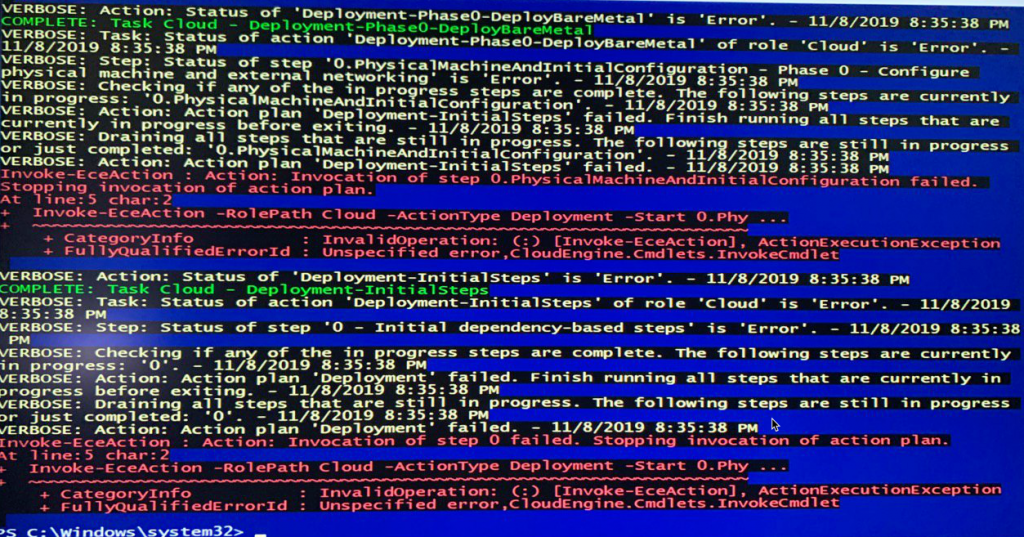
I also had a problem during step 20 (STO) Configure Storage Cluster where my ASDK deployment would stuck for a long time, In the end I would get a message like the one below, and everything would stop.
Invoke-ECEAction: Action: Invocation of step 0. PhysicalMachineAndInitialConfiguration failed.
Stopping invocation of action plan.
Invoke-ECEAction -RolePath Cloud -ActionType Deployment -Start 0.Phy…
Quick disclaimer – I haven’t had this problem with earlier builds, but also I tested on a different hardware (HP Servers with HP disks). This was my first setup with build 1.1908 and at the same time I deployed on completely new (custom made) machine.
I tried many things, and in the end, what resolved issue for me was following:
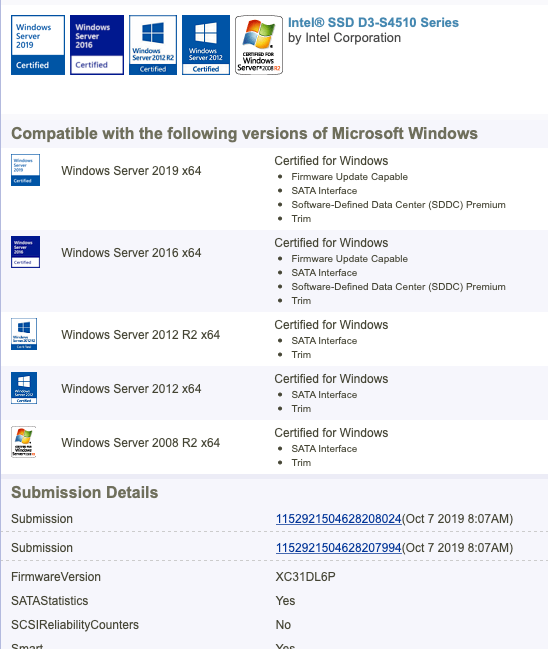
I used standard desktop grade SSDs, and after swapping them for Windows Server 2016/2019 certified SSDs with SDDC (Software-Defined Data Center) I got installation going.
You can check your hardware compatibility for Windows Server 2019 here – https://www.windowsservercatalog.com
I lost a lot of time on this one, because the install would go on for almost two hours and then break. After every new idea I had to wait for two hours to see if the error will reproduce itself.
!!!Be careful with disk selection for ASDK. Disks I went initially with, passed precheck script, but obviously are not supported for ASDK deployment since it uses Storage Spaces Direct. Be sure to check your drives on the windows server catalog I mentioned above.
I also prepared for ASDK deployment with following tweaks:
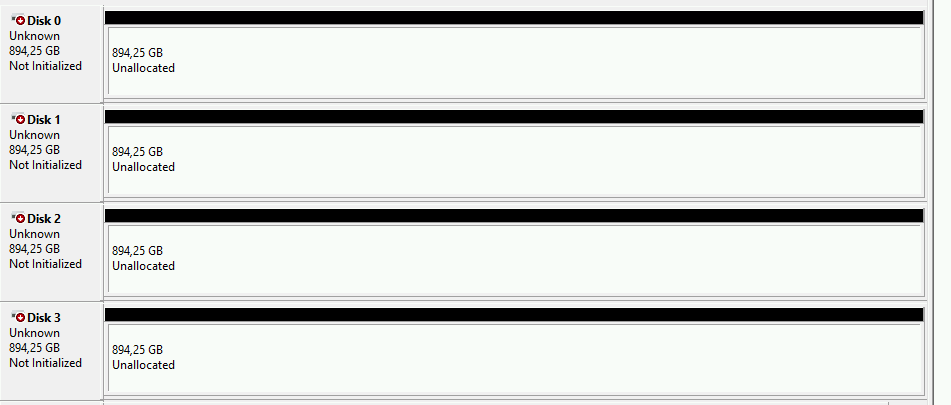
I left all the data disks intact – uninitialized, unformatted
– upgraded all my disk firmware’s so they match requirements in Windows Server Catalog.
– installed all drivers for my host and CloudBuilder VHDX (after first boot into CloudBuilder).
– used fixed IP for the install
– I (usually) set my ASDK name of the CloudBuilder VHDX machine (If you decide to name it, don’t name it azure stack)
– disabled all but one NIC.
ASDK Preparation
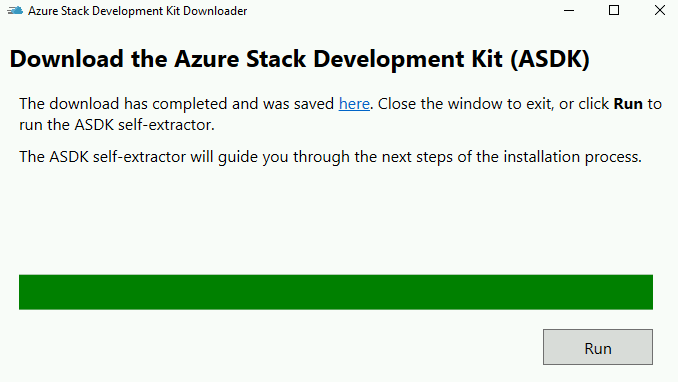
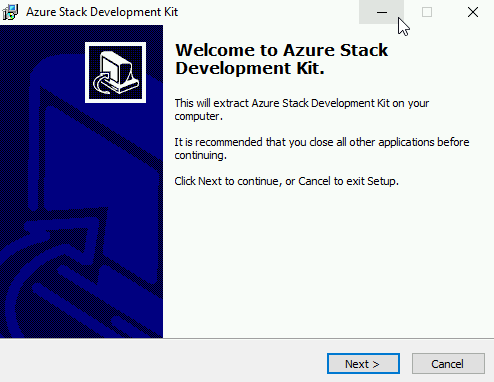
In the meantime, while we checked hardware, our ASDK download is done. Press Run
Next
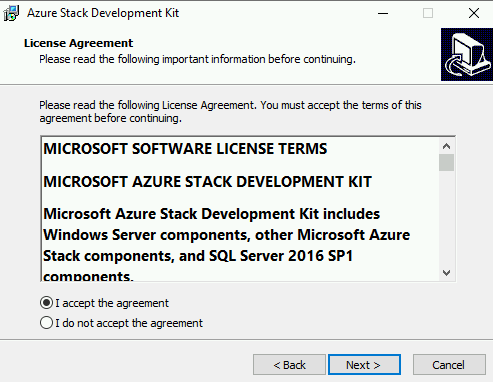
I accept… Next
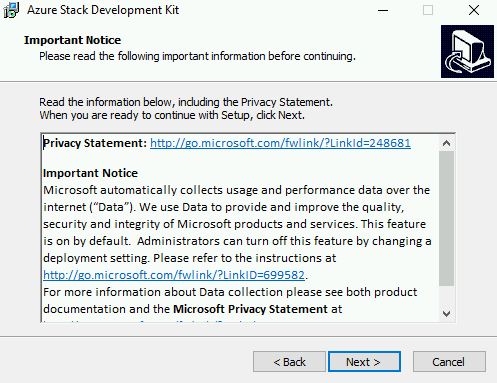
Next
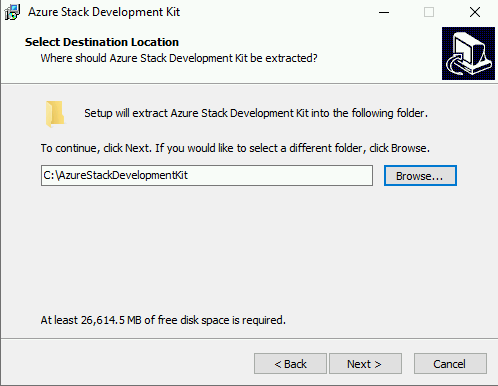
I will select root of the C drive for installation | Next
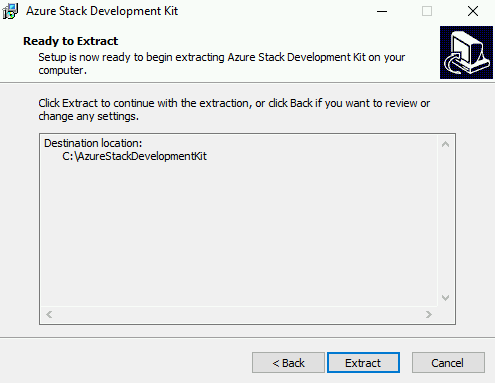
Extract
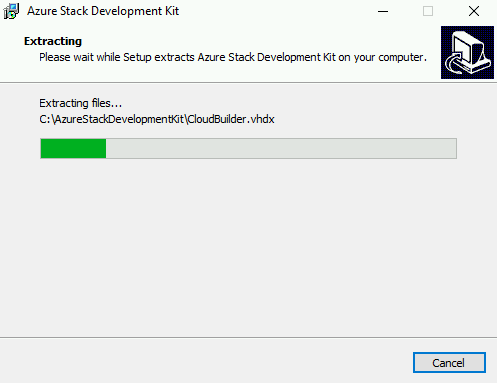
Extracting… (Extracting will take time, close to half an hour in my case)
Sometimes later – done
After extraction is finished move extracted CloudBuilder.vhdx to root of C drive (C:\CloudBuilder.vhdx)
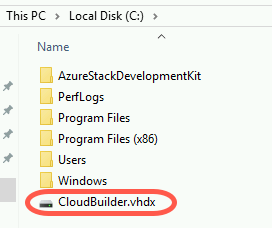
Let me explain this a bit before we go further. CloudBuilder.vhdx is our ASDK OS installation. Inside CloudBuilder.vhdx is huge part of our Azure experience (data will be stored on those four data disks you need to have). In a few bits, asdk installer script will prepare our current OS for dual boot, and at the next step we will boot into this vhdx which resides in a root of current OS, and everything we do or set will be within that CloudBuilder OS.
ASDK preparation / installer script
We will now download and run asdk installer script. It can be found here – https://docs.microsoft.com/en-us/azure-stack/asdk/asdk-prepare-host?view=azs-1908
Copy code that is displayed on the link above to new .txt file, and after that rename it to from .txt to .ps1
Check upper link regularly for every new Azure Stack deployment, because code often changes.
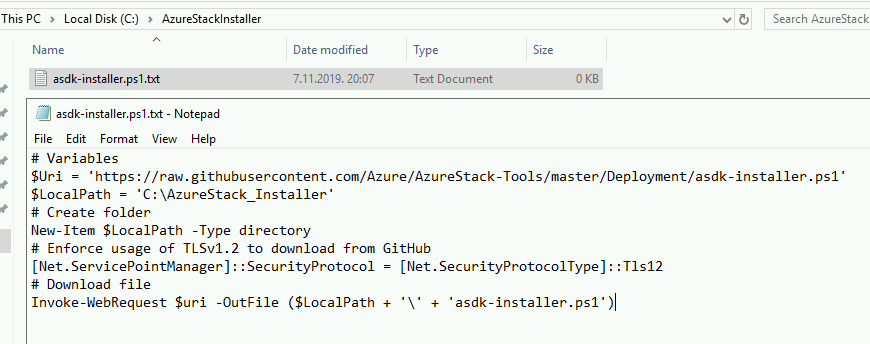
I created new directory on C drive – C:\AzureStackInstaller, and in it, I created new file named asdk-installer.ps1.txt – I opened it and copied code from the link above. Saved the file and removed .txt extension so that I get powershell script named asdk-installer.ps1
When I executed script, it created new directory on C drive named AzureStack_Installer with script in it named asdk-installer.ps1
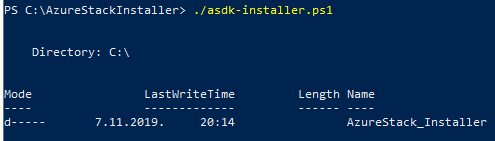
After AzureStack_Installer directory is created, I will remove my C:\AzureStackInstaller directory and script within it, since it served its purpose.
We need only newly created AzureStack_Installer directory and script with it. It will guide us through our preparation and installation of ASDK.
I then went to the C:\ AzureStack_Installer and run powershell script asdk-installer.ps1
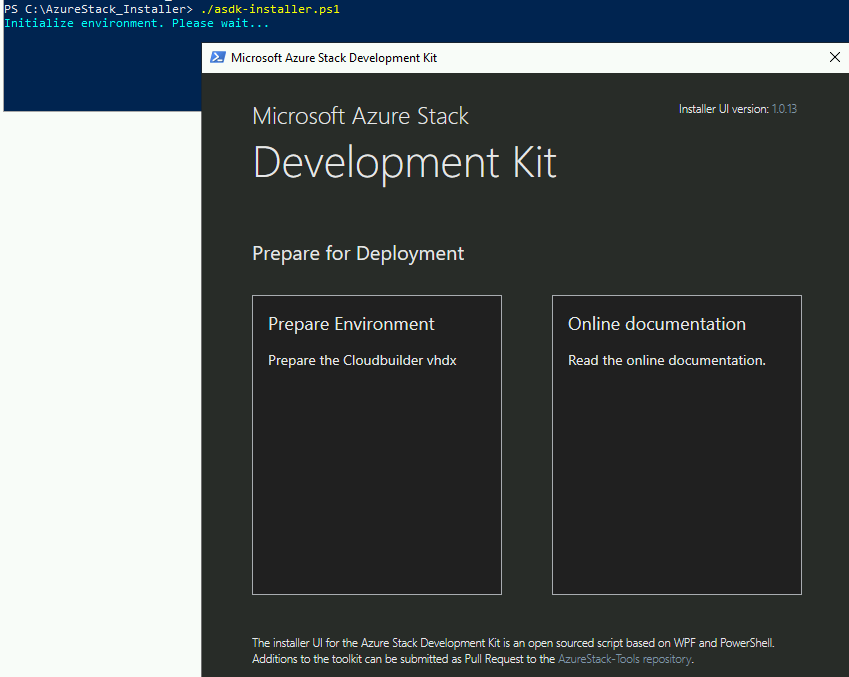
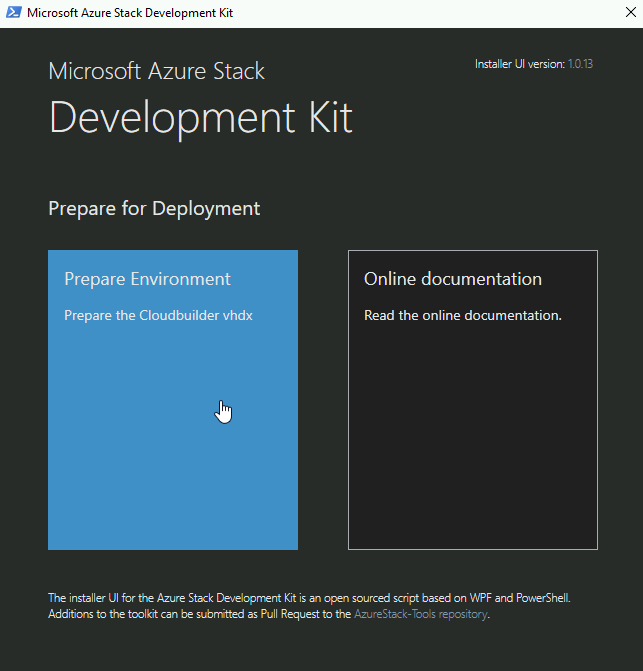
Click on – Prepare Environment
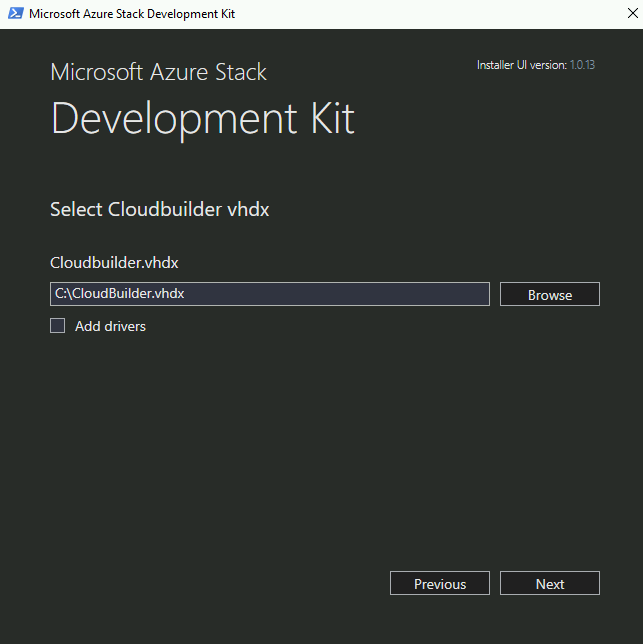
Select Cloudbuilder.vhdx (it should be in the root of the C drive) | Next
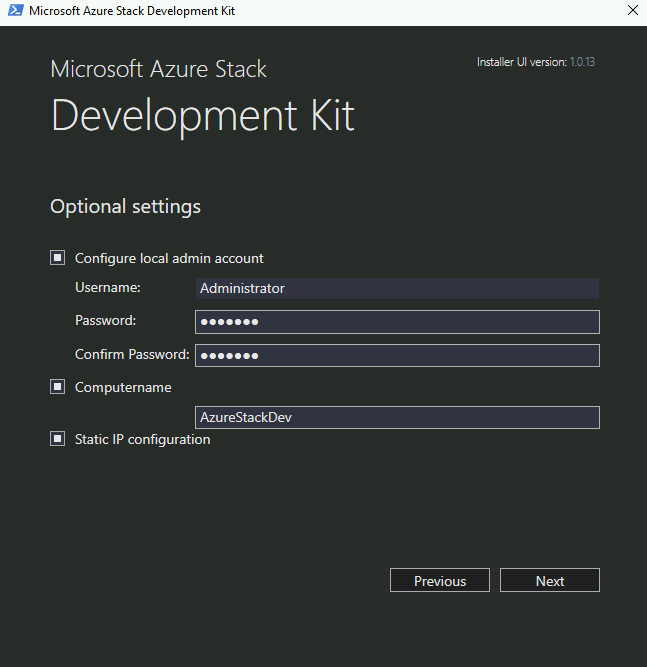
Configure local Administrator account – enter password for it (password should be longer than eight signs). I also configured Computername (!!don’t name your computer Azure stack) and selected Static IP (make sure you configured adapter in Windows before clicking next) | Next
Select NIC and click on Next
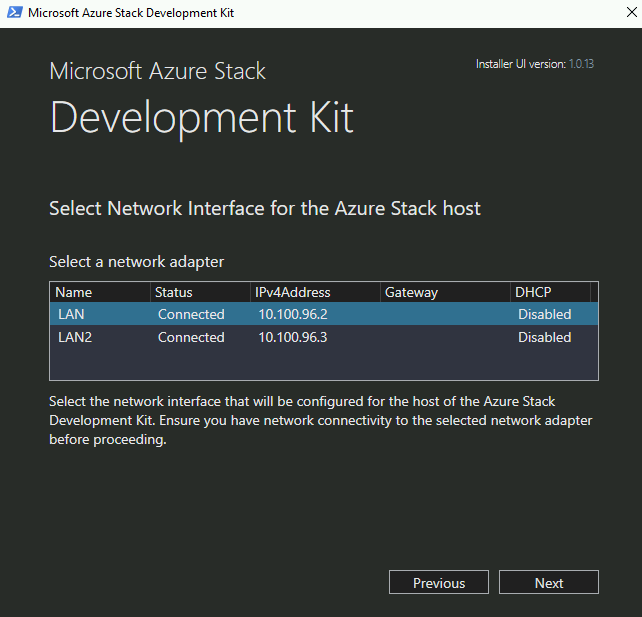
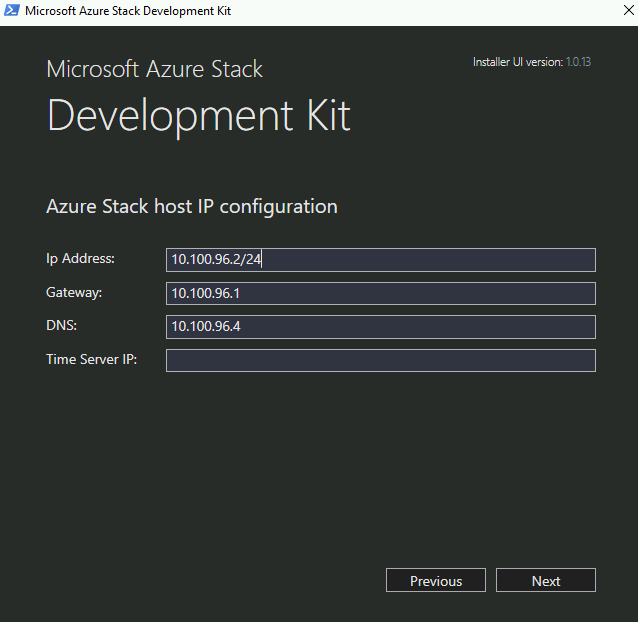
Make sure you enter IP, subnet mask, gateway and DNS correctly. Time server will also be needed so enter it. Next
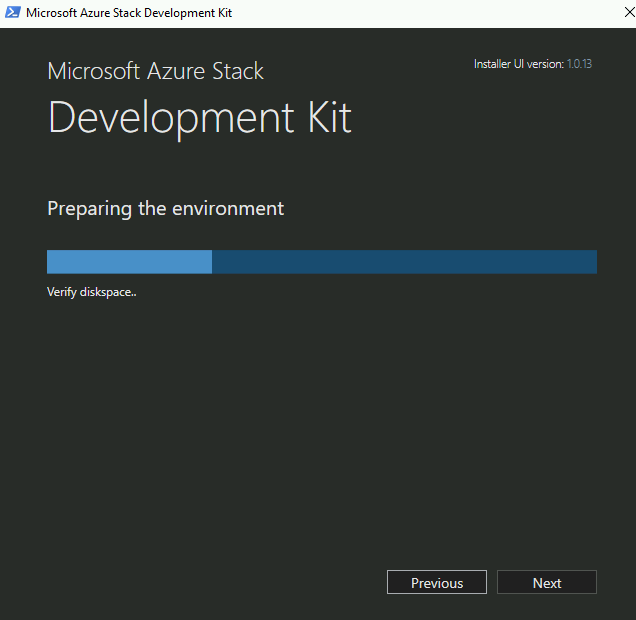
Preparing
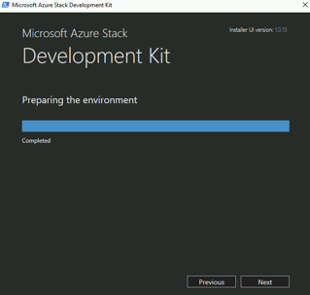
After Preparation is completed, click on Next
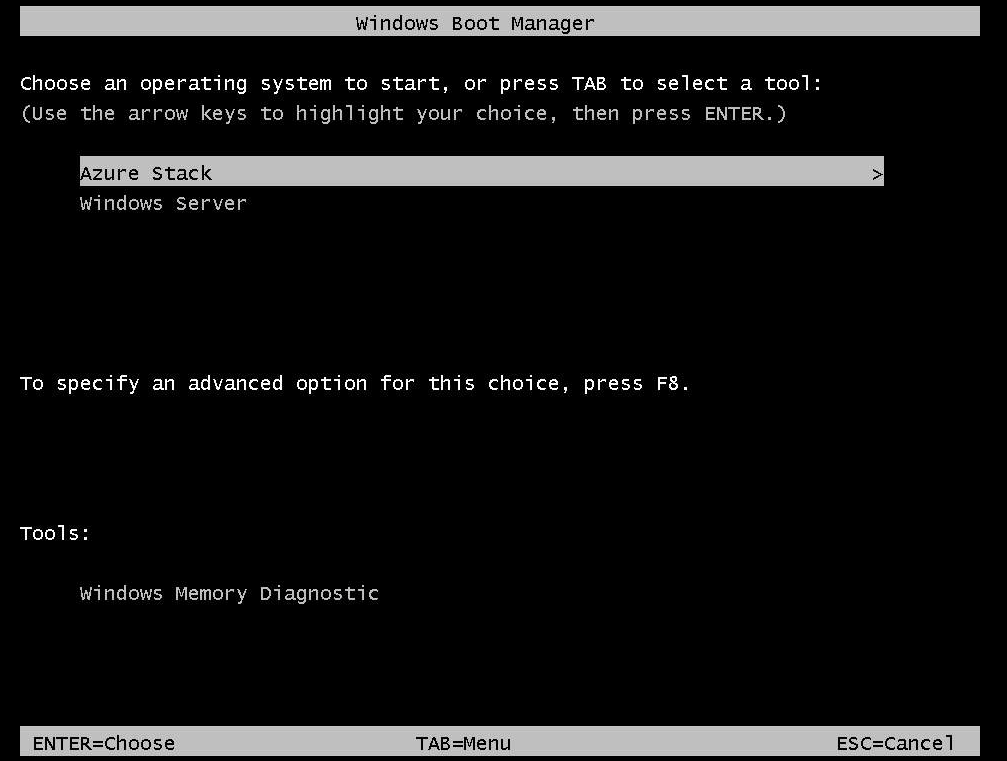
Environment is prepared and we will reboot now. We need to boot from CloudBuilder VHD (it will be named Azure Stack)

I will boot from Azure Stack. We won’t boot our Windows Server 2019 trial installation any more. Don’t delete it! Cloudbuilder vhd is on it, and all of our scripts are on that install.
ASDK installation
If everything went well, you will now boot into new machine, you can use username and pass you defined at preparation stage to login onto the machine.
Before starting final steps make sure your machine is in correct time zone, you have all the drivers needed for your machine installed, your four data drives are not initialized or formatted.
Now we have two drives, C drive is our current system drive and is booted from CloudBuilder vhd. D drive (in my case) is “old” OS drive which contains asdk-installer.ps1 script.
So, I will again run elevated (Run as Admin) PowerShell. First, I run once again
Set-ExecutionPolicy Unrestrictedand after that I run asdk-installer.ps1 from D:\AzureStack_Install\
(asdk-installer.ps1 is now on D drive, since CloudBuilder now represents itself as a C drive, and all the scripts we need are at the initial OS we installed)
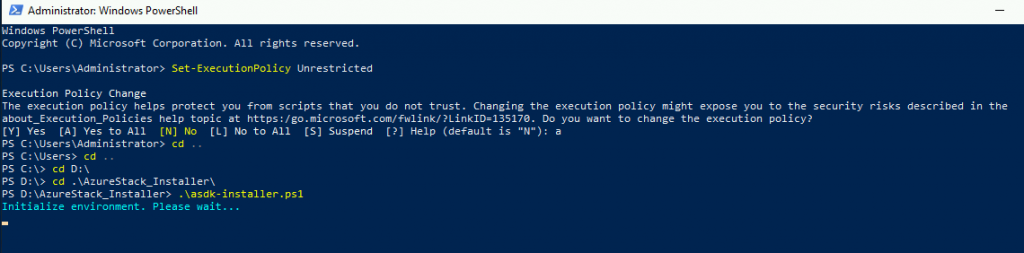
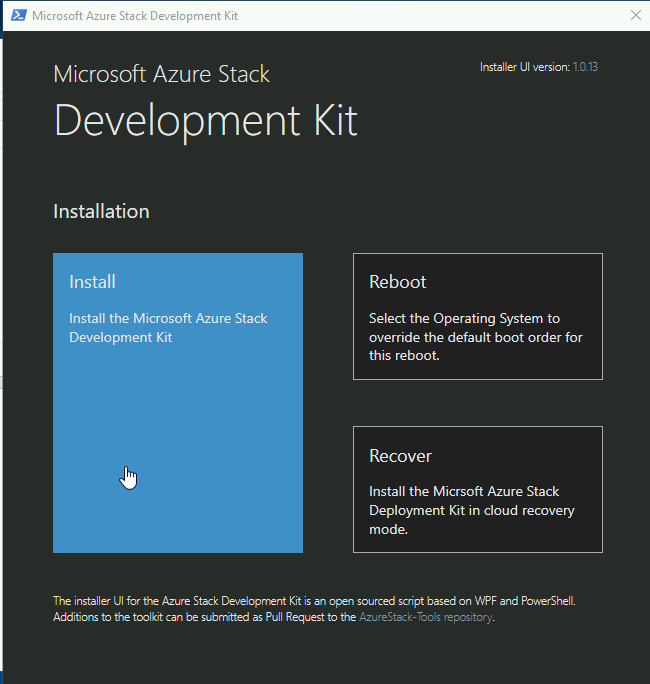
Installation screen will appear – select Install
I will select Azure Cloud as Type, in AAD Directory, you need name of your AAD directory from your Free Azure Account you created earlier. It should be in format as: replacethiswithyourname.onmicrosoft.com
Also, set your local password with which you logged into CloudBuilder vhdx
Confirm with Next

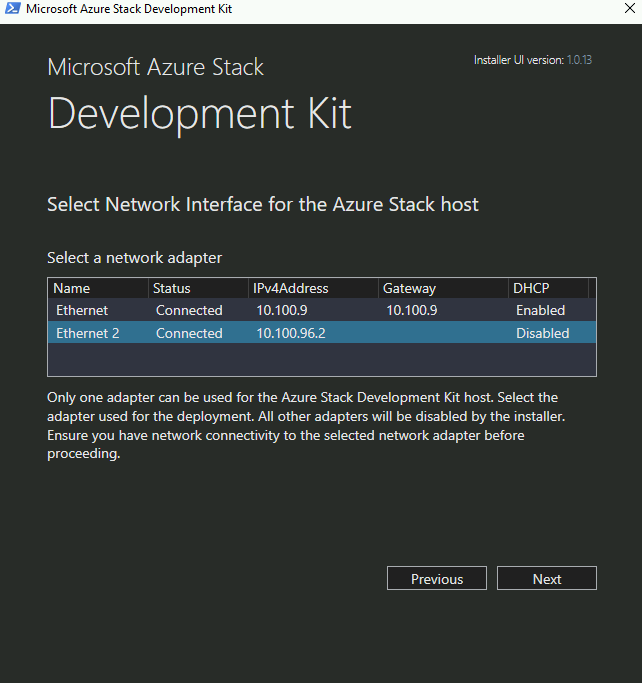
Once again, select network adapter for your Azure Stack Host and select Next
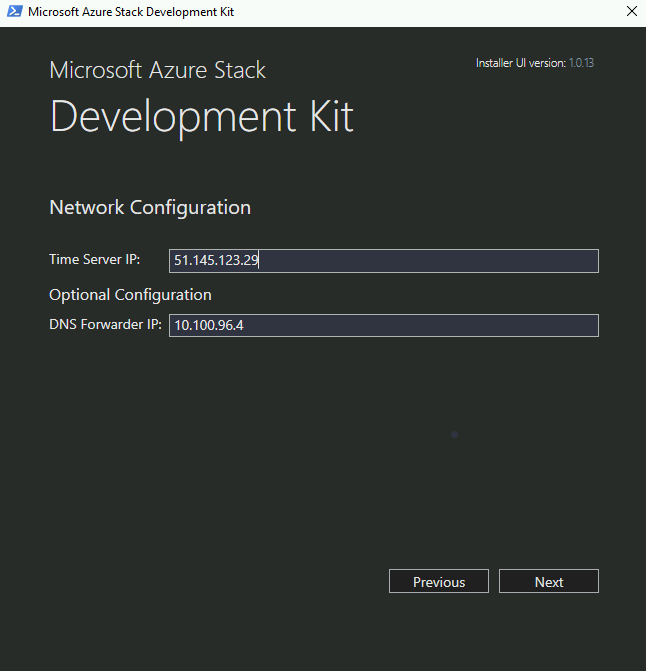
Provide Time Server and DNS Forwarder (you need to enter both in) and click on Next
You can ping time.windows.com to get time server ip address.
Verification again
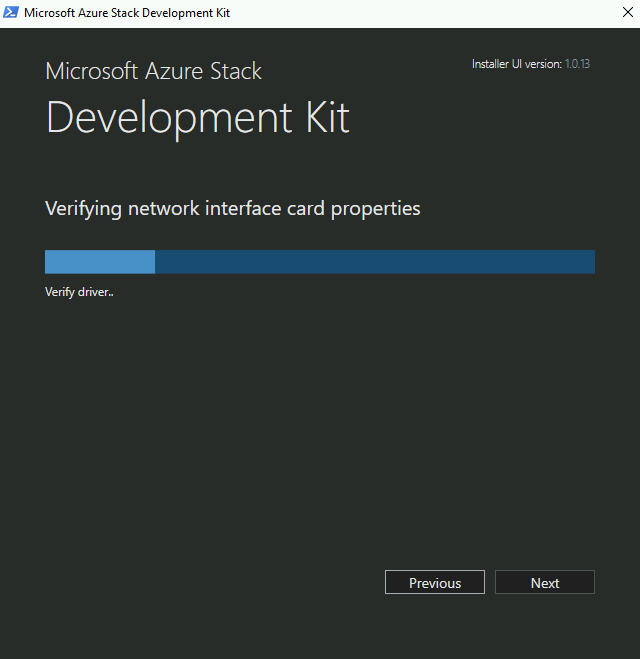
Completed | Next

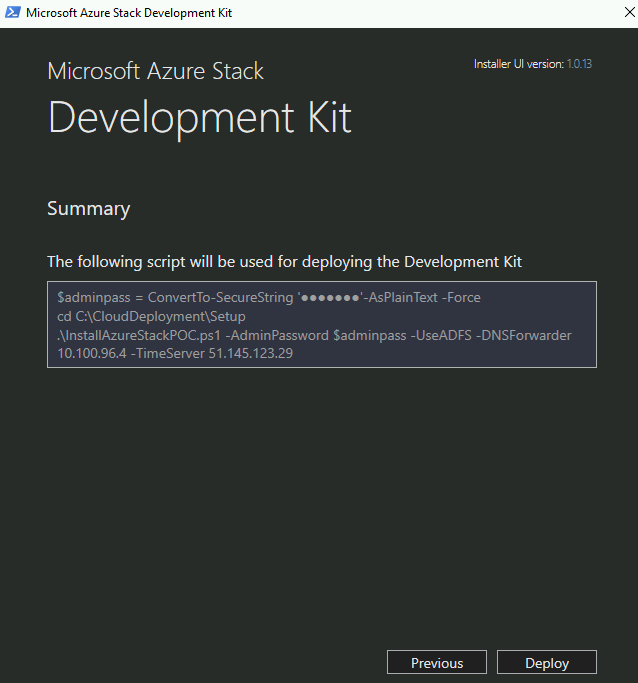
Deploy! Don’t be fooled with ADFS on my screenshot, it is wrong screenshot, from another test. Sorry for that.
…
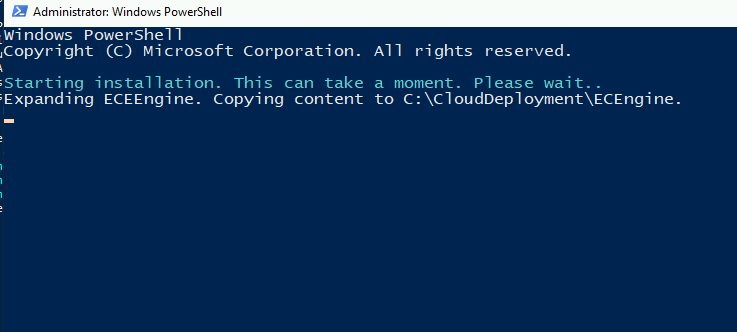
At this point, installation will start, if you selected Azure Cloud as your Identity Provider, in first few minutes you will be asked to login into your Azure account, and then instalaltion will proceed without any other intervention needed.
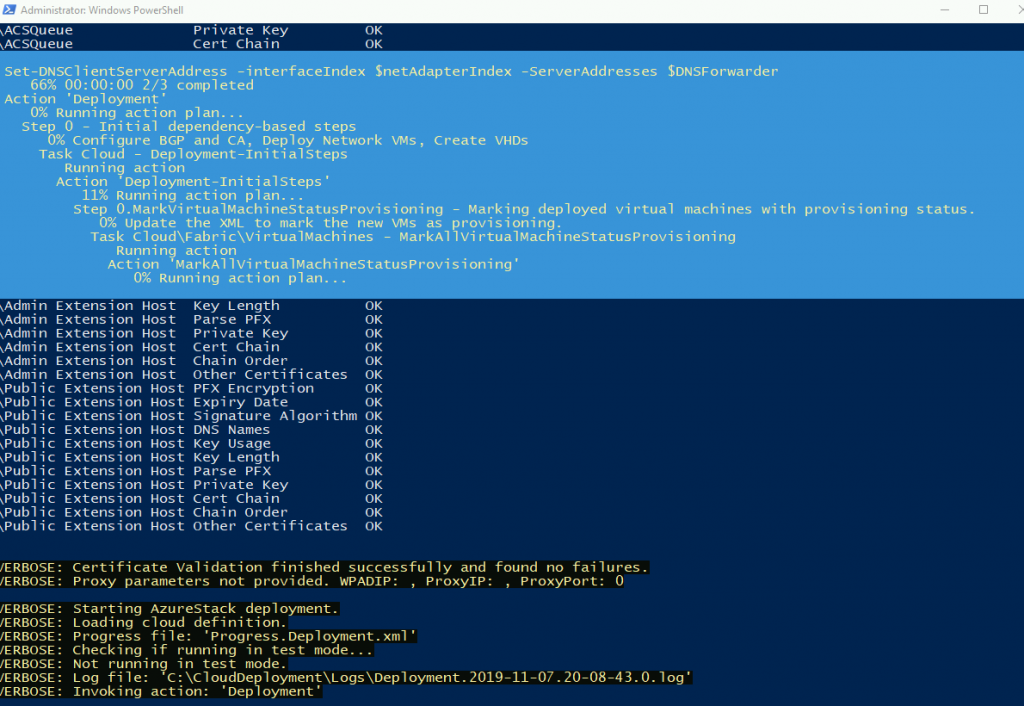
In my case, with classic HDDs deployment took about 12 hours total. If everything went fine in your case you should get COMPLETE: Action ‘Deployment’
With SSD setup (SATA SSDs) same setup took about 6.5 hours.
Of course, your deployment time will be completely up to your configuration.
If everything went fine you should be greeted with the screen below.

My first step was to go to – https://adminportal.local.azurestack.external
You will again be asked to login to your Azure account and then you will be redirected to local admin console.
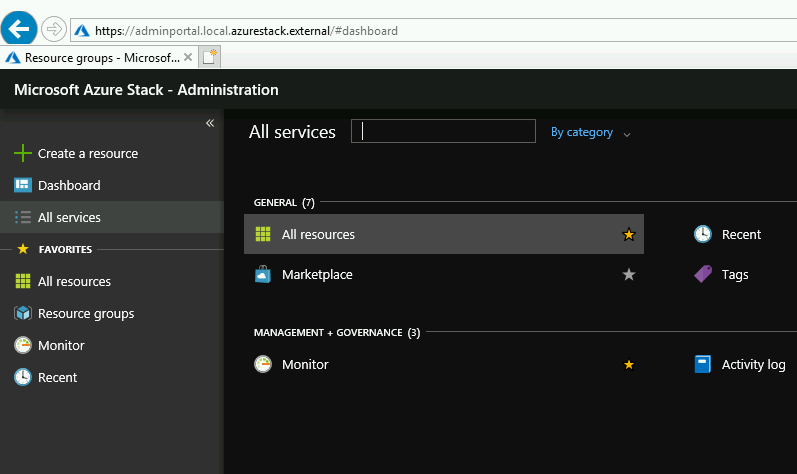
Your login for ASDK installation is AZURESTACK\azurestackadmin and password you defined for your host server. Best experience for ASDK is in Internet Explorer.
That is it, installation was success, lets start our exploration further.
Here are a few more articles you will need after the installation is done.
1.Post installation steps tutorial – https://www.informaticar.net/azure-stack-post-installation-steps/#more-3889
2. Register your Azure Stack with (online) Azure – https://www.informaticar.net/register-your-azure-stack-asdk-with-azure-ad/
3. Integrate Azure Stack into your local network – Remove NAT https://www.informaticar.net/integrate-azure-stack-to-your-lan-remove-nat/
4. How to connect Powershell from Azure Stack host to Azure Stack – https://www.informaticar.net/connect-powershell-with-azure-stack/
5. How to ShutDown Azure Stack – https://www.informaticar.net/how-to-shutdown-restart-azure-stack/