You can always download VM image from Azure Marketplace and create VMs for your ASDK environment.
On the other hand, there are a lot of situations where you want to use your own software with specific things you need, and some things already preinstalled and configured.
Because of that, I create my own VMs, with a lot of things prepared on them and upload them to my Azure Stack.If you wish to prepare VHD for Azure Stack, here are the steps to do so –
- Convert VHDX to VHD – https://www.informaticar.net/convert-hyper-v-vhdx-to-vhd/
- Prepare Windows VM for Azure Stack – https://www.informaticar.net/prepare-windows-server-vm-for-azure-stack/
- Prepare CentOS VM for Azure Stack – https://www.informaticar.net/prepare-centos-vm-for-azure-stack/
This tutorial will be continuation from the links above, and we will cover uploading syspreped VHD to Azure Stack, creating all the resources in Azure Stack for it, and in the end, deploying VM from uploaded VHD.
Preparing Resources on Azure Stack
After you prepared VHD for your Azure Stack, you will need to upload it to your Azure Stack.
Firstly, I upload VHD to Azure Stack Host machine and after that I start procedure in Azure Stack Admin interface.
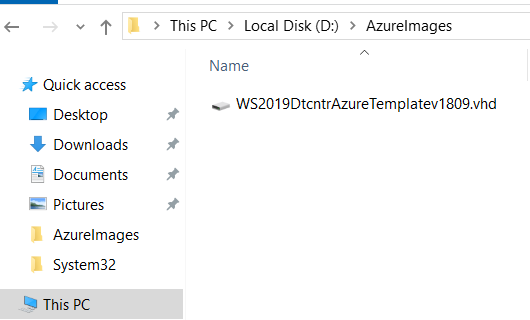
I will upload and create Windows Server 2019 v1809 VHD which I’ll be using for Exchange 2019 lab.
My Azure Stack environment is Azure AD connected.
Let’s go, step by step
This whole procedure will be done from Azure Stack host as Azurestackadmin user.
Login into Azure Stack Admin – https://adminportal.local.azurestack.external
There are some prerequisites before getting to upload VHD, so let’s do this like if we are doing this for the first time ever.
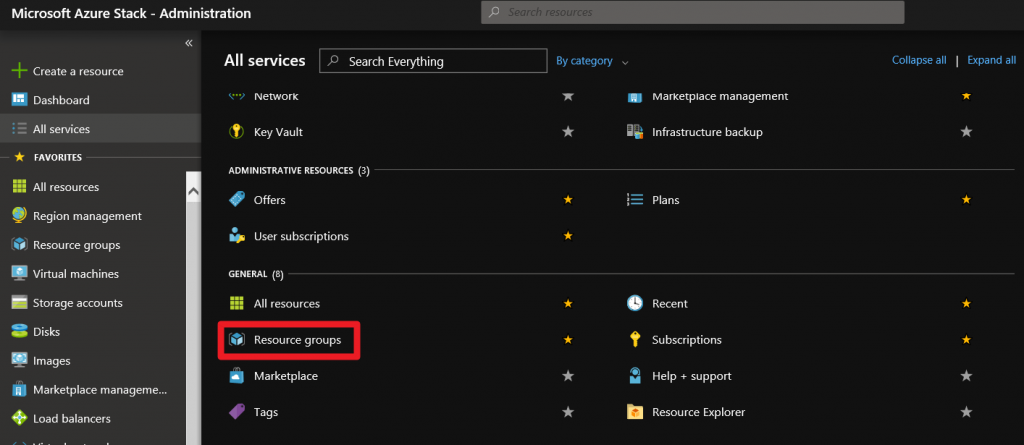
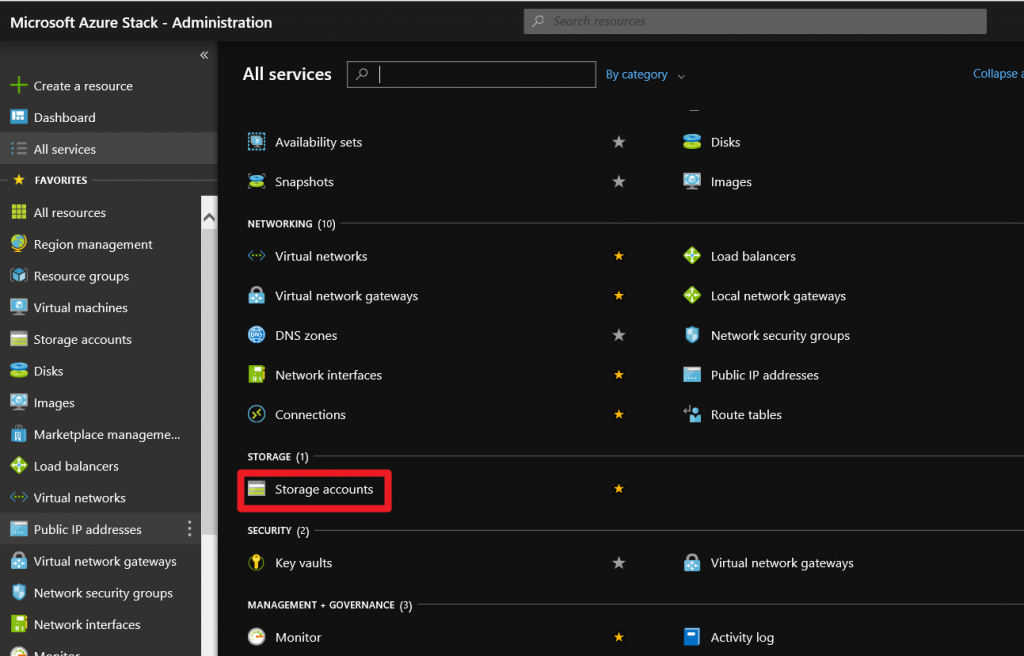
TIP: I will frequently mention All services as a menu. Under All services, there are – all services – in our Azure Stack installation. By clicking on the star next to the service you can add it to the side Favorites menu, so you don’t need to use All services menu that often and look for your most used services.
Create resource group
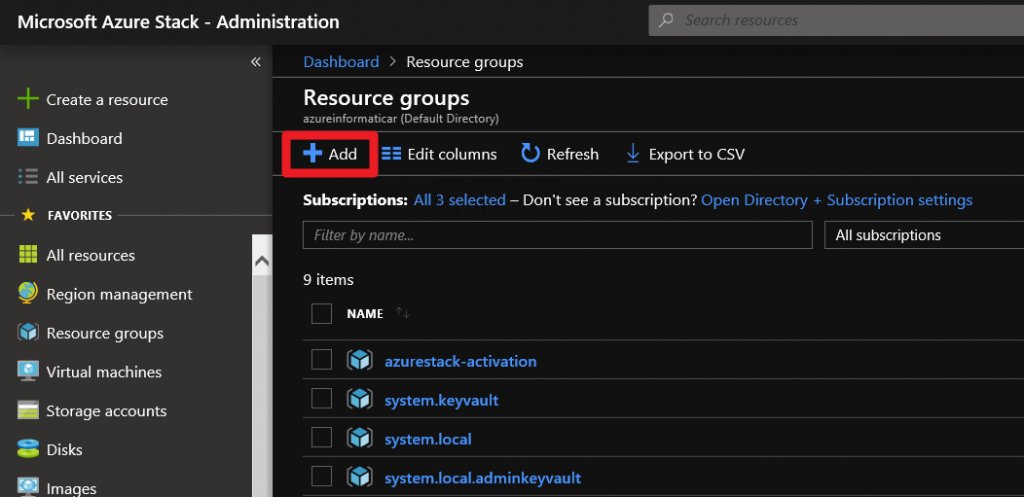
Go to All services | Under General select Resource groups
Click on Add to create new Resource group
I will name new resource group Ex2019 (I will put here all the resources for my Exchange 2019 lab). Since I’m using ASDK I will select Default Provider Subscription and local as resource group location | Create
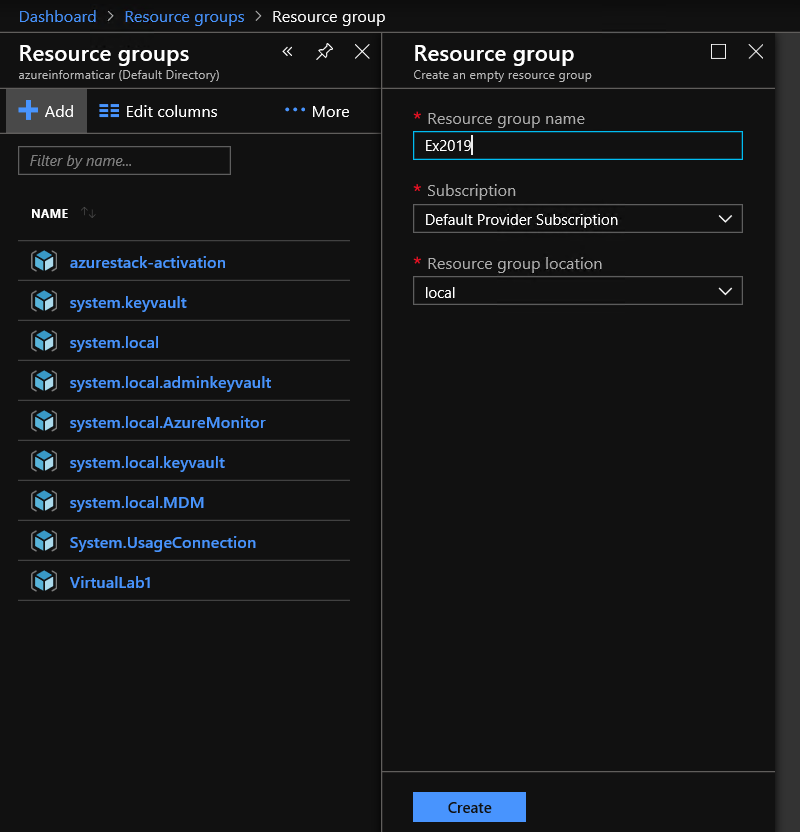
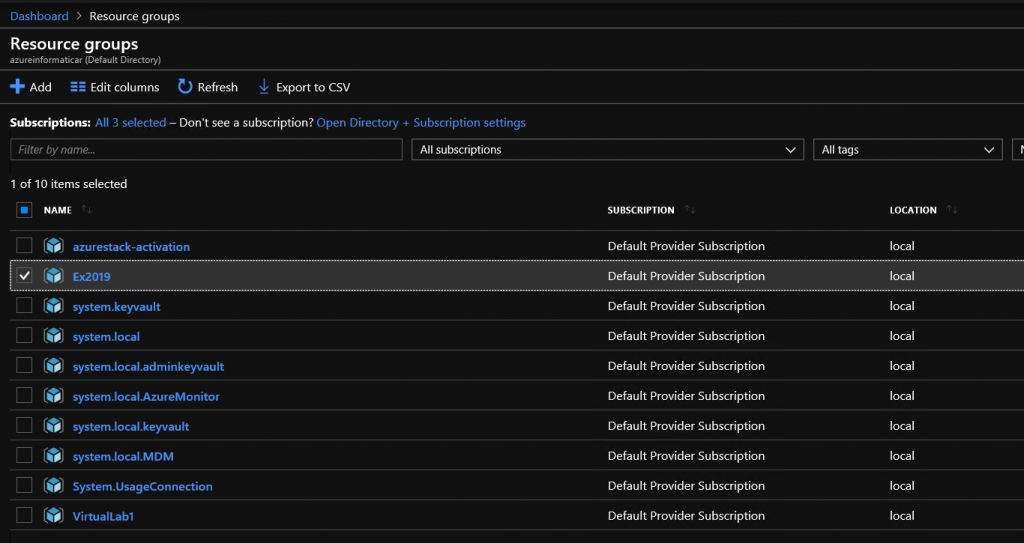
Ex2019 resource group is successfully created.
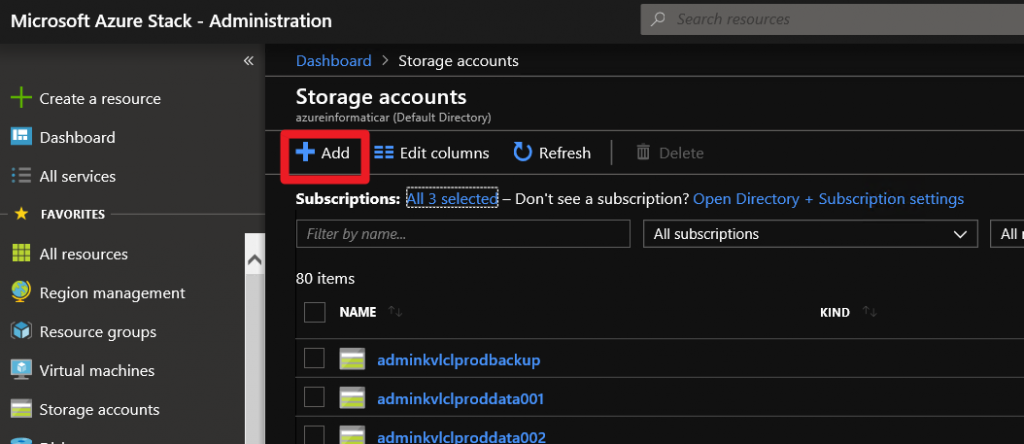
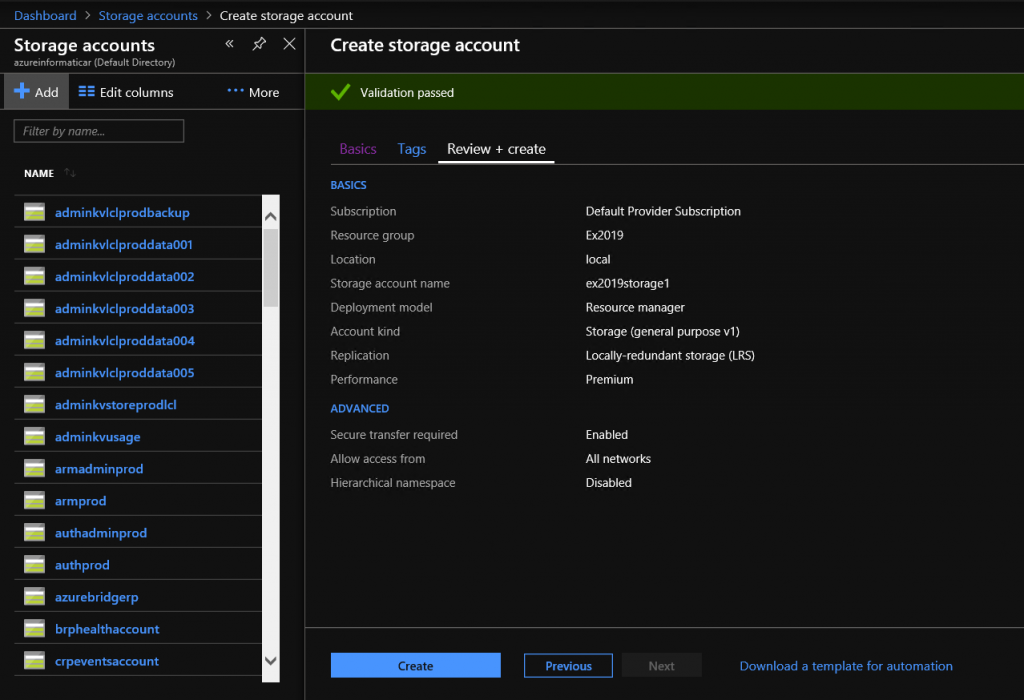
Storage Account
Our next step will be creation of new Storage Account
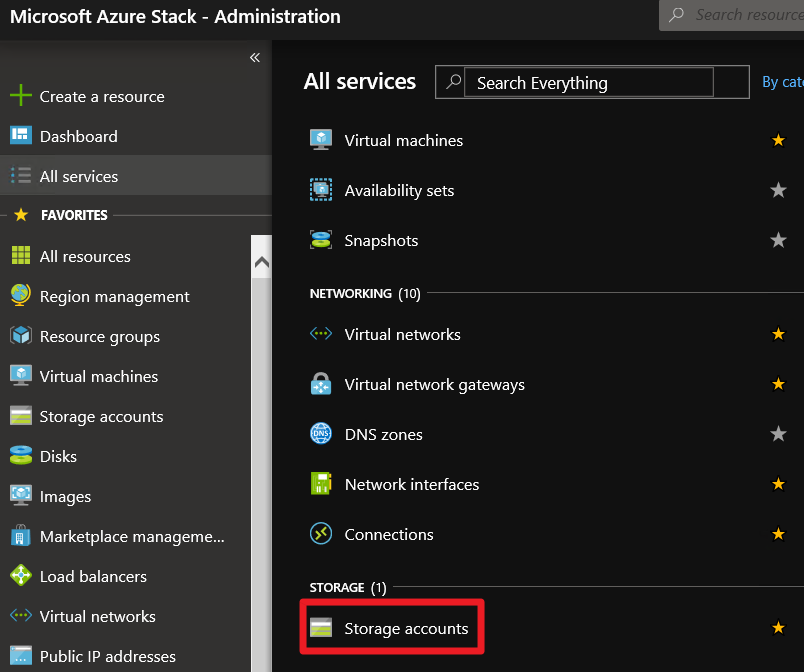
All services | Storage | Storage accounts
Select Add
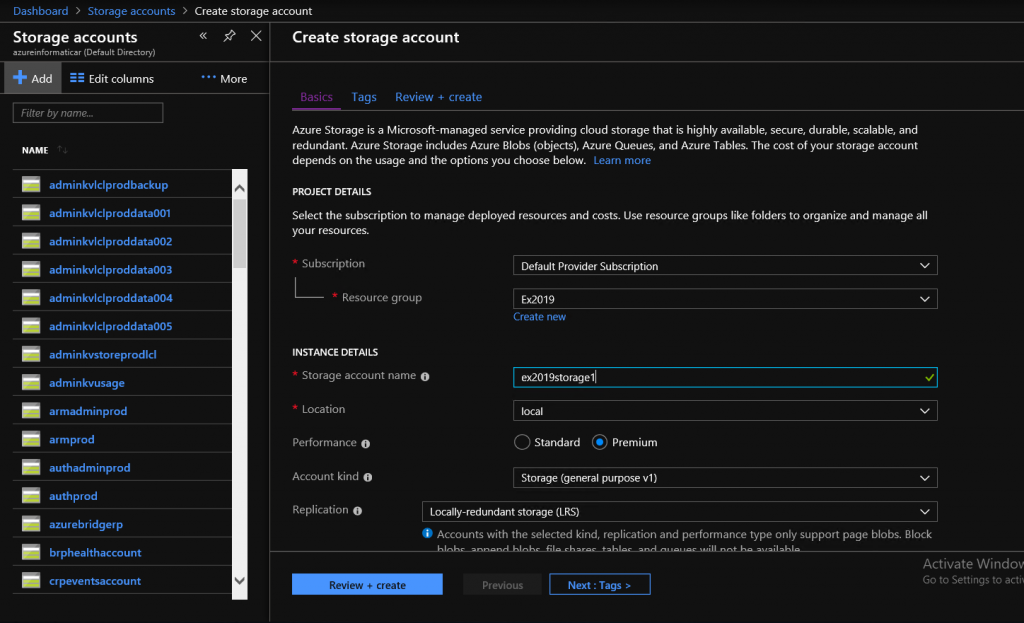
Subscription: Default Provider Subscription
Resource Group: Ex2019 (we already created that)
Storage Account name: ex2019storage1 (I named it that way, so I have same logic for all the resources for the lab)
Location: local (since I’m using ASDK)
Performance, Account kind and Replication are up to you to choose, although you don’t have a much of selection in ASDK.
Next: Tags >
You can add tags and then select Next: Review + create >
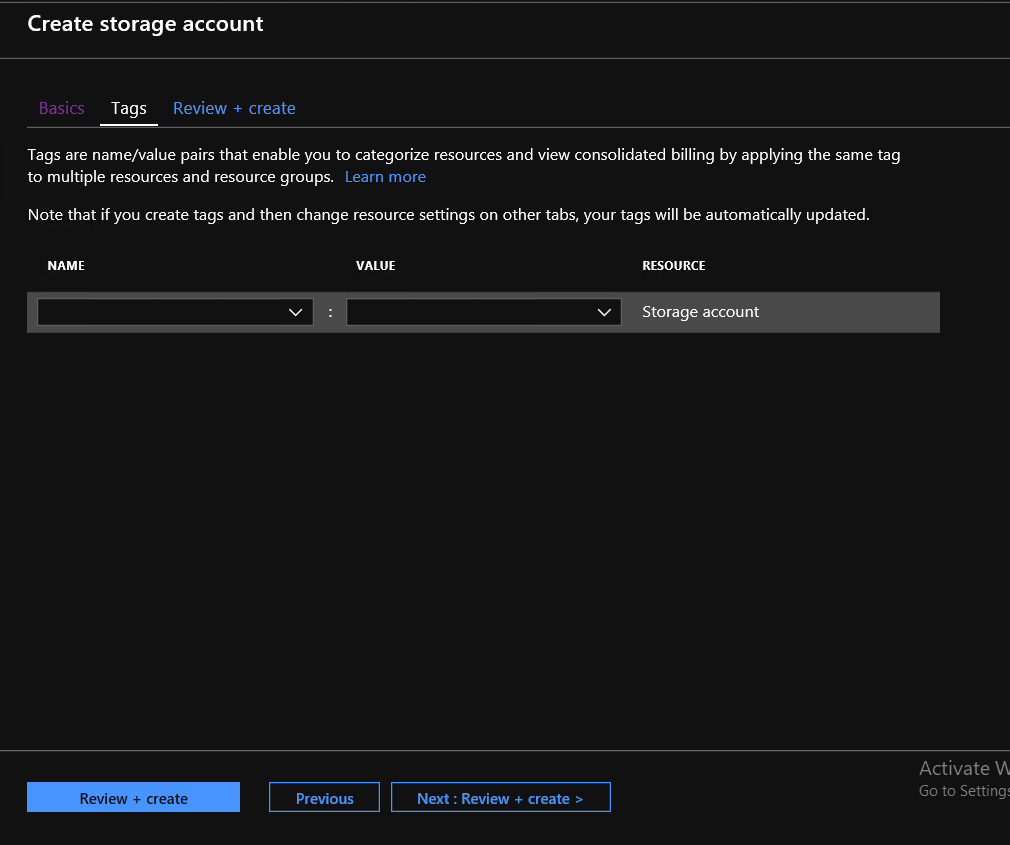
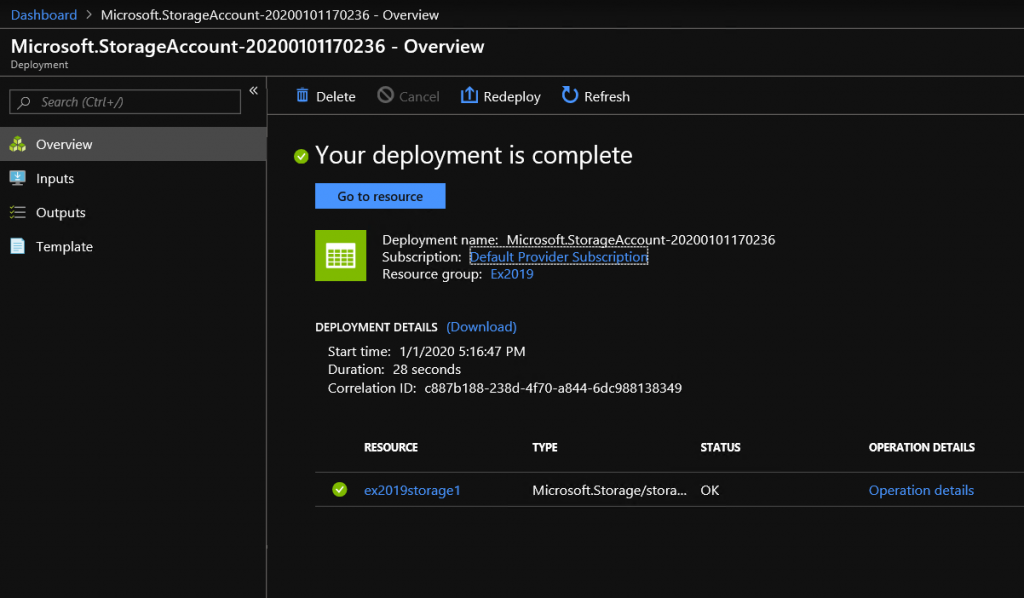
Validation should be passed, review your settings and select Create
Completed
Network Resources
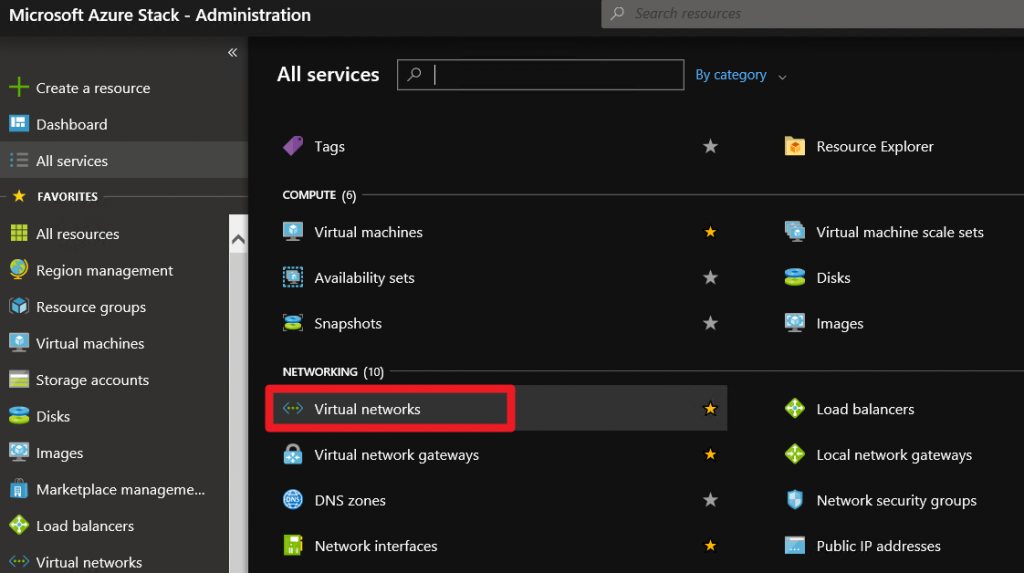
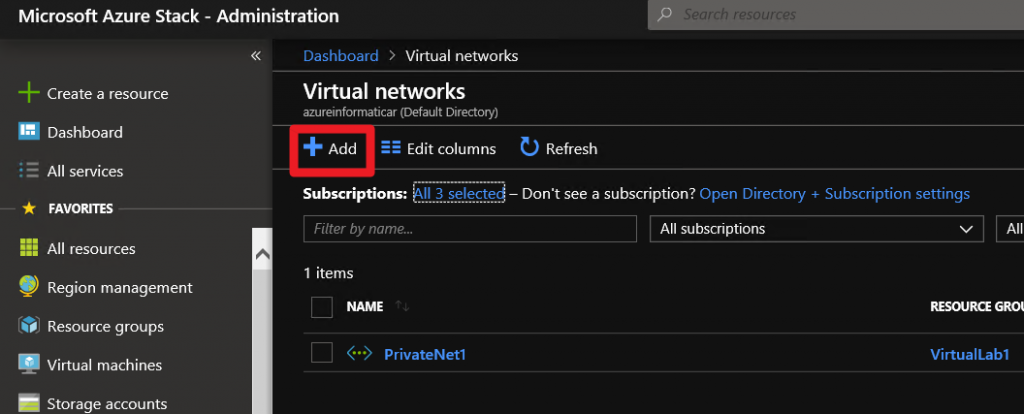
All services | Networking | Virtual Networks
Click on Add
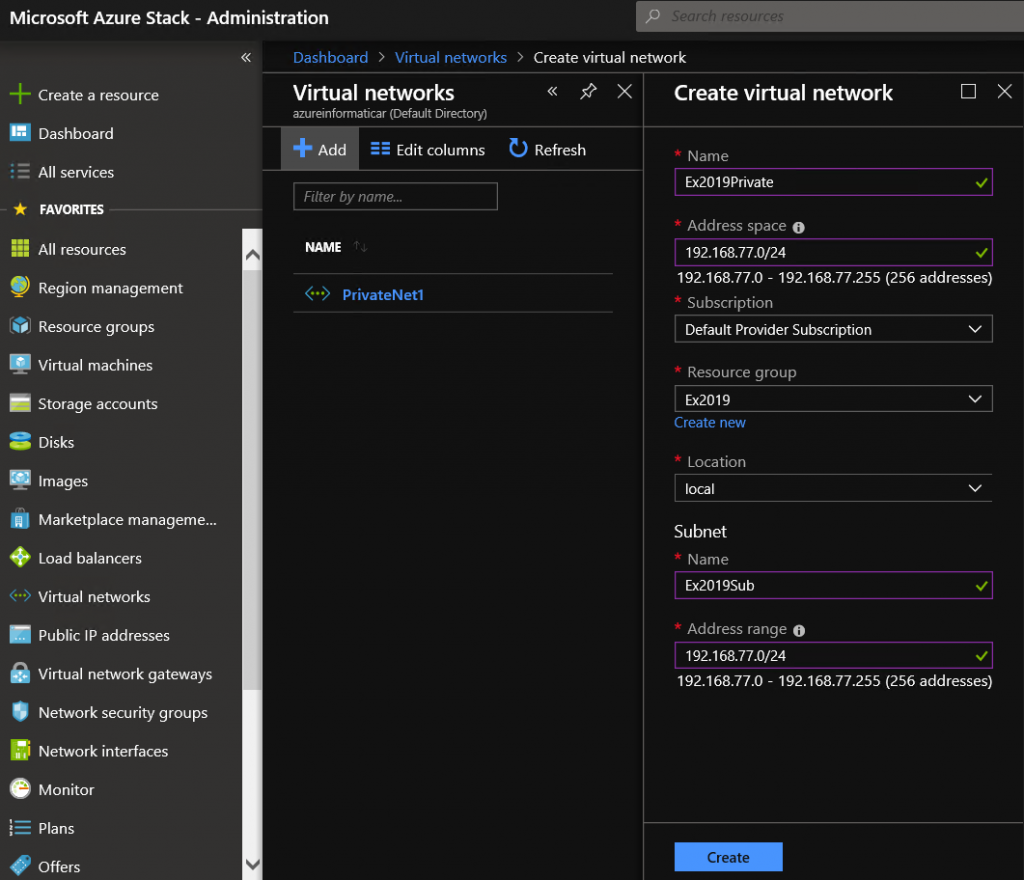
I will give my new virtual network name “Ex2019Private, address space is completely up to you to choose for your VM network, subscription will be Default Provider Subscription, resource group Ex2019 and location local.
Subnet needs to be part of your defined virtual network. Virtual network can be larger than your subnet, and you can have multiple subnet within virtual network.
Create
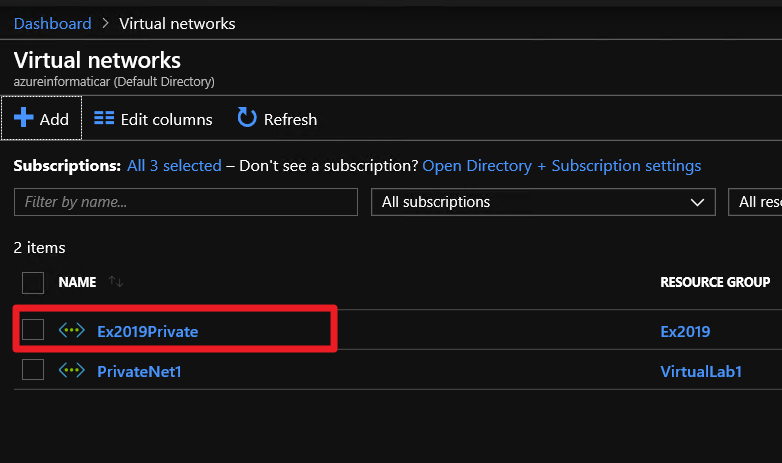
Created
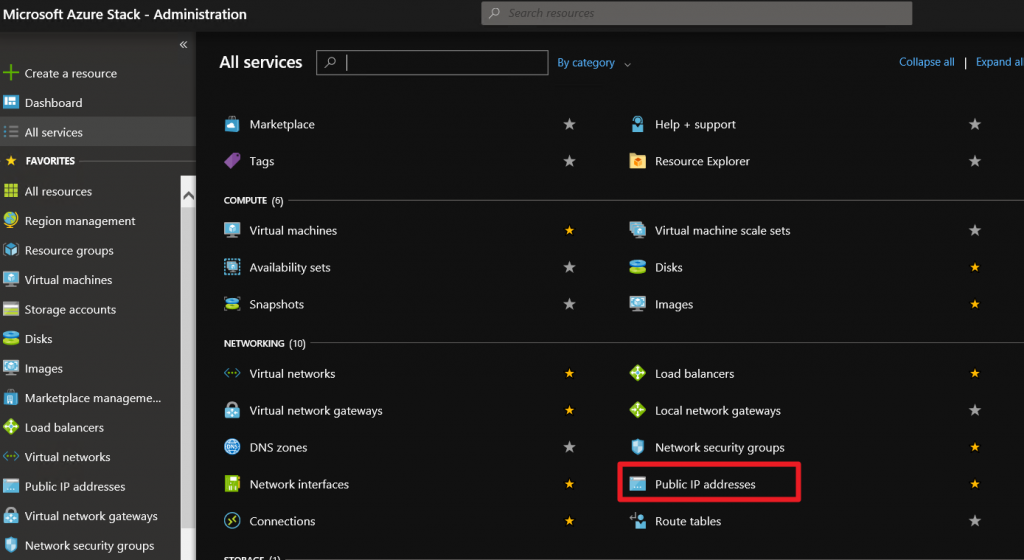
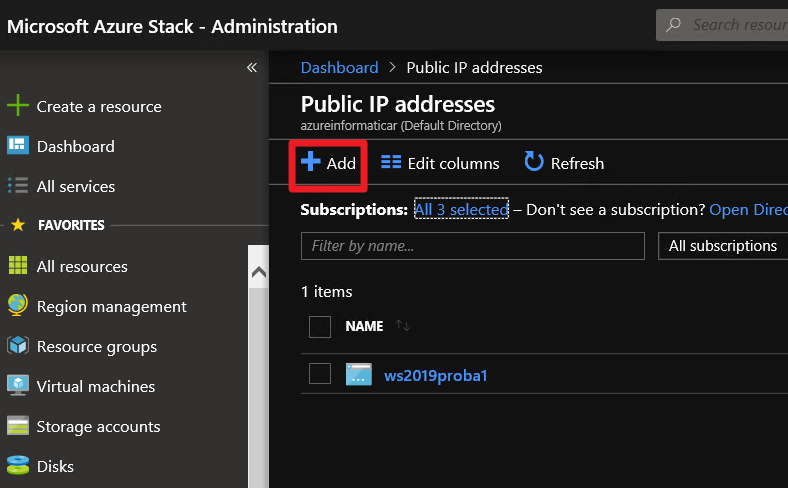
Next, we will create public IP
All services | Networking | Public IP addresses
Add
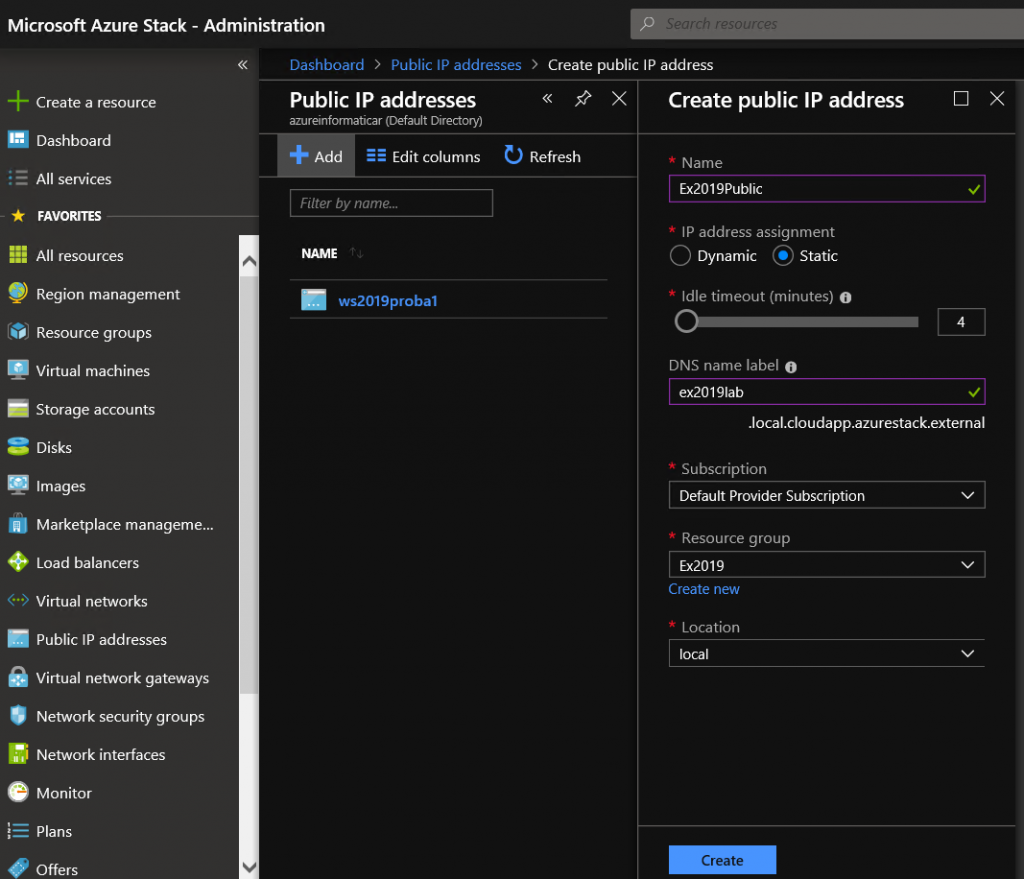
I will name it Ex2019Public, set Static IP address (it will be added from ASDK public IP pool). I also se DNS name, again selected Default Provider Subscription, Ex2019 as resource group and local as location since I’m using ASDK | Create
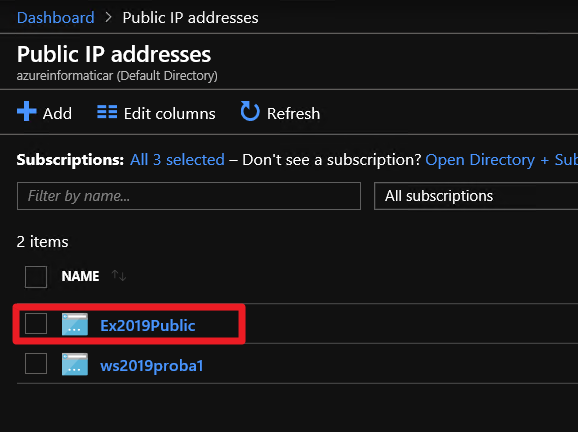
Created
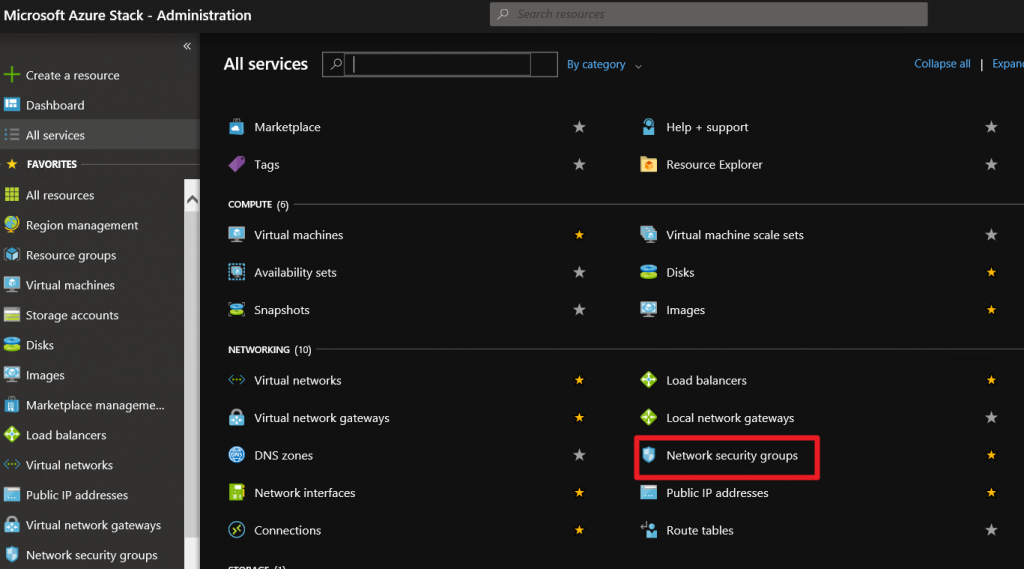
After we defined networking, we will now create network security groups
All services | Networking | Network security groups
Add

For a name I selected Ex2019nsg, subscription is Default Provider Subscription, resource group is Ex2019 and location is local. Create
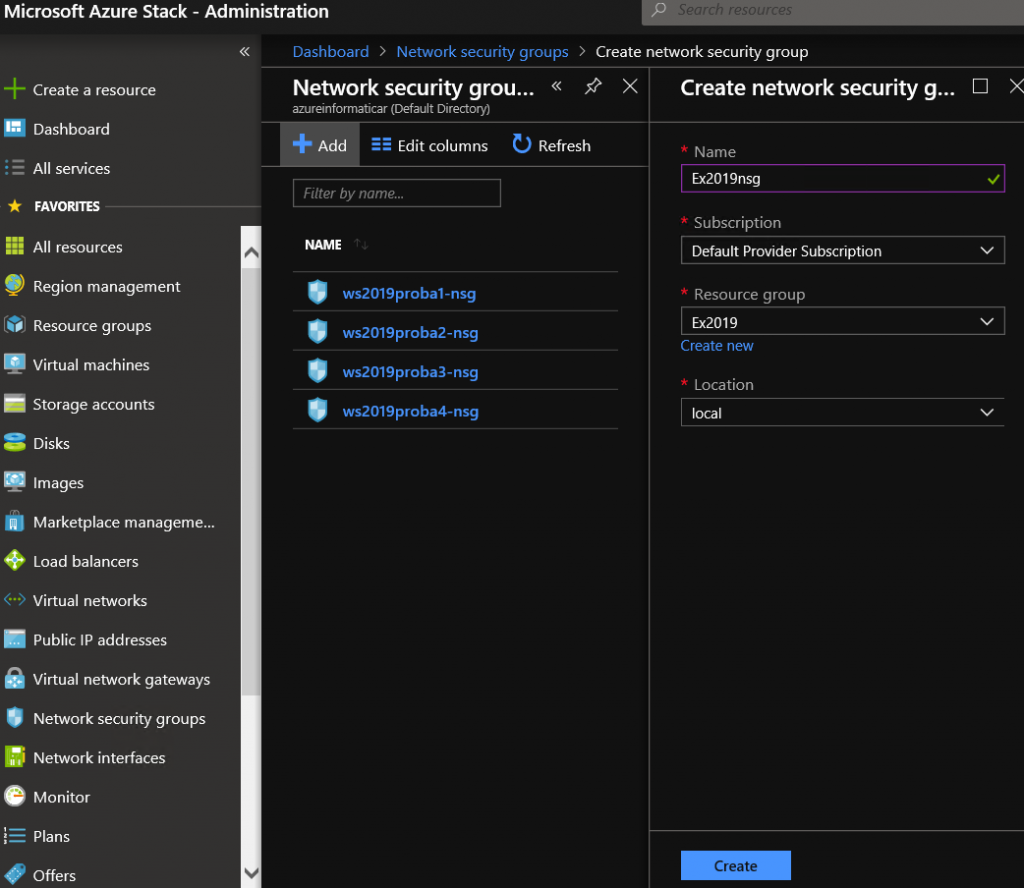
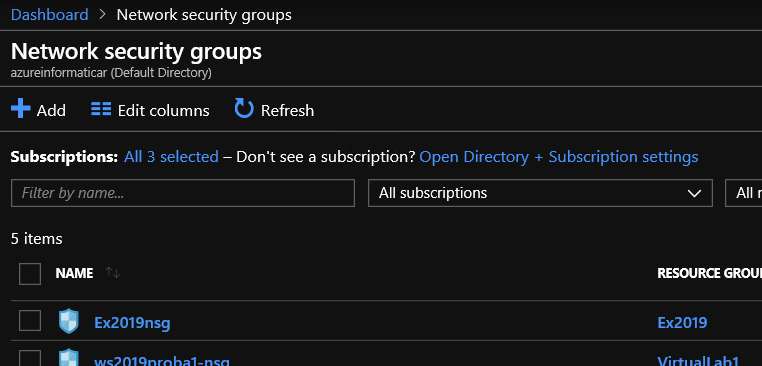
Once again, success, Ex2019nsg is created.
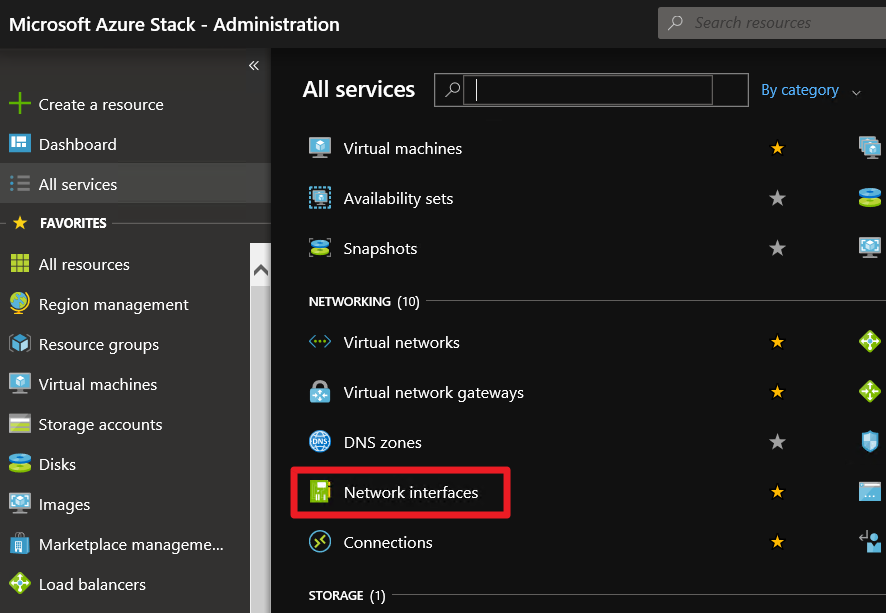
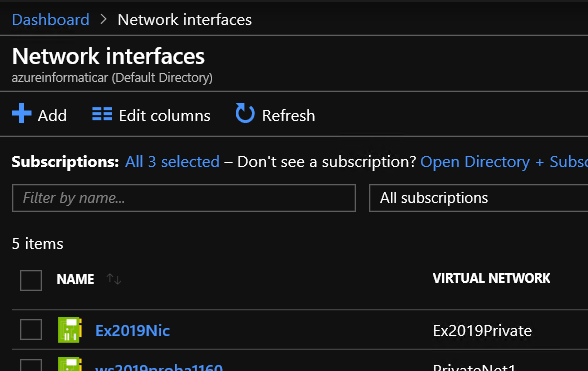
And at last, we will create network interface which will be added to VM we are going to create. Network interface bounds subnet, network security group and public IP together.All services | Networking | Network interfaces
Add
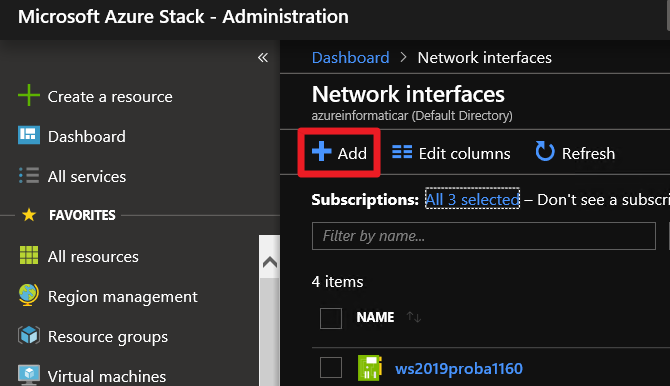
I gave a name Ex2019Nic and bonded all the resources we created so far. Create
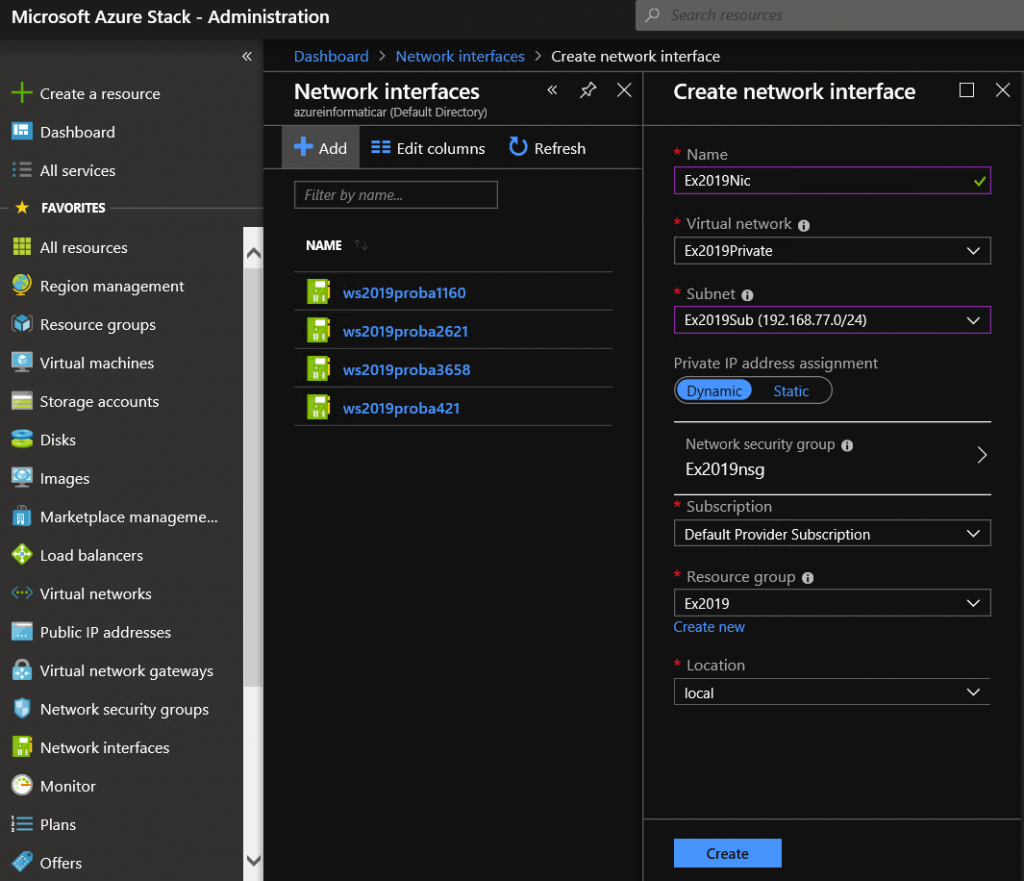
Network interface created
Uploading created VHD
We created all the resources we will need for the whole process. Now we need to upload VHD we created to our Azure Stack installation.
I uploaded my VHD to Azure Stack host, and then on the Azure Stack host opened https://adminportal.local.azurestack.external So, the whole procedure will be done from the Azure Stack host with Azurestackadmin account.
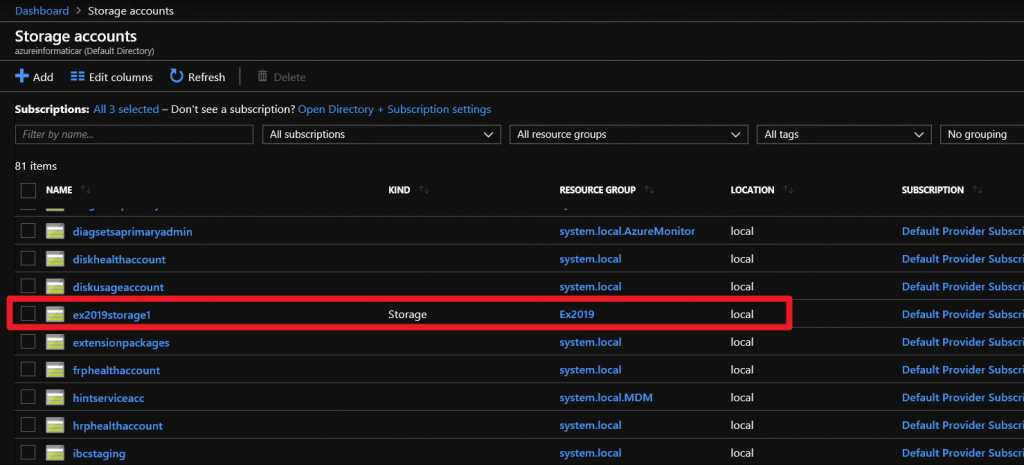
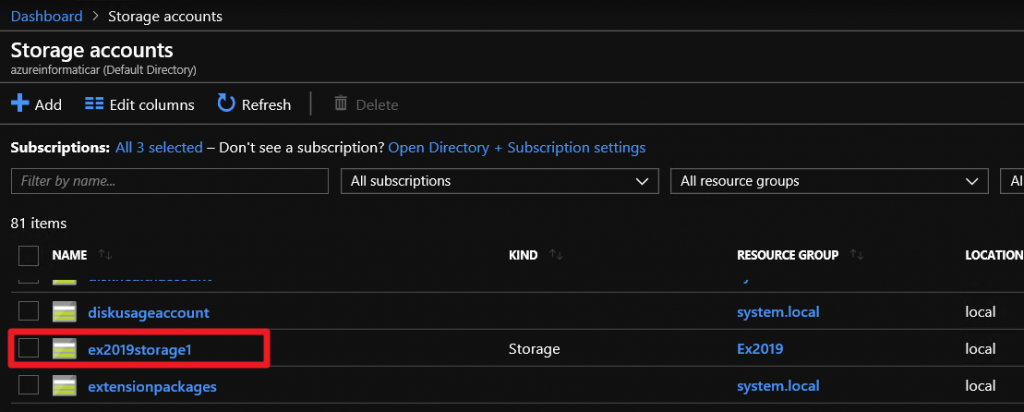
Go to All services | Storage | Storage accounts
Under storage accounts I will find and select Ex2019storage1 I created at the beginning of tutorial
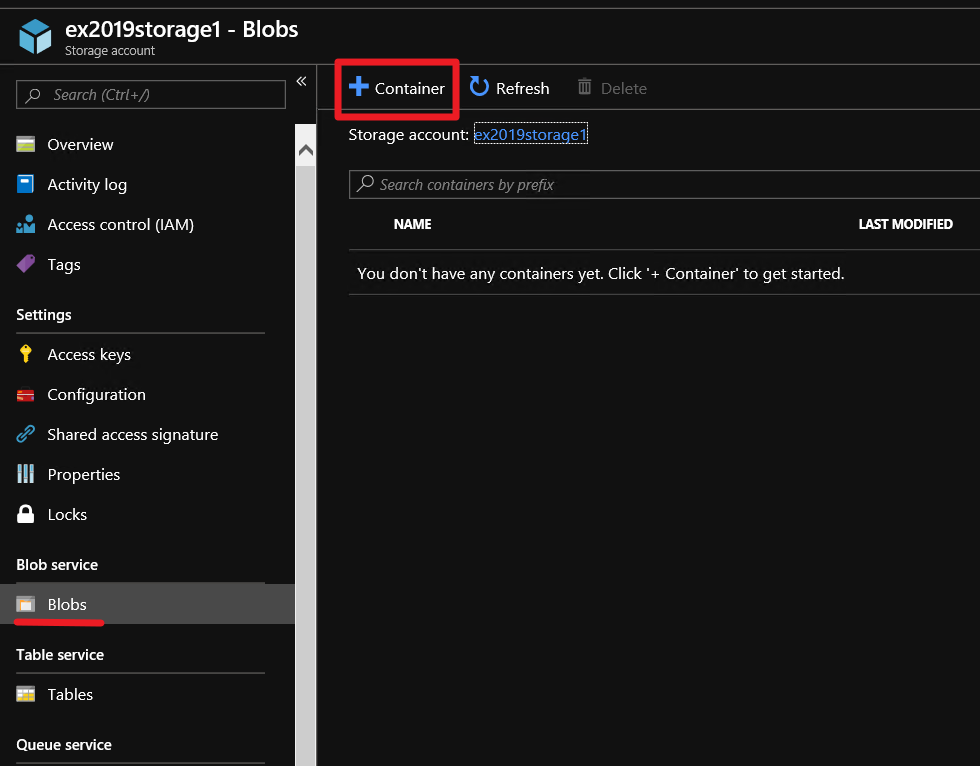
When next screen opens, select Blobs from Blob service in side menu, and then click on +Container to add new container.
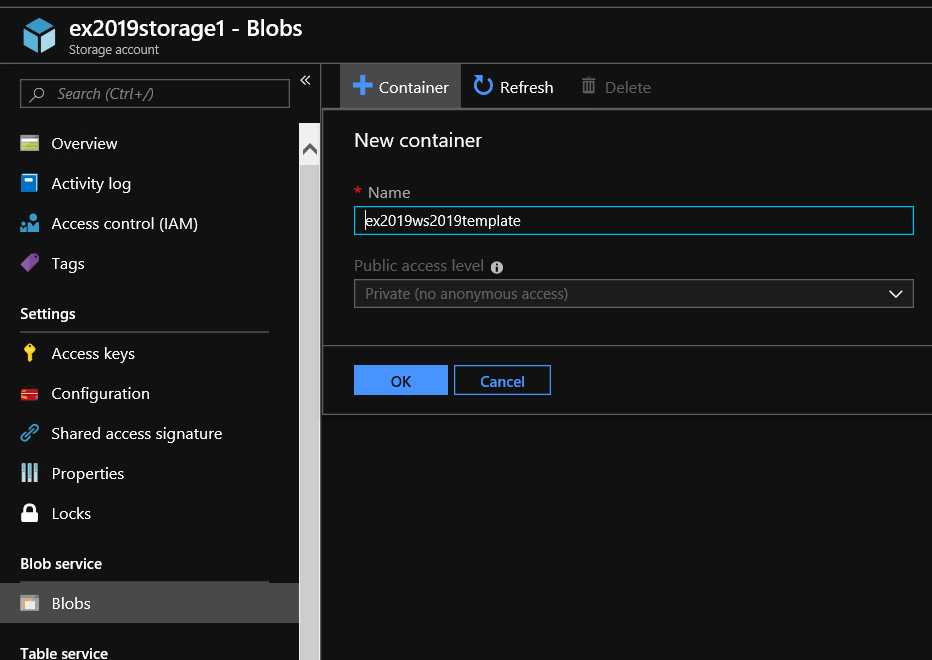
I will name it ex2019ws2019template. Now, this blob container is a location where I will upload my syspreped VHD for the Exchange 2019 lab. VHD is Windows Server 2019 installation. OK
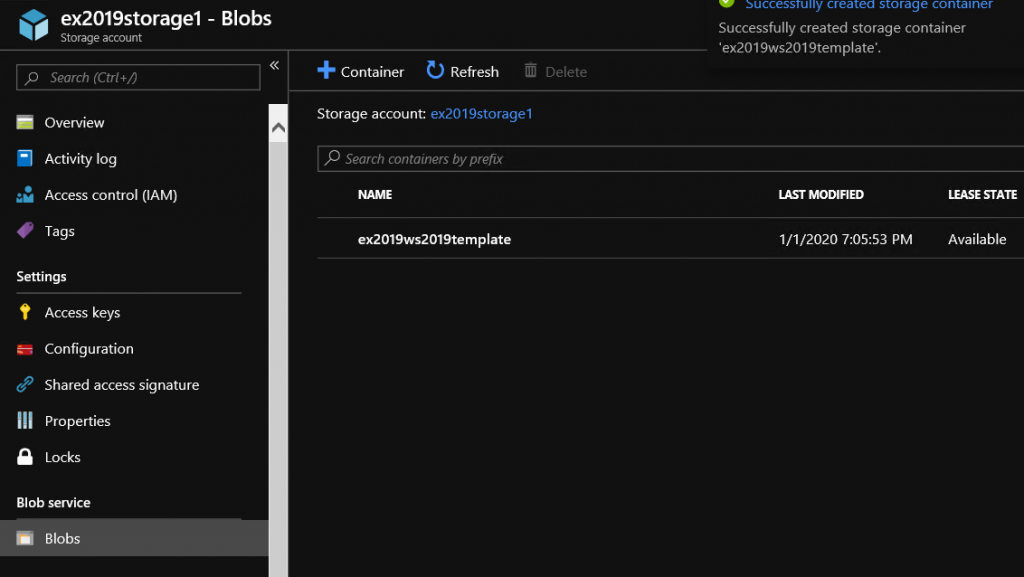
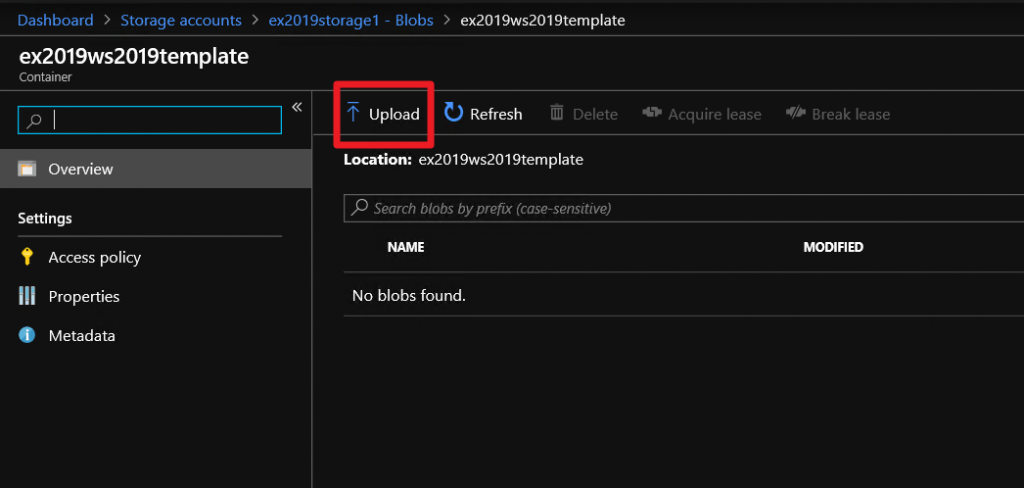
Now, I successfully created container named “ex2019ws2019template” and will now select it.
Container is empty, click on Upload at the top of the screen.
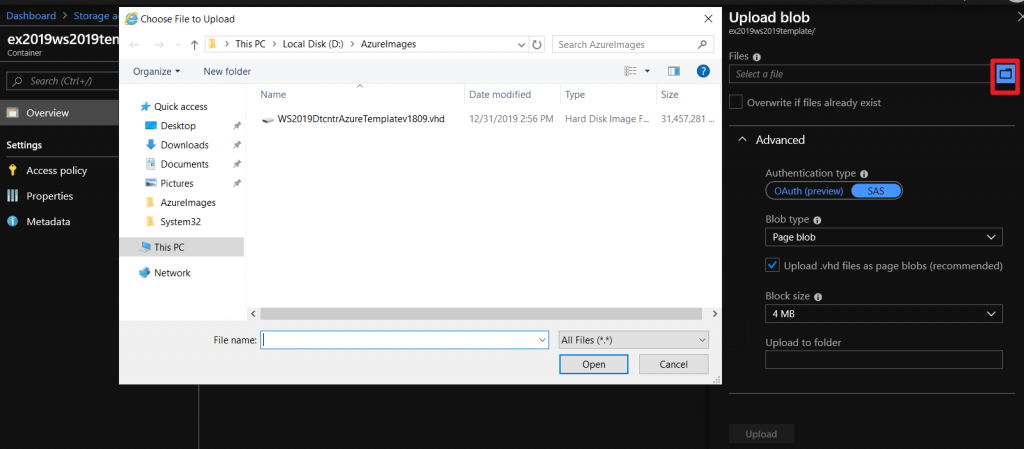
Upload blob dialog appears, and I immediately selected blue folder sign next to files. I navigated to the folder where my VHD is located and will select it. Under Advanced SAS, Page blob, and 4MB size need to be selected.
Select Upload

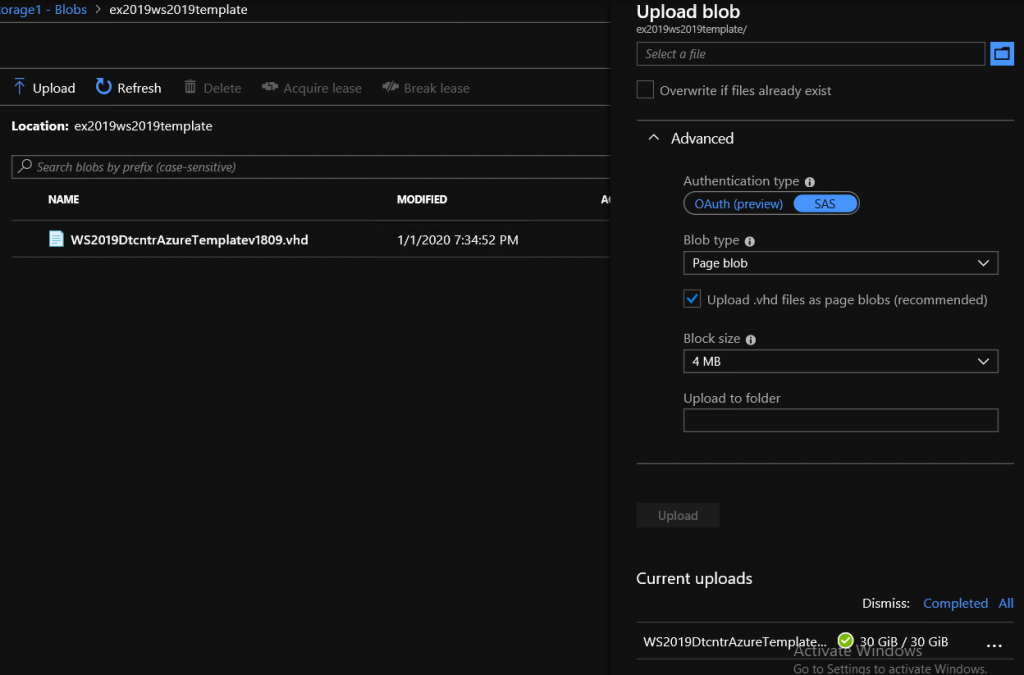
After I clicked on Upload, procedure starts. It will take some time to upload depending on your hardware/network config. 30GB VHD you are seeing below, take about 25minutes in my test environment to upload.
Upload is done
Create a VM
Ok, great, now what? How do we create VM from that? There are a couple of ways, and I will show one in this tutorial.
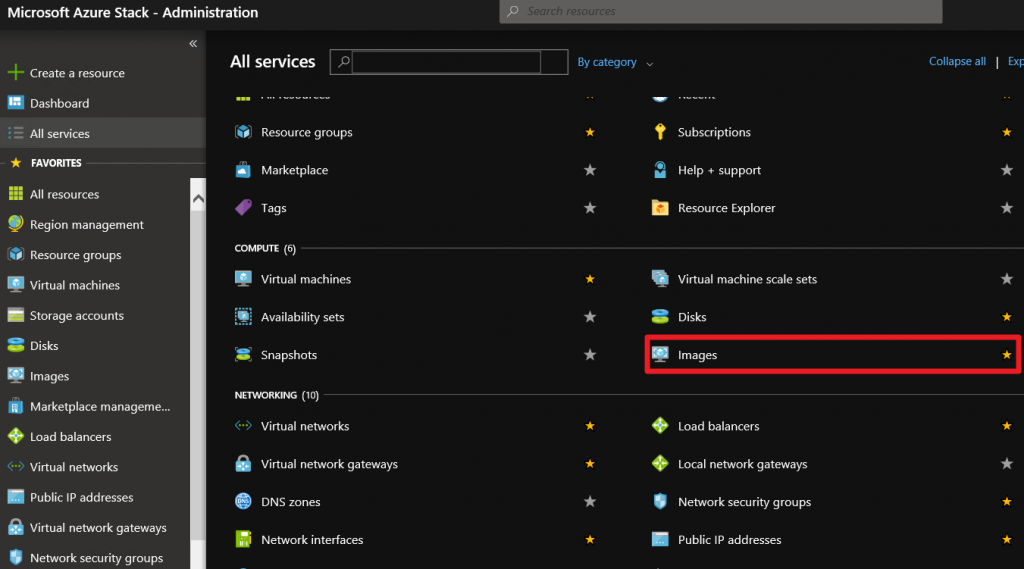
All services | Compute | Images
Click on Add
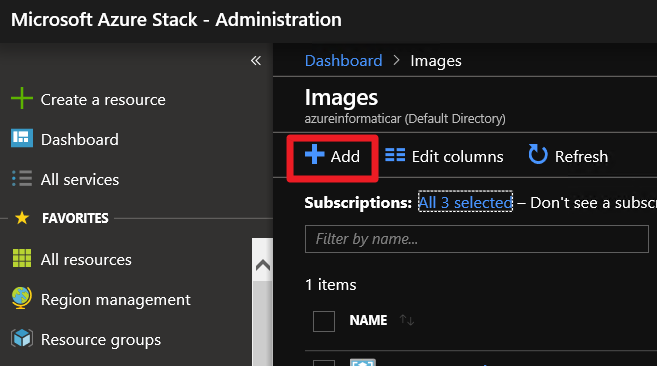
New screen will open, where we will be defining image from our uploaded VHD. It can be template for all our future VMs in Azure Stack (of course if you generalized and prepared your VM accordingly).
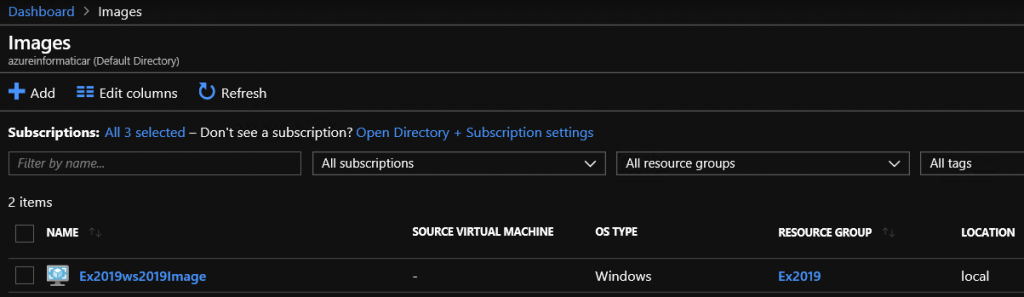
For a name I entered Ex2019ws2019image – Windows Server 2019 image that will be used in my Exchange 2019 lab. Do your naming as you wish, with your own logic.
For subscription, resource group and location – all is the same as throughout this tutorial.
In the OS disk part, I will select Windows, and under Storage blob you will have to navigate to the Storage blob to which you uploaded your VHD. You can see my path below.
I also selected premium SSD and Read/Write for caching. You can also define data disk for the image, but I will skip that here, it can be added later if needed.
Create

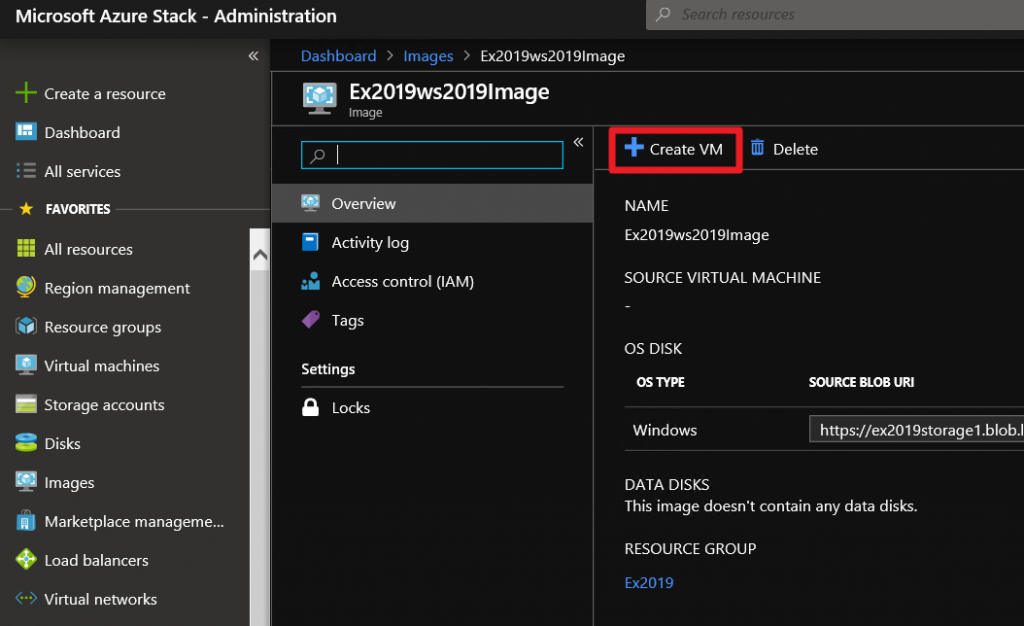
Image is created. I will select it, as this is also place where we will create our first VM in Azure Stack.
Now, I selected created image, on new screen, under overview there is option – +Create VM, I will click on it and we will start the process of creating new VM from uploaded syspreped VHD.
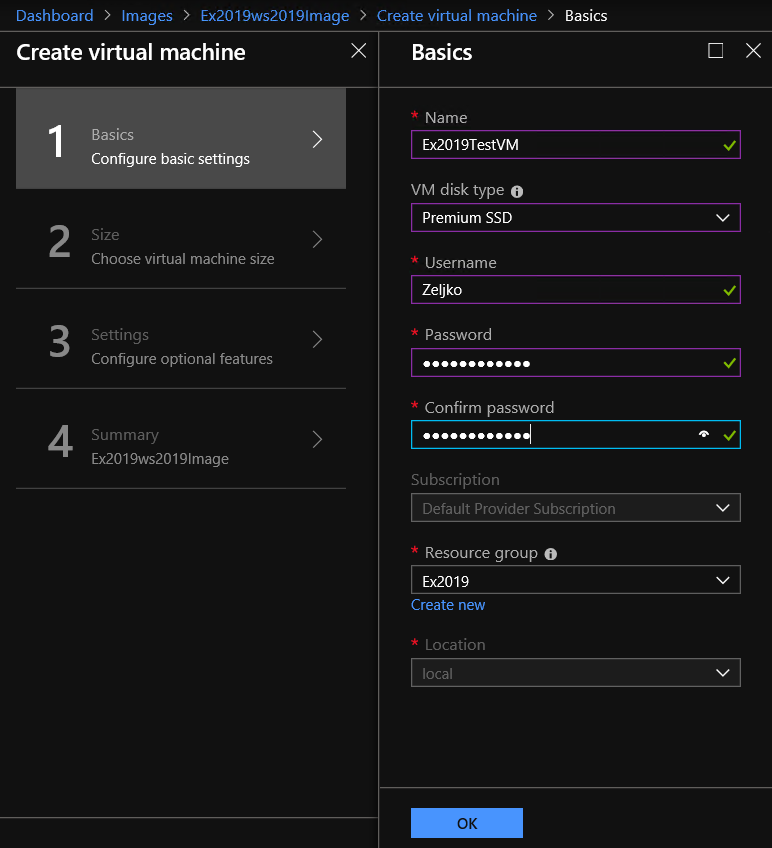
Give a name to your VM, define username and password for Windows account, and select subscription, location and resource group. OK
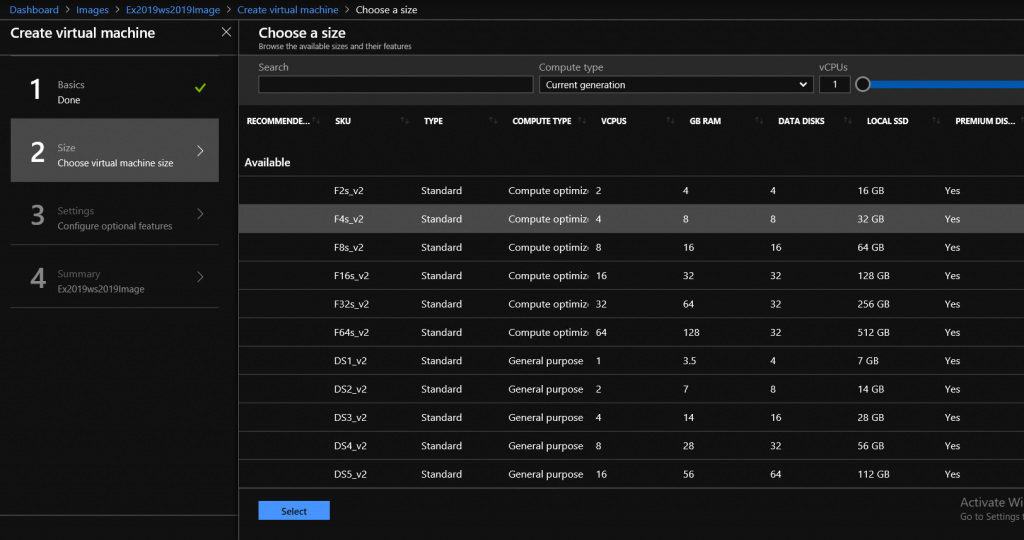
Under step 2 choose VM size. I selected F4s_v2, but what you will select depends completely on your needs and your hardware. Select
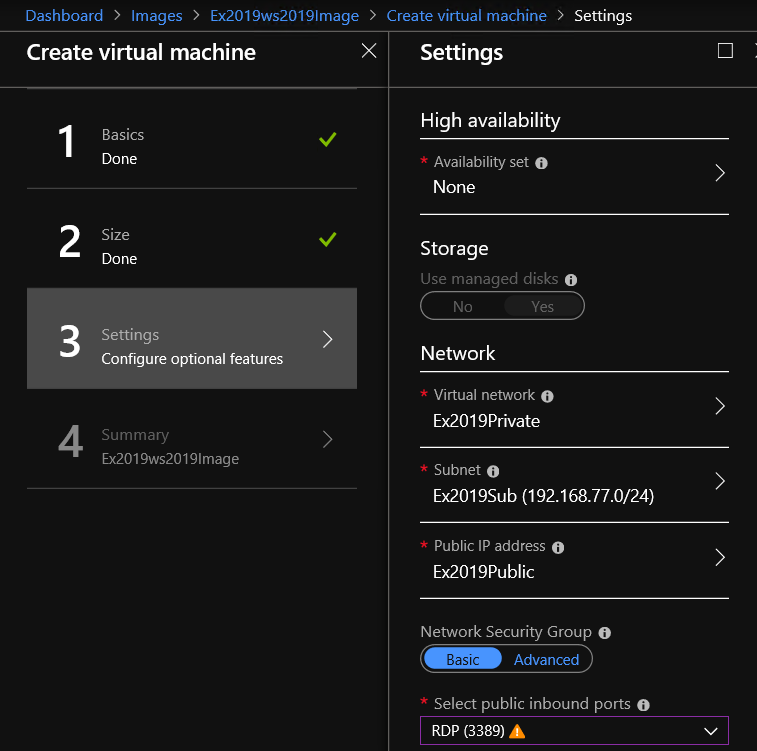
Under step 3 we will define our private, public network and security group. This is just first portion of the screen under step 3. I also selected public inbound port for RDP. Be very careful about public inbound ports, and never open unnecessary ports toward internet. If you need access, VPN is always the best first option for access from outside.
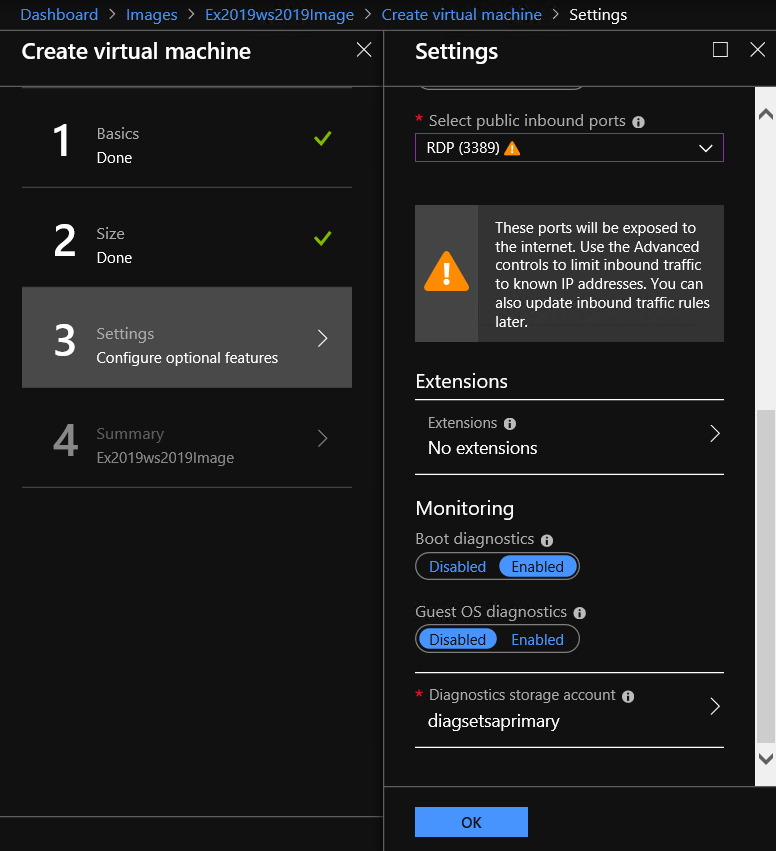
On the second portion of the step 3, there are some extensions and monitoring details, for purposes of this tutorial, I will leave everything as is and select OK at the bottom.
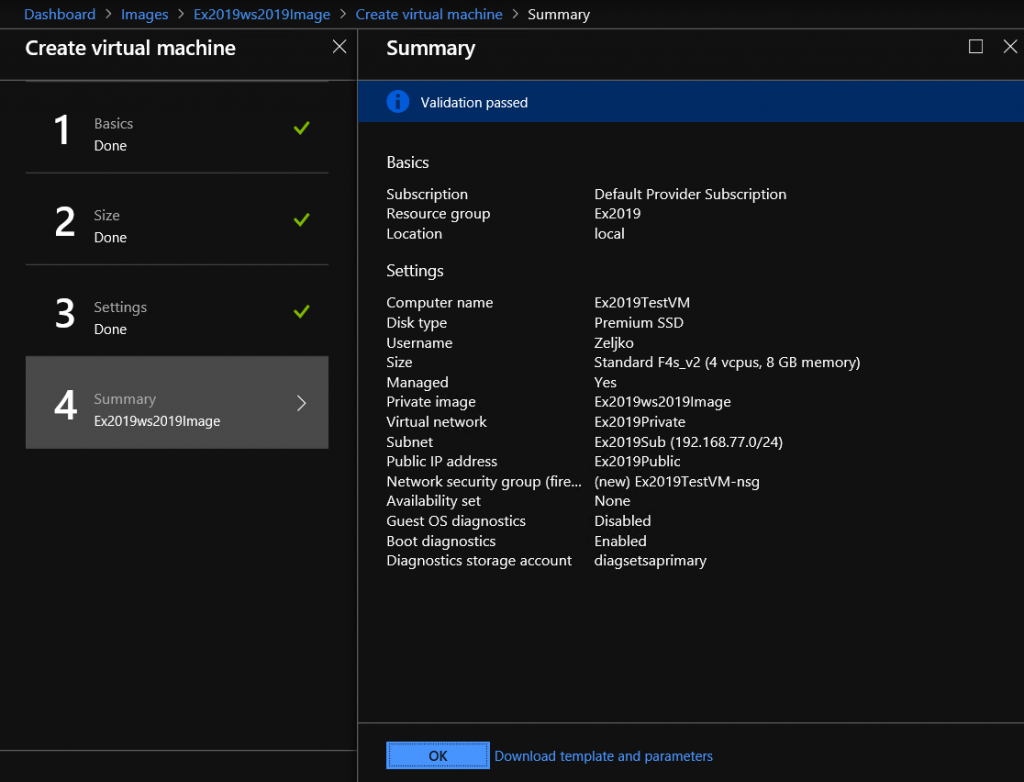
Step 4 is last step, with validation and summary. In my case everything went ok, so I will click on OK ?
After you confirm with OK, deployment of the VM should start. Again, depending on your machine specs this could take more or less time to complete.
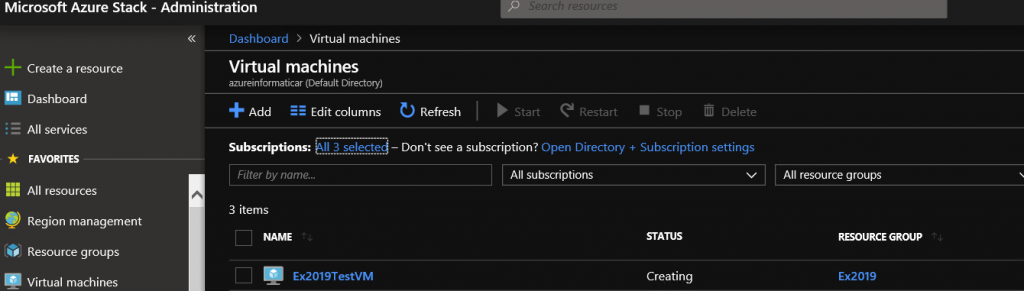
If we go to the All services | Compute | Virtual machines we can see that my Ex2019TestVM has a creating status.
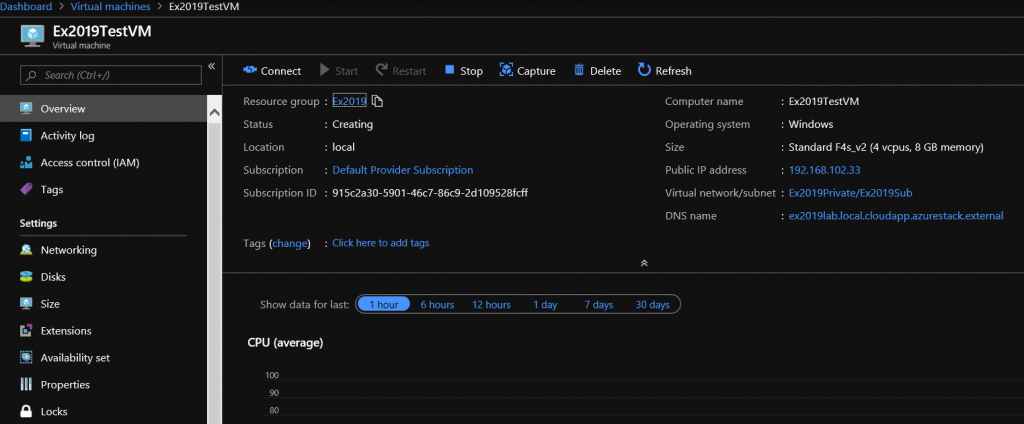
If you click on it, on overview screen you can see some details on your VM that is in creation process.
One of the things we will, if deployment finishes with success, is public IP address, which we will use for RDP connection. In my lab, IP address is 192.168.102.33. I will connect to the RDP from Azure Stack host itself, but you can also use a pc or laptop with Azure Stack VPN configured to RDP into your VM.
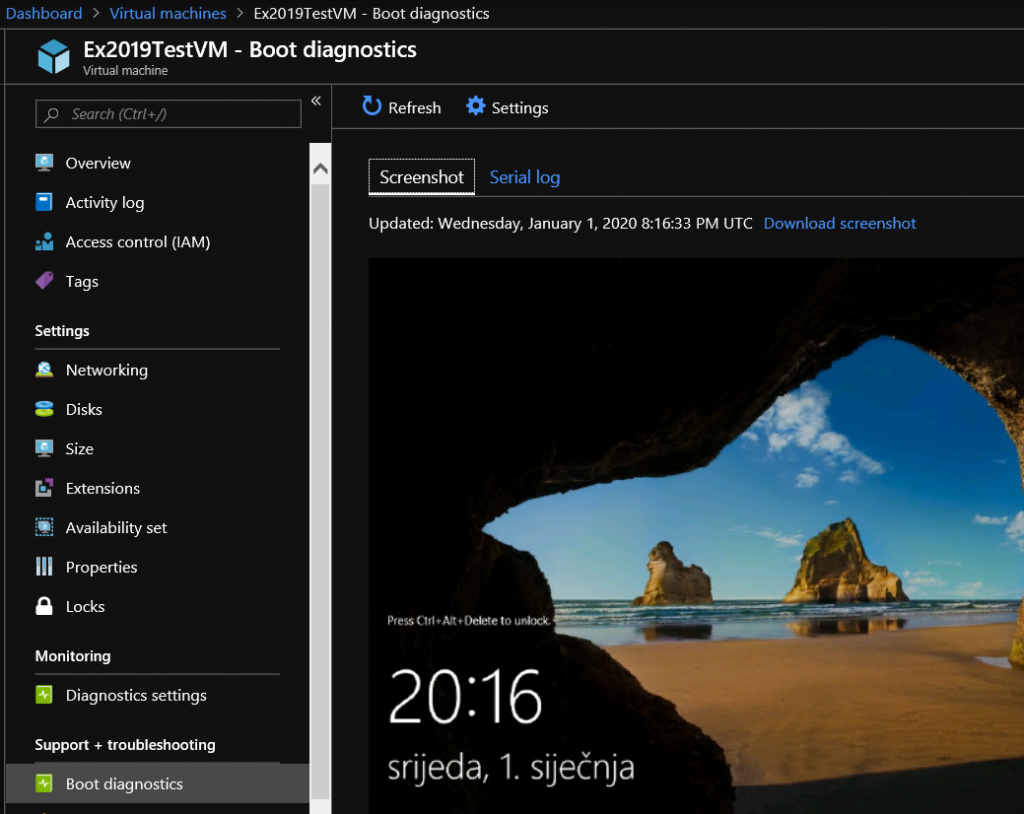
Further down in the side menu, under Support + Troubleshooting is Boot diagnostics – if you select it, under screenshot tab you can see, well, screenshot of your VM deployment. Just so you have sense how it is all going.

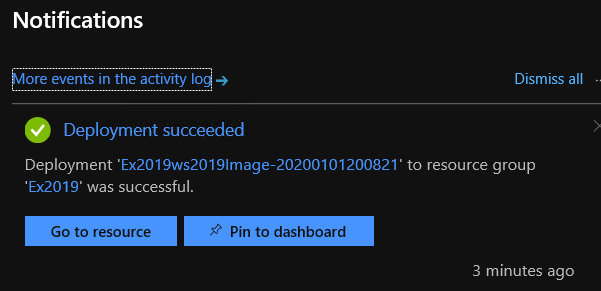
In my case, it took 9 minutes for VM to deploy.
It was a success
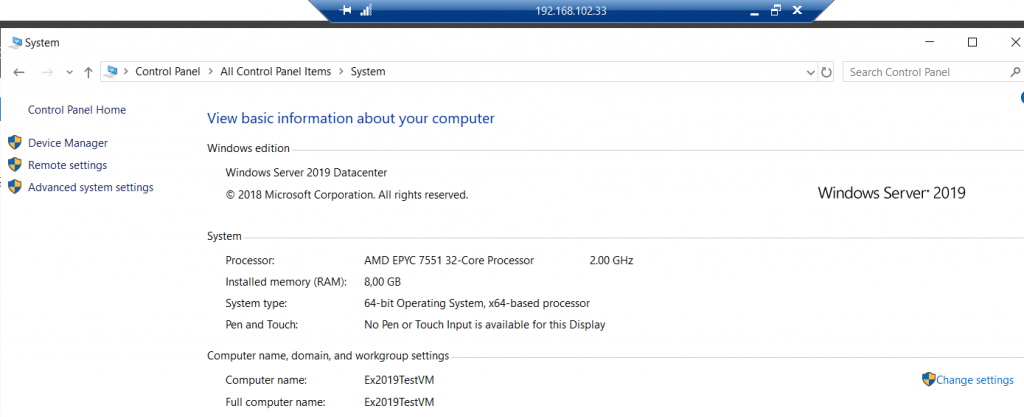
Let’s try RDP to the 192.168.102.33, as we saw earlier, that is the public IP of our newly deployed VM.
That is a success.
That’s it, you can now deploy your resources to the Azure Stack.