Earlier on, we established our active directory domain and enrolled first clients on our domain. In that process we used fixed IP addresses, but to add fixed IP to couple of hundreds of PCs is not easy task. That is why we have DHCP server.
Main purpose of DHCP server is to assign IP addresses to PCs from a pool of addresses you define and you should have only one DHCP server in your network.
In practice I usually assign IP addresses from DHCP to client machines. Servers, storage, networking equipment, printers… I usually assign fixed IPs for that kind of equipment from separate IP pool.
Before we begin
Best practice when we speak about Windows Server services in general is to have each service/role on a separate machine. That is what I highly recommend for production environment.
If you have domain controller, dhcp, file, print… on a one machine, there is a huge chance when problem occurs that your entire network and all the services will be down.
That is why we use separate machines for each role, and establish redundancy/high availability whenever possible.
This is why I will install DHCP on separate Windows Server 2019 VM. If you are thin with resources in your lab, you can do it on a same machine with active directory, but I would not advise that in a production environment.
Settings for my DHCP VM:
Name: SBasicsDHCP
(Don’t mind screenshots below, you should always name your machine with less than 15 characters)
Attach DHCP VM to created domain (informatiker.local), and use domain admin for this guide (InfoAdmin in my case)
IP address: 10.0.0.32
Subnet mask: 255.255.255.0
Gateway: 10.0.0.1
DNS: 10.0.0.31
Minimal requirement for this VM would be – 2 CPU cores, 2GB RAM, 40GB HDD. I Will use template we created at the beginning of Server Basics series to deploy this VM.
Permissions
On a ServerBasicsDHCP VM
Granting user InfoAdmin administrative priviledges on ServerBasicsDHCP VM.
Domain Administrator (InfoAdmin) does not have Admin privileges on ServerBasicsDHCP machine even after you joined it to a informatiker.local domain. We will grant the rights to domain administrator InfoAdmin by using local administrator account on ServerBasicsDHCP machine. Name of the local administraive account on my ServerBasicsDHCP machine is – Administrator.
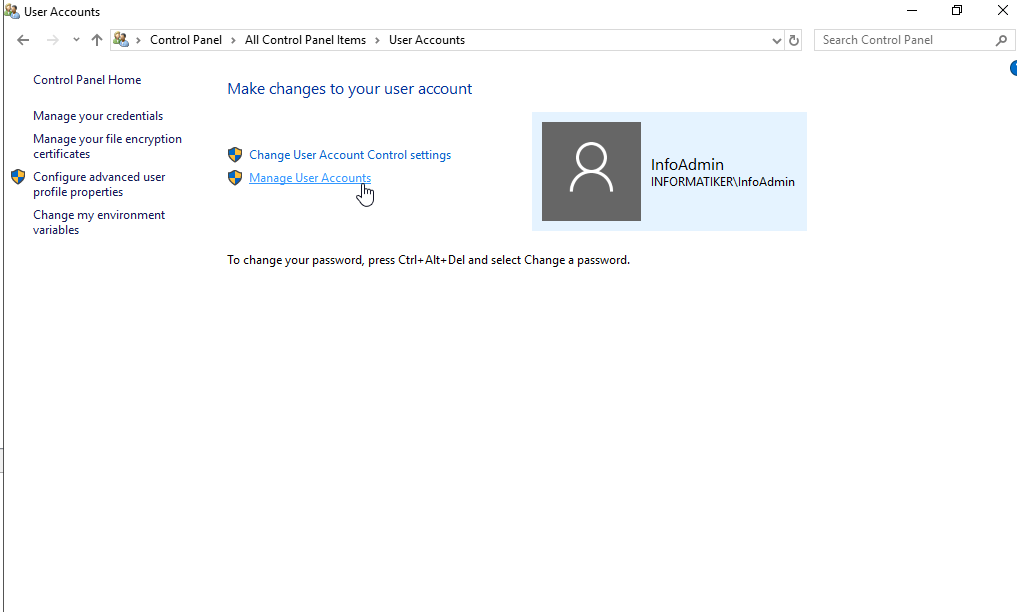
Go to Control Panel | User Accounts and select “Manage User Accounts”
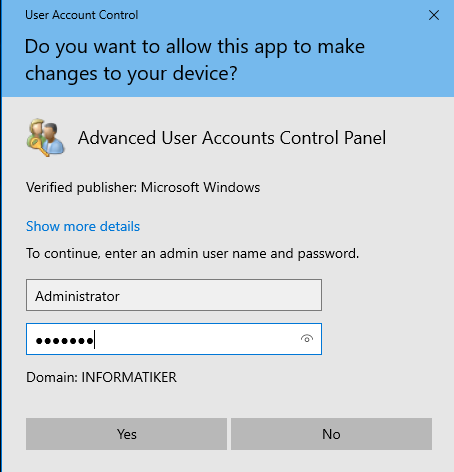
Pop-up will appear asking you for local administrator user name and password, that means local Administrator from ServerBasicsDHCP machine before you joined it into domain – enter and press Yes
I left local user with Administrator name to make a distinction from domain admin InfoAdmin for this guide.
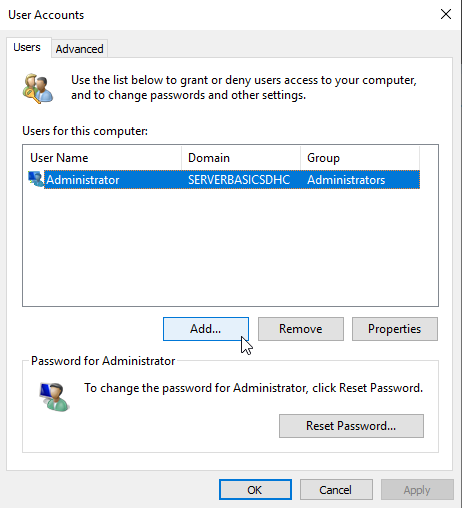
Select Add
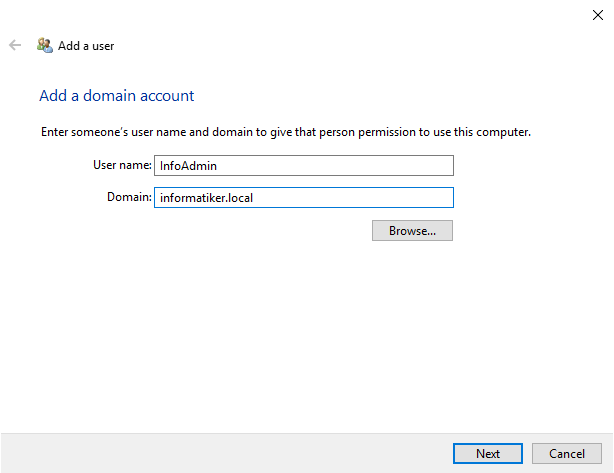
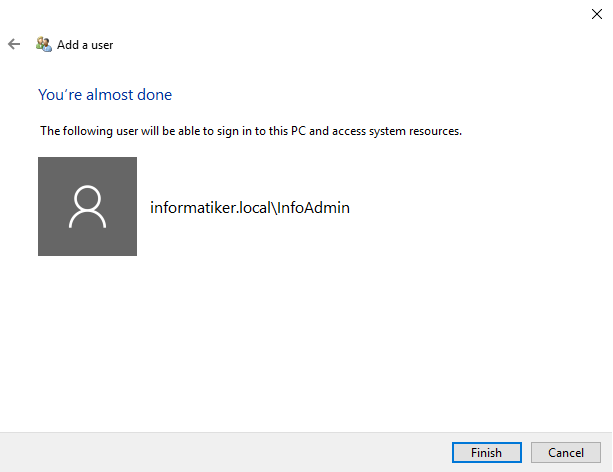
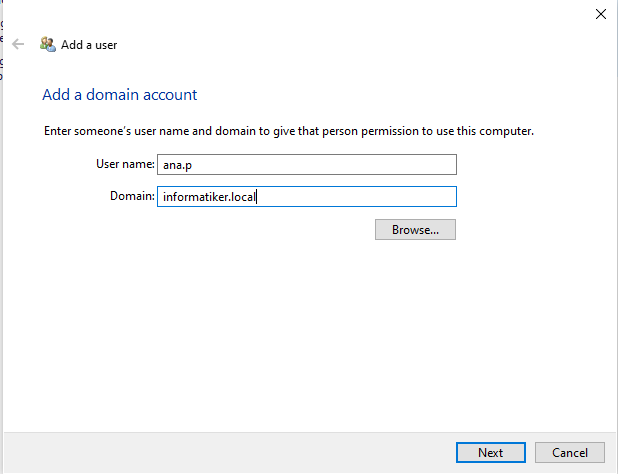
Under User name: enter domain administraotr user (InfoAdmin) and under Domain: enter your domain name (informatiker.local) Next
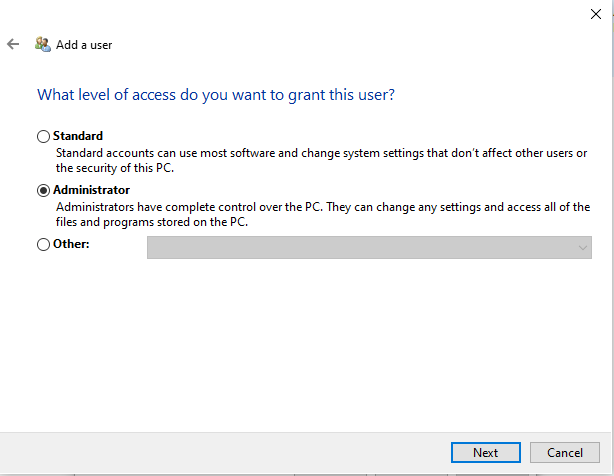
Select Administrator | Next

Finish
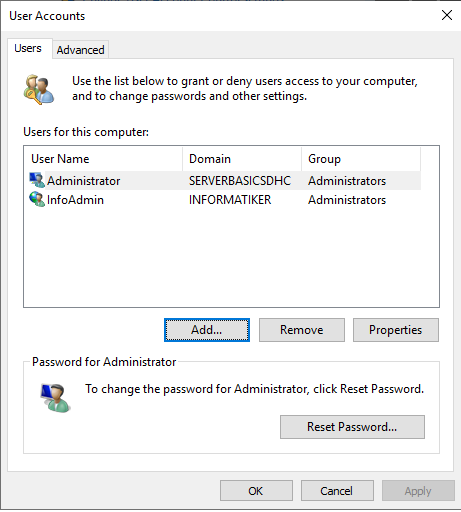
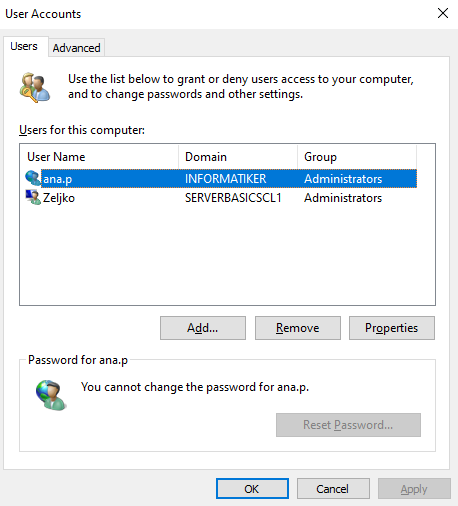
InfoAdmin is now also local administrator on ServerBasicsDHCP machine. Confirm with OK.
On a ServerBasicsAD (Domain Controller)
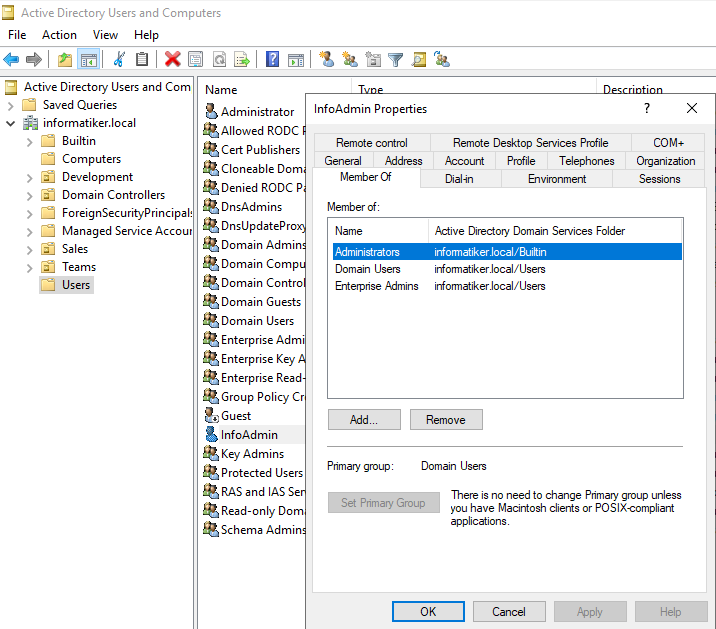
Our InfoAdmin is only domain admin, and for DHCP Server role to be successfully deployed, InfoAdmin should also be Enterprise Admin.
Go to the Active Directory Users and Computers | Open Users OU and find InfoAdmin user | right click on it, select Properties | Go to Member Of tab and add Enterprise Admins. Our InfoAdmin user should now be member of following groups (as depicted below)
We can now proceed to DHCP role installation.
Installation
I will not screenshot whole guide through DHCP role installation, since we went through that couple of time in Server Basics series, I will only attach screenshots of DHCP role.
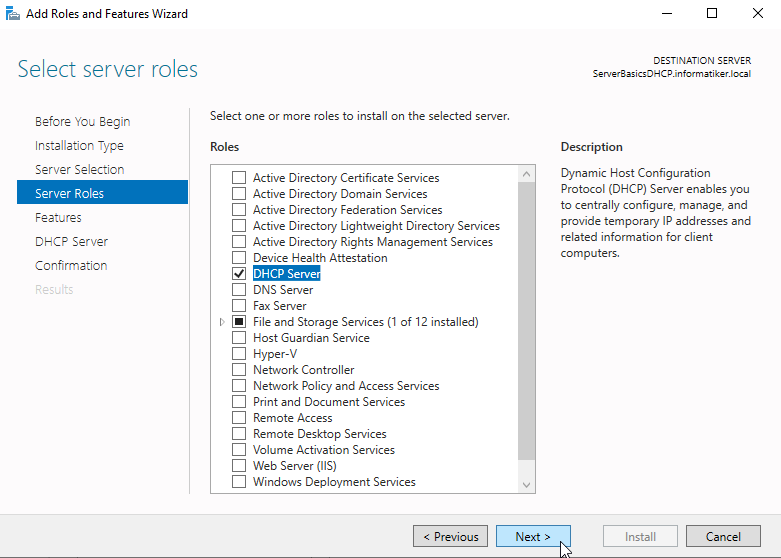
Start | Server manager | Manage | Add Roles and Features | go through wizard all the way to Server Roles and select DHCP server
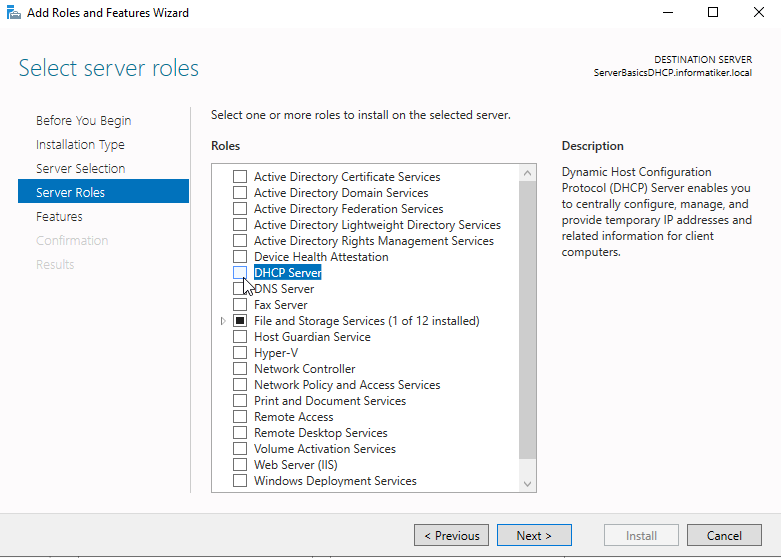
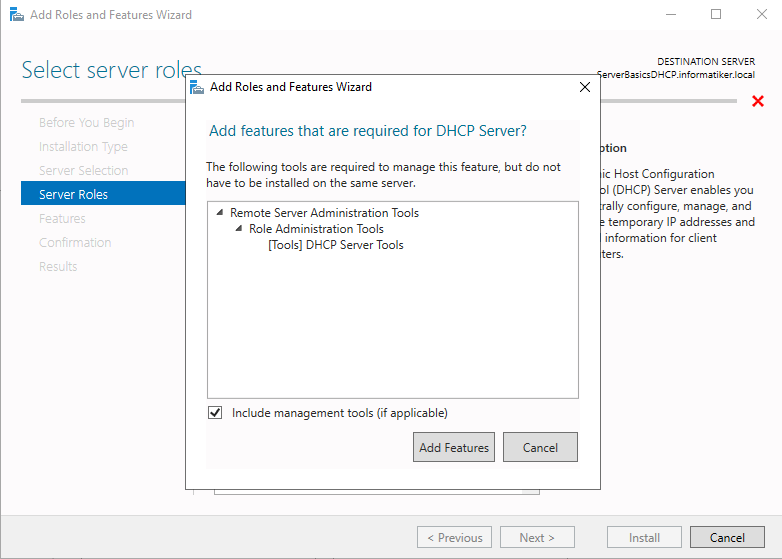
Pop-up will appear after you check DHCP Server role, select Add Features
DHCP Server is selected, press next and finish installation of the DHCP Server role.
Close and reboot. After we reboot we will continue with configuration.

Configuration
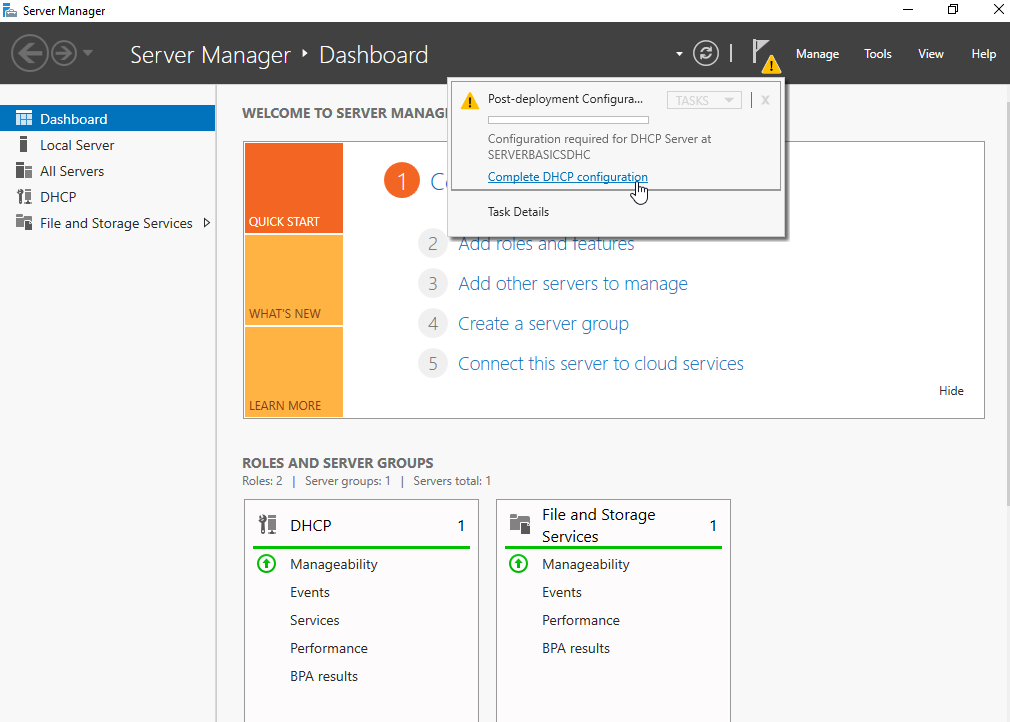
After we are done with the installation and reboot, open Server Manager, click on yellow triangle next to the flag, and select “Complete DHCP configuration”
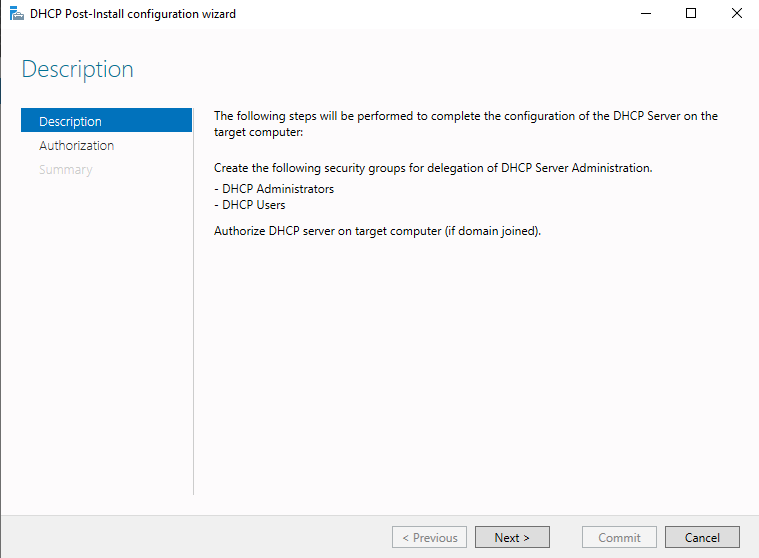
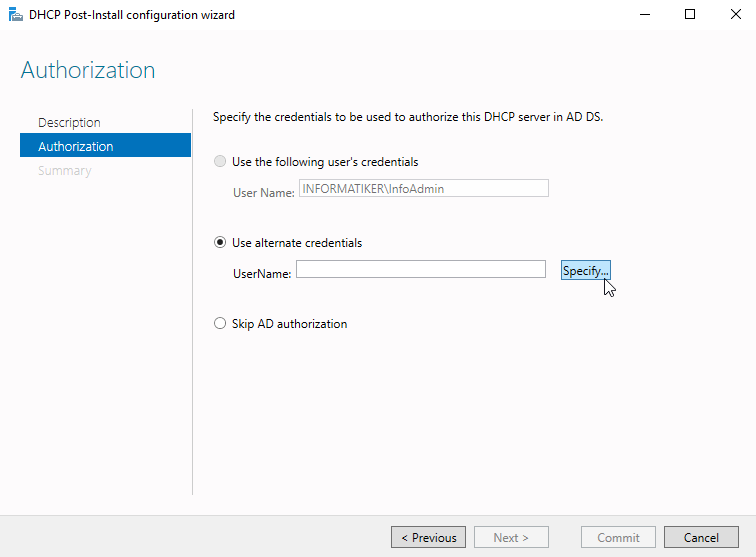
We will need to authorize this DHCP server in our domain, we will do that in this wizard. Next
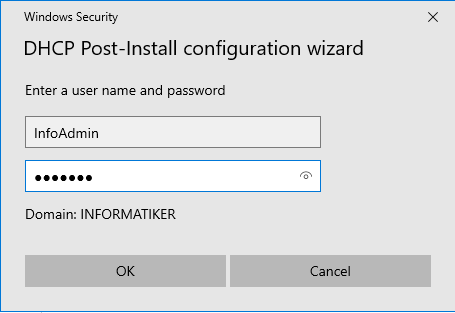
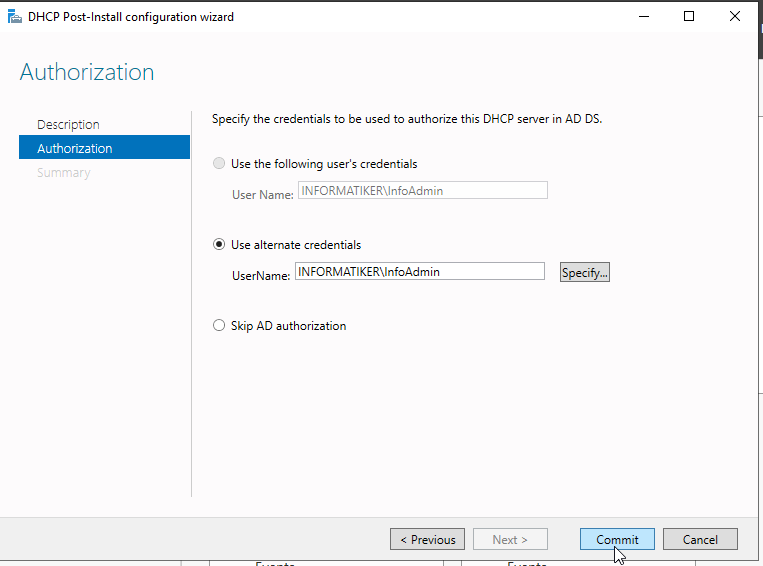
Use alternate credentials will only be available. Select Specify and enter you domain admin username (InfoAdmin) and password
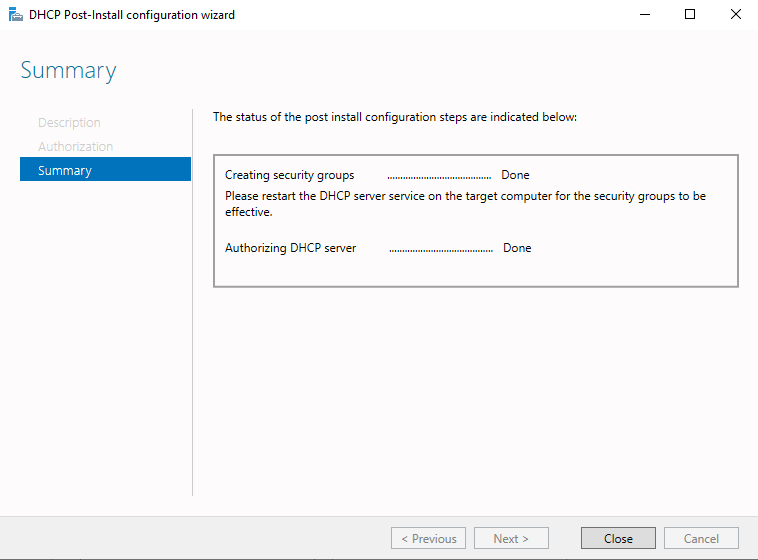
Commit
We are done, close
Start DHCP Manager by going to Start | Windows Administrative Tools | DHCP
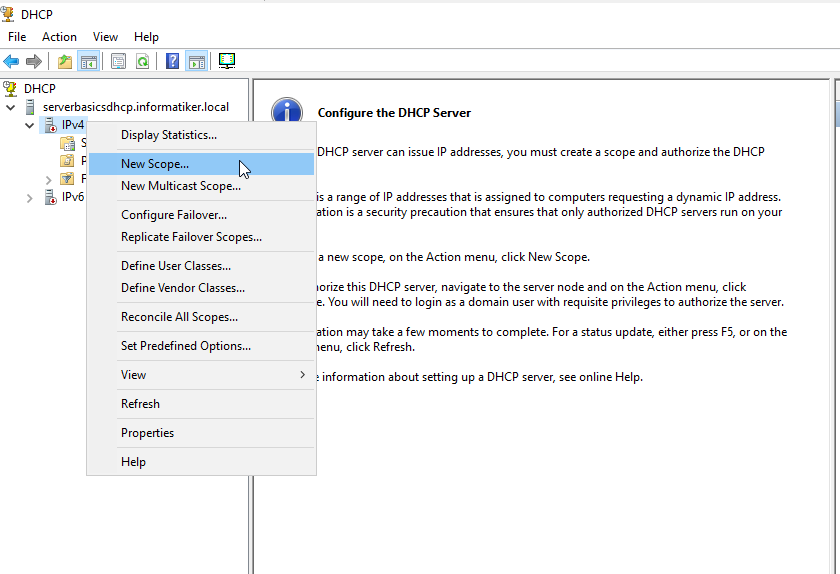
Expand DHCP to IPv4 right click on it and select New Scope…
Next
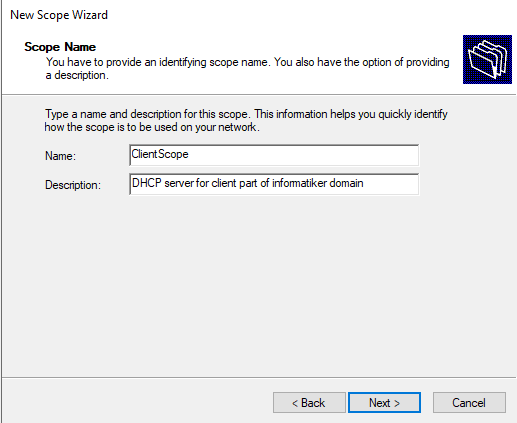
Name your scope (I will name it ClientScope) enter description if you wish and select Next
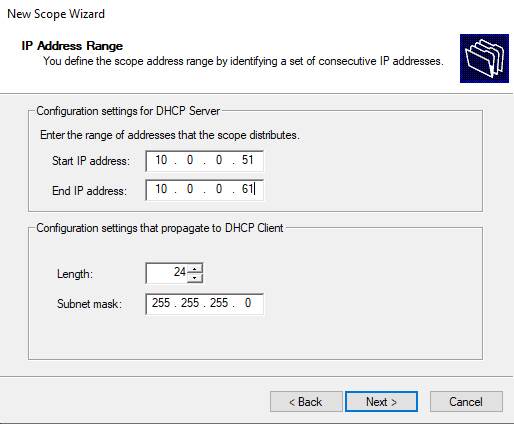
We will now define range of addresses that DHCP will assign. I’m using network 10.0.0.0/24 and I will assign IP addresses from 10.0.0.51 to 10.0.0.61. for my client PC machines. Subnet mask is 255.255.255.0 and that means it is 24bit.
Next
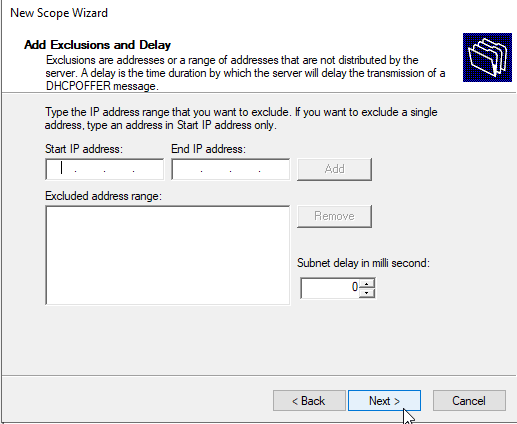
If there are some IP addresses within defined DHCP range you would like to exclude, so that DHCP does not offer them, you can specify that here. For example, my range is from 10.0.0.51 to 10.0.0.61, and I would like to reserver 10.0.0.55 as a static IP for lets say a printer. It can be done, but usually I don’t do it that way.
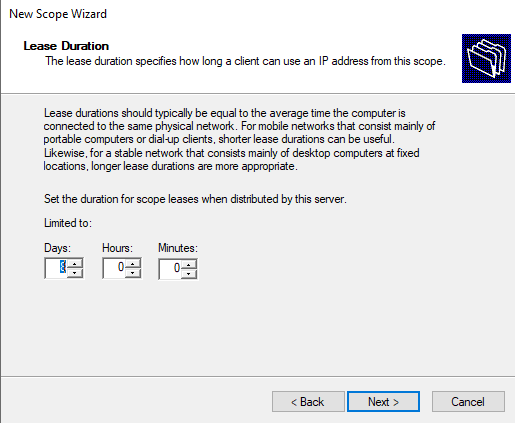
Next, you will need to define how long does the lease of DHCP address to a client lasts, before it can get a fresh IP. We will define 8 days here, however it is all up to enterprise requirements, personal preference more or less.
Next
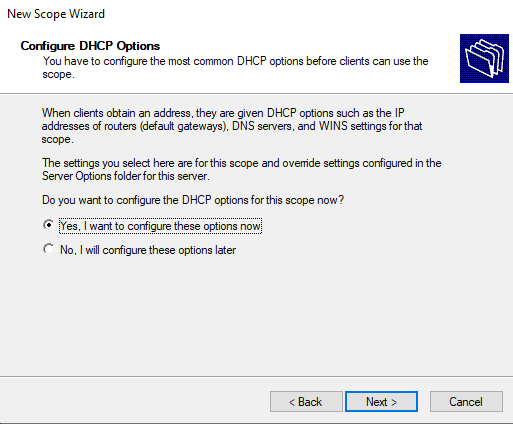
We will also configure other details for this DHCP server, so lets get to it by selecting “Yes, I want to configure these options now”
Next
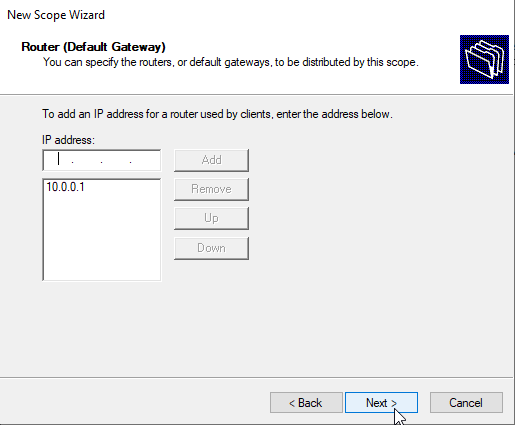
First router IP, in my case router IP is 10.0.0.1 so I will enter that IP, add it, and select Next
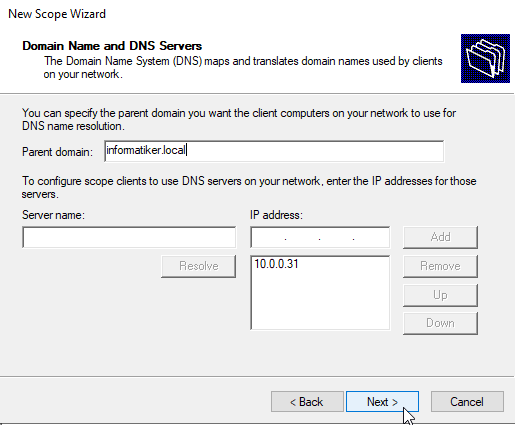
For a DNS server I want my clients to use my active directory DNS, which is on 10.0.0.31. It was automatically all filled in my case. Next
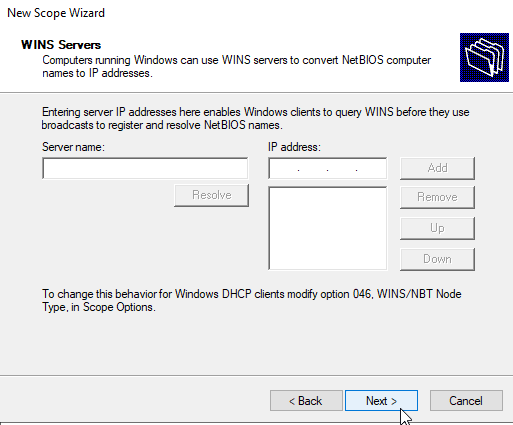
In this tutorial we don’t need WINS, so I will skip this. Next
We want to activate our scope now, so we will select “Yes, I want to activate this scope now” Next
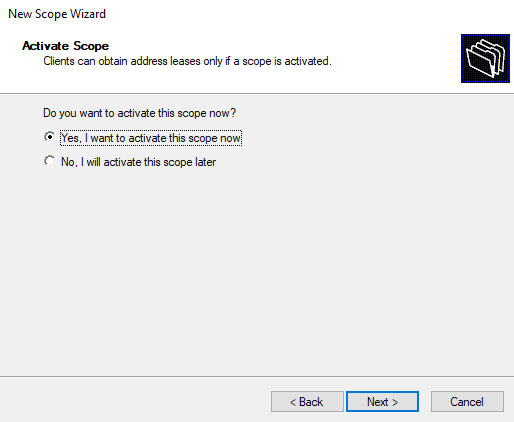
Finish
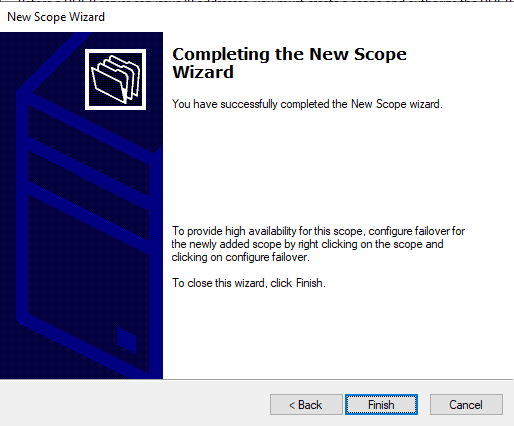
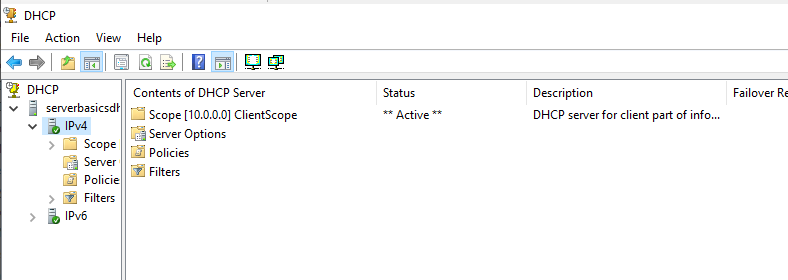
For a good measure, reboot your DHCP server and check again if everything is active. In my case, everything is green.
Testing
Ok, this is how our Hyper-V host looks like now.
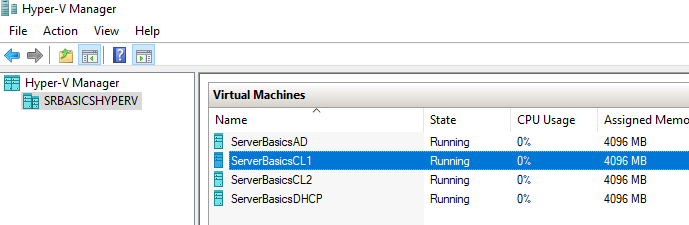
ServerBasicsCL1 and ServerBasicsCL2 are client machines, one is in Development and other one in Sales department.
At first, I gave them fixed IP addresses, since we had no DHCP server. Now, I will remove that fixed IP addresses from these clients to see what happens.
You probably won’t have Administrative permissions to change IP address, so set Ana P as an administrator on ServerBasicsCL1 machine, and Stephan D on ServerBasicsCL2 machine.
Y!!!!ou only have to do part on the client machine, do not grant these users extra rights (Enterprise Admin) on the domain controller!!!
So, this part is only part you need to do.

Reboot, and remember, you do not need the step where you add them any extra rights on domain controller (No Enterprise Admin for Ana today!)
Usually you won’t give standard domain users and workers Administrative rights, but we are learning here, so this we be simpler for us. In production environment, users usually does not have Administrative rights, and IT department is the one that does changes.
Ok, lets go further on our client machine – ServerBasicsCL1
I will alter IPv4 settings, and select Obtain an IP address automatically, and do same for DNS
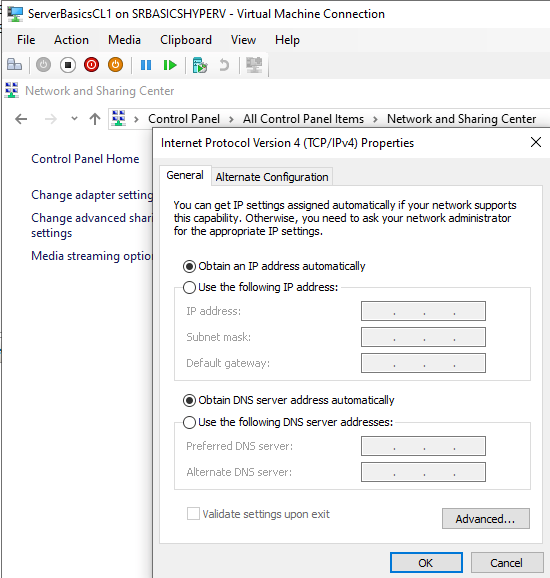
We will now reboot client machine…
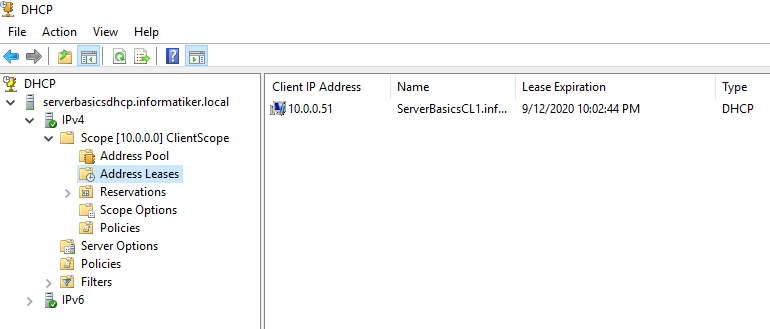
After reboot, let’s check IP address of the ServerBasicsCL1 client machine
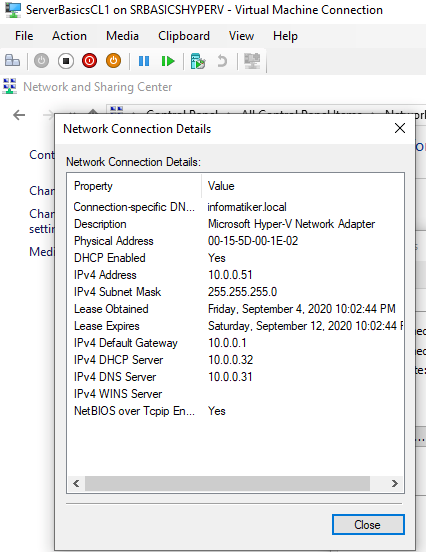
Looks like this works. Lets now just check DHCP server console to confirm…
And on the server side everything looks good.
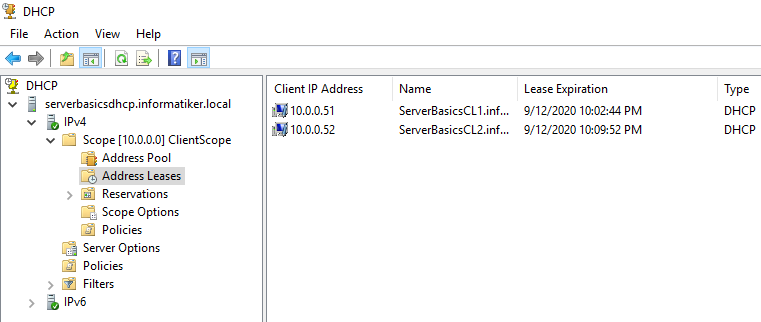
Repeat procedure for second client machine and we are done.
In case this doesn’t work for you, it is probably because something is misconfigured or there is another DHCP in your network – your router or your virtualization software. Depending on network settings VMware gives DHCP services, so you will need to disable DHCP on your network, or isolate your testing lab from it.
Conclusion
We now have working domain with basic network service.
Here is the video version of this article