After we done preparation steps here and keystone deployment (described here) our next step will be to install image service – glance.
Prerequisites
We have to create database, service credentials and API endpoints.
mysql -u root -pChange GLANCE_DBPASS to password that suits you.
CREATE DATABASE glance;
GRANT ALL PRIVILEGES ON glance.* TO 'glance'@'localhost' \
  IDENTIFIED BY 'GLANCE_DBPASS';
GRANT ALL PRIVILEGES ON glance.* TO 'glance'@'%' \
  IDENTIFIED BY 'GLANCE_DBPASS';


Navigate to the dir you created admin-openrc script and run it
. admin-openrc.sh
We will create user glance
openstack user create --domain default --password-prompt glance
Add admin role to the glance user and service project
openstack role add --project service --user glance admin
Create glance service entity
openstack service create --name glance \
  --description "OpenStack Image" image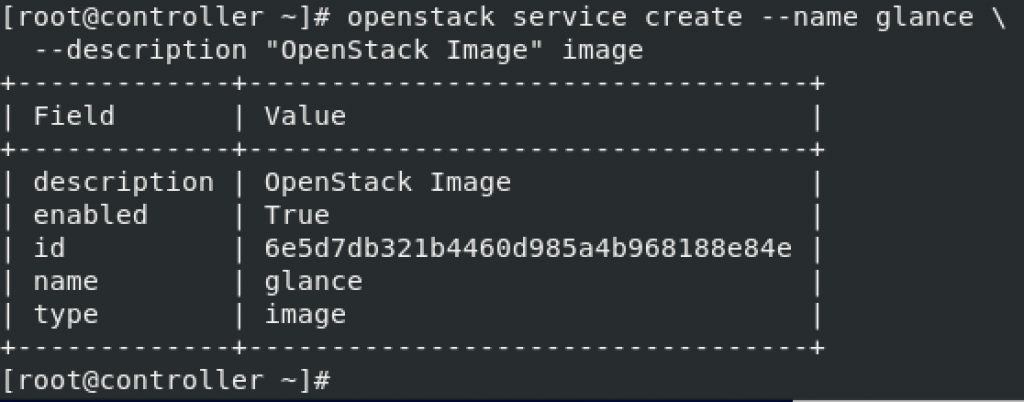
Create API endpoints
openstack endpoint create --region RegionOne \
  image public http://controller:9292
openstack endpoint create --region RegionOne \
  image internal http://controller:9292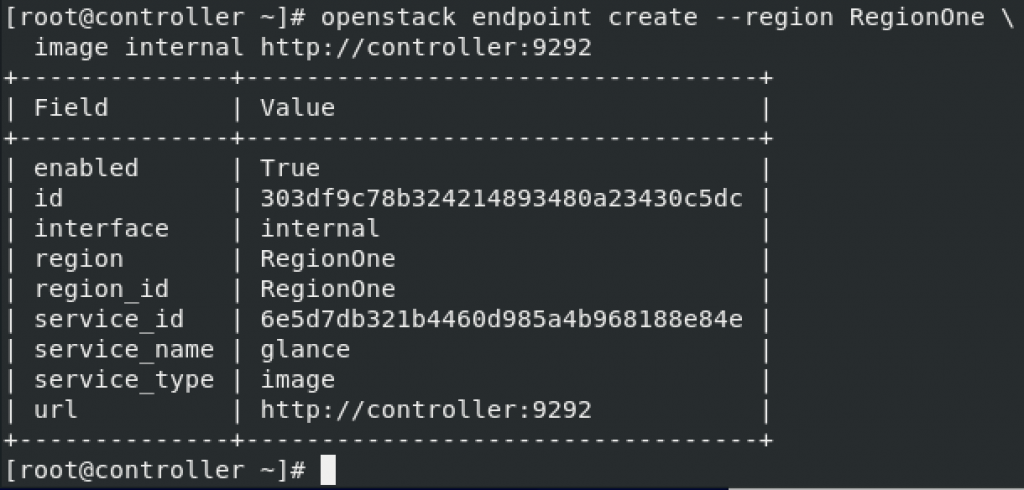
openstack endpoint create --region RegionOne \
  image admin http://controller:9292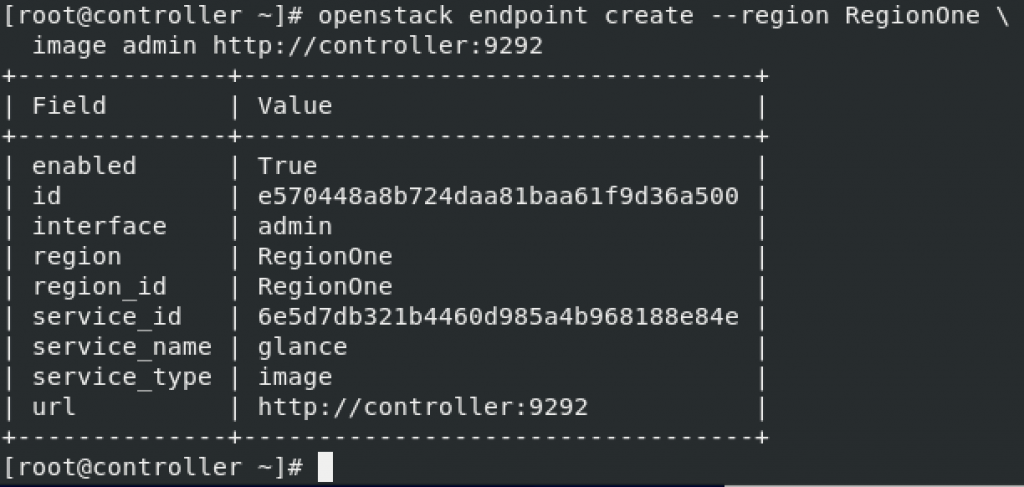
Open firewall ports
sudo firewall-cmd --add-port=9292/tcp --permanent
sudo firewall-cmd --add-port=9292/udp --permanent
sudo firewall-cmd --reload
Installation and Configuration
Installation
sudo yum install openstack-glanceNext, we need to edit /etc/glance/glance-api.conf
sudo vi /etc/glance/glance-api.confDatabase section – we need to configure database access. Change GLANCE_DBPASS with the password you selected for glance database user.
[database]
# ...
connection = mysql+pymysql://glance:GLANCE_DBPASS@controller/glance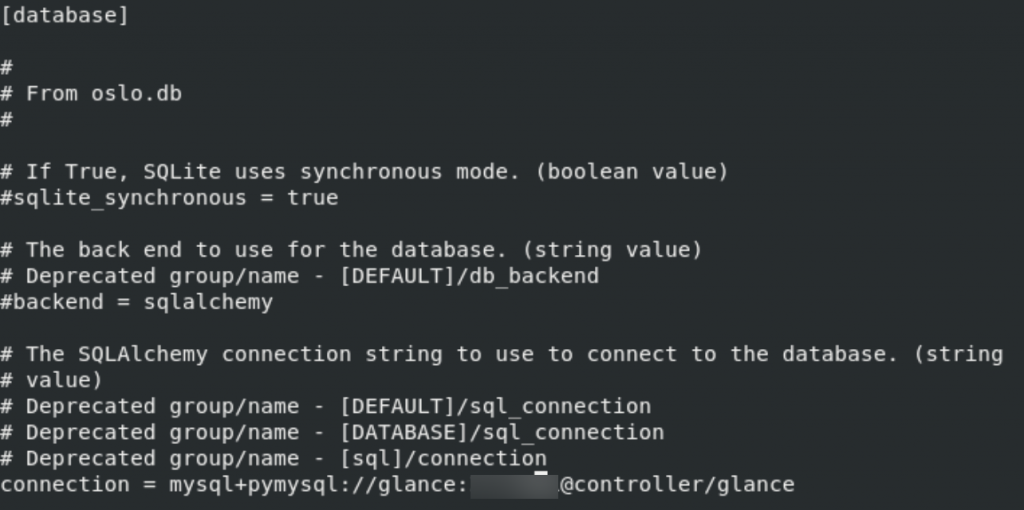
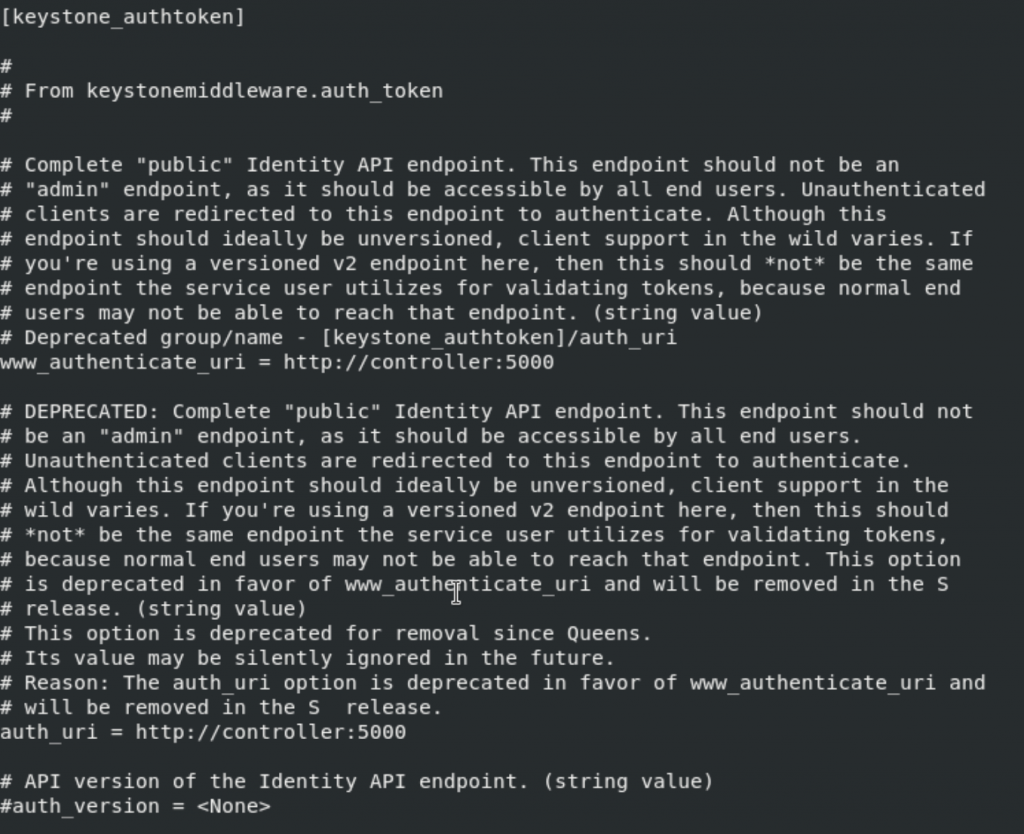
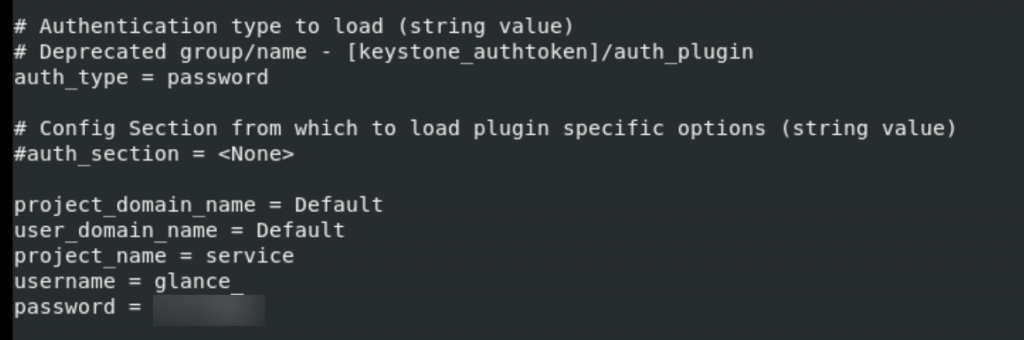
We also need to edit keystone_authtoken and paste_deploy sections. Replace GLANCE_PASS with the pass you created for glance system user. In keystone section comment out all other options expect those listed below.
[keystone_authtoken]
# ...
www_authenticate_uri = http://controller:5000
auth_url = http://controller:5000
memcached_servers = controller:11211
auth_type = password
project_domain_name = Default
user_domain_name = Default
project_name = service
username = glance
password = GLANCE_PASS
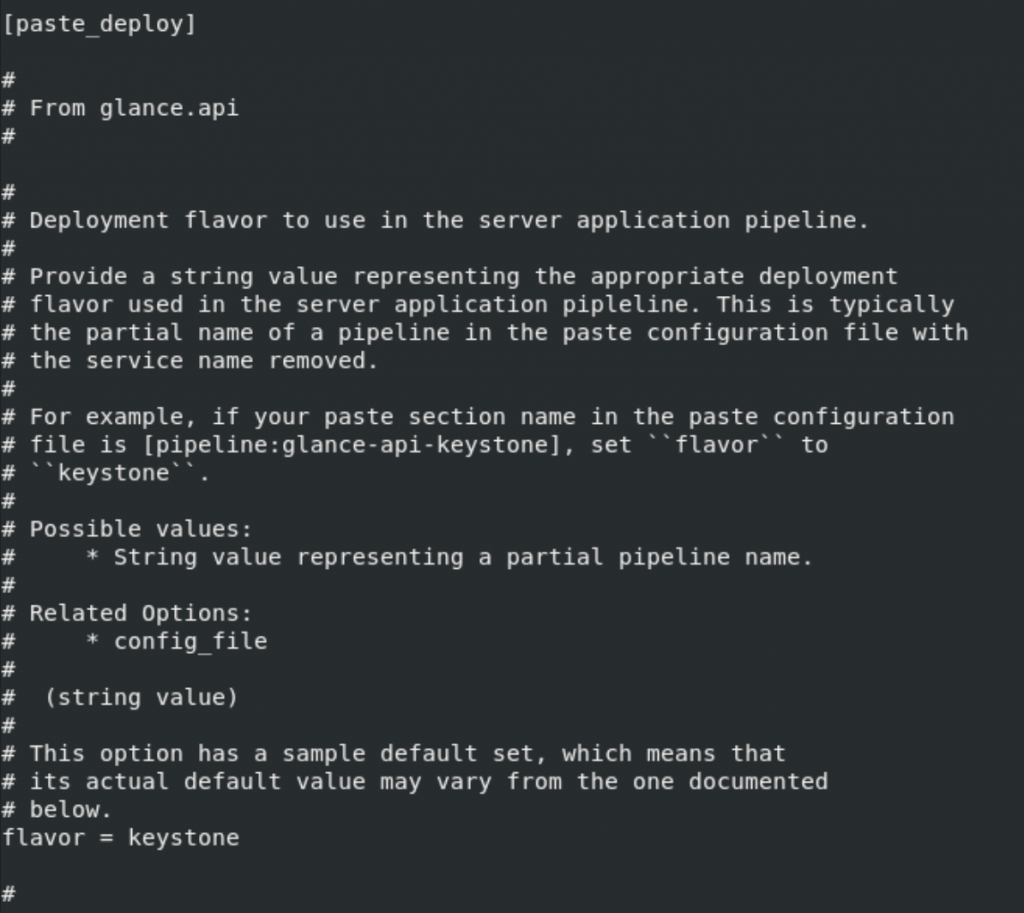
[paste_deploy]
# ...
flavor = keystone
!!!!!! Change auth_uri = to auth_url =


I couldn’t find some values under keystone_authoken so I just added them under the keystone_authoken section. !!! Be careful with this, I did it this way, we will see if it will work.
One more section to go
glance_store
[glance_store]
# ...
stores = file,http
default_store = file
filesystem_store_datadir = /var/lib/glance/images/


Populate image service database
su -s /bin/sh -c "glance-manage db_sync" glance

At last, we will enable and start service
sudo systemctl enable openstack-glance-api.service
sudo systemctl start openstack-glance-api.service
To wrap-up, we will change boolean values if SELinux is enabled.
setsebool -P glance_api_can_network on Verify operation
To verify operation, we will download CirrOS, small Linux distribution and upload it to our image service
Install wget if you don’t have it installed.
sudo yum install wgetNext, source admin to gain access to admin only cli commands
. admin-openrc

or if you done previos parts with my tutorials

. admin-openrc.sh
We will download the source image
wget http://download.cirros-cloud.net/0.4.0/cirros-0.4.0-x86_64-disk.img
We will upload it to image service by using qcow2 disk format, bare container format and make it publicly visible.
glance image-create --name "cirros" \
  --file cirros-0.4.0-x86_64-disk.img \
  --disk-format qcow2 --container-format bare \
  --visibility public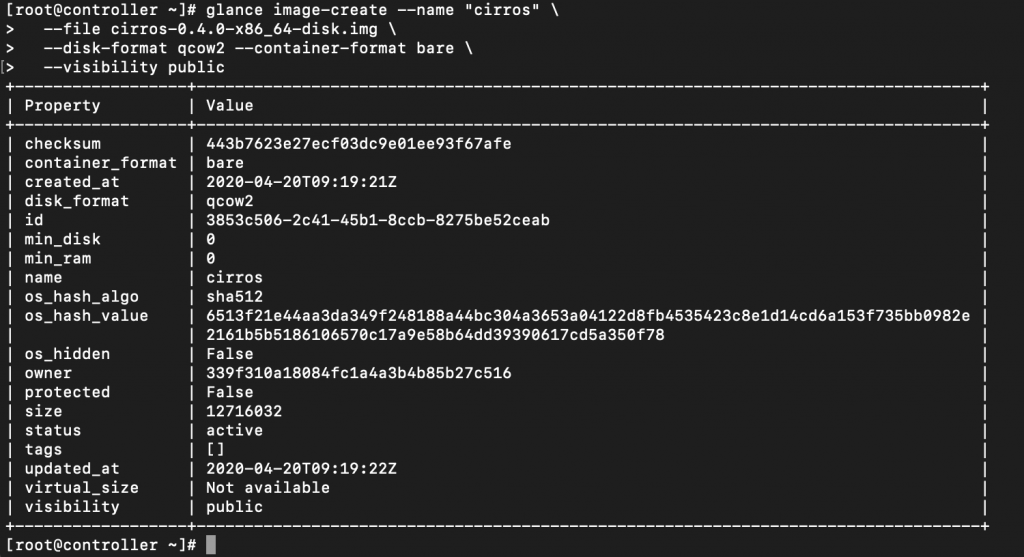
We now just need to confirm the upload
glance image-list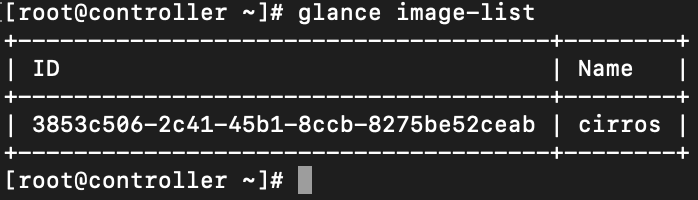
That is it for the glance.
Next step will be placement service installation -> placement