At the end of the minimal Train installation, after we are done with the networking services, we will install Dashboard (Horizon) so we can login and manage visually our OpenStack.
This will be done on controller node. Further information can be found here – https://docs.openstack.org/horizon/train/install/install-rdo.html
I will be installing packaged version.
Install
sudo yum install openstack-dashboardEdit
sudo vi /etc/openstack-dashboard/local_settingsConfigure the dashboard to use OpenStack services on the controller node:
OPENSTACK_HOST = "controller"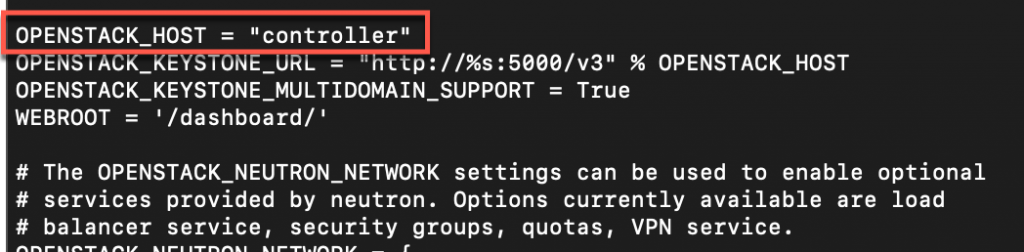
Allow your hosts to access the dashboard:
ALLOWED_HOSTS = ['one.example.com', 'two.example.com']I set * for my access, since this is my lab
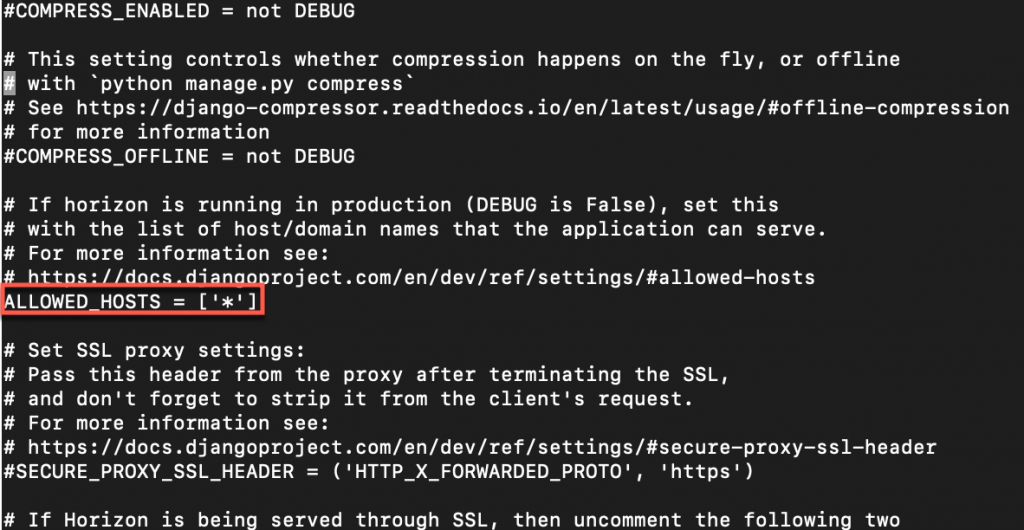
ALLOWED_HOSTS can also be [‘*’] to accept all hosts. This may be useful for development work, but is potentially insecure and should not be used in production.
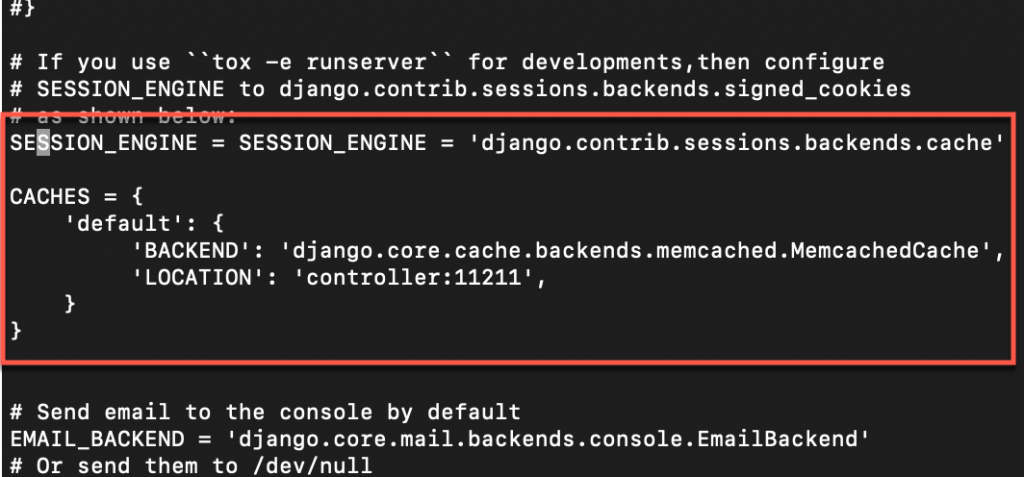
Configure memcached section
SESSION_ENGINE = 'django.contrib.sessions.backends.cache'

CACHES = {
    'default': {
         'BACKEND': 'django.core.cache.backends.memcached.MemcachedCache',
         'LOCATION': 'controller:11211',
    }
}
Some of the values were not in the file, and were not predefined. So I added them either below similar values in the file, or to the bottom of the file.
Enable the Identity API version 3
OPENSTACK_KEYSTONE_URL = "http://%s:5000/v3" % OPENSTACK_HOSTEnable support for domains
OPENSTACK_KEYSTONE_MULTIDOMAIN_SUPPORT = True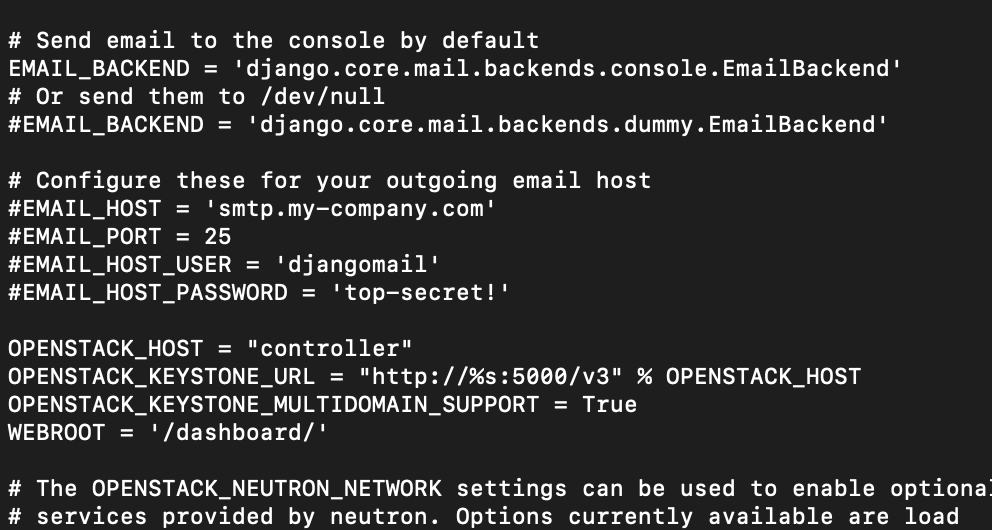
Configure API versions
OPENSTACK_API_VERSIONS = {
    "identity": 3,
    "image": 2,
    "volume": 3,
}
Configure default
OPENSTACK_KEYSTONE_DEFAULT_DOMAIN = "Default"Configure user as the default role for users that you create via the dashboard
OPENSTACK_KEYSTONE_DEFAULT_ROLE = "user"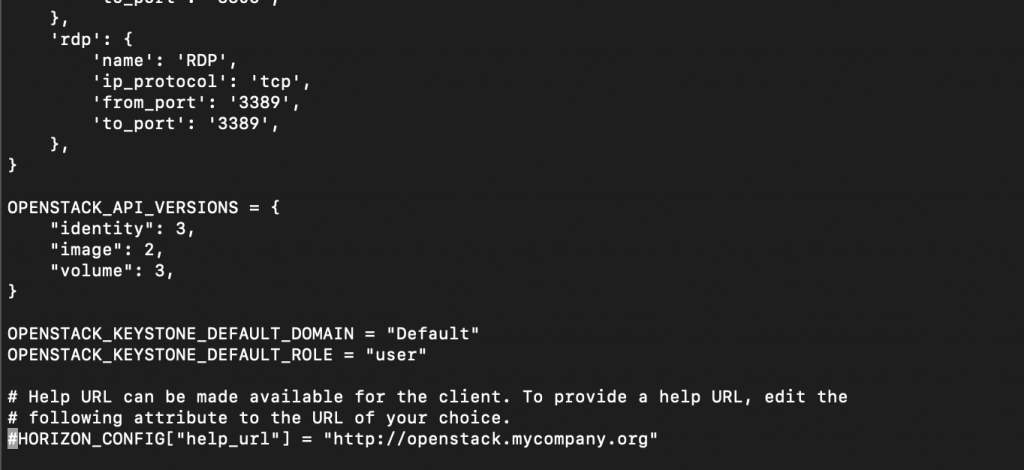
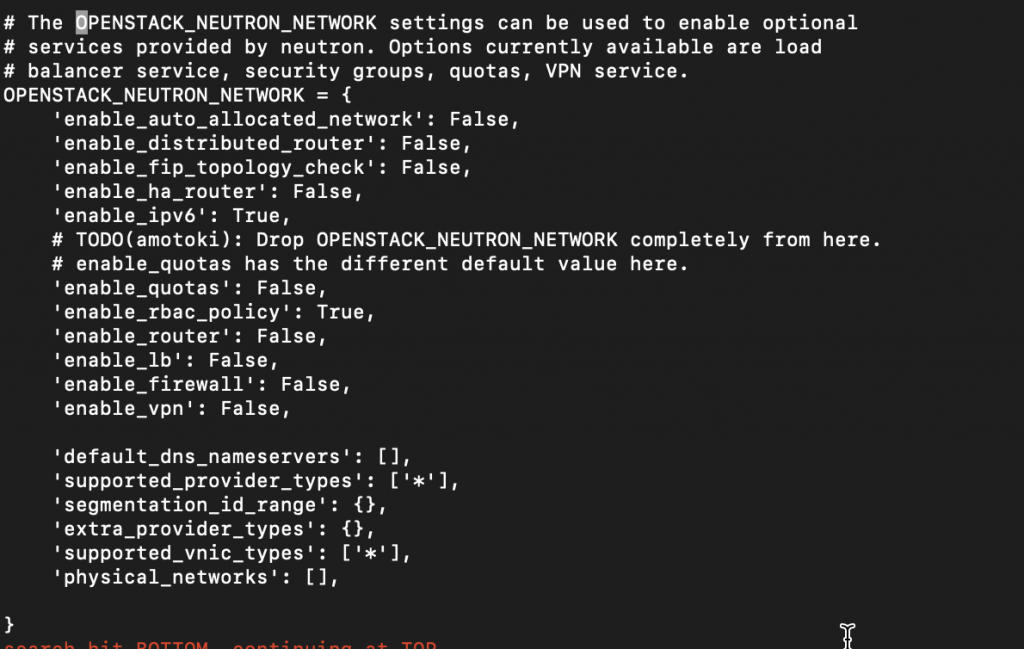
If you chose networking option 1, disable support for layer-3 networking services:
OPENSTACK_NEUTRON_NETWORK = {
    ...
    'enable_router': False,
    'enable_quotas': False,
    'enable_distributed_router': False,
    'enable_ha_router': False,
    'enable_lb': False,
    'enable_firewall': False,
    'enable_vpn': False,
    'enable_fip_topology_check': False,
}
Optionally, configure the time zone:
TIME_ZONE = "TIME_ZONE"Add the following line to /etc/httpd/conf.d/openstack-dashboard.conf if not included.
sudo vi /etc/httpd/conf.d/openstack-dashboard.confWSGIApplicationGroup %{GLOBAL}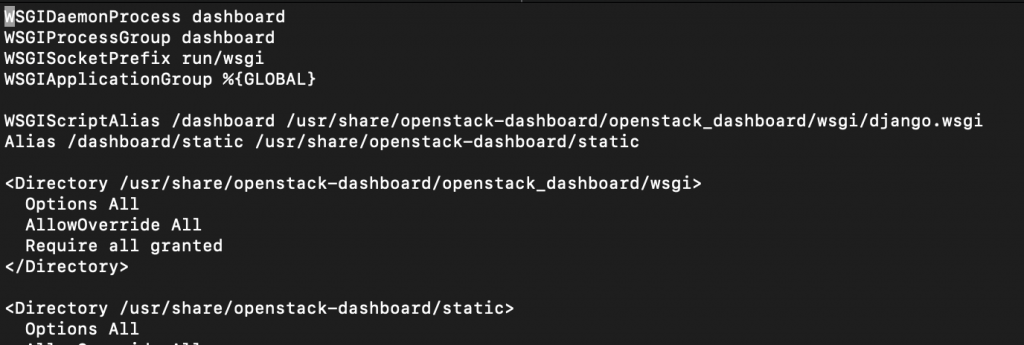
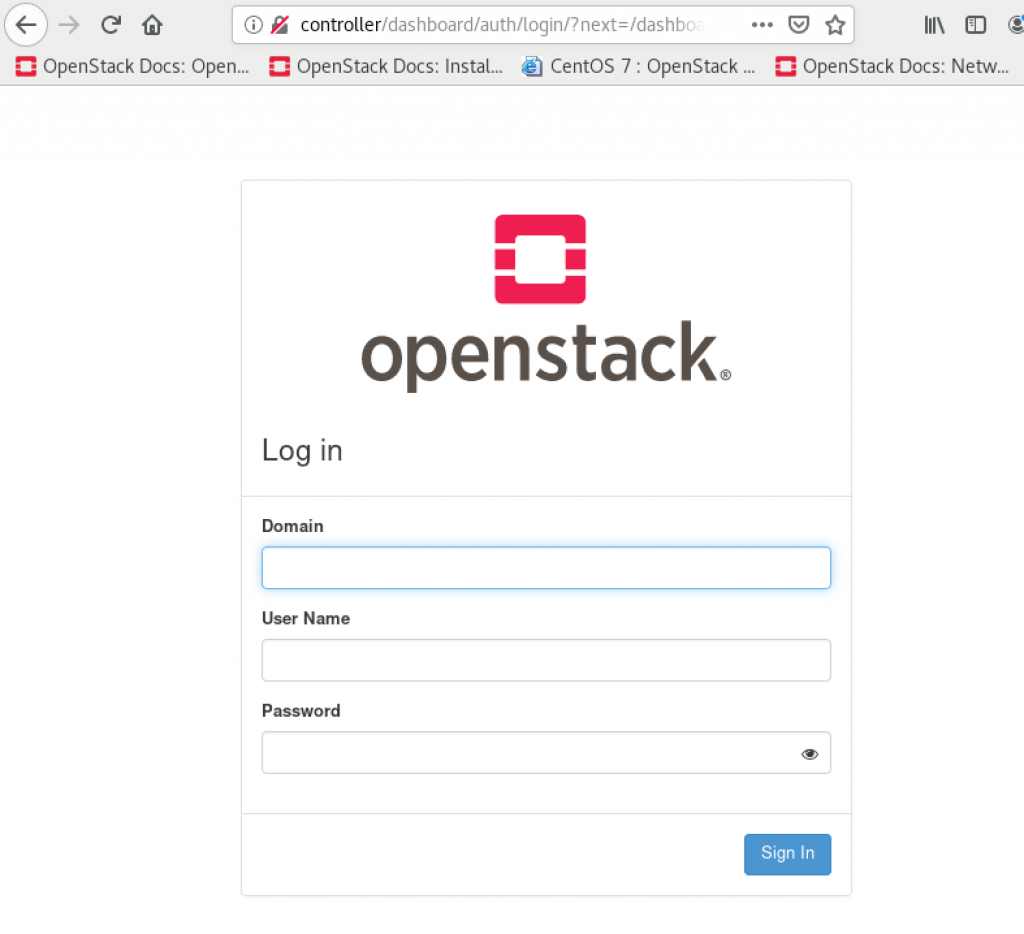
We can verify if our setup works after visiting
In my case, no luck
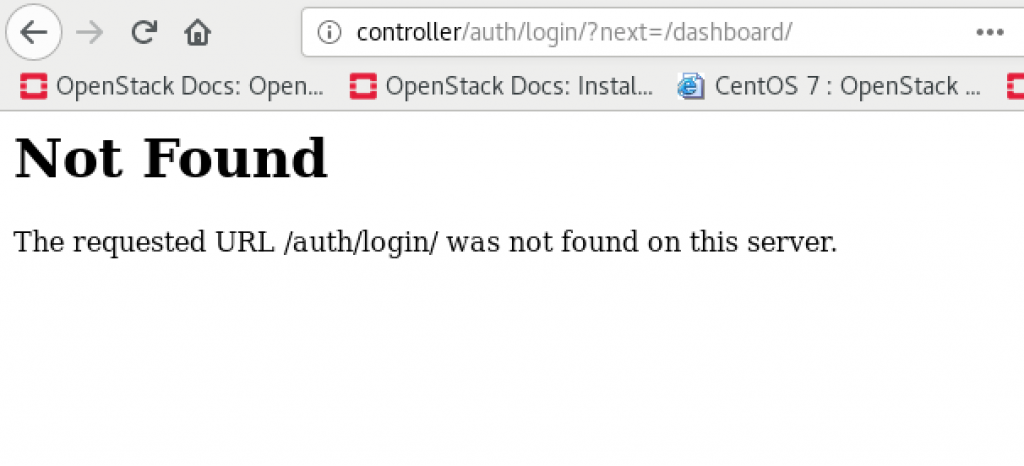
After adding one detail to the /etc/openstack-dashboard/local_settings file. I added it bellow OPENSTACK_KEYSTONE… settings
WEBROOT = '/dashboard/'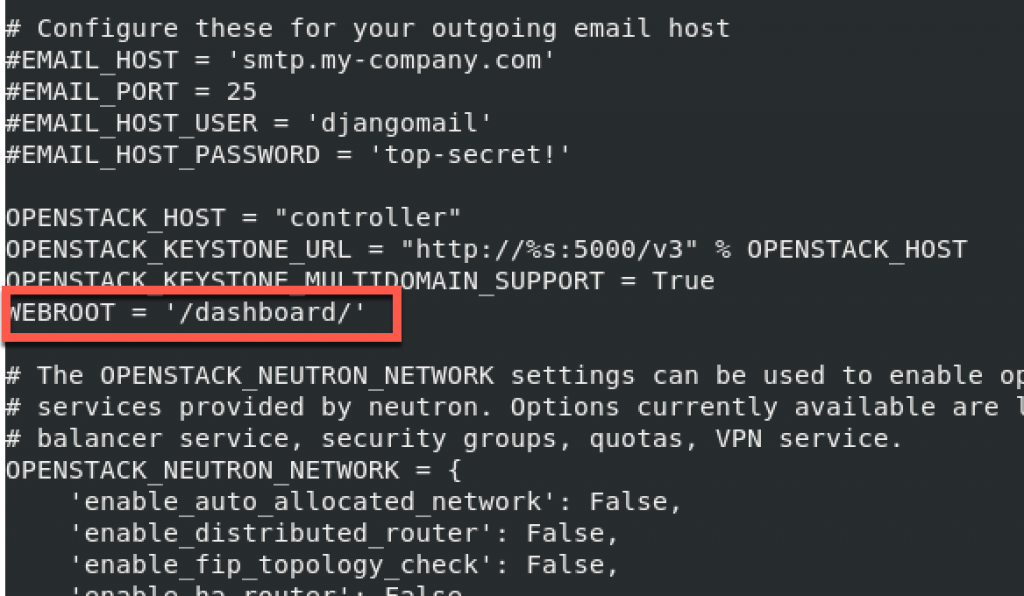
Restart httpd service
sudo systemctl restart httpdLets try again – SUCCESS!!!
Domain would be (if you went from beggining through my tutorial) default, username admin, and the password is what you defined.
This is more or less all for the basic services. I will install Block storage service (cinder) and that will be it for the basic part of the services.