After we finished minimal installation of OpenStack, and after we added Dashboard so we can have GUI access to the OpenStack installation, we will add one more service to our minimal OpenStack installation – Block Storage – Cinder.
Here is the link to the OpenStack documentation for more details – https://docs.openstack.org/cinder/train/install/index-rdo.html
Install and configure controller node
This part will be done on controller.
First, as with all the other services, we will create database and database user.
mysql -u root -pCreate Cinder database
CREATE DATABASE cinder;Create Cinder DB user and grant permissions on Cinder DB
GRANT ALL PRIVILEGES ON cinder.* TO 'cinder'@'localhost' \
  IDENTIFIED BY 'CINDER_DBPASS';
GRANT ALL PRIVILEGES ON cinder.* TO 'cinder'@'%' \
  IDENTIFIED BY 'CINDER_DBPASS';
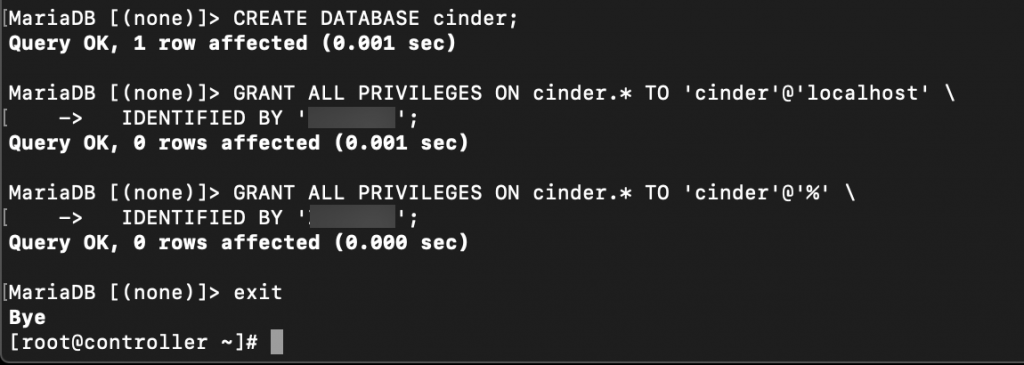
Exit the DB client.
Source admin to gain access to admin only cli commands
. admin-openrc

or if you done previos parts with my tutorials

. admin-openrc.sh
Next, we will create service credentials
openstack user create --domain default --password-prompt cinder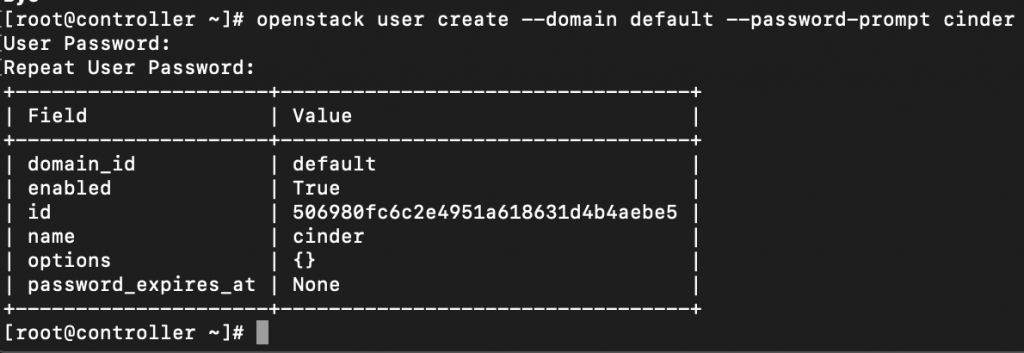
Add admin role to the cinder user
openstack role add --project service --user cinder admin
Now we will create Cinder v2 and v3 service entities
openstack service create --name cinderv2 \
  --description "OpenStack Block Storage" volumev2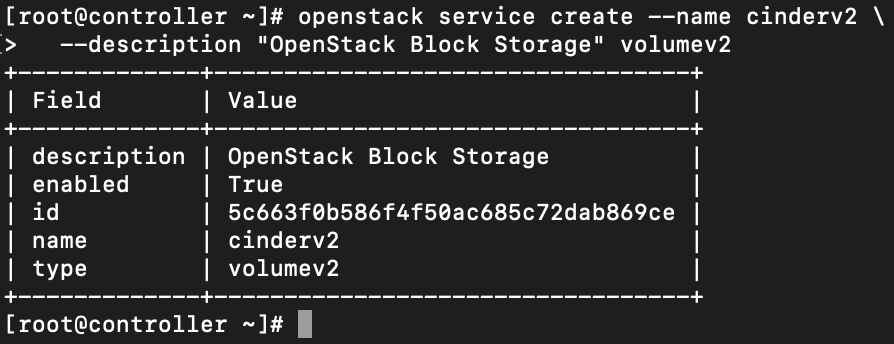
openstack service create --name cinderv3 \
  --description "OpenStack Block Storage" volumev3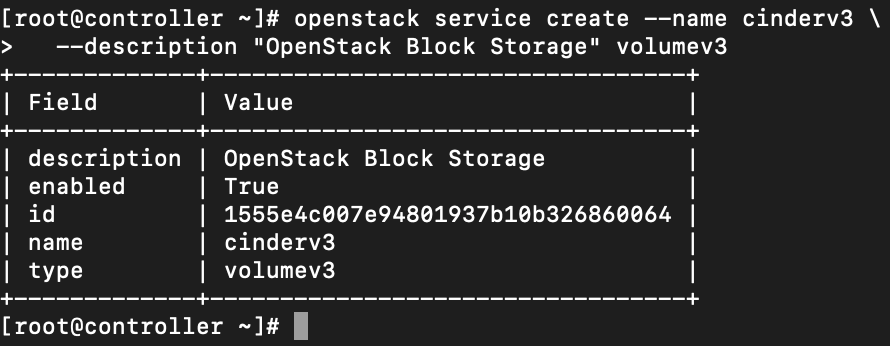
NExt wll be creating API endpoints
v2
openstack endpoint create --region RegionOne \
  volumev2 public http://controller:8776/v2/%\(project_id\)s

openstack endpoint create --region RegionOne \
  volumev2 internal http://controller:8776/v2/%\(project_id\)s

openstack endpoint create --region RegionOne \
  volumev2 admin http://controller:8776/v2/%\(project_id\)s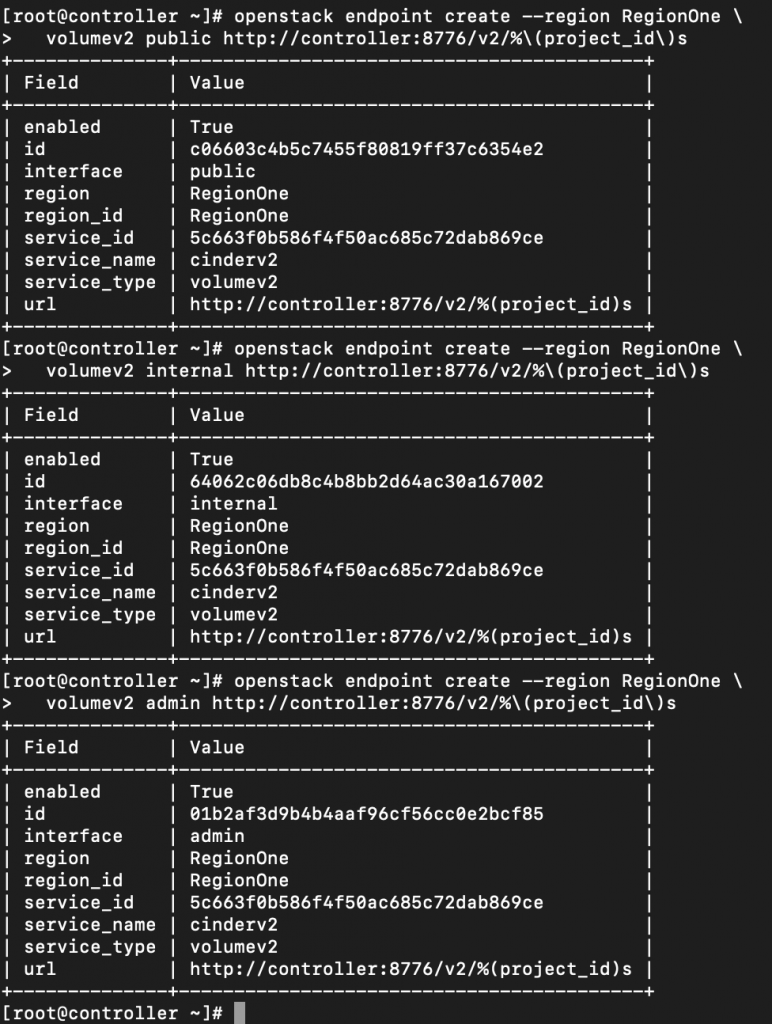
v3
openstack endpoint create --region RegionOne \
  volumev3 public http://controller:8776/v3/%\(project_id\)s

openstack endpoint create --region RegionOne \
  volumev3 internal http://controller:8776/v3/%\(project_id\)s

openstack endpoint create --region RegionOne \
  volumev3 admin http://controller:8776/v3/%\(project_id\)s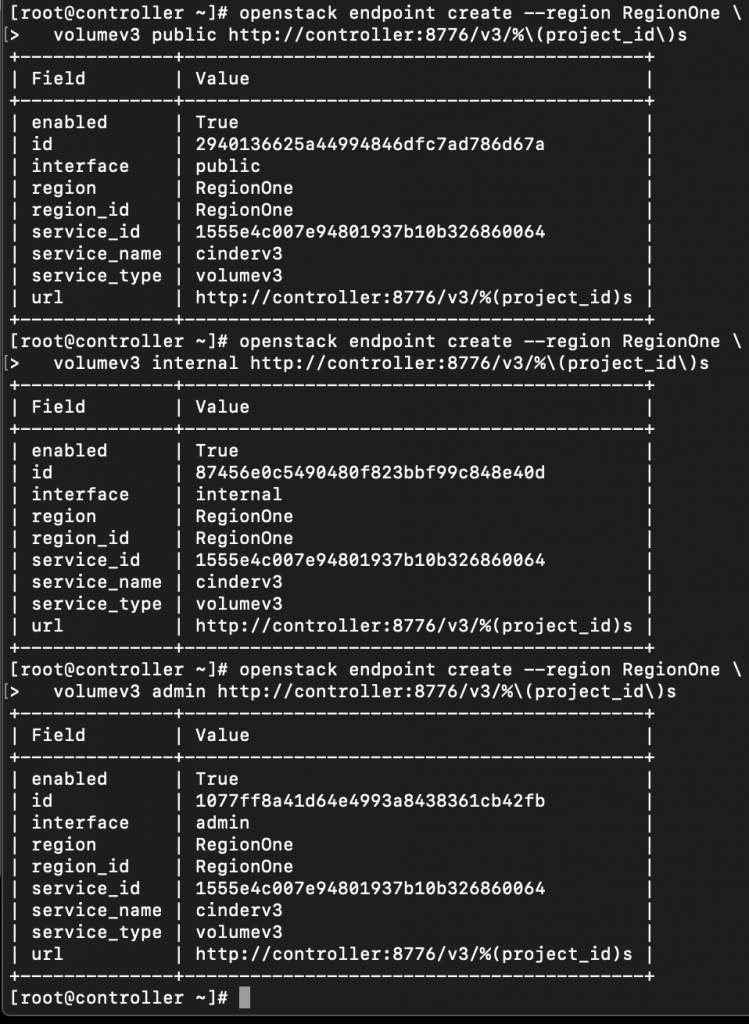
Additional firewall settings
sudo firewall-cmd --add-port=8776/tcp --permanent
sudo firewall-cmd --reload
Install and configure components
Install
sudo yum install openstack-cinderEdit /etc/cinder/cinder.conf
sudo vi /etc/cinder/cinder.confDatabase section. Replace CINDER_DBPASS with you cinder db user.
[database]
# ...
connection = mysql+pymysql://cinder:CINDER_DBPASS@controller/cinder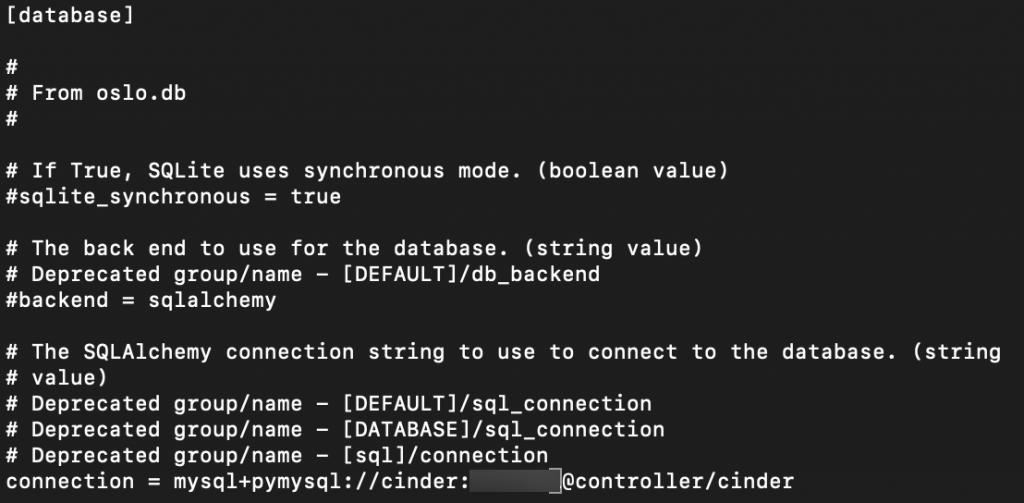
Default section. Change RABBIT_PASS for your Rabbit password.
[DEFAULT]
# ...
transport_url = rabbit://openstack:RABBIT_PASS@controller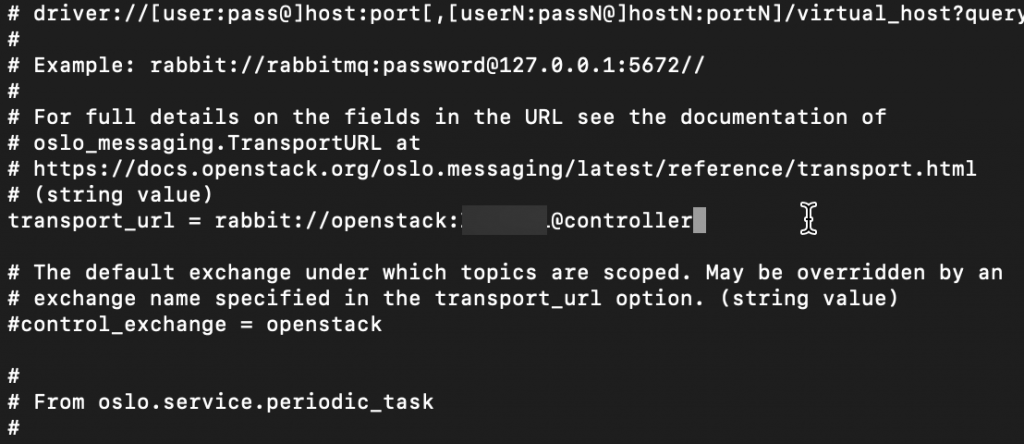
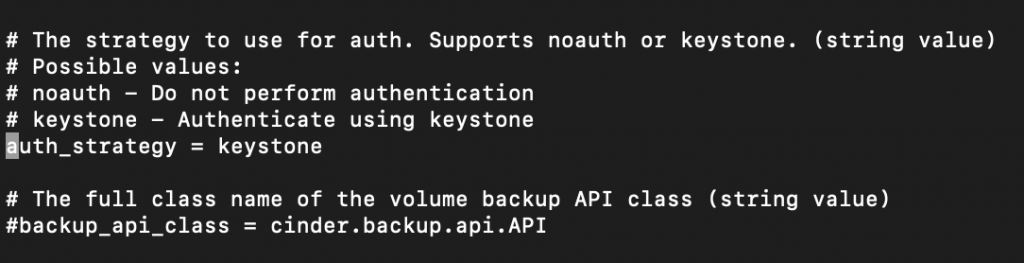
Continue in default section and keystone_authtoken. Replace CINDER_PASS with you cinder service account pass.
[DEFAULT]
# ...
auth_strategy = keystone
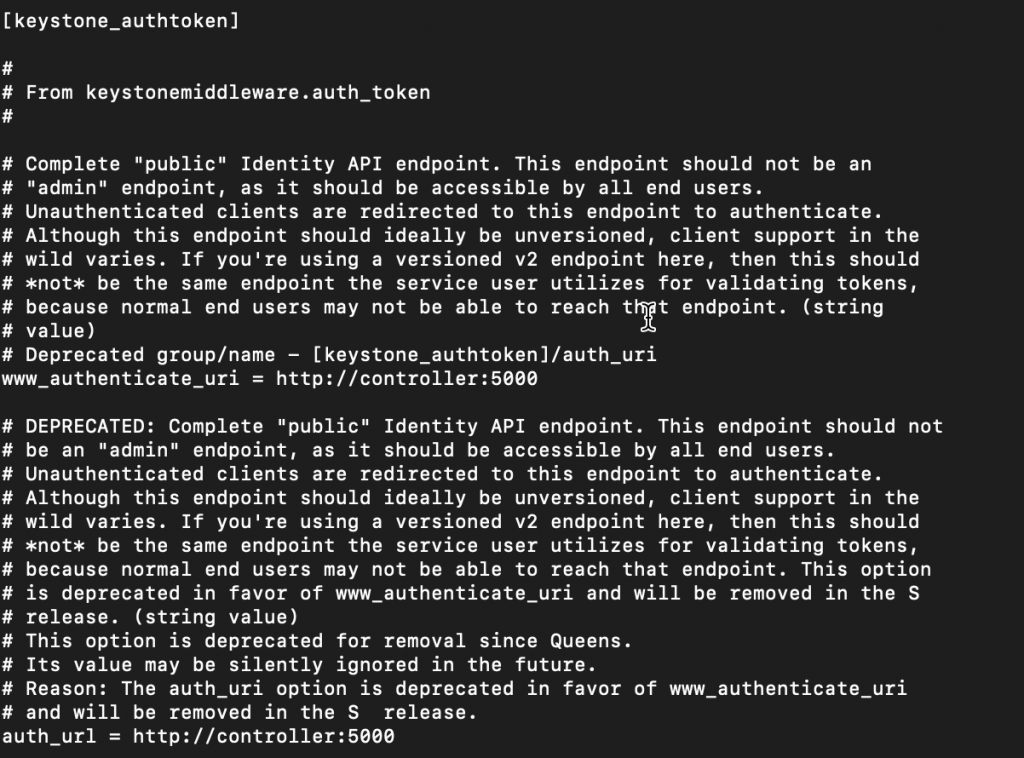
[keystone_authtoken]
# ...
www_authenticate_uri = http://controller:5000
auth_url = http://controller:5000
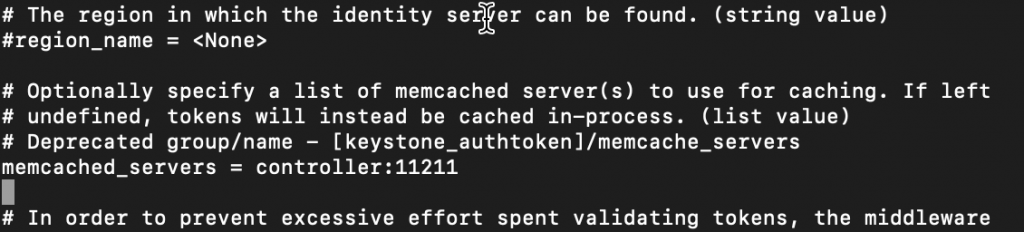
memcached_servers = controller:11211
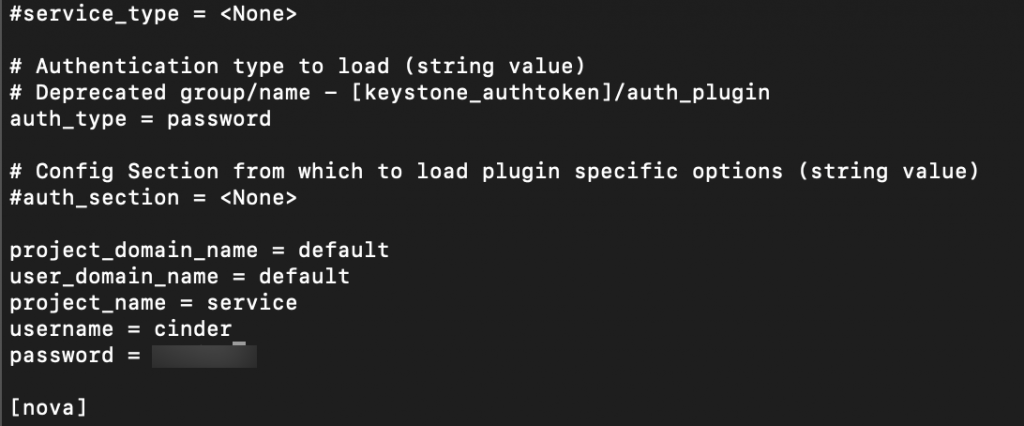
auth_type = password
project_domain_name = default
user_domain_name = default
project_name = service
username = cinder
password = CINDER_PASS
!!! Change auth_uri to auth_url before you enter link. auth_uri value will not work.

Rest of the values is not predefined, so add the at the bottom of keystone_authtoken section.Also replace CINDER_PASS with you cinder service account password.
Default section, replace my_ip value with your controller ip
[DEFAULT]
# ...
my_ip = 10.0.0.11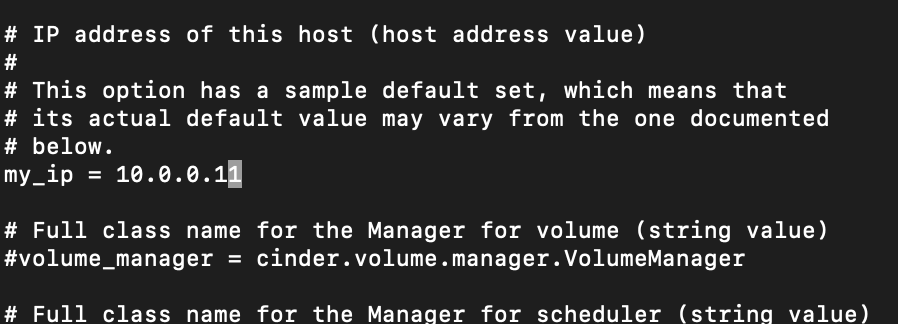
oslo_concurrency
[oslo_concurrency]
# ...
lock_path = /var/lib/cinder/tmp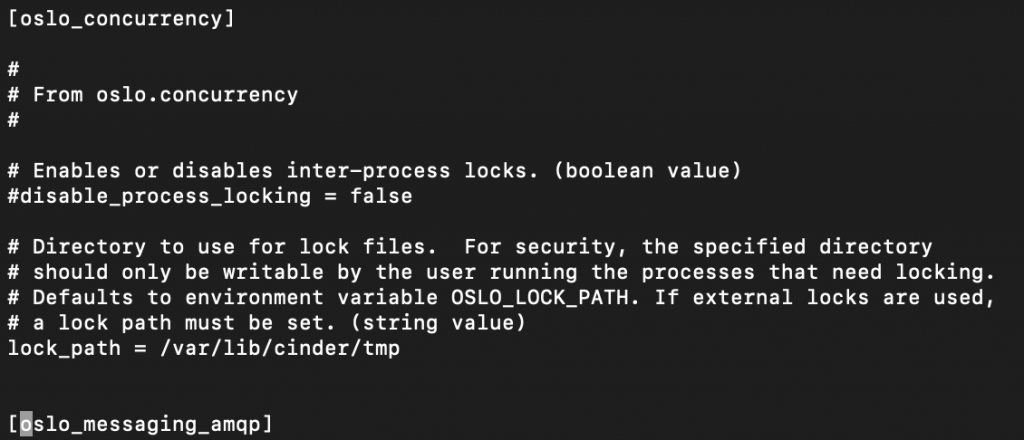
Populate the Block storage DB
su -s /bin/sh -c "cinder-manage db sync" cinderAccording to OpenStack manual you can ignore deprecated messages when running command.

Configure compute to use block storage
We are still at controller node
Edit
sudo vi /etc/nova/nova.confIn cinder section add
[cinder]
os_region_name = RegionOne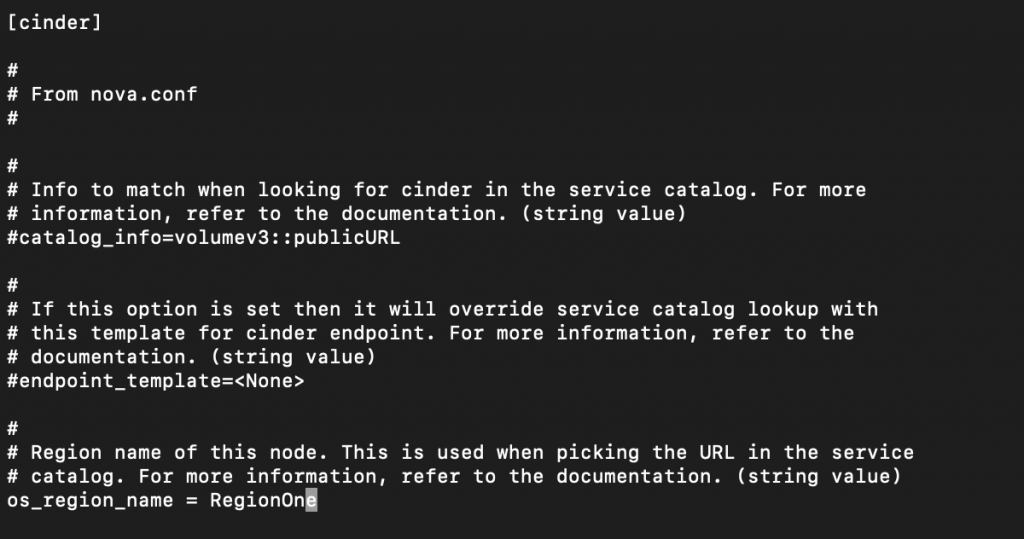
Finalize
Restart Compute API service
sudo systemctl restart openstack-nova-api.serviceEnable and start block storage service
sudo systemctl enable openstack-cinder-api.service openstack-cinder-scheduler.service
sudo systemctl start openstack-cinder-api.service openstack-cinder-scheduler.service
Install and configure storage node
This part of tutorial is done on Block Storage node. If you followed my tutorials from beginning, my Block Storage node is on 10.0.0.41 IP.
Prerequisites
Before you continue, if you followed my tutorial from the beginning, your block storage VM and object storage VM shoud have additional disk/partitions named /dev/sdb /dev/sdc.
If you missed doing that, do that before you continue with the tutorial.
fdisk -l100GB should be enough for both according to OpenStack documentation. You don’t need to assign 250GB like pictured below.

Install supporting utility packages
Install the LVM packages
sudo yum install lvm2 device-mapper-persistent-dataStart and enable LVM metadata service
sudo systemctl enable lvm2-lvmetad.service
sudo systemctl start lvm2-lvmetad.service
In my case, LVM was included by default, so everything worked
Create the LVM physical volume /dev/sdb
sudo pvcreate /dev/sdb
Create volume group named cinder-volumes
sudo vgcreate cinder-volumes /dev/sdb
A little bit of c/p from OpenStack documentation, for better understanding
Only instances can access Block Storage volumes. However, the underlying operating system manages the devices associated with the volumes. By default, the LVM volume scanning tool scans the /dev directory for block storage devices that contain volumes. If projects use LVM on their volumes, the scanning tool detects these volumes and attempts to cache them which can cause a variety of problems with both the underlying operating system and project volumes. You must reconfigure LVM to scan only the devices that contain the cinder-volumes volume group. Edit the /etc/lvm/lvm.conf file and complete the following actions:
sudo vi /etc/lvm/lvm.conf In the devices section, add a filter that accepts the /dev/sdb device and rejects all other devices
Add this under devices section in #configuration option devices/filter subsection.
devices {
...
filter = [ "a/sdb/", "r/.*/"]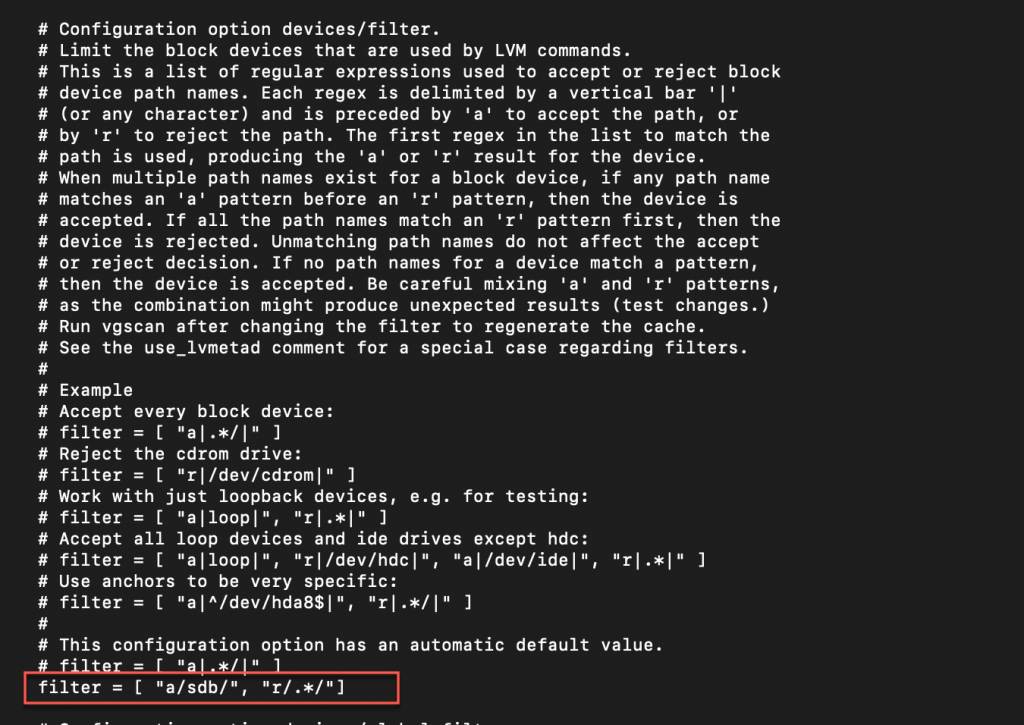
Each item in the filter array begins with a for accept or r for reject and includes a regular expression for the device name. The array must end with r/.*/ to reject any remaining devices. You can use the vgs -vvvv command to test filters.
!!!! Warning
If your storage nodes use LVM on the operating system disk, you must also add the associated device to the filter. For example, if the /dev/sda device contains the operating system:
filter = [ "a/sda/", "a/sdb/", "r/.*/"]Similarly, if your compute nodes use LVM on the operating system disk, you must also modify the filter in the /etc/lvm/lvm.conf file on those nodes to include only the operating system disk. For example, if the /dev/sda device contains the operating system:
filter = [ "a/sda/", "r/.*/"]Install and configure components
We are continuing on block storage vm.
Installation
sudo yum install openstack-cinder targetcli python-keystoneEdit
I will not be screenshoting this process as all the other since it is more or less the same. I will only write few details if needed, but more or less you can refer to editing notes from the services before.
sudo vi /etc/cinder/cinder.confDatabase section. Change CINDER_DBPASS to your cinder DB user password.
[database]
# ...
connection = mysql+pymysql://cinder:CINDER_DBPASS@controller/cinder
Default section. Change RABBIT_PASS to your RabbitMQ pass.
[DEFAULT]
# ...
transport_url = rabbit://openstack:RABBIT_PASS@controller
Default and keystone_authtoken sections.Replace CINDER_PASS with your cinder system service account.
Change auth_uri to auth_url
[DEFAULT]
# ...
auth_strategy = keystone

[keystone_authtoken]
# ...
www_authenticate_uri = http://controller:5000
auth_url = http://controller:5000
memcached_servers = controller:11211
auth_type = password
project_domain_name = default
user_domain_name = default
project_name = service
username = cinder
password = CINDER_PASS
Default section. Replace MANAGEMENT_INTERFACE_IP_ADDRESS with management IP of block storage VM. In my lab that is 10.0.0.41
[DEFAULT]
# ...
my_ip = MANAGEMENT_INTERFACE_IP_ADDRESS
lvm section. lvm section didn’t exist, so I added it, below keystone_authtoken section and above nova section.
[lvm]
volume_driver = cinder.volume.drivers.lvm.LVMVolumeDriver
volume_group = cinder-volumes
target_protocol = iscsi
target_helper = lioadm
Default section
[DEFAULT]
# ...
enabled_backends = lvm
Default section
[DEFAULT]
# ...
glance_api_servers = http://controller:9292
Oslo_concurrency
[oslo_concurrency]
# ...
lock_path = /var/lib/cinder/tmp
Finalize
Enable and start block storage volume service
sudo systemctl enable openstack-cinder-volume.service target.service
sudo systemctl start openstack-cinder-volume.service target.service
Install and configure the backup service
This is optional step and will be done on block storage node. In order to enable backup service, you need to first configure a storage node, which is the step above this one, also you need to configure object storage before trying this.
Install and configure backup packages
Install
sudo yum install openstack-cinderEdit
sudo vi /etc/cinder/cinder.confDefault section
[DEFAULT]
# ...
backup_driver = cinder.backup.drivers.swift.SwiftBackupDriver
backup_swift_url = SWIFT_URL
We will need to find SWIFT_URL value. We can find it by running following command
Before SWIFT_URL command run following
. admin-openrc

or if you done previos parts with my tutorials

. admin-openrc.sh
!!!! If you don’t have installed and configured object storage this command will give you errors!!
openstack catalog show object-store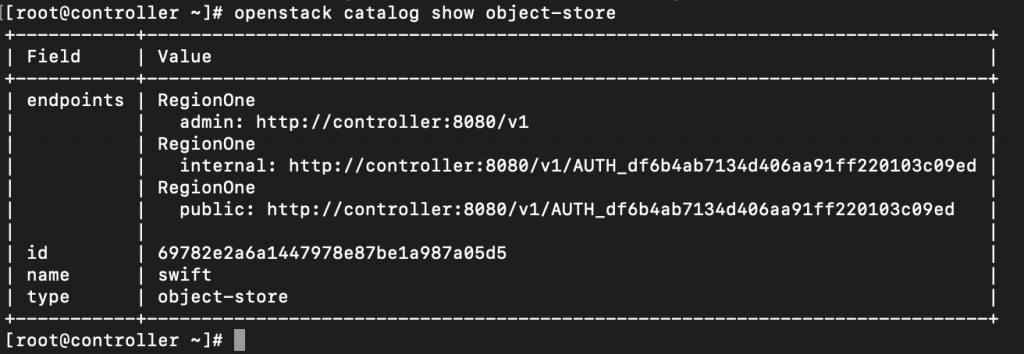
I will use admin value, since OpenStack documentation doesn’t specify which value you should use.
Edit
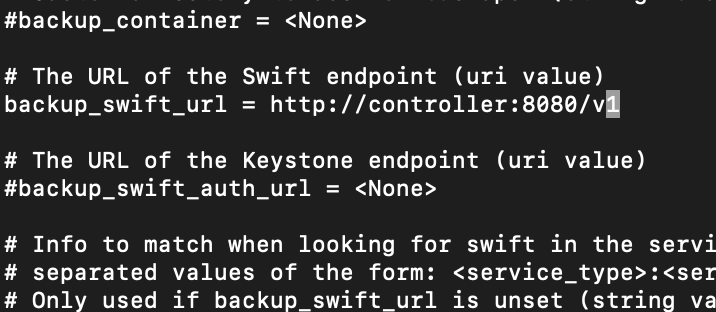
sudo vi /etc/cinder/cinder.confDefault section. SWIFT_URL will be replaced with the value we got from the command above (show object-store)
Line backup_driver is different than in OpenStack documentation. One from the OpenStack documentation got me error “Backup service controller failed to start.: ImportError: Class swift cannot be found”.
Only after I modified it, I managed to get it working, and service below running.
[DEFAULT]
# ...
backup_driver = cinder.backup.drivers.swift.SwiftBackupDriver
backup_swift_url = SWIFT_URL
Enable and run service
sudo systemctl enable openstack-cinder-backup.service
sudo systemctl start openstack-cinder-backup.service
Verify operation
Ok, we are at the last step of this long tutorial.
. admin-openrc

or if you done previos parts with my tutorials

. admin-openrc.sh
List service components to verify successful launch of each process
openstack volume service list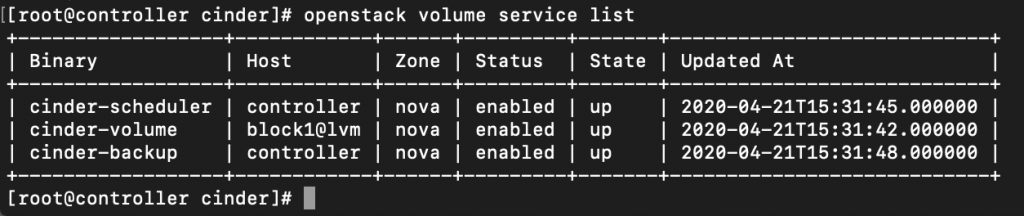
That is it, all is done and working!!!
We will complete this series with Object Storage installation.
With object storage installation tutorial we will be done, and have basic cloud set up in our private data center.