So, you installed hMailServer on your Windows Server 2012 R2 but there is no webmail interface. You can install mail on your mobile phone client or PC client, but there is no web interface that comes with hMailServer installation.
You need to add webmail for hMailServer. There are few prerequisites needed to install WebMail, and in case you don`t have IIS, MySQL or PHP already setup on your PC, you will need to do these installs.
I have WordPress setup covered on my blog so look there for IIS, PHP, MySQL install, after that installation you should be set for this tutorial – https://www.informaticar.net/?p=1944 .
Without my previously linked tutorial you will not be able to follow this one.
Here I`ll cover AfterLogic WebMail Lite PHP install
http://www.afterlogic.org/download/webmail-lite-php
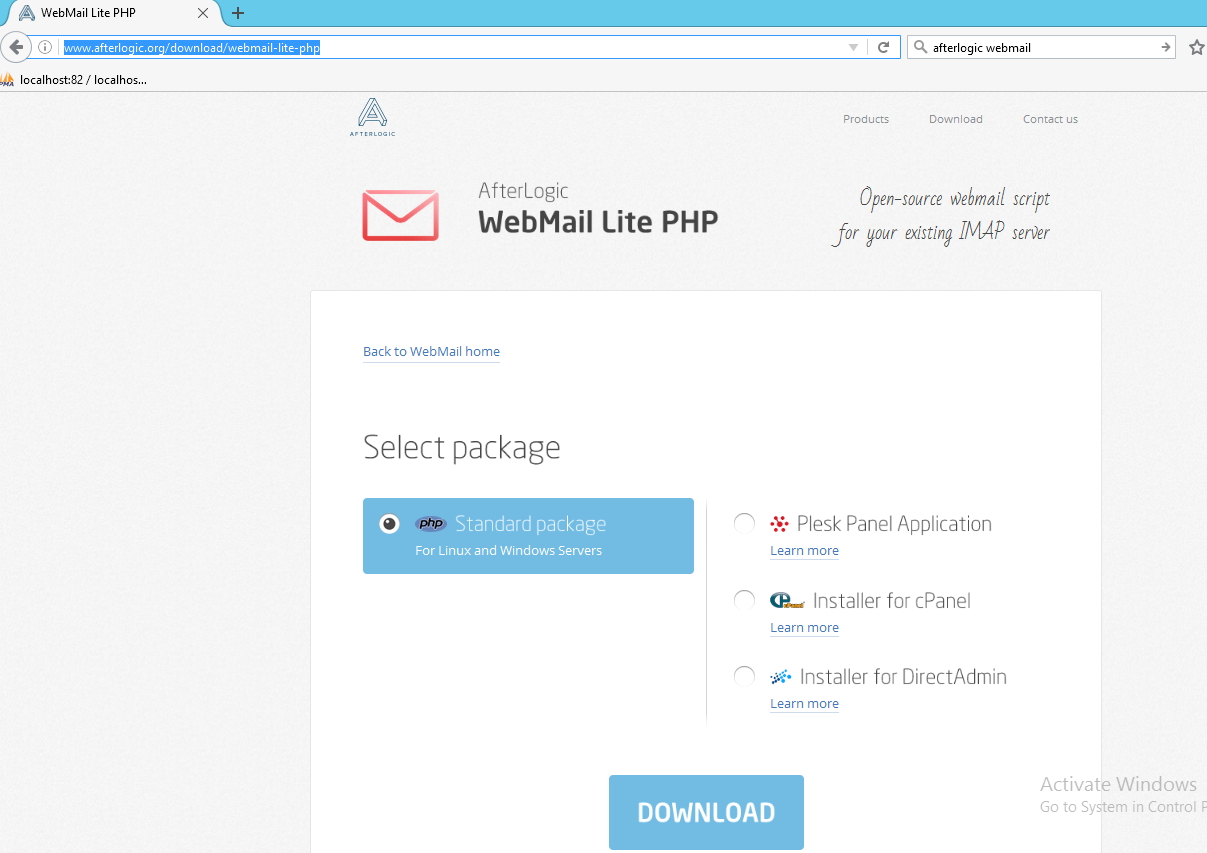
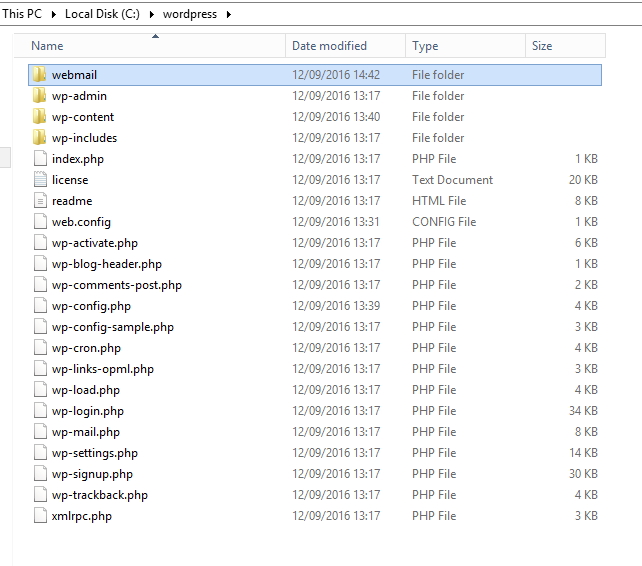
Extract ZIP to your webpage folder
I will be doing that in my WordPress install from previous tutorial (linked on the top)
So, here is how it looks like on my server
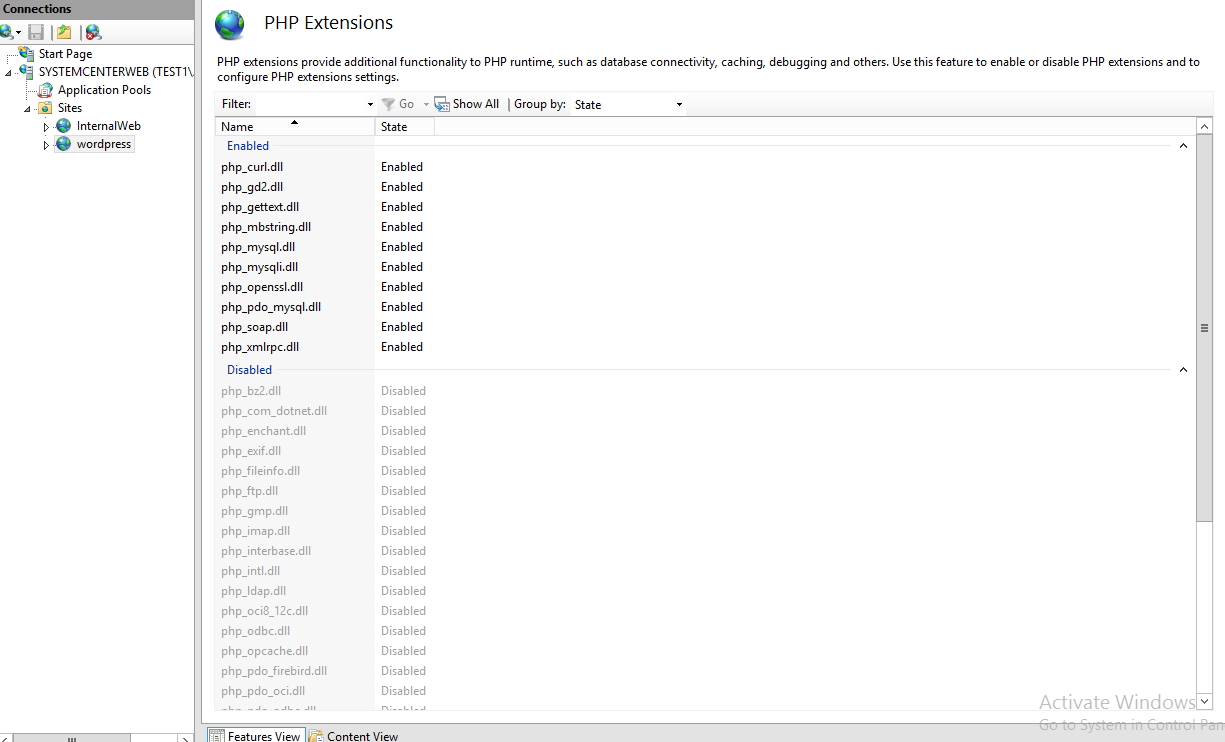
Before we start with the installation head on to your IIS Manager |Server |Sites | your Website under which you copied webmail installer (mine is wordpress) | choose PHP Manager |PHP Extensions | Enable an extension (enable php_pdp_mysql.dll extension)
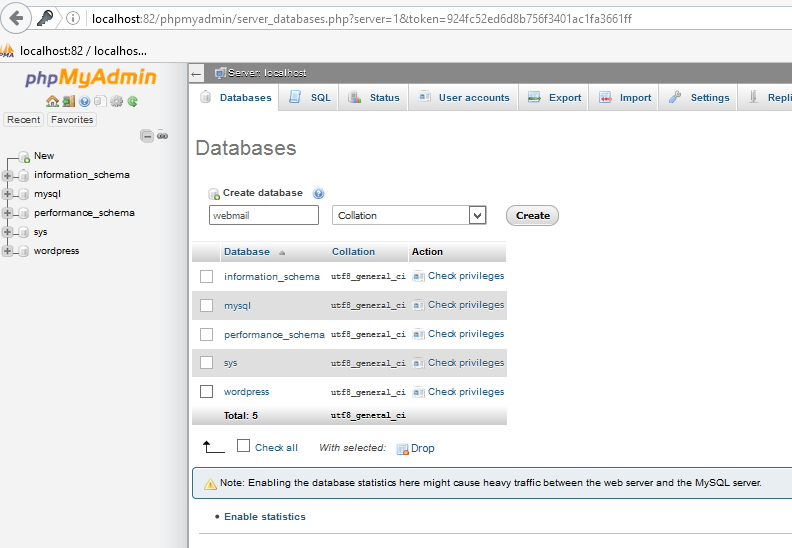
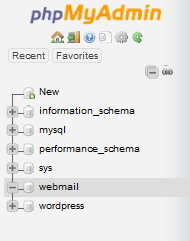
Head on to your MySQL installation (phpMyAdmin, also covered in text I linked at the begining) and open new database. My database will be called webmail
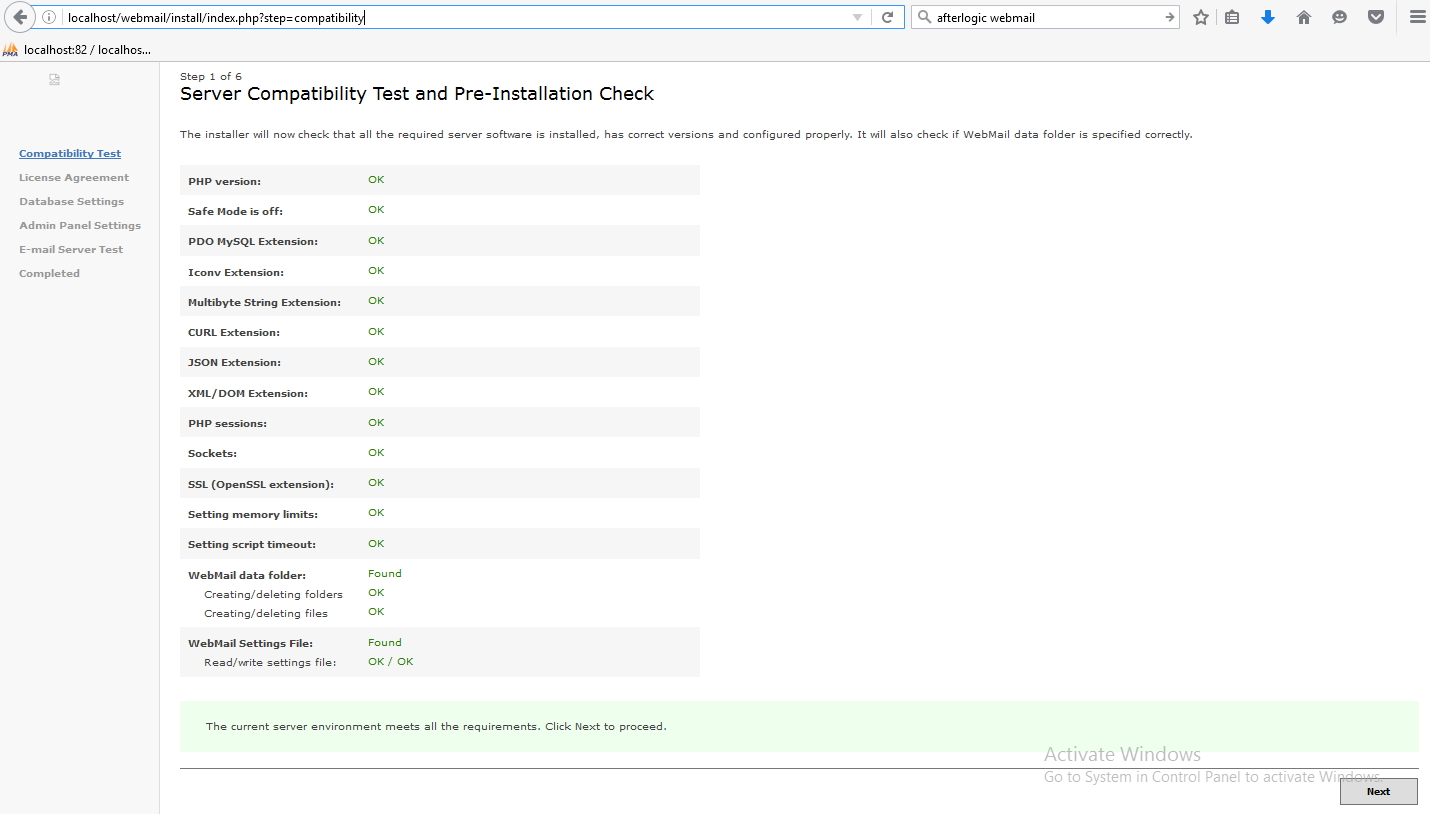
http://localhost/webmail/install is path for webmail installation (once again, path will be different in your case)
If you followed my tutorial for WordPress setup you should be set for install |Next
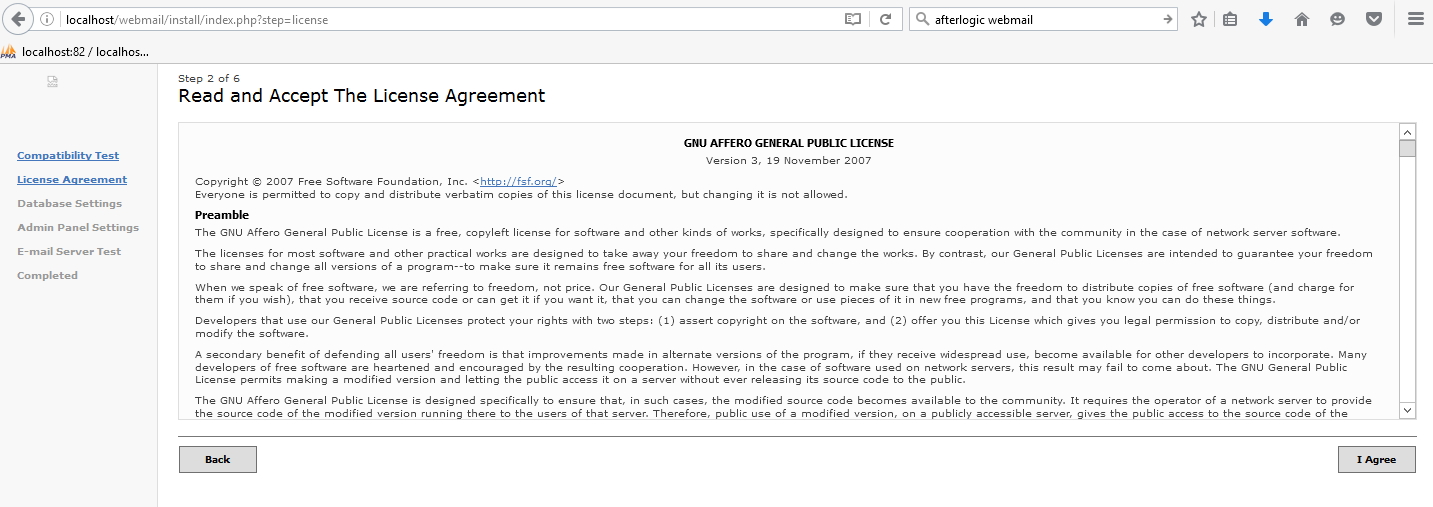
I agree
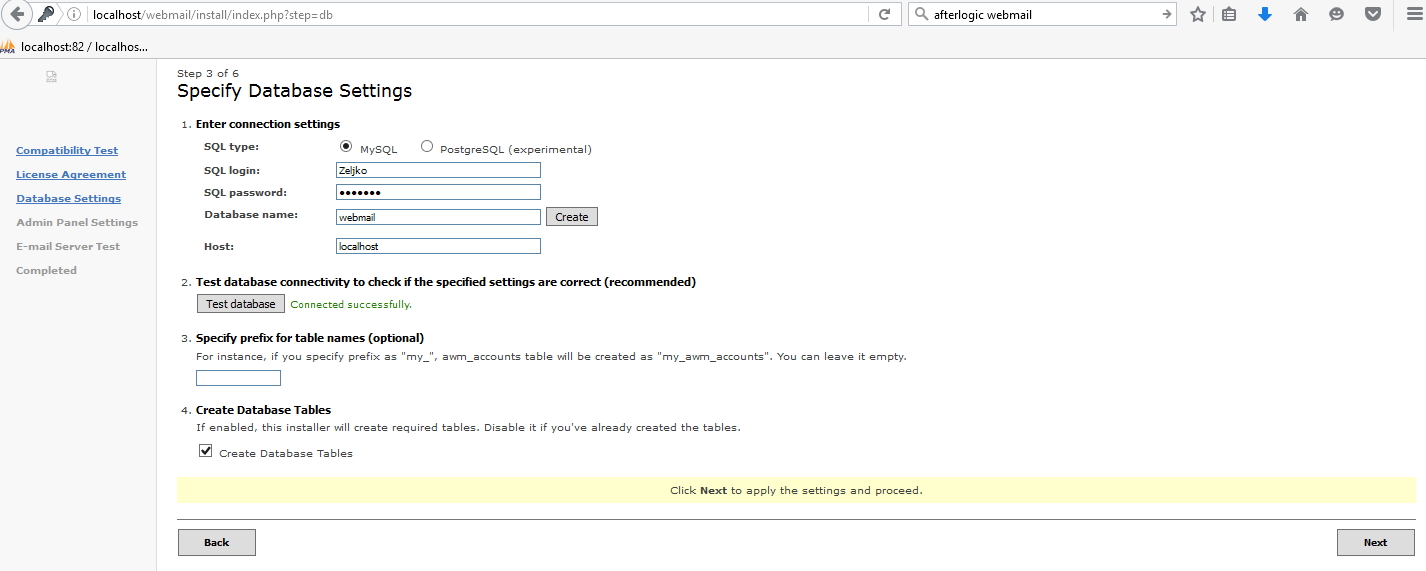
Enter your MySQL user and pass (user should have permissions for DB you created), enter DB name, host and click on “Test database” to see if everything is Ok |Next
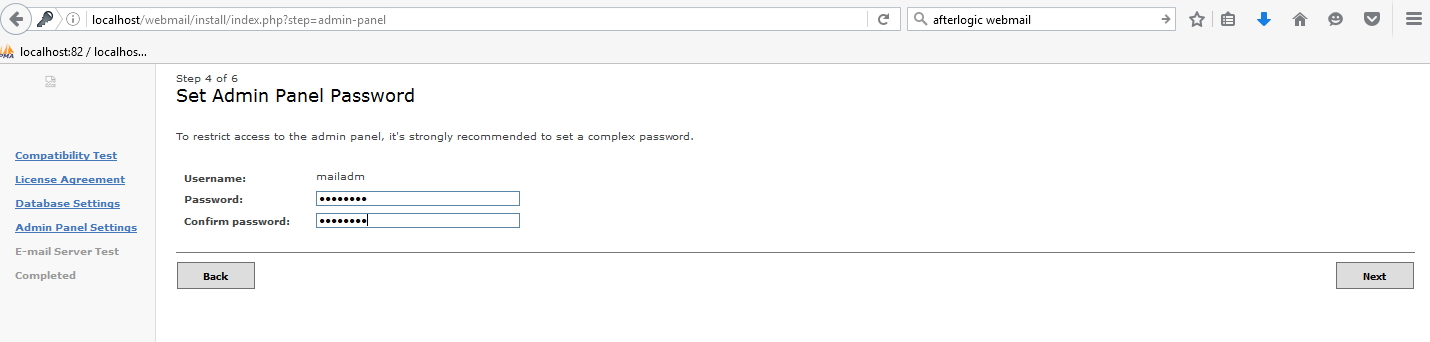
Define password for webmail administration panel |Next
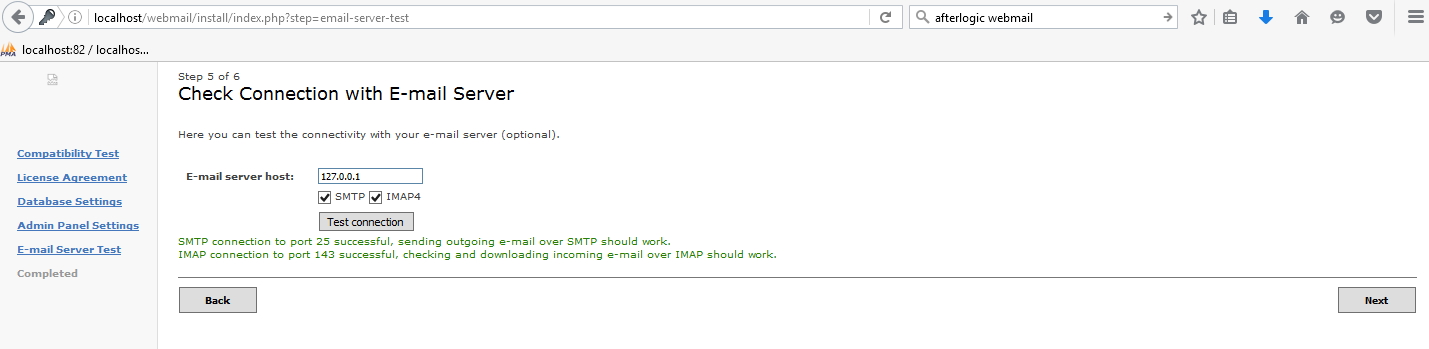
Next you should enter IP address (or name) of your email server for which you are installing this webmail (MX record if you are entering name – mail.domain.com) – click on test connection and if successful click on Next (value 127.0.0.1 can just be entered for test, it should not be in production environment or on the web side)
Installation completed
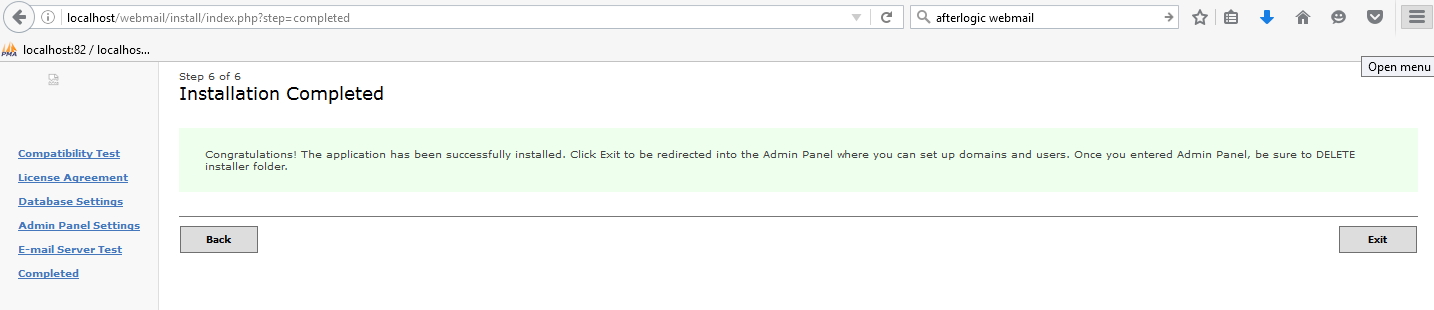
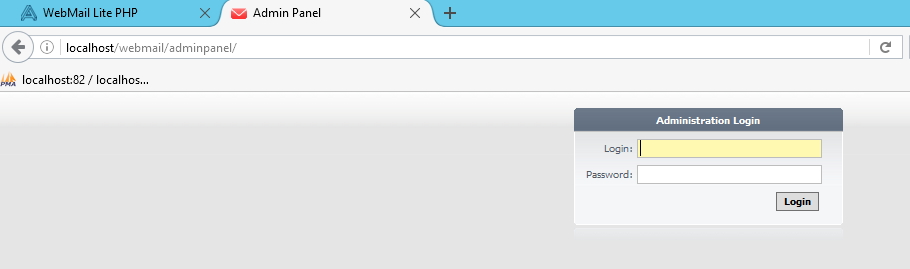
After installation is over adminpanel should appear
http://localhost/webmail/adminpanel
You can login with credentials you entered during webmail setup
Open Domains tab | Click on Default settings |Enter Incoming and Outgoing mail and “Use incoming mails login/password of the user
!!! Important tip – never enter localhost (127.0.0.1) under Incoming and Outgoing mail (under some circumstances 127.0.0.1 will work) because that will instantly get you blacklisted.
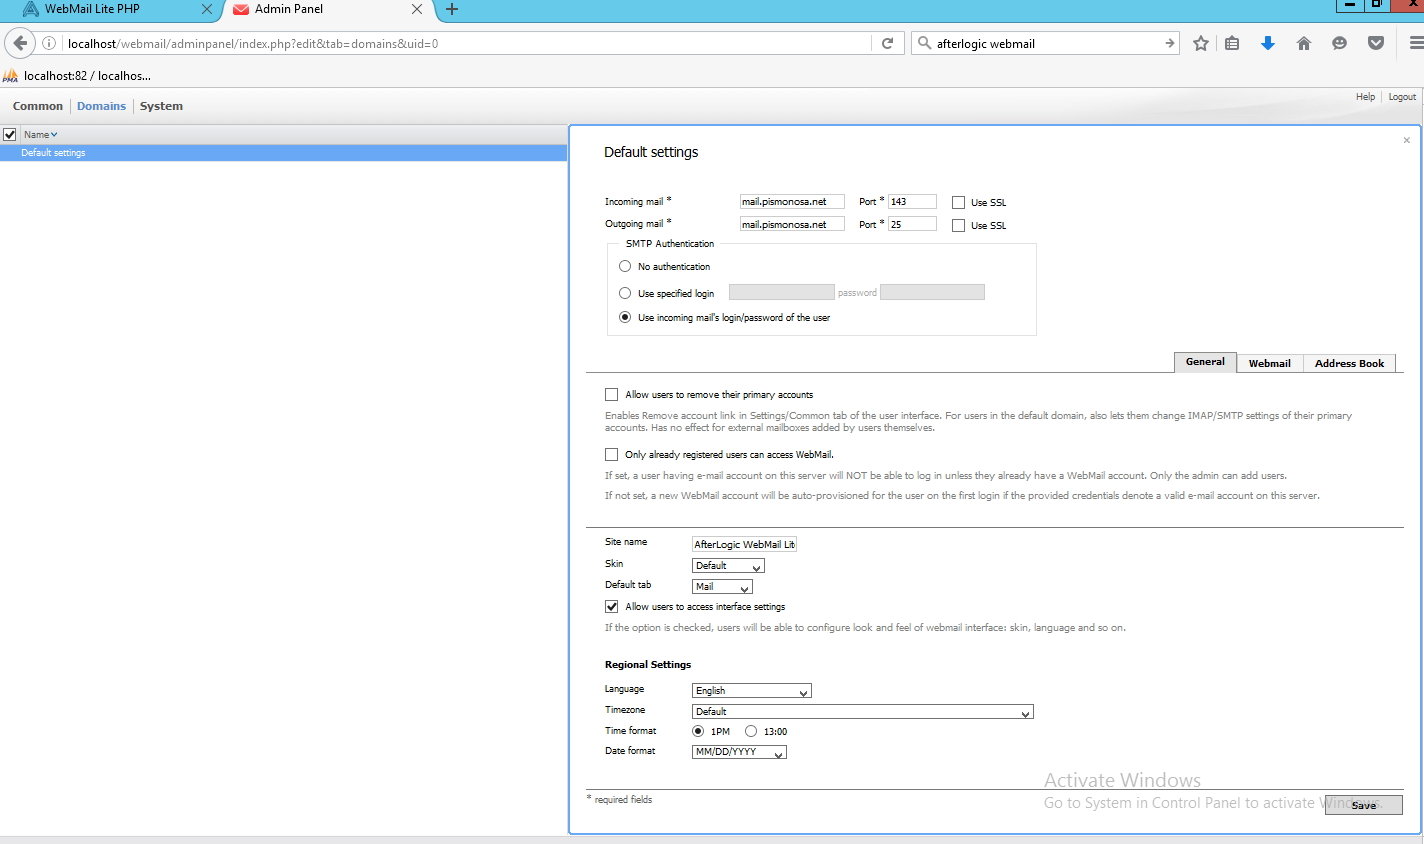
All the other settings are up to you, but these that I mentioned are essential for webmail to work.
After you are done click on Save | Logout
http://localhost/webmail/ should have login form
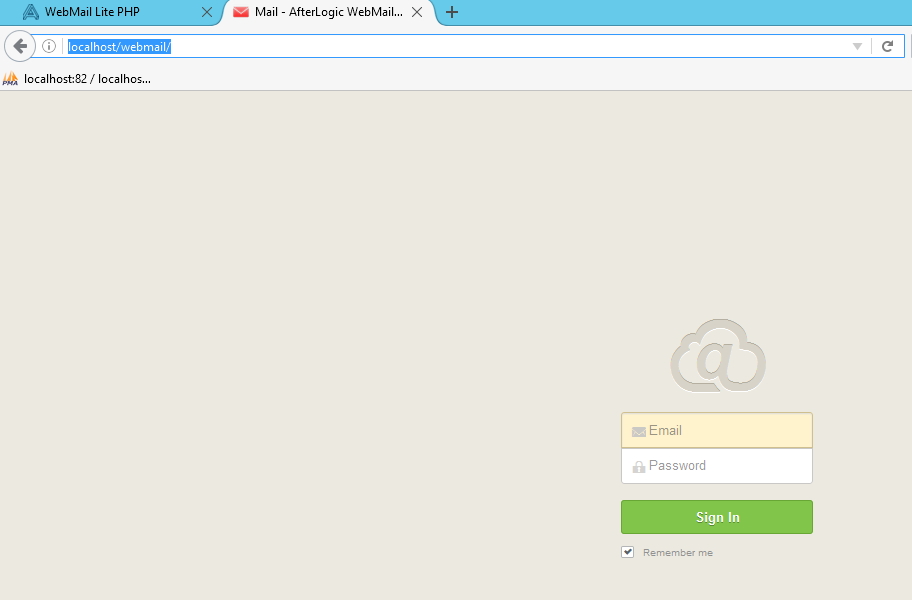
If you done everything correctly, you should be able to login – if you have errors please refer to http://www.afterlogic.org/docs/webmail-lite/
Usually domain name or IP aren`t correct and you should head back to admin panel and correct Incoming and Outgoing mail settings
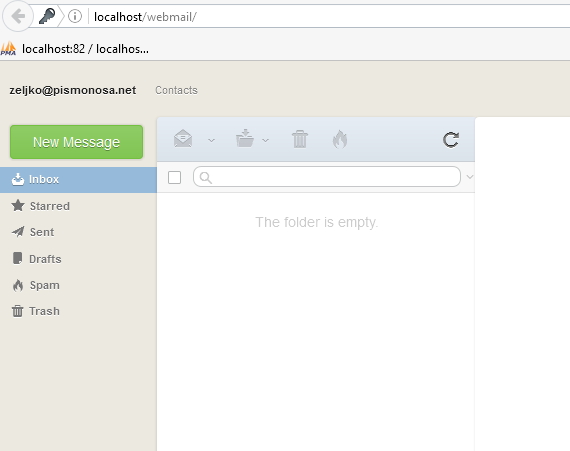
If everything is correct you should see this screen
Before we wrap up this tutorial, two things.
Head back to your webmail directory and delete install folder
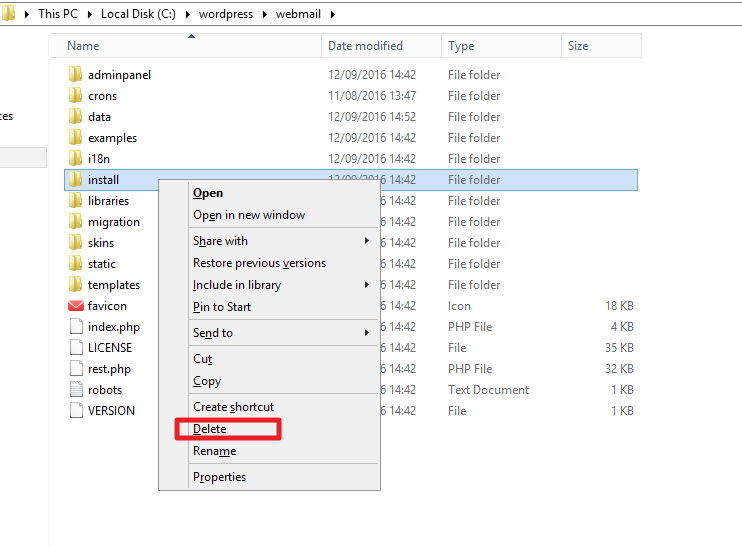
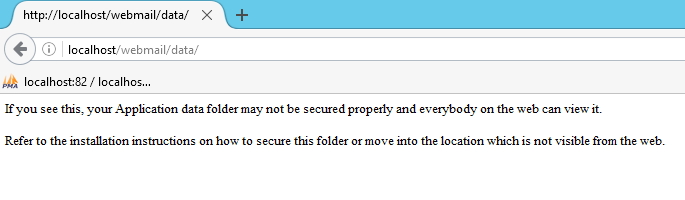
Also you should according to documentation copy data folder somewhere out of webmail folder
You should not get this screen after you type in webmail/data in your browser
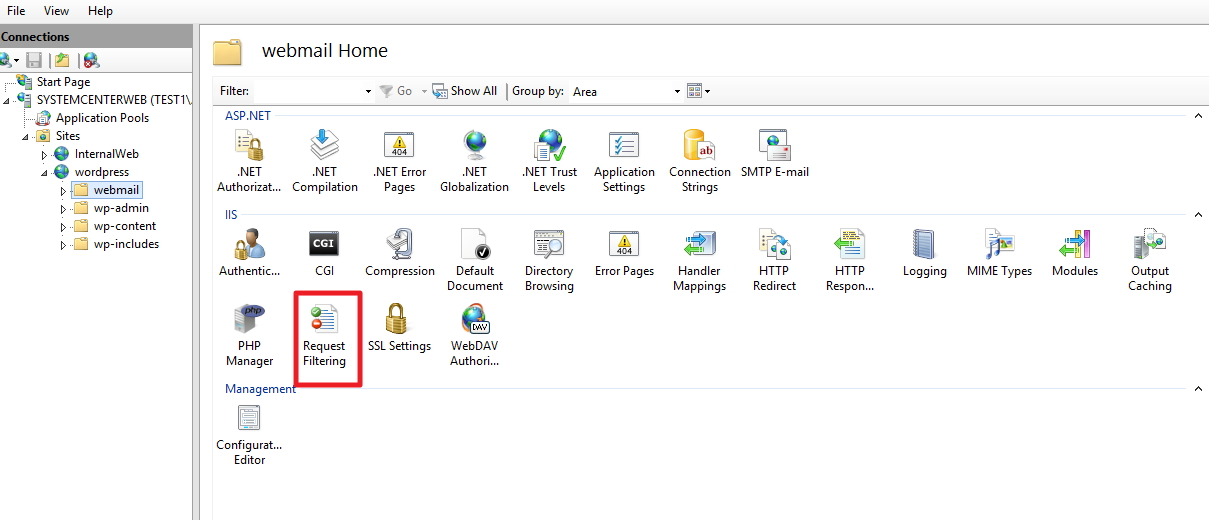
You can follow documentation I just linked or you can go to IIS Manager |Server | Sites | Your website |Webmail |from the middle screen choose request filtering
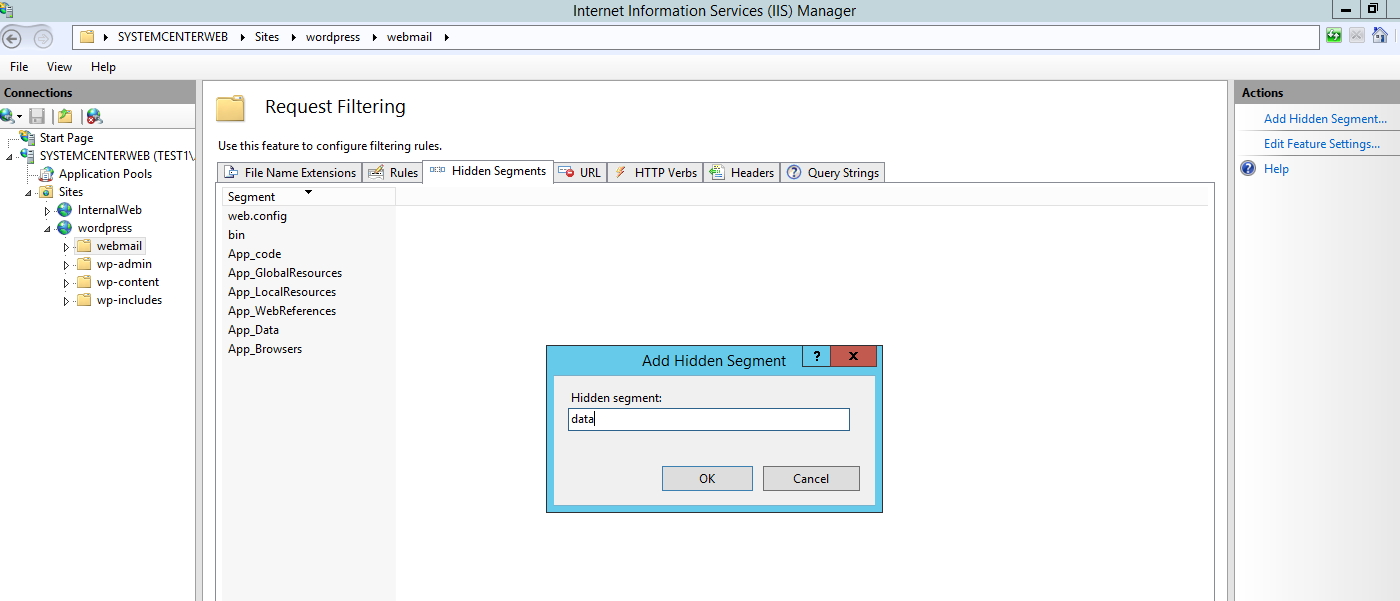
Choose Hidden Segments tab |Add Hidden Segment and enter Data |OK
After that if you repeat request through web browser
This is ok

With this step we are done with setting up webmail interface for hMailServer. It should work and be secure. If you have any suggestions about hMailServer and this webmail tutorial – contact me.