You have a small business and you would like to host your own email server but you don`t have enough money for mail solutions like Microsoft Exchange. There is hope. hMailServer is great (and free) solution for simple email server . In this tutorial I`ll show you everything you need to know to install and configure your own mail server.
Of course there are other solutions like Office365 and mail hosting, but maybe you like to have things under your control.
In this LAB I`ll show you how to install and configure (basic things) hMailServer.
If you would like to have your domain registration and DNS under control there is good and simple solution via DynDNS, and I can cover that topic if there is need. Write to me If you are interested in that.
Now, back to hMailServer
I`ll skip setup process for hMailServer since it is pretty simple, and get straight to configuring.
Detailed documentation for all the options covered in this LAB you can find on this address – https://www.hmailserver.com/docs
Domains |Add
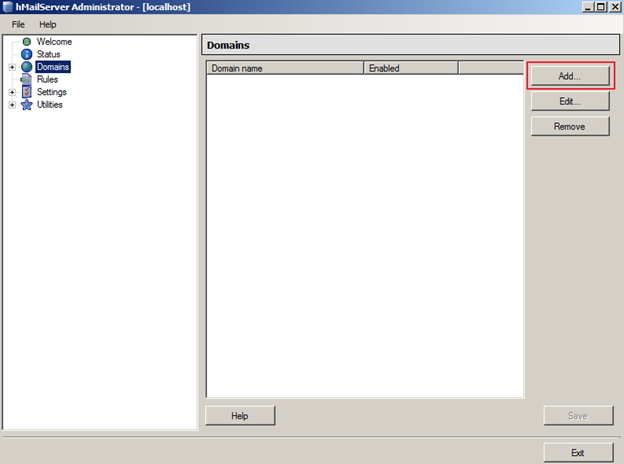
General |Domain – Enter your domain name ( yourdomain.xyx) – click on Enabled |Save
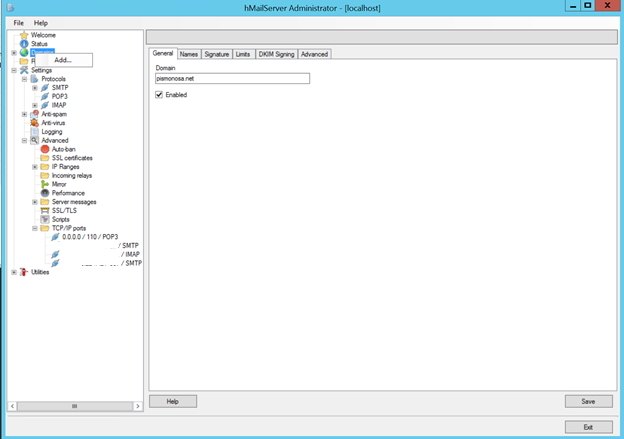
Meaning of other tabs:
We`ll be skipping Names, Signatures, Limits and DKIM Signing tabs since this is basic tutorial. I`ll explain in short what each of these does…
Names – You maybe have aliases for your company (company.com, company.net, company.org). You can create domain for each of your aliases or you can add your aliases under Names tab and simplify process.
Signature – Define signatures for your outgoing emails (plain text and html format is accepted).
Limits – c/p from hmailserver.com documentation:
Maximum size (MB)
If this value has been specified (is not 0), the system administrator and the domain owner will be prevented from adding accounts so that the total size of all accounts exceeds this value. If you have specified 500MB, the total size of all messages in the domain will not exceed 500MB.
Maximum message size
If specified, hMailServer will reject messages larger than this size.
If not specified, the server-wide Max message size defined in the SMTP settings will be used.
Maximum size of accounts (MB)
If this value has been specified (is not 0), the server administrator and the domain owner will be prevented from adding accounts with a total size larger than this value.
Number of accounts, aliases and distribution lists
Using these settings, you can limit the number of accounts, aliases and distribution lists server administrators and domain owners can create in this domain.
DKIM Signing – DKIM, Domain Keys Identified Mail, is a method to sign the content of messages. The recipient can verify that the message is sent from a server authenticated to send from the sender’s domain, and that the message content has not been modified in transit.
That’s it, you can configure each of these according to your needs.
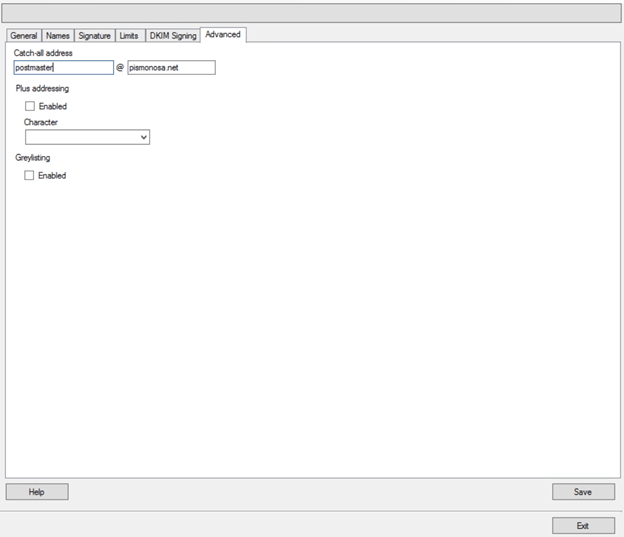
Tab Advanced |Enter name for “Catch-all address” -If a mail is sent to an address on your domain that does not have a POP account or alias, then it is redirected to the catch-all address, so this is important. | Save
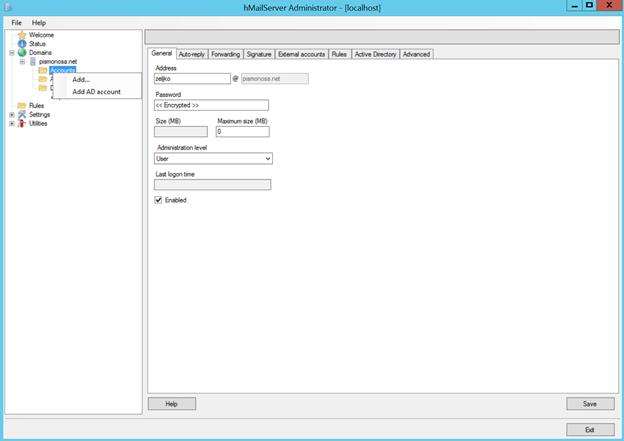
After configuring domain next step is to add accounts. Under created domain click on Accounts |Add
Under Address enter the name of account you wish to create and enter password for new user account. Choose Enabled | Save
Let`s quickly describe other options and tabs under account so you can set them up according to your needs.
General – Maximum size (MB) The maximum disk space that the account may use. If the limit is reached, the account will not be able to receive any more email.
Auto-reply – setup out of office or vacation messages.
Forwarding – forward email to another account
Signature – define signature for outgoing email.
External accounts – download messages from your other email accounts
Rules – define Rules that apply only for single account, not whole domain.
Active Directory – connect your account with AD (if you have one)
Advanced – set first and last name for account, manage folders, empty account or unlock it if it is locked.
That is all for now under Accounts tab. There are many options to configure for every user, but this is basic configuration.
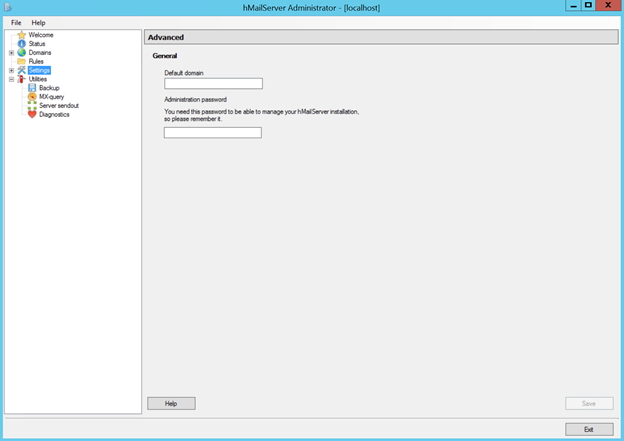
Settings – make sure you have your hmail Administration interface secured with good username and password.
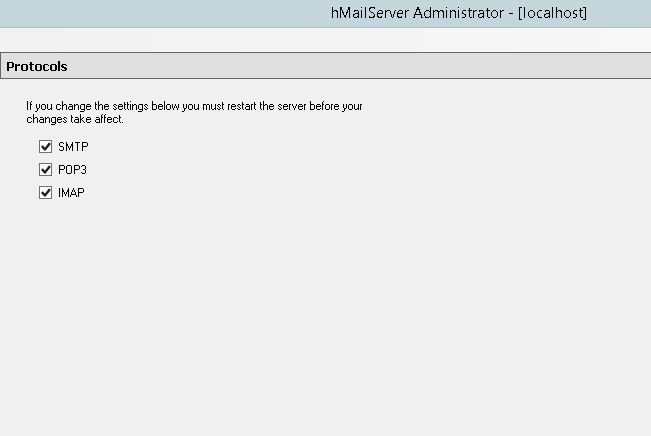
Next step is under Settings menu. Expand Protocols and select protocols that you would like to use. For the lab I`ll test SMTP, POP3 and IMAP |Save
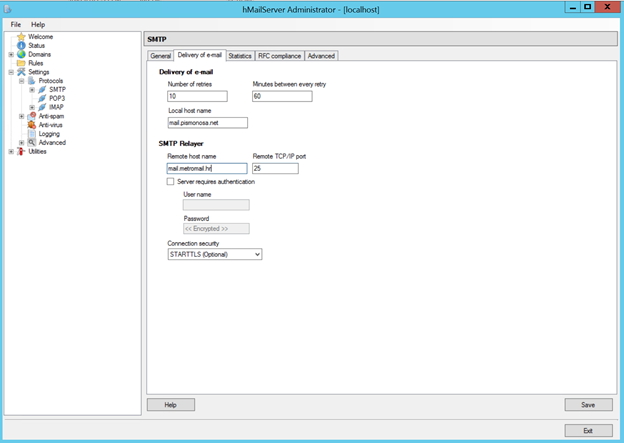
Next – select Settings |Protocols | SMTP – click on “Delivery of e-mail” tab. Under Local host name enter you mx record and if you are using dyndns or need your ISP settings in order to host your email you`ll also need SMTP Relayer. I entered data from my internet provider.
!!!Local host name field – do not enter localhost IP address (127.0.0.1) – you will be blacklisted quickly
In case you host your own DNS and MX records you don`t have to enter SMTP relayer.
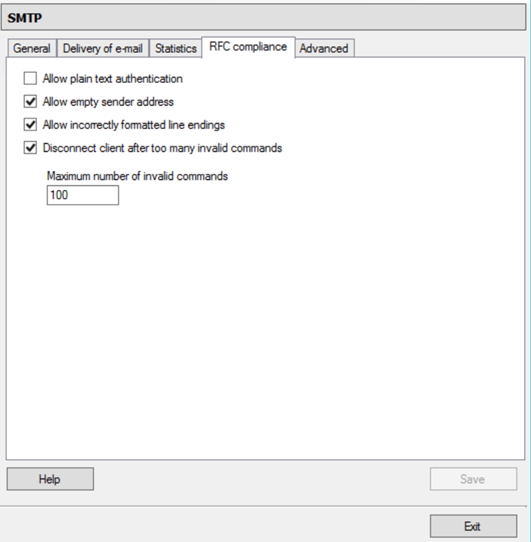
We are staying under SMTP just a little bit – click on “RFC compliance” tab. You definitely want to setup RFC, since you`ll be probably blacklisted very soon if this is not setup properly. You need to check Allow empty sender address (legit sites sometimes use empty sender address) and Allow incorrectly formatted line endings. |Save
You can also always adapt these settings according to your needs (for example if you get mail from legit sources with empty sender address)
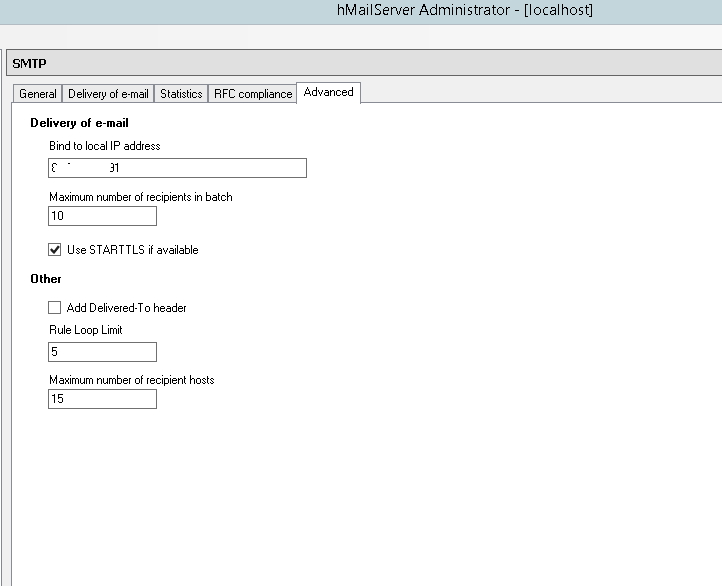
Settings |Protocols |SMTP| Advanced |Delivery of e-mail – Bind to local IP address – enter yourdomain.xyx, or local IP or you can leave this empty – hmail will select it automatically.
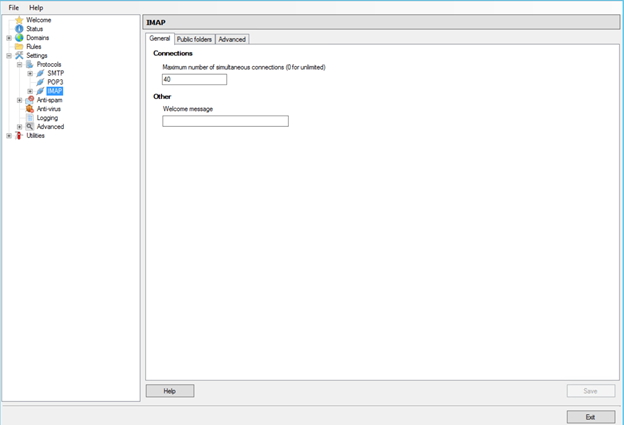
Under Settings | Protocols |IMAP you really don`t have to setup much – you can leave this how they are – of if you know what you want – set them up as you like.
Same goes for POP3
Anti-spam/Anti-virus
!!!I`ll be skipping Anti-spam and Anti-virus menus since goal of this tutorial is to setup just mail communication – you`ll definitely want to enable these or you`ll be overwhelmed with spam and viruses in some time. I have also antivirus in place which scans my mail data folders and does nice job.
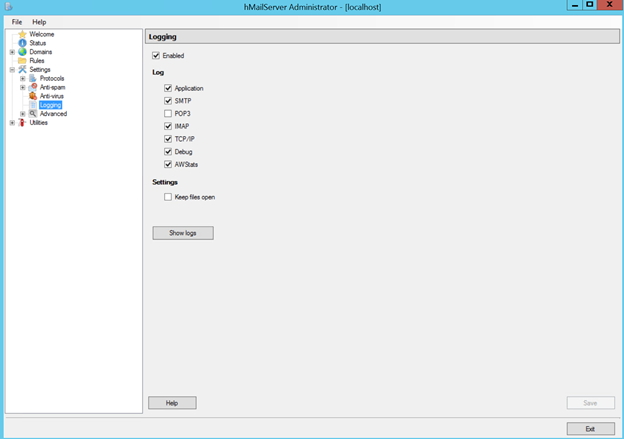
Settings | Logging – enable logging – it will come very handy in case of email or system problems (I disabled POP3, since I won`t be using it except in this LAB)
The final step in this basic configuration of your email server is very important – we want to ensure it is not an open relay. An open relay is situation when a server enables mails to be sent through it to other domains on behalf of domains that do not exist on the local server. Being an open relay is a very quick way to get yourself blacklisted, and it can be very hard and time consuming to get of blacklists once you’re on them.
Settings |Advanced | Auto -ban |I highly recommend Enabling this option. I did setup for mine and here is what it looks like
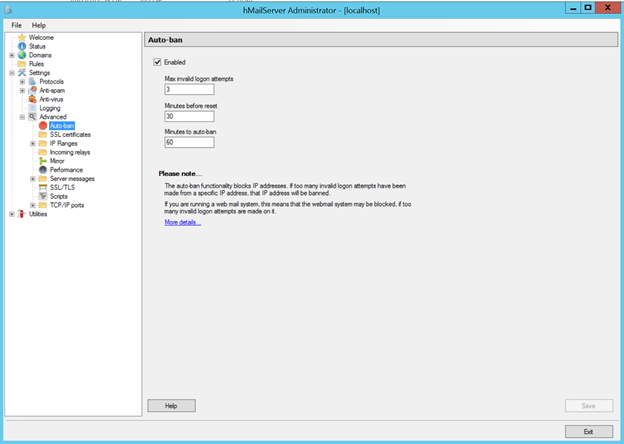
Auto-ban will ban spammers but also can ban legit IP addresses, so be aware of that. If you have multiple users on same site, and one of them enters (in my case 3 times) wrong password, that IP will be blocked and your other users won`t be able to login to their account.
Best solution for this is to whitelist IP addresses you access your email from, this works for me in the production environment.
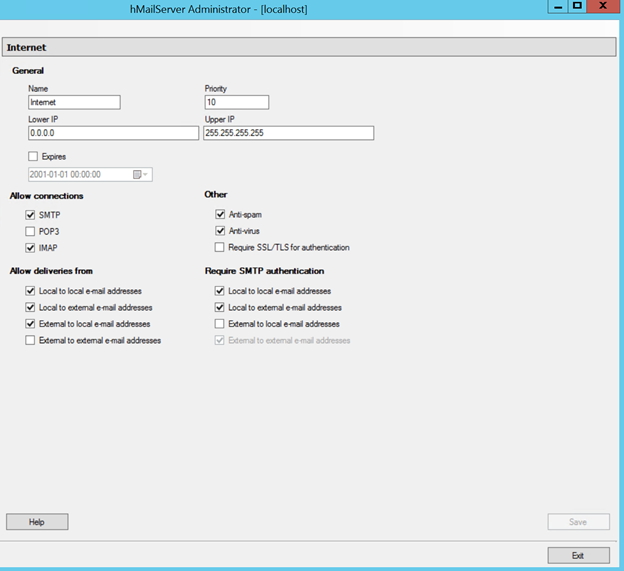
Select Advanced menu | IP Ranges |Under IP Ranges select Internet | choose Edit | Under “Allow deliveries from” | all should be checked EXCEPT external to external . External to external must be UNCHECKED
“Require SMTP authentication” ALL (except external to local) CHECKED | I left all except external to local ckecked. External to external e-mail addresses should be grayed out and checked here.
Under “Other” menu Require SSL/TLS for authentication option is also welcome to be checked. For this LAB I left it unchecked since I won`t be setting SSL.
| Save
There is very good article on this topic on official web – https://www.hmailserver.com/documentation/latest/?page=ts_server_used_for_spam
Repeat same settings for My Computer under Advanced | IP ranges (lower IP and Upper IP settings should reflect localhost 127.0.0.1).
So, we are almost at the end, but before ending I want to check my email server communication.
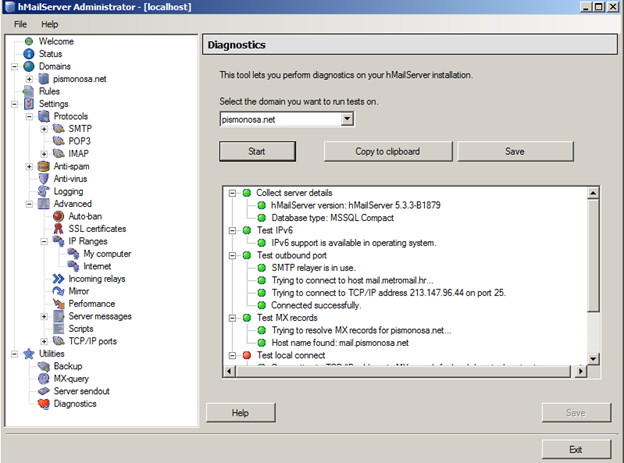
Under Utilities |Diagnostic | Select domain |click Start
I got these results
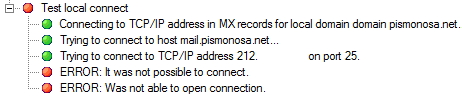
ERROR: Was not able to open connection.
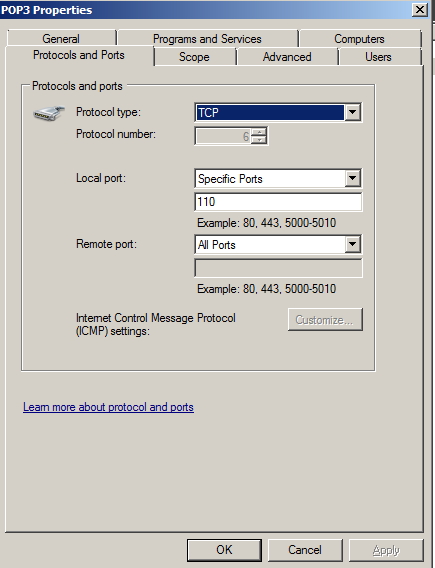
I was doing this at home, so I needed to open ports SMTP 25, POP3 110, IMAP 143 through firewall on testing VM, and setup port forwarding on my router. When I done that everything went ok.
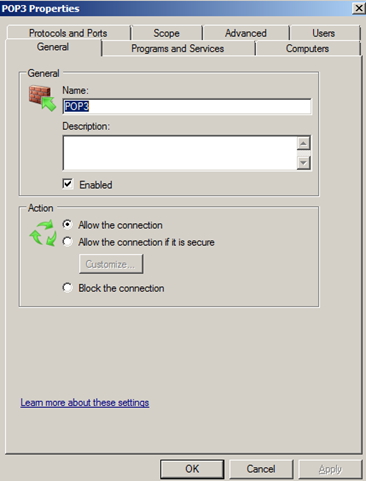
Firewall setup:
Inbound rules:
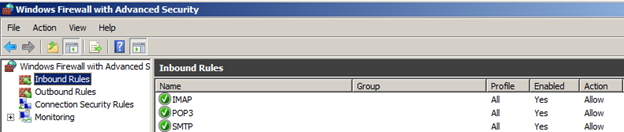
Outbound rules should be the same as inbound.

After setup I ran test again…
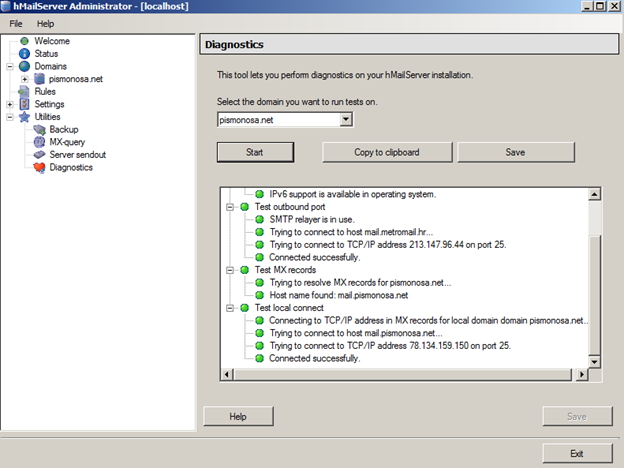
Success
And to make sure everything is fine I quickly setup email client and tested email sending and receiving (I`m using Outgoing mail server from my ISP, since I have SMTP relay through my ISP)
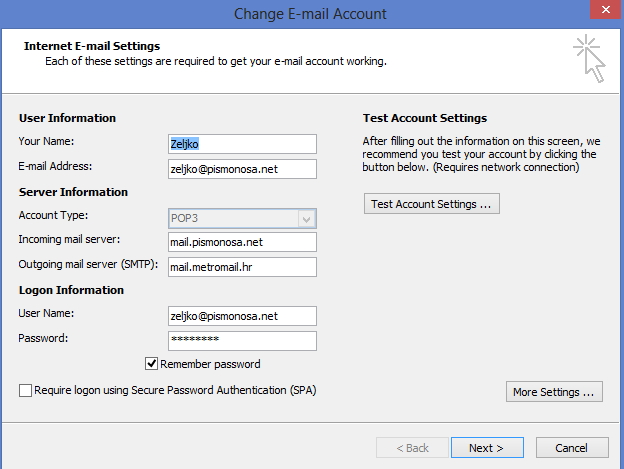
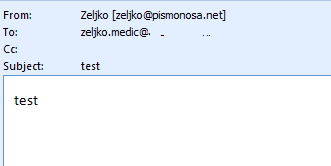
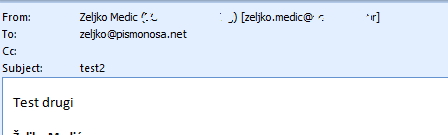
Send and receive test
Send and received successfully
Conclusion:
That is it. We have successfully setup email server, hmail server works fine for me, and I`m using it in production for my hobi projects. This is great and simple products, although you have to be carefel while setting it up so that it stays secure.
I have also covered webmail setup for hMailServer – https://www.informaticar.net/?p=2099
Be sure to contact me if you have suggestions about hMailServers or maybe see a mistake in this article.