This tutorial will cover setting up WordPress on Windows Server 2012 R2 with IIS, PHP and MySQL. Topic is only installation procedure (since it can be tricky on Windows Server 2012R2) not the security or WordPress configuration.
You can use xampp or lamp bundles, but I find this better and more secure.
First, let’s install IIS.
IIS
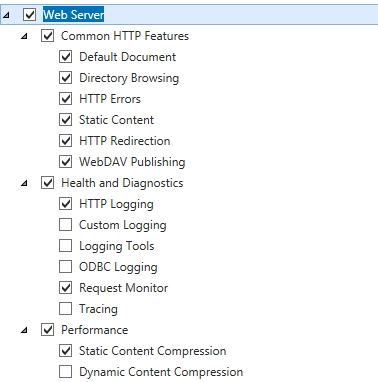
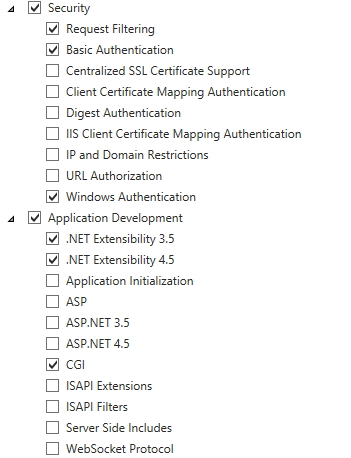
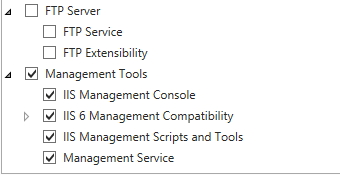
Server Manager |Manage | Add Roles and Features | Next |Next |Under Server Roles choose Web Server (IIS) |choose all options from the screenshots | Next | Install |After setup is done – Close

Next installation
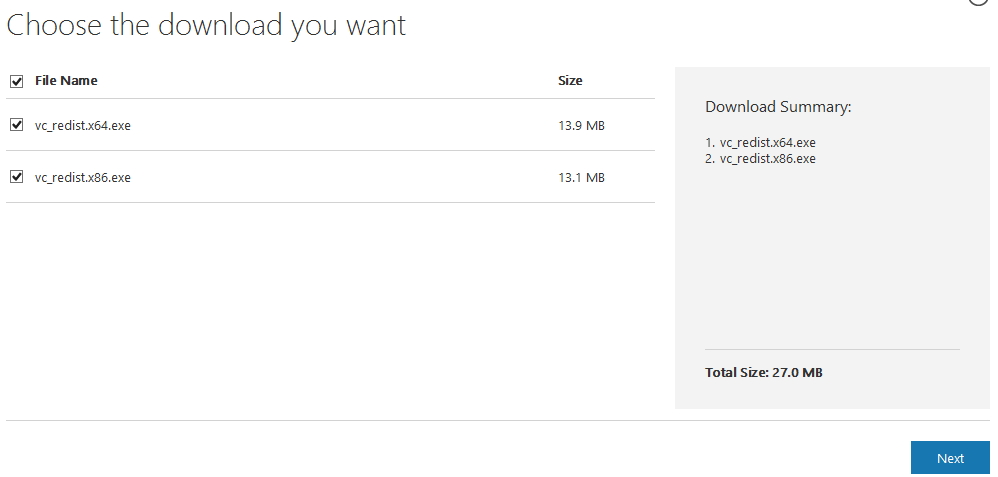
Visual C++ Redistributable for Visual Studio 2015 – we need both x32 and x64 versions installed
https://www.microsoft.com/en-us/download/details.aspx?id=48145
Installation is simple (Next – Next) and I won`t be covering it.
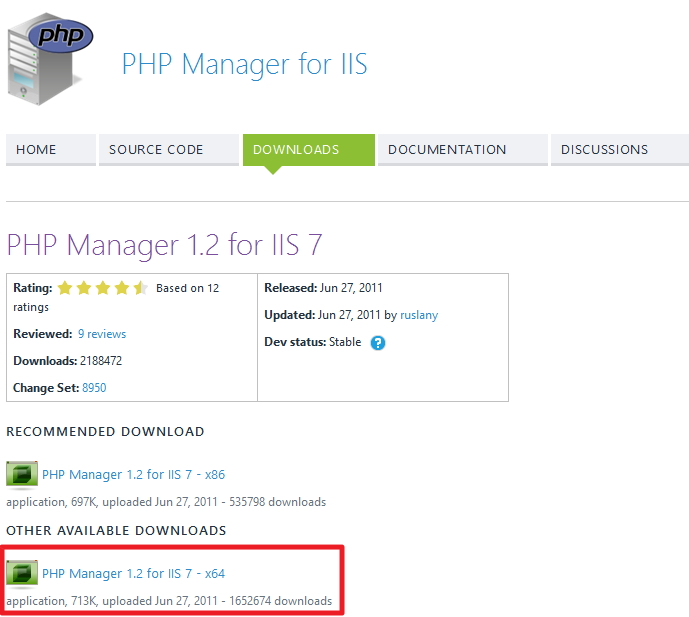
PHP Manager for IIS – installation is also pretty simple and I won`t be covering it. You only need x64bit version of installation
https://phpmanager.codeplex.com/
PHP
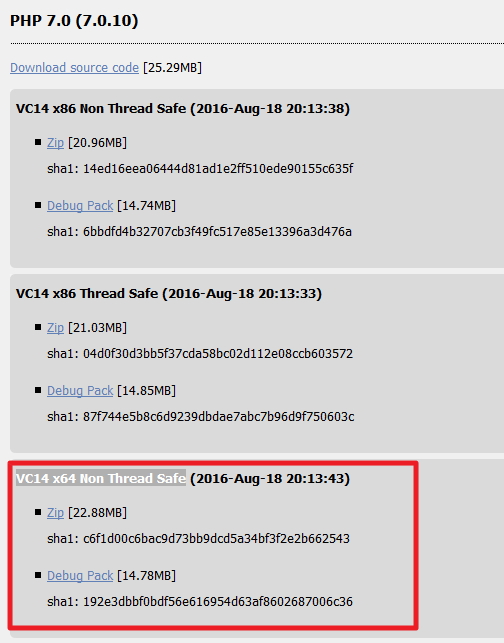
PHP 7.0 is current version. We need VC14 x64 Non Thread Safe in ZIP version
http://windows.php.net/download/
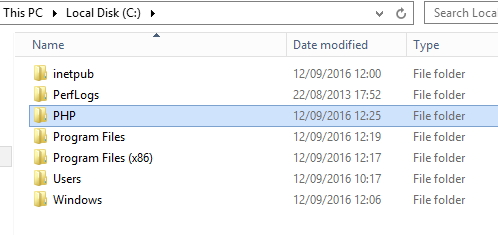
After downloading ZIP, extract it to your disk (root or sub directory it is up to you) I`ll be extracting mine to C:\PHP
MySQL
Choose MYSQL Community Server | MySQL Installer MSI
http://dev.mysql.com/downloads/
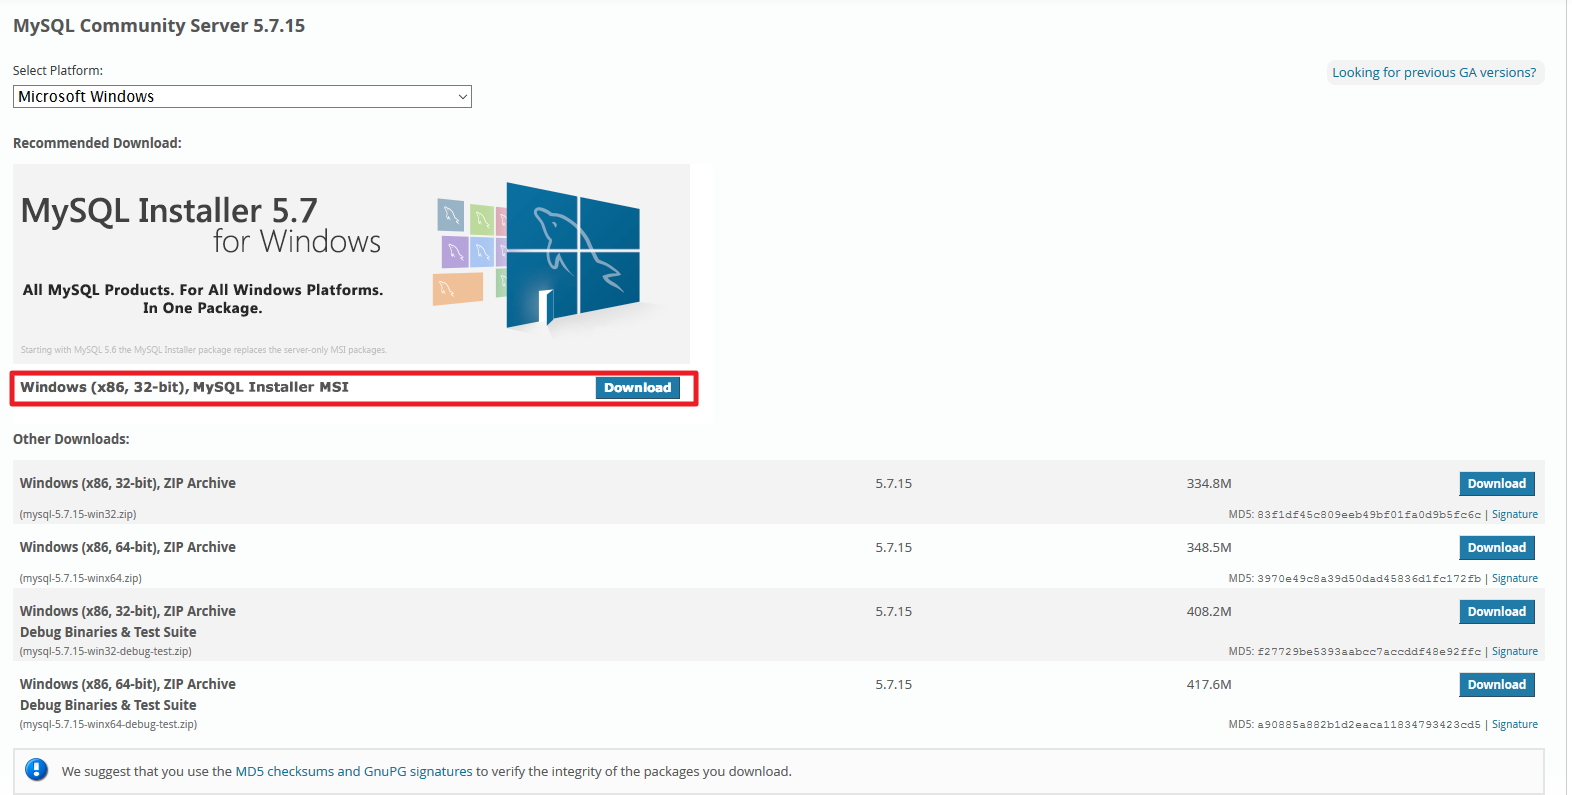
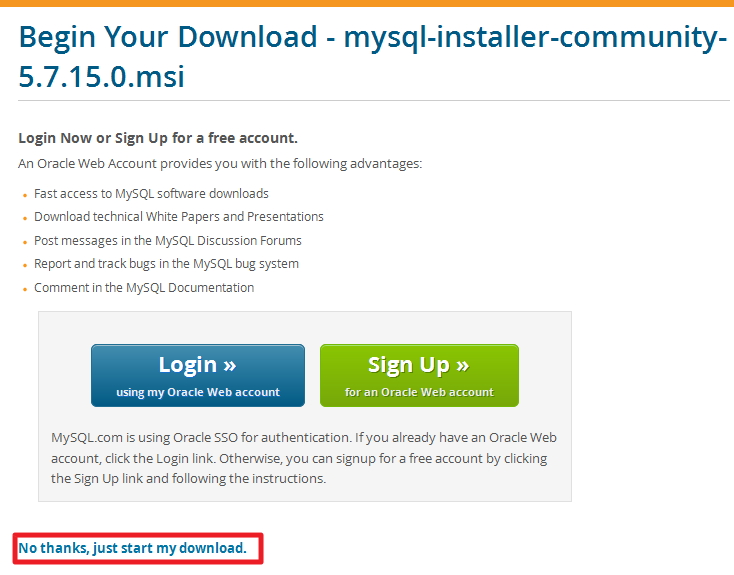
Before download starts, you`ll be asked to Login or Sign UP. Don`t bother, there is smaller text bellow that says “No thanks, just start my download.”
I won`t be going through whole install procedure, I will just mention important things.
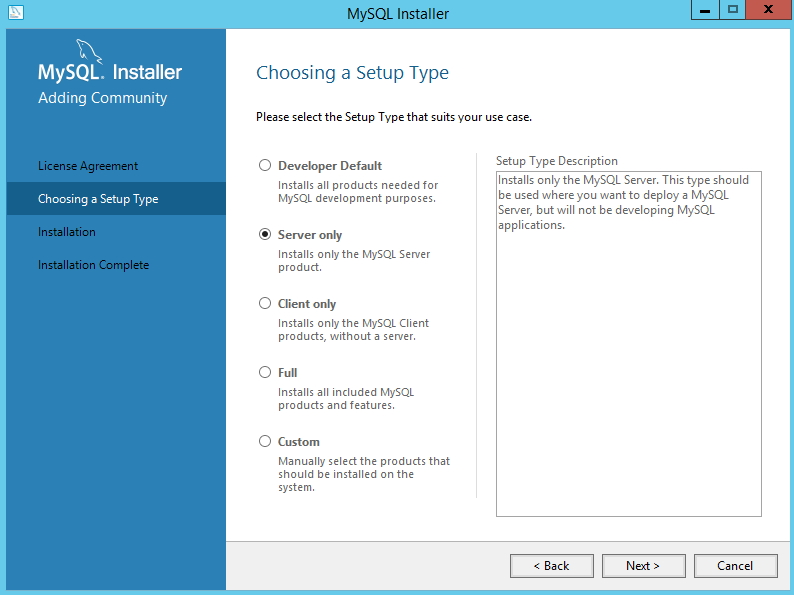
For this tutorial I choose Server only install |Next
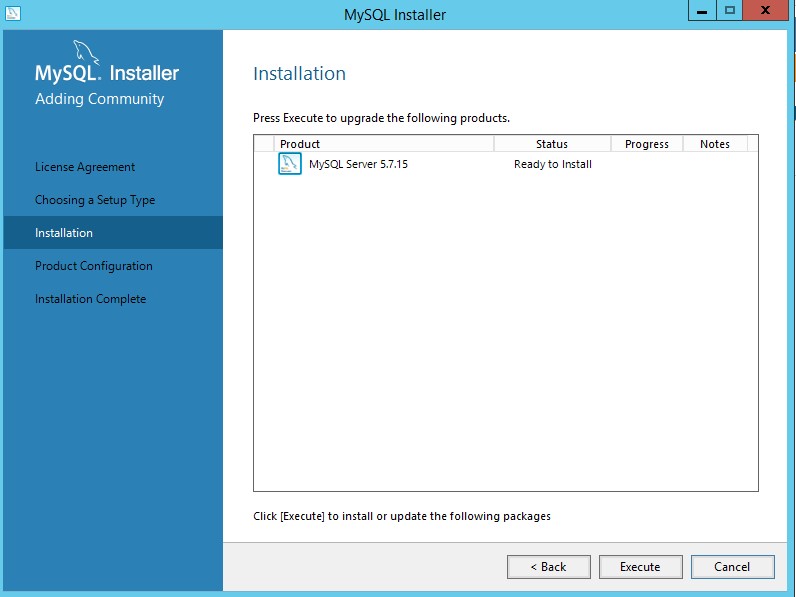
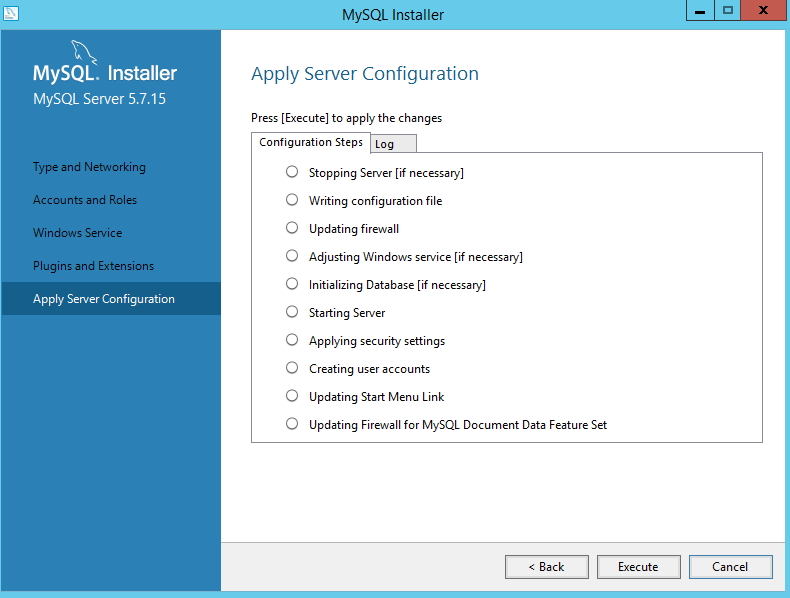
Execute
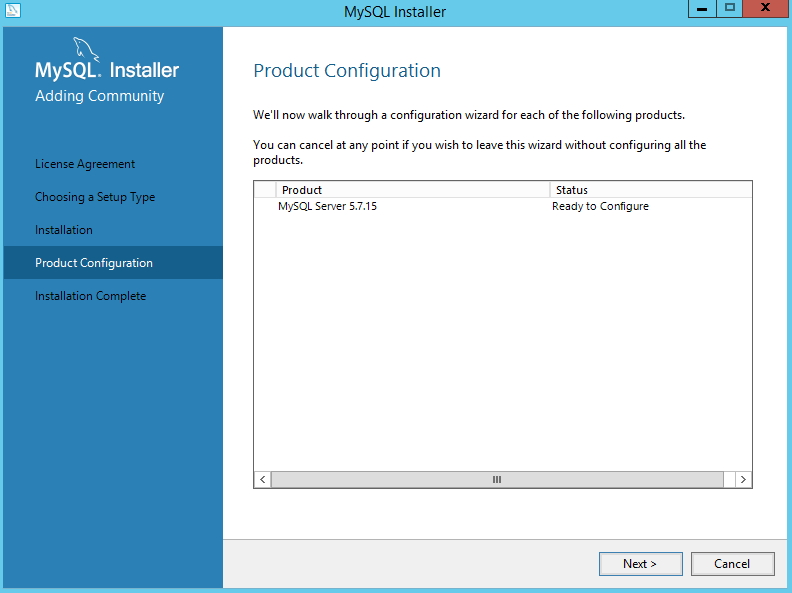
Next

Next
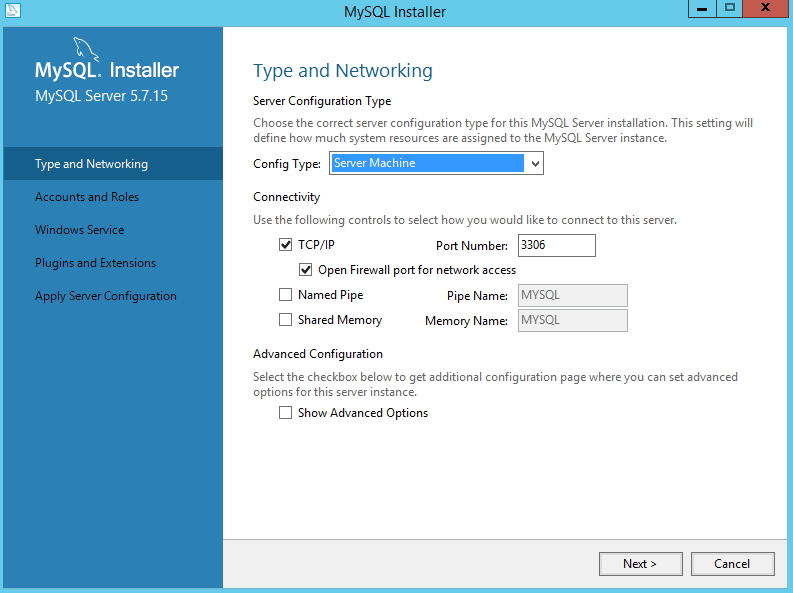
Config Type – Server Machine | Connectivity – TCP/IP – Port Number 3306 |Next
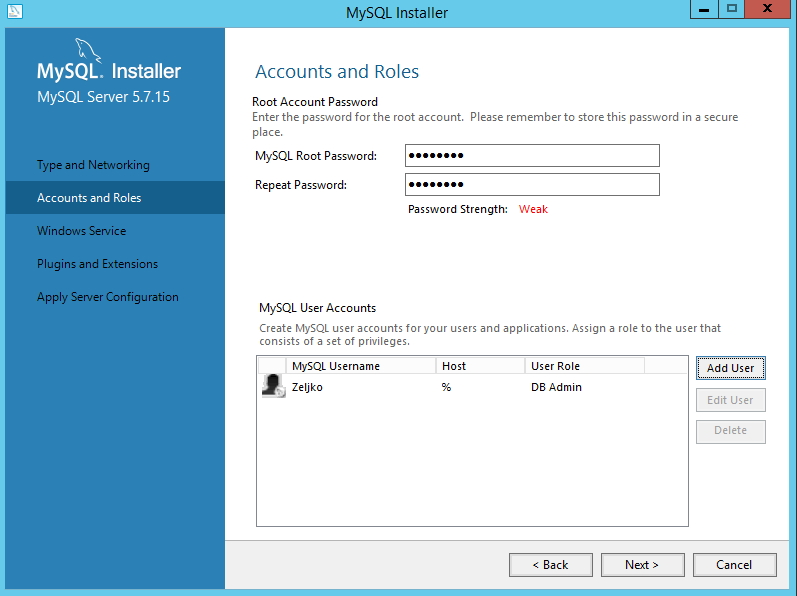
You need to define root account password. Under MySQL User Accounts field define other accounts for your DB so that you don`t have to use root account for your DBs.
Ignore my password strength – it is easier and faster in the lab environment with simple password, but for your production environment you should always use strong passwords.
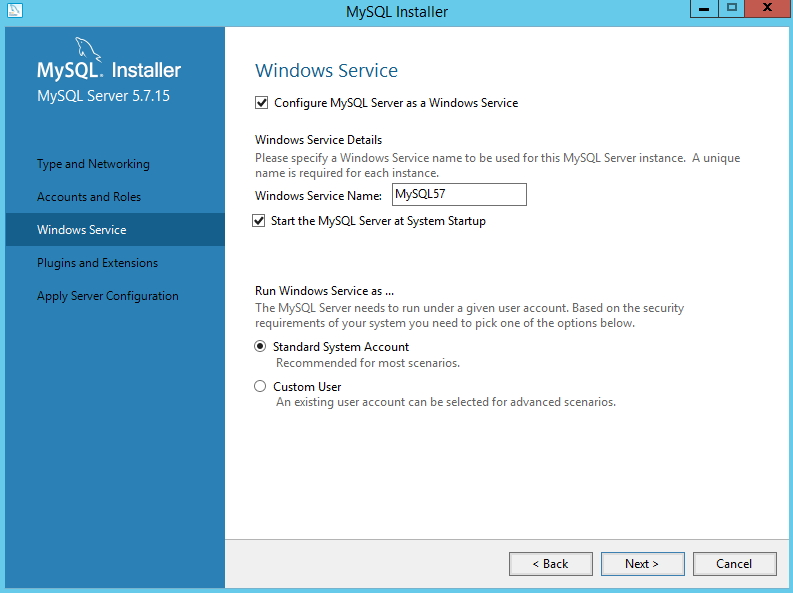
I recommend that you Configure MySQL Server as a Windows Service. You can also define custom user account for that service (recommended).
Next
Execute
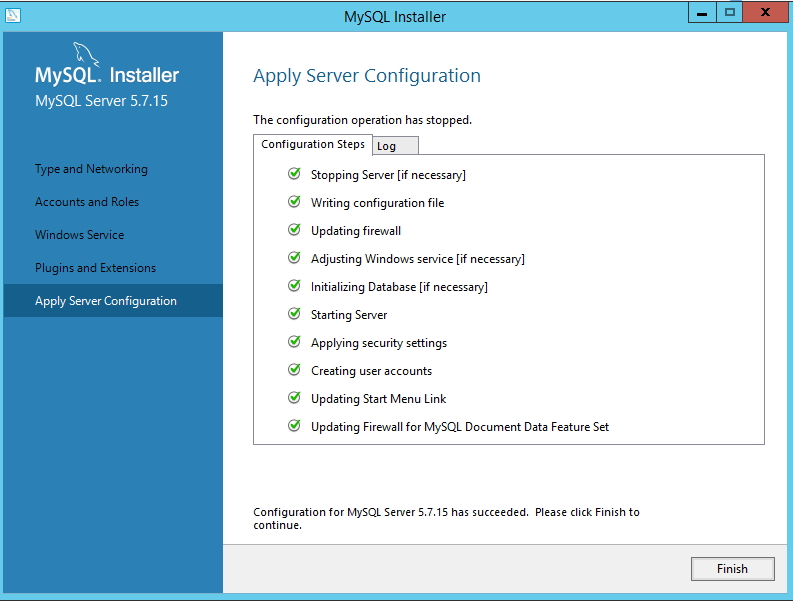
Success | Finish
For easier management of MySQL I installed phpMyAdmin
I don`t want my phpMyAdmin to be accessible from the internet so I done following:
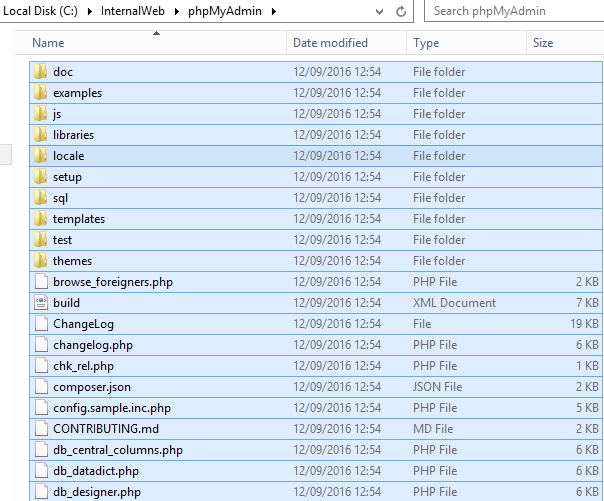
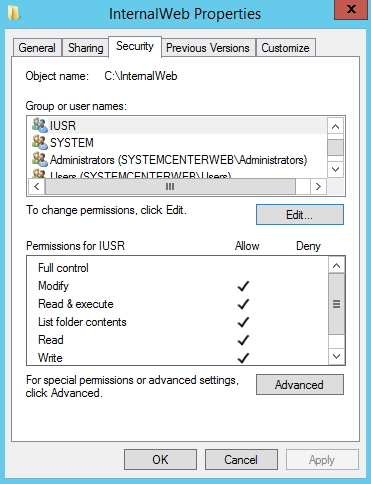
In the root of my C disk I created new folder called InternalWeb. In InternalWeb folder I created subfolder phpMyAdmin
I copied all from downloaded phpMyAdmin.zip into created folder.
I gave Modify permissions to user IUSR to folder InternalWeb and subfolder myPhpAdmin
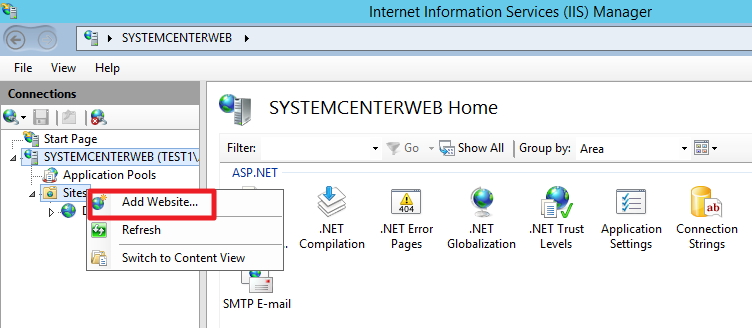
Open IIS Manager |expand Server |right click on Sites |Add Website
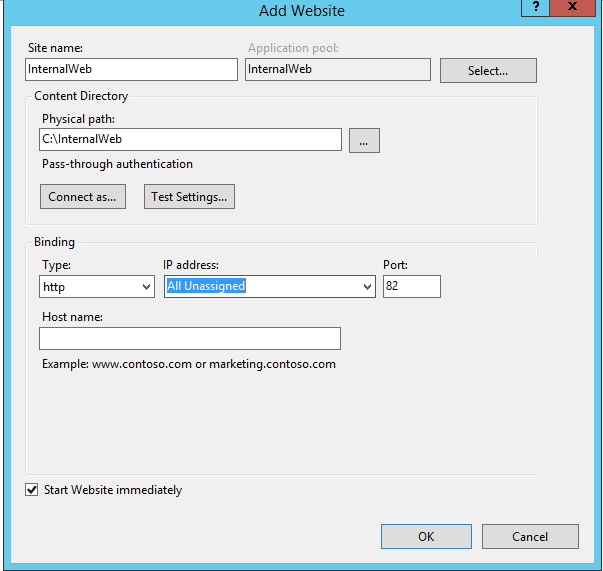
I added Site name, path to site and changed port to 82. That port is closed on firewall and phpMyAdmin will only be accessible for management on server. You can also choose IP address instead of All Unassigned |OK
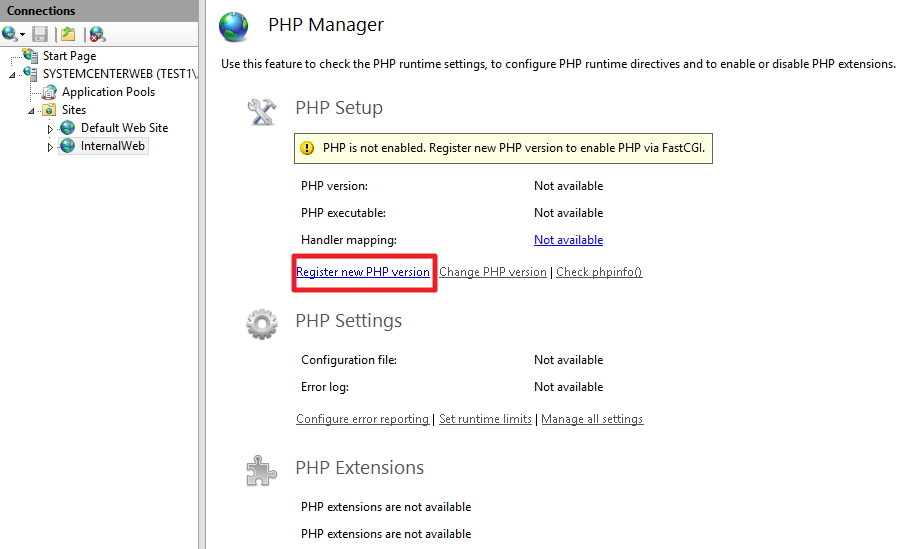
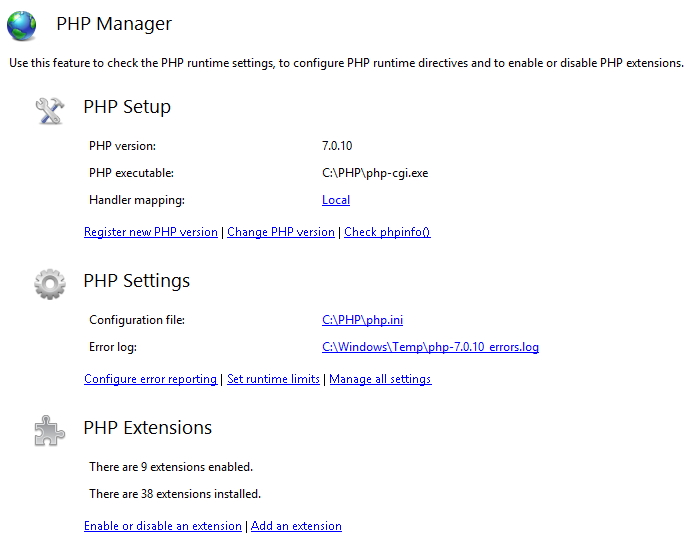
New website is created | Click on it and choose PHP manager from the middle

PHP is not enabled. We have to enable it.
Choose Register new PHP version
Choose php-cgi.exe from the folder you extracted PHP installation in the beginning
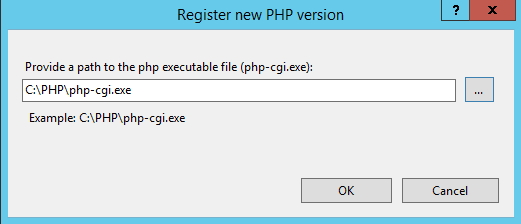
We registered PHP
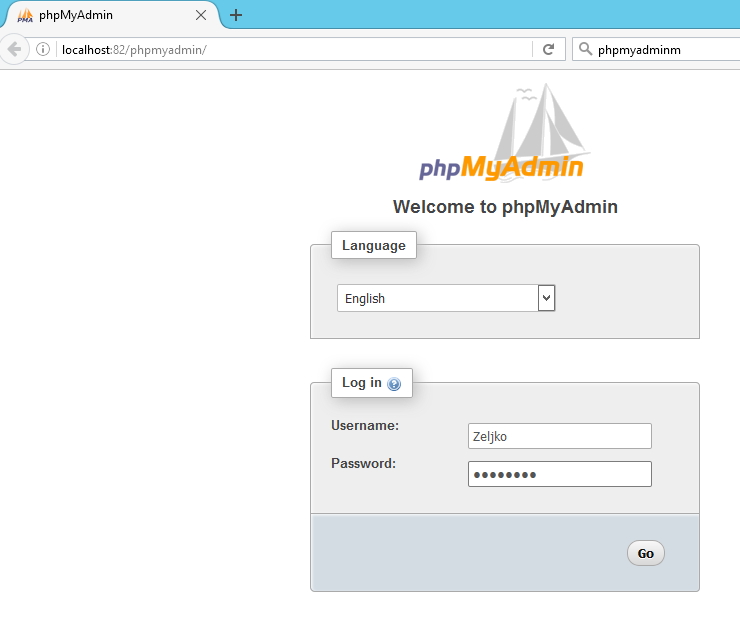
After this step, head on to your web browser and depending on where and how you put your phpmyadmin enter address in URL
Mine is http://localhost:82/phpmyadmin
Enter username and password you created during MySQL installation |GO
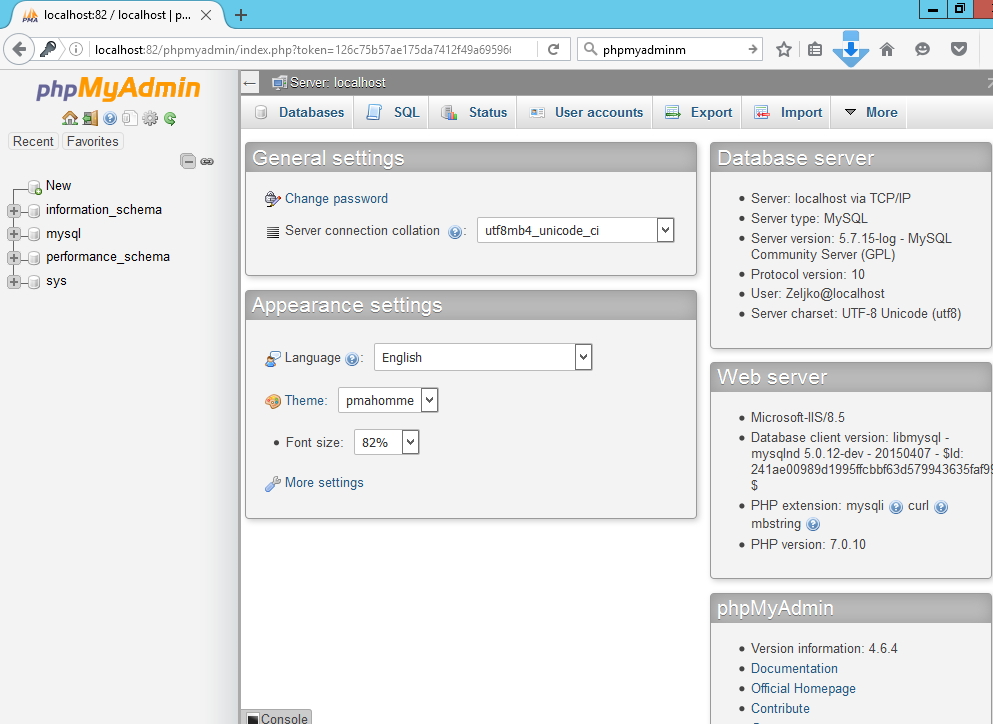
If you done everything exactly as described in this tutorial so far you`ll be able to login
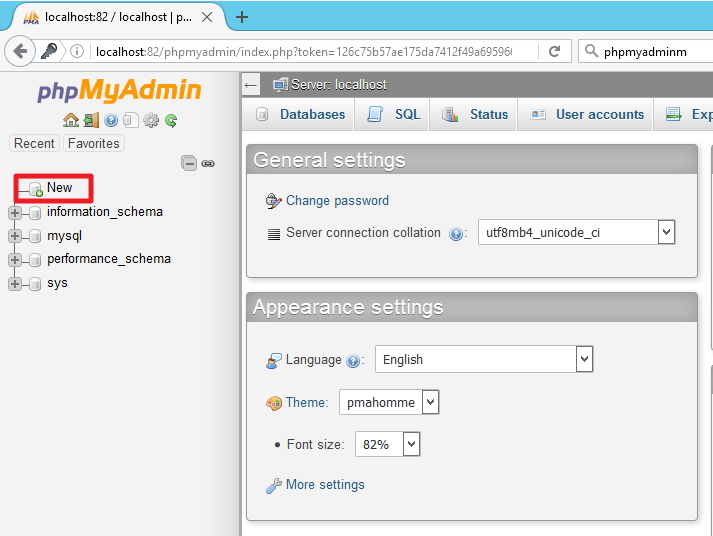
Now, while we are still here let`s create database for our WordPress installation
New
I entered “wordpress” for DB name and left all other settings as default (you can of course adapt settings to your needs) |Create
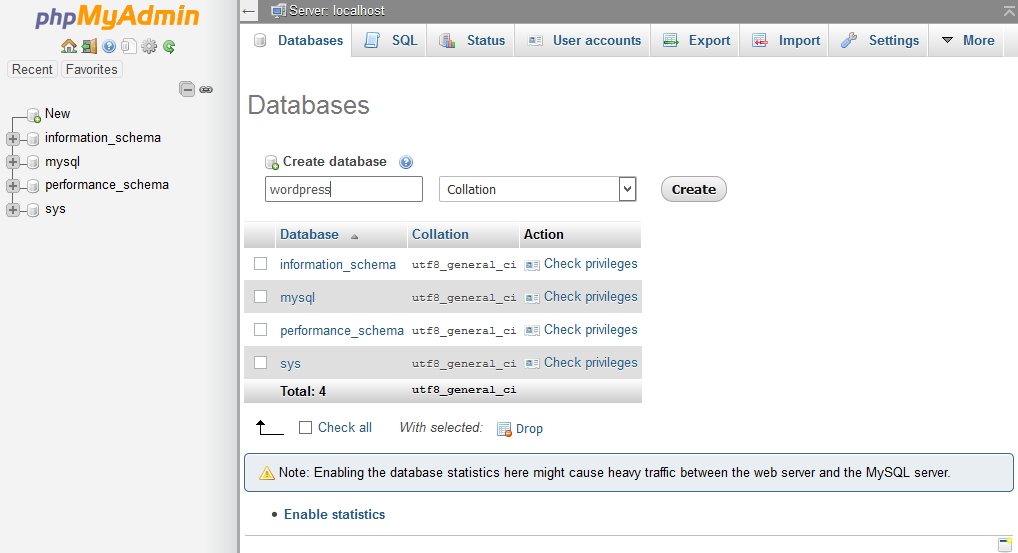
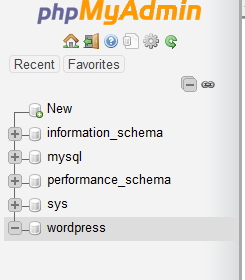
Database wordpress is created
WordPress
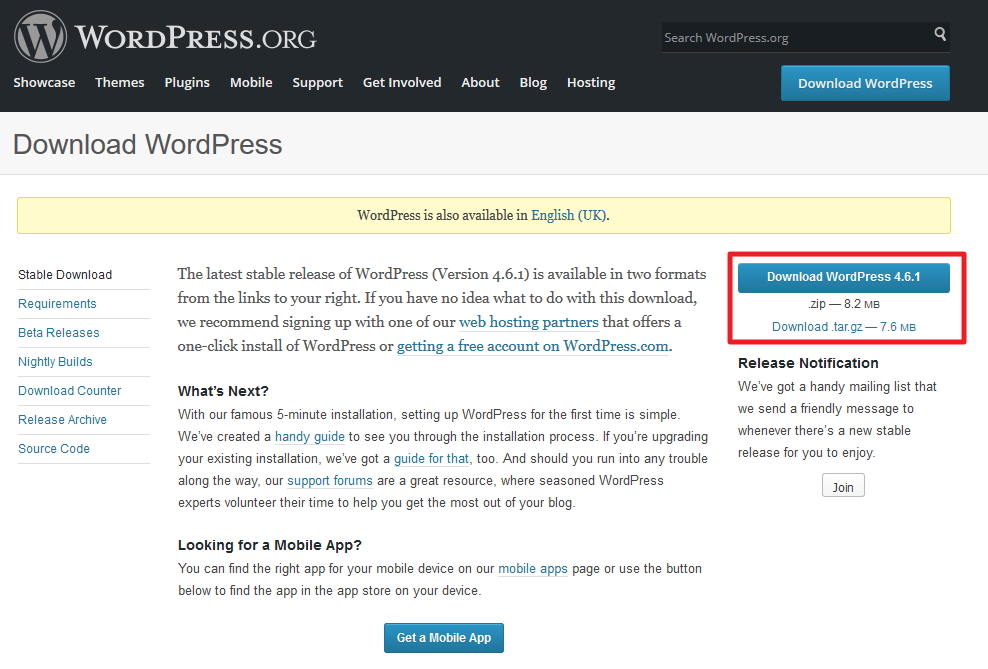
Download latest ZIP from here
https://wordpress.org/download/
Generally, I don`t user inetpub folder (supplied by IIS) for my websites. It is old habit I have since Server 2003 when it was vulnerability and all the attacks were usually pointed to that folder.
I will create folder in the root of C:\ named wordpress and extract wordpress install files into it. User IUSR should have permissions on it (see phpMyAdmin directory example above).
This time before creating new website in IIS I`ll do something else first.
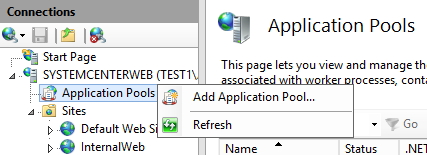
Open IIS Manager |expand Server |right click on Application Pools |Add Application Pool
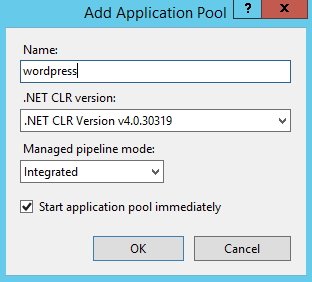
I just entered name and left all the other options as default | OK
Application Pool “wordpress” should be created and Started
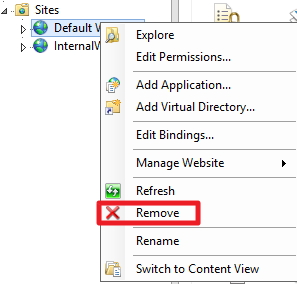
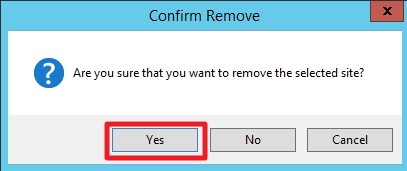
Before creating new website go to Sites |Default Web Site |right click | Remove |Yes . I don`t usually want default website to be active. Be sure to check if you have any webs or apps in it already before deleting it.
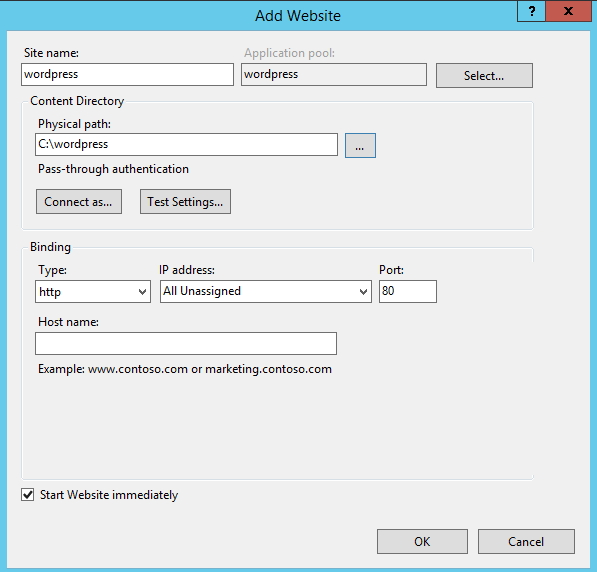
Now, follow procedure for creating new website that I already covered in this tutorial (phpmyadmin). Be sure to select “wordpress” Application Pool (or however you called it) – you can also choose IP address instead of All Unassigned |OK
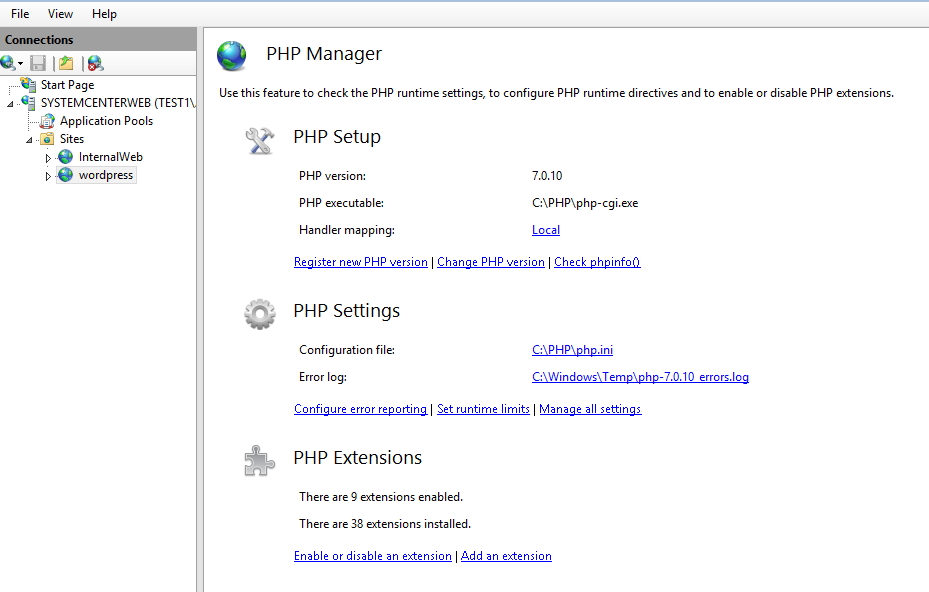
Check once again PHP Manager and enable it for new website in case you already haven`t (see IIS settings for myphpadmin above).
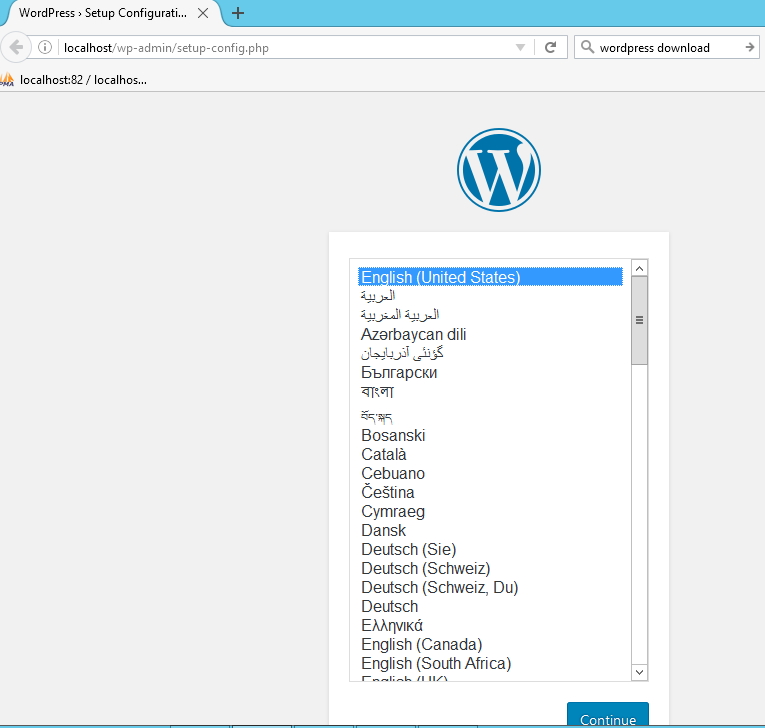
And now final step – in your web browser enter localhost – you should be greeted with setup procedure | choose language | Continue
Let`s go
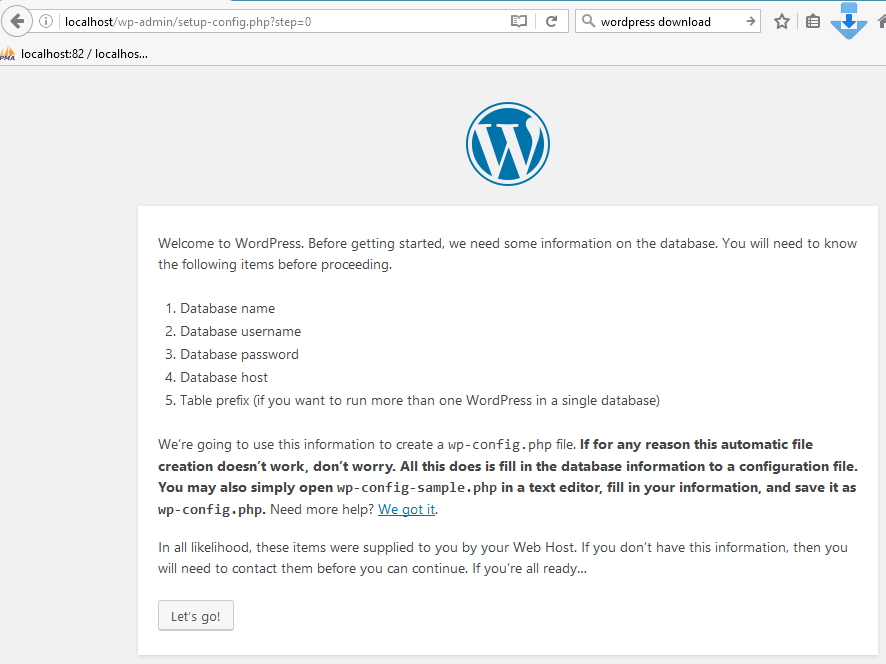
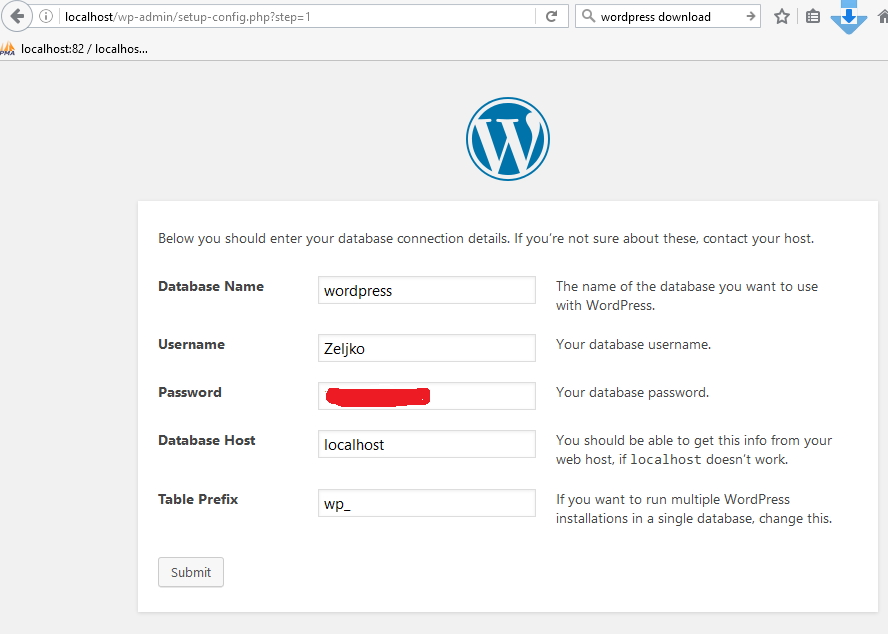
Enter DB name (you already created database in phpmyadmin) username and password for DB (created in MySQL setup) |Submit
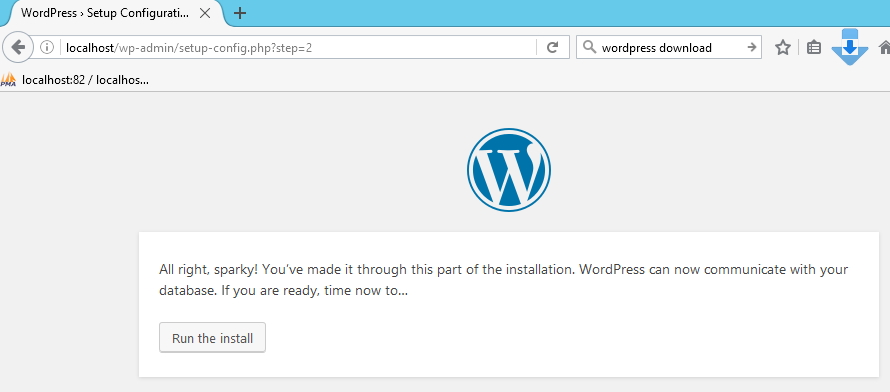
Run the install
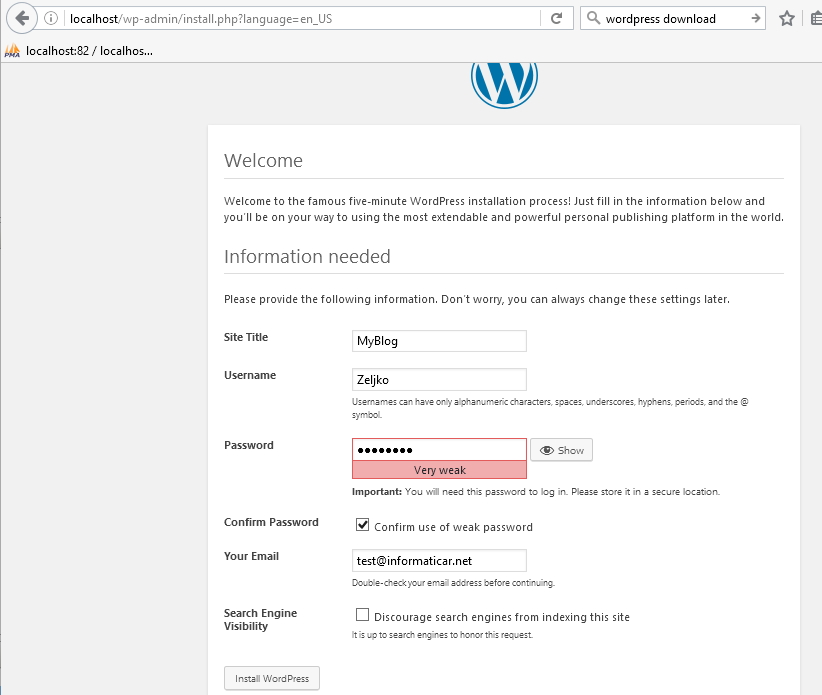
Enter parameters for your new website – username and password are for wordpress administration. Use only strong passwords (long with special characters included) because this part is accessible from the internet. |Install WordPress
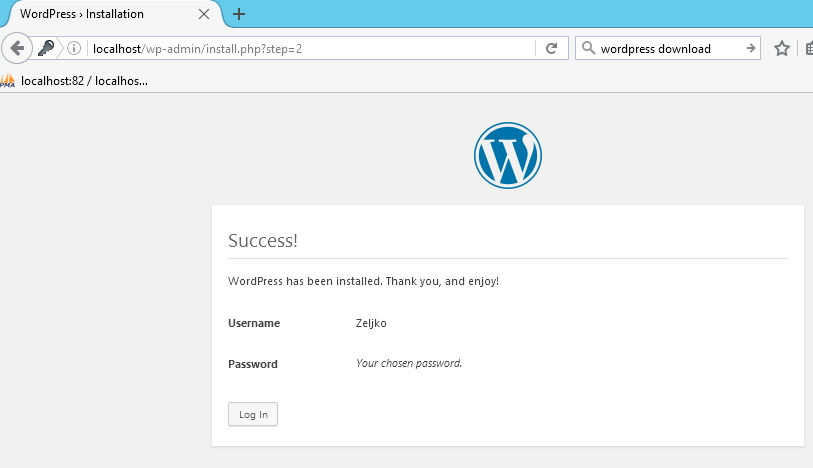
Success |Log in
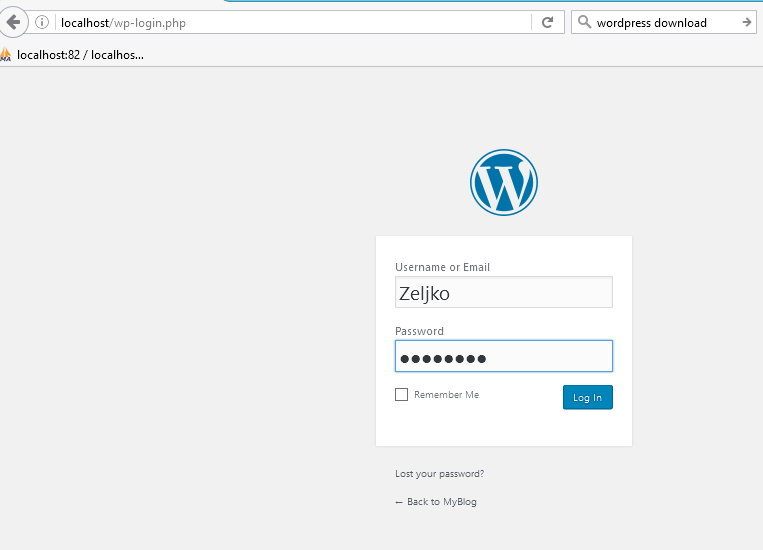
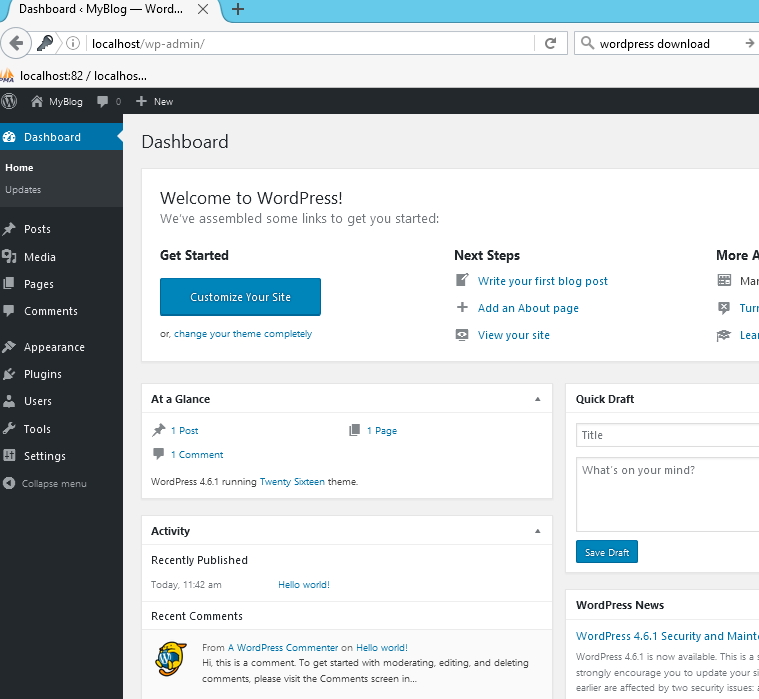
You are now taken to the administration part of your WordPress installation (login with user and pass just defined)
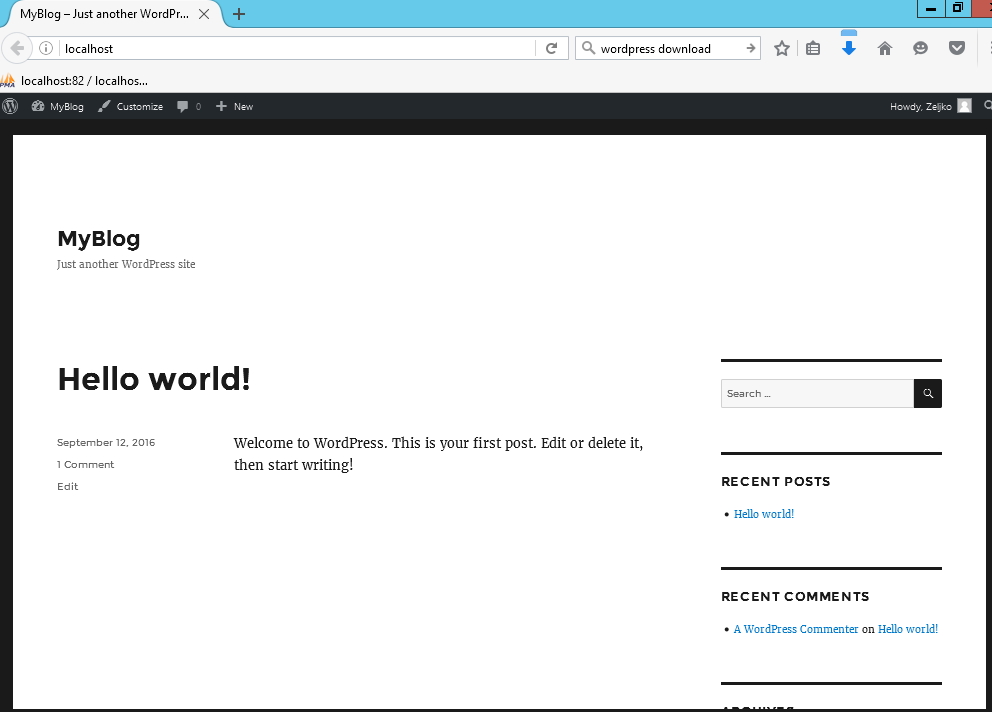
And If you enter just localhost you`ll be greeted with your new shiny website
Delete install.php from your wordpress/wp-admin folder after install finishes.
Conclusion:
There you go, WordPress is installed and working on your Windows Server 2012 R2. Security and configuration is another topic and I haven`t touched it here in details. Be sure to always stay up to date with all your installs, have AV installed, firewall in place and remember – always use strong passwords. There is no absolute security, but this with these little security measures you`ll be better protected.