Quick tutorial on how to set your own chat server with Matrix.org Synapse server. This will be a bit different tutorial because it uses my own certificates (not Let’s Encrypt) and also it does not use reverse proxy.
Synapse is open source, modern, great, light and fast messaging solution. Works very well and is very reliable.
Here you have a good official tutorial for the installation –
https://github.com/matrix-org/synapse/blob/master/INSTALL.md
Here are some prerequisites. Install EPEL repository – https://www.informaticar.net/3633-2/ and also update your installation prior to starting anything (sudo yum update)
Prerequisites
These are prerequisites for CentOS 8 installation
sudo dnf install libtiff-devel libjpeg-devel libzip-devel freetype-devel \
                 libwebp-devel tk-devel redhat-rpm-config \
                 python3-virtualenv libffi-devel openssl-devel
sudo dnf groupinstall "Development Tools"
All of these should install without errors. Make sure you get these install ok, or you will have problems later on.
One last thing is to make sure some ports are reachable from internet:
sudo firewall-cmd --permanent --add-service https
sudo firewall-cmd --permanent --add-port=8448/tcp
sudo firewall-cmd --reload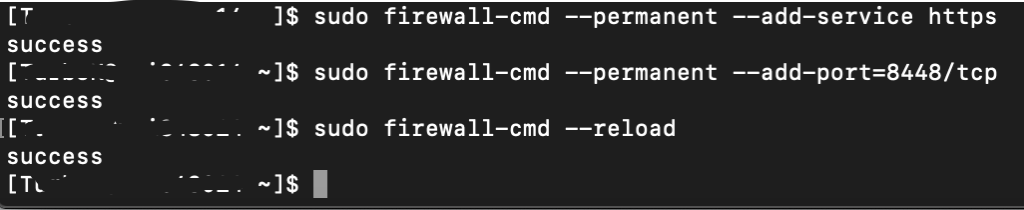
You can also let http port optionally.
Installation
We will now install synapse. My installation for this purpose will reside in /home/zeljko/synapse folder
mkdir -p ~/synapse
virtualenv -p python3 ~/synapse/env
source ~/synapse/env/bin/activate
pip install --upgrade pip
pip install --upgrade setuptools
pip install matrix-synapse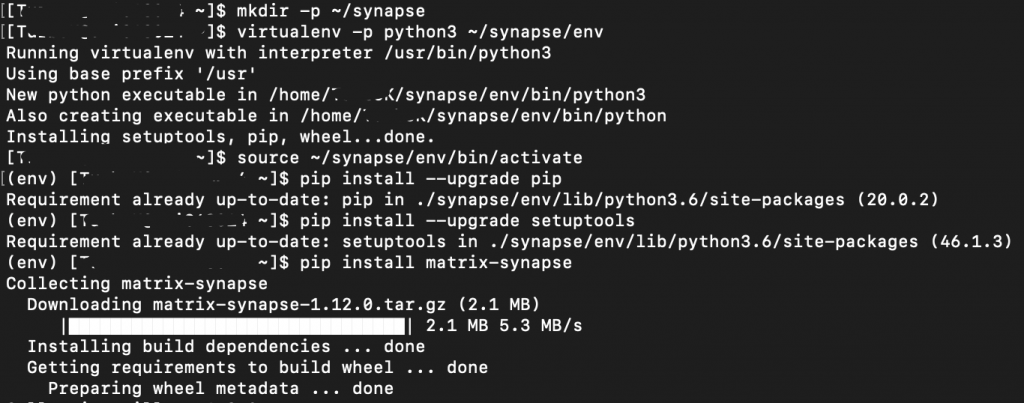
The commands above will download synapse along with python libraries it uses into virtual environment under synapse/env.
Synapse installation can be upgraded later bu using pip again with U flag
source ~/synapse/env/bin/activate
pip install -U matrix-synapse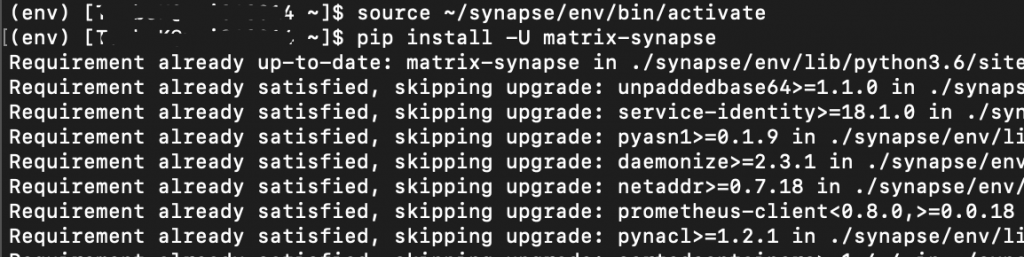
Next step will be to create configuration file. Change my.domain.name with your domain on which matrix will be available. Mine would be matrix.informaticar.net for example.
Under –report-stats select yes or no.
cd ~/synapse
python -m synapse.app.homeserver \
    --server-name my.domain.name \
    --config-path homeserver.yaml \
    --generate-config \
    --report-stats=[yes|no]
Here is how that looks in my case.

Ok, now before I start my installation I will change a few bits in my homeserver.yaml file.
Since I will not be using proxy and I will use my certificates here are few lines I will change in order for my installation to work.
Go to the folder you deployed your synapse installation and run:
sudo vi homeserver.yaml
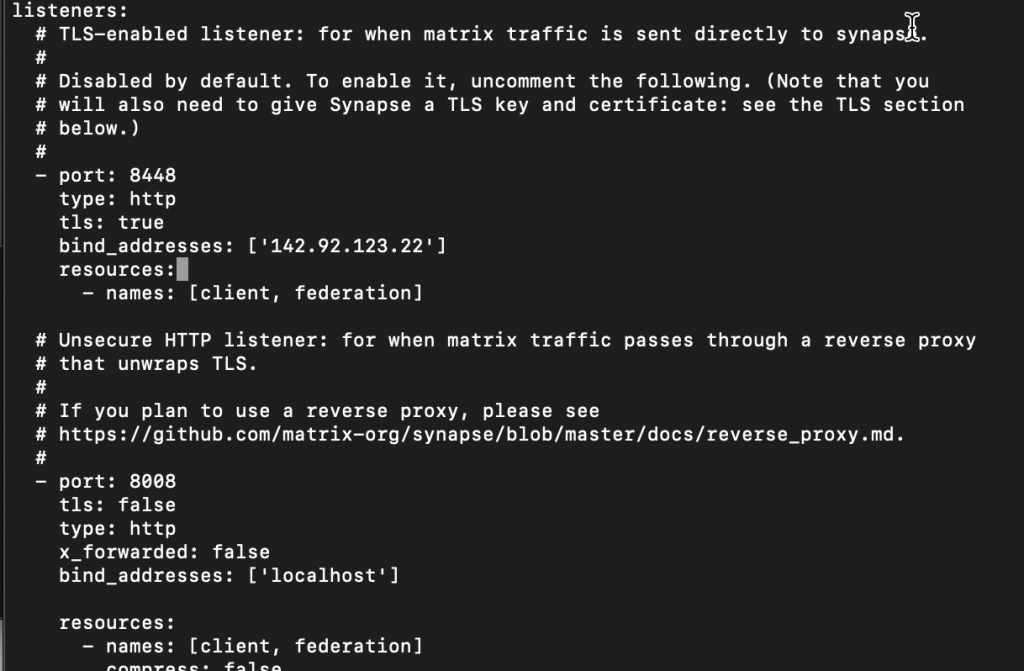
First stop will be listeners: part of the configuration.
Uncomment following part
 - port: 8448
    type: http
    tls: true
    resources:
      - names: [client, federation]
under section where it says -port: 8448 I also added another line which says. You will change 142.92.123.22 with your own public IP address.
bind_addresses: ['142.92.123.22']Also under settings for -port: 8008 I set x_forwarded to false and under bin_addresses I only left ‘localhost’
Here is how it looks:
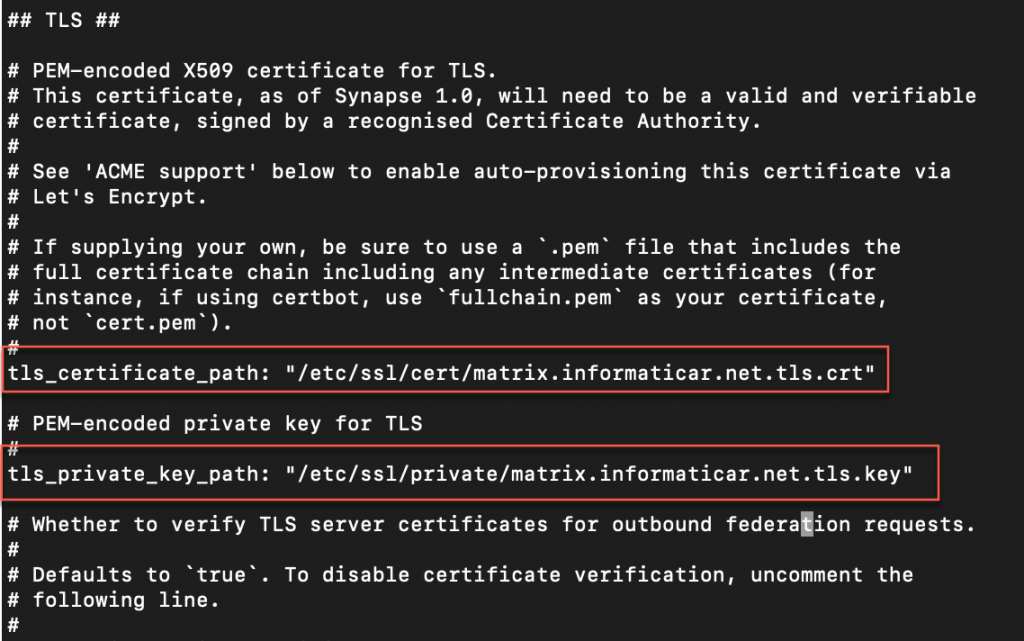
Next stop is to point to our certificates. As I told, I have my own certificates. So, in the TLS section of homeserver.yaml uncomment lines tls_certificate_path and tls_private_key_path and enter path to the location where you put your certificates. I cannot help further with this, since the location where you saved your certs is individual to you.
After I entered changes and saved everything I will reboot my server. Not necessary step, but I like to do it.
Run your Synapse server
Ok, we are at that step where we can start our synapse server.
You will start your synapse server by entering:
cd ~/synapse
source env/bin/activate
synctl start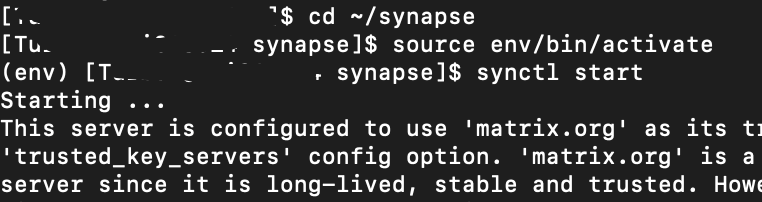
If everything went ok, you will get green text saying that synapse homeserver is started.

Lets check if we opened our ports correctly and they are listening for traffic. Port 8008 is local only and port 8448 should be on my public IP. Lets see it by running
netstat -plntu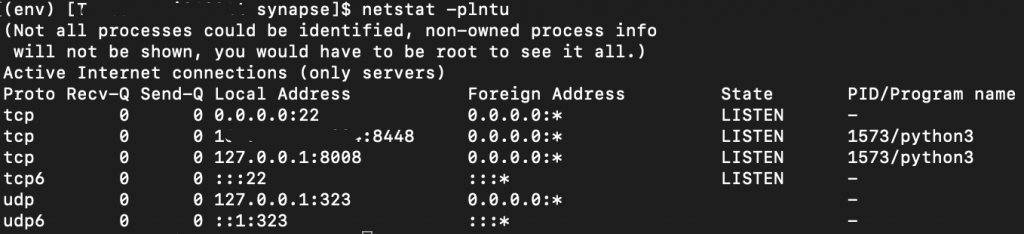
All is ok.
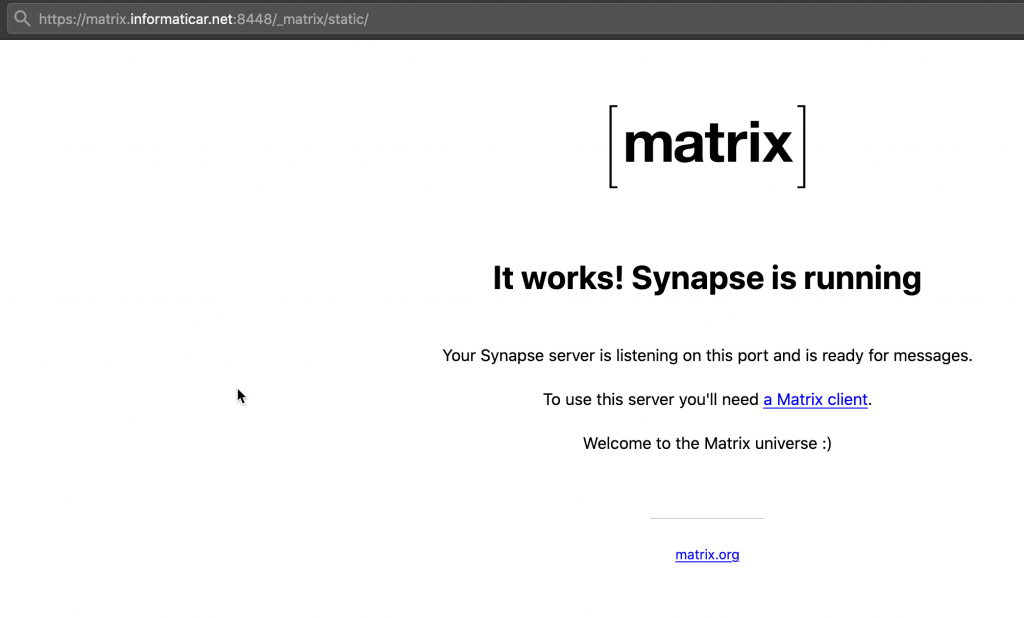
If I visit https://matrix.informaticar.net:8448 I should get matrix home screen. And here it is.
This part is where most of the errors happen. If you use proxy make sure you set it correctly.
Create new user
You can create new users via client apps (I recommend Riot). You can find a list here – https://matrix.org/docs/projects/try-matrix-now
You can also do it via terminal on a server that is running synapse. I will do my first user from terminal on server.
These two commands you will run if you are not already in synapse environment and synapse is not started.
source ~/synapse/env/bin/activate
$ synctl start # if not already running
You will create new user with following command. Now, official tutorial says you should use http://localhost:8008. These two should be same thing, but in my case creation worked only after I used http://127.0.0.1:8008
register_new_matrix_user -c homeserver.yaml http://127.0.0.1:8008Here is how successful creation of new user looks like

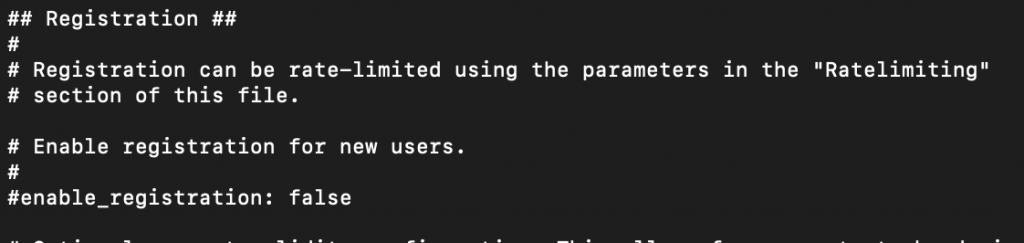
While we are at a topic of users, you can enable/disable registration of new users again through homeserver.yaml file
In Registration section you can uncomment line enable_registration and make registration enabled or disabled
That is it.
In app you select you will enter your custom server url (https://matrix.informaticar.net:8448) and user and pass you created and the fun can begin.
Documentation on Matrix.org is solid, so if you like to do it some other way you can check that out.
Enjoy