Quick tutorial on how to install Bitwarden password manager locally on your server and host it yourself on CentOS 8.
Bitwarden is mature password keeping solution with many great options, well worth a try.
You can find all the details about installation and configuration on the Bitwarden website – https://help.bitwarden.com/article/install-on-premise/
This tutorial will cover local installation that will not be exposed to internet, and will serve only on local network.
Here is my quick tutorial.
Prerequisites:
On the machine that will host Bitwarden open ports 80 and 443.
sudo firewall-cmd --permanent --zone=public --add-service=http
sudo firewall-cmd --permanent --zone=public --add-service=https
sudo firewall-cmd --zone=public --add-masquerade --permanentsudo
firewall-cmd --reload
You will also need to install Docker and Docker Compose as prerequisite – you can find tutorial for that here – https://www.informaticar.net/install-docker-on-centos-rhel-8/
You will also need a key for your installation – you can get one by registering here – https://bitwarden.com/host/
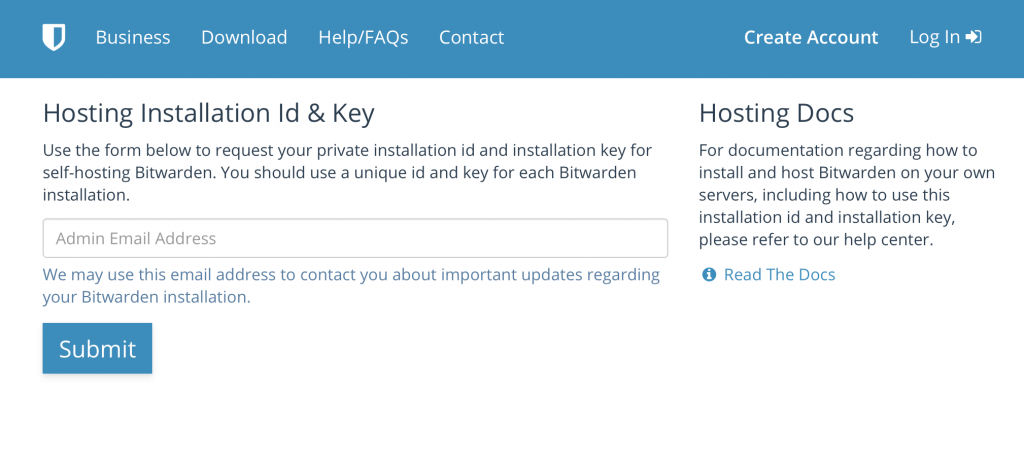
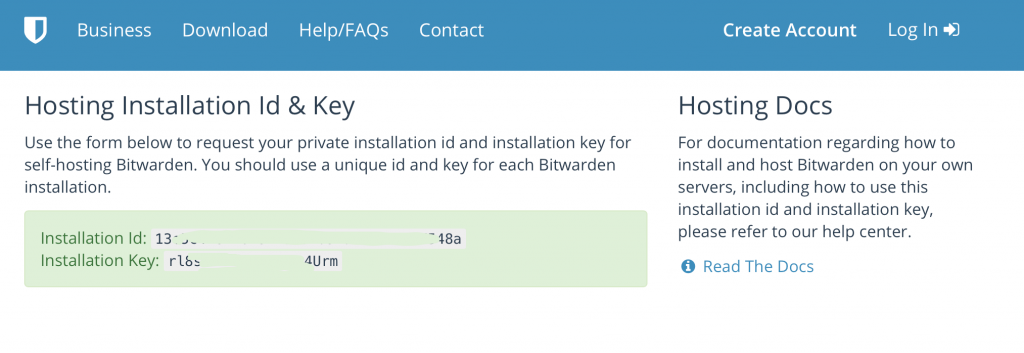
After you enter and submit your email address you will get your installation Id and Key
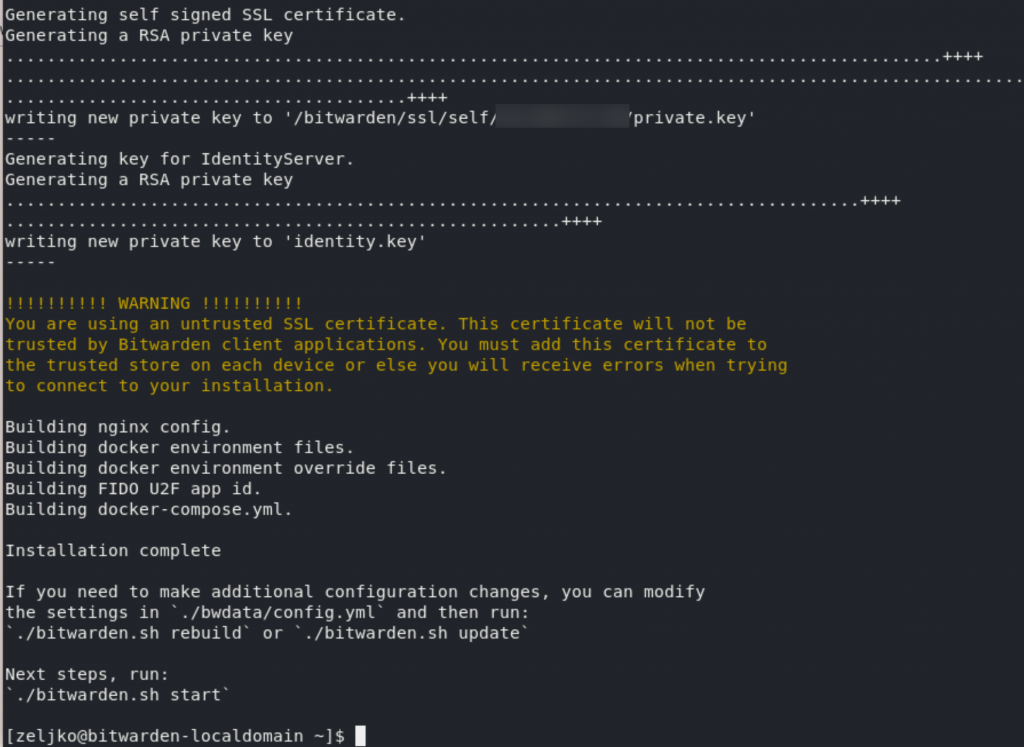
Also, it would be nice to prepare your own SSL certificate, or you can use Let’s Crypt free SSL certs. I will use my self signed certificate for this tutorial.
You should also make sure that your machine/VM or whatever your are hosting Bitwarden on, has at least 4GB or RAM available.
Installation
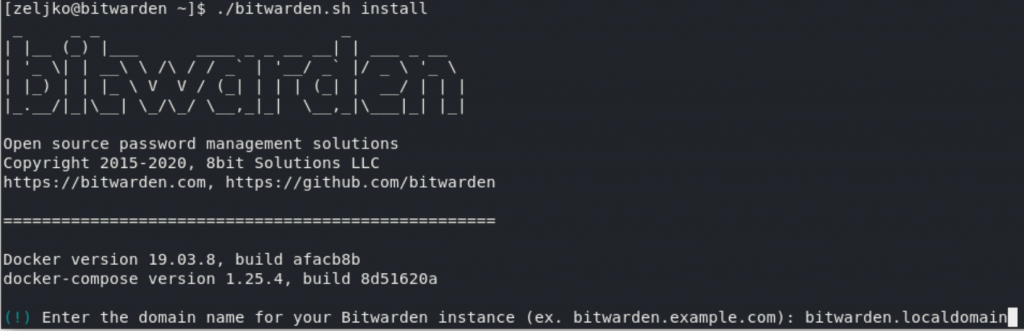
I will start all the procedures from my home directory /home/zeljko
curl -Lso bitwarden.sh https://go.btwrdn.co/bw-sh
sudo chmod +x bitwarden.sh

I will now start installation proccess
./bitwarden.sh installIn first step you will also be asked for your domain name, since I’m installing it in a lab, I will give it name bitwarden.localdomain
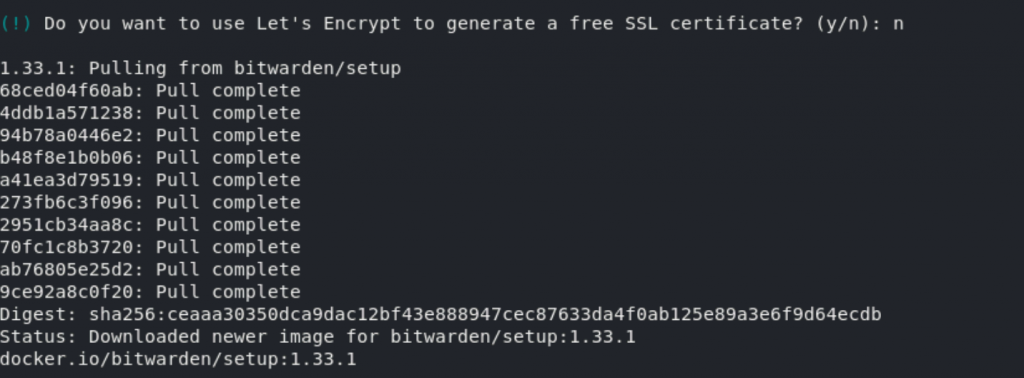
I also don’t want to use Let’s Encrypt (but you can) since I will be using self-signed cert for my lab.
In next step you will be asked for your installation Id. You can get it in a step we have done in prerequisites.

You will also need installation key after that.

In case you get error after entering installation key – “Unable to validate installation id. Problem contacting Bitwarden server. “

There can be a lot of reasons why you get this. Mainly network/internet based. If you done everything on new machine and “by the book” you probably need just one more firewall rule for Docker traffic to pass:
sudo firewall-cmd --zone=public --add-masquerade --permanent
sudo firewall-cmd --reload

Ok, let’s continue.
I’m now asked If I have SSL certificate. I will select “n” and I want Bitwarden to create self-signed cert for me, so I will select “y” on second question. Self-signed certificates maybe won’t play well with your mobile clients (I don’t have these problems) so be aware of that.

You can always modify your cert settings from ./bwdata/config.yml (which I will do If I get “real” cert). If you plan to use “real” SSL certificates, make sure they are valid for the domain you are using Bitwarden on.
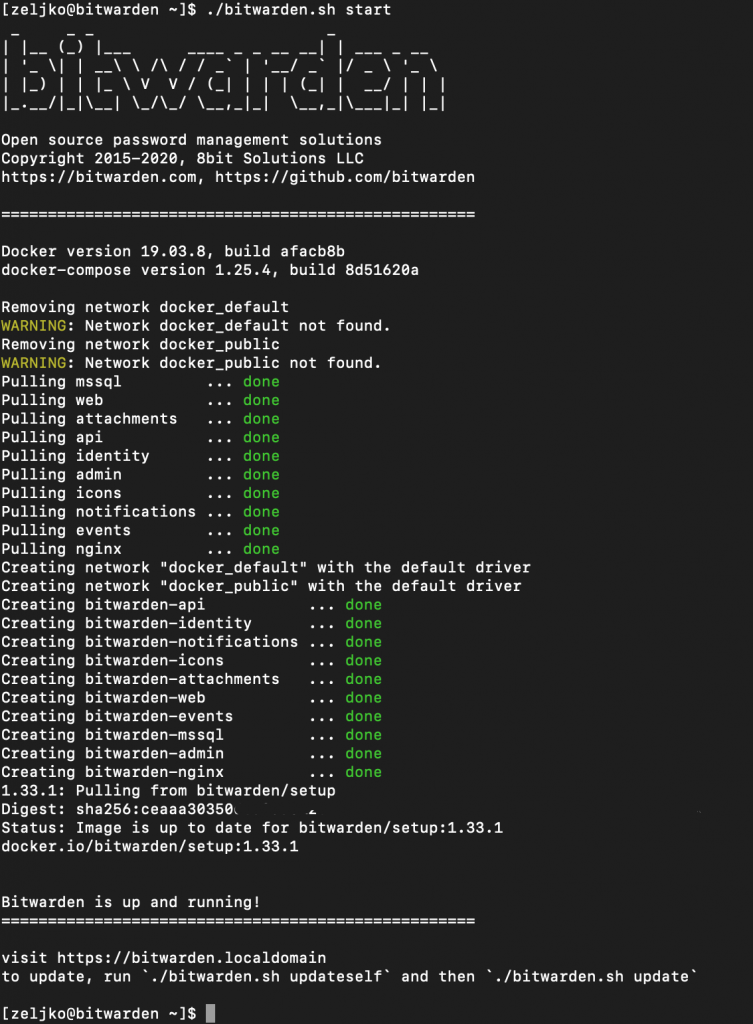
Ok, we are done, now I will run next command which will start and pull everything that is needed for Bitwarden (as everything before, start command from your home directory, where bitwarden.sh is located).
sudo ./bitwarden.sh startYou will have to wait a bit… After some time you will get the screen like this if everything is ok.
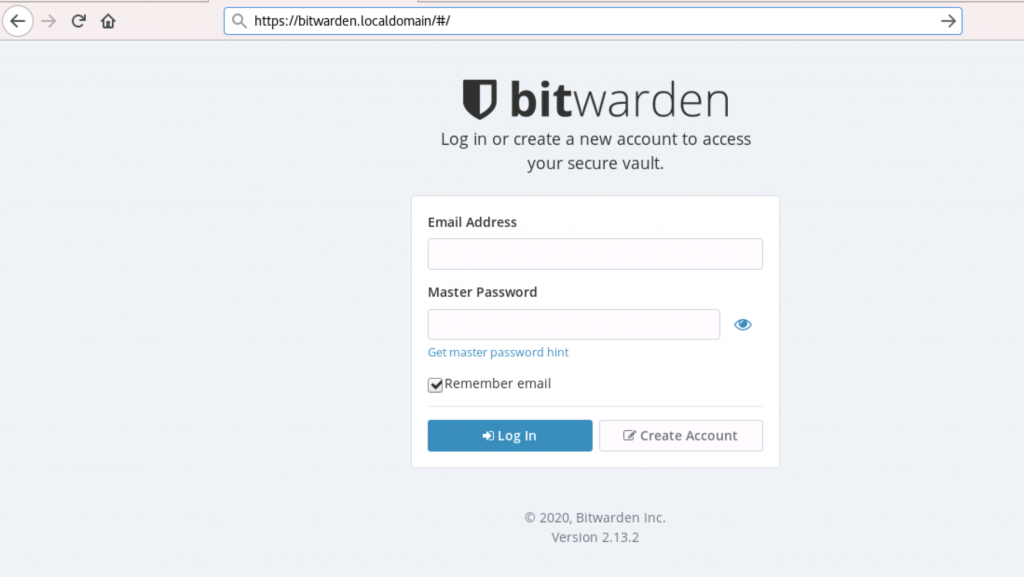
Ok, after I entered https://bitwarden.localdomain (enter your domain instead of this). I was greeted with frontpage of bitwarden.
There are tutorials which will teach you how to expose Bitwarden and make it accessible through internet. I’m not huge fan of exposing password manager on the internet (my current solution is also local only) so if you are on the same page, this will be useful to you.