Why title like this? Because it is aimed mostly on Windows admins / engineers who are new to identity management on Linux environment.
FreeIPA is domain controller for the Linux/Unix machines, it defines domain, using domain controllers and enrolled clients, it is something like Active Directory in Microsoft world.
I won’t get into technical details about FreeIPA, you can get those throughout the internet.
System requirements:
2vCPUs
It says 2GB of RAM, but with 4GB it works best.
10GB of disk space as minimal requirement.
Clean installation of CentOS 8/RHEL with no other services on it.
Port 443 and 80 needs to be free on the machine.
Your machine needs a FQDN defined before start.
Prerequisites:
You will need to define hostname and time zone on your machine which will hold FreeIPA installation.
Here is the Centos / Red Hat hostname tutorial – https://www.informaticar.net/how-to-set-hostname-in-centos-red-hat/
Here are the time related / NTP tutorials for Centos / Red Hat
https://www.informaticar.net/set-time-and-date-in-centos-red-hat/
Installation:
First, we will deal with SELinux, since it can cause problems with installation.
sudo setenforce 0
sudo sed -i 's/^SELINUX=.*/SELINUX=permissive/g' /etc/selinux/config
Next, we will check available modules on RHEL Appstream Repos
sudo yum module list idm
As it can be seen from the screenshot, DL1 is server module, while client is – well, client.
We can also get some more info about DL1 package by running following command:
sudo yum module info idm:DL1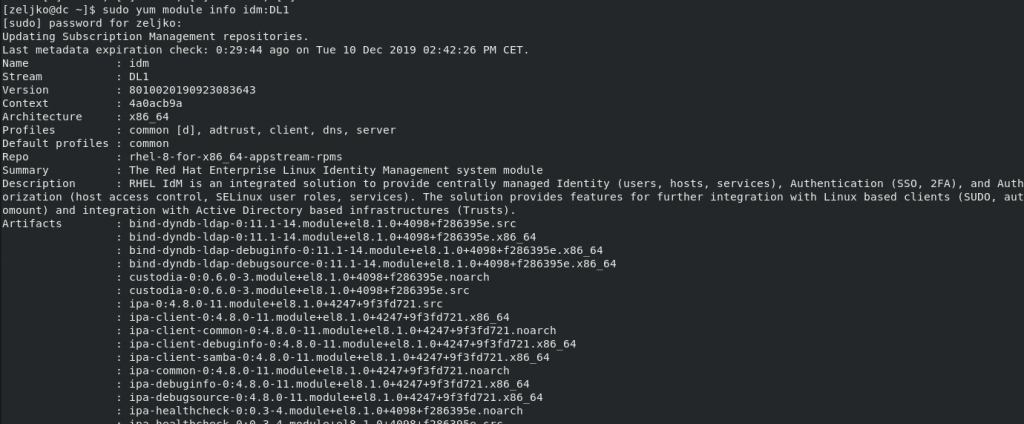
We will now first install DL1 and then FreeIPA server.
sudo yum -y install @idm:DL1
There are two choices when installing FreeIPA, just install FreeIPA or install FreeIPA with DNS.
If you are going to install just FreeIPA then use following command
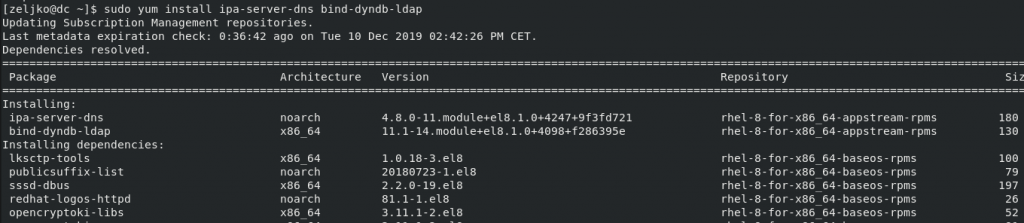
sudo yum -y install freeipa-serverIf you opted for FreeIPA with DNS, then go with the following command:
sudo yum install ipa-server-dns bind-dyndb-ldapYou will also need bind, so commands are included above. I will use command with DNS as option.
Installation phase is complete.
Configuration:
First, we need to give a valid hostname to our FreeIPA host.
I already gave my machine valid hostname and I can ping it.
ping -c 4 dc.test.local -4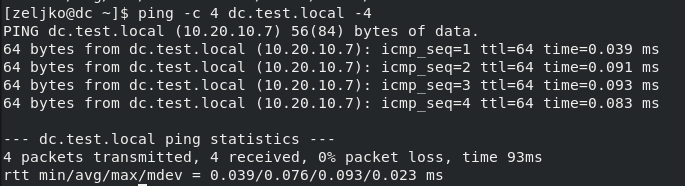
In case you don’t have DNS you can modify /etc/hosts file to include FreeIPA host IP and hostname.
(change 10.20.10.7 and dc.test.local to IP and name that fits you)
echo "10.20.10.7 dc.test.local" | sudo tee -a /etc/hostsNow, again – two choices – to just configure FreeIPA, or configure FreeIPA and DNS
First is:
sudo ipa-server-installAnd second one with DNS setup option is:
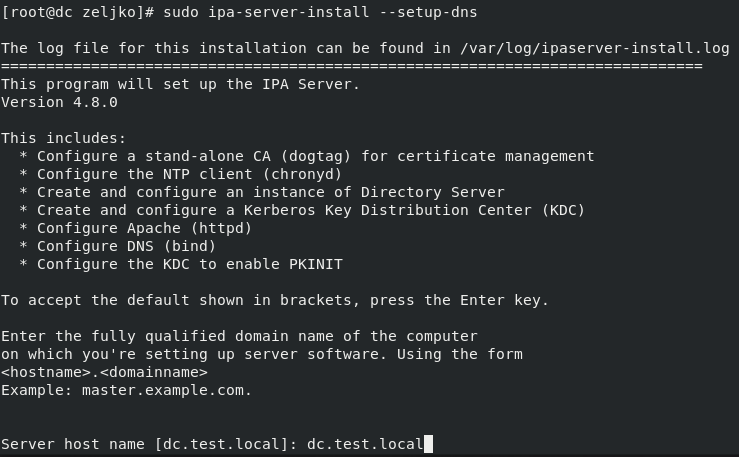
sudo ipa-server-install --setup-dnsI will use FreeIPA + DNS setup
Let’s go.
My setup will include following steps
* Configure a stand-alone CA (dogtag) for certificate management
* Configure the NTP client (chronyd)
* Create and configure an instance of Directory Server
* Create and configure a Kerberos Key Distribution Center (KDC)
* Configure Apache (httpd)
* Configure DNS (bind)
* Configure the KDC to enable PKINIT
My FreeIPA server name is DC and domain will be test.local
Enter your machine name and domain and press enter
Next, I need to confirm domain name – in my case test.local

Realm name will in my case be the same, just in uppercase

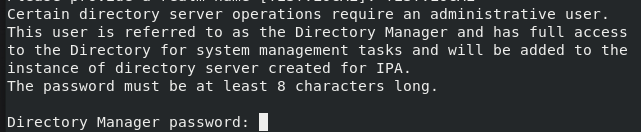
Next, we will define Directory Manager password. As always – make sure you securely store passwords and use strong passwords (I will use weak for the LAB). You will also be asked to repeat password.
Next step is administrative FreeIPA user – name admin. We will define password for it.I missed it first time ?

Next up, DNS
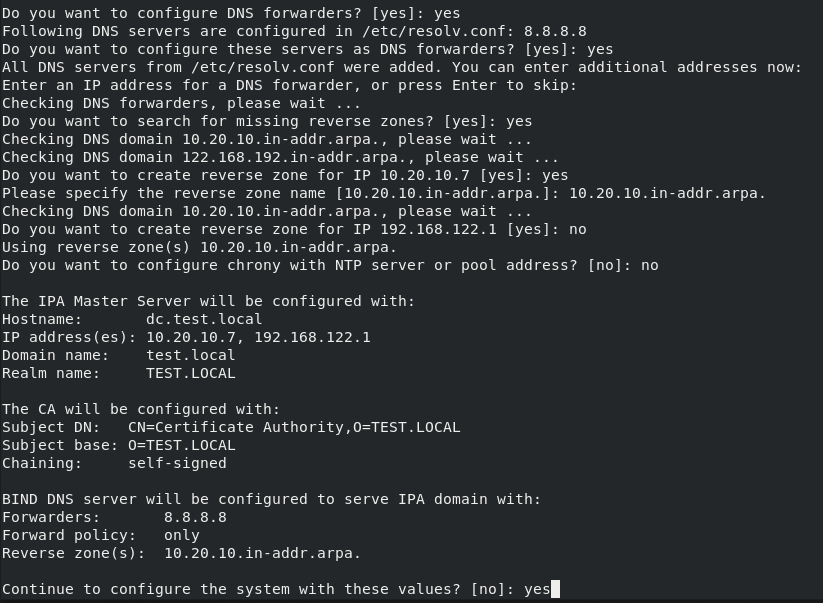
First question is do you need DNS forwarders, I will configure them, you can type In no and skip if you don’t need them

I already entered 8.8.8.8 in my DNS so I will just confirm it as DNS with yes

I won’t input second DNS forwarder so I will just press enter

I will also confirm with yes, search for the missing reverse zones

After that you will be asked to confirm reverse zones and enter names (you can use names suggested in answers)
You will also be offered to configure NTP server, I selected no, because I already configured chrony prior to this setup. NTP server is extremely important so make sure to configure one.
You will then be presented with your configuration, my configuration is ok, so I will confirm my config with yes
Starting installation…

And after few minutes, summary is displayed, successful install should look like to one pictured below.
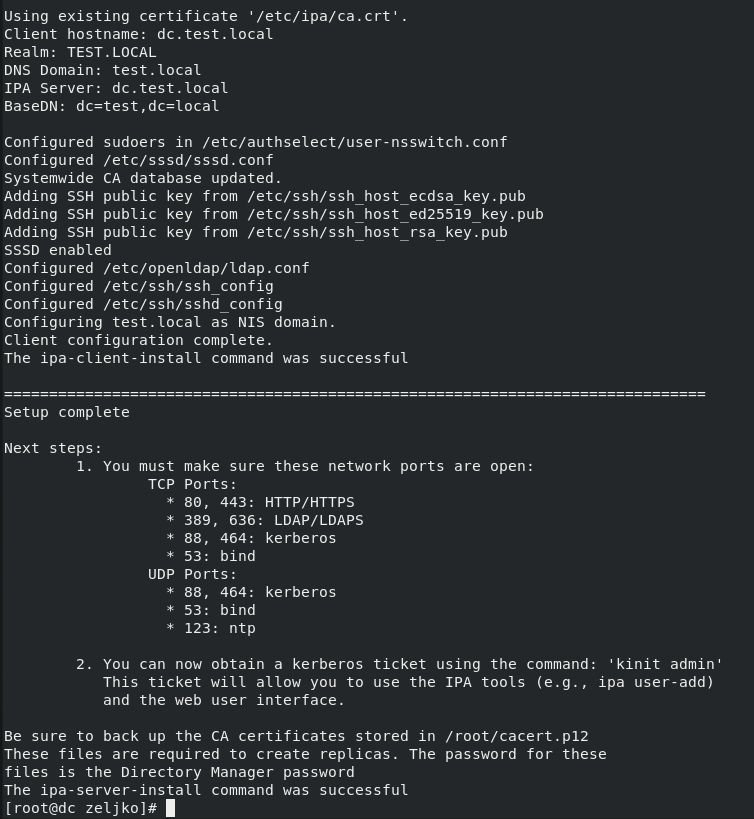
Well, as recommended in last setup steps, we should open few ports in our firewall.
(double minuses before add and permanent)
sudo firewall-cmd --add-service={http,https,dns,ntp,freeipa-ldap,freeipa-ldaps} --permanent
I already have NTP configured, so it is displayed as warning.
Reload firewall service
(double minuses before reload)
sudo firewall-cmd --reload
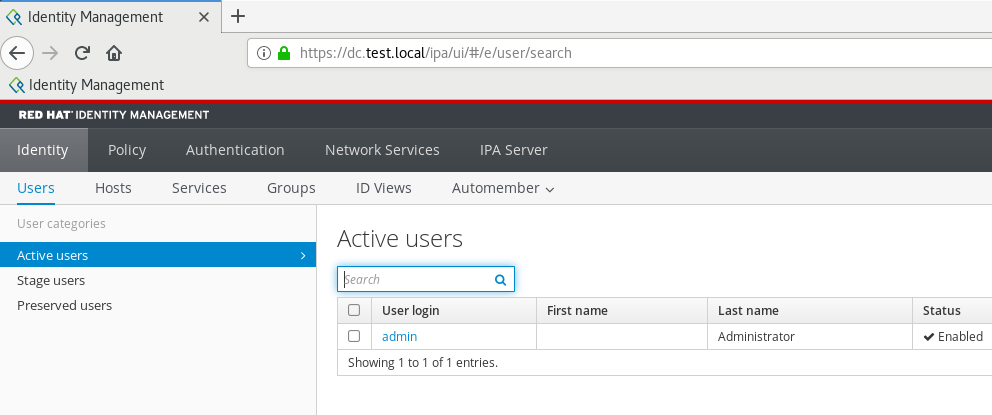
Now, in the end, lets open the browser on FreeIPA server and type in
https://dc.test.local/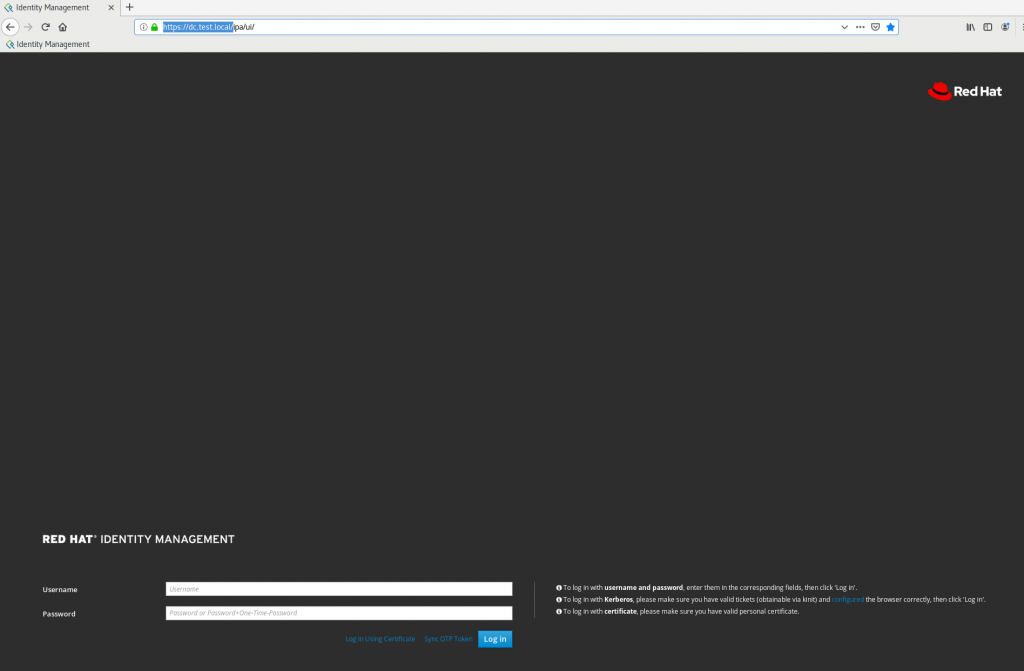
You already set password for IPA user admin during setup, so enter user and pass and log in
Now, let’s try and use command line
I entered a command just to list user accounts, and got this
sudo ipa user-find
So, first step will be to get a Kerberos ticket
sudo kinit admin
We will then check ticket expiration by typing in:
klist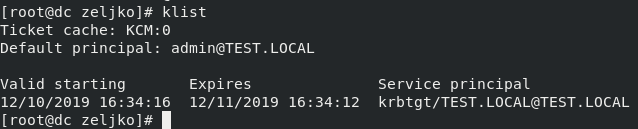
Next, we will set default shell for FreeIPA to /bin/bash
(double minuses before default)
sudo ipa config-mod --defaultshell=/bin/bash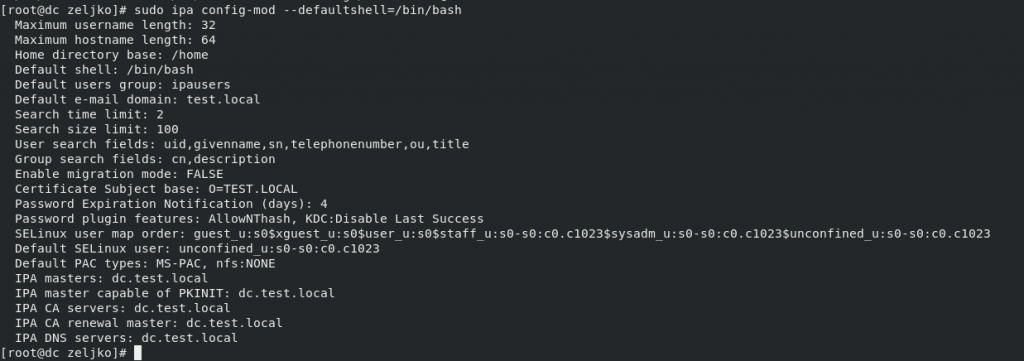
And now we will add a user account (I will add user named Korisnik1)
(double minuses before first, last, email, password)
sudo ipa user-add Korisnik1 --first=Korisnik1 --last=User --email=Korisnik1@test.local --password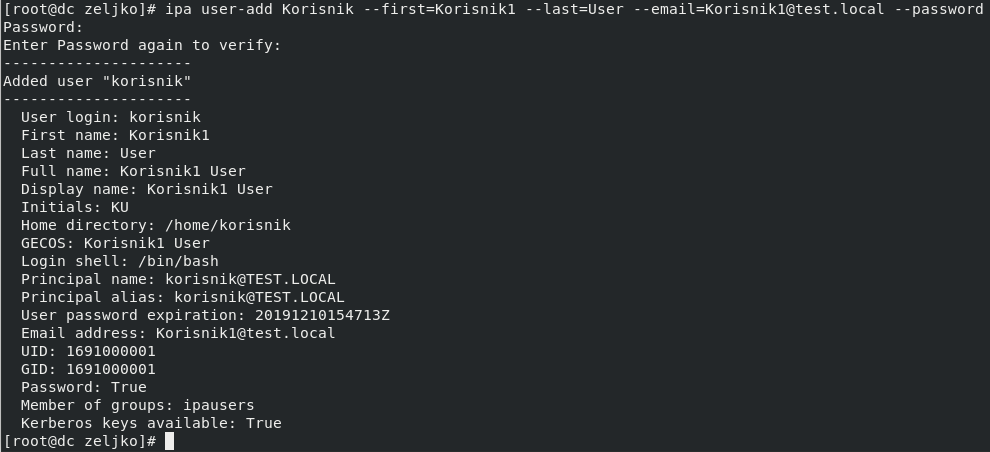
Now, let’s try again command
sudo ipa user-find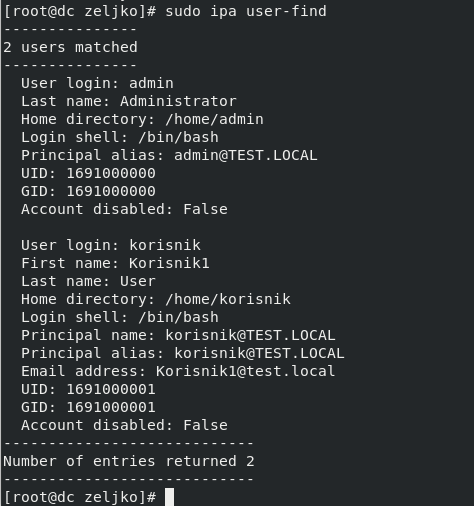
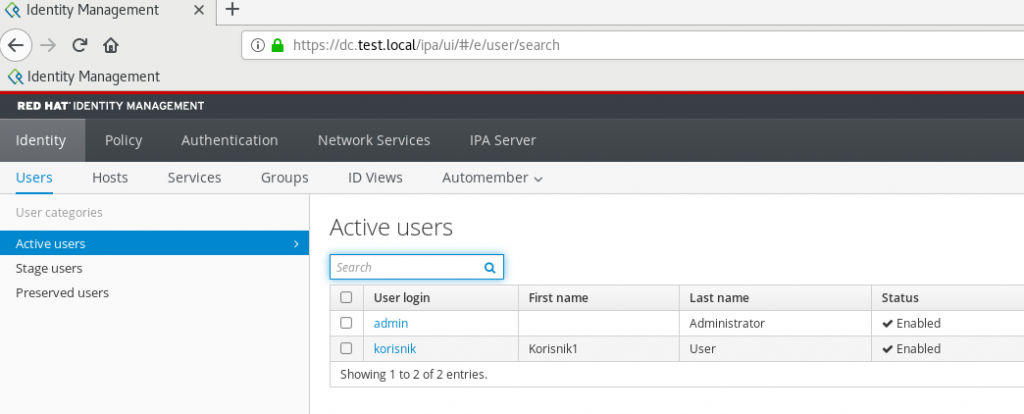
New user can also be seen in web browser
We will now try to login as korisnik in terminal
ssh korisnik@localhost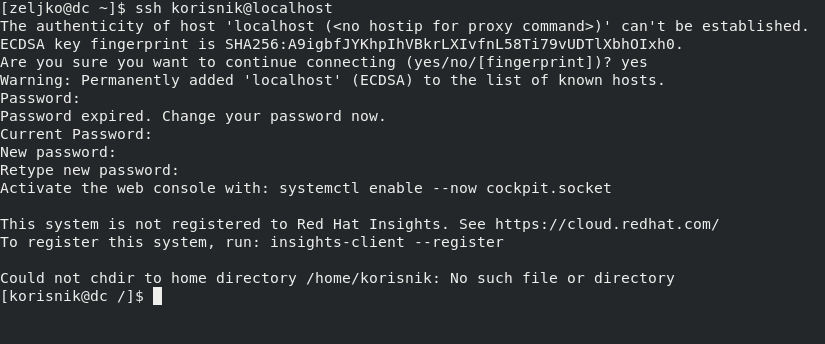
Uninstall
If for whatever reason you wish to uninstall FreeIPA, command is:
(double minuses before uninstall)
sudo ipa-server-install --uninstall