In last article, we added third node to our DFS cluster. In this one, we will remove third node from the DFS cluster.
Before we begin
I really won’t be going through many details in this article, and by that I mean explaining LAB setup and details.
Details about DFS Cluster creation can be found in guide “How to create File Share cluster (DFS) on Windows Server” on my blog.
Details about adding third node to Windows Failover Cluster can be found in “Add a new node to Windows Server Cluster”.
And in the end, details about adding third node to the DFS Namespace can be found in “Add a new node to File Share Cluster (DFS) on Windows Server”.
To explain a bit, you need to first add node in the Failover Cluster Manager and then you additionally need to add that node to the role you have clustered. In my case DFS Namespace is clustered, so that is separate procedure.
In this guide, we will be removing one node from the DFS Namespace cluster, just to observe the process.
Before you start modifying anything, make sure you have a solid backup in place.
Prerequisites
You need to have DFS Namespace clustered with three nodes. All the details you can find in guides already on my blog as I mentioned above.
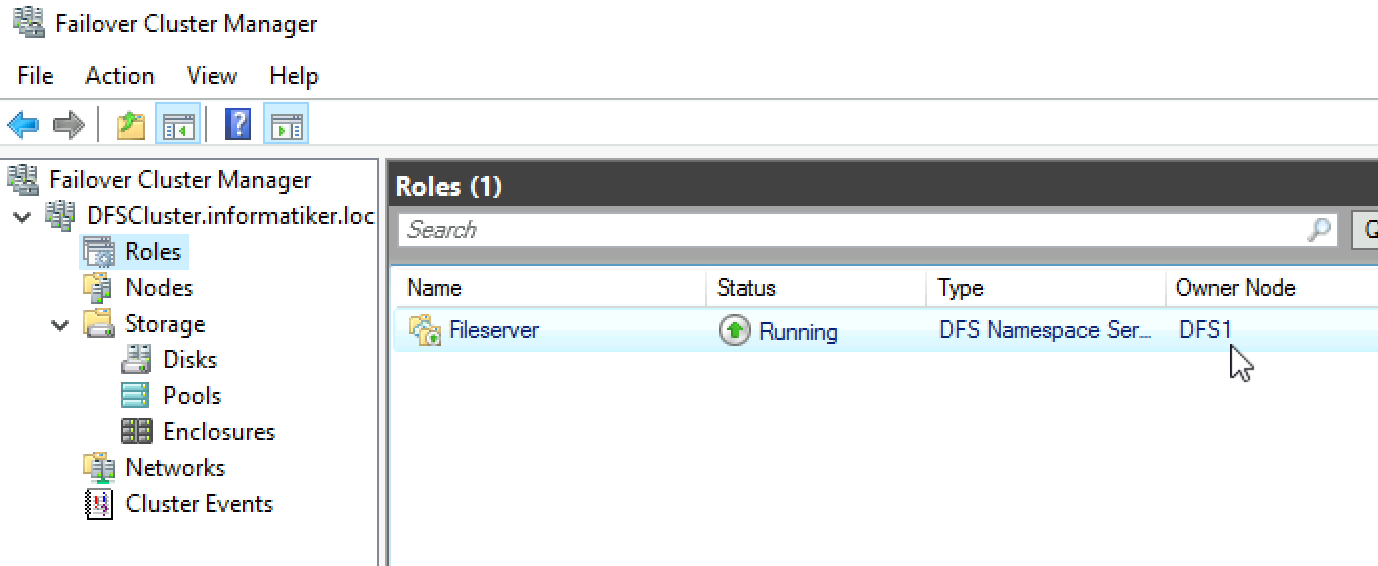
We have three node DFS cluster – DFS1, DFS2 and DFS3.
We will be removing DFS1 from the cluster. Let’s begin.
Removing node from DFS cluster
Ok, first we need to go to the Failover Cluster Manager. I will be doing this from DFS3 node.
We can currently see that DFS1 is holding the DFS Namespace role. Be sure that no roles, disks reside on the node you wish to remove.
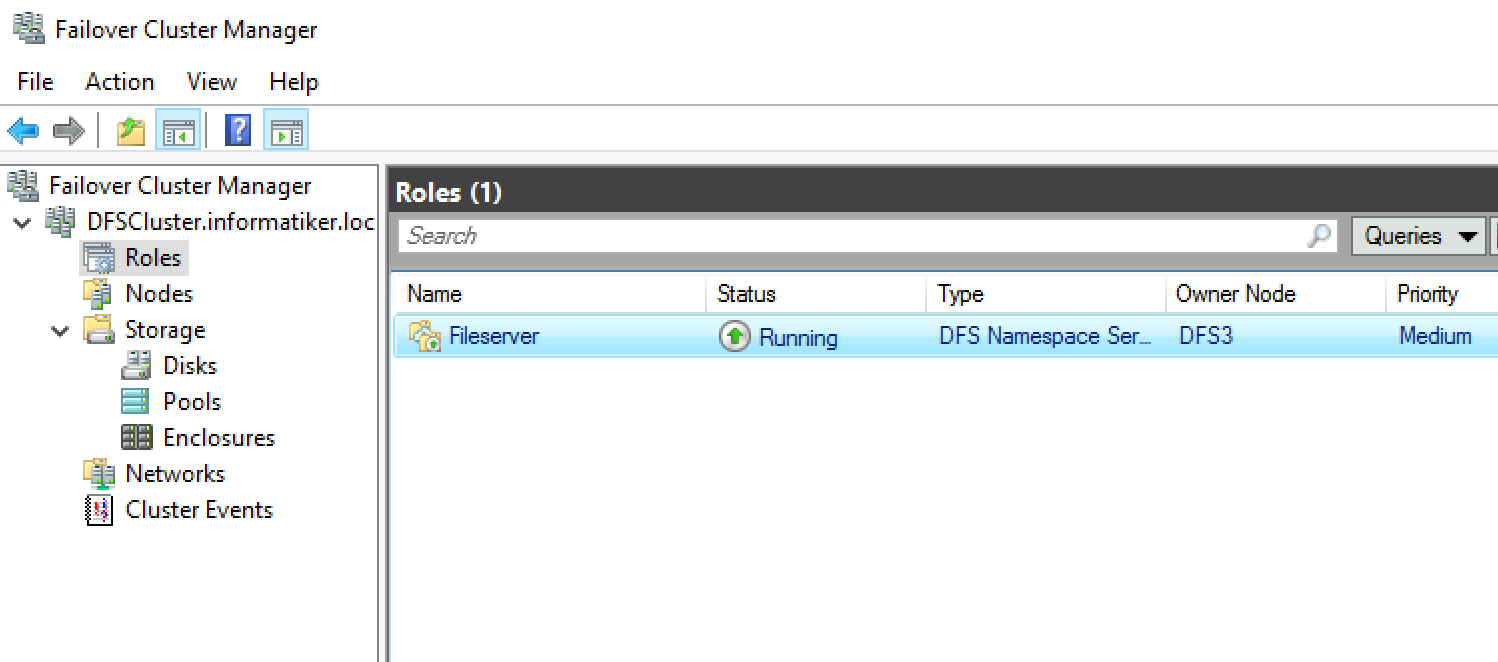
I will transfer role to the DFS 3
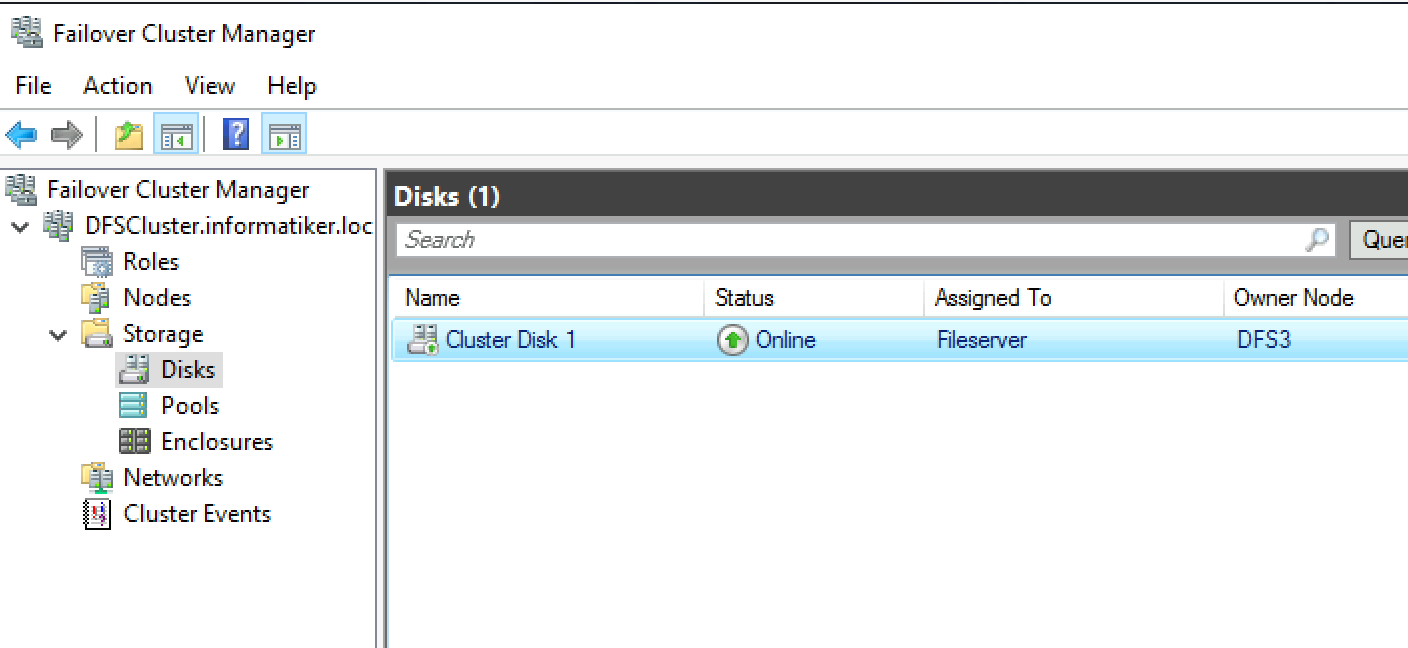
Check also that disks and pools are transferred to the DFS 3 node.
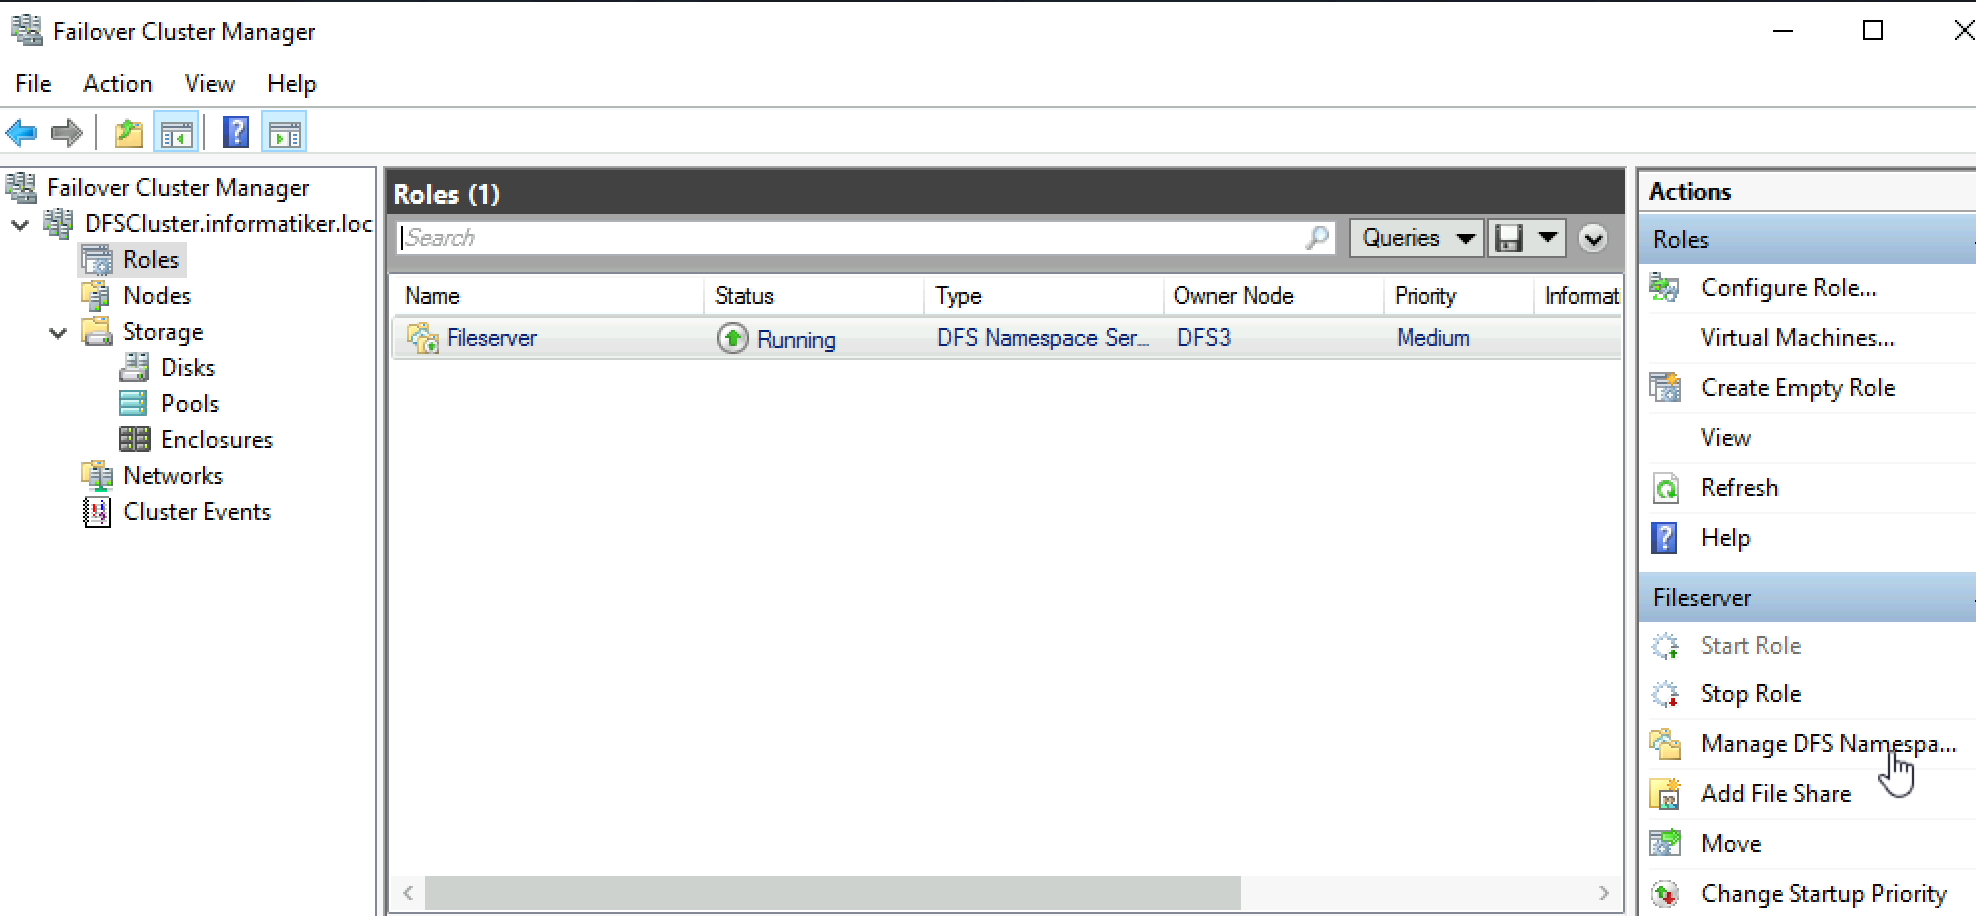
Ok, next step is to go to the Manage DFS Namespace by clicking on the DFS Role inside Failover Cluster Manager.
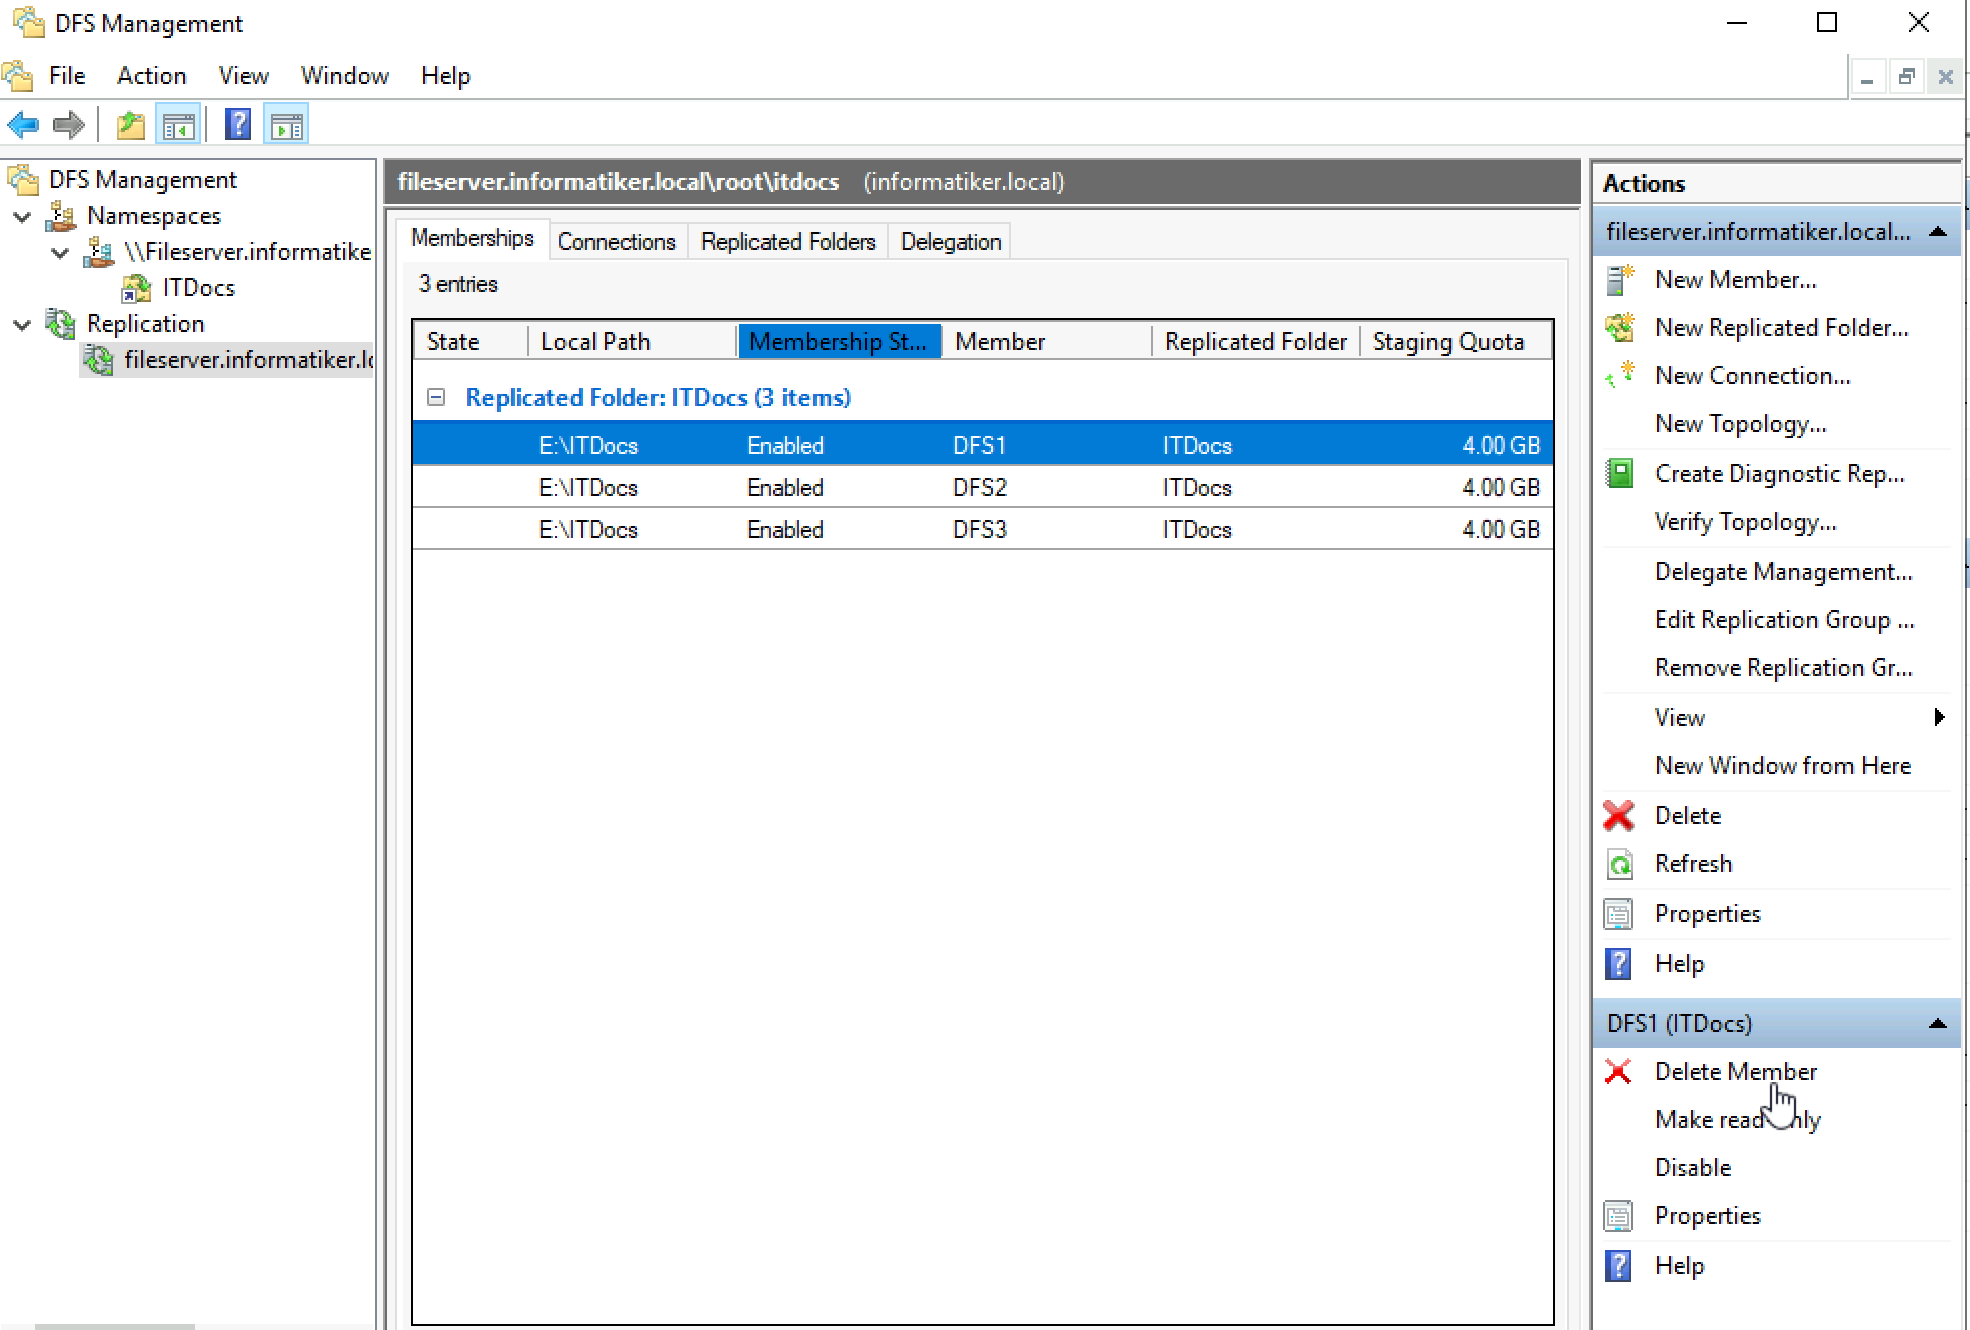
Expand Replication and select itdocs. On Membership tab, click on DFS1 and select Delete Member from the bottom right part of the screen.
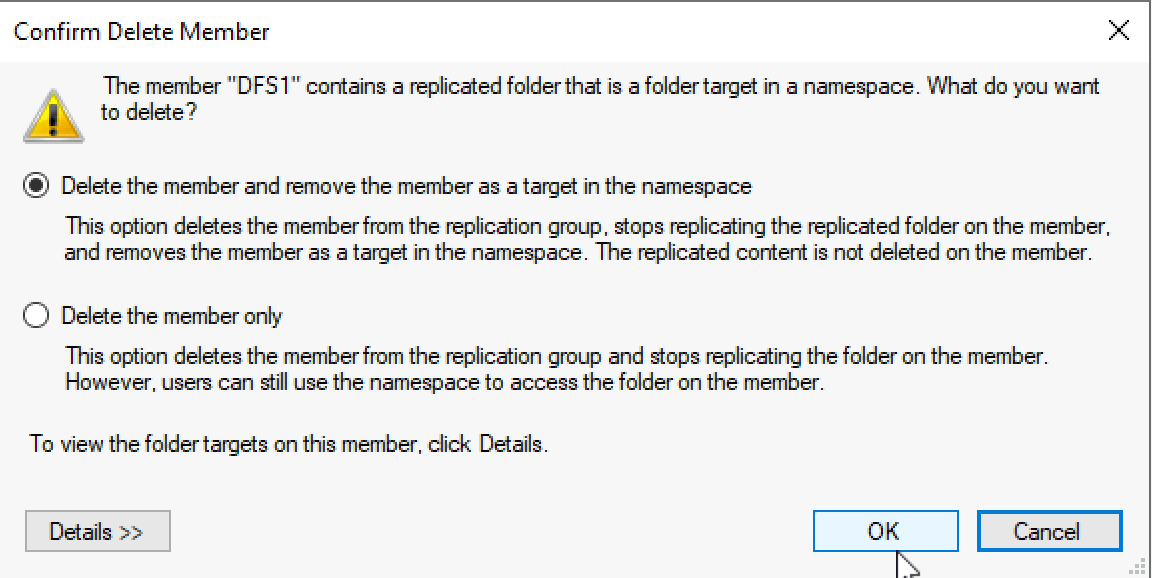
I will select “Delete the member and remove the member as a target in the namespace” OK
OK
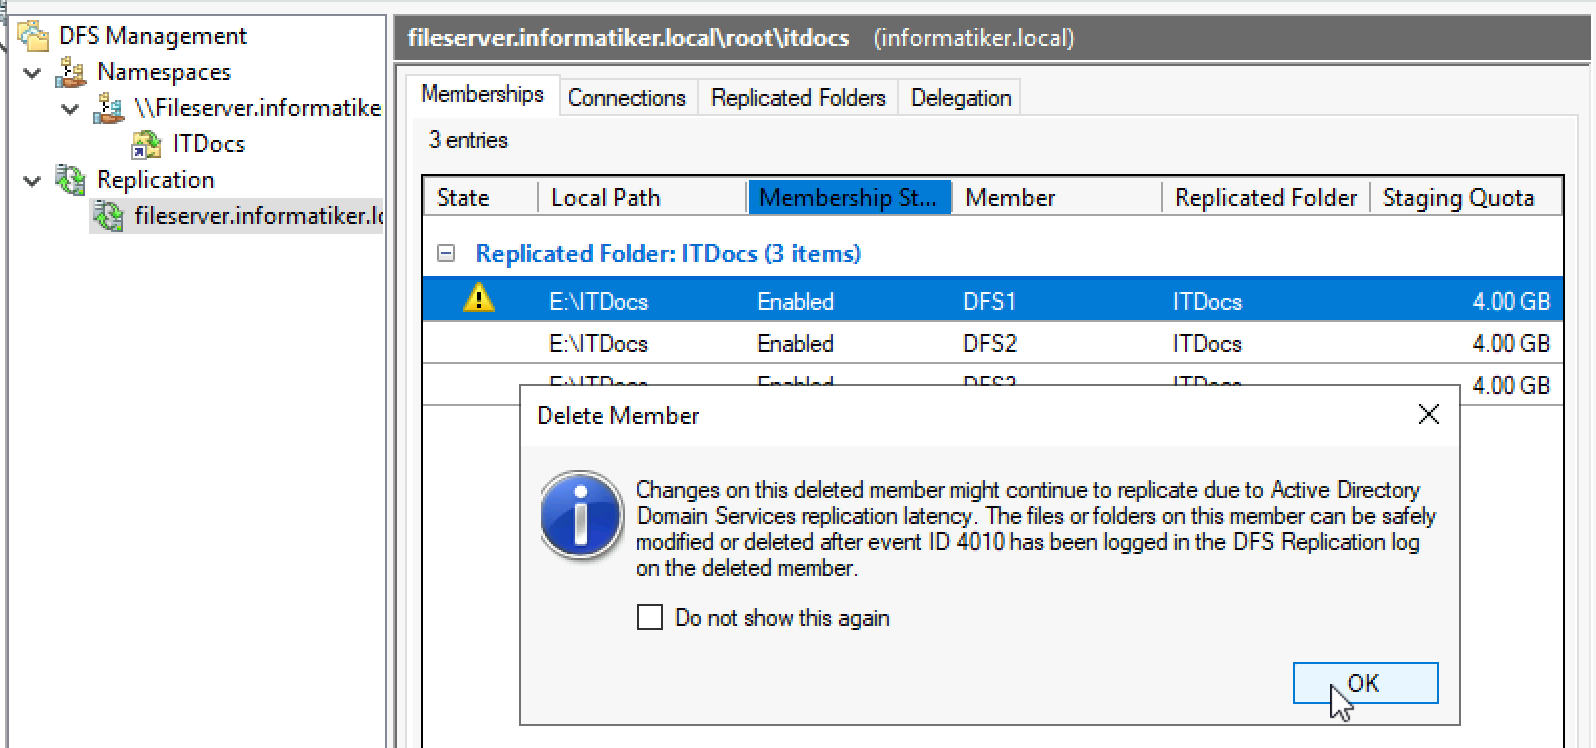
aanddd, DFS is gone
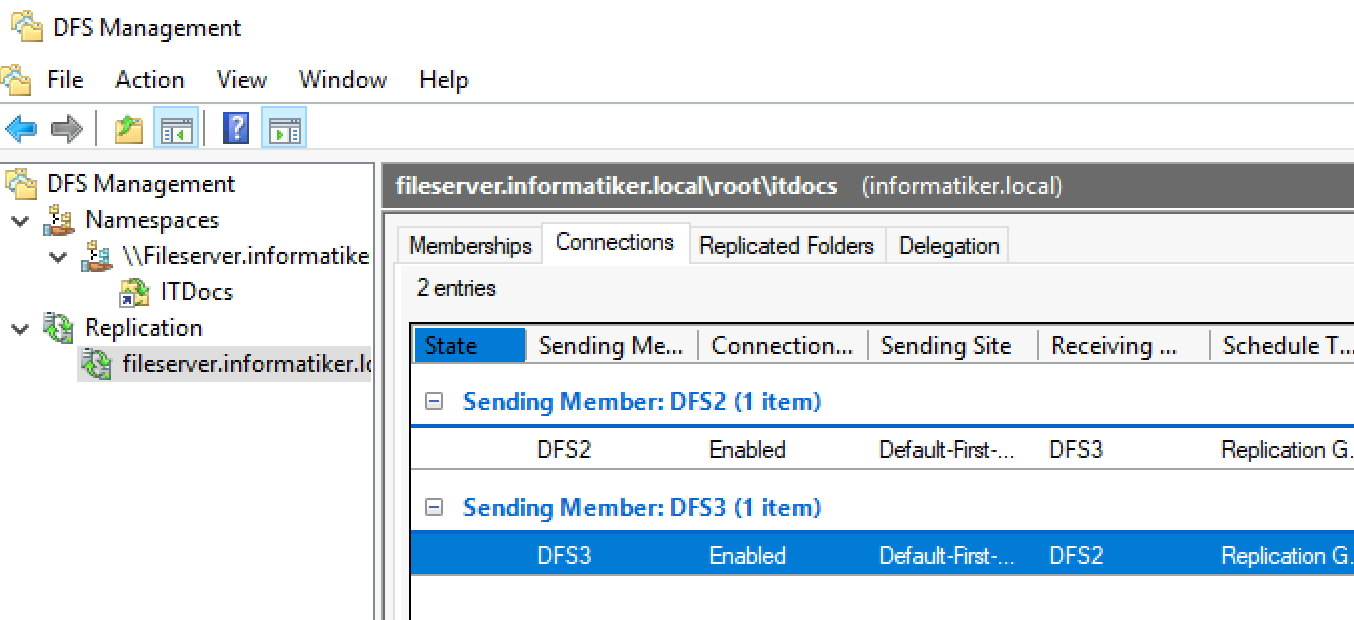
In Connections tab you can also see that we have only two nodes – DFS2 and DFS3 left.
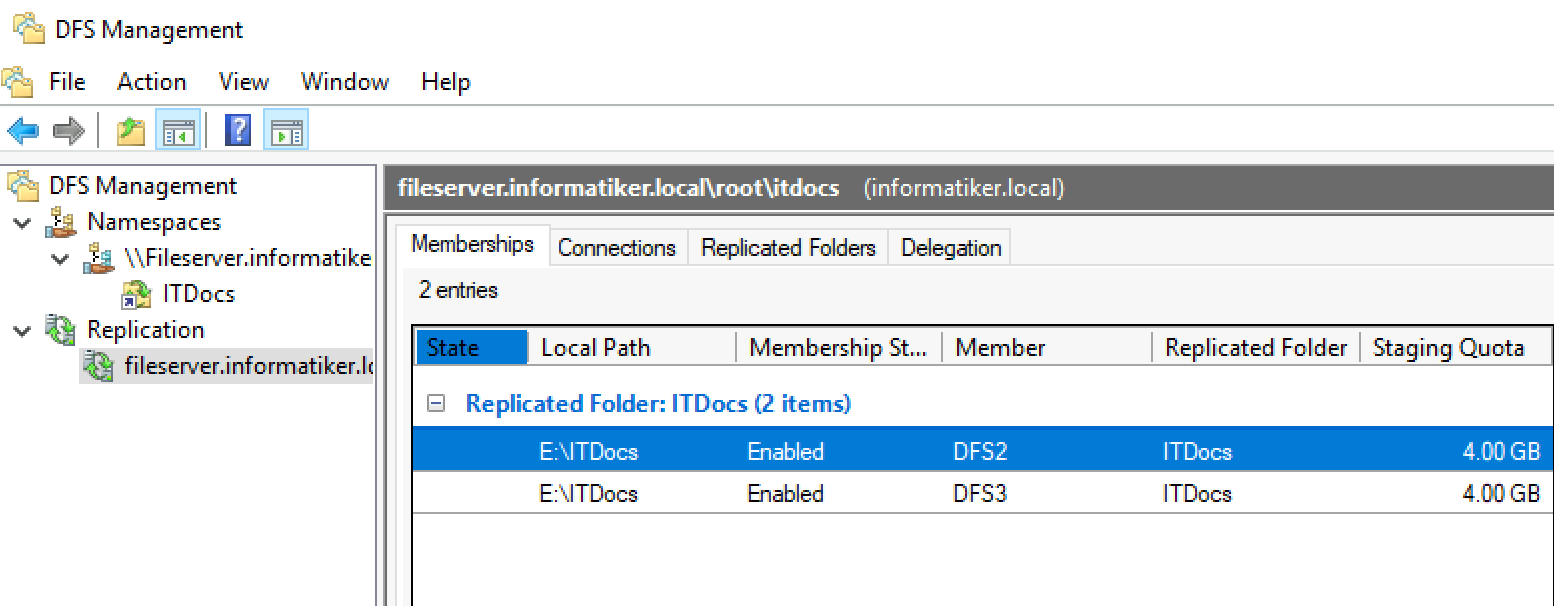
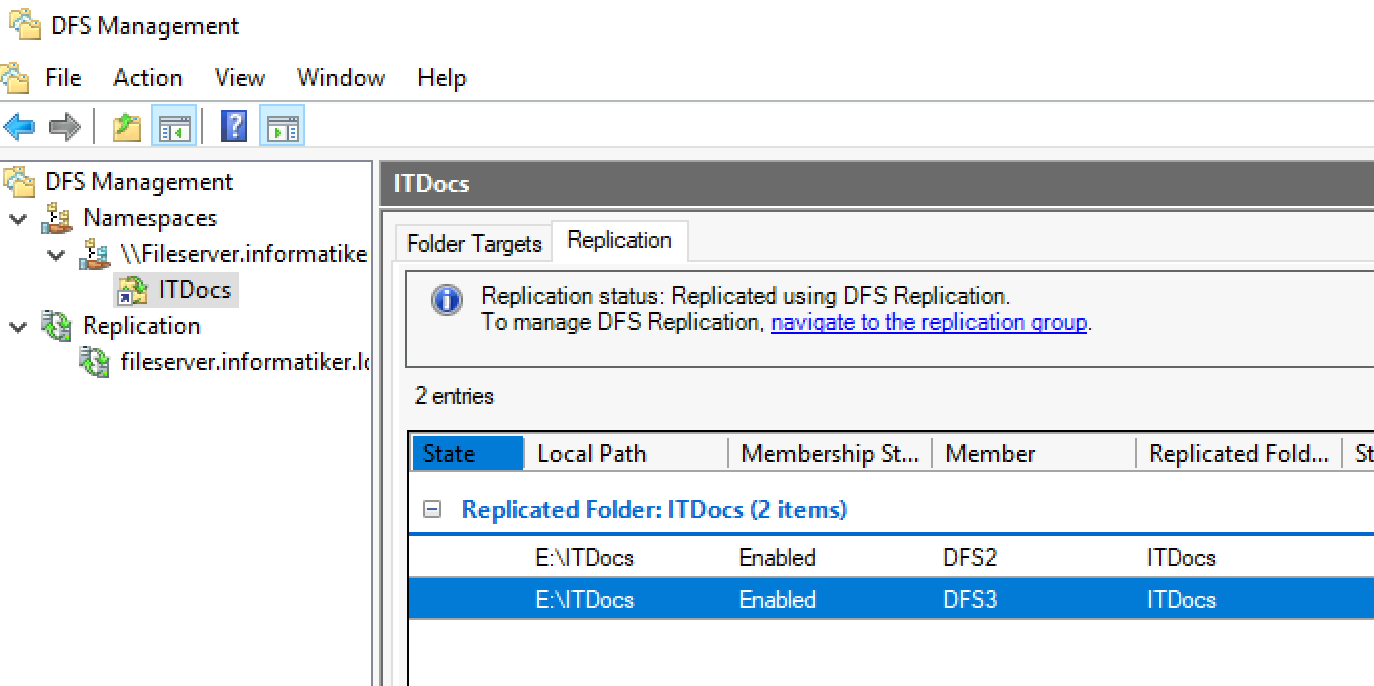
Under Namespaces if we select ITDocs, and in Replication tab we can also see DFS2 and DFS3 only.
I think you got the point, we succeeded in removing DFS1 from DFS Namespace we created earlier. Two nodes are left – DFS2 and DFS3.
You will also need to remove DFS1 from Failover Cluster (if you followed my DFS series). You can read how to that in “How to remove node from Windows Server Failover Cluster” guide on my blog.
After I removed DFS1, I also physically turned it off, to see if there are any side effects.
Everything works as expected – I downed each of the two nodes that are left – in both cases I was able to add new files from clients, changes would be replicated immediately after node is brought up.
Everything works as expected.