In my last article “How to remove node from File Share Cluster (DFS) on Windows Server” we had three nodes in DFS Namespace Server role that was clustered. I removed one node from DFS Namespace, but that node is still available in Failover Cluster Manager. In this short guide we will learn how to remove node from Failover Cluster.
Before we begin
This article is in relation with guide “How to remove node from File Share Cluster (DFS) on Windows Server” I wrote earlier.
Before you start – make sure that you have backups.
If you want to remove node from Failover Cluster, you need to make sure that roles you have on that cluster do not depend on that node. Be careful not do destroy cluster completely (if you don’t plan to do that – and make sure you plan downtime and have backup in place).
So, I first removed DFS1 from DFS Namespace role, and next step is to remove DFS1 from Failover Cluster.
Prerequisites
All is referenced in “How to remove node from File Share Cluster (DFS) on Windows Server” so you can go to that article and articles I mentioned in that guide to see how the whole lab is set.
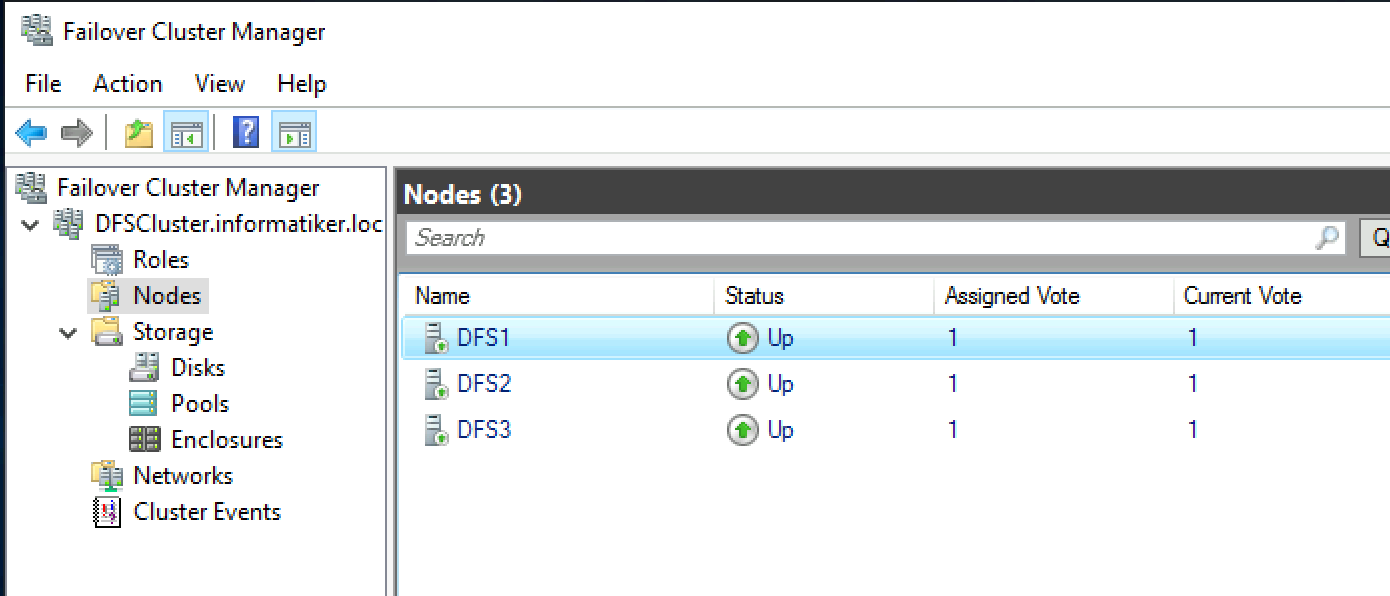
In short. I have three nodes – DFS1, DFS2 and DFS3.
I want to remove DFS1 from Failover Cluster.
How to remove node from failover cluster?
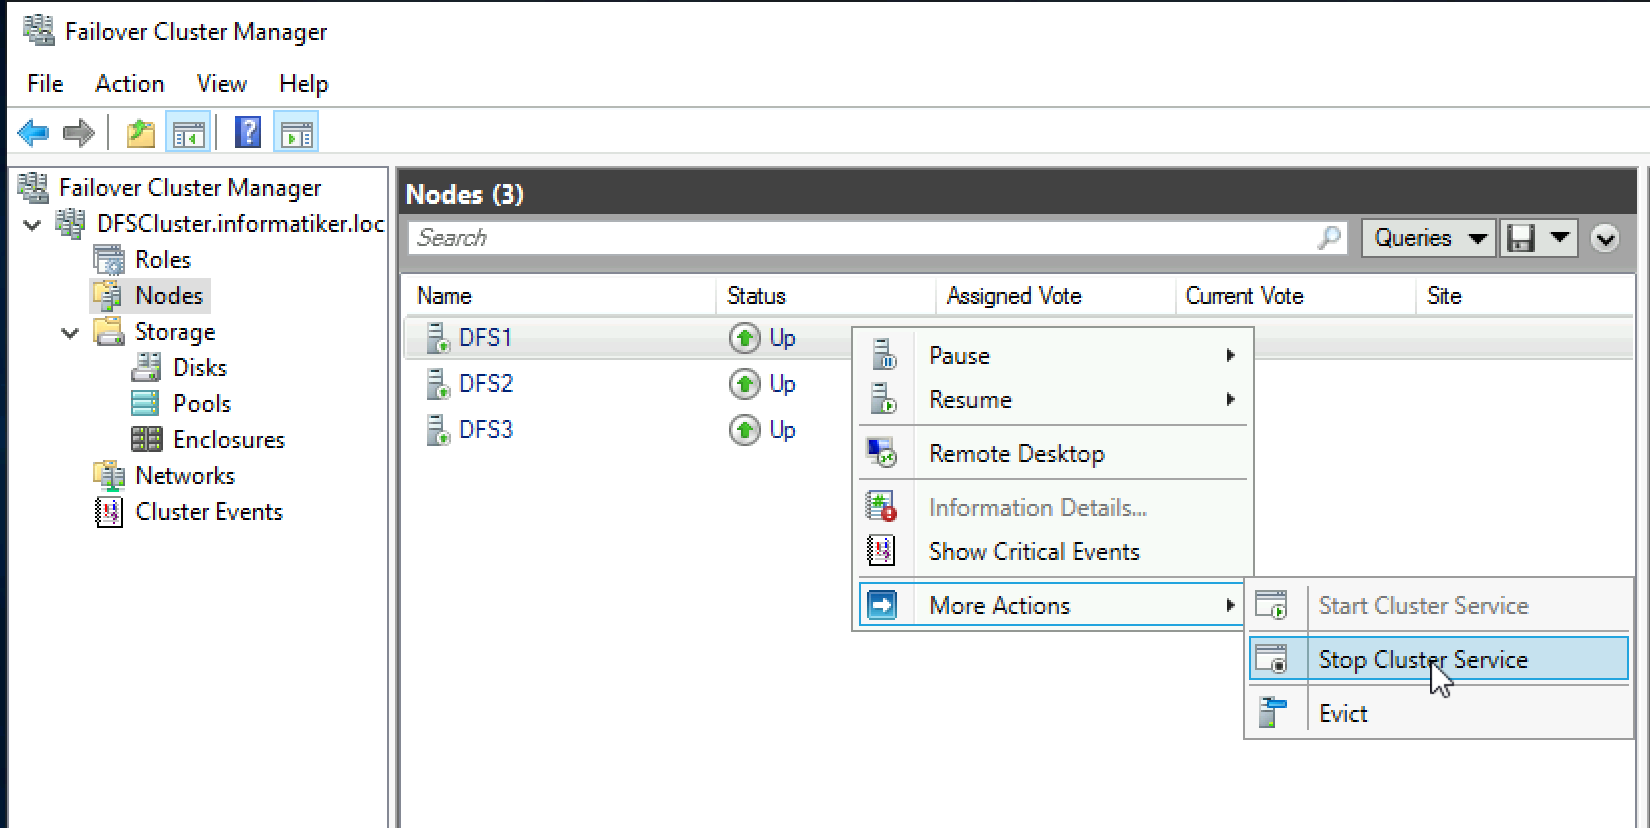
I will be doing this from DFS3. I will open Failover Cluster Manager and click on Nodes section. I will right click on DFS1 and select Stop Cluster Service from More Actions
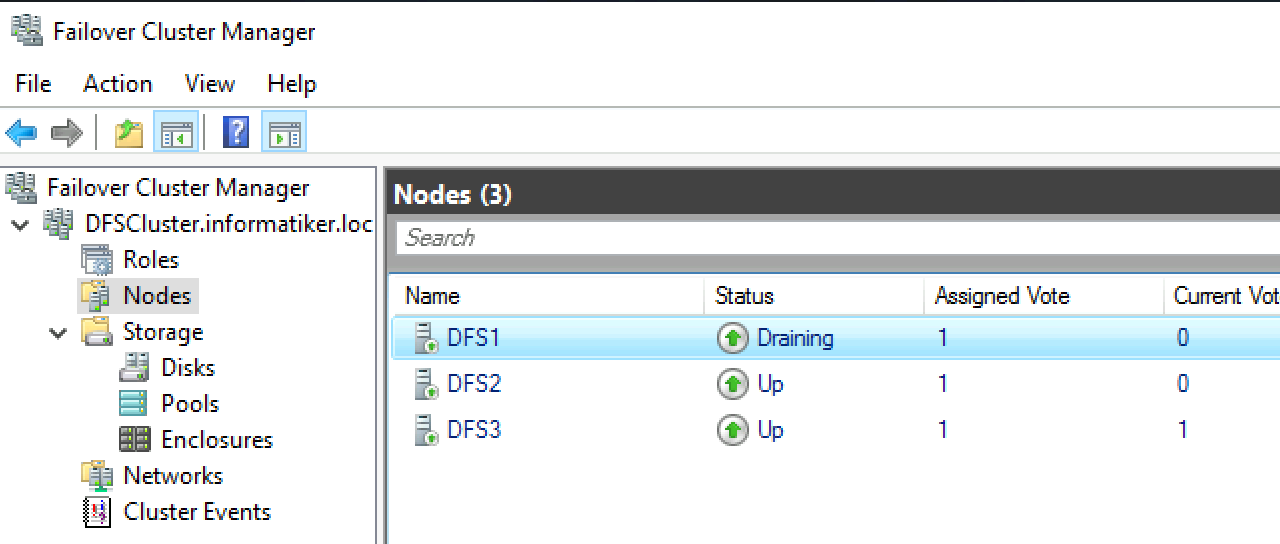
Draining…
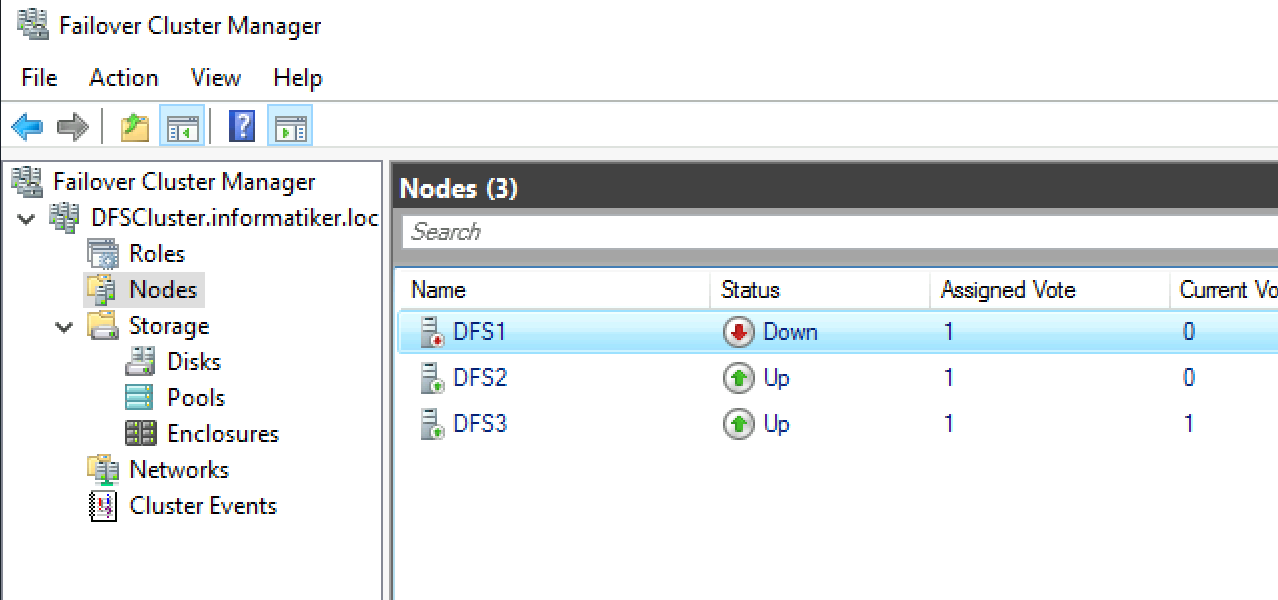
Down
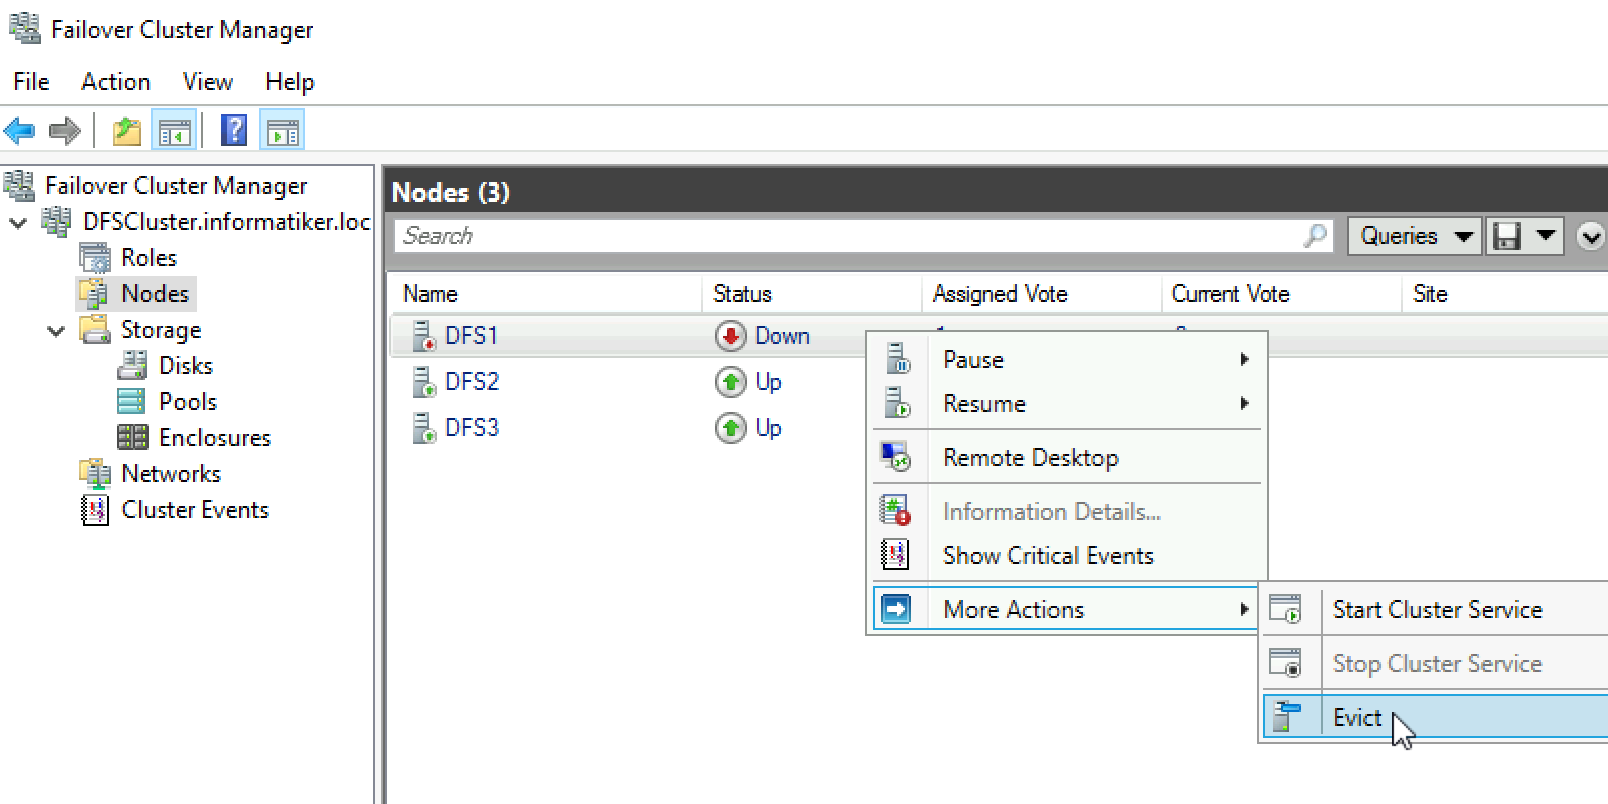
Now, again right click on DFS1, More Actions, Evict
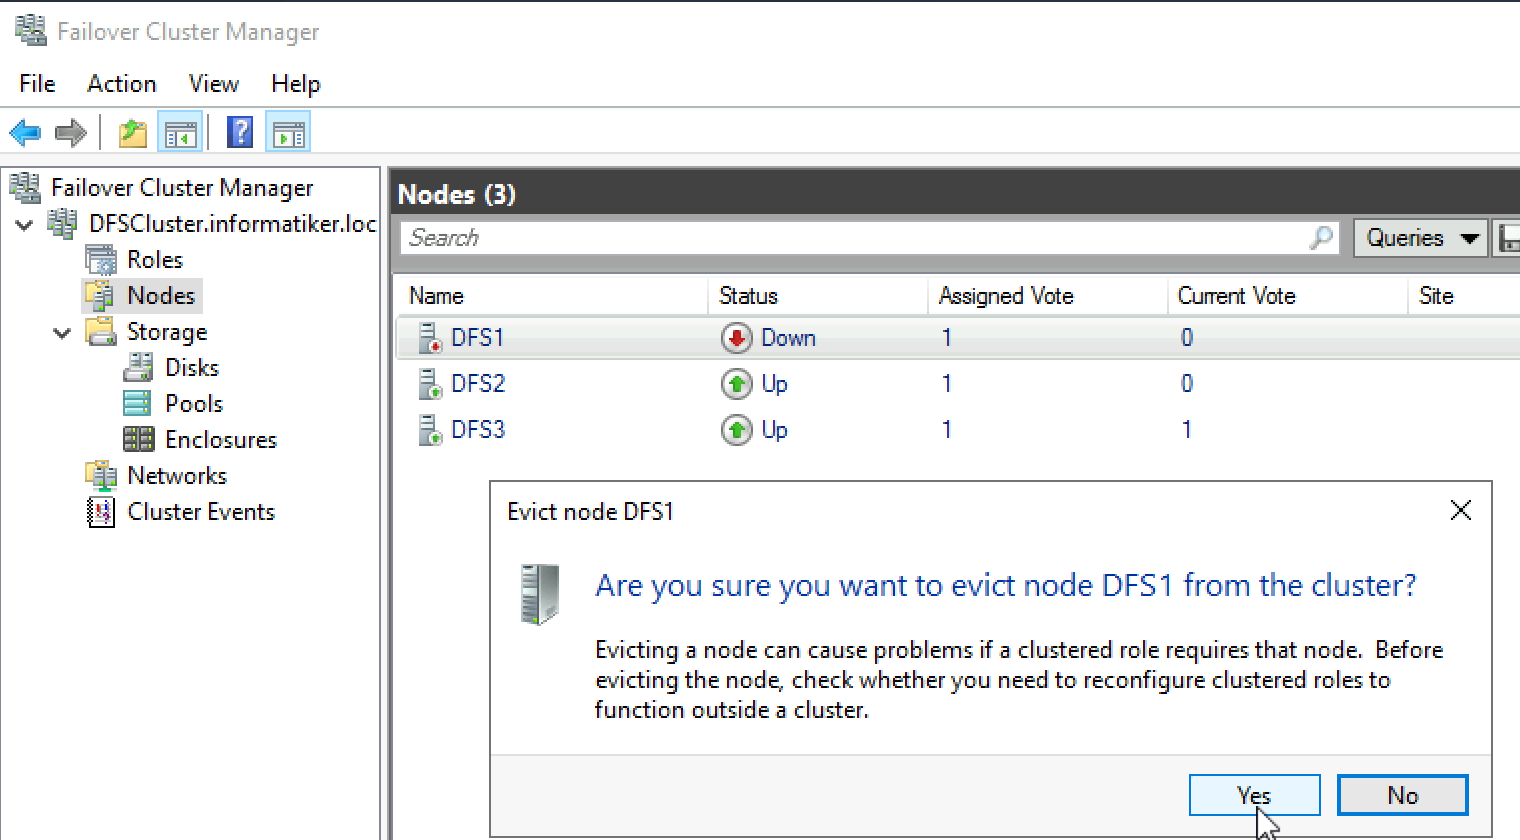
Warning will be displayed. Of course make sure your services will function after you evict the node, and make sure you have a backup. Yes
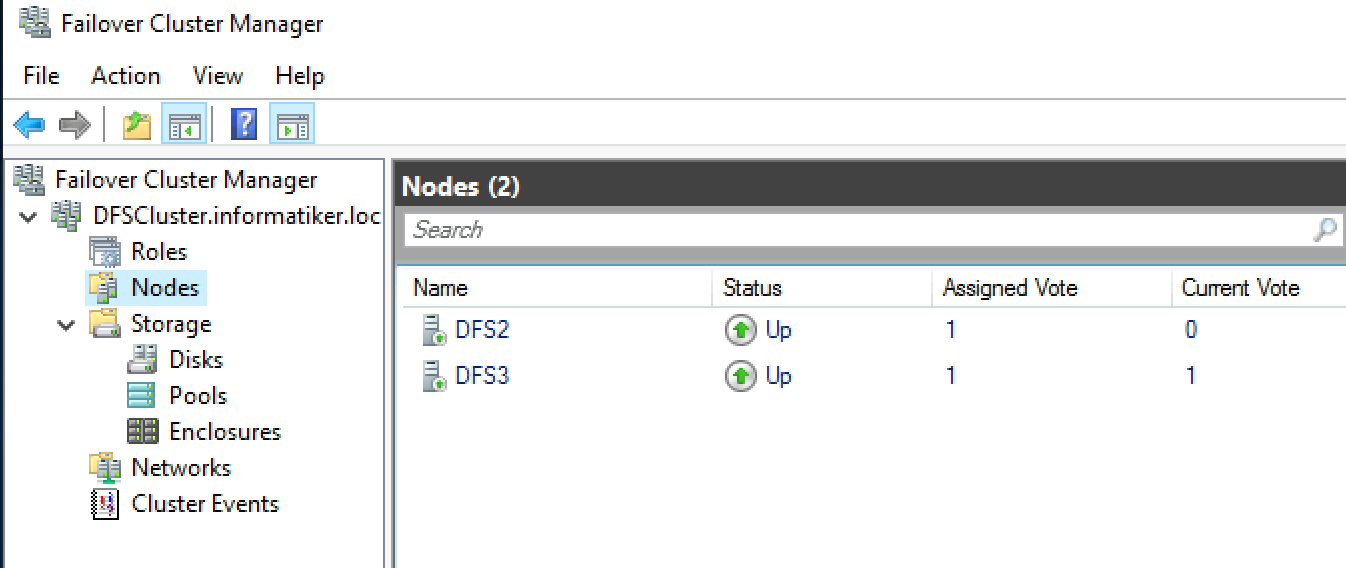
And just like that – we have two nodes left in cluster
I turned off DFS1 to make sure everything will function. I also tried to move roles from DFS2 to DFS3 and vice versa, everything works flawlessly.