We already installed LAMP stack which will enable us to bring up web services, first in the line will be WordPress.
Before we begin
We already went through LAMP stack installation, and we will need Apache, PHP and MariaDB for this guide, so before you go further check out that tutorial before going further.
Our default link for this website will be http://wordpress
So, on the machine that I’m going to test on my wordpress installation and start web gui for install I’m going to edit hosts file.
I’m using Ubuntu so I will edit /etc/hosts and enter
192.168.60.3 wordpress
into /etc/hosts file.
IP address 192.168.60.3 is the address of the machine on which I’m installing wordpress and which will server as web server.
Set Database for WordPress
We will execute following commands to create database wordpress on our MariaDB install. We will also create user admin for WordPress DB and give it password “pass”
sudo mysql -u root -p
mysql> CREATE DATABASE wordpress;
mysql> CREATE USER `admin`@`localhost` IDENTIFIED BY 'pass';
mysql> GRANT ALL ON wordpress.* TO `admin`@`localhost`;
mysql> FLUSH PRIVILEGES;
mysql> exit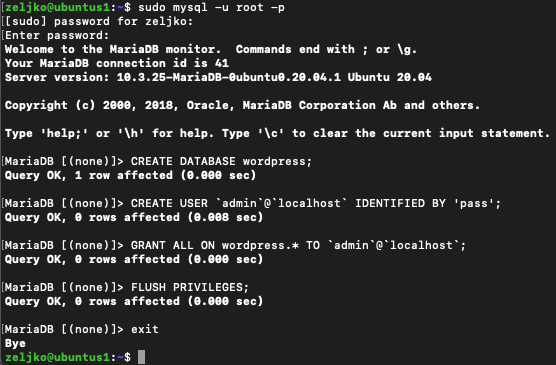
Install additional PHP plugins
In my LAMP tutorial, we haven’t installed everything that WordPress might need from PHP, so we will do it now.
sudo apt install php-curl php-gd php-mbstring php-xml php-xmlrpc php-soap php-intl php-zip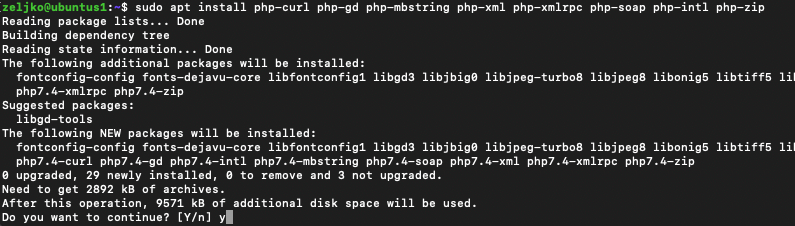
Restart Apache server after this
sudo systemctl restart apache2
Setting up Apache
Configuration file for our WordPress installation will be in
/etc/apache2/sites-available
We will create wordpress.conf in that folder.
Installation path for our WordPress will be /var/www/wordpress
This is the logic I’m using in all my other guides, so I will use it in here also.
Enable .htaccess
We will create/open our wordpress.conf file by typing in following
sudo nano /etc/apache2/sites-available/wordpress.confAdd following to the file
<VirtualHost *:80>
    ServerName wordpress
    ServerAlias wordpress
    ServerAdmin webmaster@wordpress.local
    DocumentRoot /var/www/wordpress

    <Directory /var/www/wordpress>
        Options -Indexes +FollowSymLinks
        AllowOverride All
    </Directory>

    ErrorLog /var/log/wordpress-error.log
    CustomLog /var/log/wordpress-access.log combined
</VirtualHost>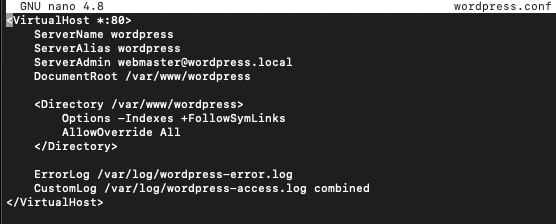
Save and exit file
We will now enable rewrite rule
sudo a2enmod rewrite
Lets now test and enable changes
sudo apache2ctl configtestYou can safely ignore AH00558 message if you get Syntax OK.
Execute
sudo a2ensite wordpressReboot Apache
sudo systemctl restart apache2
Download WordPress
I will download wordpress to my home directory. Path for my home directory is /home/zeljko
cd /home/zeljko
curl -O https://wordpress.org/latest.tar.gz
If you get error that you don’t have curl – sudo apt install curl
We will now extract downloaded installation
tar xzvf latest.tar.gz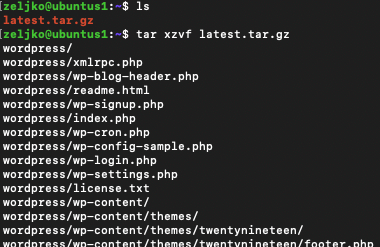
We will now create .htaccess in our extracted wordpress installation to make it available to wordpress later.
touch /home/zeljko/wordpress/.htaccess
We will also copy over sample config file to the name understandable to wordpress.
cp /home/zeljko/wordpress/wp-config-sample.php /home/zeljko/wordpress/wp-config.php
Before we move our installation we will also create upgrade directory
mkdir /home/zeljko/wordpress/wp-content/upgrade
In the end we will copy our downloaded installation to /var/www/wordpress
sudo cp -a /home/zeljko/wordpress/. /var/www/wordpress
Setting ownership and permissions
We will give ownership permissions to www:data
sudo chown -R www-data:www-data /var/www/wordpressWe will also execute find commands to set permissions for WordPress files and dirs
sudo find /var/www/wordpress/ -type d -exec chmod 750 {} \;
sudo find /var/www/wordpress/ -type f -exec chmod 640 {} \;
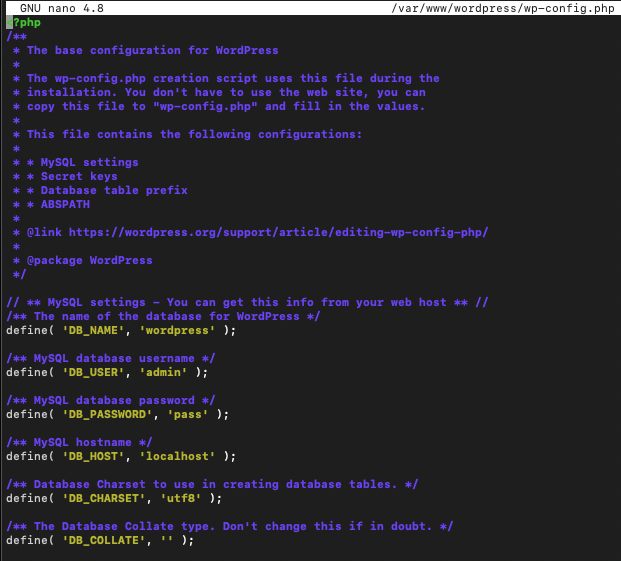
Before we start installation, we will also edit /var/www/wordpress/wp-config.php file
sudo nano /var/www/wordpress/wp-config.phpUnder DB_NAME we will enter wordpress, database we created earlier. DB_USER will be admin – user we created for that database, and we also put pass as our DB_PASSWORD. Please remember to use only strong passwords.
In same wp-config.php file there is a section for unique keys and salts.You can grab new values by typing in
curl -s https://api.wordpress.org/secret-key/1.1/salt/Then enter c/p each value you got to the field in the screenshot below and replace ‘put your unique phrase here’ with the value you got.
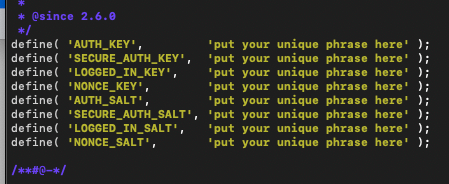
Save your config-php when you are done.
Complete installation
Finally, we will enter into our browser on client machine
http://wordpress
!!! This will not work if you haven’t modified /etc/hosts like I mentioned at the beginning of this guide.
In case you haven’t modified hosts file, try accessing your wordpress installation by IP address.
http://IP_ADDRESS_OF_YOUR_WORDPRESS_INSTALL
If you done everything correctly, you should get this:
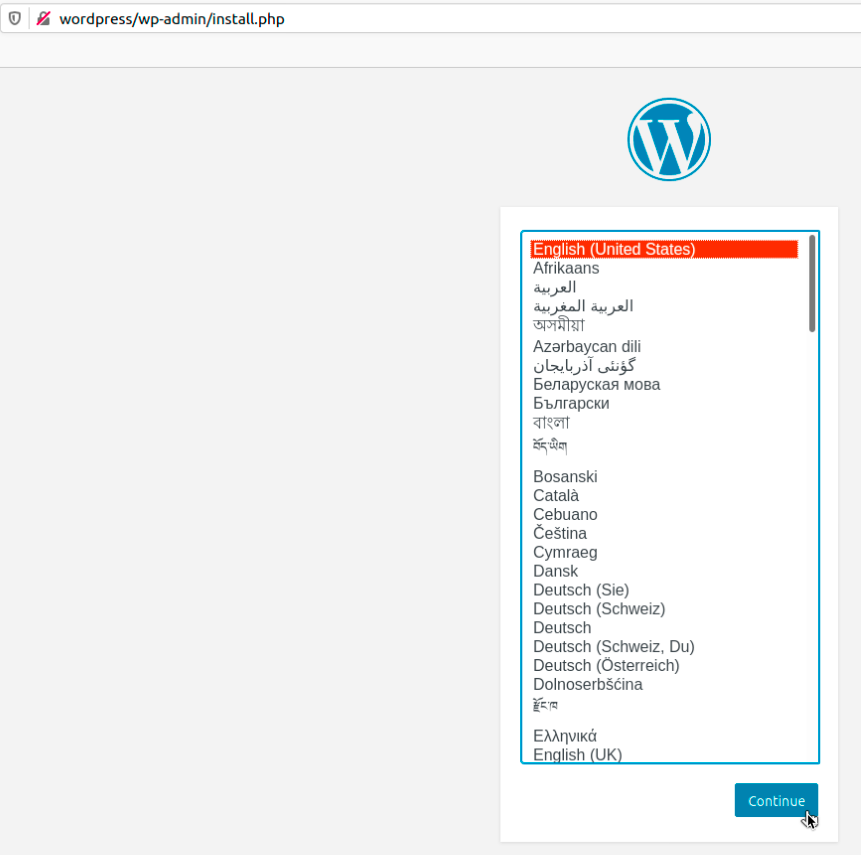
I will select English and Continue.
On the next screen, name your site, create a user which we then be able to administer website – create password for the user (make it extra strong) and select Install WordPress

Your site should be installed
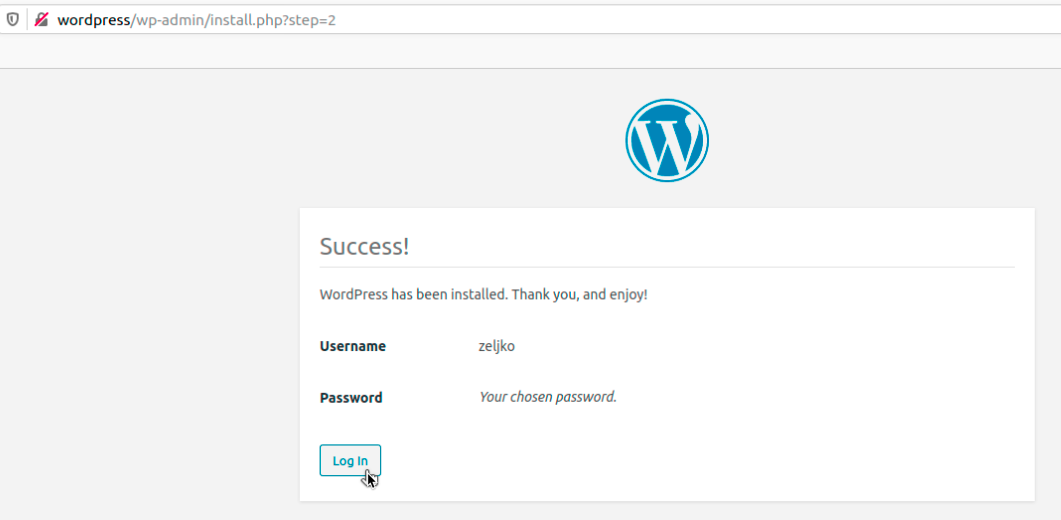
If you select Log in – you will be taken to the login screen of your website, this is entrance to the management of the website
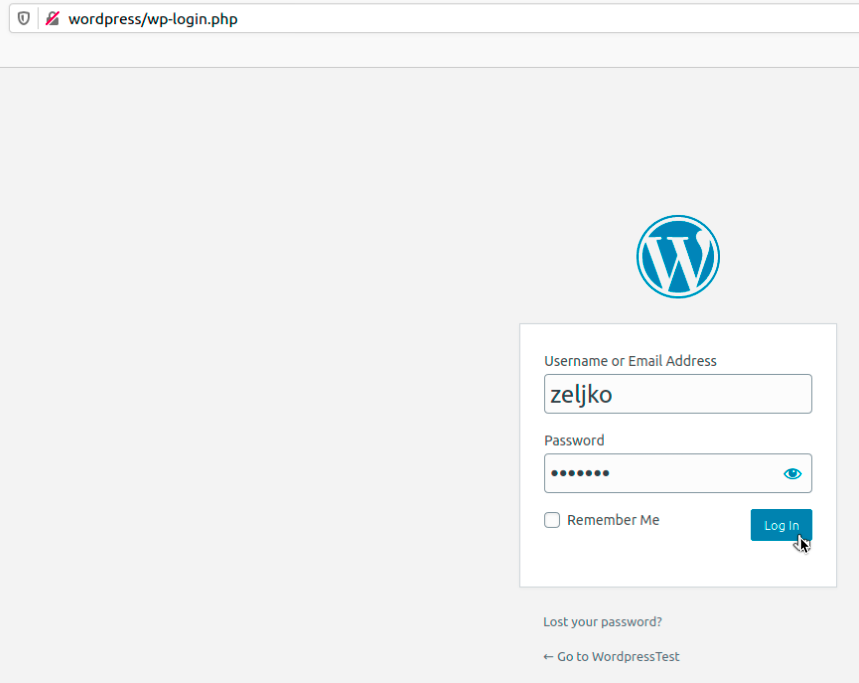
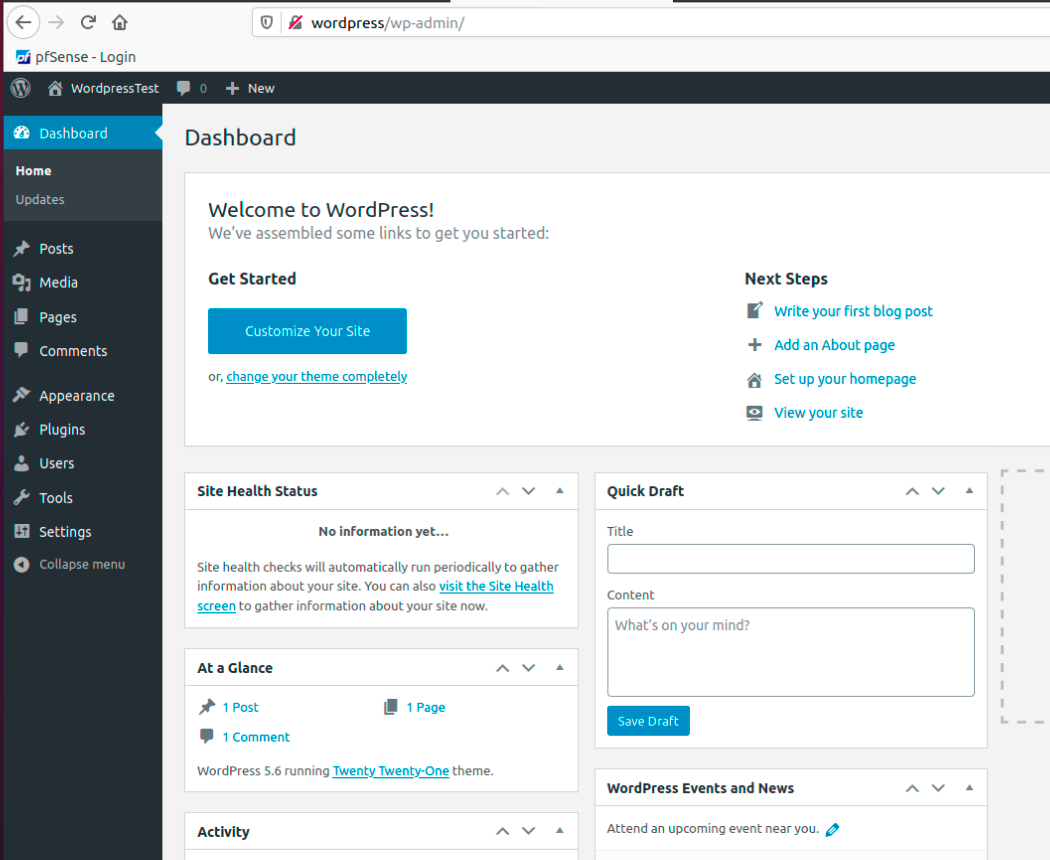
And here is what it looks like when we log in.
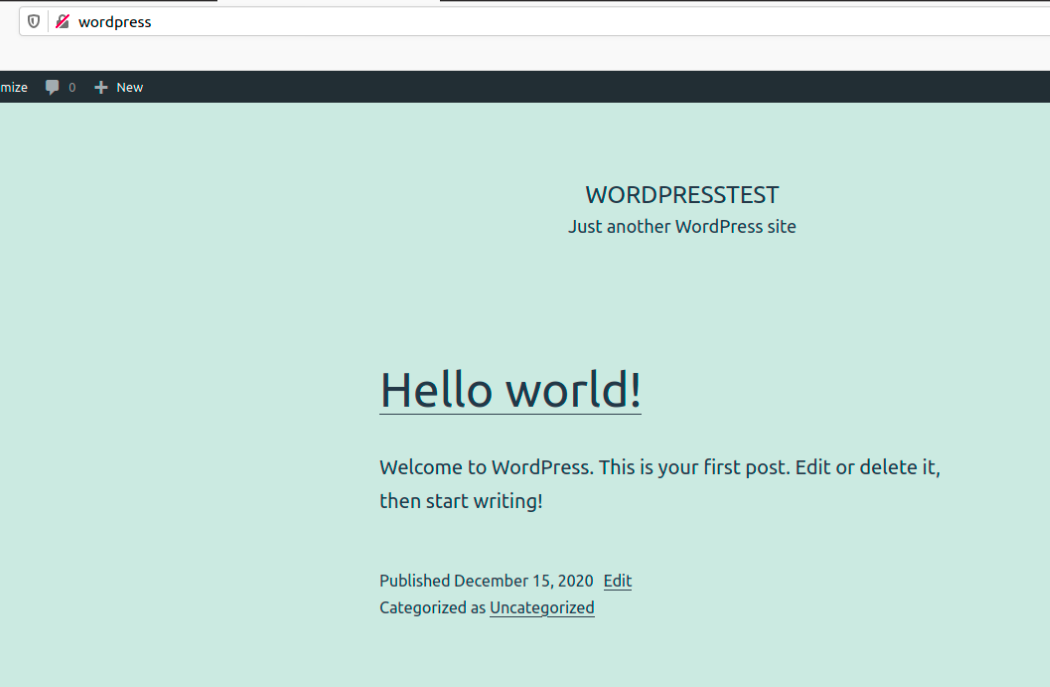
If we go to the http:\wordpress, that is it, we can see that our website is active!
Before we end
Make sure your website uses strong passwords.
Make sure machine on which you install your website is secure, with firewall up, up to date and with strong passwords.
Update your software frequently and keep your components up to date.
Conclusion
That is it, our website is up and running!