Proxmox is a project I’m following for some time now and I love it. With each version it is getting better, more feature rich and stable. I’m using it in my homelab extensively and it is also gaining foothold also in a production environments in which I’m involved. Lets talk about setting cluster on Proxmox server.
There are a lot of possibilities when it comes to settings cluster and high availability for Proxmox.
For storage options in your cluster/HA you can use SAN/NAS storage and ISCSI, you can set DRBD storage which would be a two node cluster with lets just say RAID 1 functionality.
You can also set GlusterFS or CEPH as distributed filesystems with high scalability – CEPH is also integrated natively in Proxmox.
If you are going to set two node cluster with High Availability (HA) you are going to need quorum device (can be a small storage ISCSI) and a fencing device which would prevent both nodes to access data at the same time and corrupt it.
I tested various scenarios and read a lot about HA options in Proxmox, and what I’m mostly using now is Proxmox cluster with CEPH (3 node HA cluster) and that is what I’m going to show you today.
DRBD is nice solution if you are going to use two node cluster, but again, proper way to do it would be to also configure quorum and fencing device.
GlusterFS and CEPH allow you nice scalability and robustness, although are a bit slower in performance, so be sure to test all options if you are thinking about it.
Today, we will first create a Proxmox cluster and then add CEPH in for High Availability.
Before we begin
I will not go through all the details about setting things up like Proxmox installation, network setup and disk adding. This guide assumes you know how to do that.
Software/Hardware specs:
For this tutorial you are going to need 3 installations of Proxmox.
I’ve done this on Proxmox v.6.3-2.
I’m also doing this guide in a VMs (nested virtualization enabled ofcourse).
Every one of my Proxmox machines has 8CPU cores and 32GB of RAM.
Make sure you have 2 or more cores and you CPU is virtualization capable, and 8GB of RAM is good enough per Proxmox machine.
Every Proxmox install has two network cards (this is a minimum).
I also attached 4 disk drives. You can get by with 2 disks as a minimum. Two disks is what we will use in this scenario.
I will use one 20GB disk (for Proxmox install) and additional
80GB drive for CEPH storage.
Naming/Network config
Your lab will also need network connection, so make sure one of two network has internet connectivity.
I named my Proxmox VMs as follows:
pve1.localdomain
pve2.localdomain
pve3.localdomain
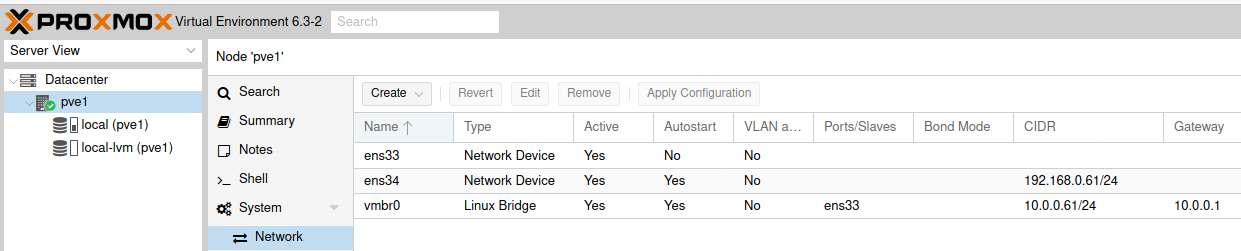
This is my network setup for machines:
ens33 and ens34 may be different names in your case.
PVE1
vmbr0 (Linux Bridge) NIC1: 10.0.0.61/24
ens34 (Network Device) NIC2: 192.168.0.61/24
PVE2
vmbr0 (Linux Bridge) NIC1: 10.0.0.62/24
ens34 (Network Device) NIC2: 192.168.0.62/24
PVE 3
vmbr0 (Linux Bridge) NIC1: 10.0.0.63/24
ens34 (Network Device) NIC2: 192.168.0.63/24
I haven’t done NIC bonding for this guide, but I would highly recommend having multiple network cards in your production server, creating network bonds and spreading cards across few switches, that would make your solution more robust and redundant.
Hostname/Hosts file:
This check and settings should be done on all three machines (pve1, pve2 and pve3). There is a shell integrated in Proxmox GUI, so all of these tasks can be done from there.
Check you local hostname by navigating to
nano /etc/hostname
I’m checking this on PVE1 node.
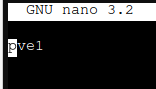
This is ok.
Next stop is /etc/hosts where we will enter IP addresses and names of all three Proxmox installations (nodes)
nano /etc/hosts
File should look like this (check your naming and set accordingly).
10.0.0.61 pve1.localdomain pve1
10.0.0.62 pve2.localdomain pve2
10.0.0.63 pve3.localdomain pve3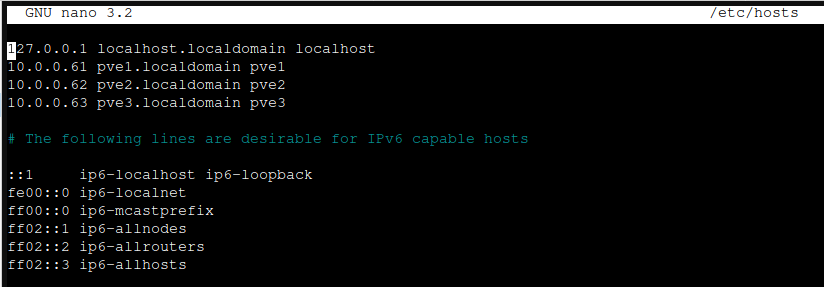
Ok, after you are done, go through all three nodes (pve1,pve2,pve3) and repeat ping as follows:
ping 10.0.0.61
...
ping 10.0.0.62
...
ping 10.0.0.63
...
ping 192.168.0.61
...
ping 192.168.0.62
...
ping 192.168.0.63
...
ping pve1
...
ping pve2
...
ping pve3
This is how it should look like
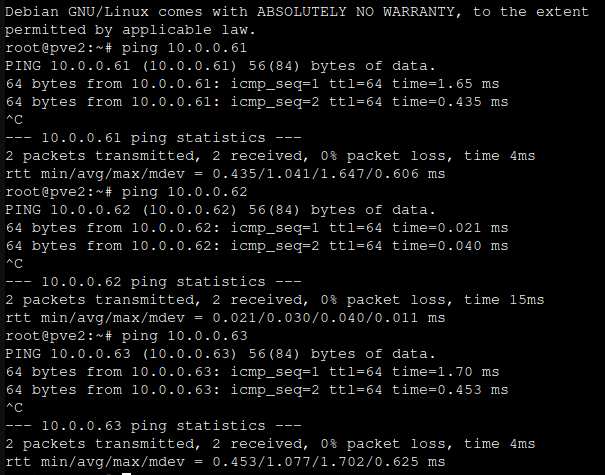
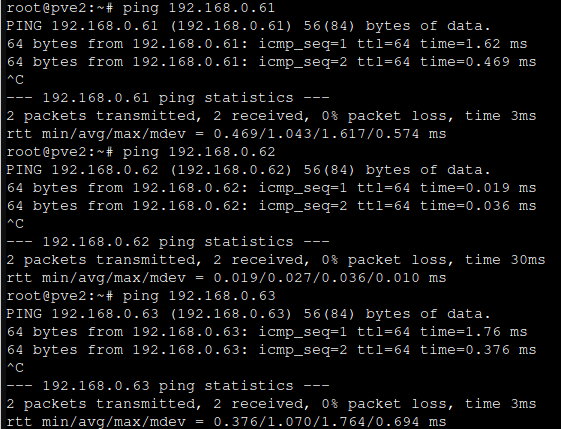
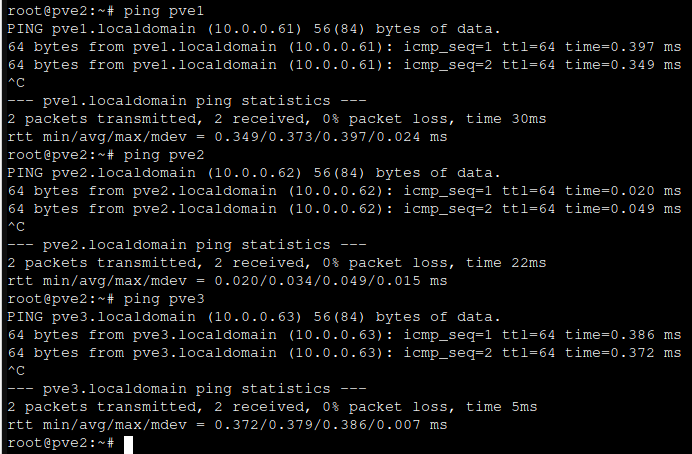
If this works and you can ping all three nodes from each of the nodes, you are good to proceed.
Time/Date
One final step before we proceed is to check that all three nodes have same time/date set. Simply from the shell type in
date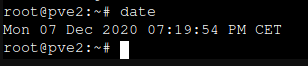
All nodes should have same time and date.
Creating Cluster
Via GUI
Creating cluster can be done easily via GUI of Proxmox, but in my case it was a little troublesome. I can easily create cluster, but when joining nodes to created cluster process is graphically stuck. I can see in logs that it finishes, however, looking at the screen gets you errors… I will show you how to do it, and I will show you also shell method which I’m using.
Ok, so lets see GUI method. Open Proxmox GUI, I will start on pve1
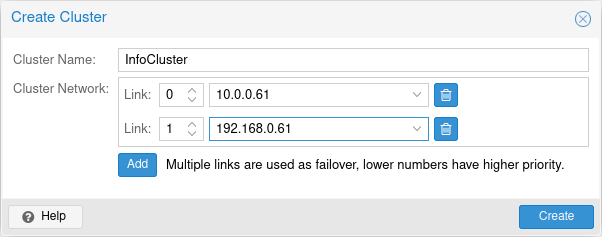
Click on Datacenter | Cluster | Create Cluster
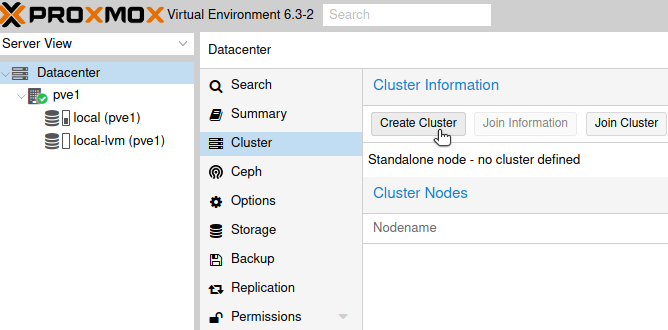
I will name my cluster InfoCluster and assign to it both created networks 10.0.0.61 and 192.168.0.61 – 10.0.0.61 will be public while 192.168.0.61 will be cluster network.
Create
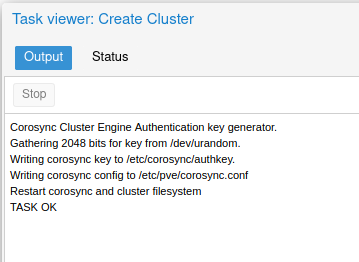
Pop-up will appear – when you see Task ok, you can close window.
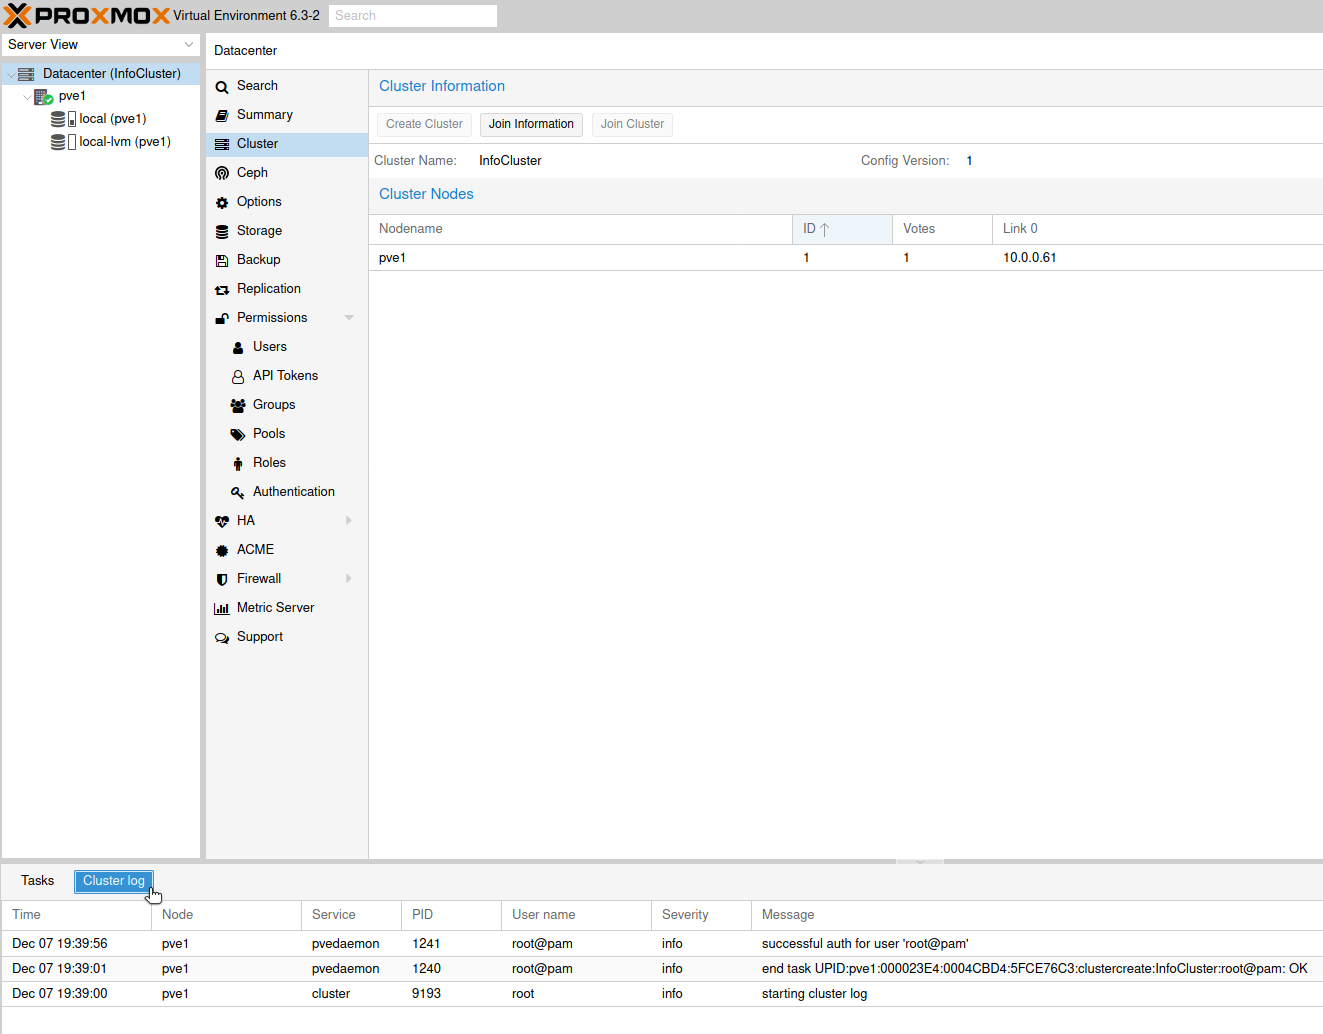
Now, If I refresh website, you can see that we successfully created InfoCluster cluster, pve1 node is inside it, and at the bottom of the screen if you click on Cluster log, you can see that everything went ok.
Next step would be to proceed and join pve2 node to our cluster.
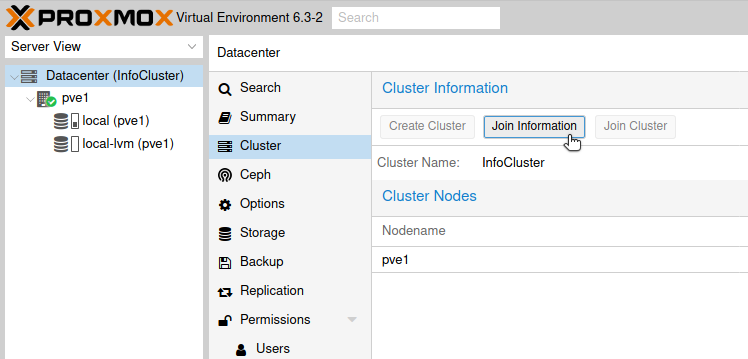
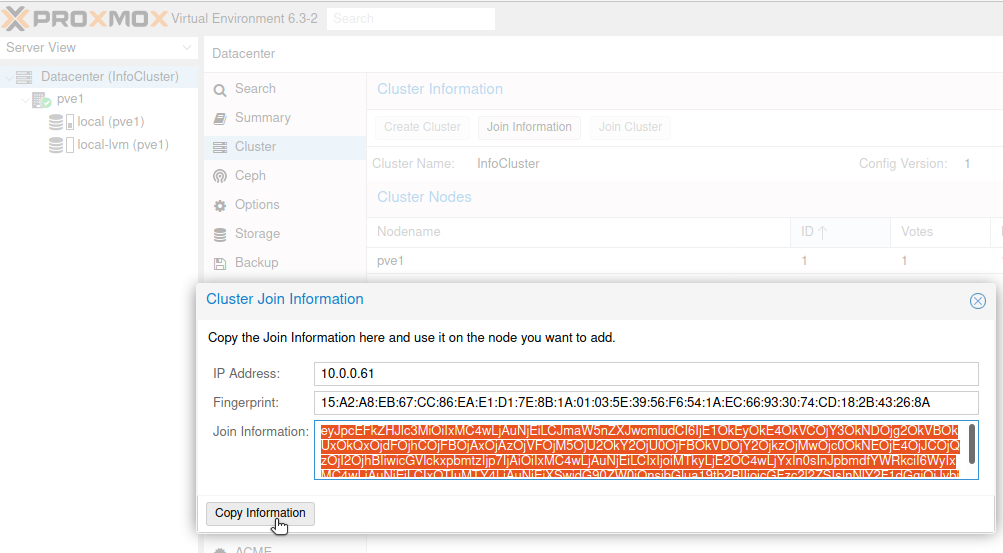
First on pve1 node, click on Datacenter (InfoCluster) | select Cluster | and select Join Information
New window will pop-up, click on Copy information.
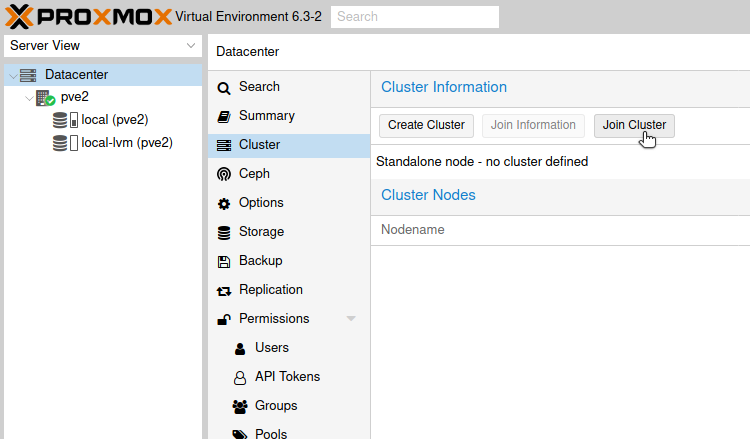
Now, go to pve2 node, click on Datacenter | select Cluster from middle screen and clik on Join Cluster
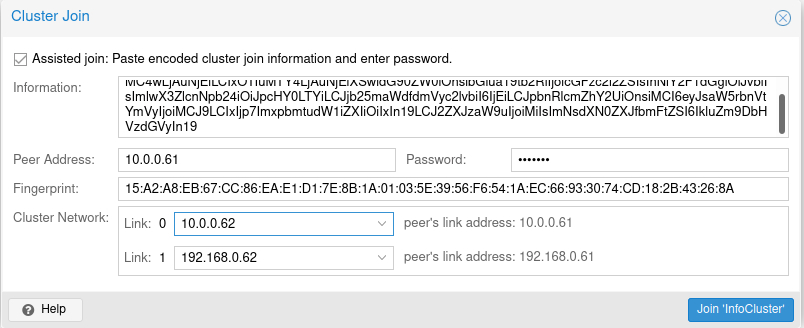
Paste information you copied from pve1 into information screen. Than additional screen will appear. In password field enter password of pve1 node, under cluster network, choose network accordingly, so that they match pve1 networks. Link 0 is on 10.0.61, so on pve2 you will select 10.0.0.62.
Click on Join InfoCluster.
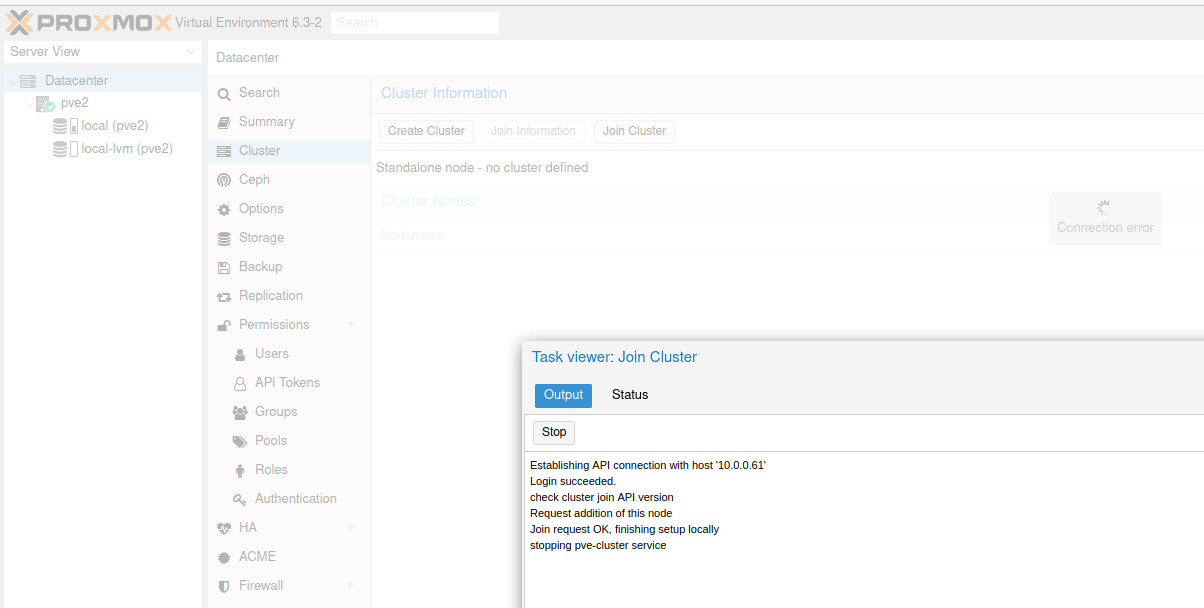
My join cluster screen would appear, last message it displays is “stopping pve-cluster service”, in the background I would see permission denied – invalid PVE ticket (401)…
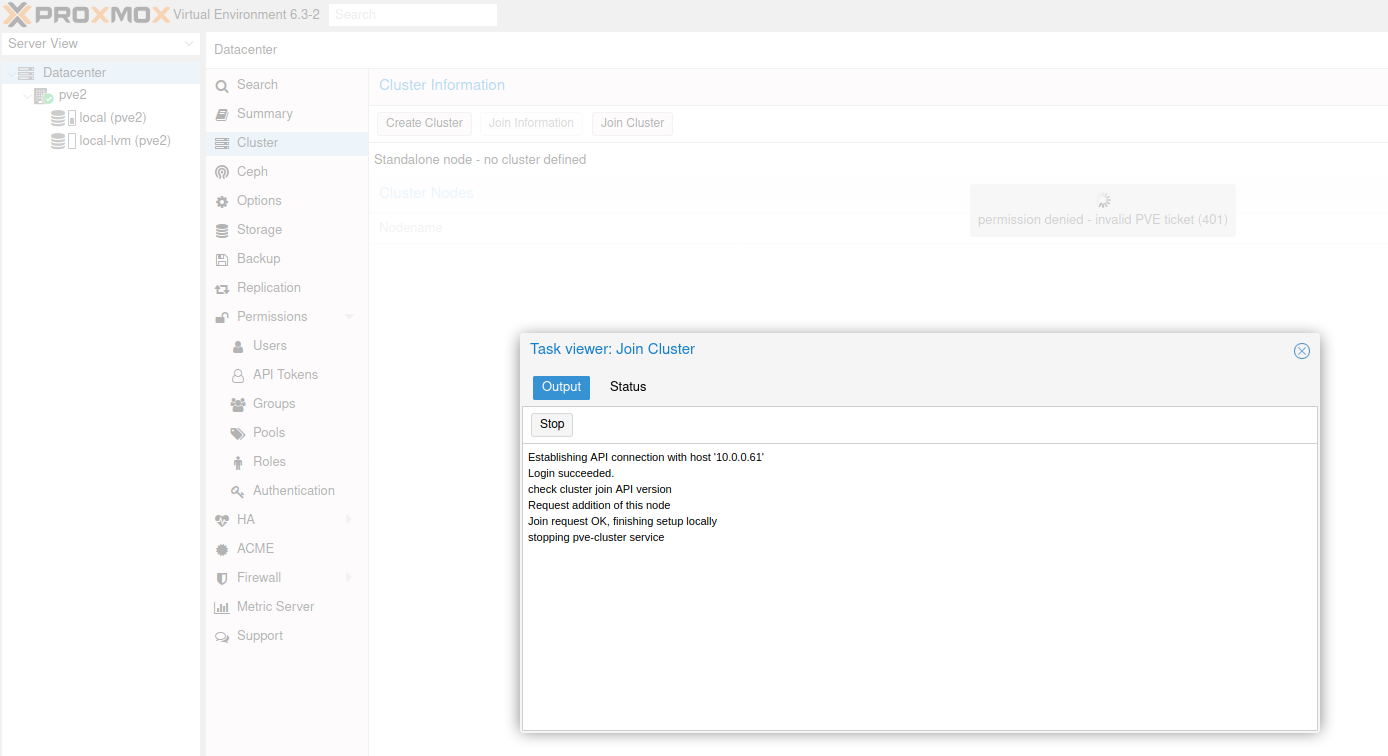
After some time I would see new message in the background…
Connection error… and this is how would all stuck.
However, If I go back to the pve1 and InfoCluster “main node” I can see that the pve2 is joined, and cluster logs look ok.
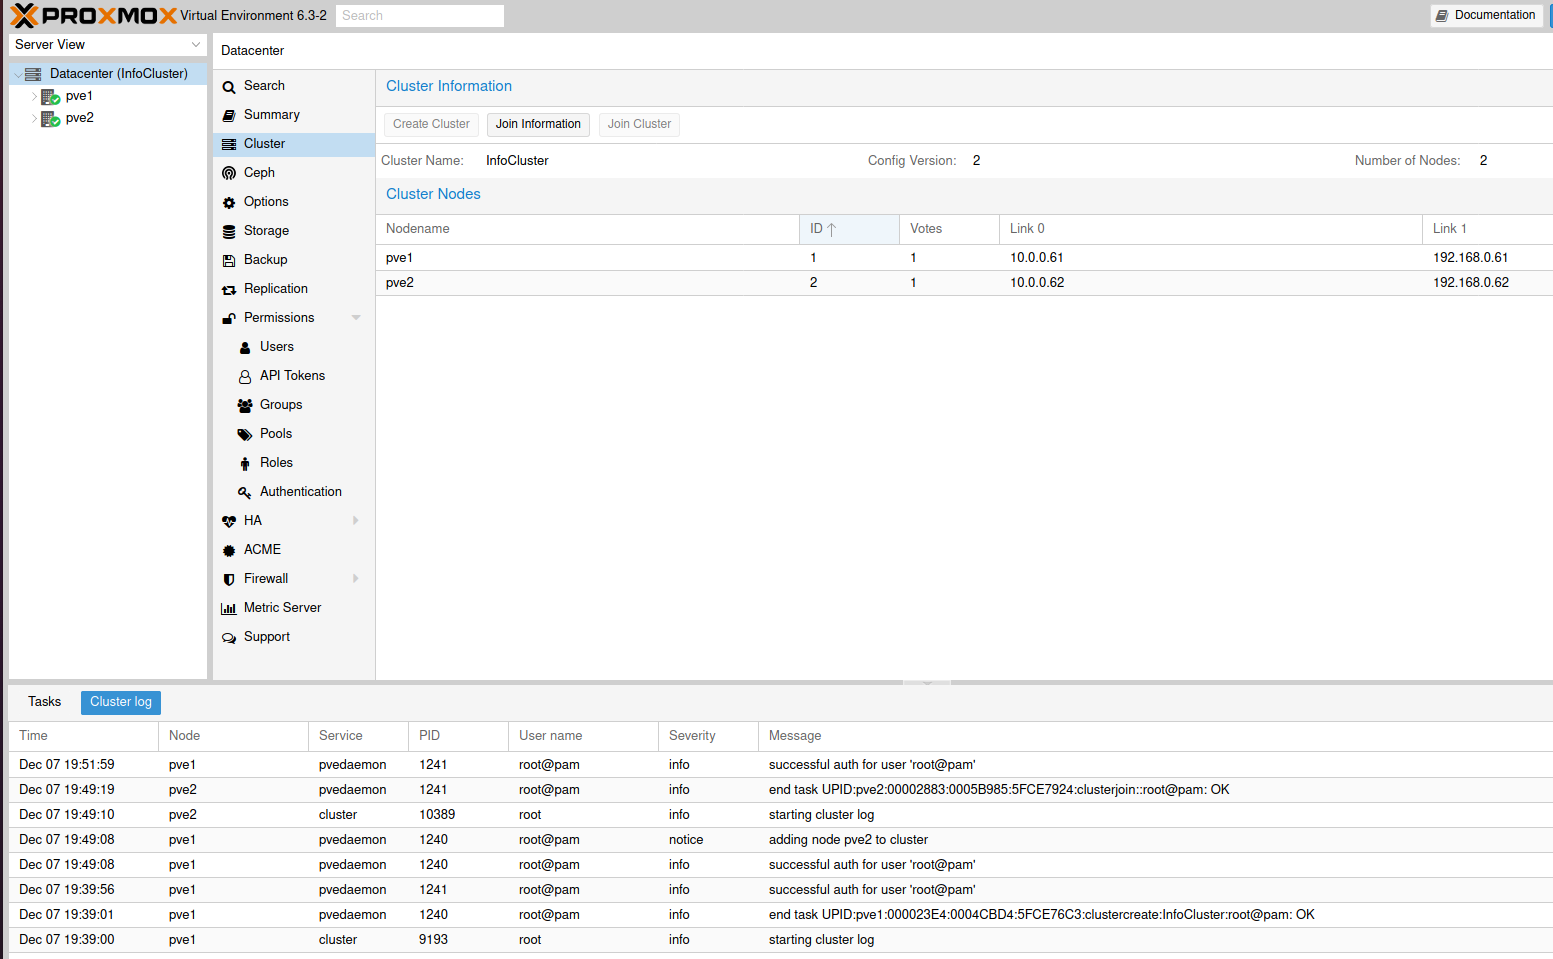
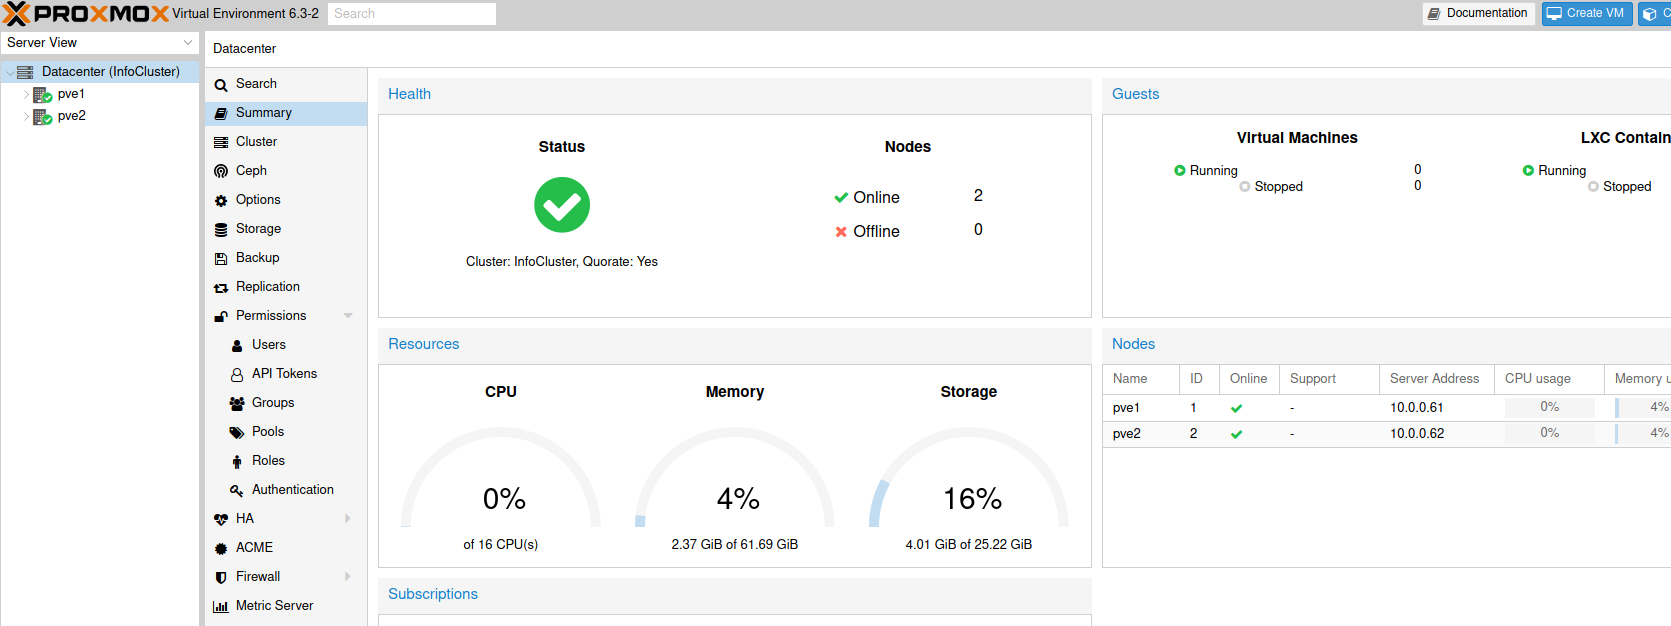
Datacenter summary also shows everything is ok.
I assume that this is just graphical glitch and in the background process executes ok. It looks like new certificates that cluster issues to the nodes are messing something up in the browser. Internet suggests that I clear browser cache, certificates, etc… But I get this error every time. Some suggest that there is a time/date difference, but everything is synced ok in my case.
Anyway – that should be a process for joining nodes to the cluster in Proxmox via GUI and if “Join Cluster” screen finished ok, that would be it for the joining to the cluster procedure .
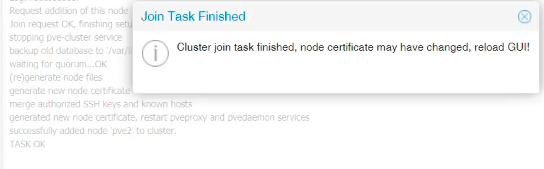
If the “Join Cluster” screen didn’t stuck at the stopping-pve cluster service with connection error in the background after which I lost connection with the pve2 node in the browser, this is how the screen would look like if it finished ok.
Via Shell
Since GUI Cluster creation procedure doesn’t always work for me, I use shell to create cluster and join nodes to the cluster. This method works perfectly every time.
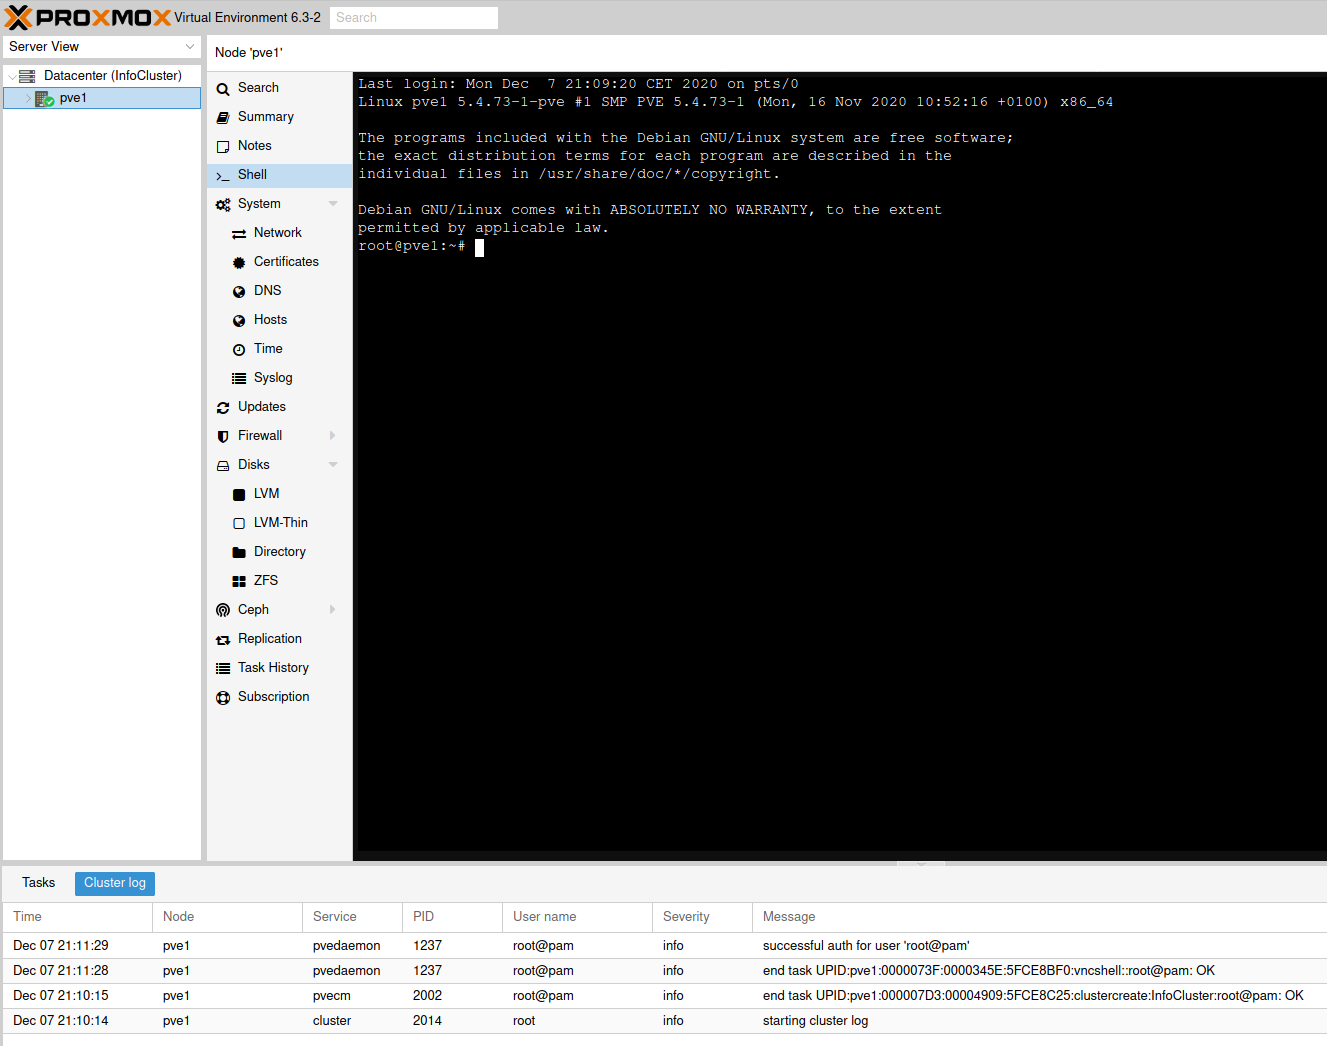
On pve1 node, select shell, in shell type in following
pvecm create InfoCluster
After refreshing web browser, you should see under Datacenter that we created InfoCluster and under cluster logs at the bottom of the page, everything should be fine.
Great, lets now add pve2 to the created cluster.
This time, go to pve2, select shell and type in
pvecm add pve1You will be asked to enter password of pve1 node, and to confirm with yes that you want to continue connecting.
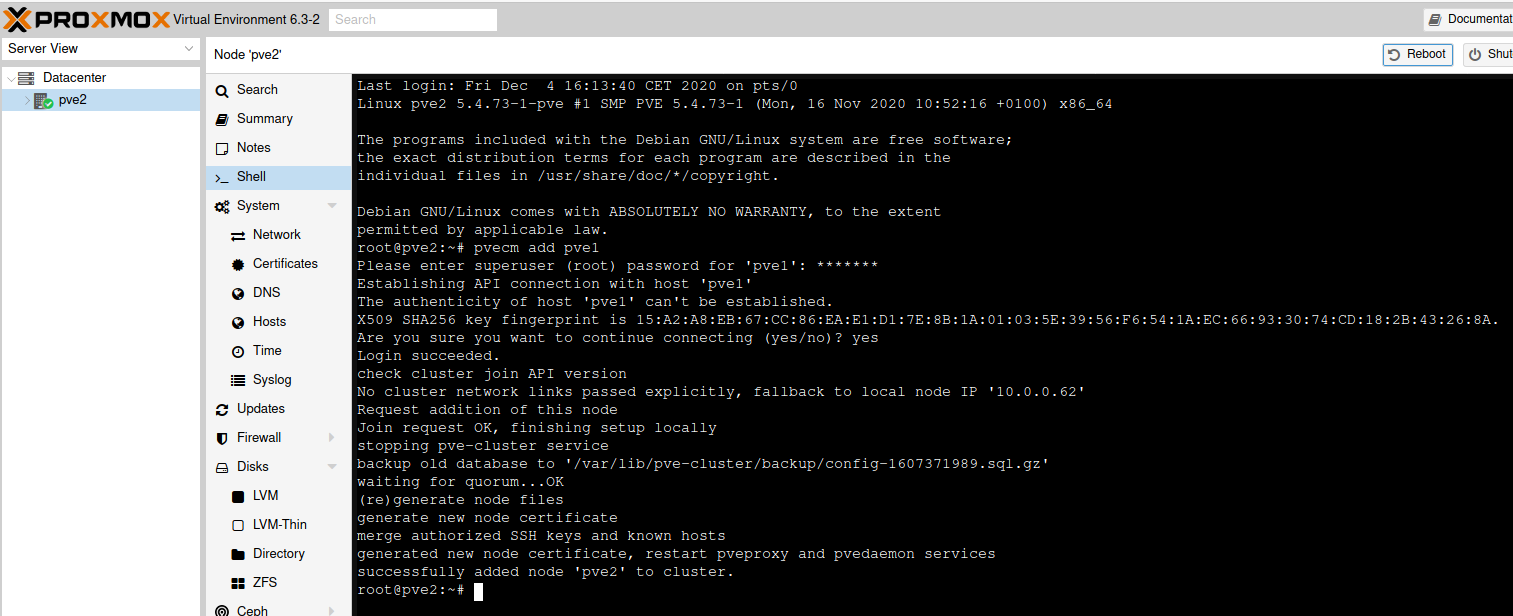
This time, we will not be stuck at the stopping pve-cluster service, procedure will go to the end.
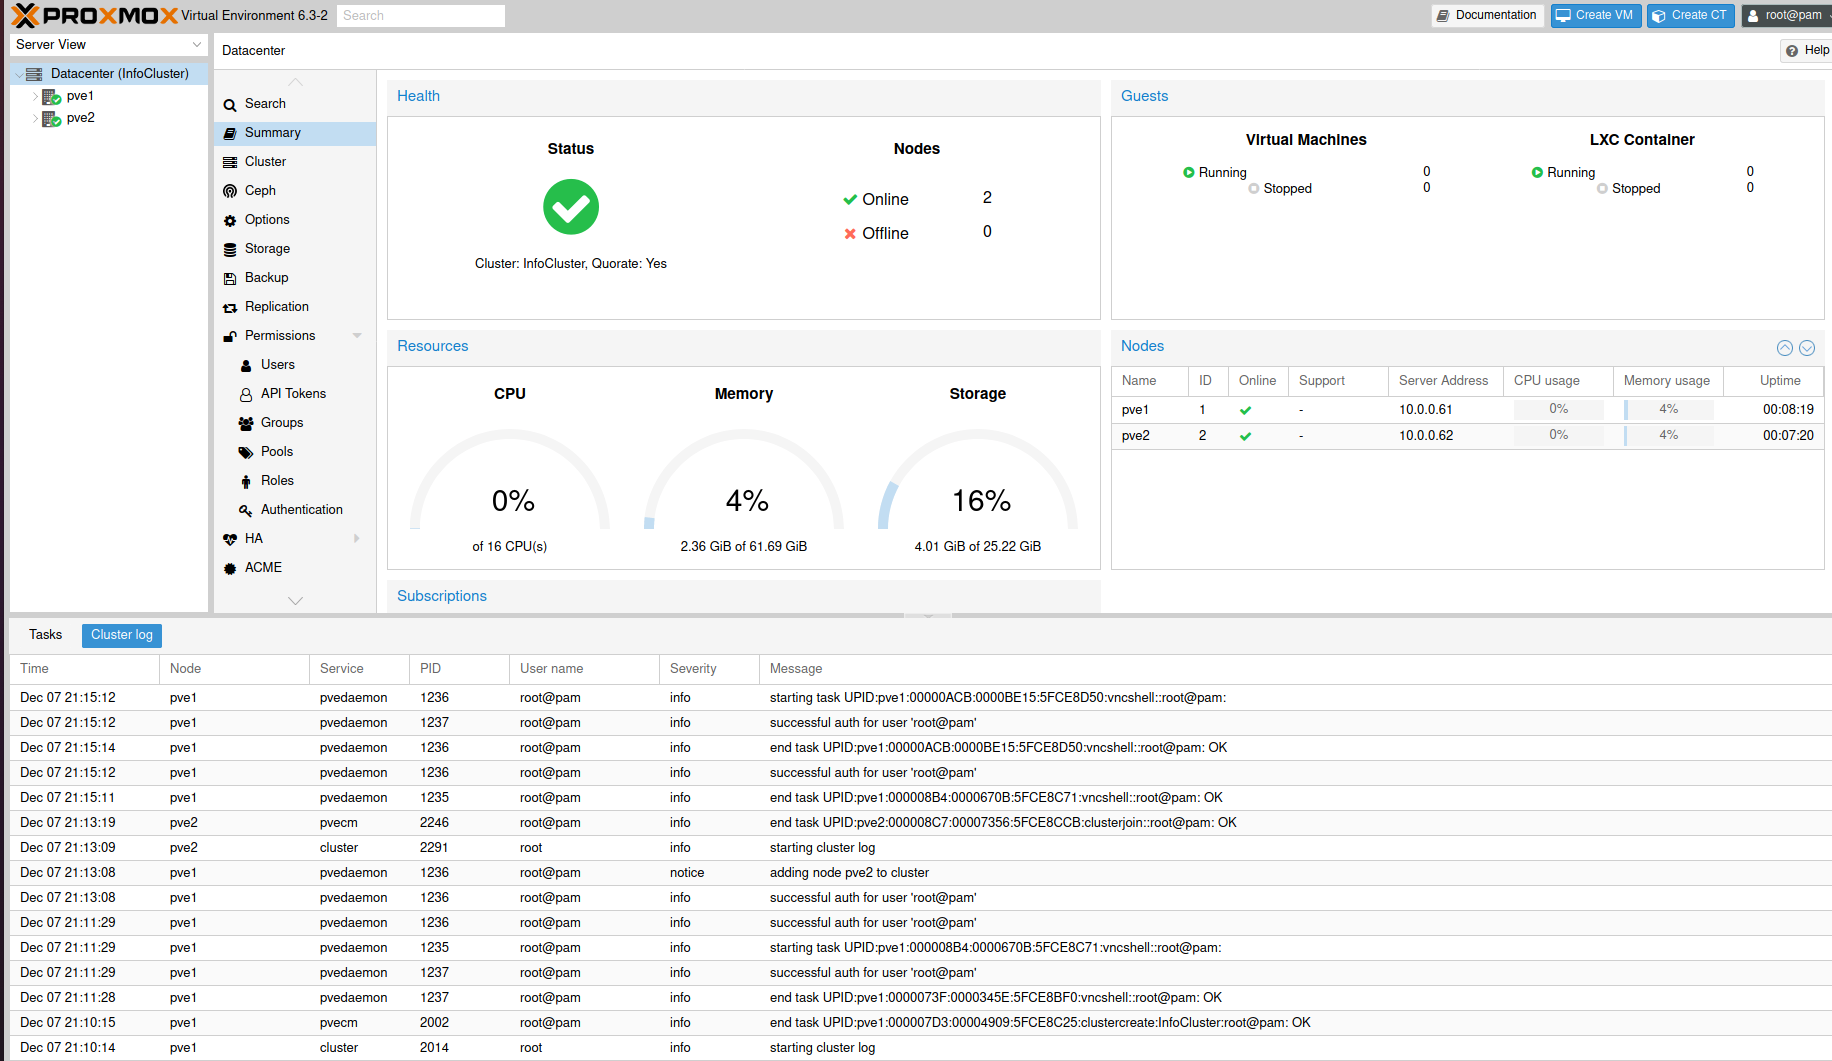
Ok, pve1 and pve2 now form a cluster.
Now add pve3 to the cluster, repeat exact same steps as with pve2.
So, this is how our InfoCluster should look like in the end. All three nodes – pve1, pve2, pve3 are now part of the InfoCluster.
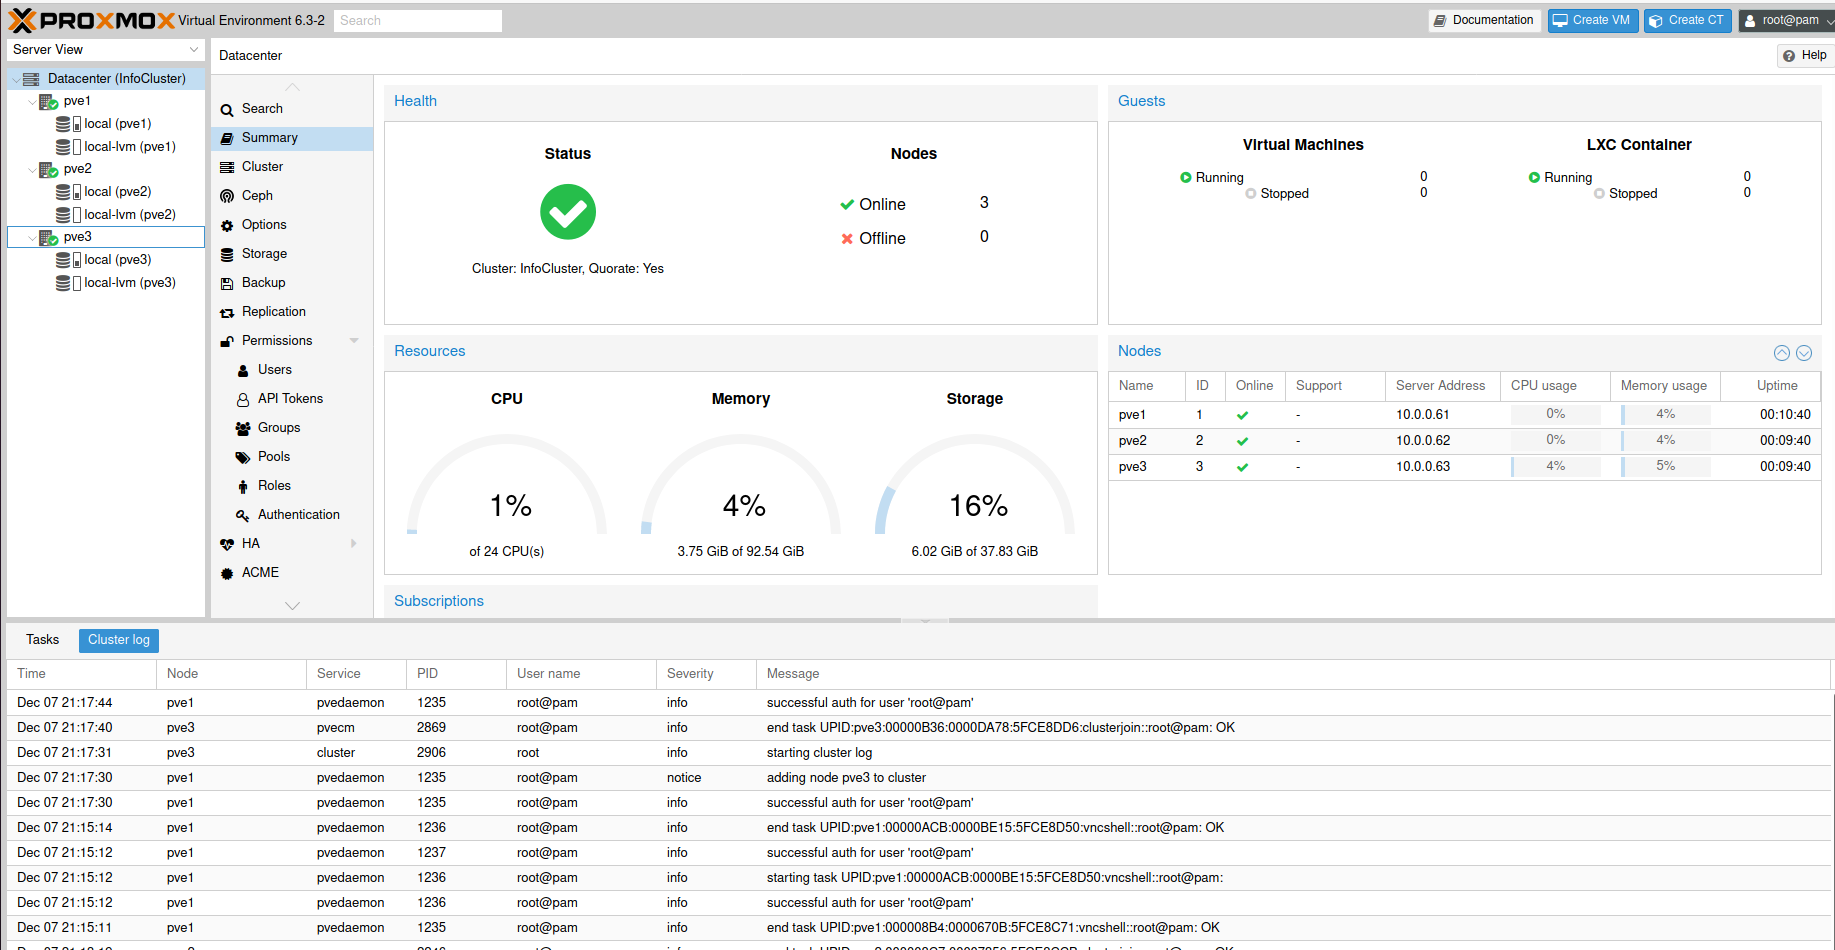
This is the part where the Cluster creation is done. It is really simple and quick. If you want a cluster through which you can migrate your VMs, containers manually, then this was for you, you can do it even with two nodes, so pve1 and pve2 would be enough for you.
From this point forward, I’m going to manage my cluster from one machine – pve1 on 10.0.0.61 since all three nodes are now visible on it.
________________________________________________
Only for those who get ->
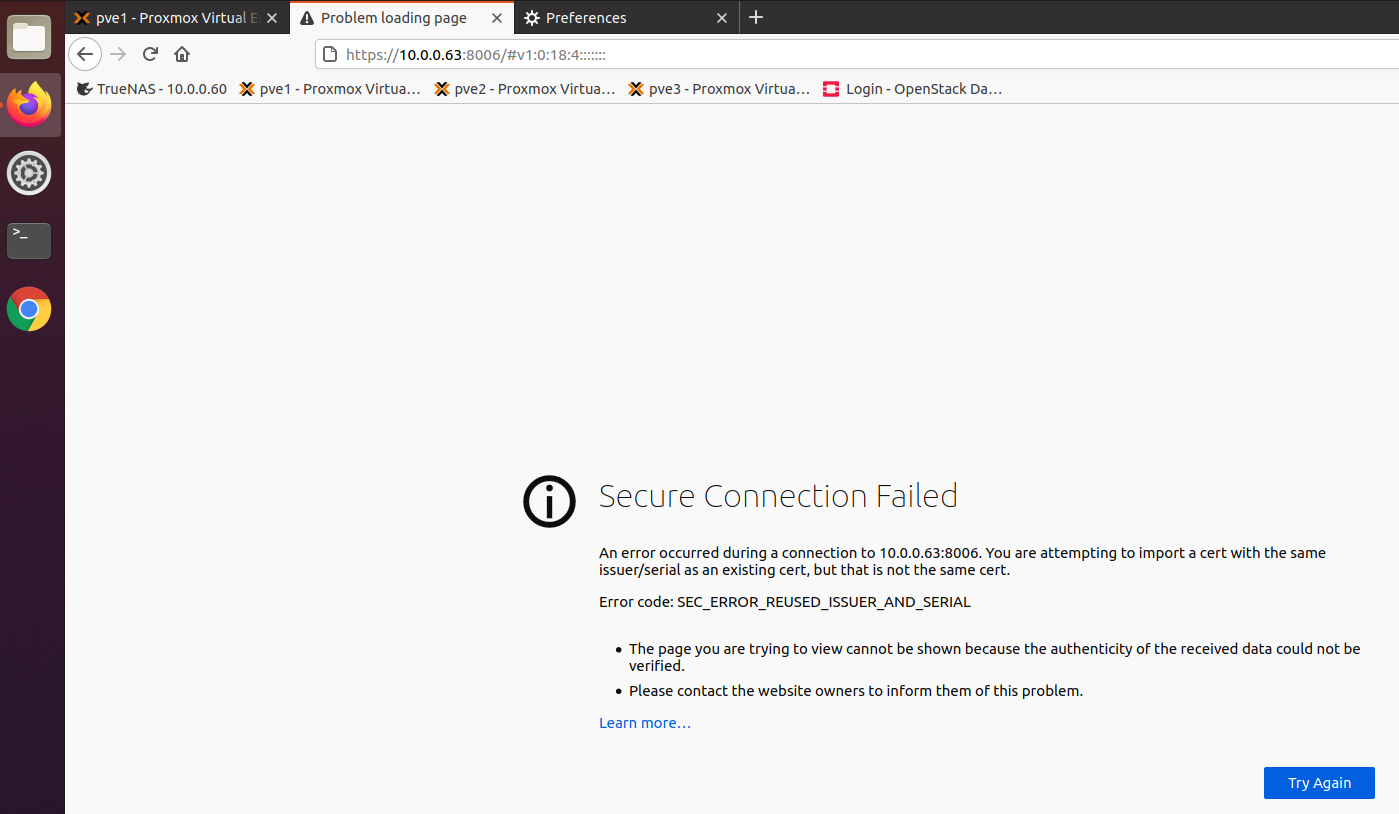
Certficate errors in browser…
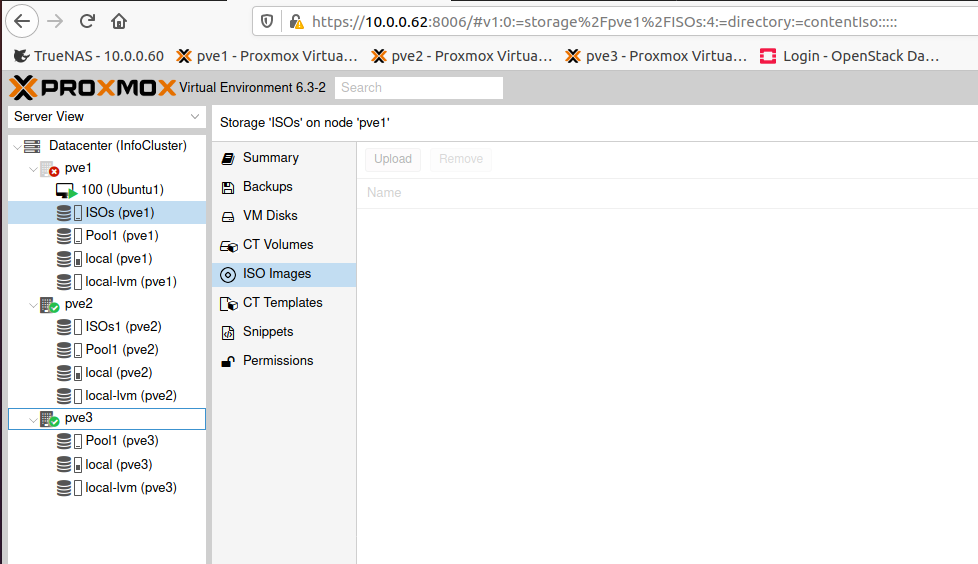
If I’m trying to access my cluster from https://10.0.0.62:8006 or https://10.0.0.63:8006 I will get sec_error_reused_issuer_and_serial error (I’m using Firefox on Ubuntu).
Head on to Preferences in Firefox (v83.0) and go to Privacy and Security – Cookies and Site Data – Clear Data (select all and clear)
Stay on Privacy and Security – History – Clear History – Select Everything and tick every box and then select OK.
Last stop in Privacy and Security is Certificates – View Certificates.Under servers I can see 10.0.061/62/63…
I selected each of them and Deleted them. Closed Firefox and opened it again, but error is still there.

o I went to my profile location of Firefox, which is in Ubuntu /home/zeljko/.mozilla/firefox/customdefaultprofilename
Firefox has listed profile location for other OSes on its website, so make sure you search for it.
I closed my Firefox browser.
In my default profile I removed cert9.db and cert_override.txt
rm cert9.db
rm cert_override.txt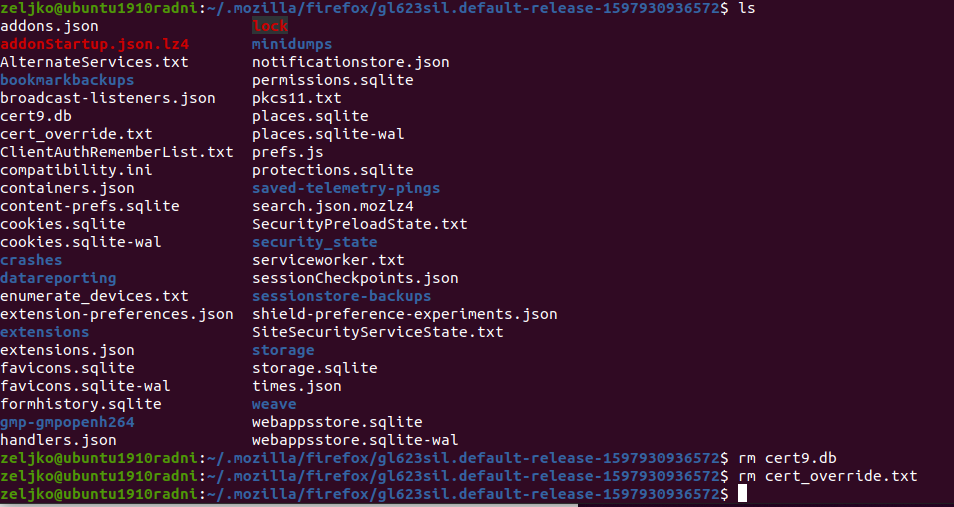
After I opened my Firefox browser I was able to access all three sites once again.
This is probably due to my GUI join cluster not finishing properly in browser and messing up certificates for the Proxmox.
__________________________________________________
Creating CEPH cluster
If you want HA features, then you will read further. We will now implement CEPH, which will enable us to have robust and highly available Proxmox storage environment.
As I already mentioned, I tested and read a lot about three solutions – DRBD, GlusterFS and CEPH. I decided to go ahead with CEPH, because it is baked in Proxmox and really easy to set.
Before you proceed, make sure you know what is CEPH and how it works. Be sure you understand it well before you put it into your production.
Quick example:
Storage node in CEPH is called OSD (Object Storage Device), multiple objects are mapped to the PGs (Placement Groups) and monitors maintain master copy of the cluster map.
At the heart of the CEPH is CRUSH (Controlled Replication Under Scalabel Hashing). It calculates where to store and retrieve data from and it has no central index.
More about every aspect of CEPH can be found here nicely explained, be sure to go through the documentation before you proceed.
https://pve.proxmox.com/wiki/Deploy_Hyper-Converged_Ceph_Cluster
Ok, so lets get to work…
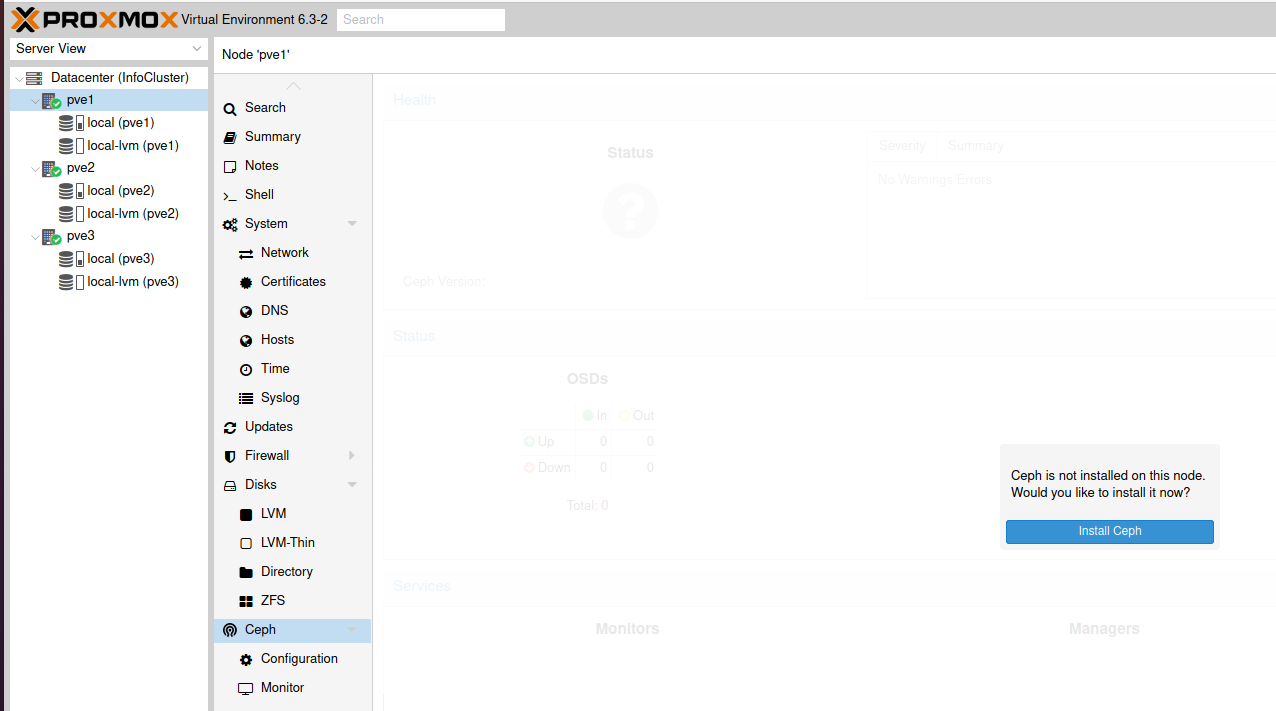
Under Datacenter (InfoCluster) select pve1 and from the middle menu select Ceph. On the right part of the screen you will get blue “Install Ceph” button. Click on it.
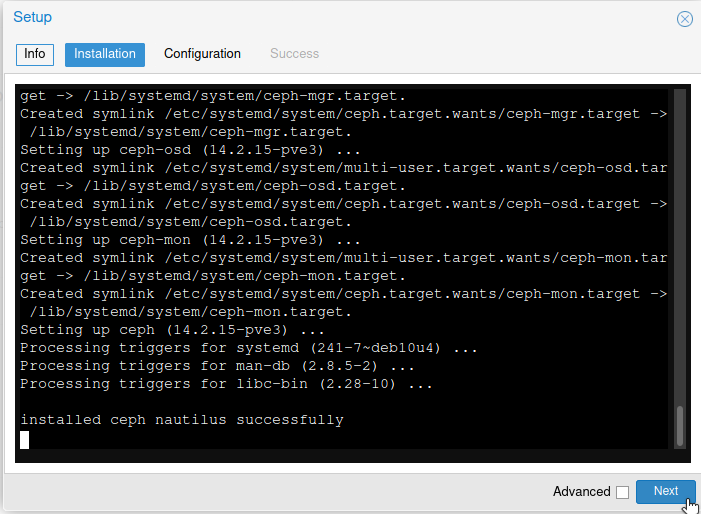
Under “Ceph version to install” select nautilus (14.2) and click on Start nautilus installation.
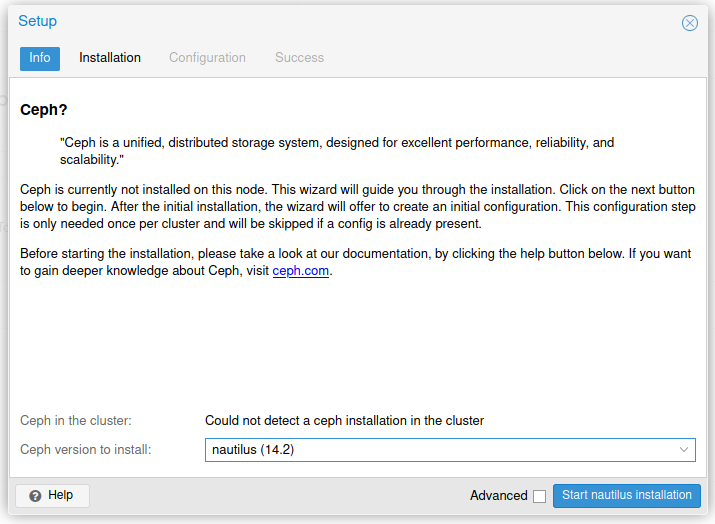
You will be asked if you want to continue, enter “y: and press enter.

After few minutes you will get a message that ceph is installed successfully.
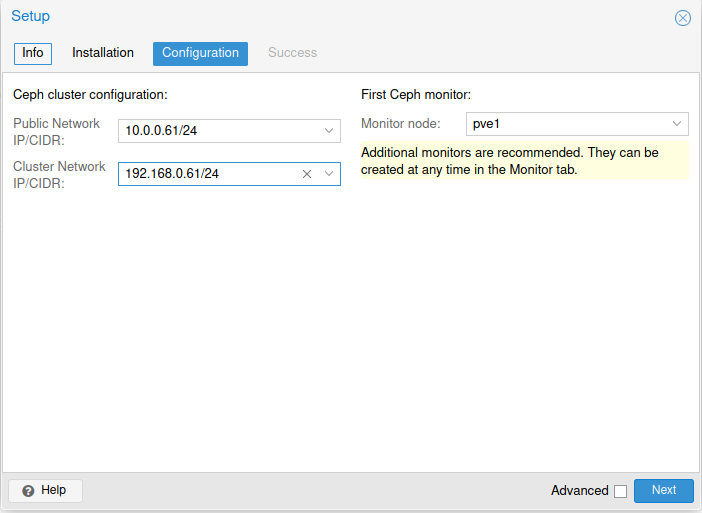
Next
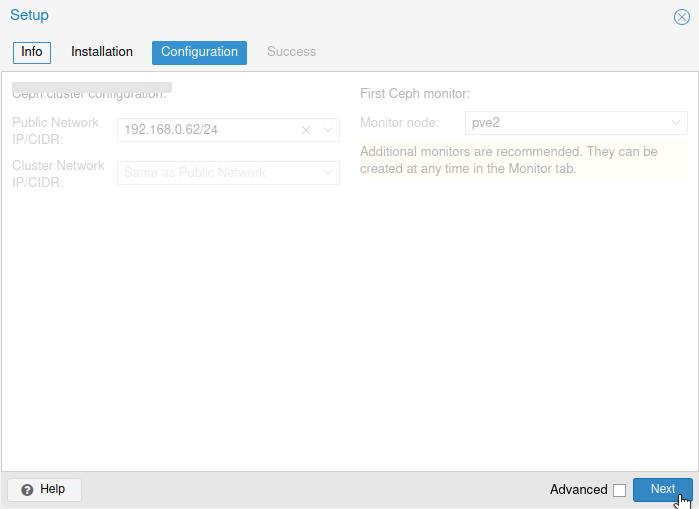
Under Ceph cluster configuration, for public network I selected 10.0.0.61 and for cluster network (OSD replication, heartbeat goes through it) I selected 192.168.0.61. Monitor node – pve1.
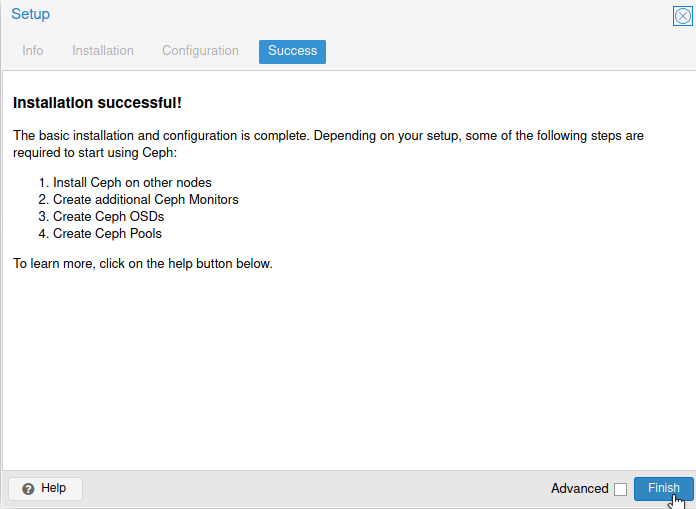
Next
Success. Finish
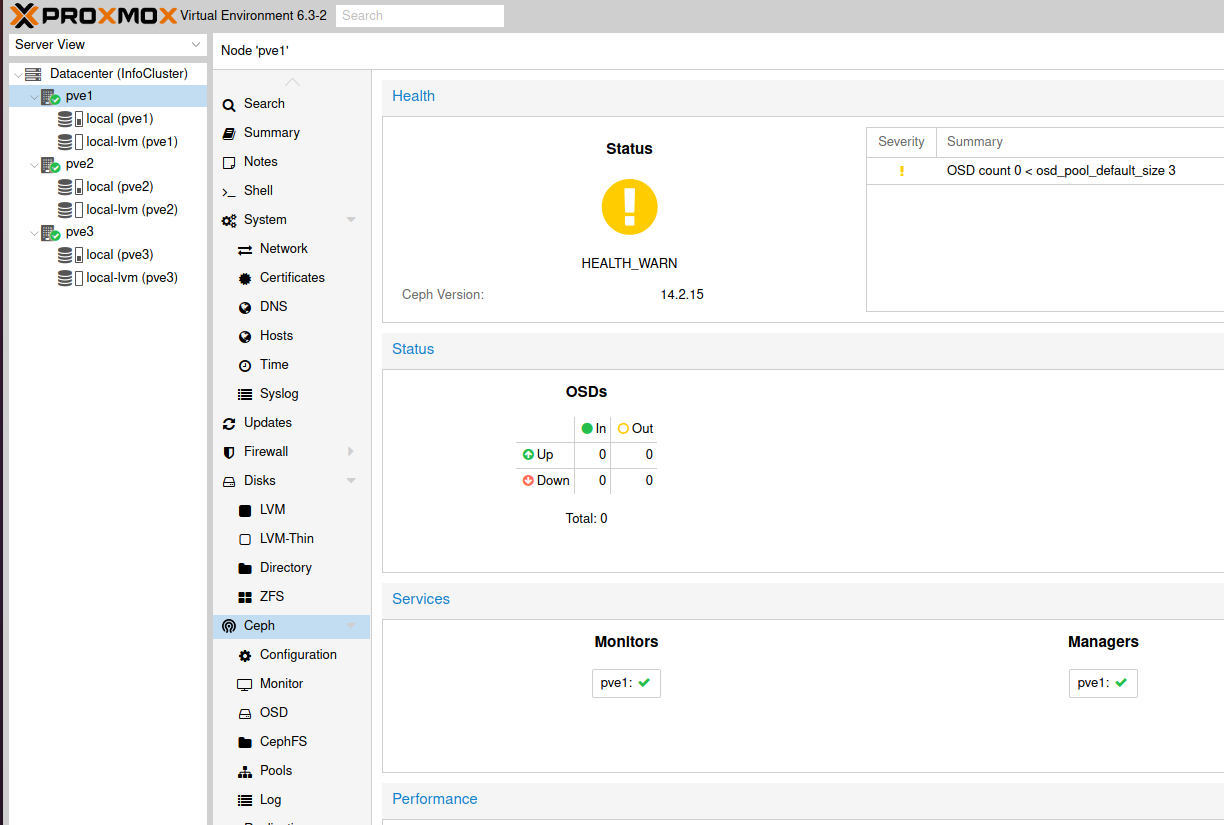
Your Ceph screen will now look like this.
Repeat these steps on pve2 and pve3
They are the same, except in Configuration screen, you will not be able to modify anything, just select Next.
Monitor Creation
Ok, after we are done with Ceph install step, next one will be to create Ceph monitors.
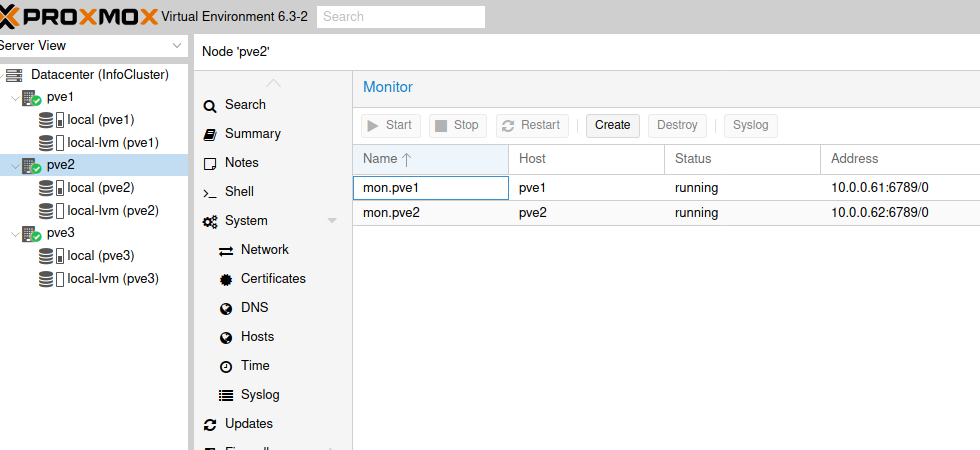
Open pve2 node and select Ceph and under Ceph click on Monitor. You can see that under Monitor we already have pve1 configured. We need to create monitors for pve2 and pve3. Click on Create on Monitor menu.

Select Host: pve2 and click on Create.
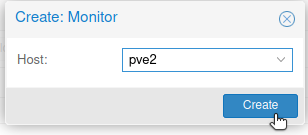
The process should be done in a second, after it is done you should see two monitors, pve1 and pve2.
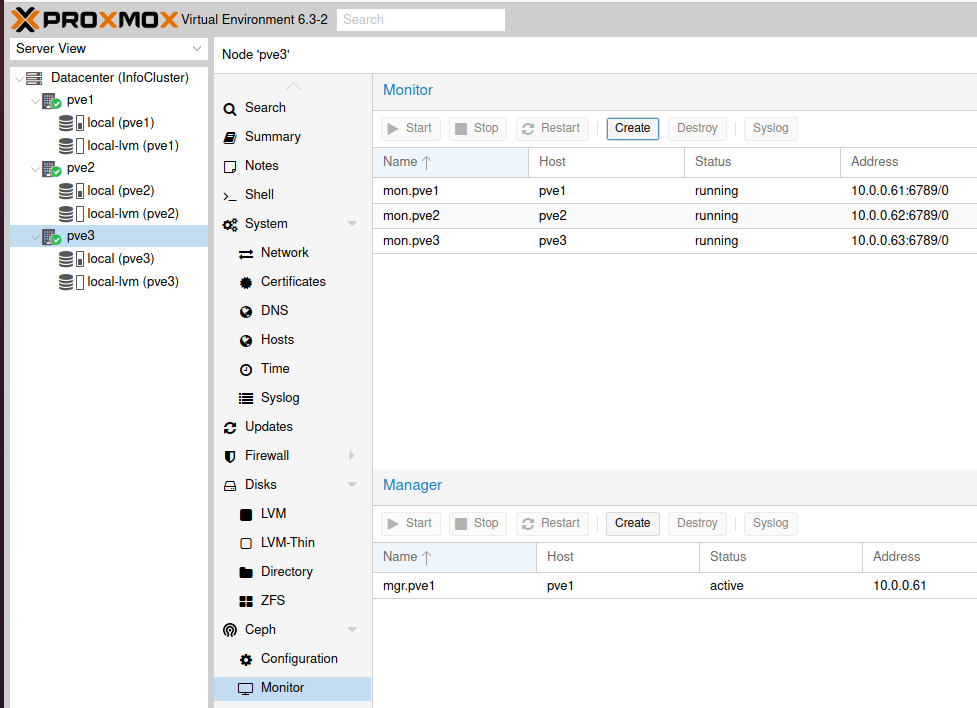
Repeat the steps on pve3 node.
This is how your Monitor screen under Ceph should look like in the end.
Create OSD
After we are done with the monitors, we will now create OSDs with extra drive we added to the Proxmox.
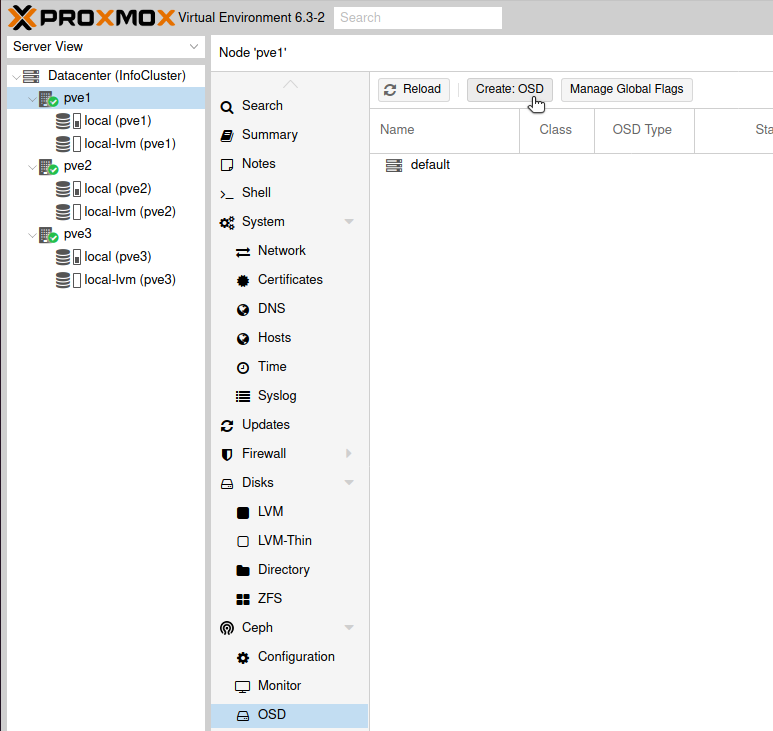
Select pve1 and under Ceph menu select OSD. Click on Create: OSD
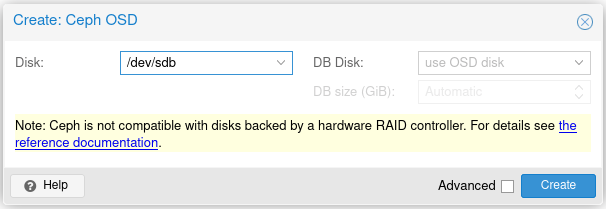
Under Disk I will select /dev/sdb (you will select drive you added to your Proxmox install). I left everything else by default and selected Create.
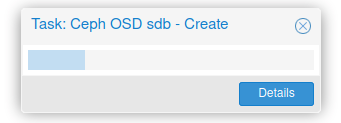
Task should be done relatively quickly…
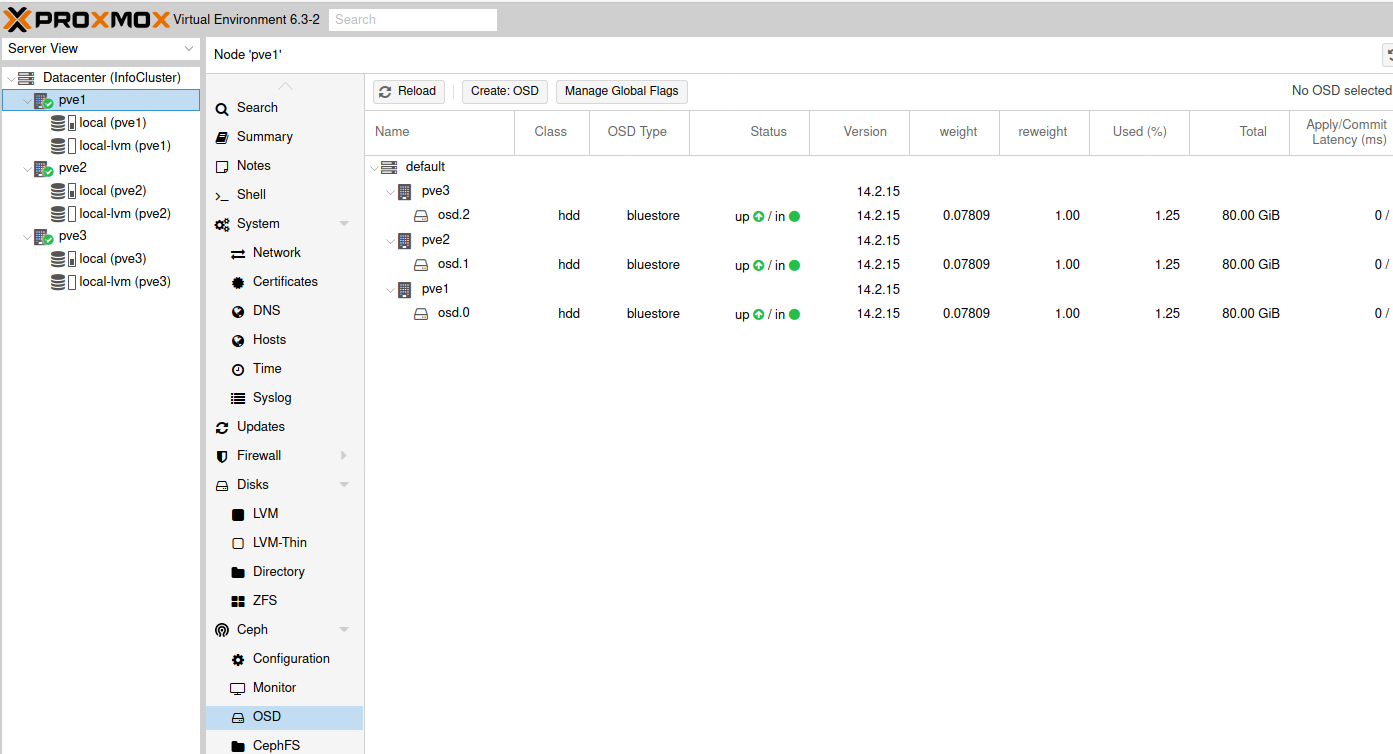
And now, after you reload screen, we can see that we have OSD drive added.
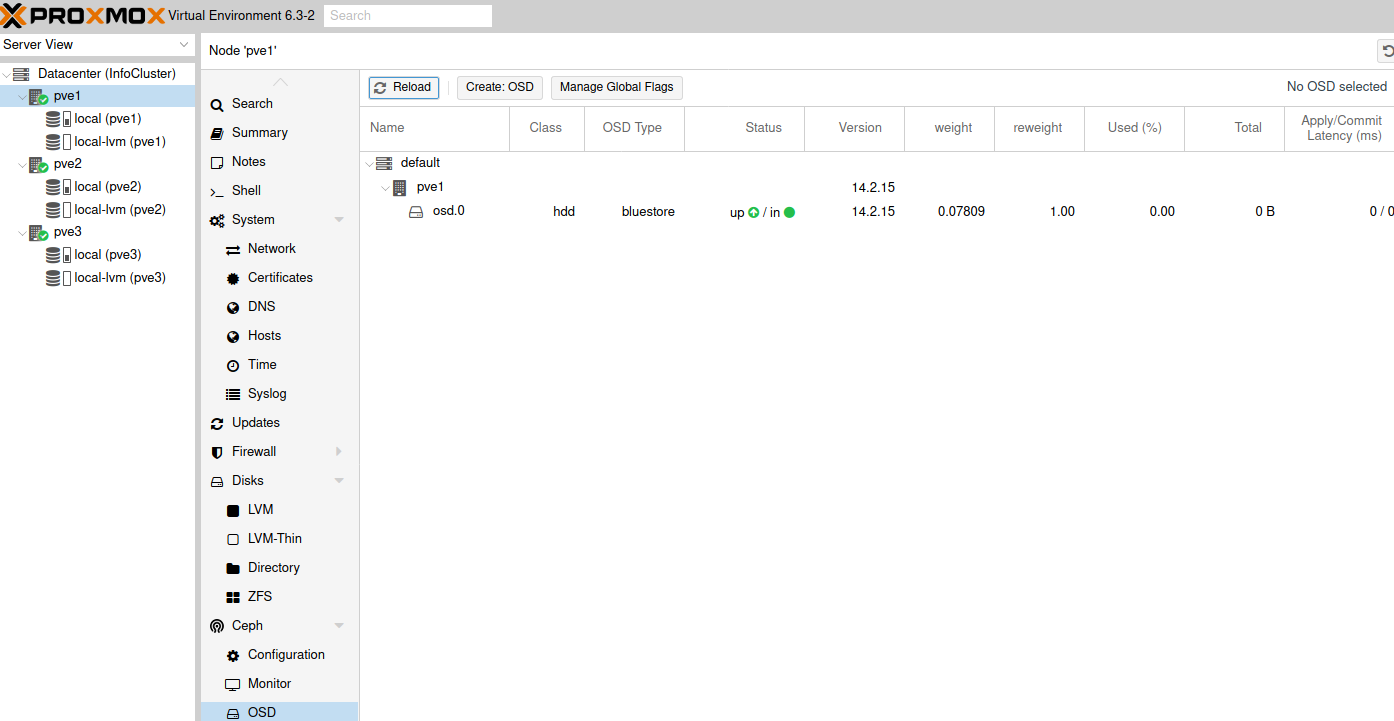
Repeat on pve2 and pve3 nodes.
After you are done, this is how the screen should look like.
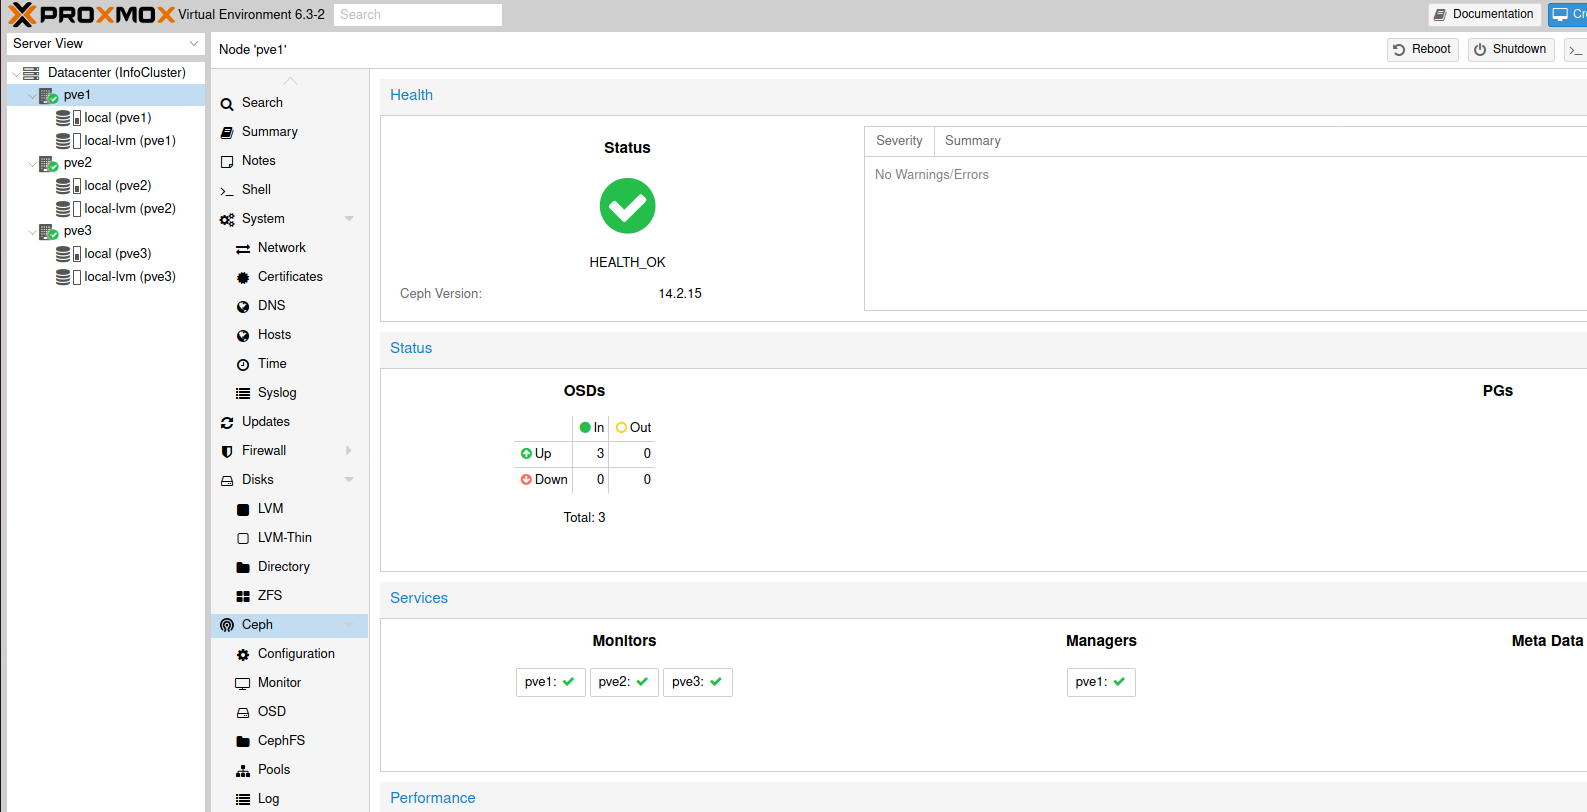
Also, your main Ceph screen should now look like this.
Create Storage Pool
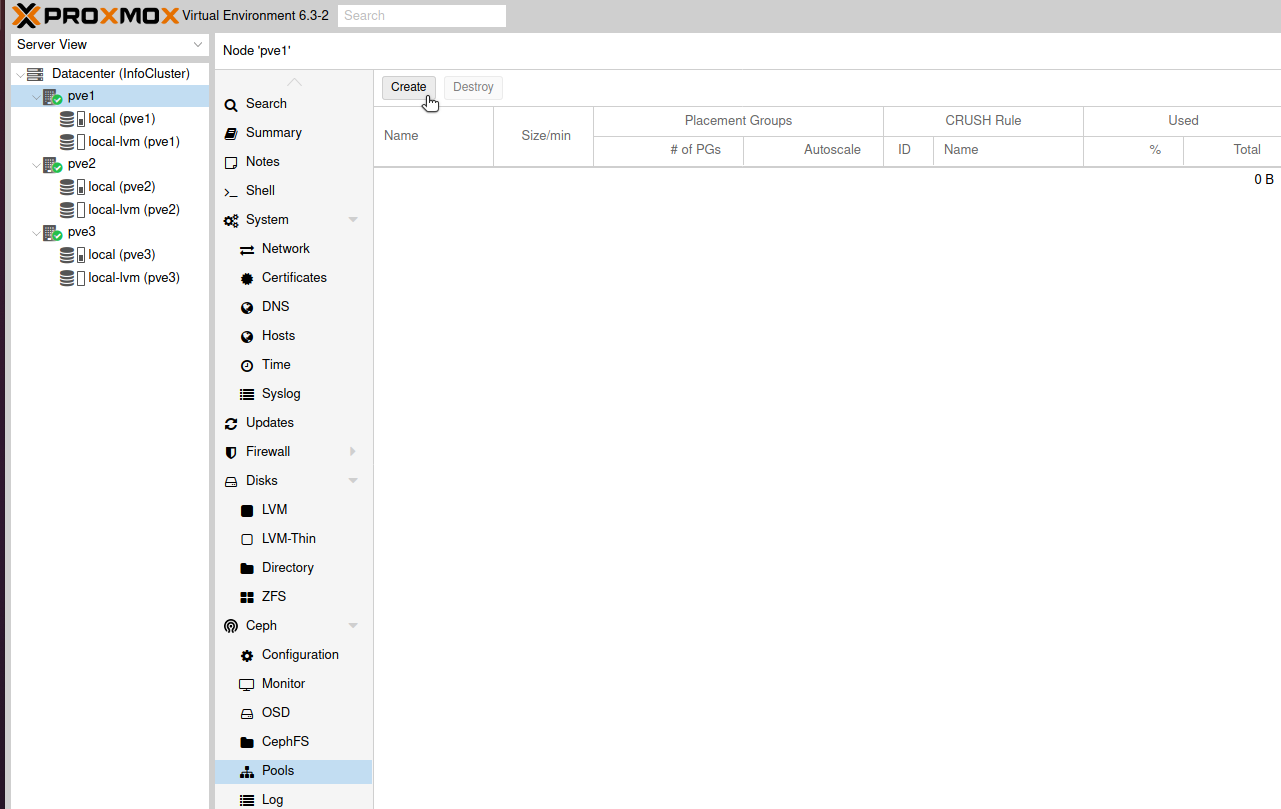
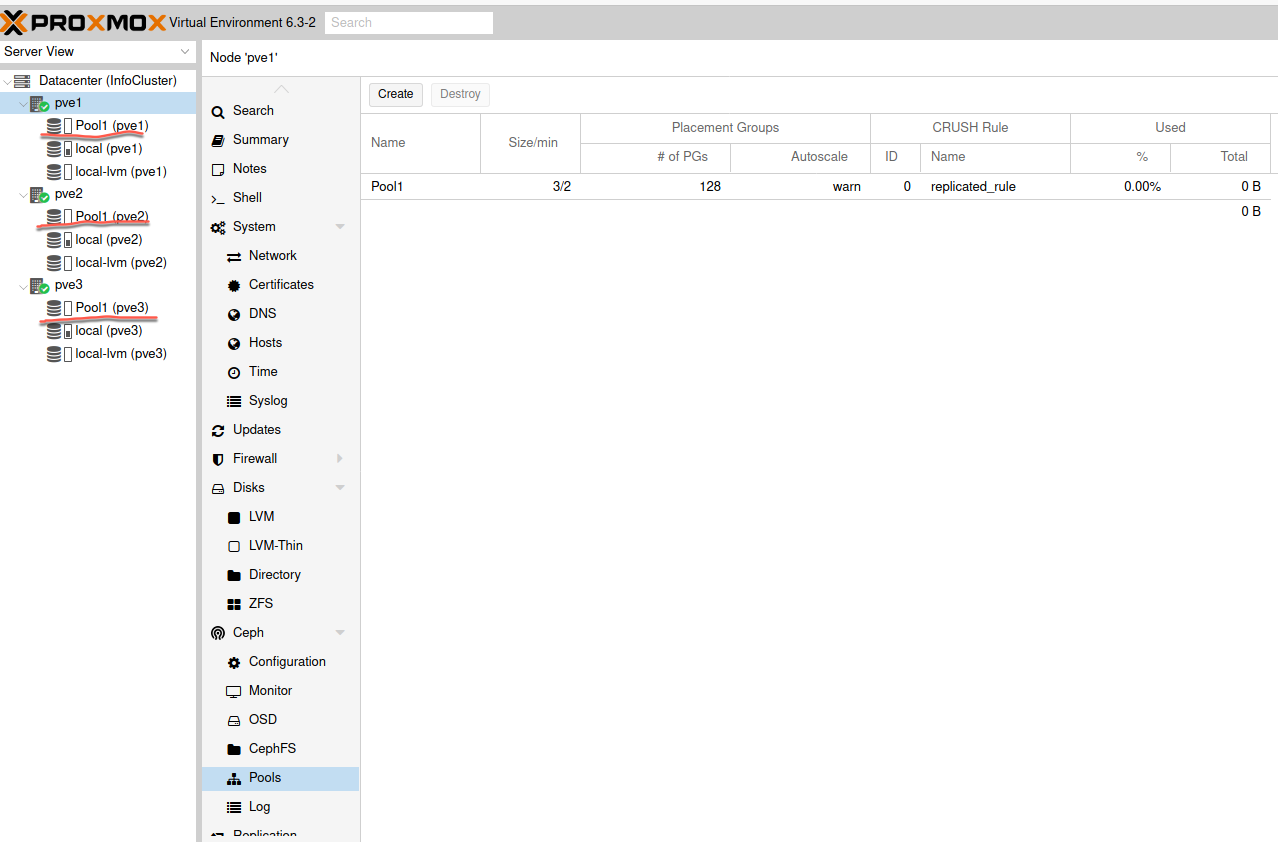
Back from the pve1, click on Ceph | Pools | Create
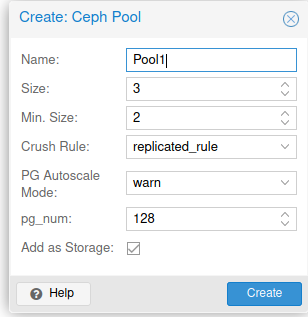
I entered name – Pool1 and leave everything else as it is. Default values are ok in this setup. If you have more than 5 disks, you should check PG size. In the link I posted above under Ceph section, everything is explained, there is a formula for calculating necessary PG size. Also make sure you know what Crush is before you continue.
Create
…
That should be it, your Ceph storage should now be available on all three nodes.
That should be it for cluster and ceph setup. Next, we will first test live migration, and then setup HA and test it.
Migration Test
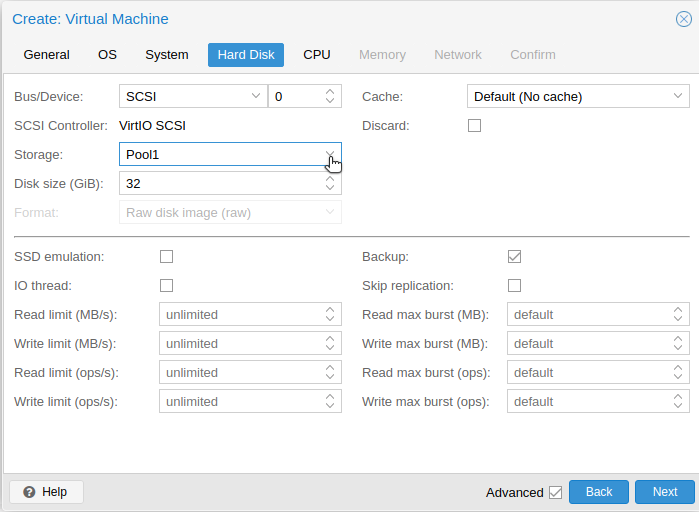
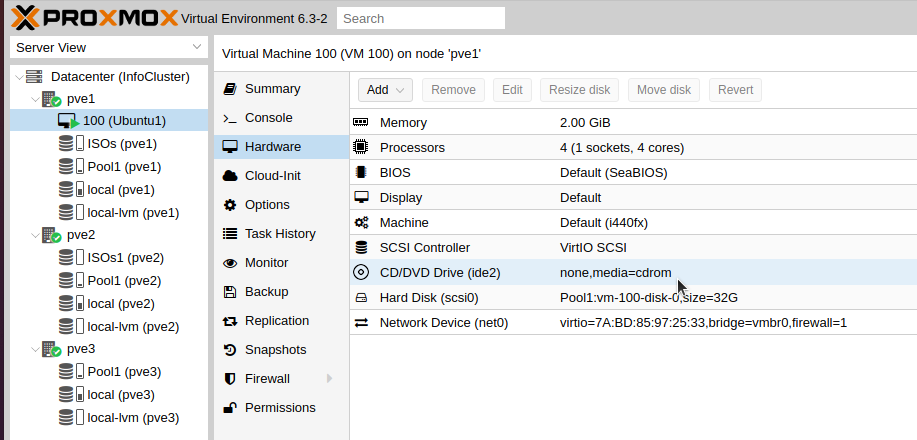
In this guide I will not go through installation of a new VM. I will just tell you, that in the process of VM creation, on Hard Disk tab, for Storage you select Pool1, which is Ceph pool we created earlier.
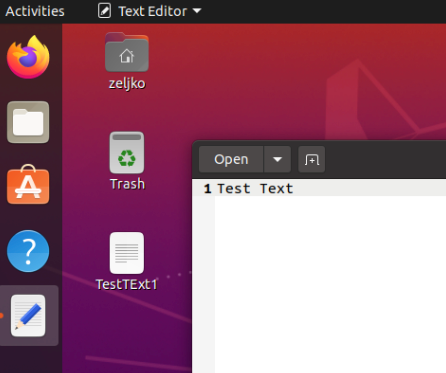
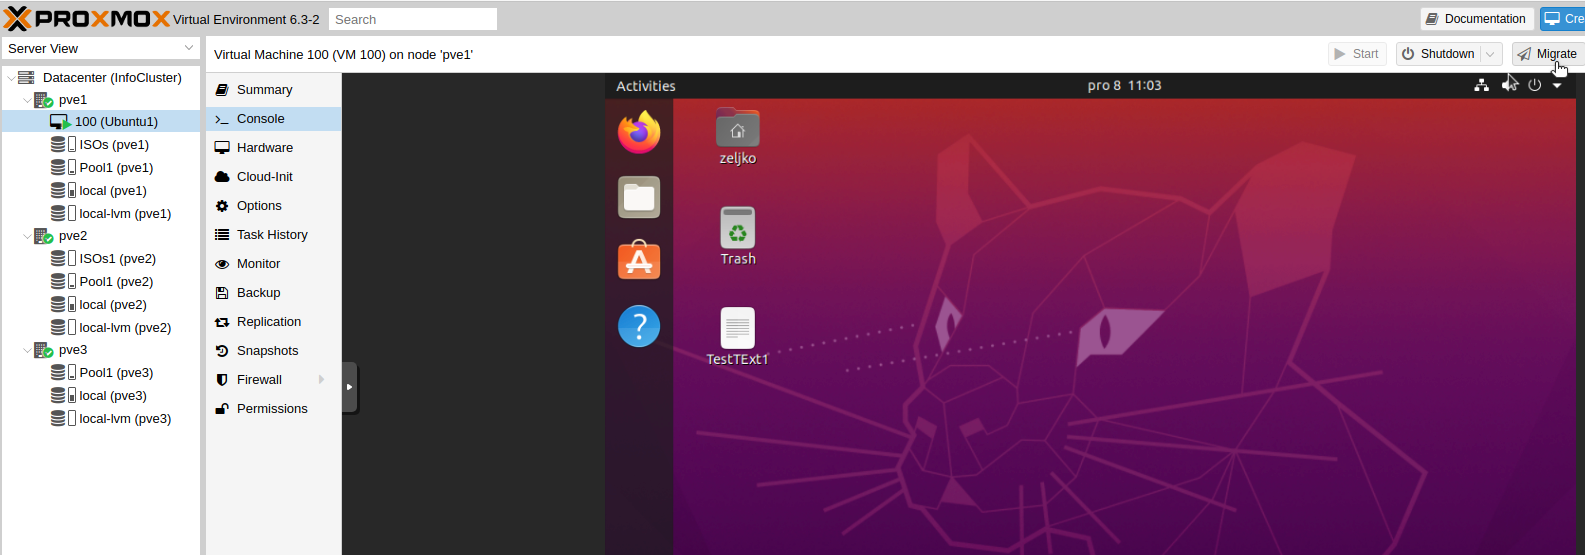
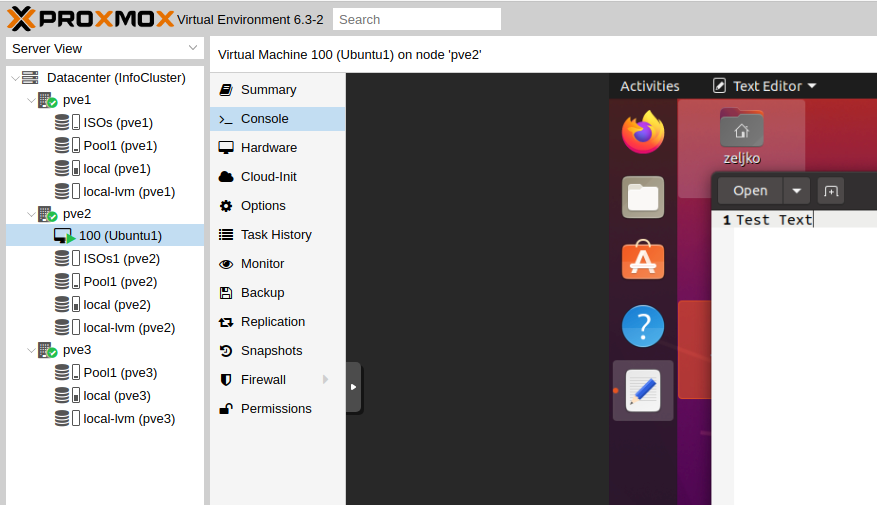
On the desktop of the Ubuntu VM that I’m going to migrate I created TestText1 file with some text in it. Just to make sure that our documents are intact during transfer.
Also, before we migrate, make sure that no DVD or ISO image is loaded into your VM.
Ok, lets select – Migrate from top right corner of the VM
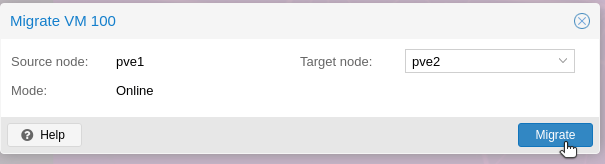
We will select pve2 and click on Migrate
Process started…
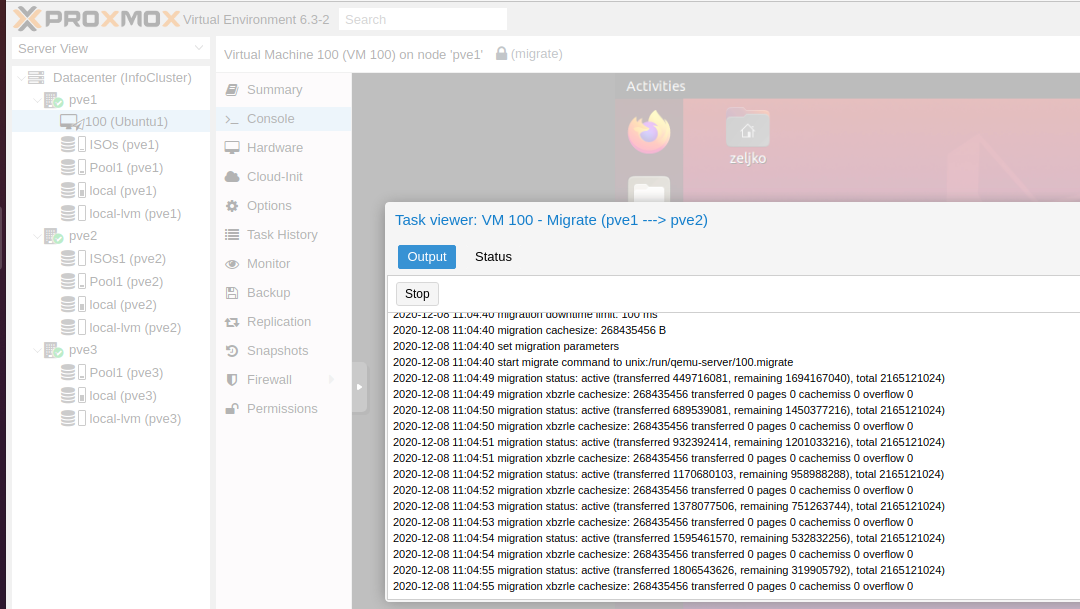
Success
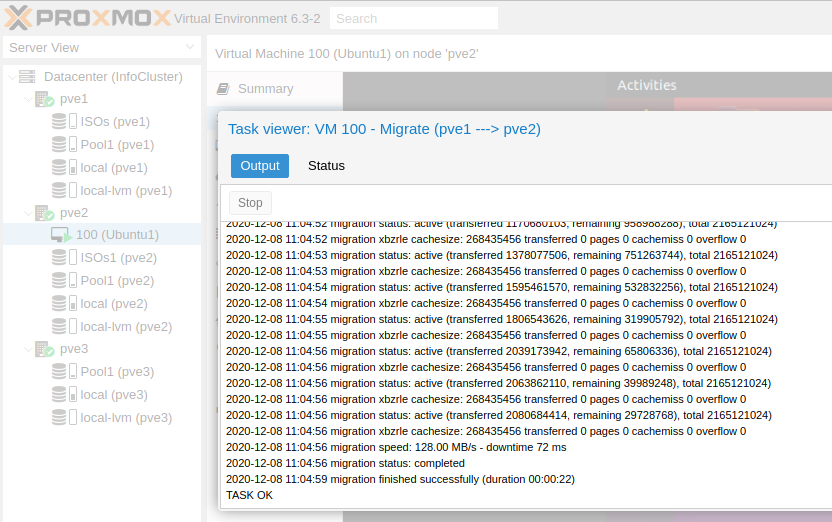
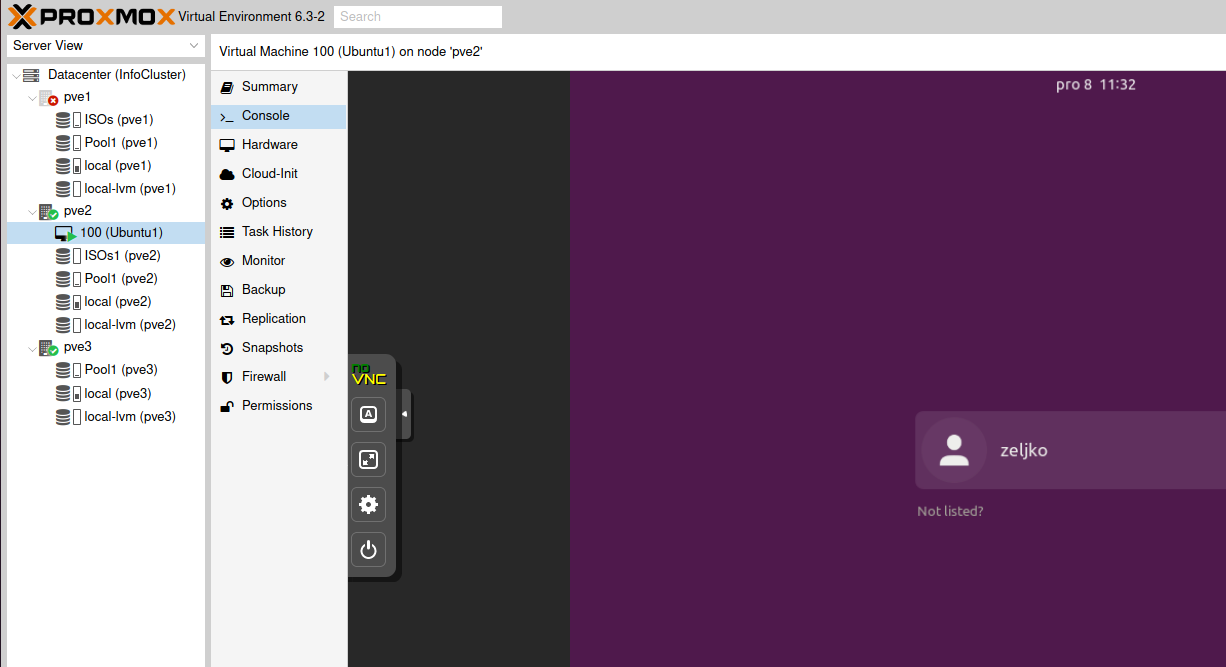
It is done, and everything is intact. Now our Ubuntu VM is on pve2 node.
I also try to migrate to pve3 and then back to pve1, and everything works great. I also rebooted VM after every migration to see if everything is intact and if there are some problems with file system or documents, but everything is fine.
High Availabilty / Automagic Failover
This will be our final step in this guide.
We will select our VM on pve1 and click on More | Manage HA
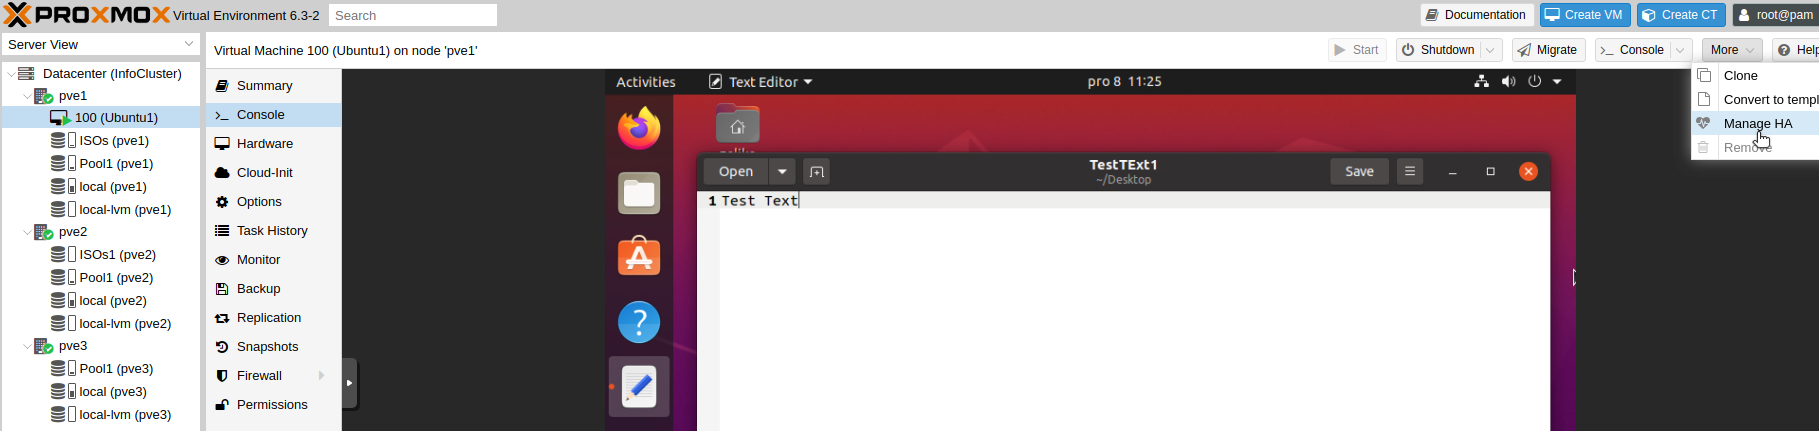
Add
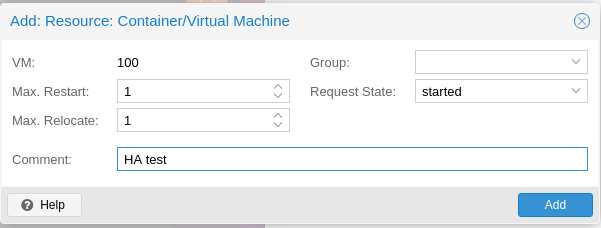
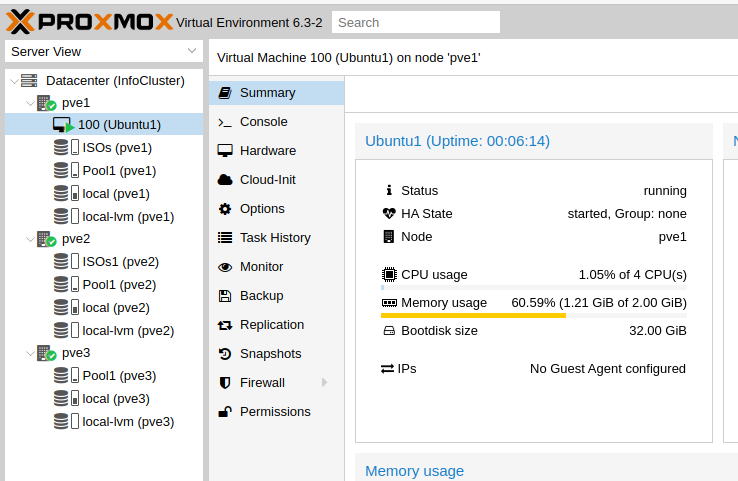
Now on VM Summary, we can see that it is part of HA
To test automatic failover, I will simply turn off pve1 which is now hosting VM 100.
It can take some time for cluster to catch up and transfer VM.
Done, transfer is a success.
Aaand, that would be it, congratulations, you now have fully functioning cluster with local storage.
I’ve done this a lot of time and it really works great and is robust system.
Conclusion
Proxmox is robust and great solution, and I would strongly recommend the configuration I did above if you are planing to do cluster thing on Proxmox.
Also, if you can, make sure to support the Proxmox project, people behind it definitely deserve support.