Integrated antispam solution in Exchange 2019 is good, but, we always can do better. Through years I used (‘am using) a lot of antispam products – Symantec, ProofPoint, SpamTitan… Today we are going through installation of SpamTitan, it is good piece of software (always can be better) with good support. We are going to add it to our Exchange setup. This piece is not in any way sponsored by SpamTitan – as with everything else, I write about what I like or use.
Before we begin
Since we are using Exchange on premise, I’m going to cover “Gateway Anti-Spam Appliance” installation and configuration. You can also use cloud solution, but in this case we are going to install on premise version.
I’m going to use trial version which you can get here – https://www.spamtitan.com/spamtitan-gateway/
After you enter you email and data you will get keys for activating trial.
Software can be downloaded from here (at the time of writing this)
ISO image – https://stdownload.titanhq.com/iso/SpamTitan-7-amd64.iso (this is what I’m going to use for this guide)
VMware appliance – https://stdownload.titanhq.com/vmware/SpamTitan-7-amd64.ova
USB stick image – https://stdownload.titanhq.com/img/SpamTitan-7-amd64.img
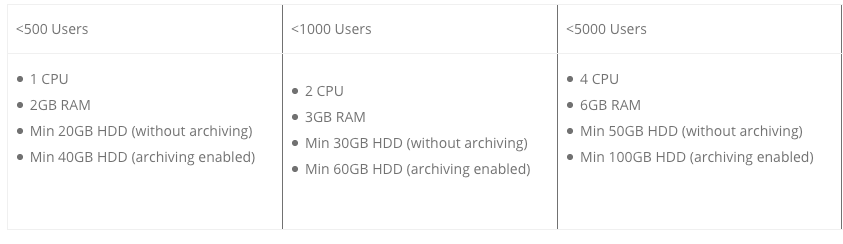
Here are minimal requirements for the SpamTitan appliance.
DNS/MX setup
Do this step after you configured SpamTitan to handle your SPAM, not after installation immediately!
If you have hosted DNS look at the bottom of this page for MX record setup – https://www.spamtitan.com/spamtitan-gateway-sign-up-confirmation/
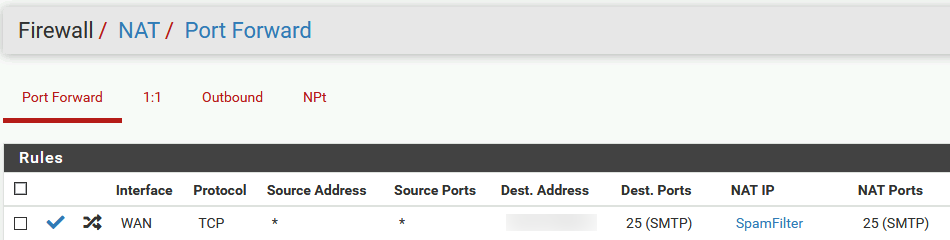
I host my own DNS/MX records for this lab,so I’m not going to change anything in my setup. I’m just going to create simple NAT rule so that incoming/outgoing mail on port 25 is going through SpamTitan and that SpamTitan handles mail traffic before it reaches Exchange.
This is my NAT rule for mail (SpamFilter alias for IP 192.168.50.5, that is IP address of my SpamTitan install)
MX records and A records remain the same – mail.informaticar.net, we are just going to push all our incoming and outgoing email through SpamTitan.
SpamTitan is (in theory) filtering everything before it reaches Exchange.
VM preparation
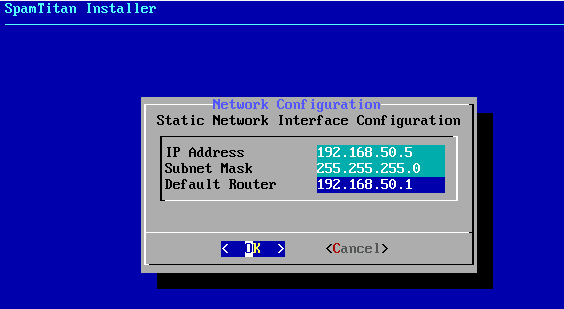
I’m going to set this up on Hyper-V. I’m going to install this VM as Generation 1, with 2vCPU cores and 2GB of RAM and 80GB of disk space. I’m going to assign one network card, and IP address is going to be 192.168.50.5
I’m going to name machine mail.informaticar.net since through this machine we will have all of our mailflow.
This machine will be inside my DMZ with exchange server edge role.
Installation
I’m not going to walk you through VM preparation, we are just going to go through SpamTitan installation.
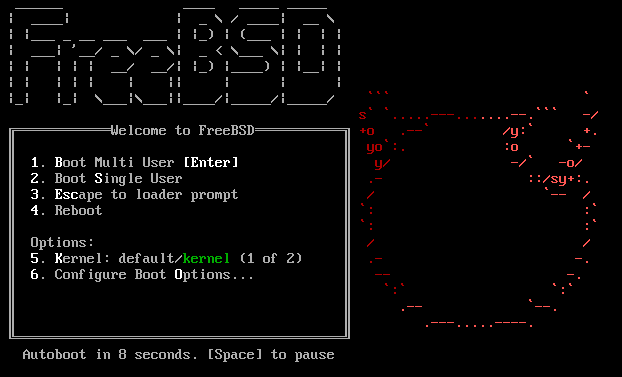
You can wait this screen out… No need for interaction
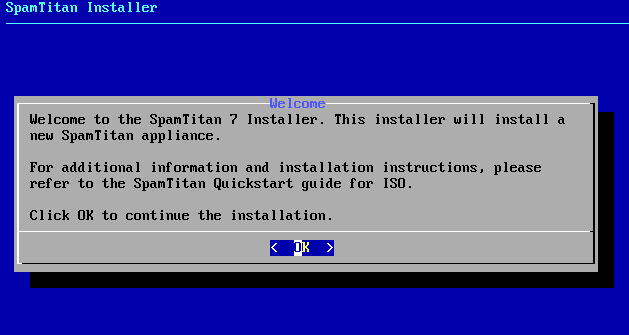
Ok
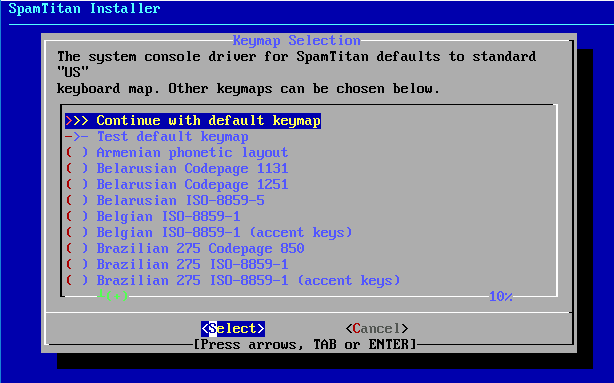
I’m going with default keymap, you can select what you prefer. Select
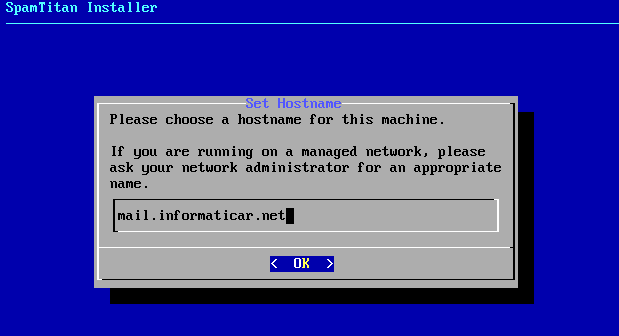
I’m going to name my machine mail.informaticar.net, you should have some kind of external fully qualified domain name for the machine since this machine is going to represent itself on the internet. It does not have to be mail.yourdomainname.com, it can be some other name..
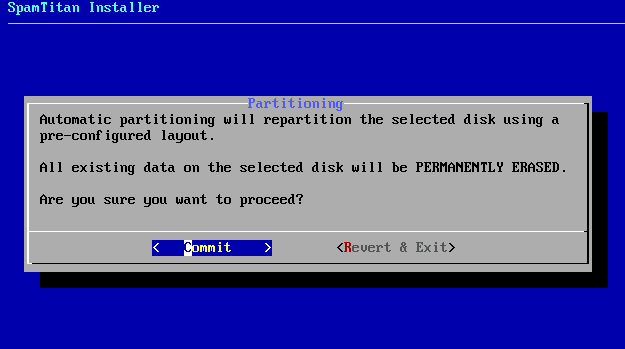
Automatic partitioning is ok. Commit
…
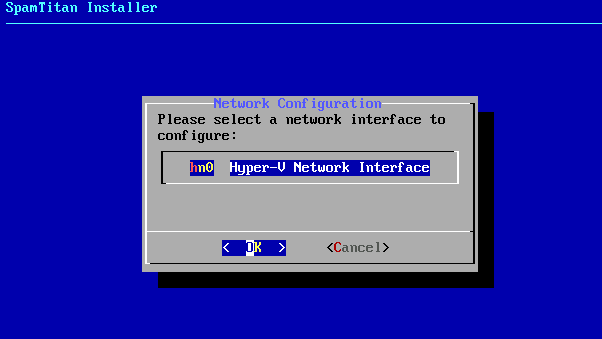
I’m going to configure only one network adapter I assigned to VM
I’m going to assign IP address as specified already and select OK
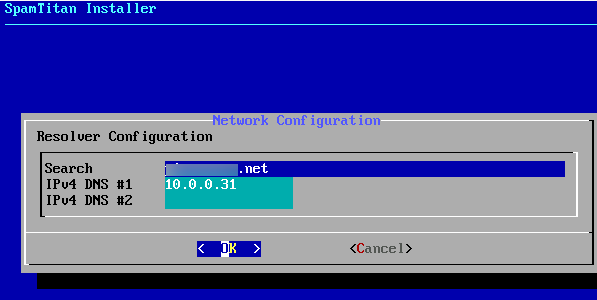
For search I entered informaticar.net. In reality I entered my test domain for this, so I had to redact it. Under DNS settings enter what you like, I entered here my domain DNS which is handling DNS. OK
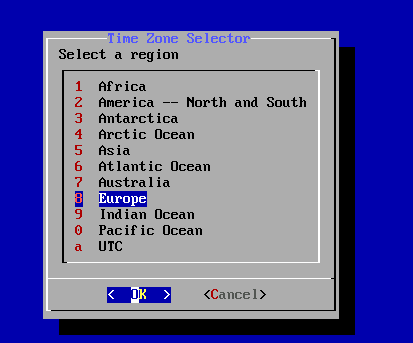
For Time Zone I entered Europe, you will select your zone. OK
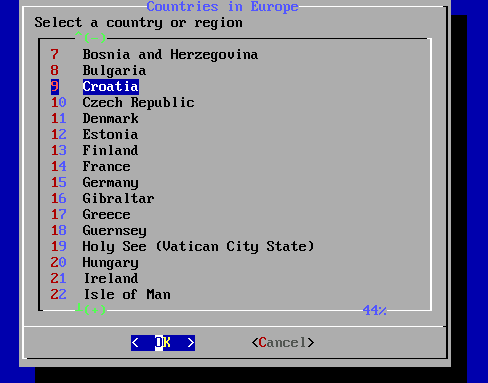
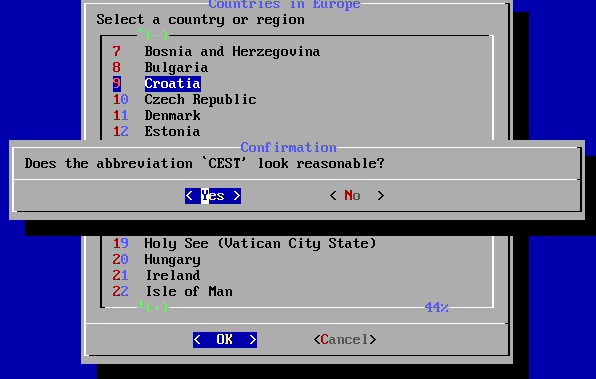
Select your country. OK
Yes
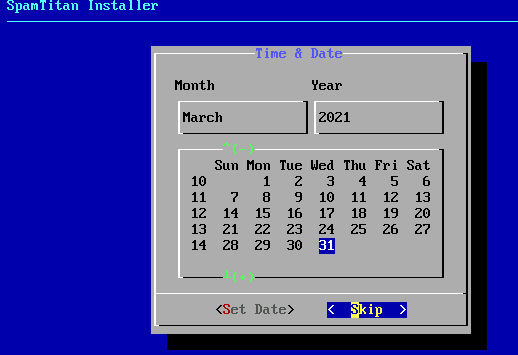
Date is ok | Skip
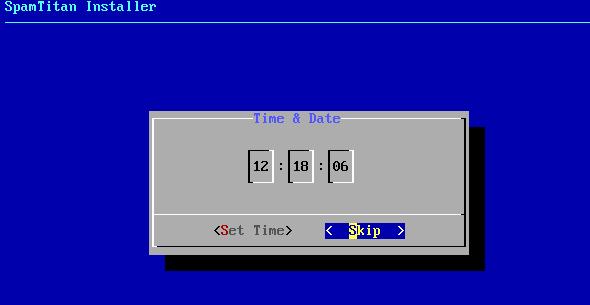
Time is ok | Skip
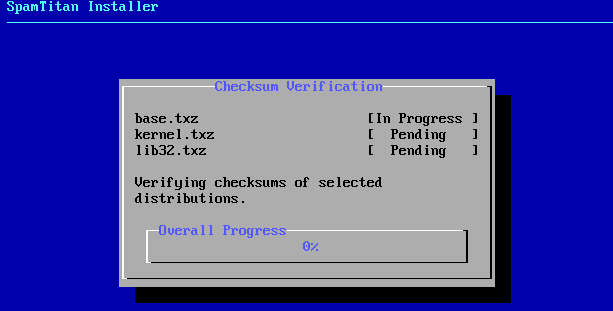
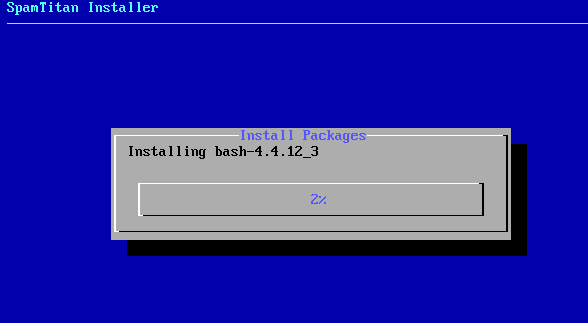
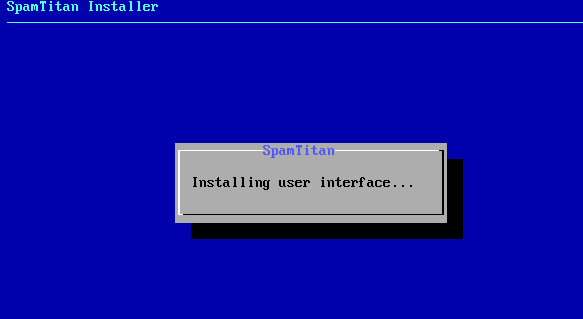
Installing…
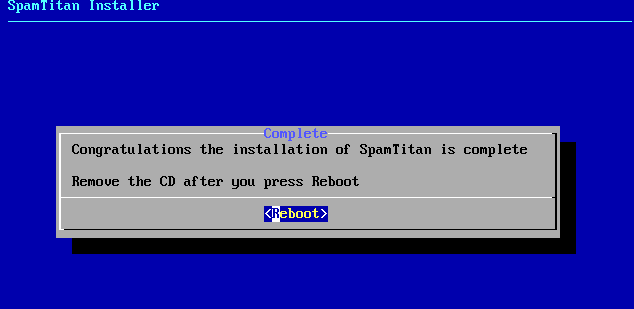
Few minutes later you will have to reboot because installation is done. Make sure you remove iso image from VM after you press reboot.
Machine will reboot and greet you with login screen
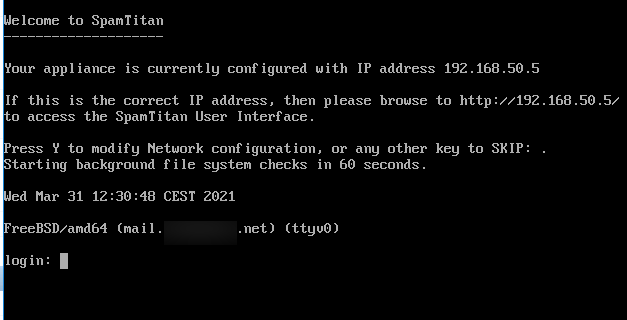
Let’s try and access our SpamTitan installation through browser from other machine in same network.
http://192.168.50.5
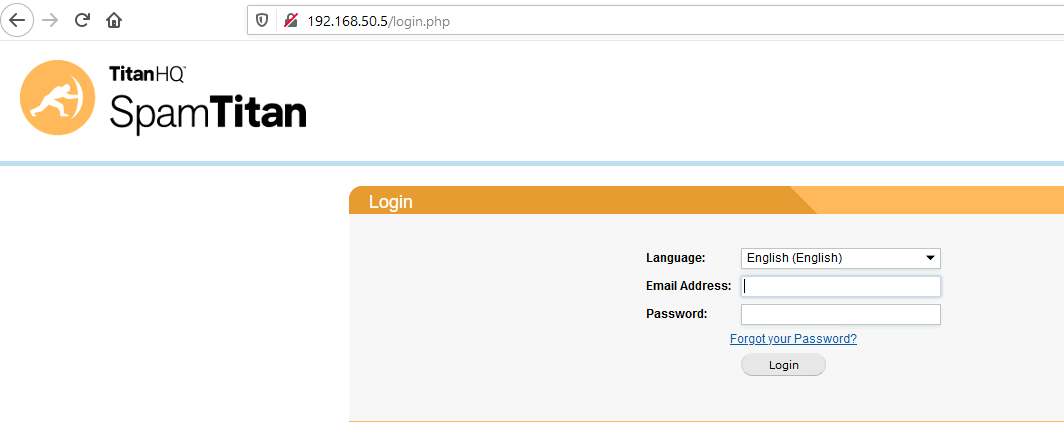
Works… Default user is admin and password hiadmin
That is it, we have the appliance installed. Next step will be to do basic configuration.