What is MAAS? MAAS is short of Metal As A Service. It is open source tool under Canonical which enables you to deploy datacenter from bare-metal servers.
In this guide we will install MAAS.
MAAS supports deployment of Ubuntu, CentOS, Windows and RedHat. More info about MAAS can be found here.
Before we can deploy software through out our datacenter or virtual lab, we first need to deploy MAAS on one machine as a starting point.
I will show you here how to deploy MAAS on Ubuntu Server 20.04 LTS, and MAAS version we will be deploying in 2.9.1.
I’m going to deploy this inside virtual lab.
Machine that is going to host MAAS will have in my case 4vCPUs, 8GB or RAM, 120GB of storage and 1 network interface.
Network that I’m using for this lab is:
10.0.0.0/24 and MAAS will be installed on 10.0.0.101 IP address.
More info about installation of MAAS can be found here.
This guide will cover production configuration.
Installation
Before we start with MaaS installation, we will check for updates on our Ubuntu install.
sudo apt update
sudo apt upgrade
We will install MAAS as snap package
sudo snap install maas
Installed

Initialize MAAS for production
MAAS can be initialized for test environment, or for production environment. We will be doing production initialization here.
Instructions for test environments can be found on a links I posted earlier in this guide.
We will be initializing MAAS in region + rack mode. MAAS can operate in region, rack, region + rack mode, or none.
More info about MAAS modes can be found here.
First we will again check for updates, and then install postgreSQL.
sudo apt update -y
sudo apt install -y postgresql
We now need to create database for MAAS and user for that DB.
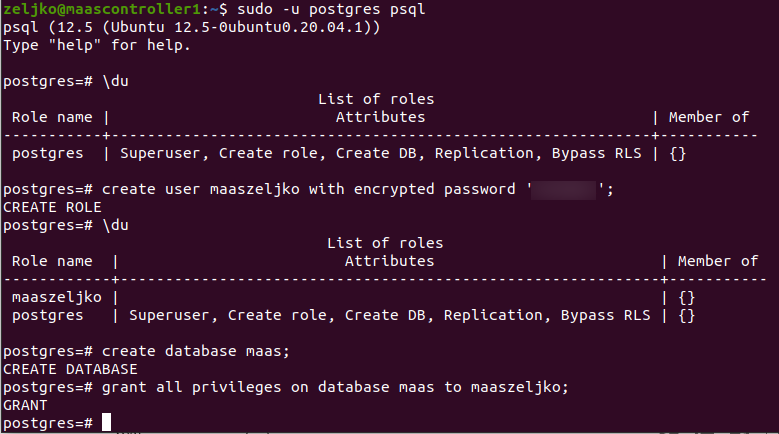
My database will be called maas, user is called maaszeljko and password is Pass. Make sure to change those to fit your scenario.
sudo -u postgres psql
create user maaszeljko with encrypted password 'Pass';
create database maas;
grant all privileges on database maas to maaszeljko;
When these are done type \q to exit
We now need to edit following file /etc/postgresql/10/main/pg_hba.conf and add a line for new created database.
If you want to limit network access, use different CIDR than 0/0
sudo nano /etc/postgresql/12/main/pg_hba.confChange maas for your maas DB name, and change maaszeljko for your maas DB user. I added line to the bottom of the file.
host maas maaszeljko 0/0 md5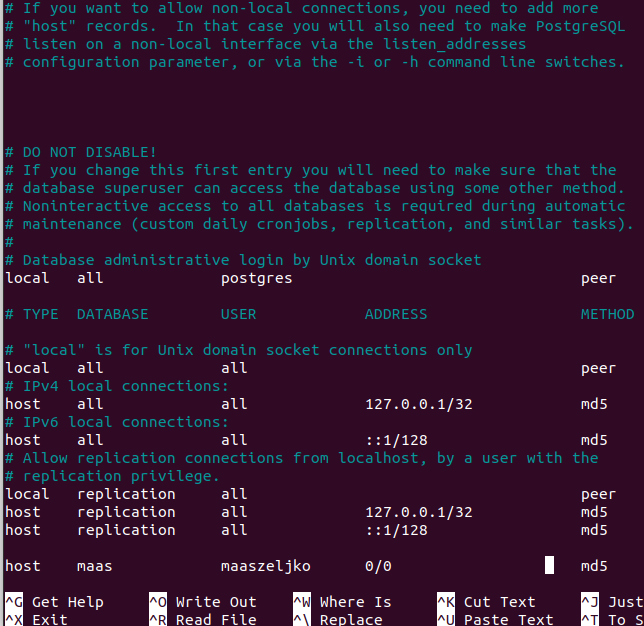
Save and exit file.
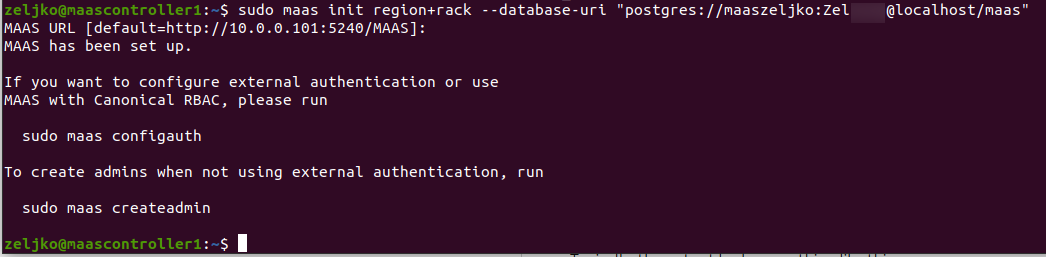
Now, we wil lstart MAAS initialization.
Replace maaszeljko with your maas DB username, replace Zel with your password for maas DB user, localhost is used if the postgresql is on the same machine as maas is. maas AT THE END OF COMMAND is the name of the database we created.
sudo maas init region+rack --database-uri "postgres://maaszeljko:Zel@localhost/maas"I left default URL for the MAAS.
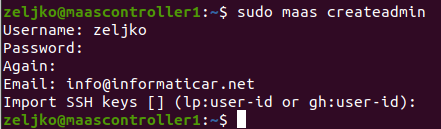
I’m now going to create admin account for the MAAS web interface.
sudo maas createadminSO, I gave my admin user name – zeljko, created password and entered my email.
Lets just now check maas service status
sudo maas status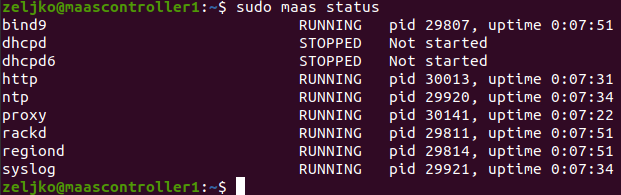
And now, the last test. I’m going to open
http://10.0.0.101:5240/MAAS in the browser of the machine that is in the same network as MAAS controller is
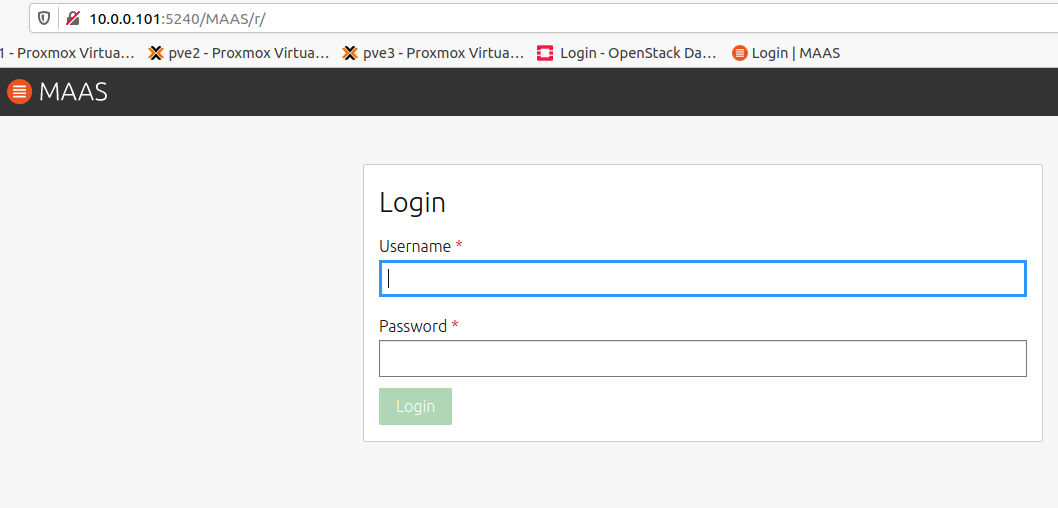
It works, so our install was success.
In the next guide, we are going to do initial configuration of MAAS install, before we deploy our first machines.