A bit late summer special. I got a Dell XPS 15 but getting Kali to work on it was a bit rough. Here is the full tutorial.
Dell XPS 15 9560 is a great and powerful machine. In my case it came with Windows 10 Pro installation, but I wished for a Linux distro on it. I tried Ubuntu 18.04 LTS and Kali 2018.2 and the results were not great. Here are the problems I faced, and a ways to resolve them.
I won’t be covering OS installation process – this article will focus only on the problems I faced and a ways I resolved them.
My config is Dell XPS 15 9560 i7-7700HQ, 32GB RAM, 1TB M.2 SSD and 4k display.
Configuration I’ll be covering here is Kali Linux 2018.2
Problems that I faced with Kali 2018.2 on Dell XPS 15 9560 are as follows:
– Unable to boot into Kali Live installation
– After installation – unable to boot into Kali. I would reach login screen, enter username and password and after that I would get either black screen, or gray screen with nothing else.
– Unable to access repositories and install anything to my Kali install.
– Bluetooth doesn’t work
– ACPI giving errors
So let’s begin, problem by problem.
First we need to setup BIOS.
You can enter BIOS on Dell XPS 15 9560 by pressing F2 while machine is booting and DELL logo is depicted.
There are few settings we need to address before getting any further.
Settings | General | Boot Sequence | Boot List Option | I selected UEFI
Settings | General | Adanced Boot Options | I selected Enable Legacy Option ROMs and Enable Attempt Legacy Boot (although not necessary since I booted into UEFI)
Settings | System Configuration | SATA Operation | AHCI
Settings | System Configuration | Drives | M.2 PCIe SSD-0 (since I have M.2 drive in my system)
Settings | Secre Boot | Secure Boot Enable | Disabled
Two most important settings are AHCI and disabled Secure Boot, other are optional and completely up to you.
With BIOS configured this way I managed to boot to Kali and Windows.
If you plan to dual boot, your first installation should be Windows 10 and after that Kali.
Bootable USB Live Kali problem
After I made a bootable Kali installation with RUFUS on Windows and put USB into Dell XPS I was able to get Kali boot menu (pressing F12 while booting Dell XPS, on Dell logo and choosing USB drive on which you put Kali)
I wasn’t able to boot to Live System, I was stuck in the middle of the boot process.
If you wish to boot to the Live System, you need to do following – on boot menu, select Live System – press e on the keyboard
You will be taken to the GRUB section.
At the end of the linux line enter:
“quiet nomodeset”
so the line will look like this
linux /live/vmlinuz-4.15.0-kali2-amd64 boot=live components splash username=root hostname=kali quiet nomodeset
After you entered quiet and nomodeset at the end of the inux line press CTRL+X to boot
You will now be able to boot to the Live System.
Installation/Boot
Installation in my case went fine, but after installation is done I got stuck again on the boot screen of the OS.
I entered username and password and after that got either black screen or blank gray screen.
To get through that part and boot onto system procedure is similar to the one of the Kali Live System.
On the boot screen select Kali GNU/Linux and press e on the keyboard.
On the GRUB boot menu scroll down to the linux line and again enter “quiet nomodeset” at the end of the line.
In my case line looks as follows
linux /vmlinuz-4.15.0-kali2-amd64 root=/dev/mapper/Crypto-root ro quiet nomodesetAfter that I was able to boot into Kali.
You need to enter “quiet nomodeset” every time you wish to boot, and until you are done with the Nvidia part of the configuration.
Updating Kali
Should be first step after installing, but in my case I got errors like:
E: Unable to locate package linux-headers…
I checked my network, internet connection, everything was fine.
The thing is I was missing Kali repo in my sources list.
In order to get this done properly we need to execute following:
Open terminal (in case you are nott root, enter sudo -i, your password, and you will became root)
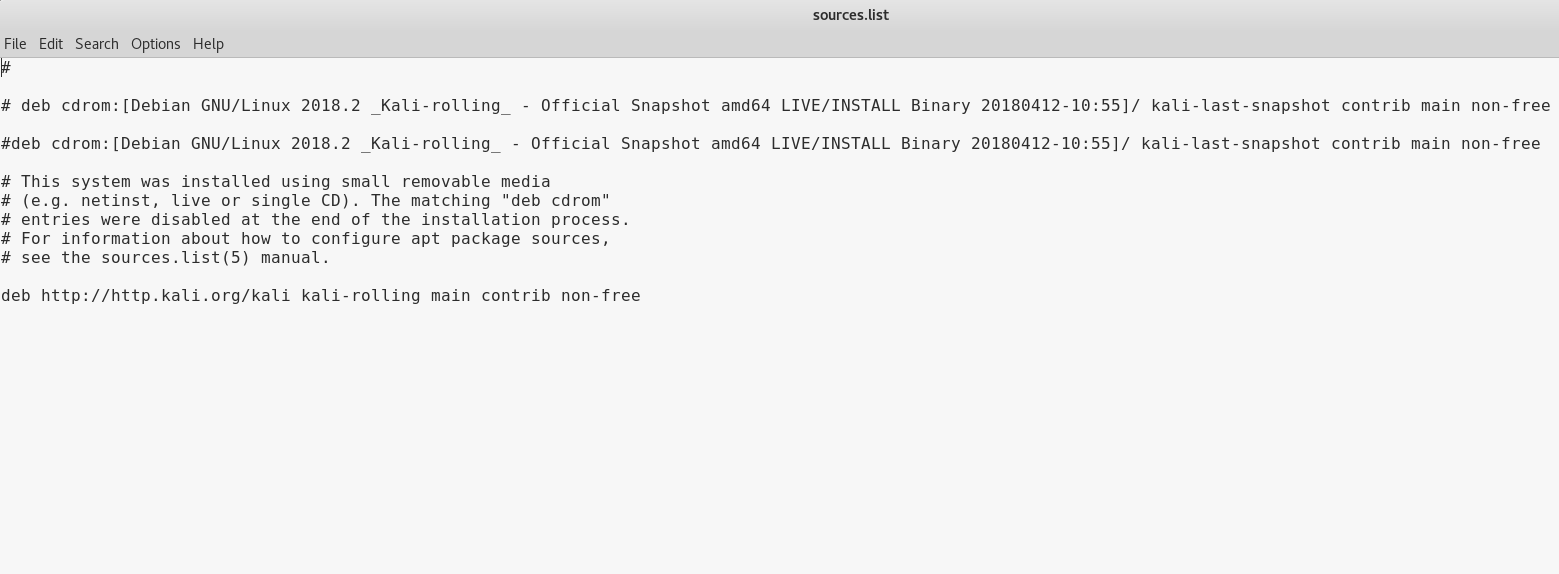
leafpad /etc/apt/sources.list

You will get this screen

Now, go to the https://docs.kali.org/general-use/kali-linux-sources-list-repositories and look for the Kali Rolling Repository
Now enter deb http://http.kali.org/kali kali-rolling main contrib non-free onto the end of the sources.list file
It should look like this – Save and close the file
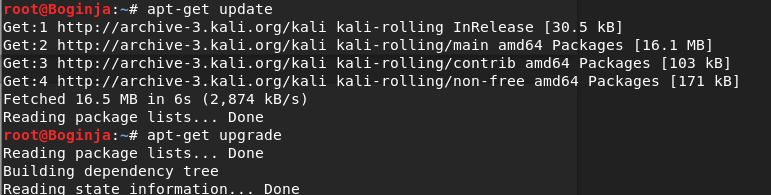
Go back to the terminal and execute following commands
apt update -y && apt upgrade -y && apt
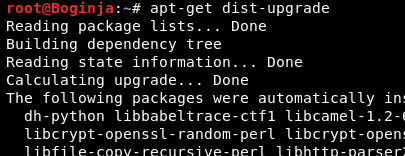
dist-upgrade
or, If you are like me, you will type multiple commands for that same thing
apt-get update

apt-get upgrade

apt-get dist-upgrade

apt-get update

apt-get upgrade
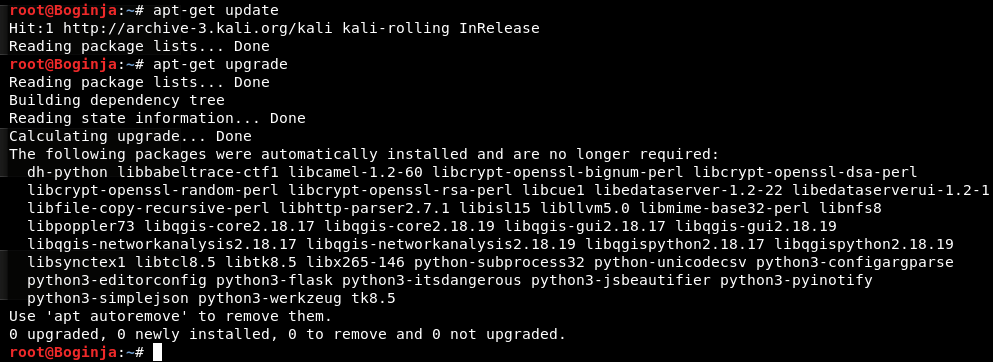
After you are done – REBOOT, that is a must do process before continuing.
Don’t forget “quiet nomodeset” command while booting
Installing NVIDIA graphics card
Now, the reason why we have to enter “quiet nomodeset” on every boot is because our graphics subsystem is messed up in Kali.
Let us deal with that:
First we need to verify that we have hybrid graphics card (intel + nvidia combo)
In terminal enter
lspci | grep -E "VGA|3D"
I do have Intel and Nvidia combo
Next step is to diable nouveau. If I understand correctly, nouveau are free/libre NVIDIA drivers for linux.
Be aware that after entering this command your XPS will immediately reboot
echo -e "blacklist nouveau\noptions nouveau modeset=0\nalias nouveau off" > /etc/modprobe.d/blacklist-nouveau.conf update-initramfs -u && reboot
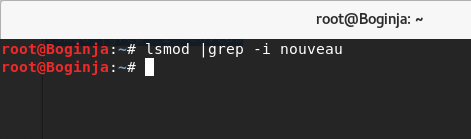
After reboot enter
lsmod |grep -i nouveau
If it doesn’t return anything, nouveau is disabled.
Now, next step is Nvidia drivers installation.
I will install from Kali repo, you have also option to install by downloading directly from Nvidia.
apt-get install nvidia-driver nvidia-xconfig
Confirm dialogs during installation, and wait for the finish.
For the next steps it is important that we find out BUS ID on which our Nvidia card is located.
nvidia-xconfig --query-gpu-info | grep 'BusID : ' | cut -d ' ' -f6
PCI:1:0:0 is in my case.
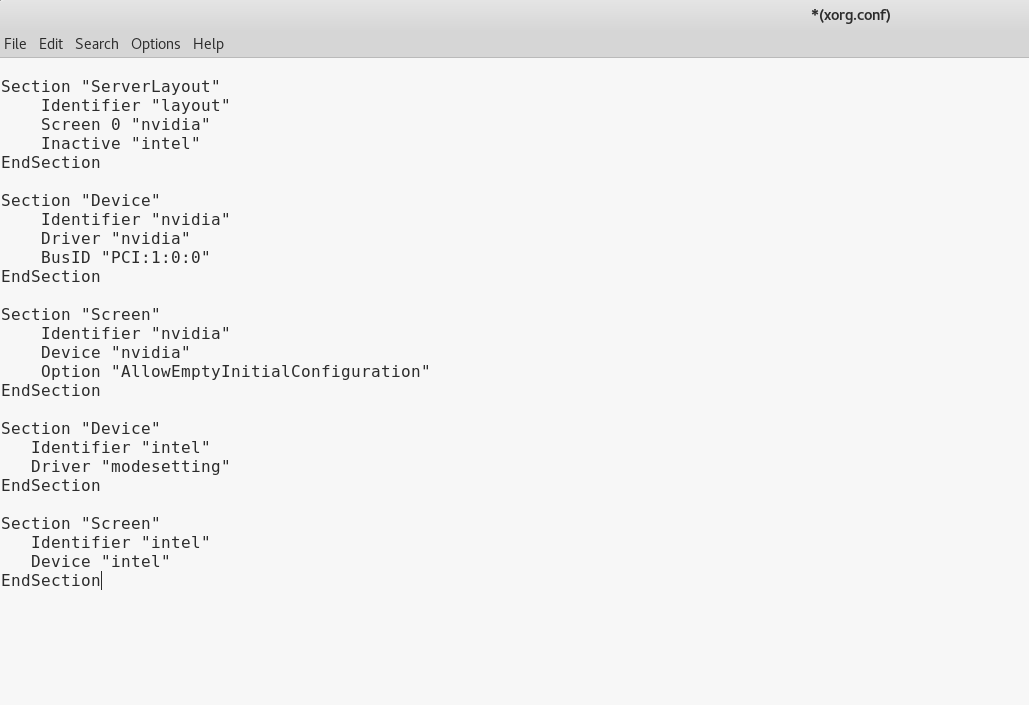
Our next step will be to create /etc/X11/xorg.conf file
leafpad /etc/X11/xorg.conf![]()
Paste following into new document that just opened (change BusID “PCI:1:0:0” line into the value you got)
Section "ServerLayout"
Identifier "layout"
Screen 0 "nvidia"
Inactive "intel"
EndSection

Section "Device"
Identifier "nvidia"
Driver "nvidia"
BusID "PCI:1:0:0"
EndSection

Section "Screen"
Identifier "nvidia"
Device "nvidia"
Option "AllowEmptyInitialConfiguration"
EndSection

Section "Device"
Identifier "intel"
Driver "modesetting"
EndSection

Section "Screen"
Identifier "intel"
Device "intel"
EndSection
This is how a file looks in my case. Save it.
Next step is to create two scripts. Since my Kali is default GDM I created two files
/usr/share/gdm/greeter/autostart/optimus.desktop

/etc/xdg/autostart/optimus.desktop
leafpad /usr/share/gdm/greeter/autostart/optimus.desktop

leafpad /etc/xdg/autostart/optimus.desktop
Paste following into both files and save them
[Desktop Entry]
Type=Application
Name=Optimus
Exec=sh -c "xrandr --setprovideroutputsource modesetting NVIDIA-0; xrandr --auto"
NoDisplay=true
X-GNOME-Autostart-Phase=DisplayServer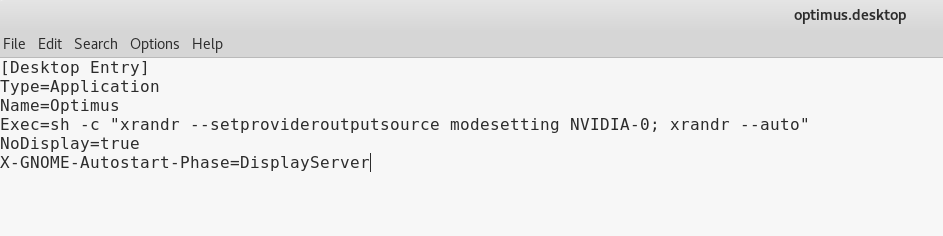
Now, we need to reboot. This time we should be able to boot without adding “quiet nomodeset” to the grub.
Check once again everything you done, make sure you entered everything into files and reboot).
My XPS rebooted successfully and I done everything via this tutorial.
Now, onto the final part of the Nvidia graphics driver installation.
After reboot, install mesa-utils if you haven’t done that already
apt-get install mesa-utils
Next command is
glxinfo | grep -i "direct rendering"
Last step is to install cuda toolkits and drivers
apt install -y ocl-icd-libopencl1 nvidia-driver nvidia-cuda-toolkit
Now, we need to verify that everything is running correctly, and we will do that by running nvidia-smi
nvidia-smi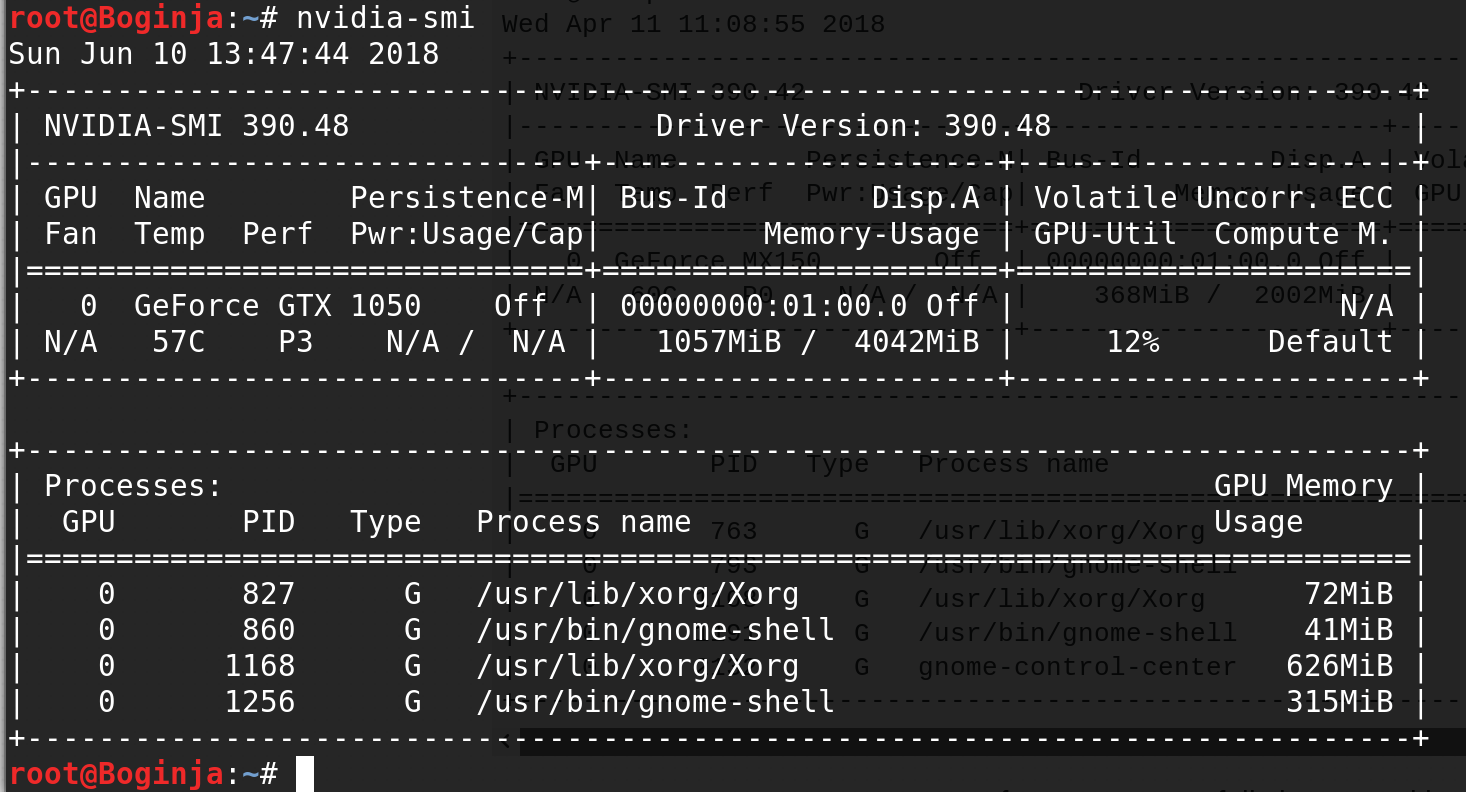
Everything is ok in my case.
Now, last thing before we wrap up the Nvidia graphics driver part is screen tearing issue.
Fix for this goes as follows:
Verify than PRIME is disabled
xrandr --verbose|grep PRIME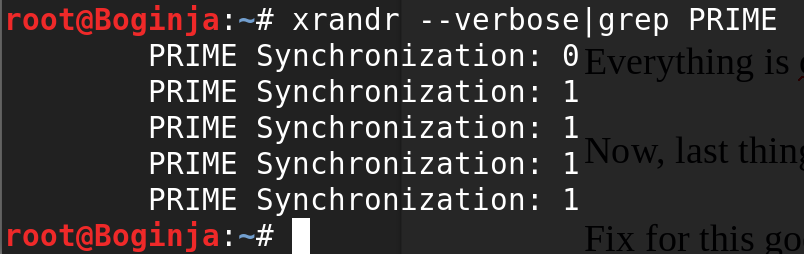
In my case it is – PRIME Synchronization: 0
First line marks active display.
We need to edit /etc/default/grub
leafpad /etc/default/grub
add nvidia-drm.modeset=1 into GRUB_CMDLINE_LINUX_DEFAULT=”quiet” line so that it looks like this:
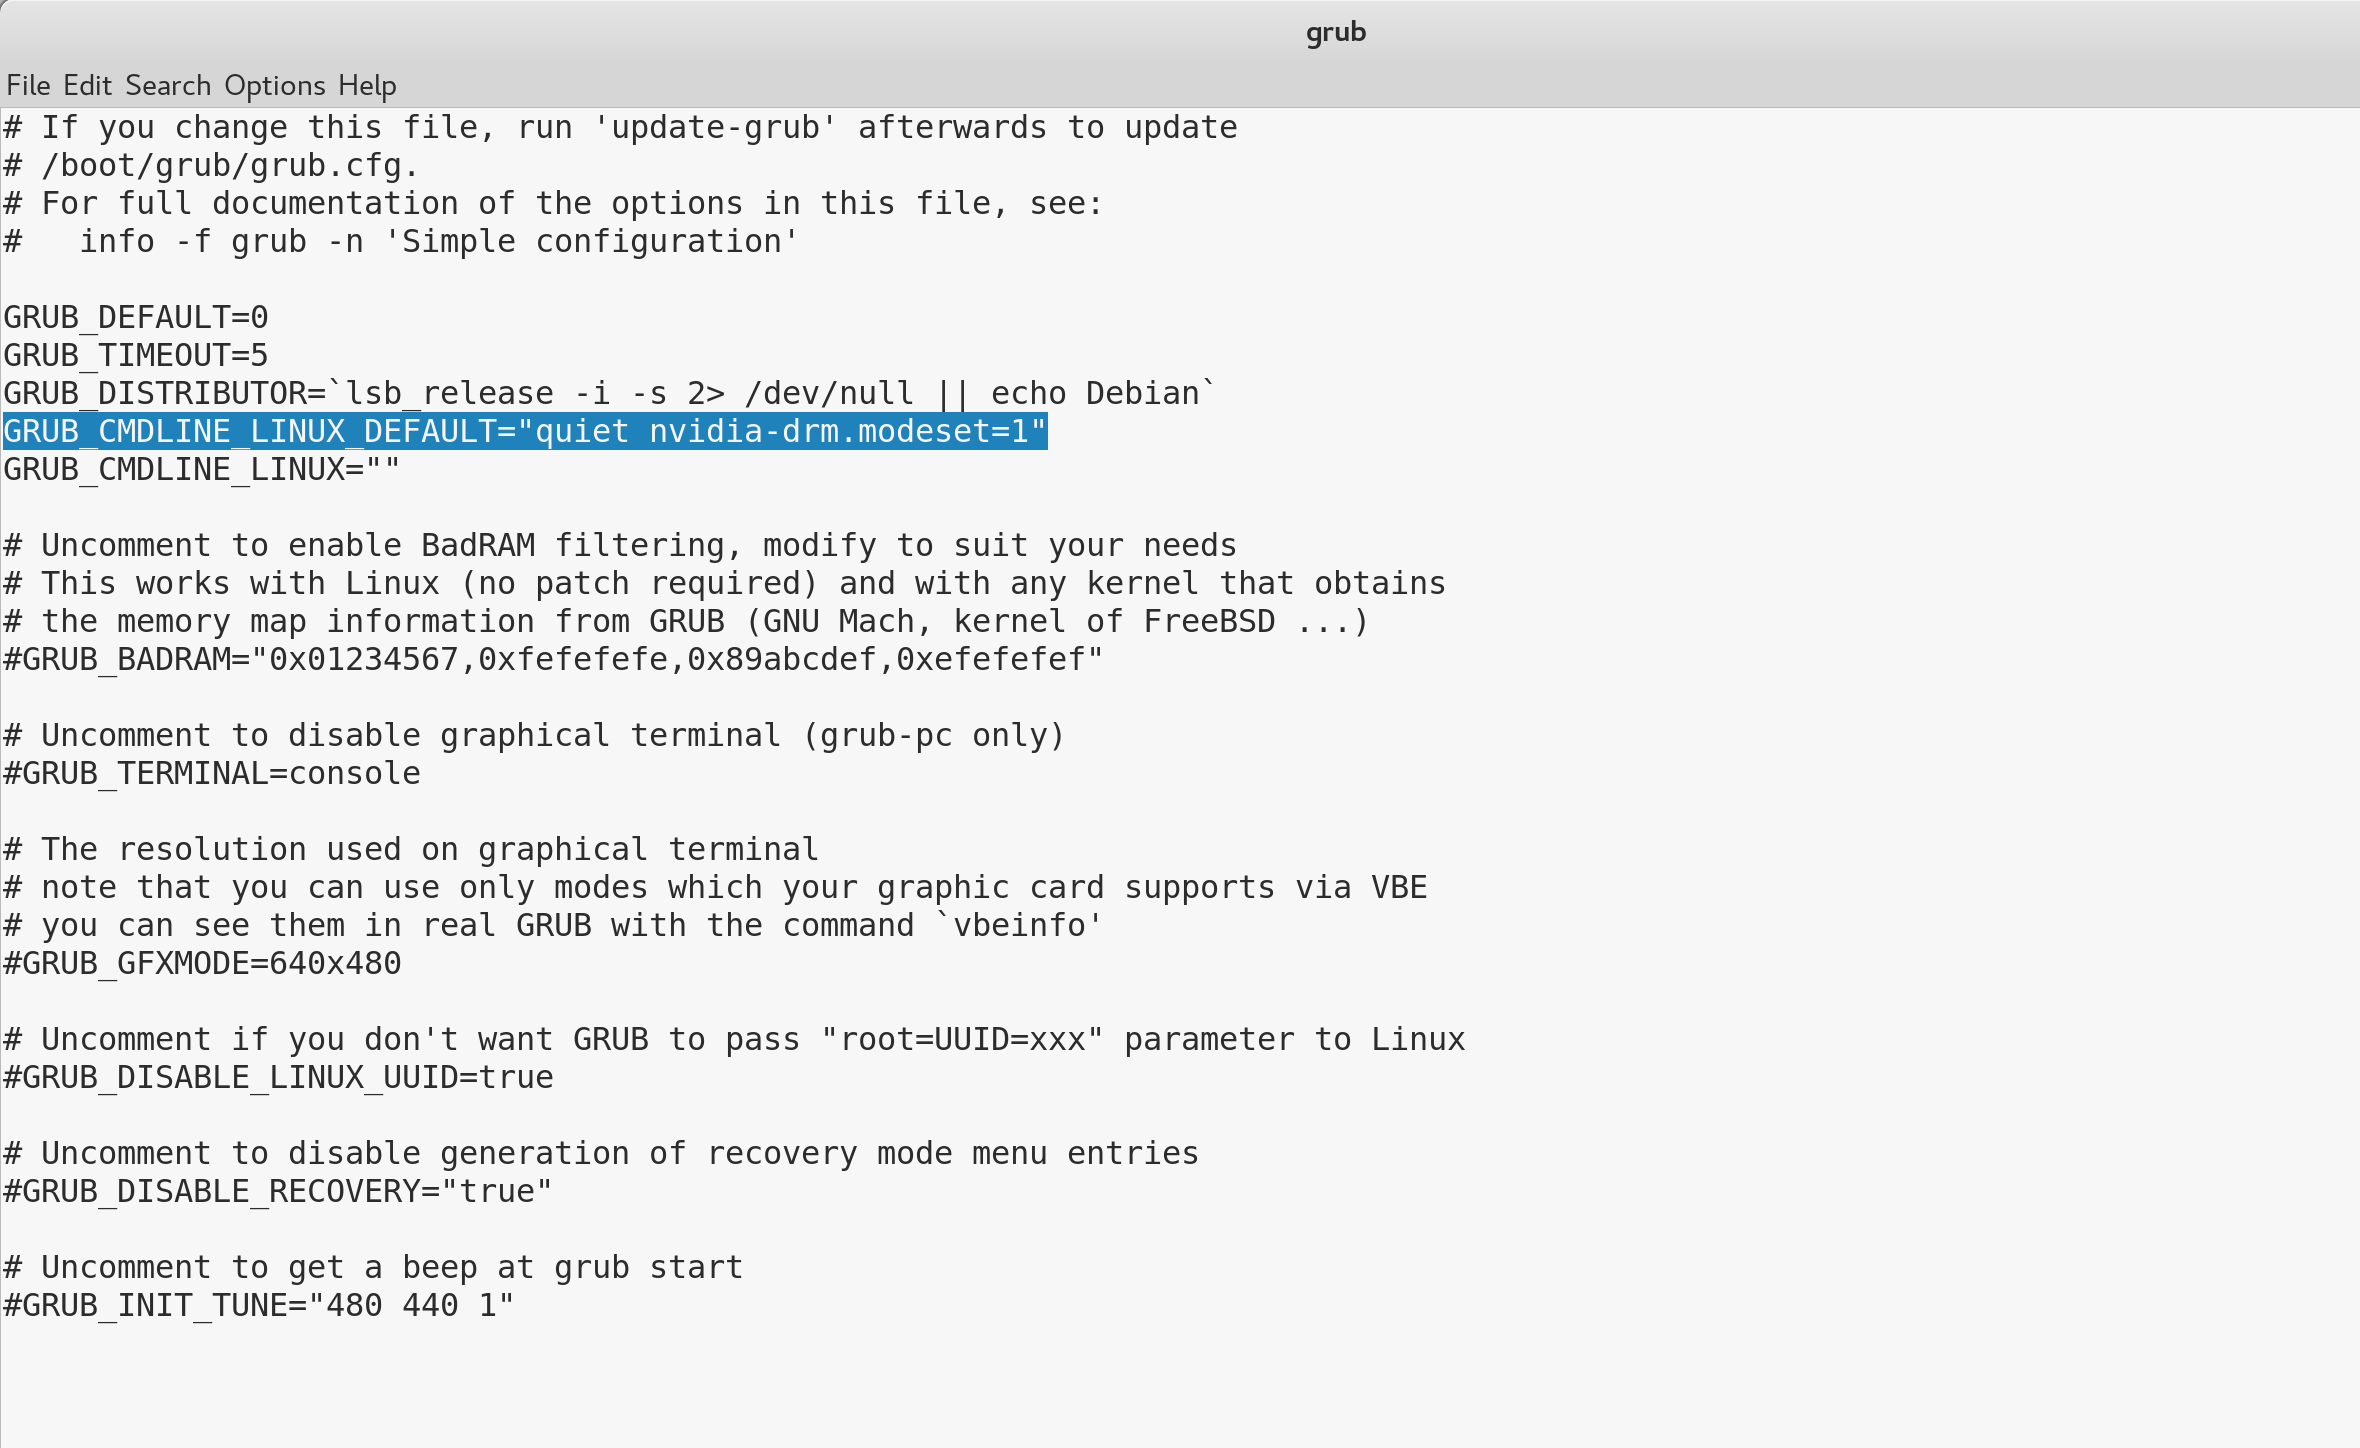
Save file and run
update-grub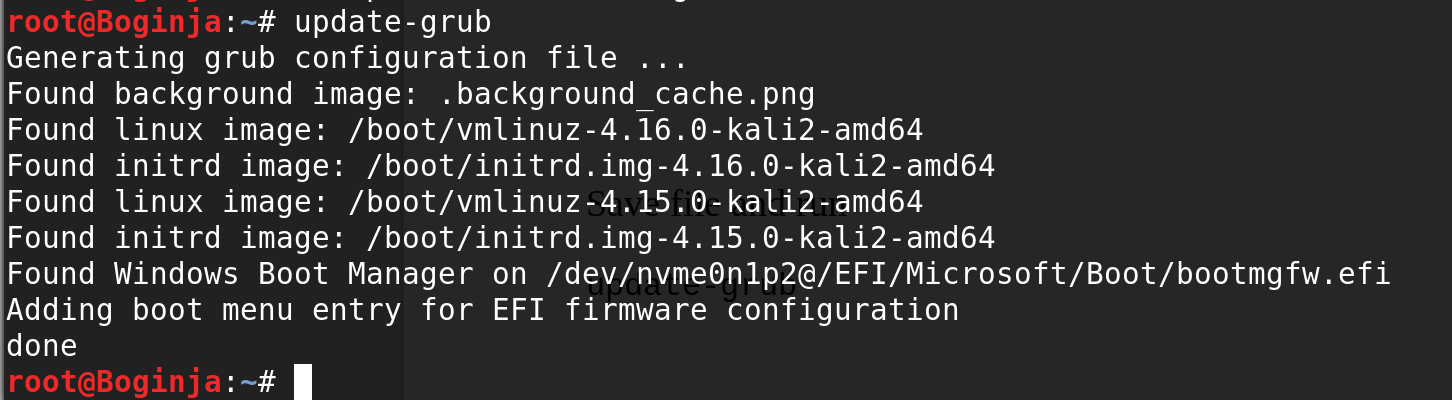
Reboot after updating grub.
After reboot run again
xrandr --verbose|grep PRIME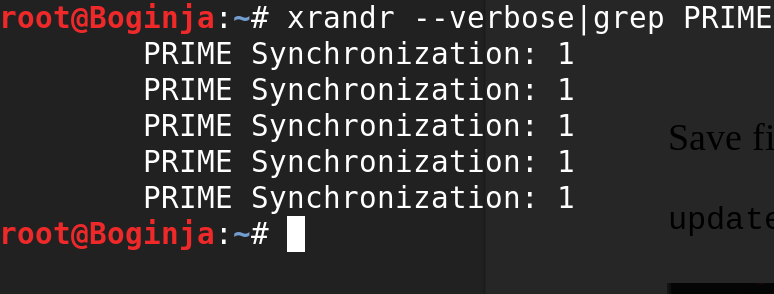
Everything is ok now.
With this step we finished Nvidia driver setup and now we should be able to boot without “quiet nomodeset” addition to the grub.
Bluetooth
WiFi in my case works out of the box, but bluetooth is a problem. In my XPS WiFi/Bluetooth is Killer N1535 chip. I searched through the internet about this, and people are not satisfied with Killer N1535 chip and many of them are changing chip to the Intel 8265. I decided to try and work with this one, and see where I’ll get.
So, Bluetooth doesn’t work, it is always off, no matter how I set toggle.

During boot period there is also error (I assume it has to do something with this chip):
ath10k_pci 0000:02:00.0: firmware: failed to load ath10k/pre-cal-pci-0000:02:00.0.bin (-2)
ath10k_pci 0000:02:00.0: firmware: failed to load ath10k/cal-pci-0000:02:00.0.bin (-2)
I don’t know if it has to do anything with this error, since I’m not (yet) advanced Linux user.
Anyway, back to the Bluetooth problem.
We need to confirm that we have N1535 chip, to do so, type following into terminal (you need to be root)
lspci | grep -i qca6174
Ok, confirmed and now we can go further
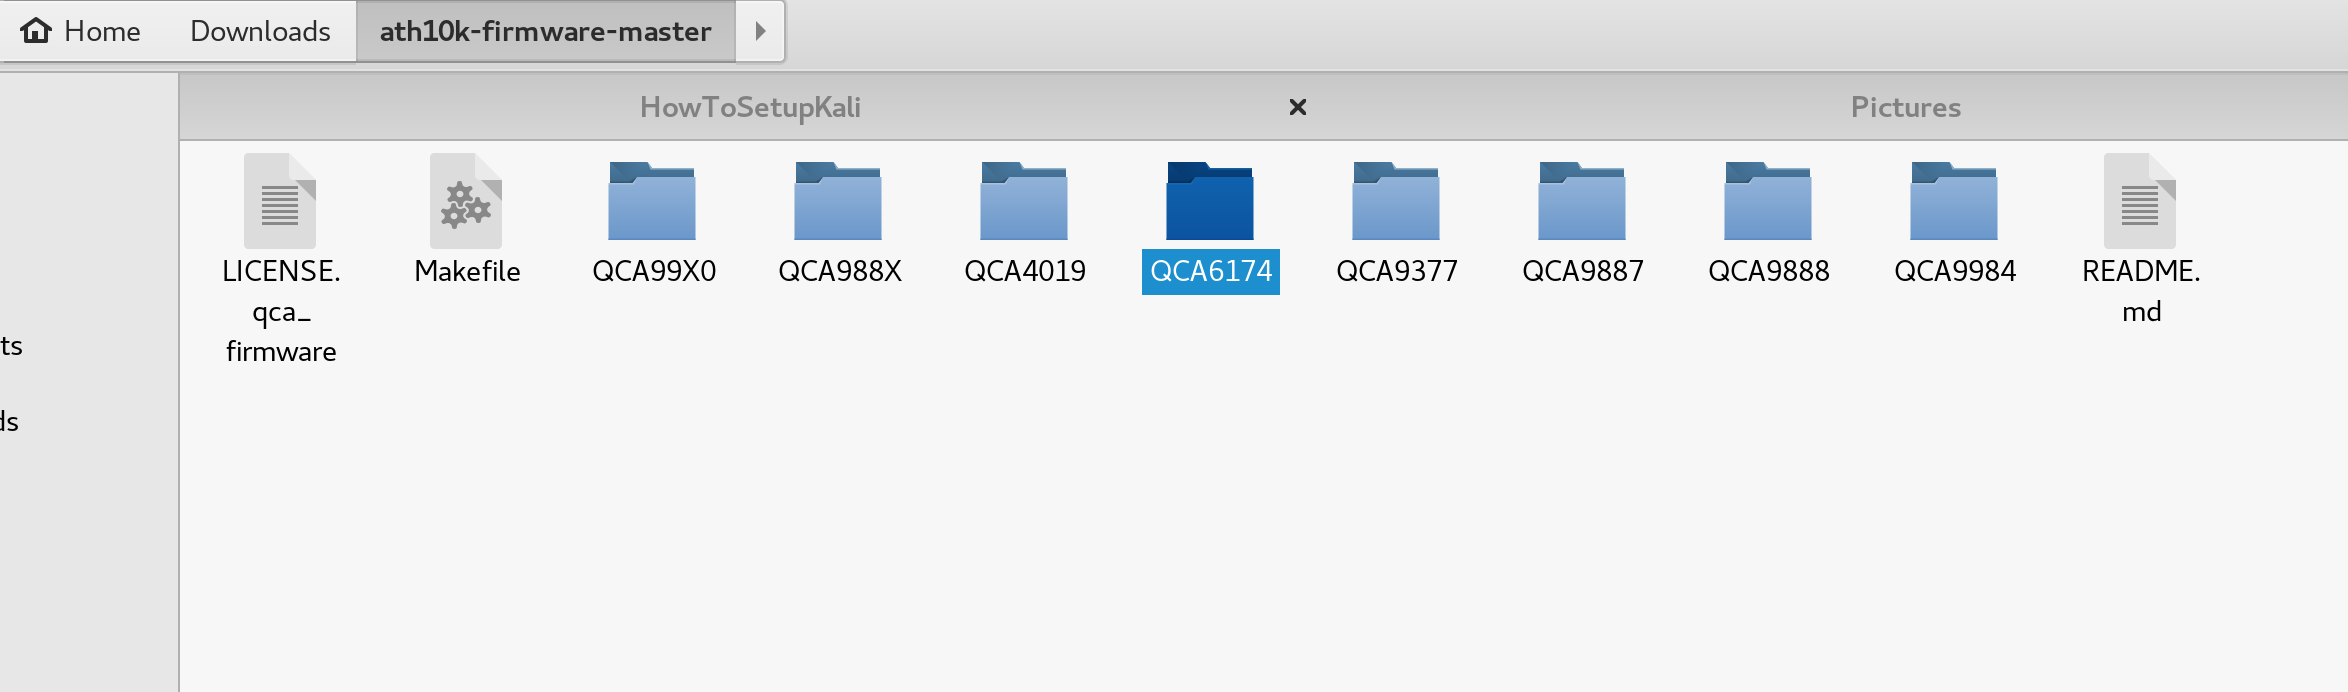
Download the latest firmware from https://codeload.github.com/kvalo/ath10k-firmware/zip/master and extract it to the same folder (usually Downloads) and then navigate to the QCA6174 folder
Now, as a root, start Nautilus from the terminal

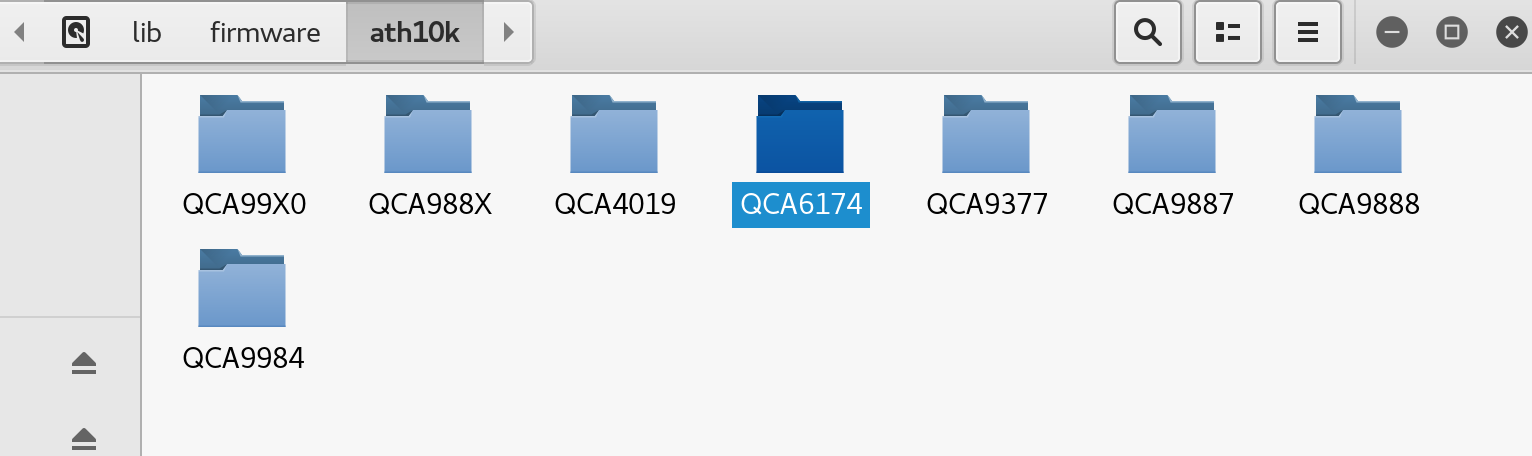
After Nautilus starts navigate to /lib/firmware/ath10k
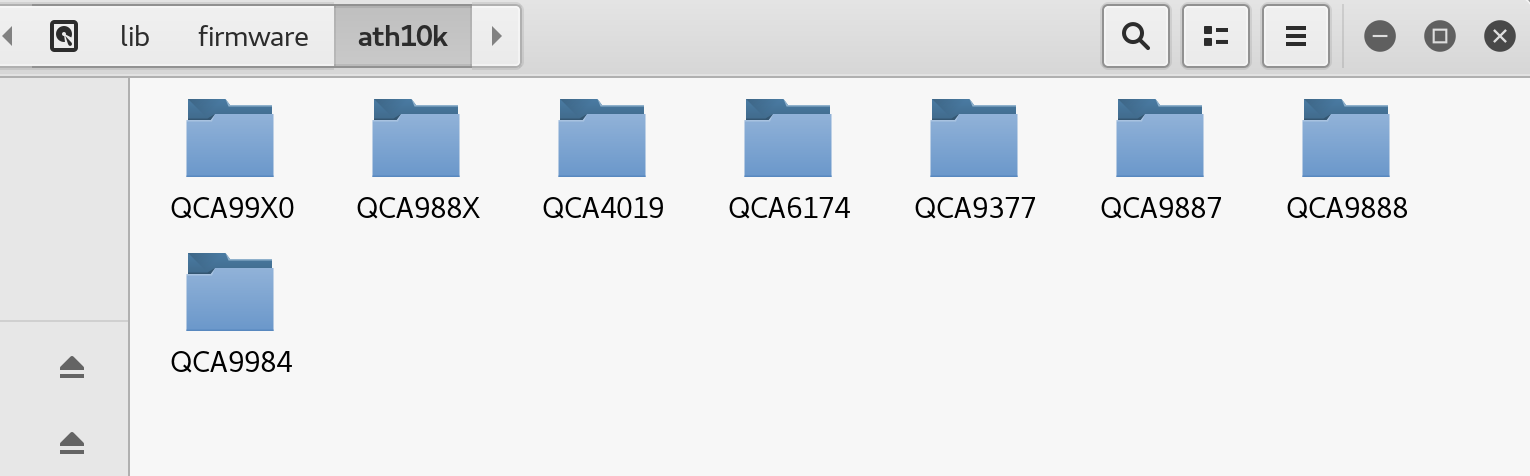
Now, delete QCA6174 folder from the /lib/firmware/ath10k we just opened
Now navigate to the folder where you downloaded ath10k from the internet and unpacked it. Copy QCA6174 from it to the /lib/firmware/ath10k
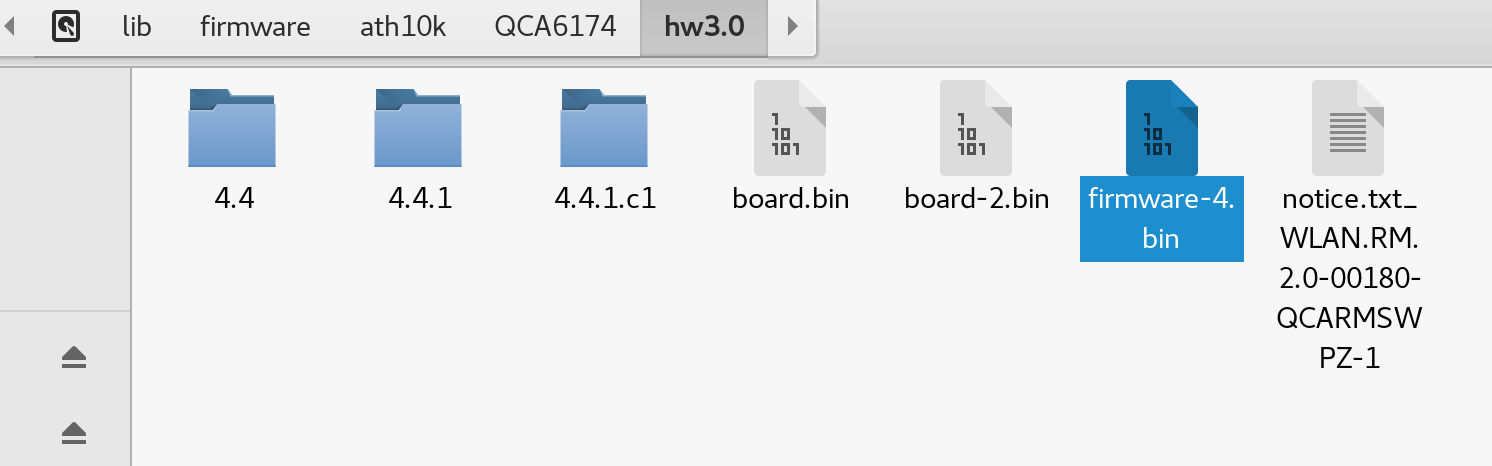
Now, navigate to the /lib/firmware/ath10k/QCA6174/HW3.0 and rename firmware-4.bin_WLAN.RM.2.0-00180-QCARMSWPZ-1 to firmware-4.bin
Well, for me after reboot same thing, wifi is working, but no bluetooth.
Let us try one more thing to get it to work.
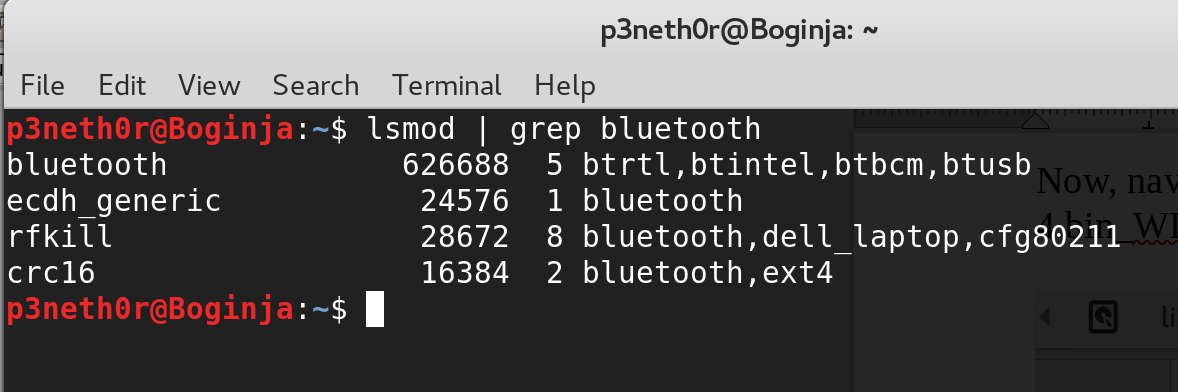
Open terminal (as root) and type following command:
lsmod | grep bluetooth
Result should be as follows
systemctl enable bluetooth.service
systemctl start bluetooth.service
With these commands we enabled bluetooth start on every boot and also started service right away.
It works and I managed to connect my mouse immediately.
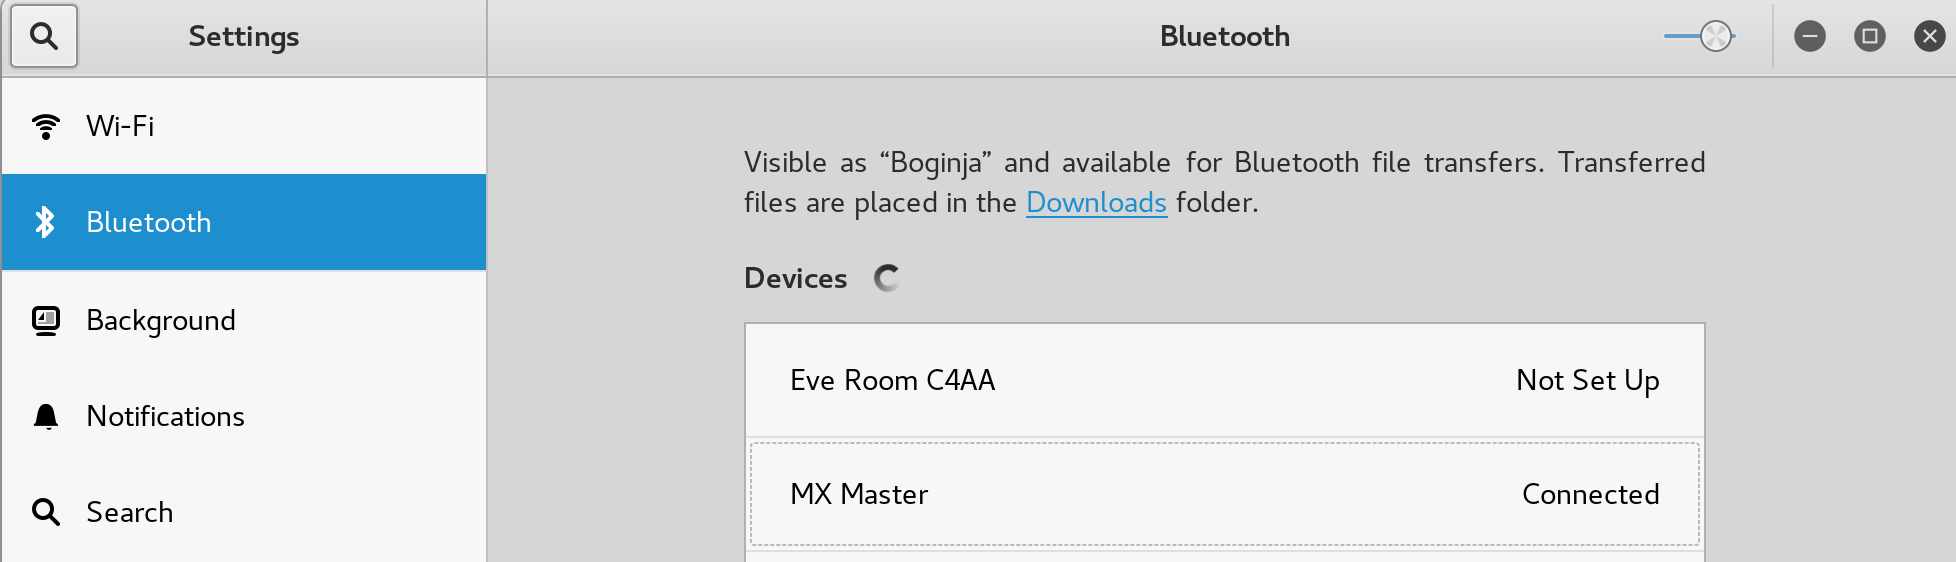
Bluetooth issue – solved.
Conclusion
Now, after all these steps I have machine that works great in Kali 2018.2.
One downside is that I still have quick battery discharge (maybe two hours of full charge).
During boot I get few ACPI Exceptions “ACPI Exception: AE_NOT_FOUND” that I wasn’t able to resolve.
If you by any chance have a resolution for this, please let me know. I will try the solution and update this article accordingly.
Beside that issue, everything is working as it should.