I had a few articles about HP StoreVirtual 3200 this year, and tested that entry level SAN quite a bit. In the end I wanted to erase configuration and do a factory reset.
It looks like it isn’t simple task. I mean, it is – if you have documentation for the restore procedure available. :)
Lets start with the procedure.
You need following prerequisites in order to restore HP StoreVirtual 3200 successfully:
HP StoreVirtual 3200 Field Restore Image (AX694-10511.zip) – it can be found here –
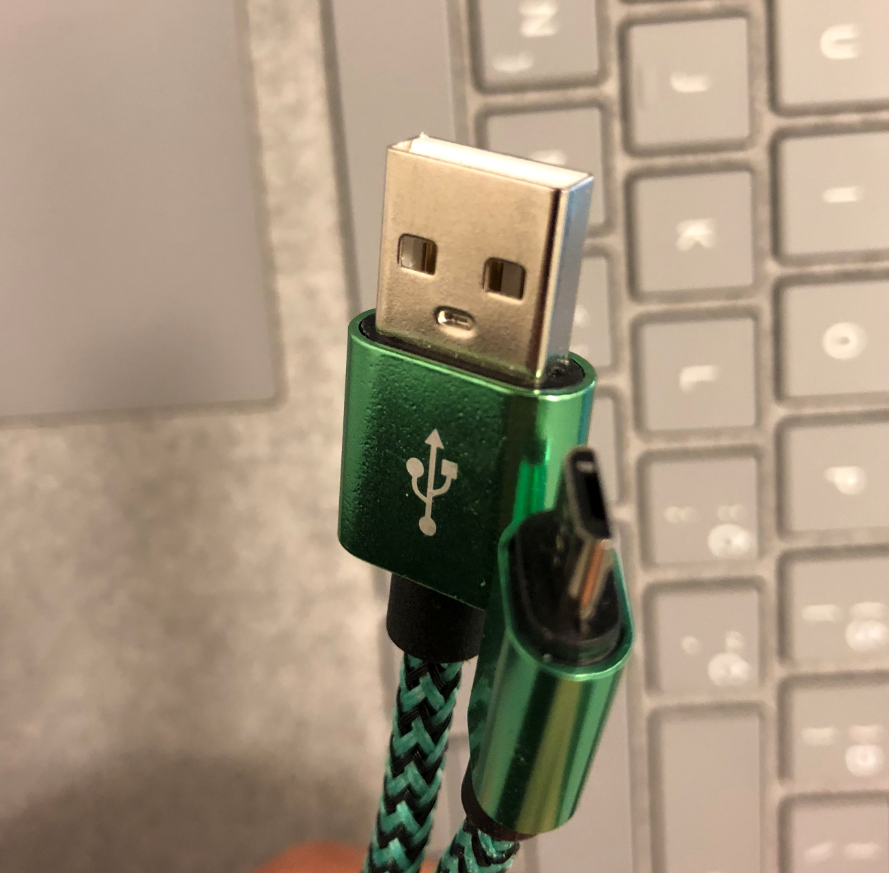
- USB to Micro USB cable
- USB Serial Drivers from this link www.ftdichip.com/drivers/cdm/cdm21218_setup.zip
- Putty
- USB Stick With at least 4GB of free Space.
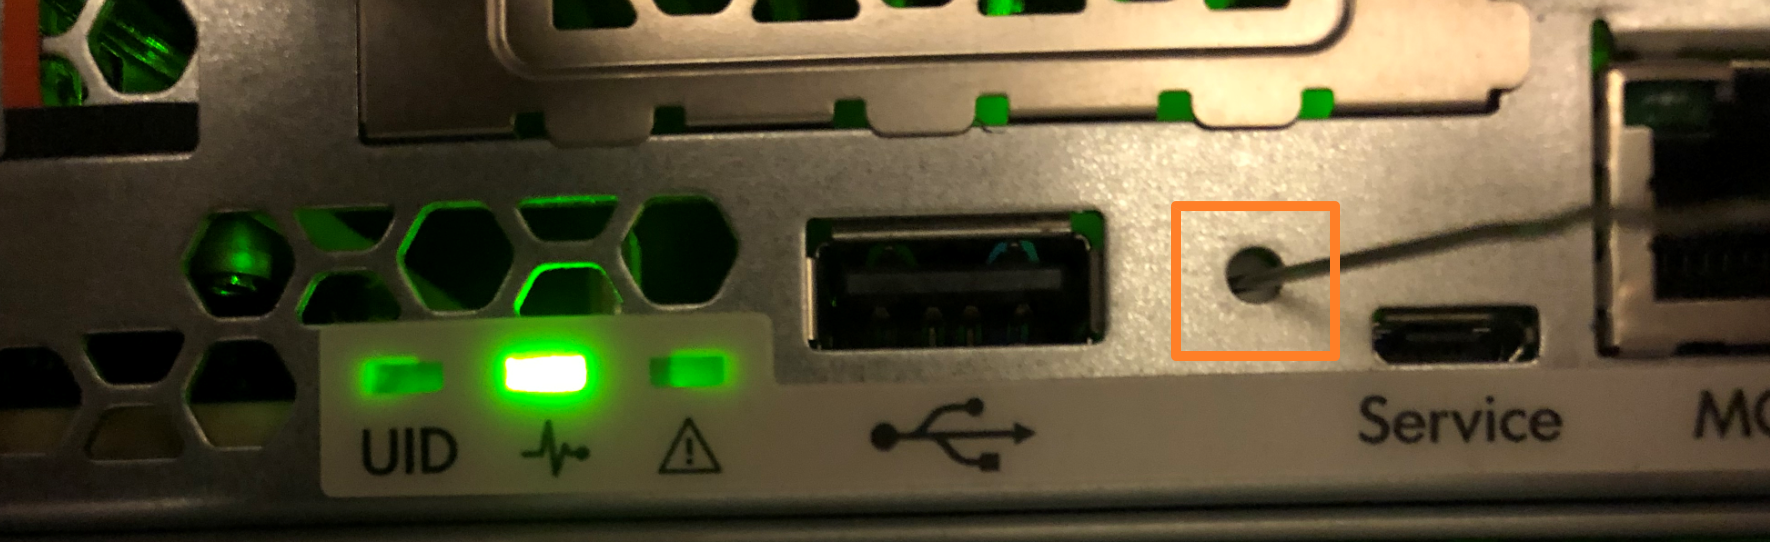
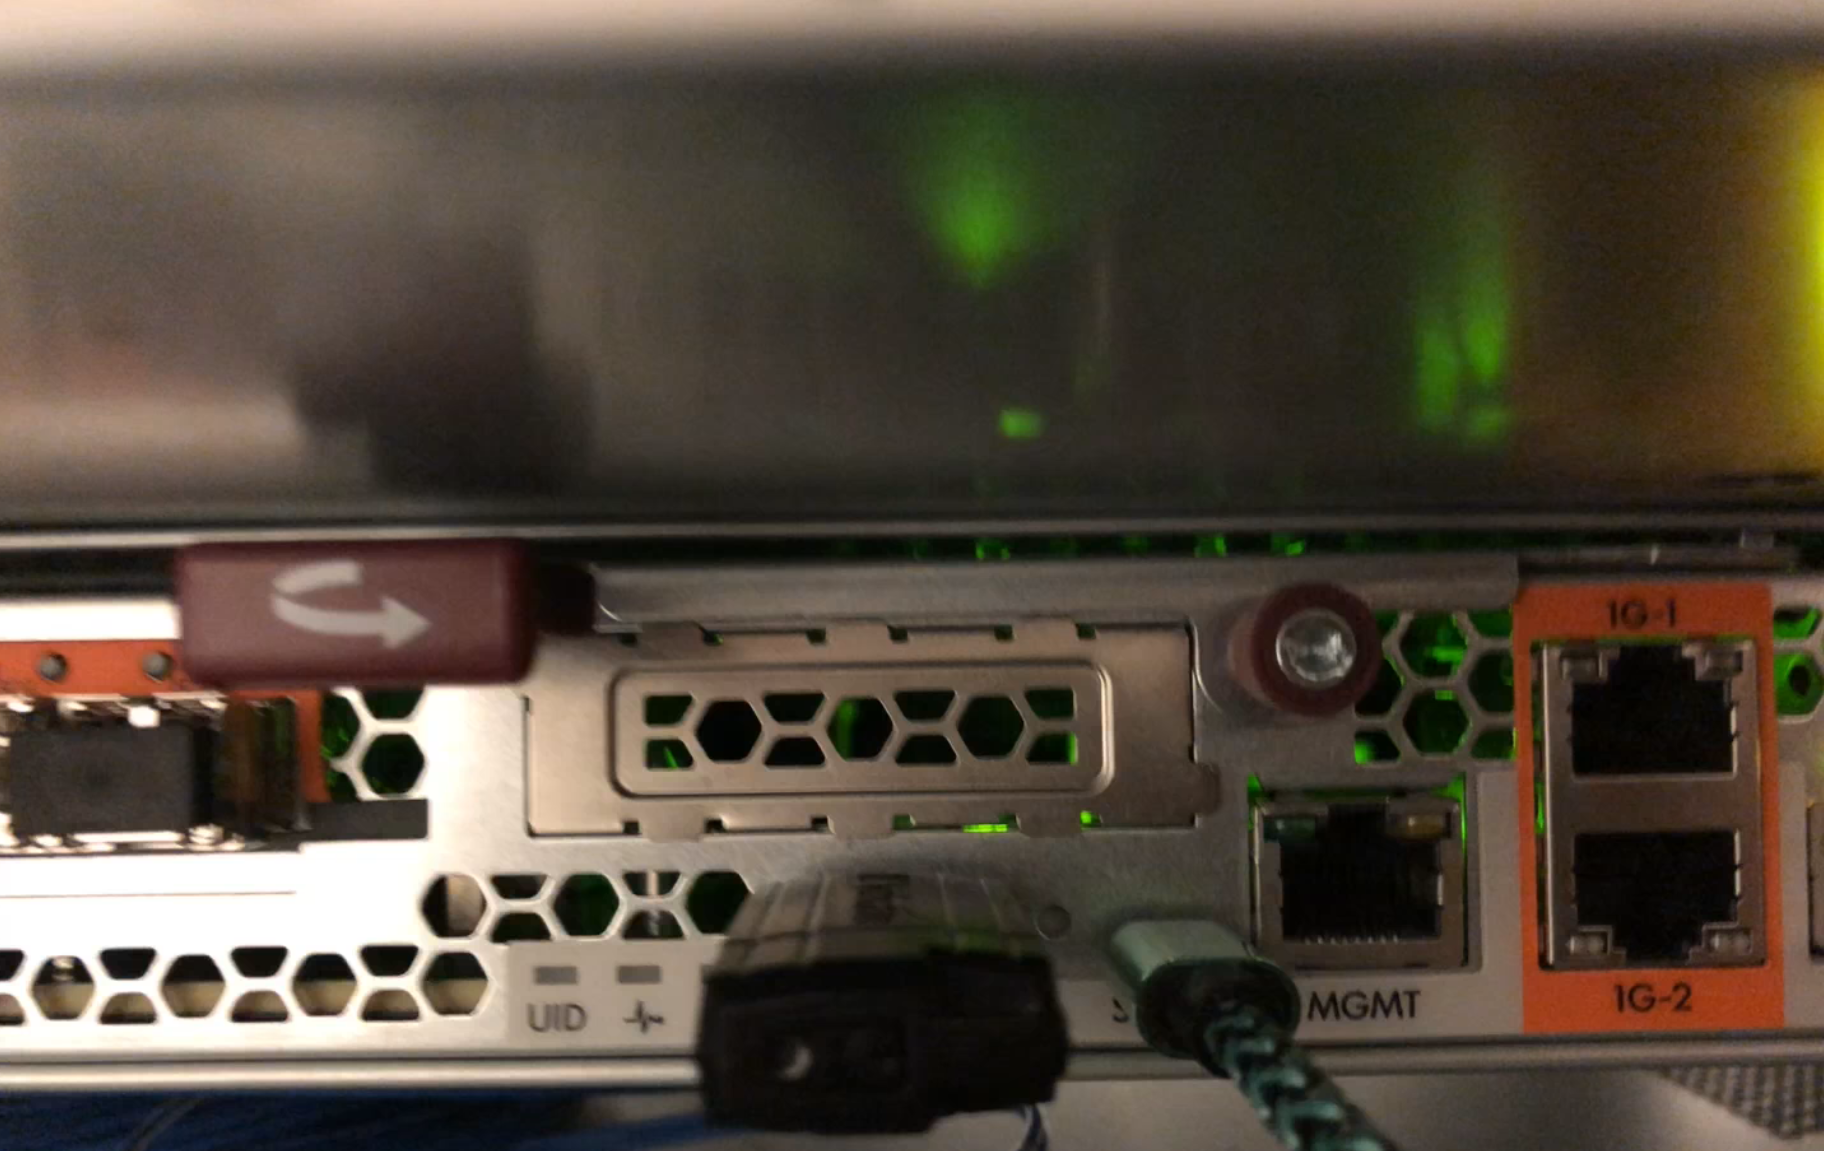
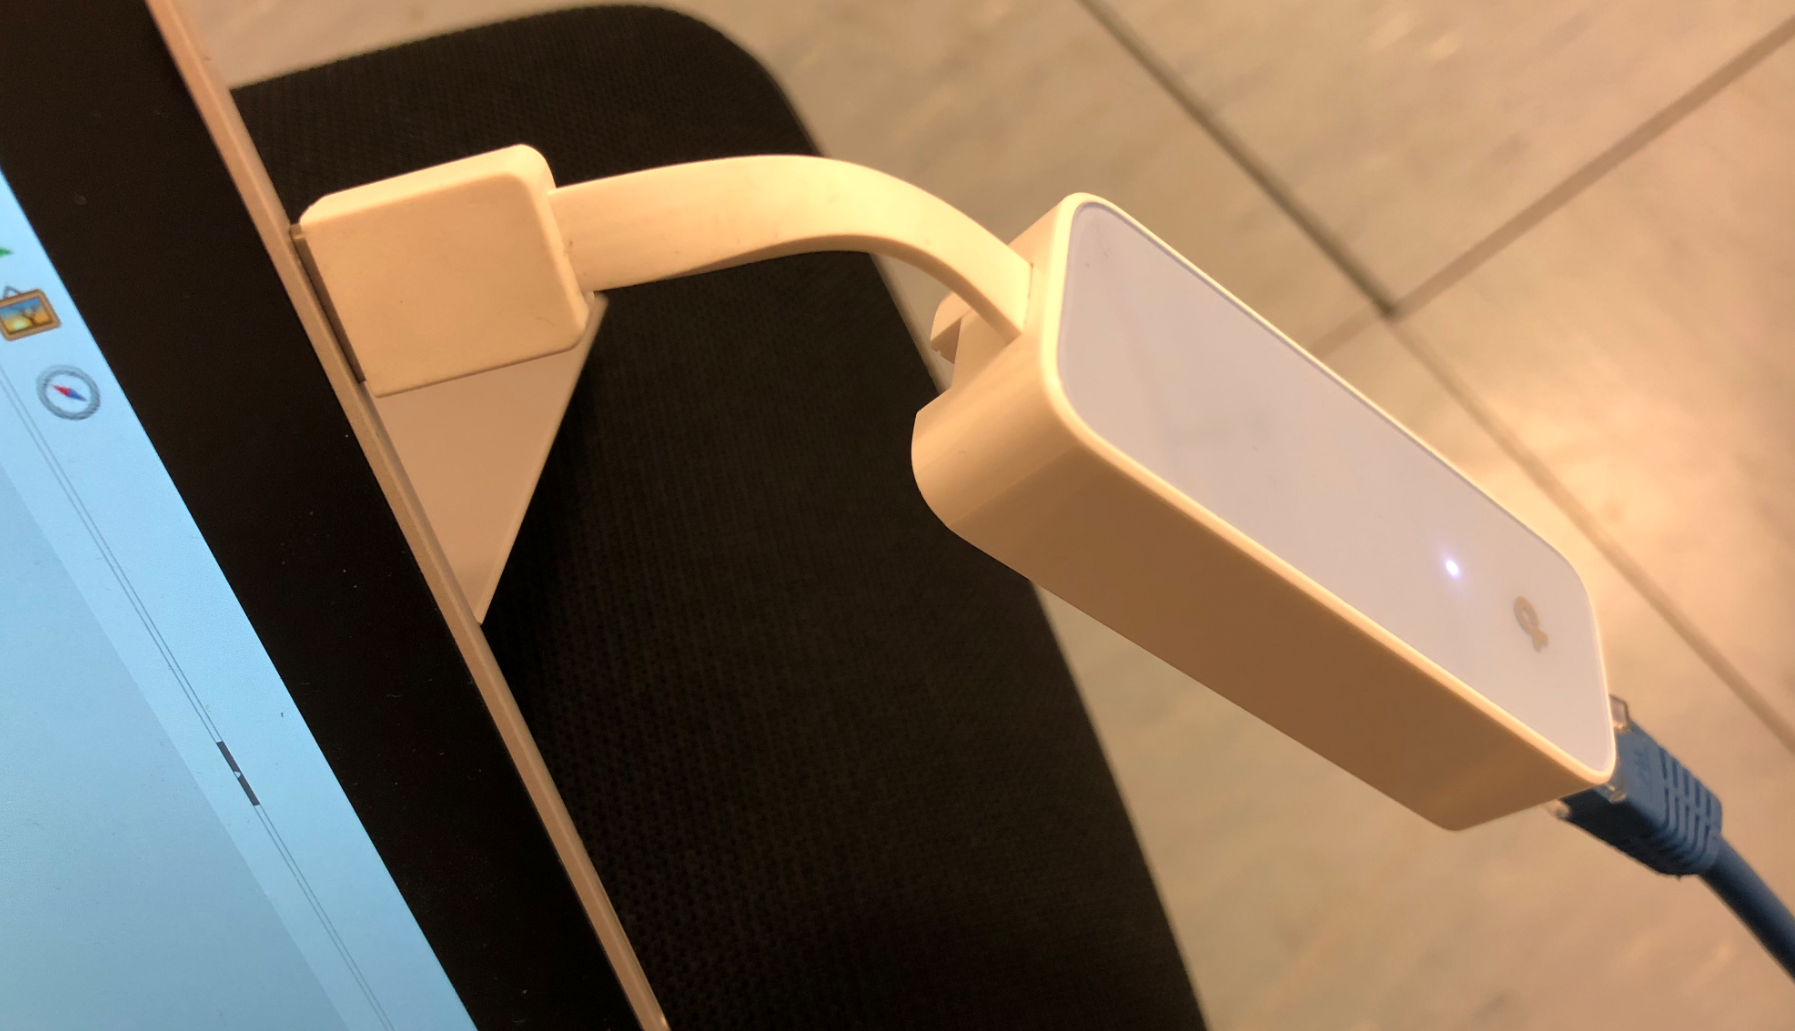
While I was downloading HP StoreVirtual 3200 Field Restore Image (AX694-10511.zip) I tried to connect USB cable to my PC and the MicroUSB part to the back of the StoreVirtual 3200 in the port where it says Service
Simple USB A to Micro USB is enough for connecting to the StoreVirtual 3200
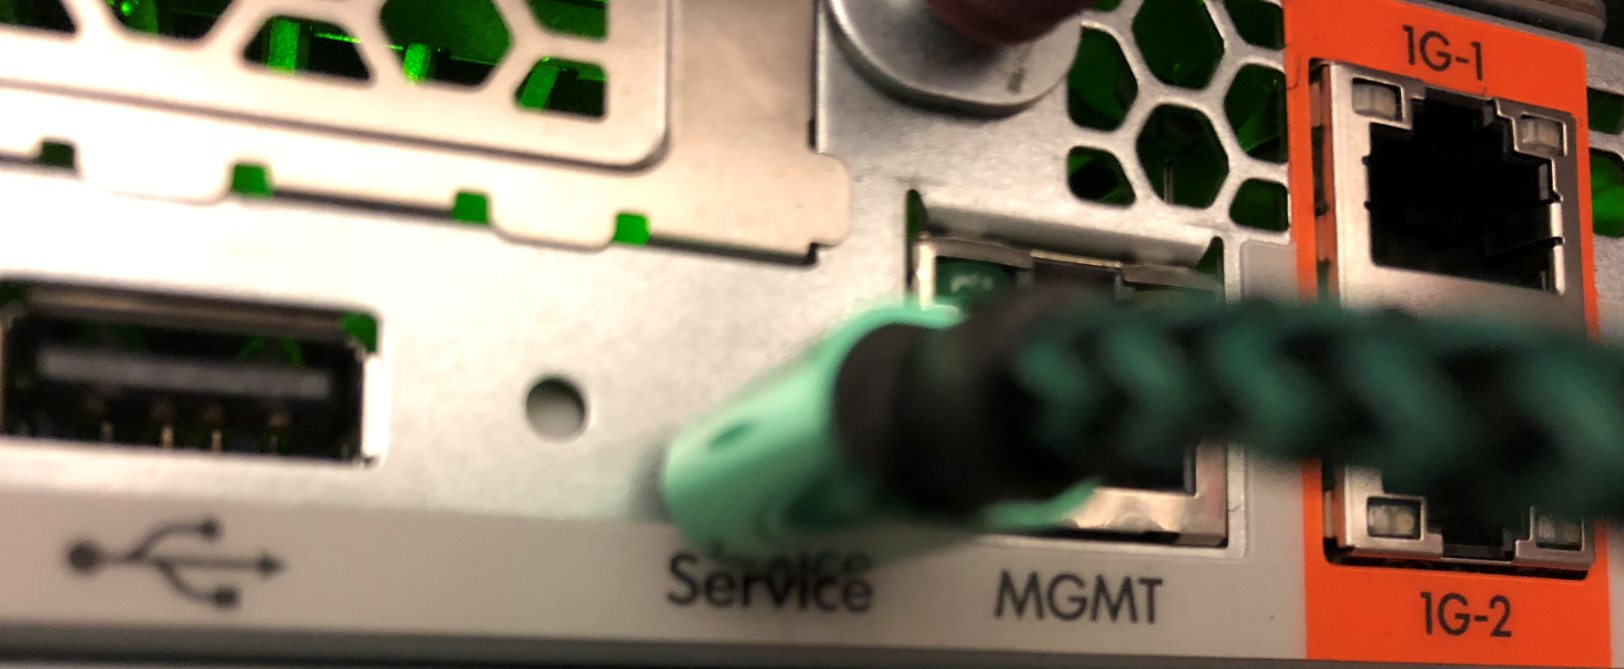
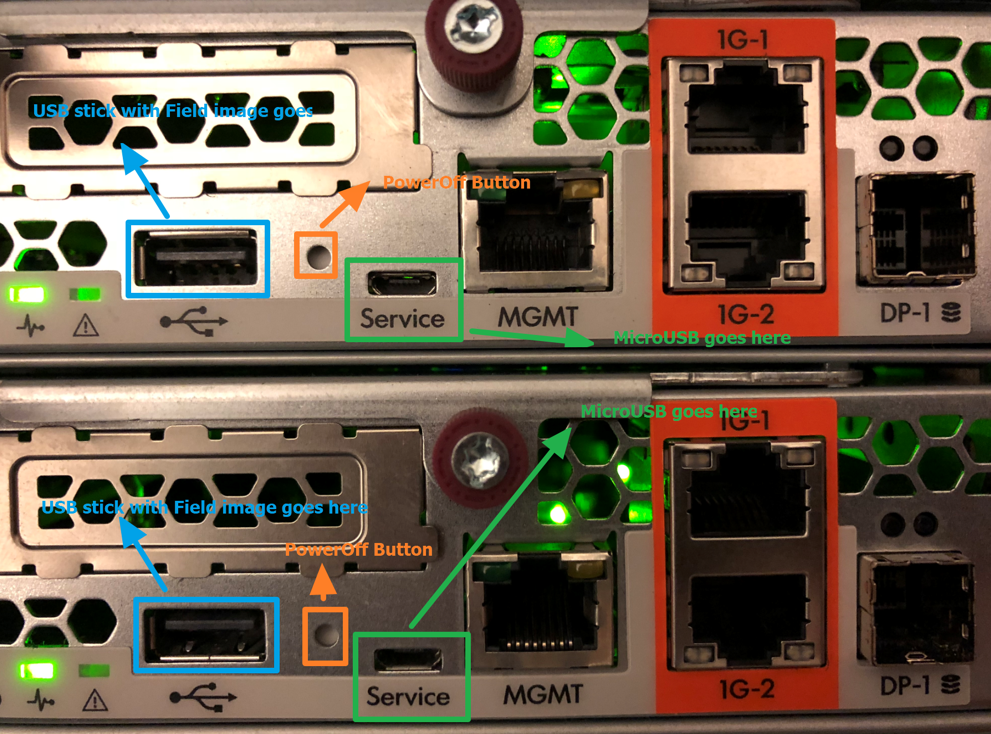
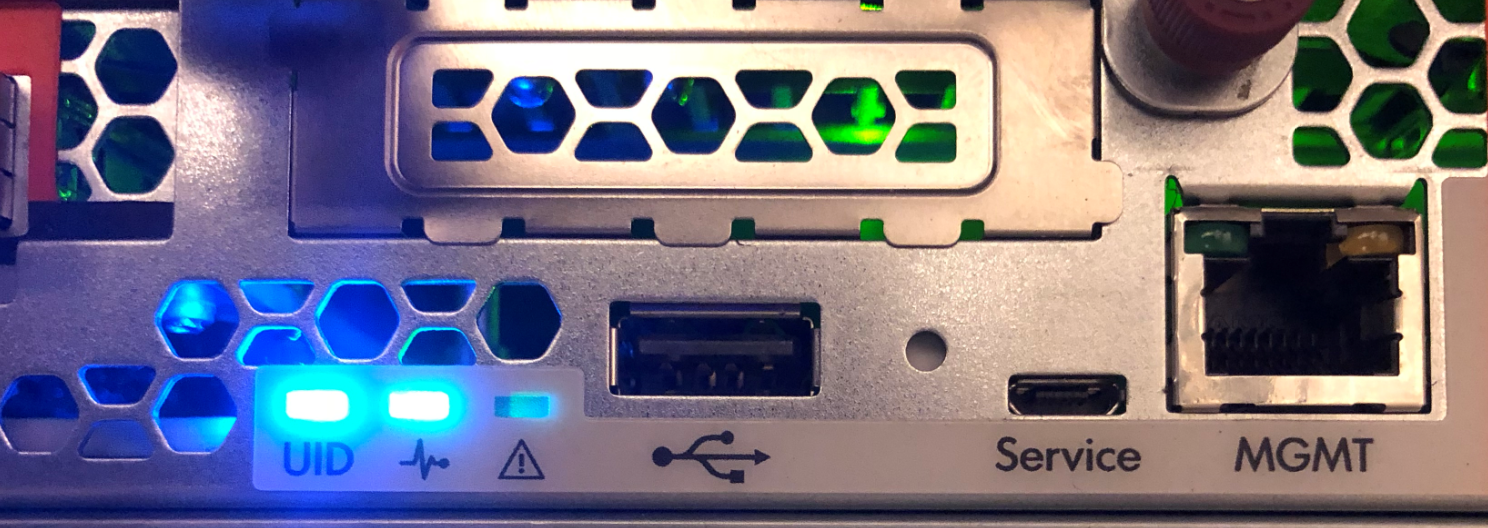
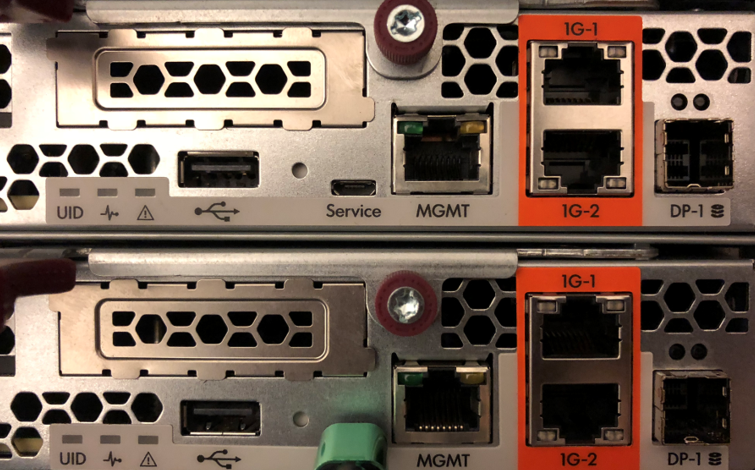
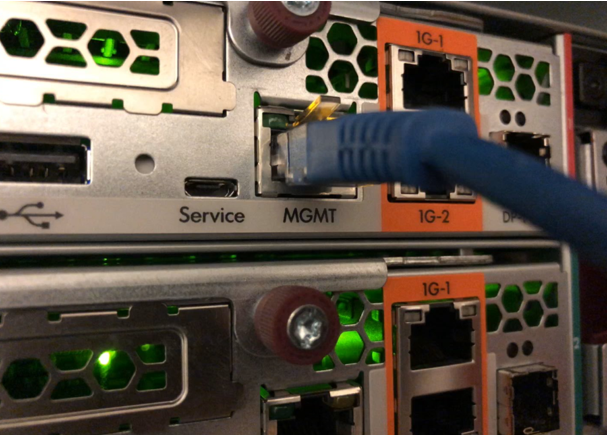
Before we move on – Little picture tutorial of the ports that we will need in this tutorial
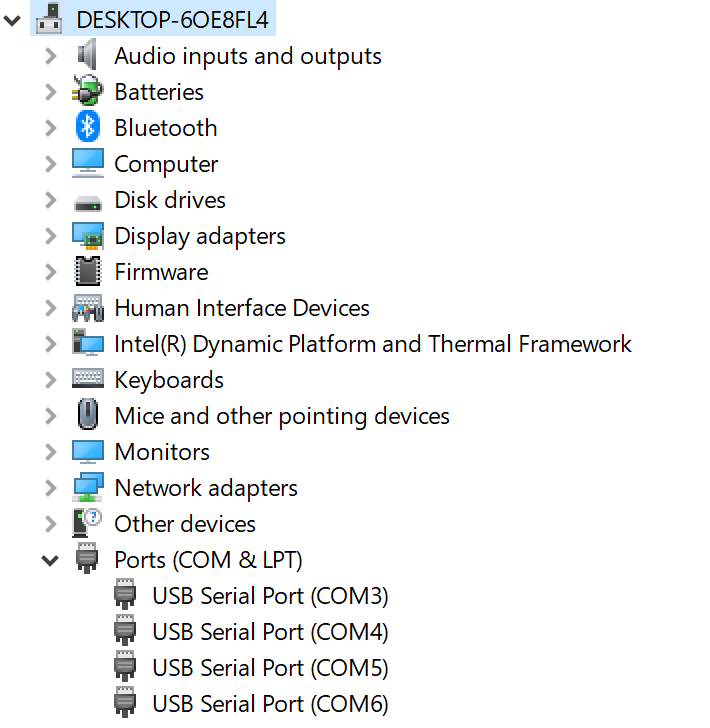
After I connected MicroUSB cable to the Service port the result was bunch of unrecognized ports
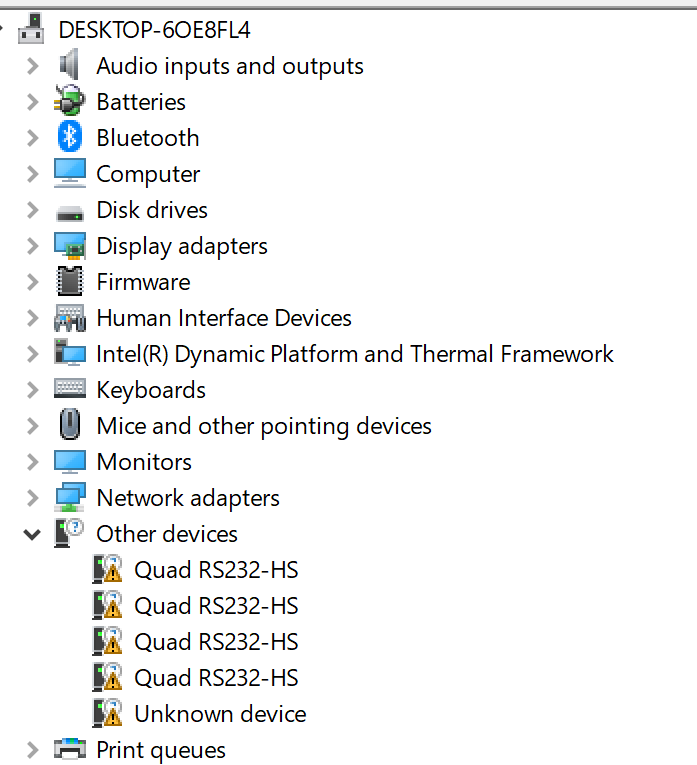
I head on to this link www.ftdichip.com/drivers/cdm/cdm21218_setup.zip and downloaded drivers.
After that I installed the drivers and the result was:
Maybe you won’t need these drivers, if you are lucky your system will recognize the Serial ports from the StoreVirtual 3200. We will need these ports in a bit, so this is a crucial step to be done properly.
Next step in preparation part is downloading HP StoreVirtual 3200 Field Restore Image (AX694-10511.zip).
After you downloaded the image, unzip it to the USB stick to get boot and root directories only on the USB. USB can be FAT32 formatted and needs to be empty.

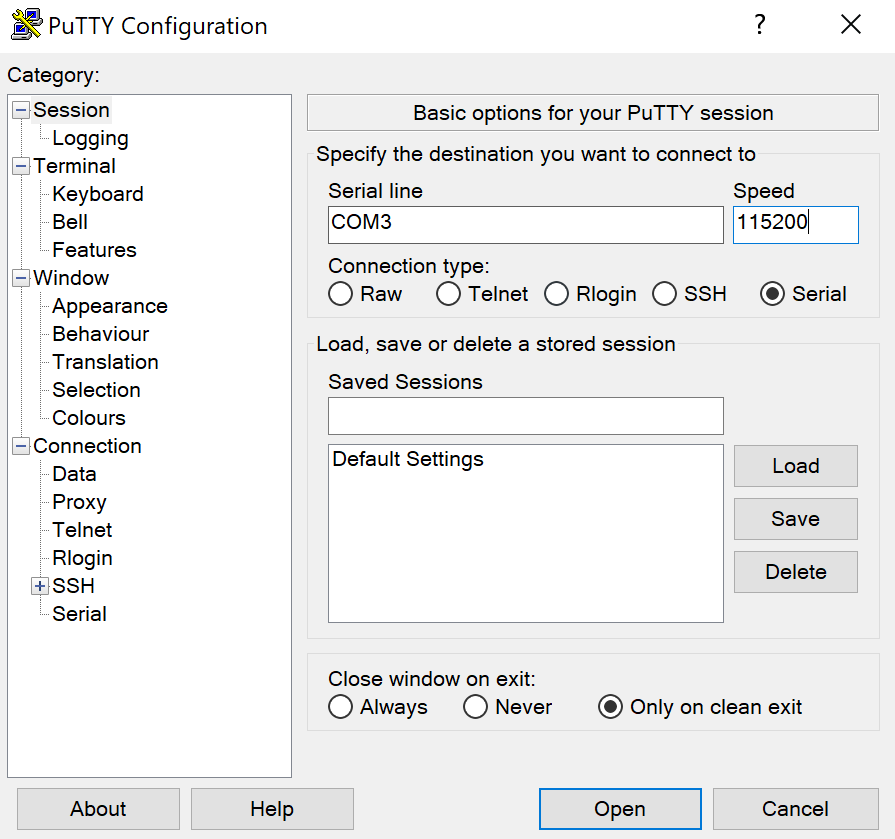
Next step is Putty. We have to determine which Serial port does what, and that takes a little testing, since you have to enter every of the COM ports into Putty. In my case COM ports are 3-6. Although Service port is only one, we got 4 Serial ports from it, don’t be confused by that.
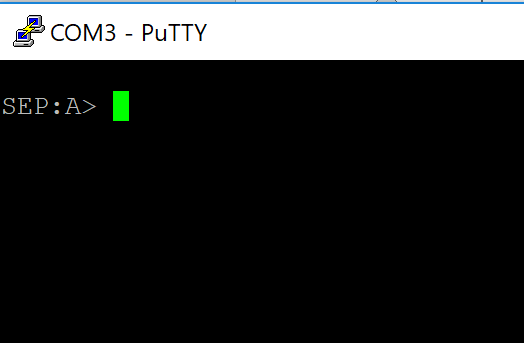
There are few modes of Serial connection on StoreVirtual 3200
For gSEP you’ll get login prompt SEP:A> or SEP:B>
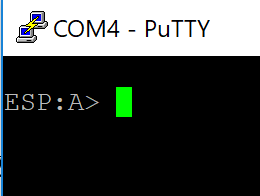
For ESP you’ll get login prompt SEP:A> or SEP:B>
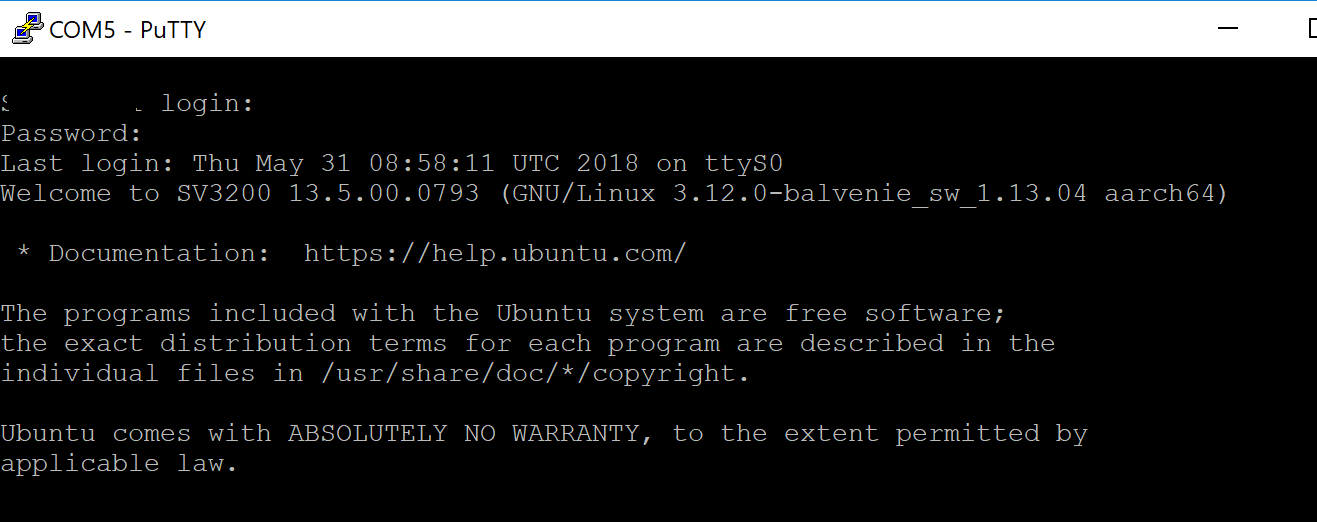
For OS you’ll get something like Welcome to SV3200 13.5.00.0793 (GNU/Linux 3.12.0-balvenie_
And last, for haLO you’ll get login prompt
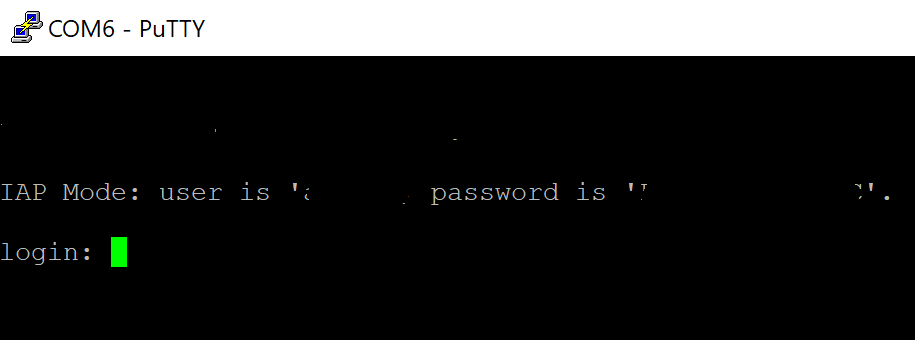
If you look closer, you’ll see that I already went through all serial ports that are accessible to me.
Settings for Putty are pretty simple, you have to first open Device Manager in Windows to see which USB Serial ports are available to you, open Putty, select Serial and enter you COM ports one by one and set speed of 115200
After you determined functions of your COM ports, we can go further. Notice, these are COM ports for only one of the two controllers in the StoreVirtual 3200. You have to repeat the procedure for the second controller. Important thing is to remember on which COM port is OS.
SC1 and SC2, A or B are the marking for controllers. In my case SC1 and A are top controller markings, while SC2 and B are bottom controller markings.
Serial port function is the same in my case for the both controllers, COM5 is the OS port.
We will now power down both controllers.
Powered down
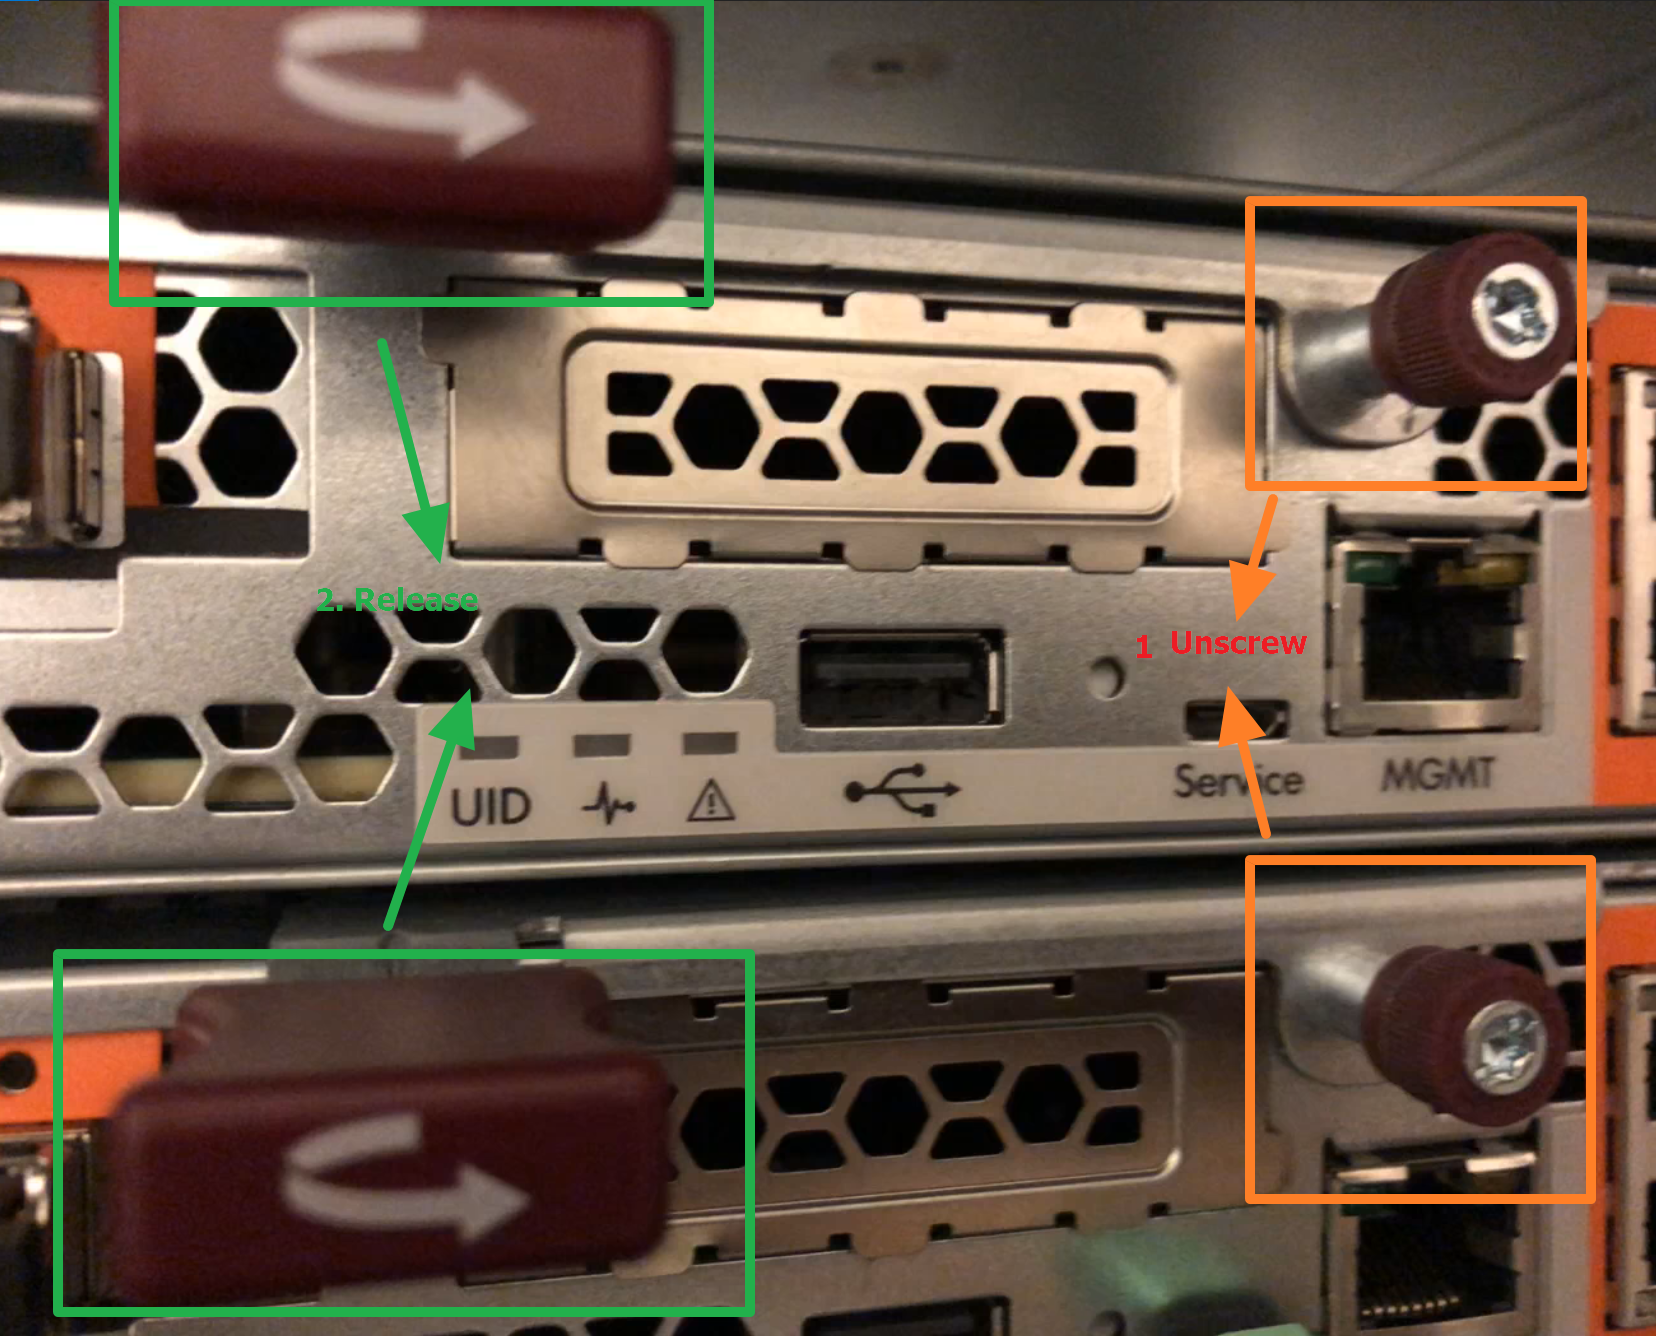
Unscrew each controller and release it with the lever
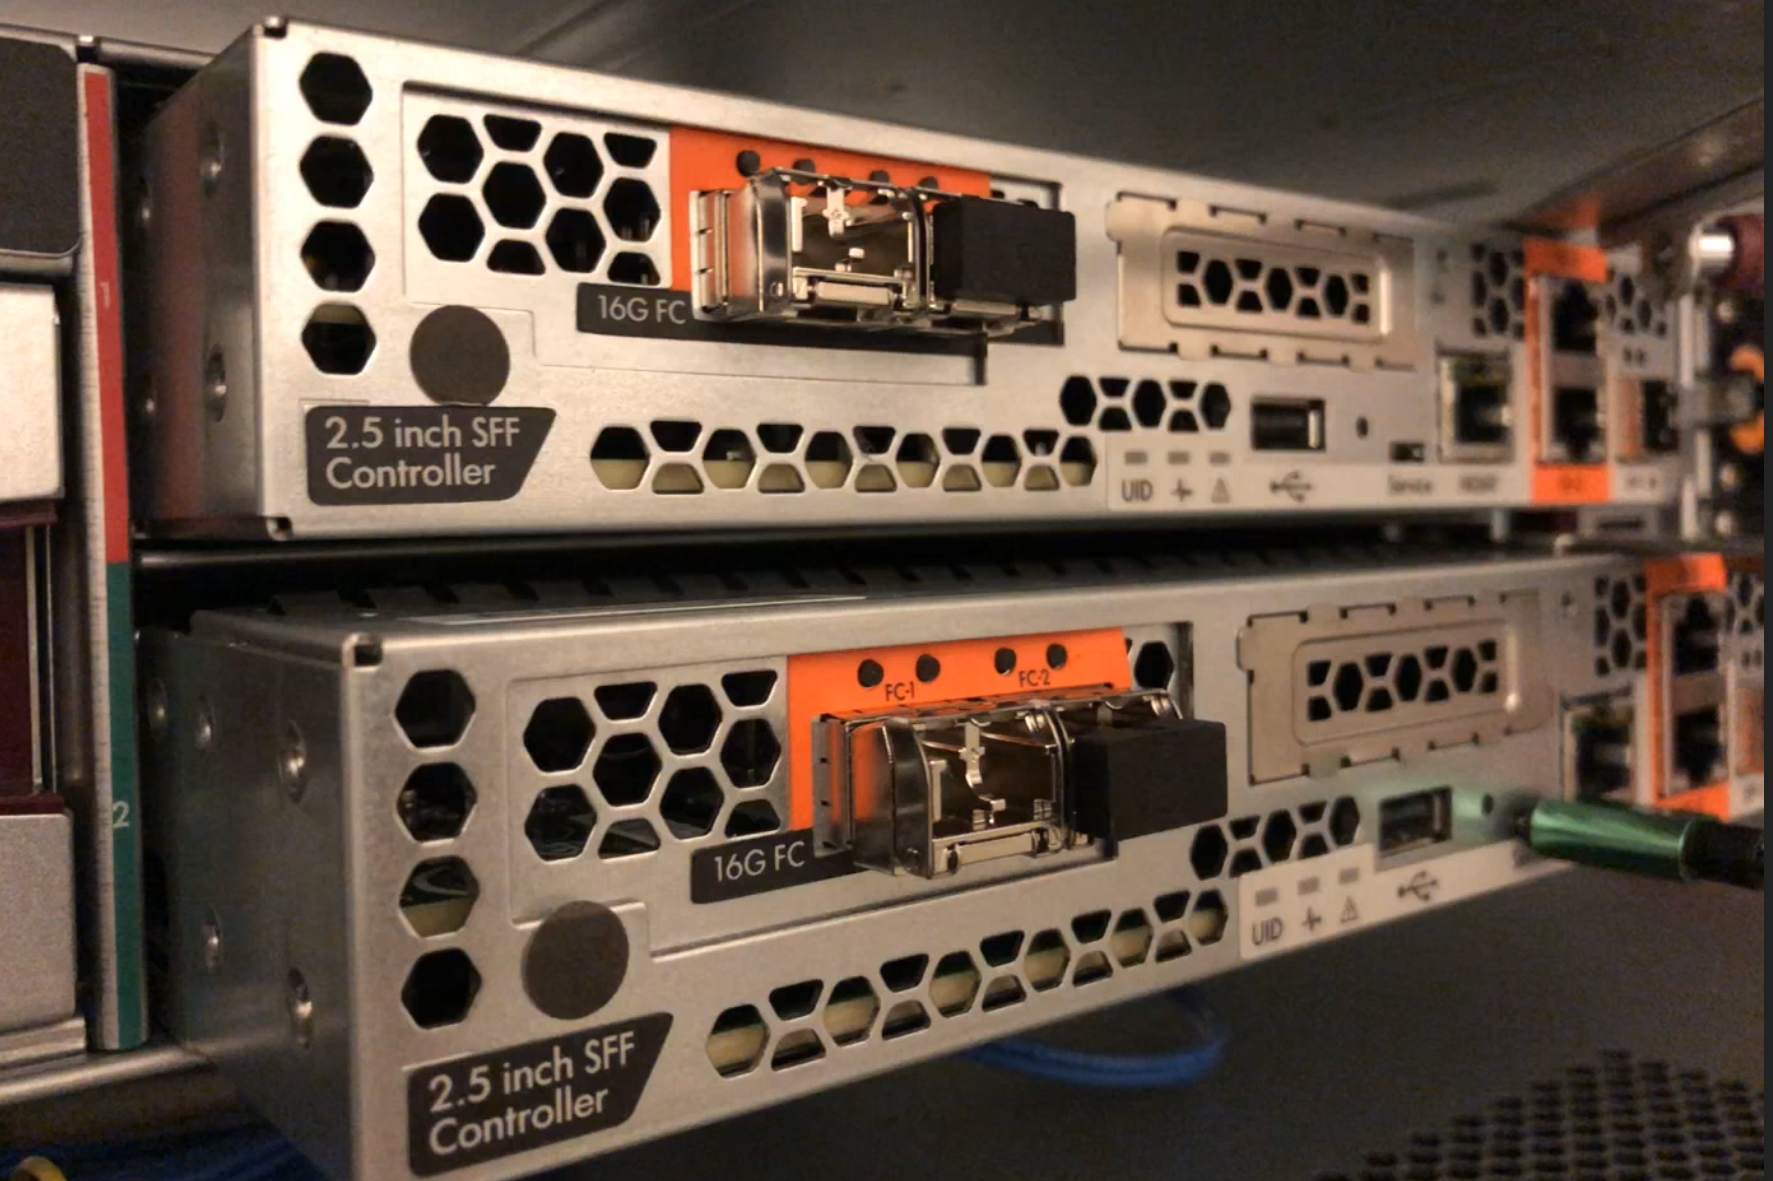
Pull out both controllers.
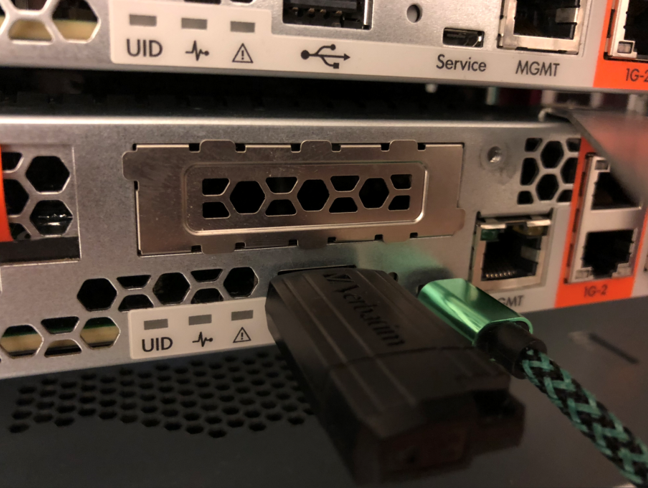
Into the bottom controller – Insert USB drive that we prepared earlier with the Field Restore Image and connect USB cable into Service port. Prepare putty with defined OS COM port, in my case that is COM5
Leave the top controller out of the enclosure and reinsert bottom controller into enclosure again.
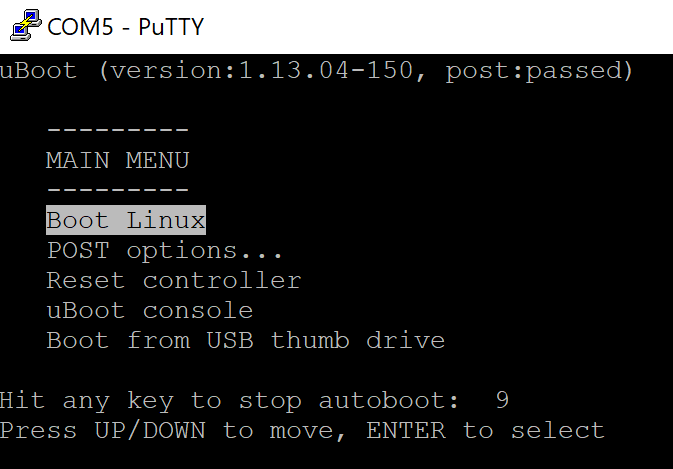
After you reinserted bottom controller it will automatically boot. You need to have Putty opened and configured on OS COM port in order to catch uBoot screen. When screen reaches uBoot you have 10 seconds to press any key to stop further booting. Press ESC to stop autoboot.
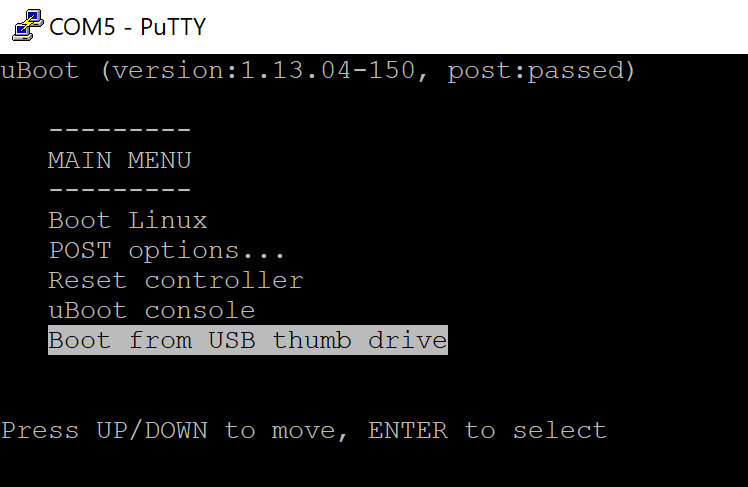
Highlight Boot fro USB thumb drive and press enter
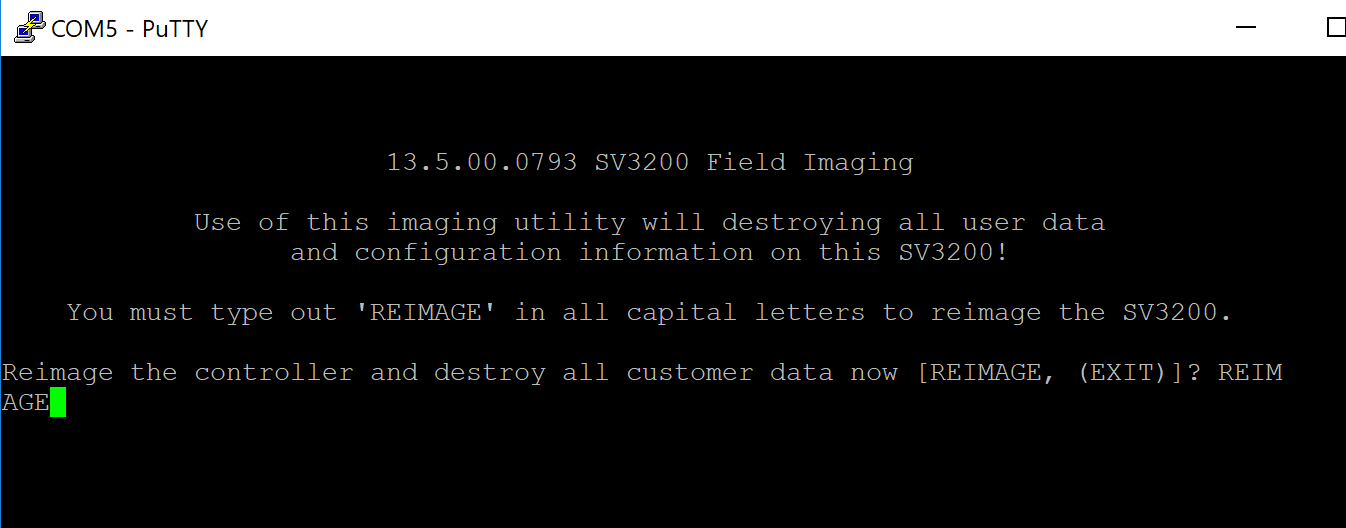
Controller will start booting from the USB, when it Reaches Field Imaging screen enter REIMAGE with capital letters and press enter
Reimaging starts

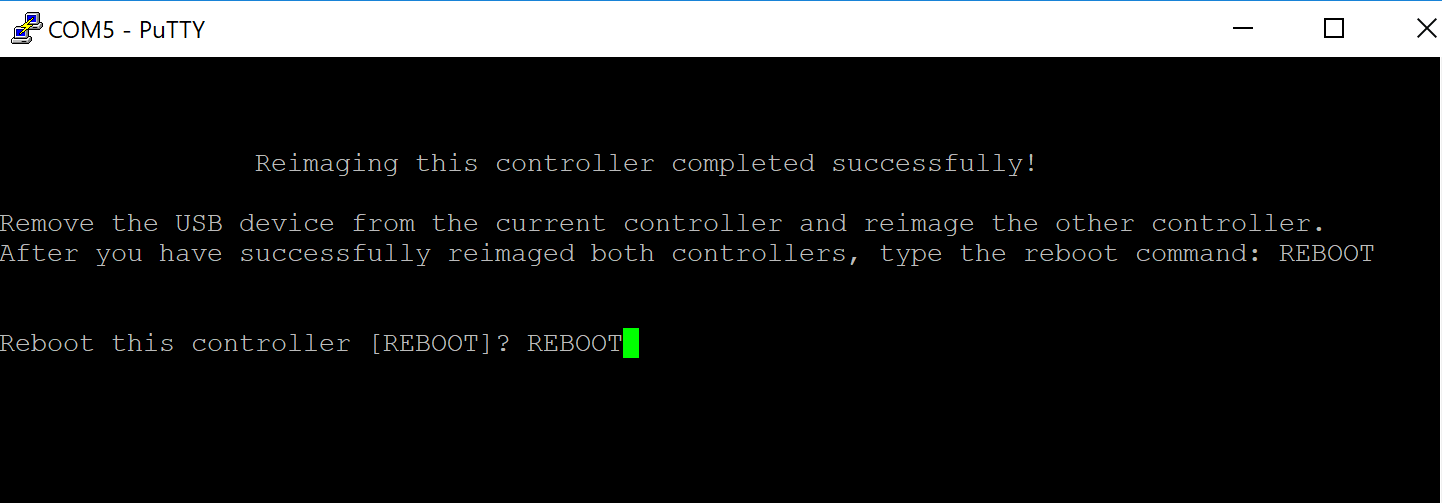
Update is a success – type REBOOT with capital letters to reboot controller.
After reboot, when you again reach uBoot menu press Esc to stop autoboot.
Now, shut down the bottom controller by pressing again recessed power button. Procedure is the same as for the first shutdown.
After bottom controller is shut down, pull it out and plug USB stick with field image into top controller, and micro USB cable to the Service port, power up Putty again, set it up to the OS COM port of the top controller and repeat the procedure of flashing described above.
Imaging in my case took less then 15 minutes per controller.
After top controller is done, shut it down, reinstall both controllers, remove USB stick and micro USB cable from the Service port and start the StoreVirtual 3200
After you are done, connect your PC with LAN cable directly to the MGMT port on the top controllers. In my case only direct connection from PC to the MGMT port on StoreVirtual 3200 worked, when I tried connecting through switch, it wouldn’t work..
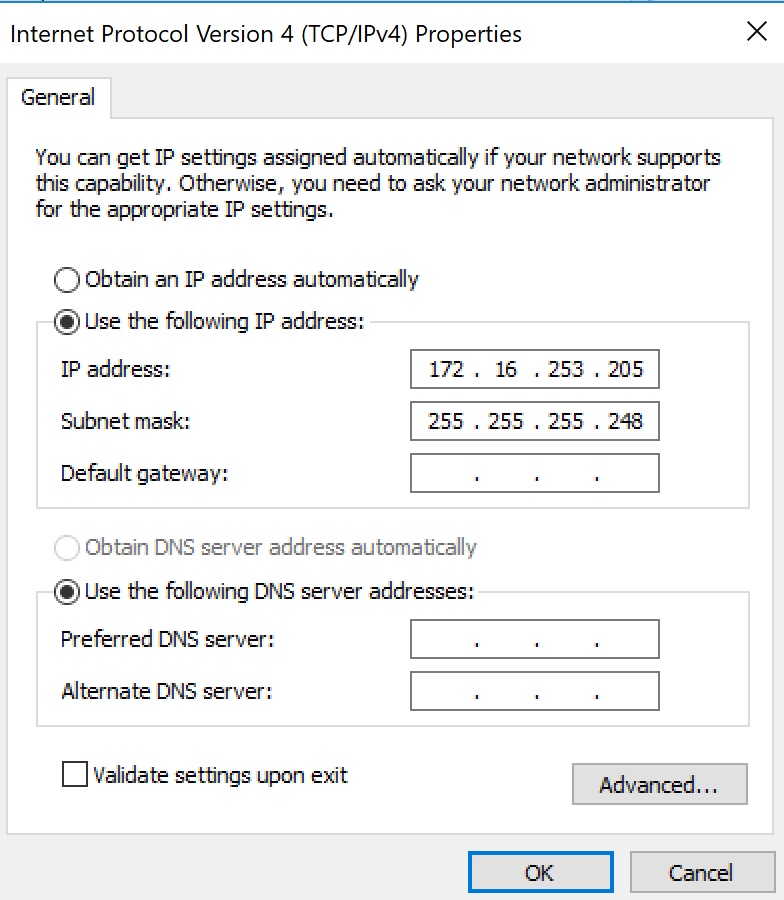
Enter IP Address 172.16.253.205 and subnet mask 255.255.255.248 into PC
Open browser and enter https://172.16.253.201/#/login
You should be greeted with login screen. Default user and pass is admin
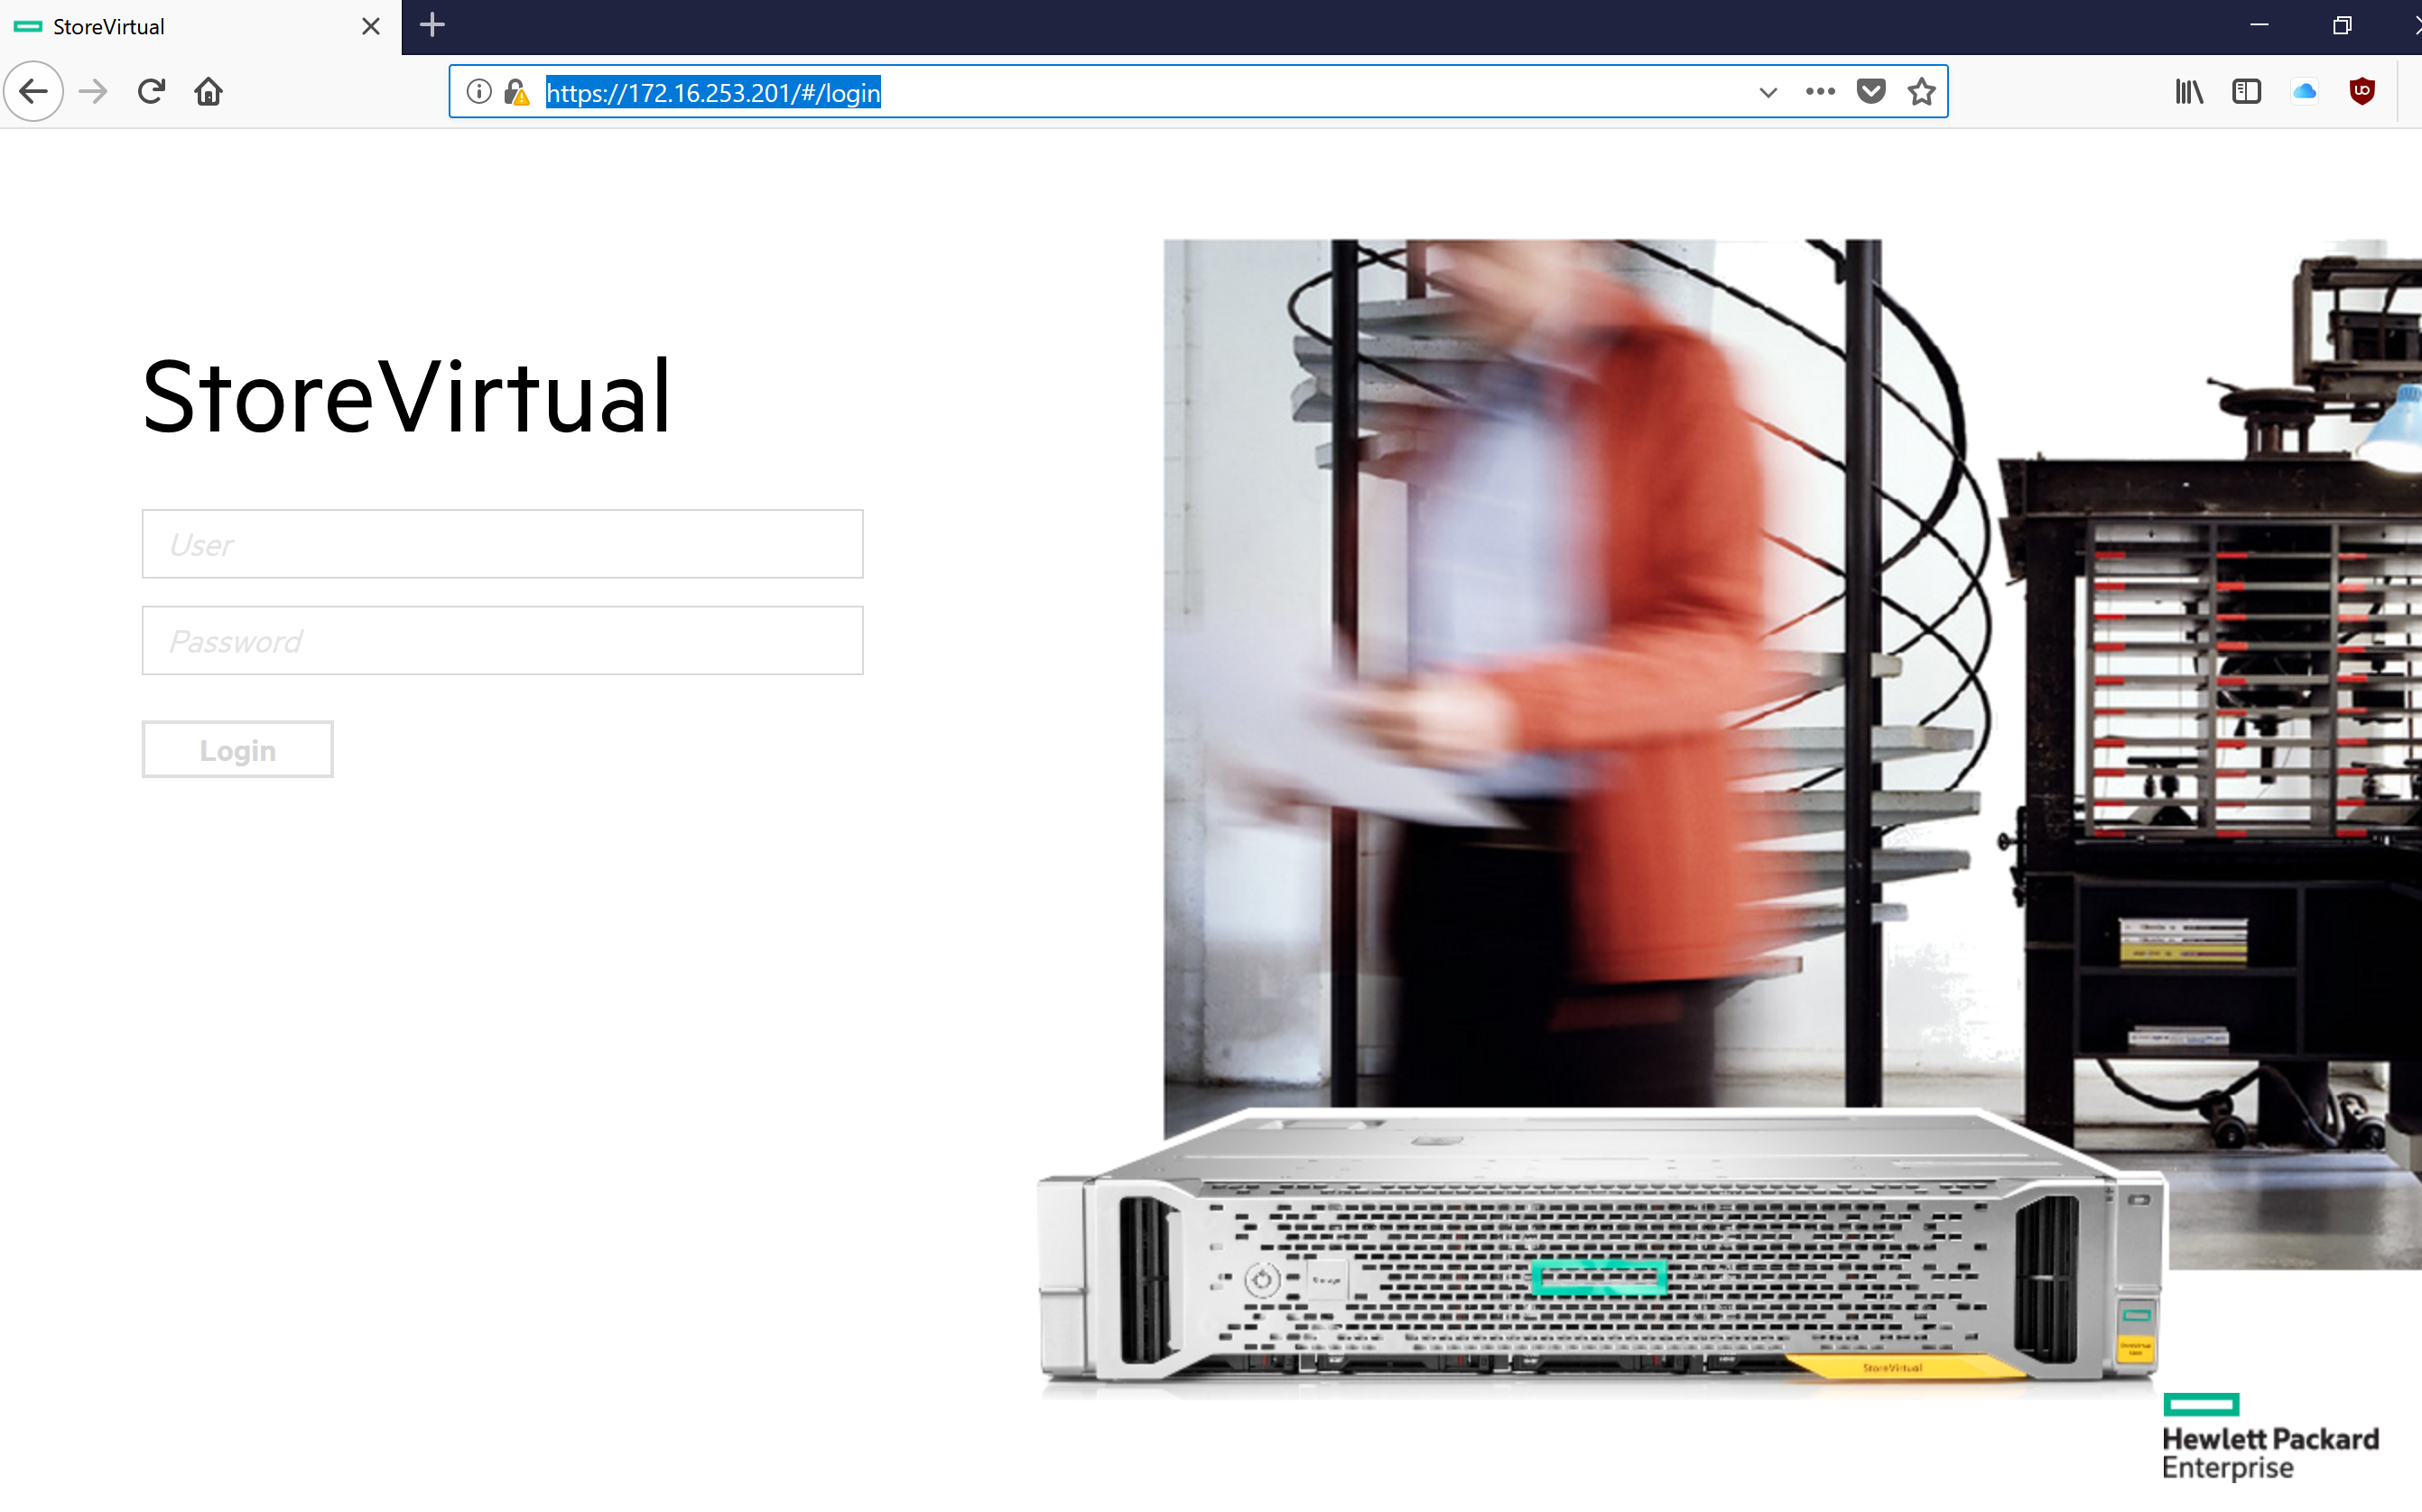
That is it, reimaging was success!