We went through installation and configuration of Microsoft DPM 2019, now it is time to finally create backup job and test it. I will be going only through data backupa nad recovery (AD, File, Exchange and SQL) I will not be covering bare metal backup/restore here. I usually don’t use Microsoft DPM for bare metal restore, I have other tools in store for that.
Before we begin
If you are interested in the details of this lab, please go through “How to install DPM 2019” and “Configuring DPM 2019” articles on my blog. I covered all the aspects in those two articles pretty in depth.
We will immediately jump to work
Creating Protection Group
AD Protection Group
I will create couple of protection groups – of course you can do how you see fits you best.
I’m going to create AD protection group, File Protection Group, Exchange Protection Group and SQL Protection group.
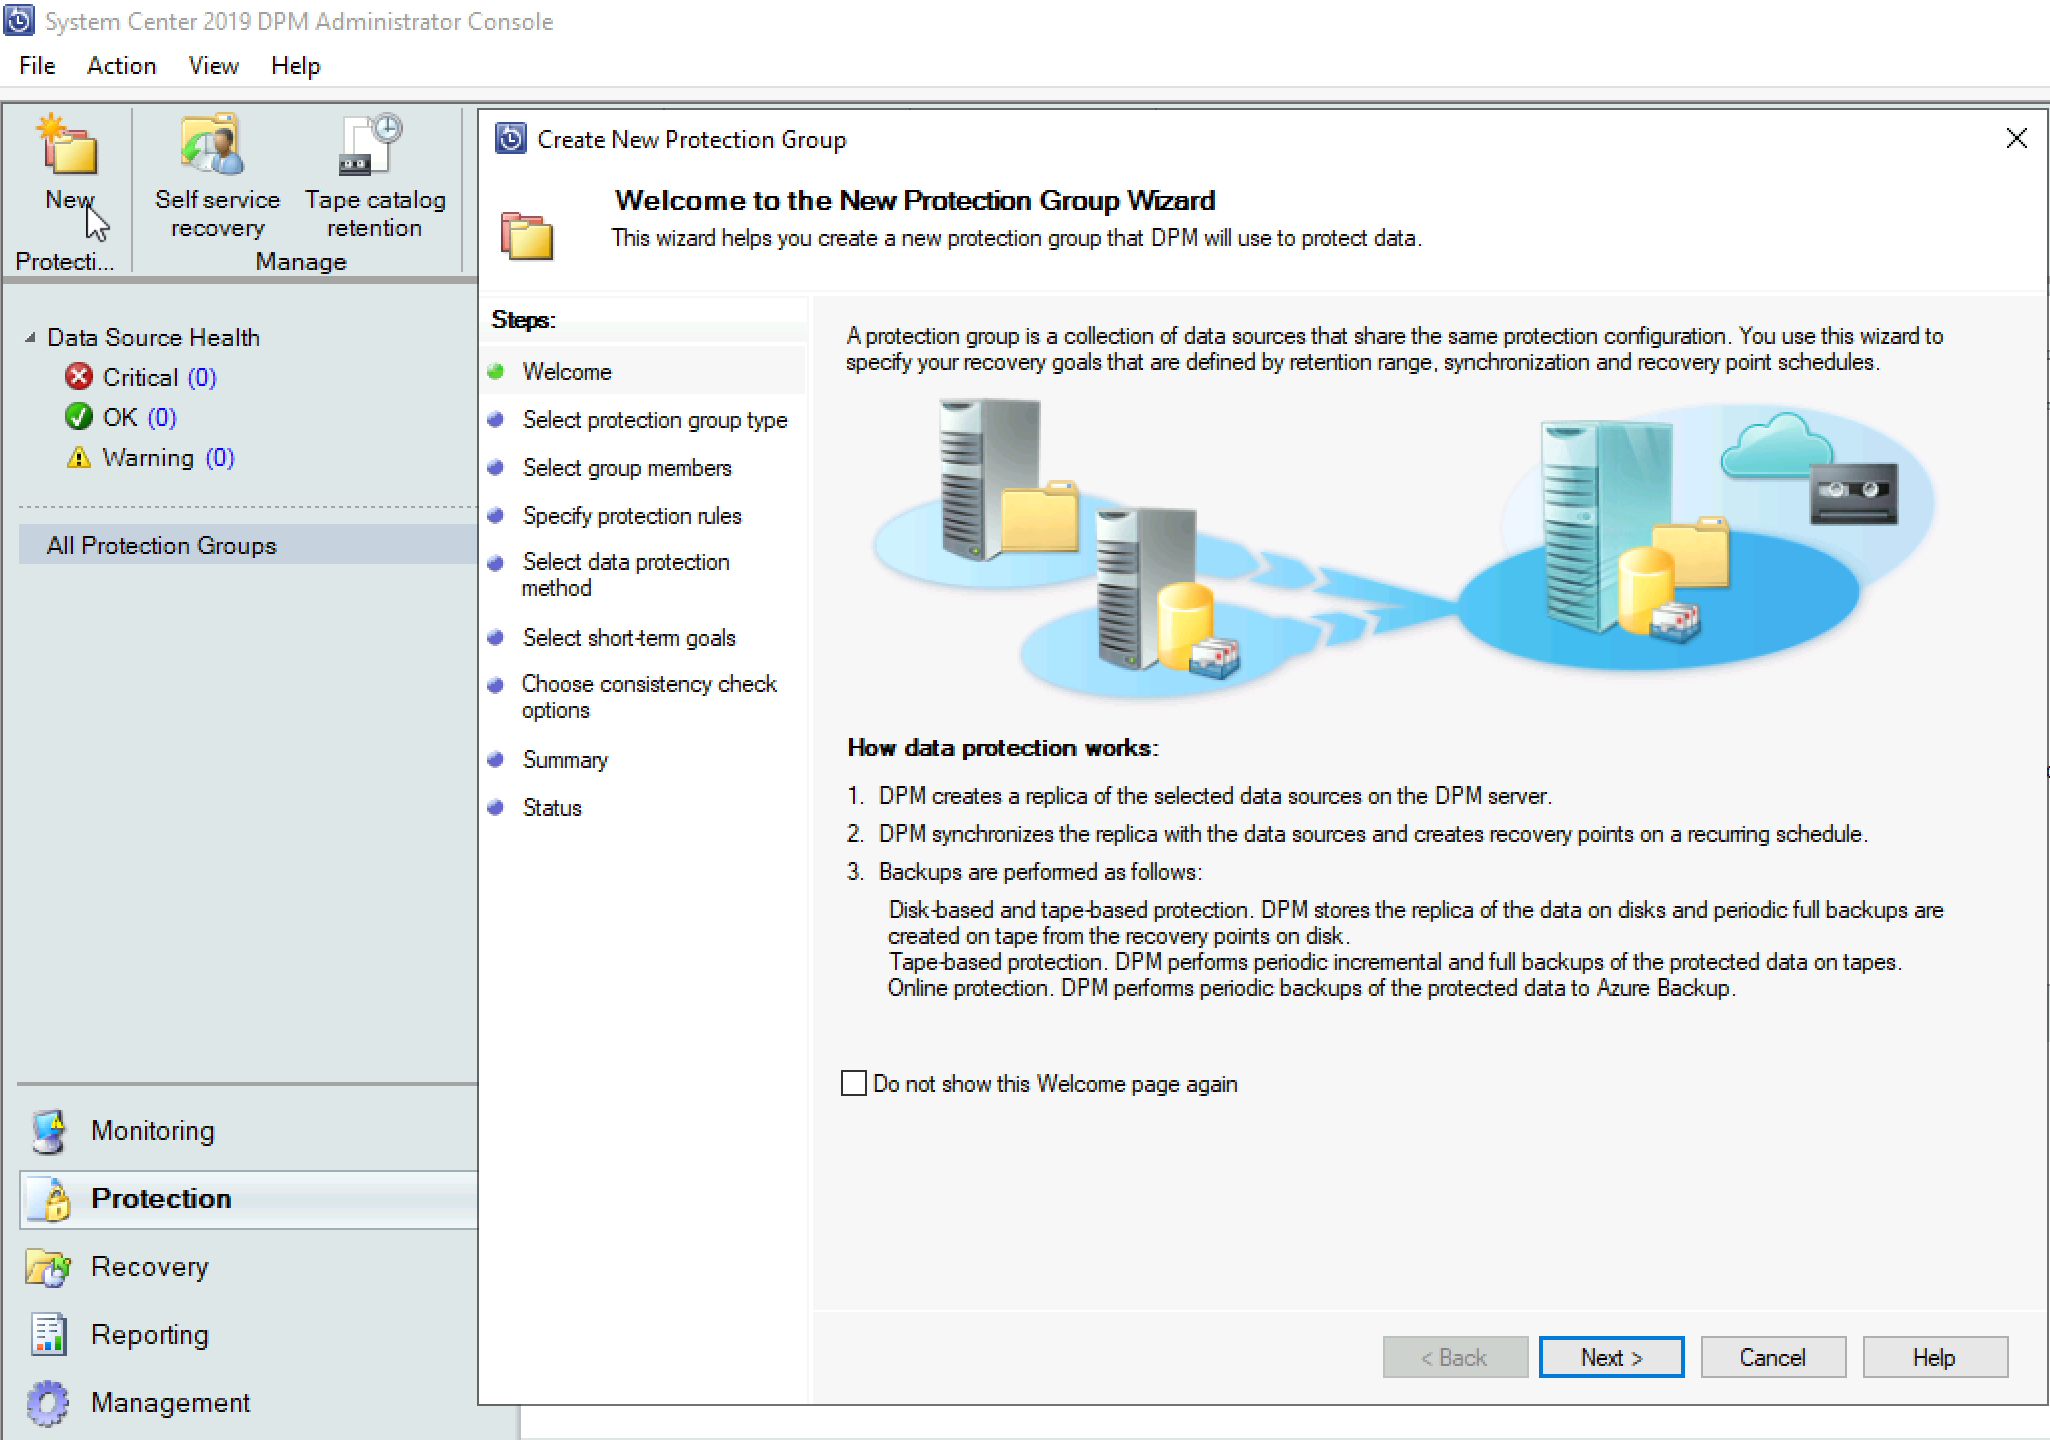
Start by selecting Protection | New | Create New Protection Group wizard will pop-up | Next
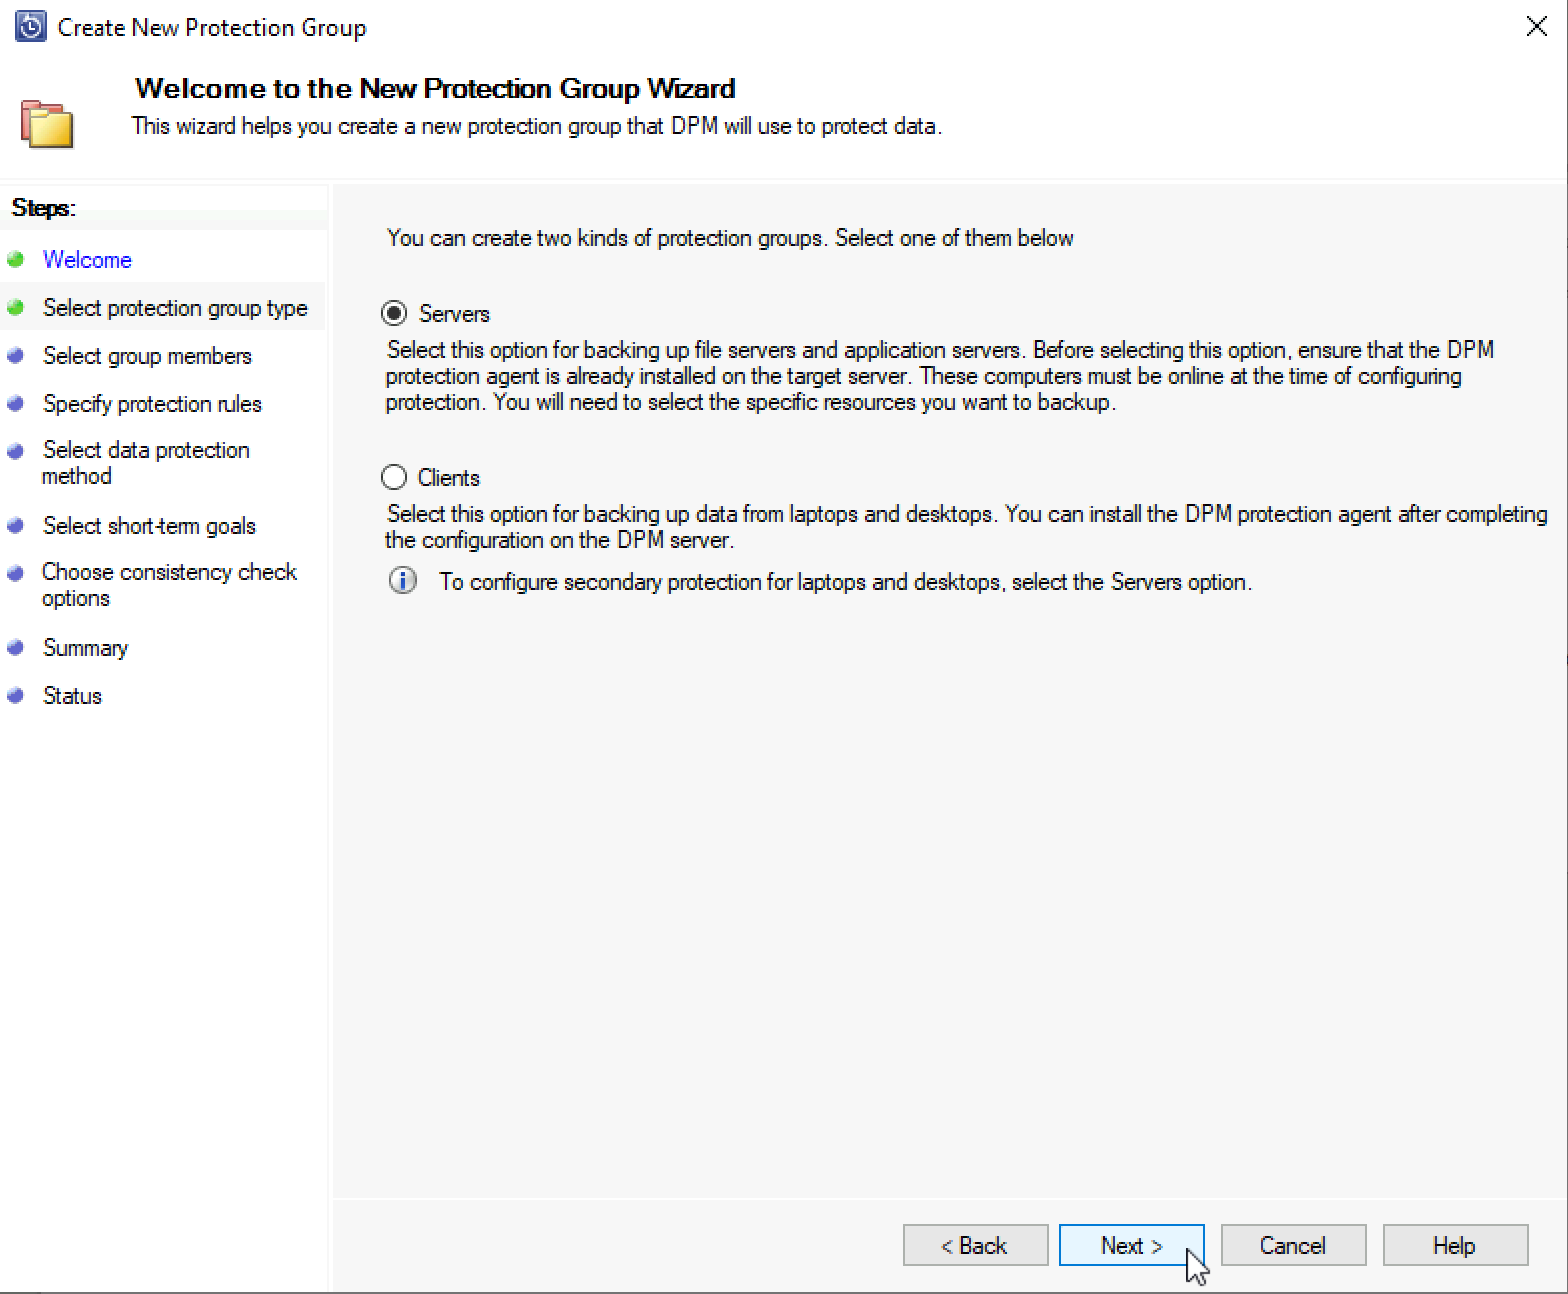
I will select Servers | Next
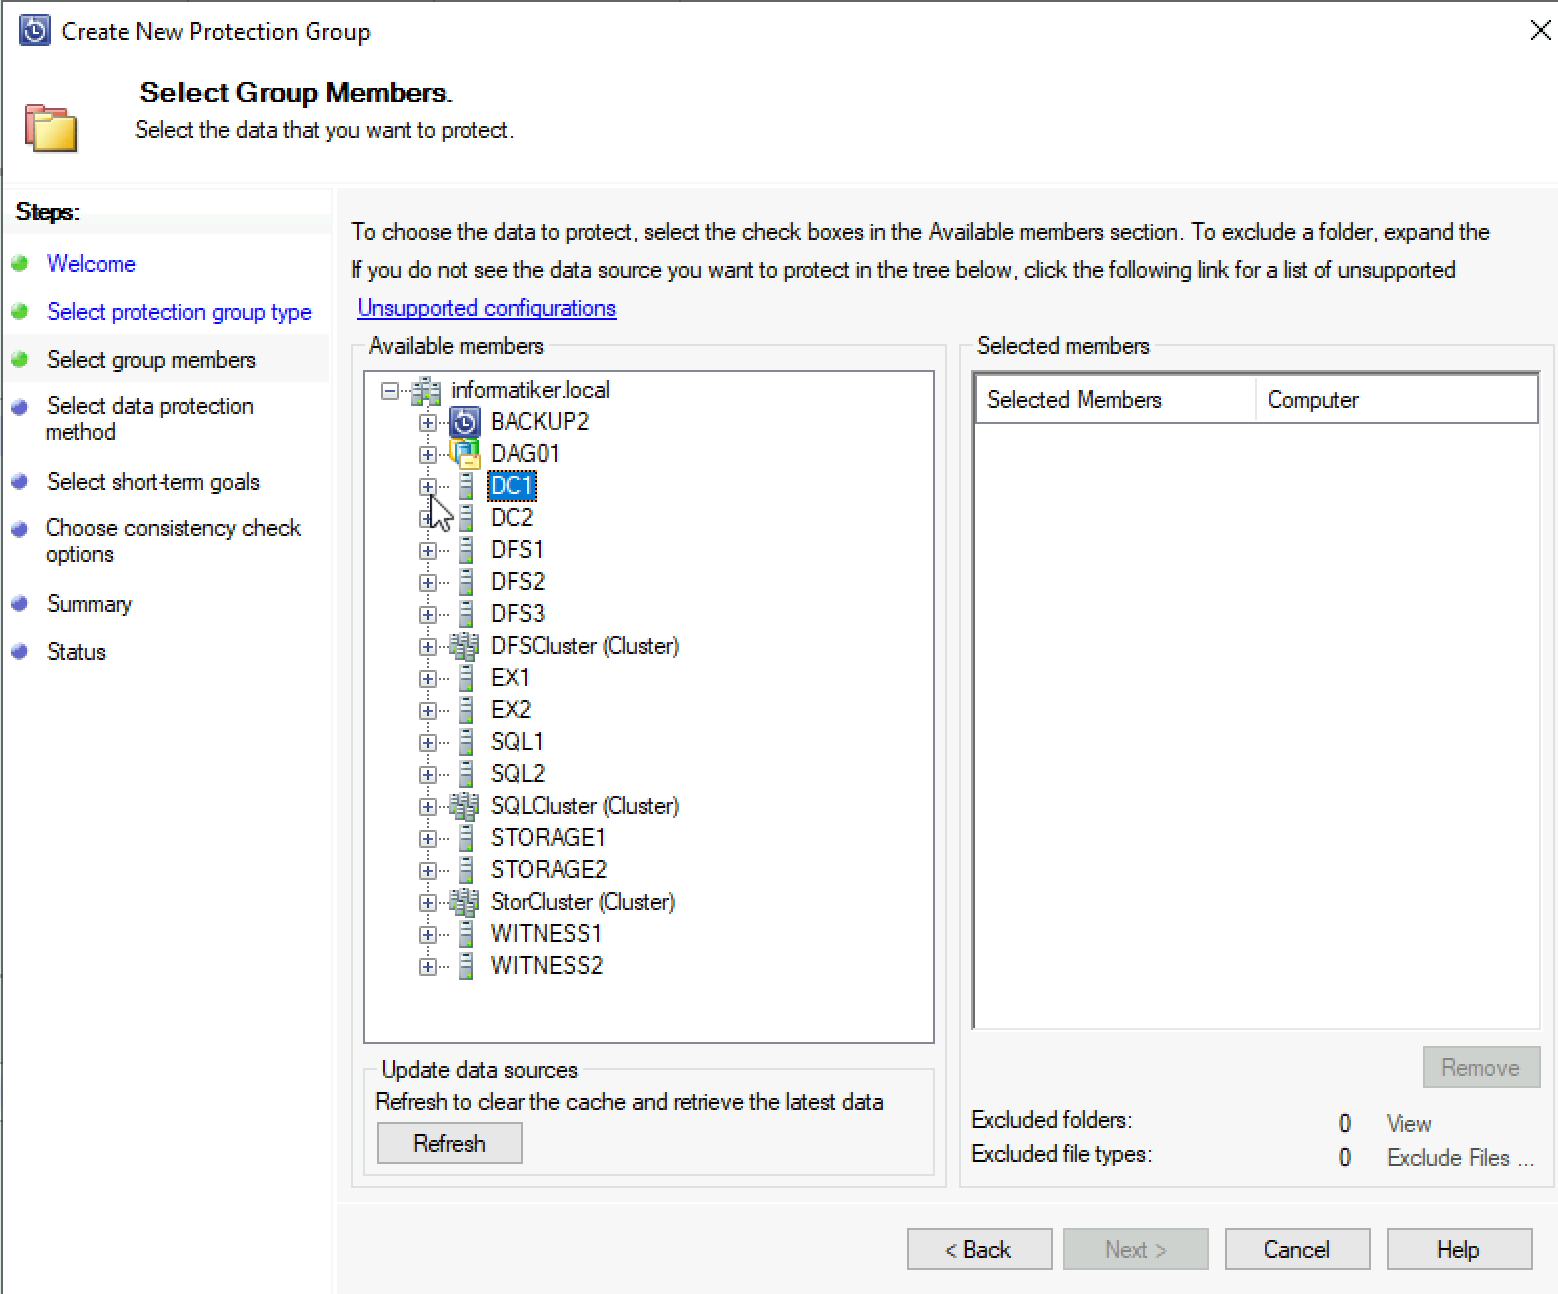
On the next screen you’ll see all the servers you installed agents on (we gone through that in Configuring DPM 2019 guide). We will select DC1
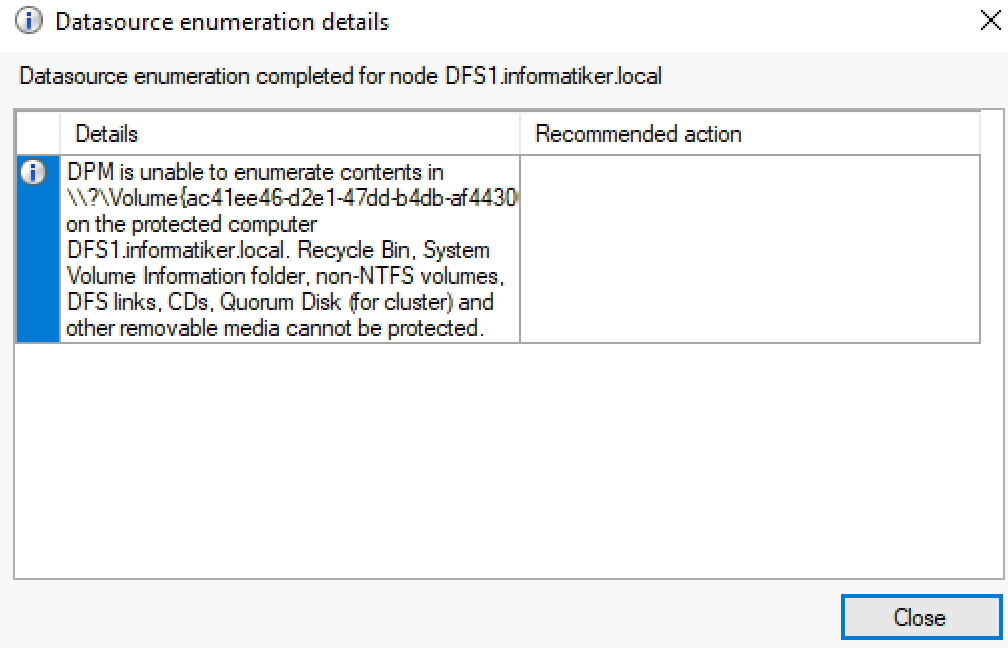
Pop-up will appear. Read it, these are the things DPM cannot protect.
This is what I will protect on my AD – I will select System Protection
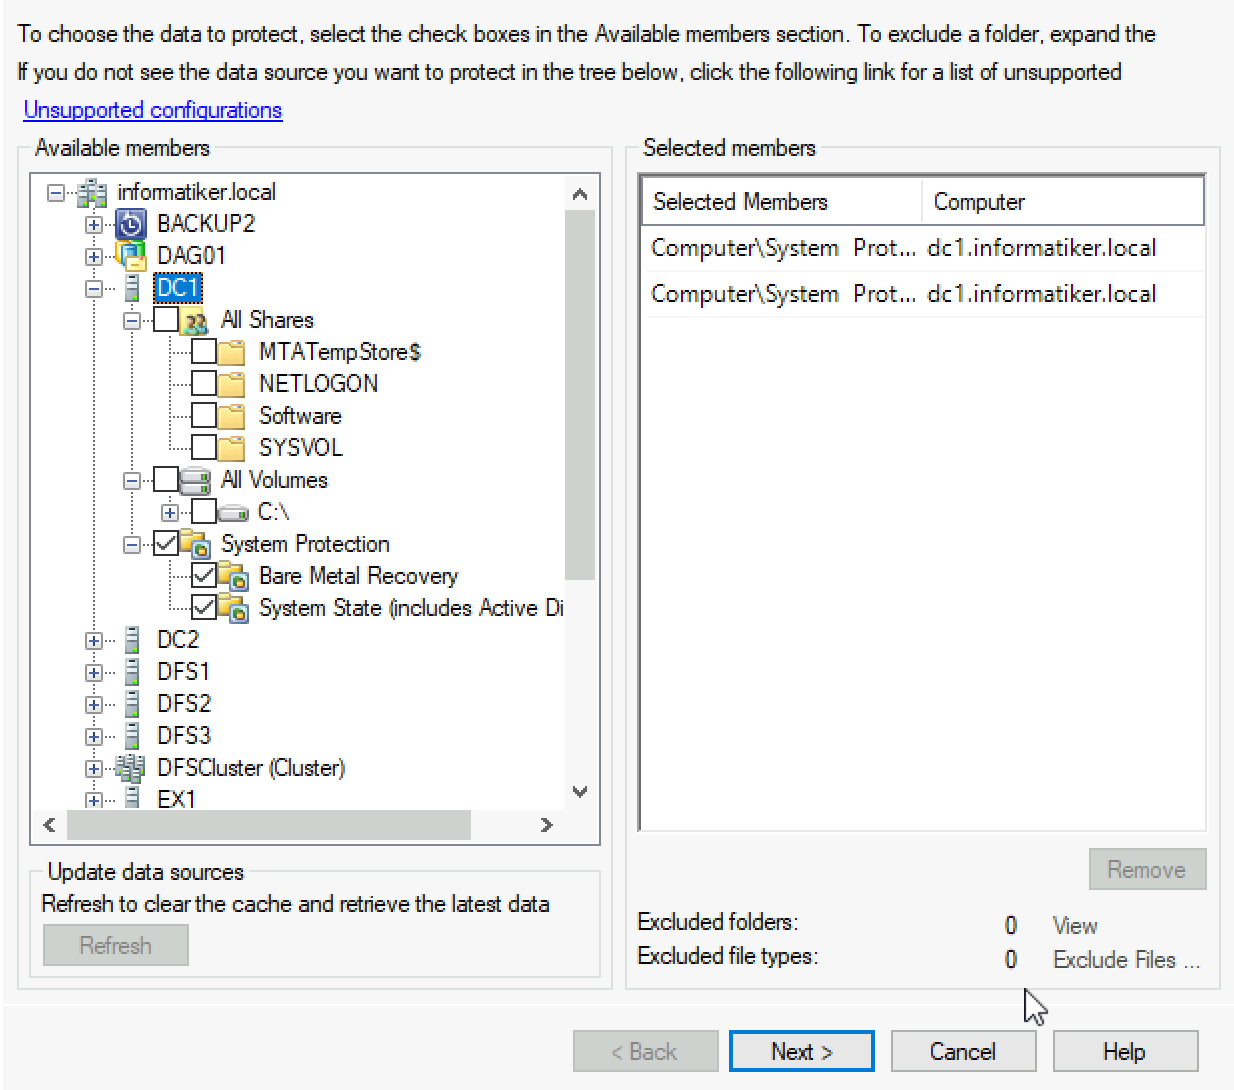
If you wish to protect Sysvol on your AD, you will get following message. I usually add SYSVOL and NETLOGON to separate Protection group – I will not include those maps in this Protection Group.
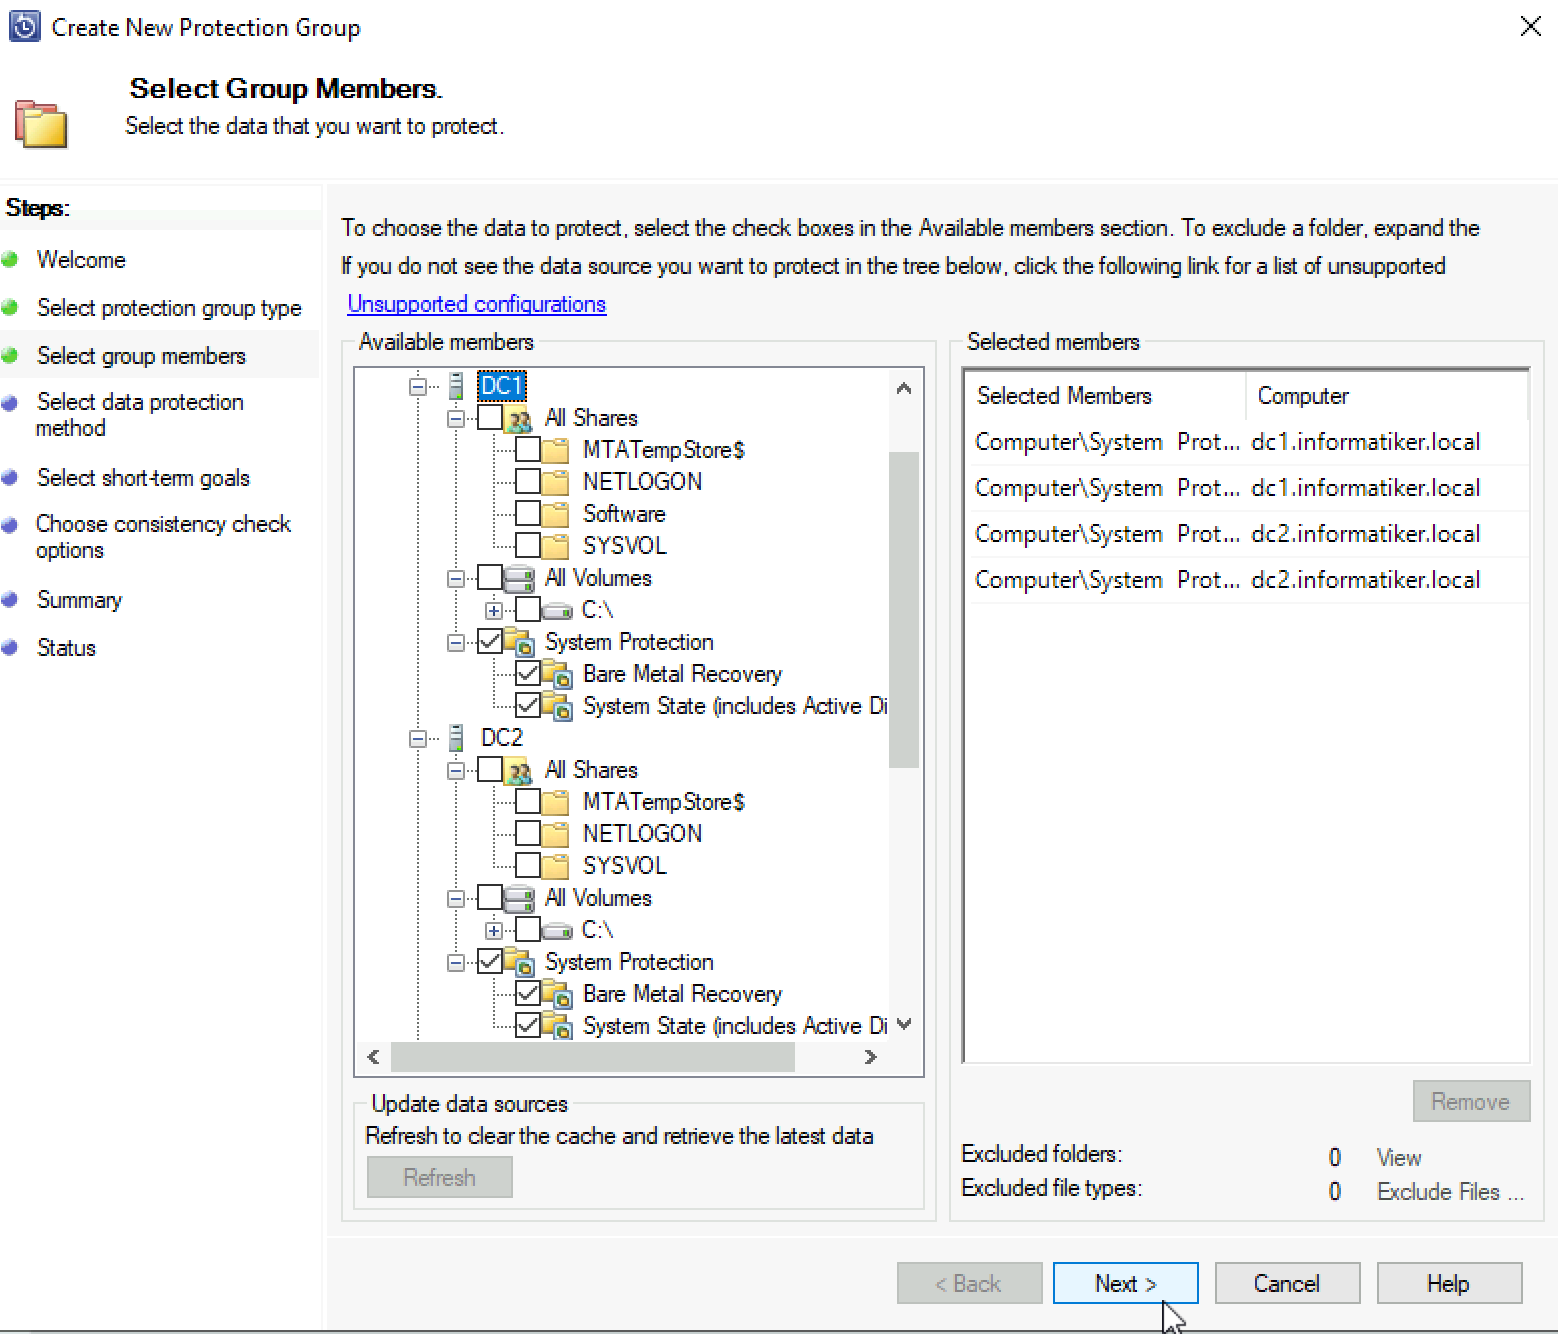
I included DC2 into this Protection Group also. Next
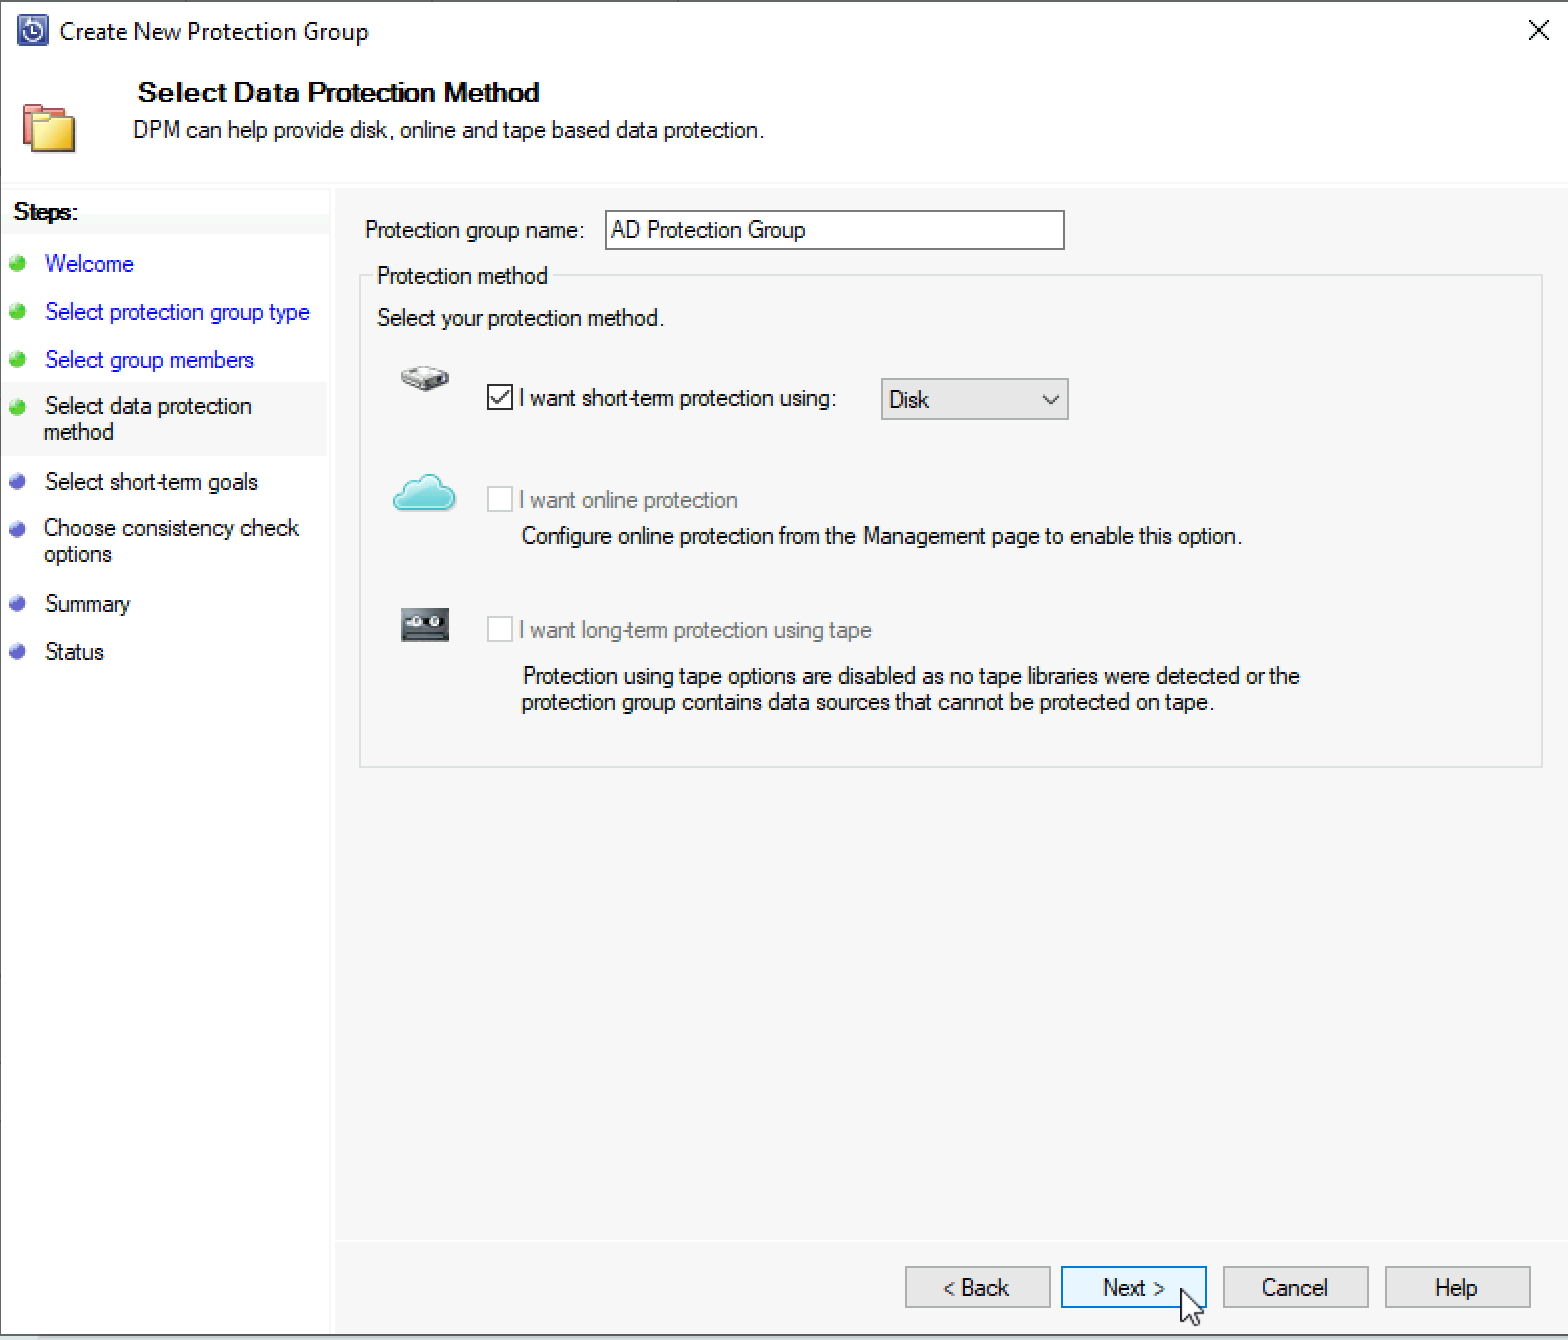
I will name my Protection Group “AD Protection Group” and select disk as a protection method | Next
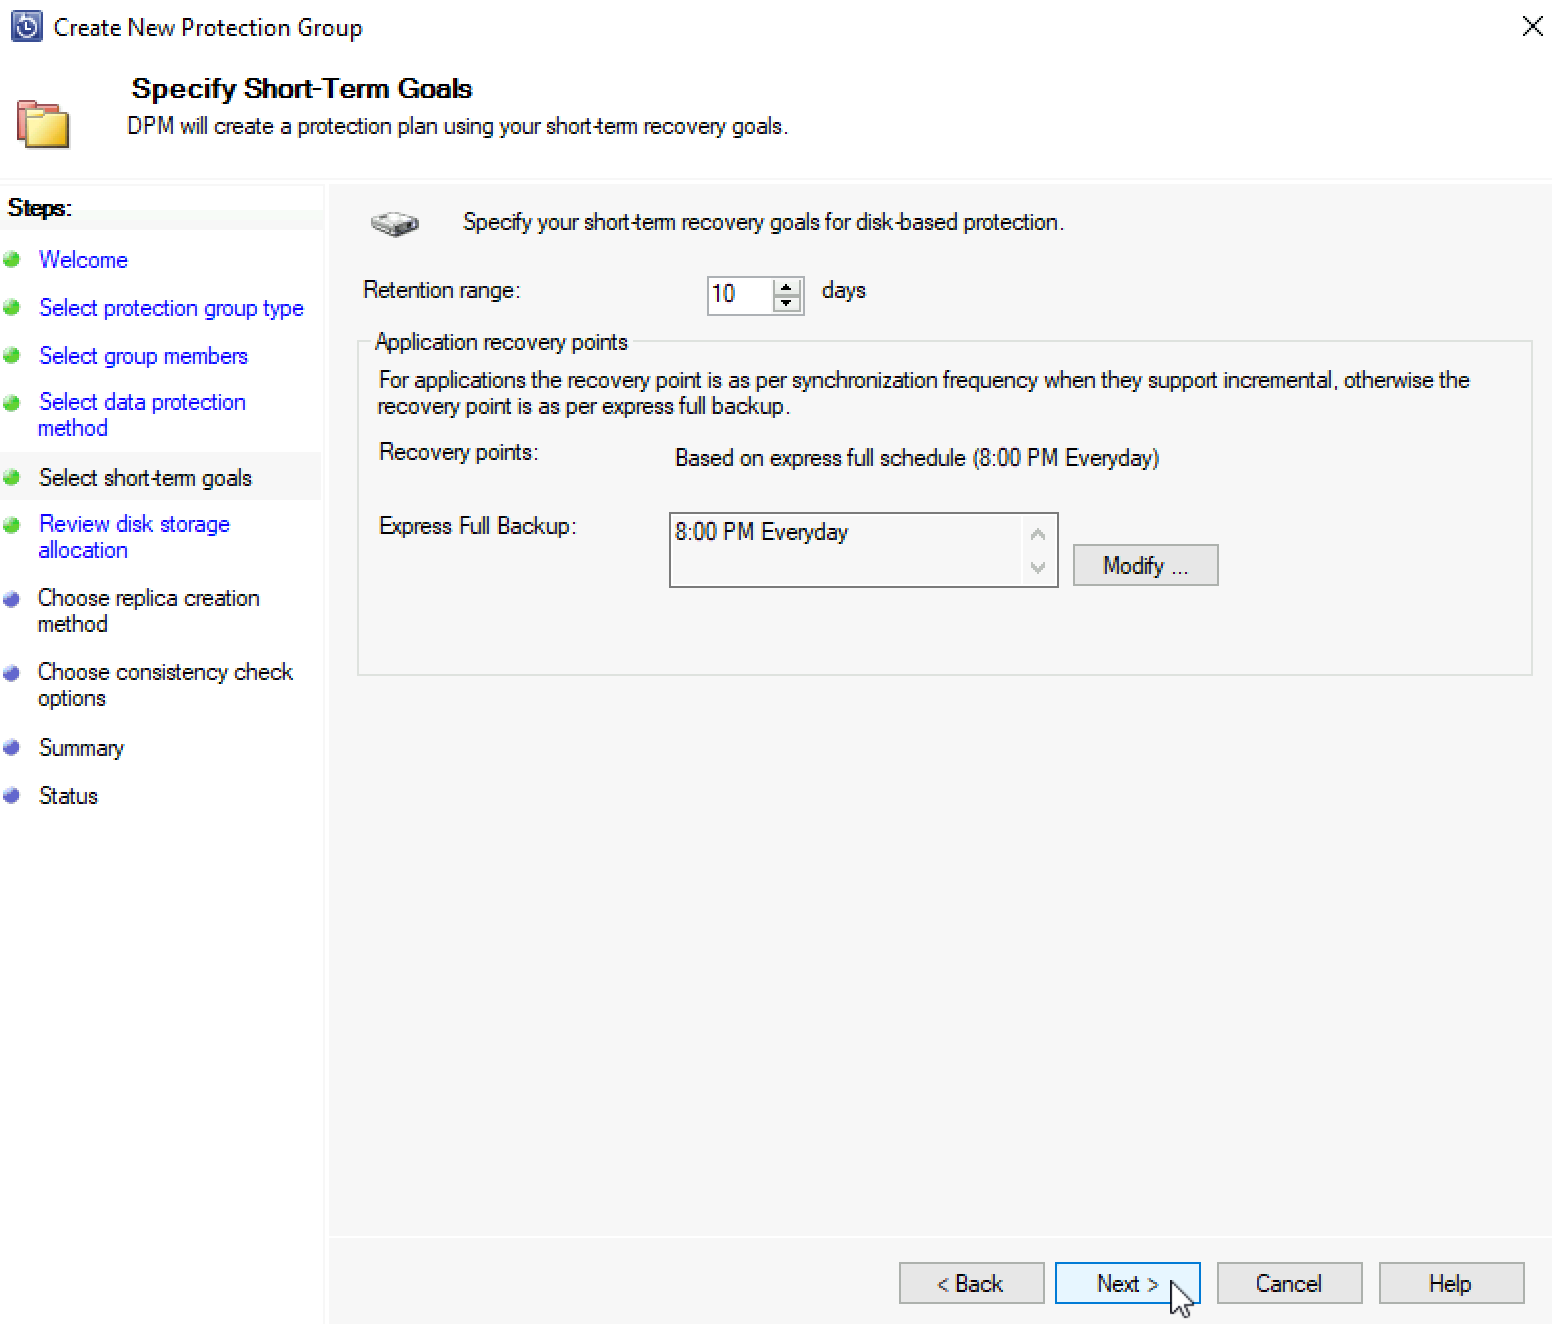
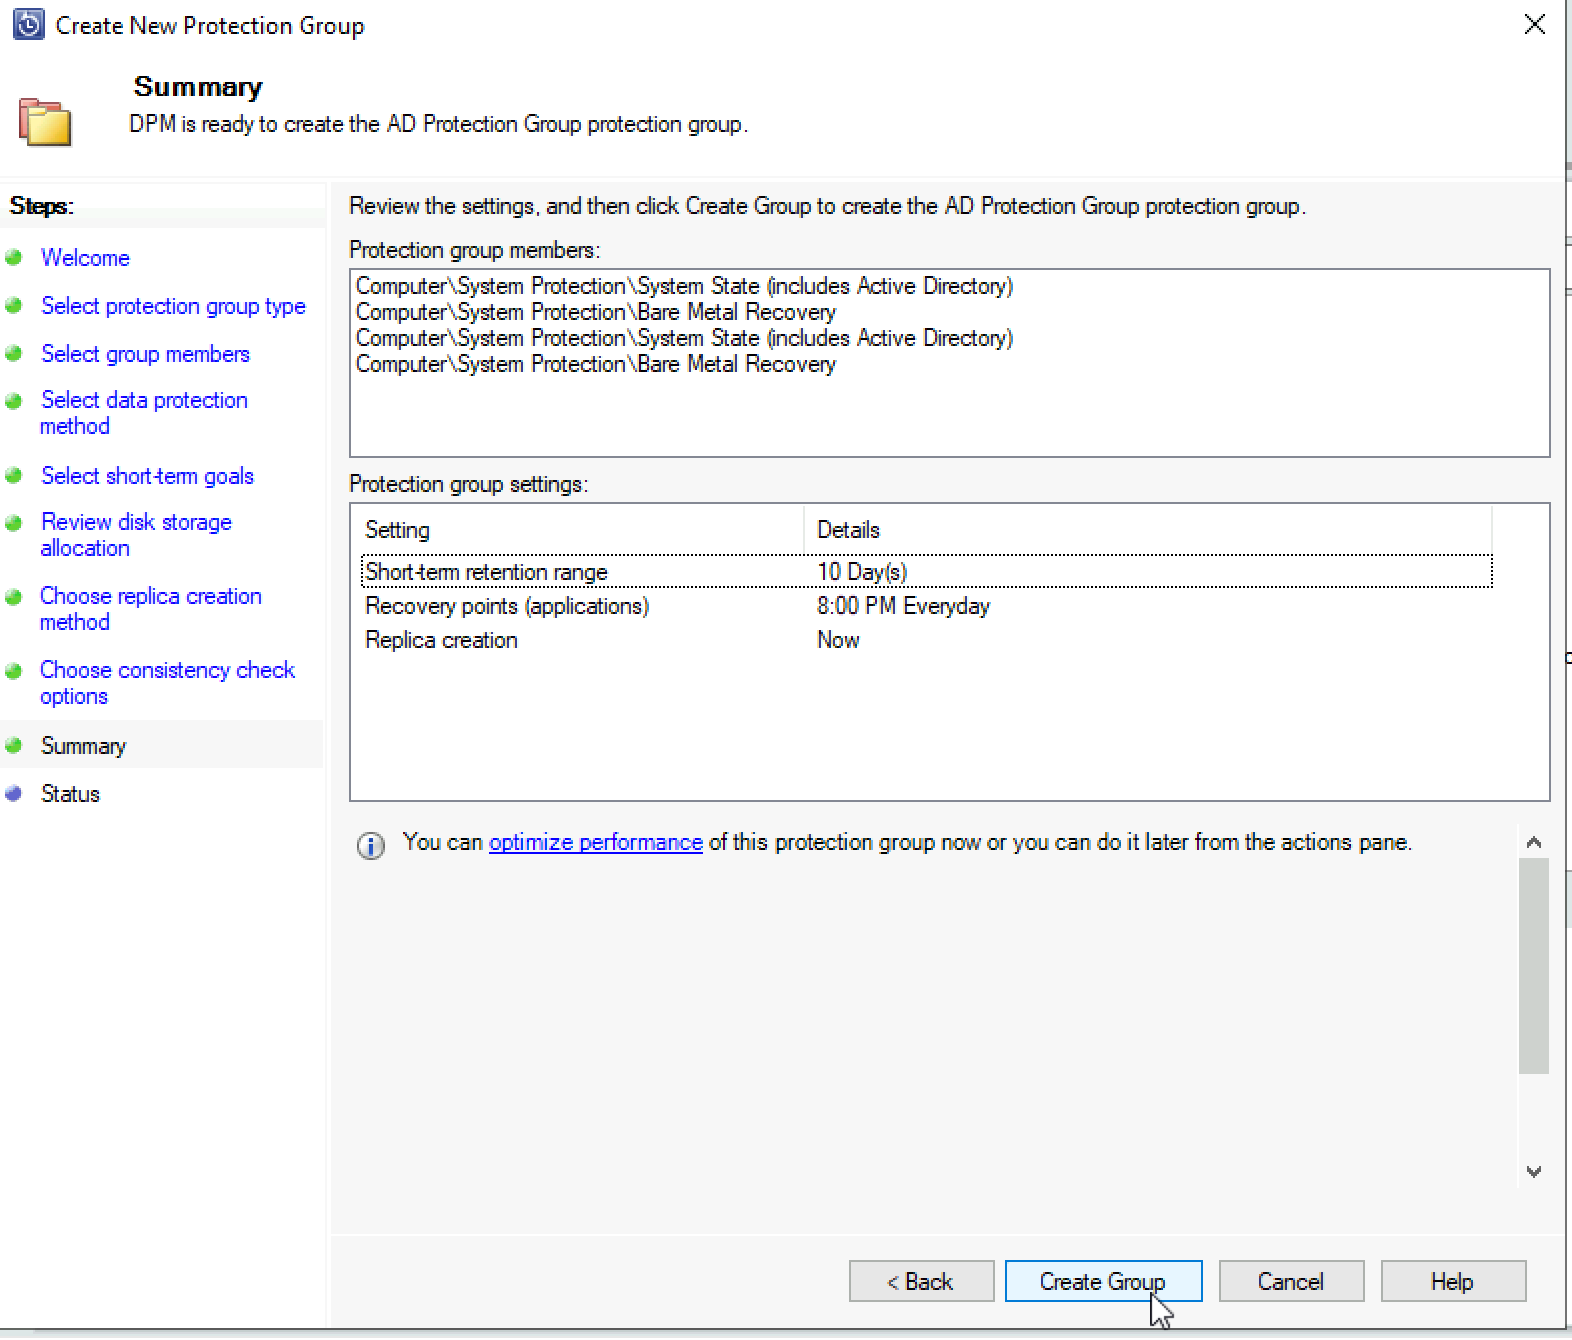
I will set retention range of 10 days. You can set max 448 days for short term disk retention rate. You have to take into account disk space when you calculate your retention range. I will also select Express Full Backup everyday at 8:00 | Next
This is something you really have to calculate and consider for yourself, there is no best practice here – it is only about your needs.
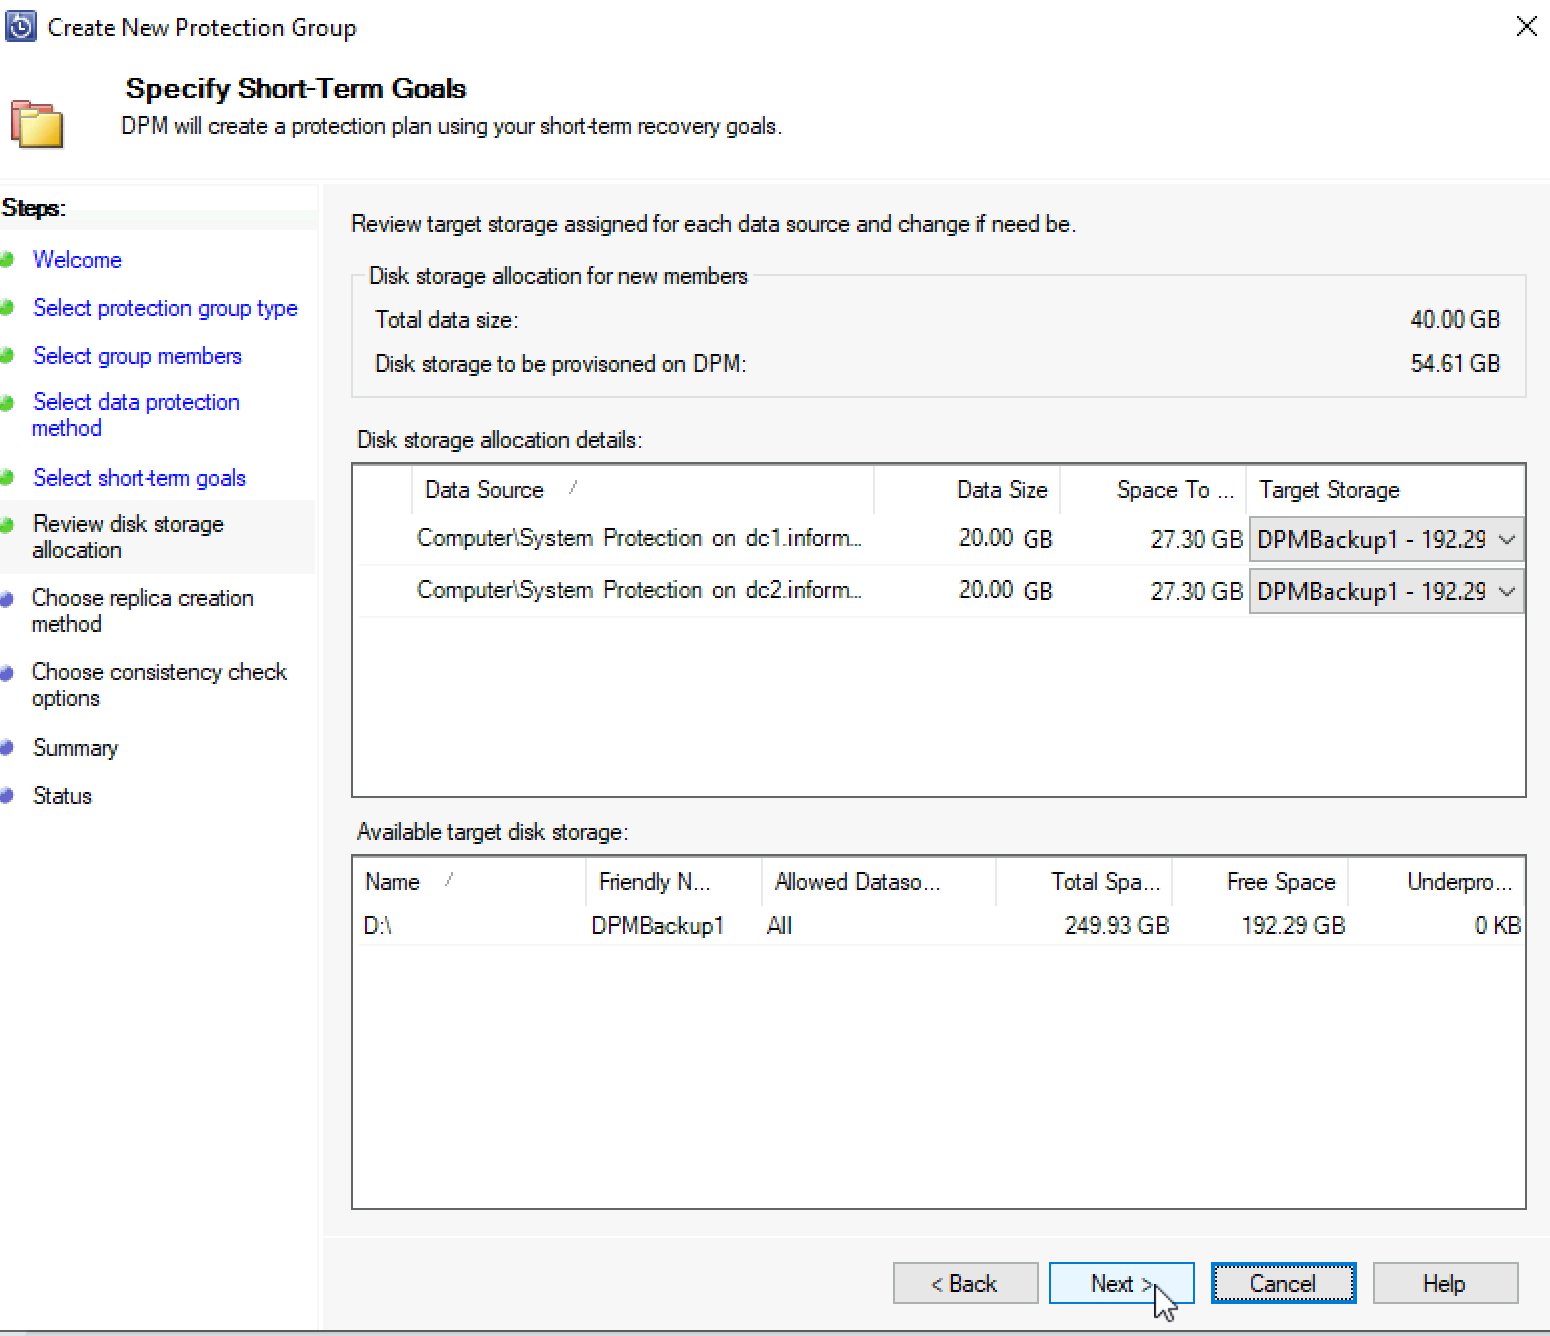
On the next screen you will see you disk allocation details, available storage… So, I selected 10 days of retention – DPM calculated under “Disk storage to be provisioned on DPM” to 54.61GB. If I selected, lets say – 100 Days, that figure would be 168GB. It is always best to plan your backup and RTO and RPO, but still, if you haven’t planned back, DPM will warn you if you don’t have enough space for what you wish to achieve.
IMPORTANT INFO – DPM does not calculate correctly disk space, and will give replica is inconsistent error – steps to do are below, so make sure you follow them. This is the same error I’m familiar with at least DPM 2010, can’t believe that this is not cleared yet.
Next
There are two options to create initial replica – by manually transferring data or automatically starting over the network. I have to say I love manual option, since there are scenarios where you cannot push through all the data to start backup (like branch office with weak internet connection). I will select to replicate “Automatically over the network” and do it Now. Next

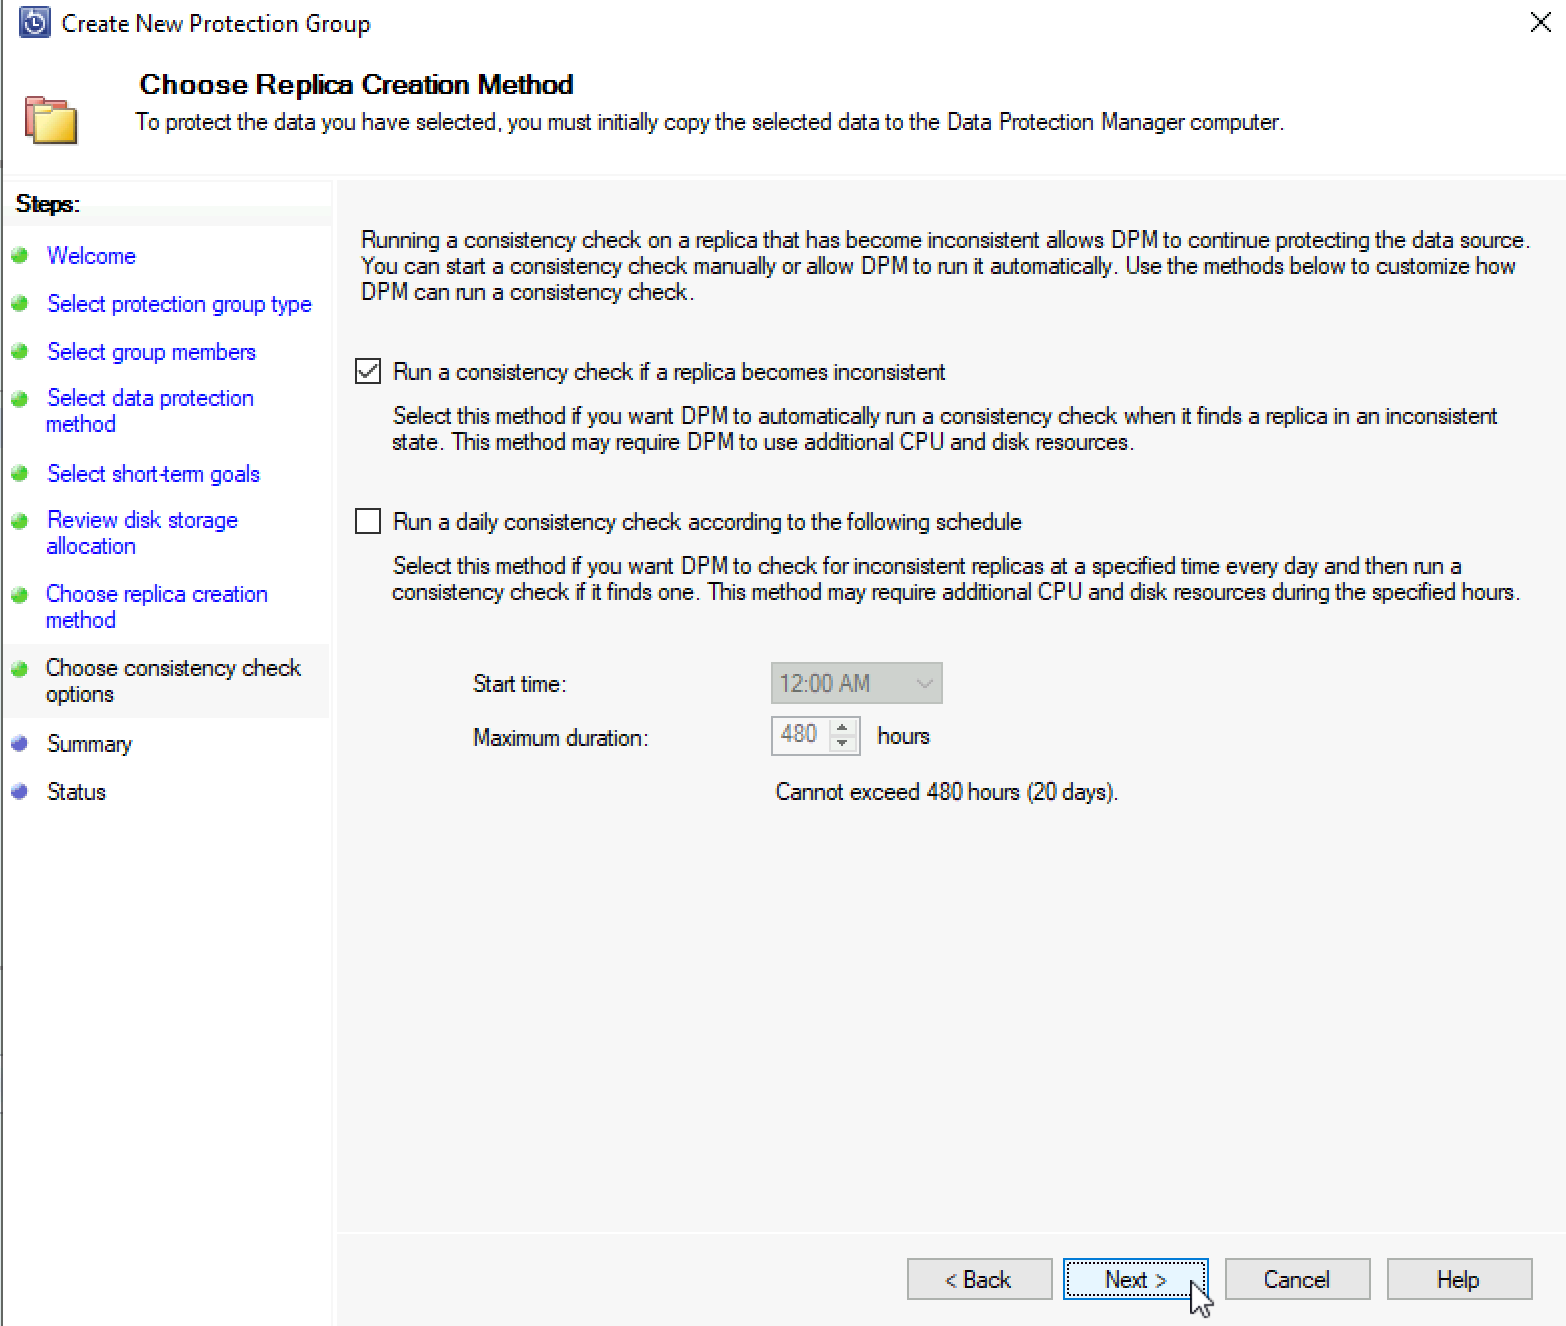
I want to “Run a consistency check if a replica becomes inconsistent” Next
Check settings and select Create Group
…
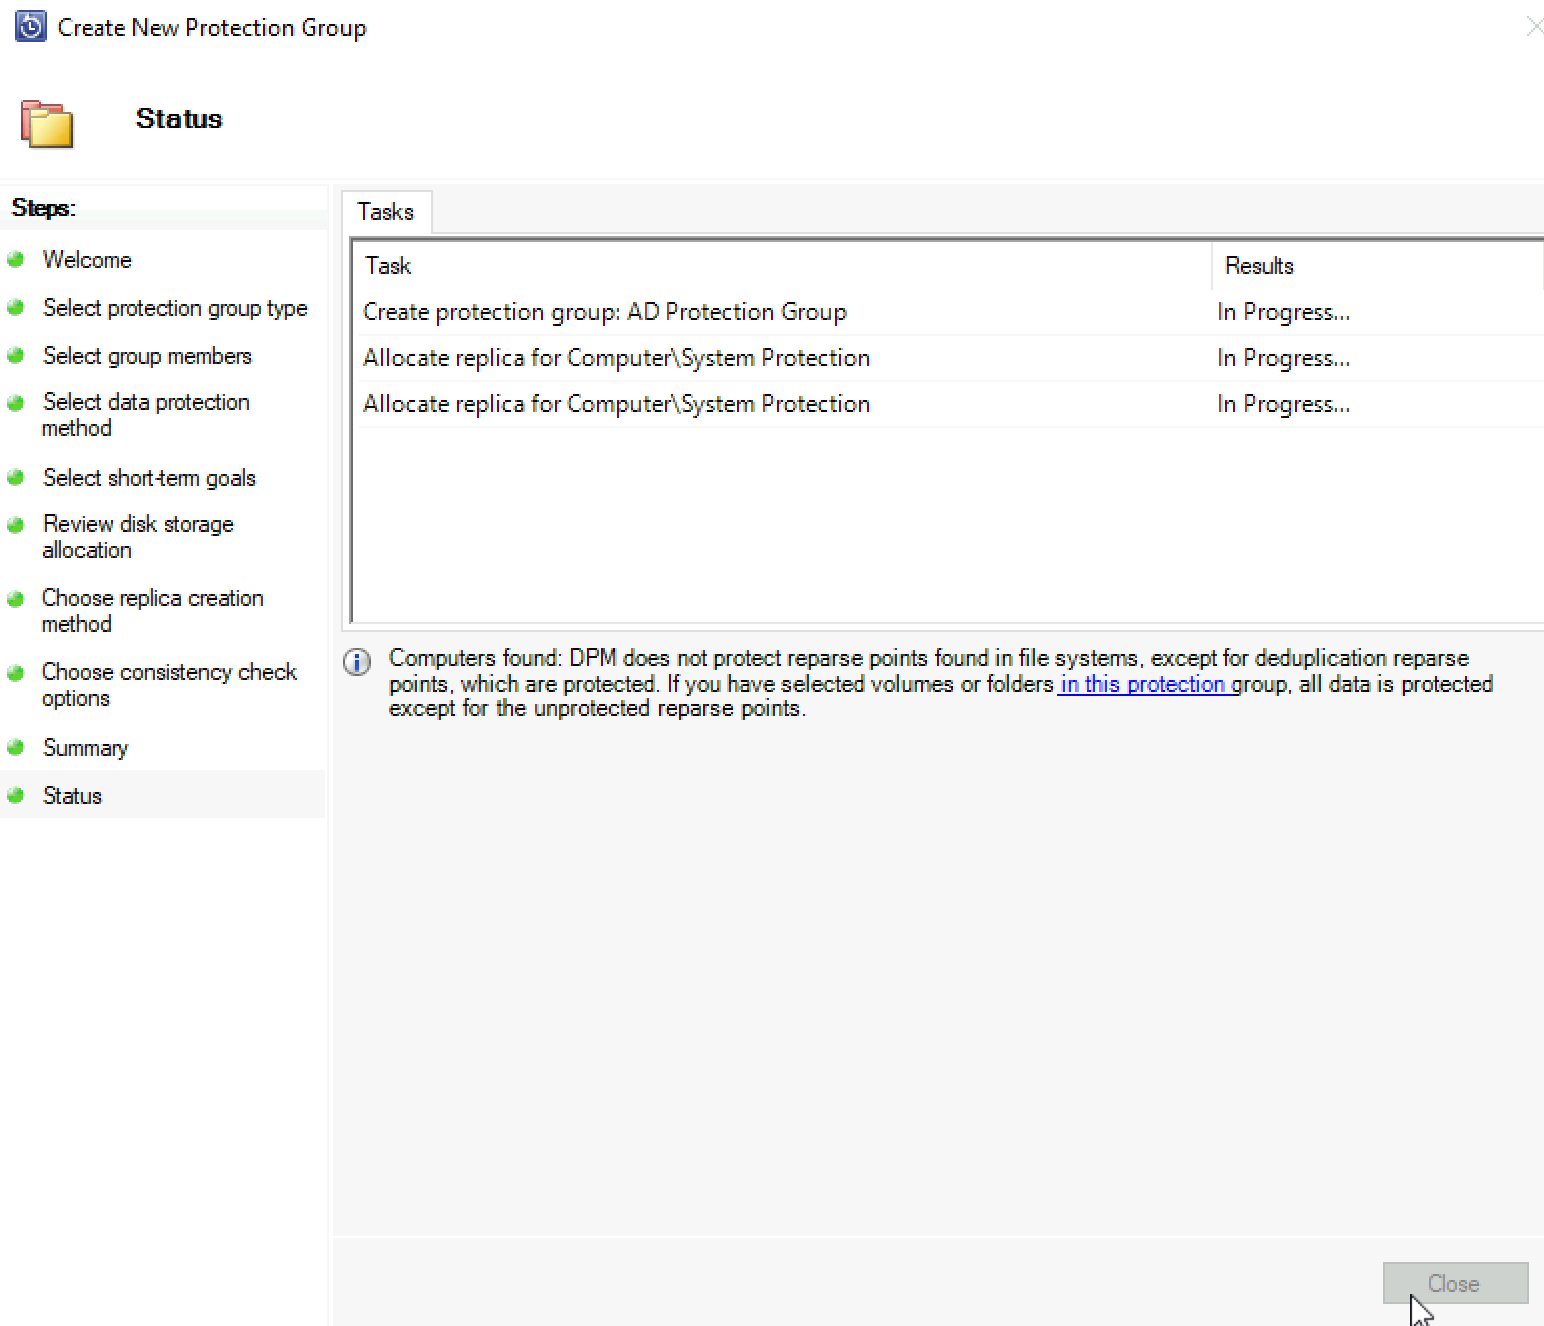
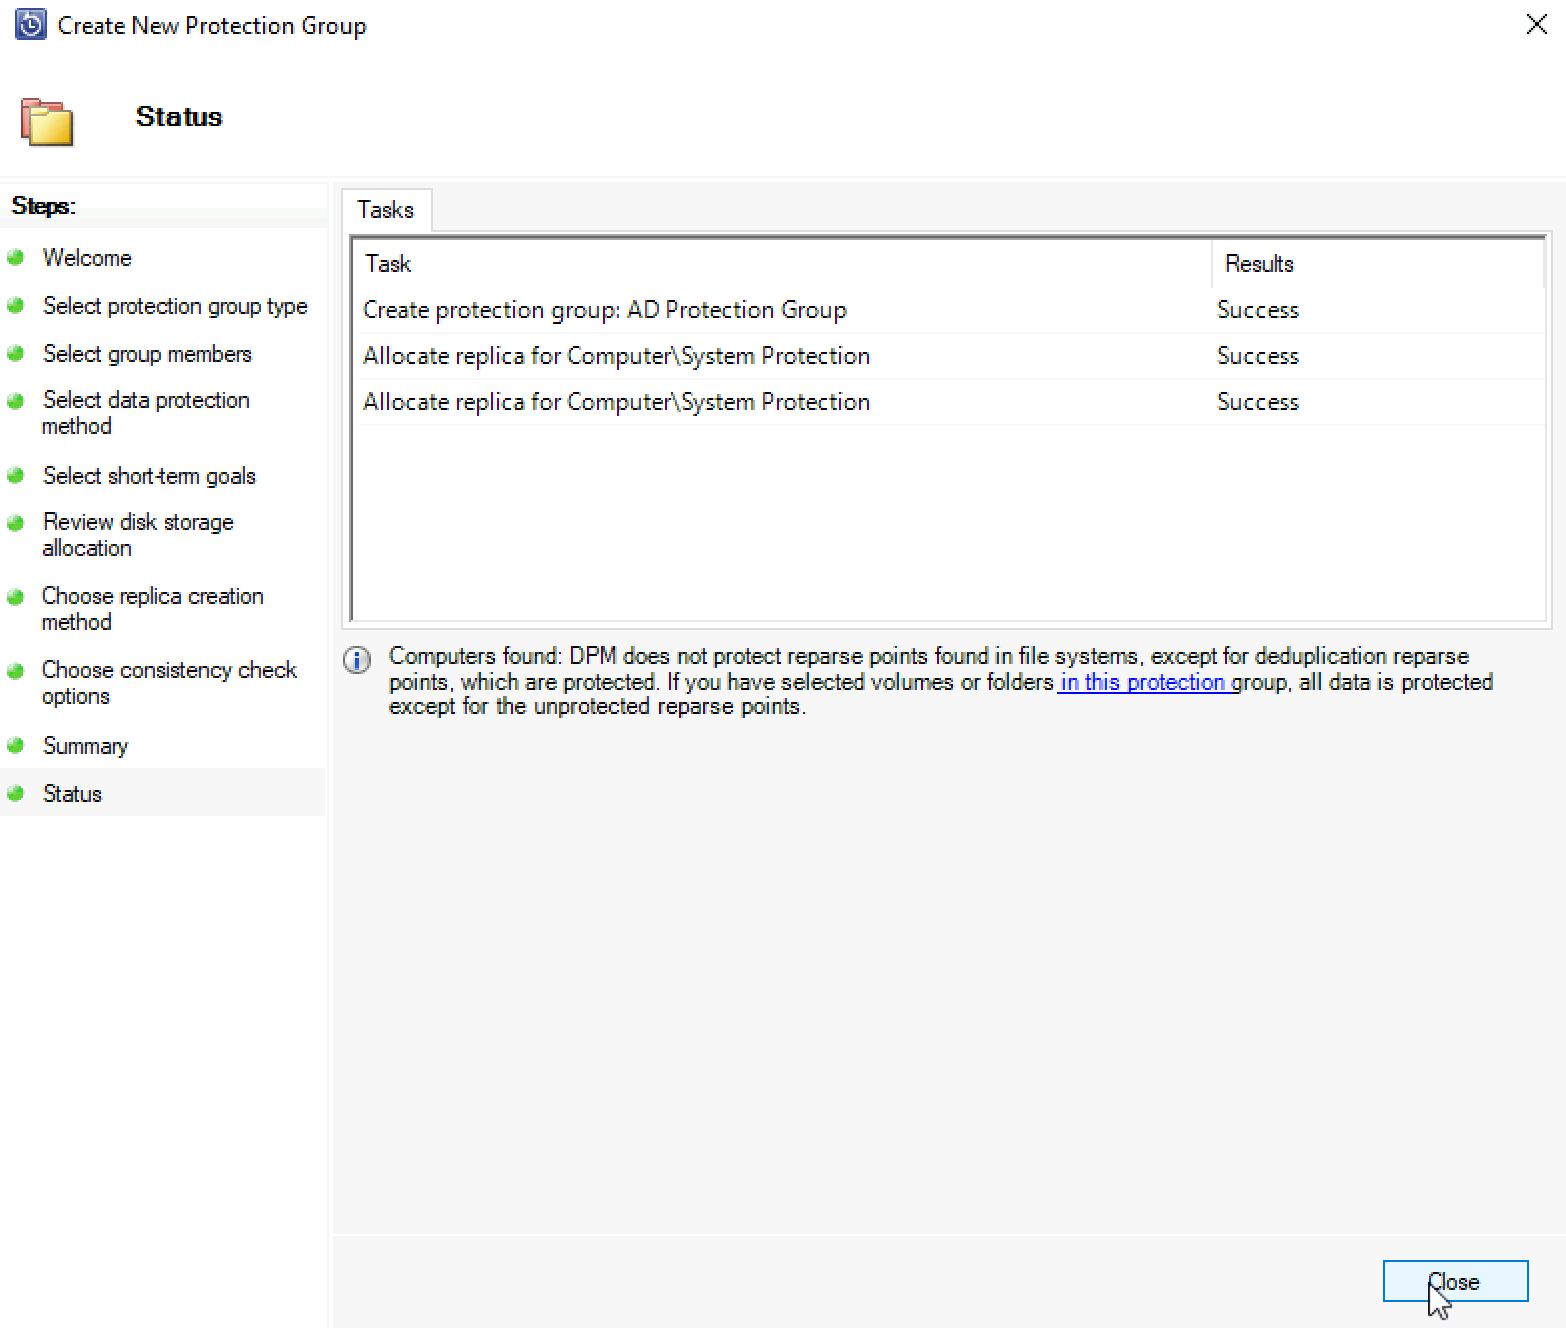
After shot delay, we can see that creation of our first Protection Group was complete success! Close
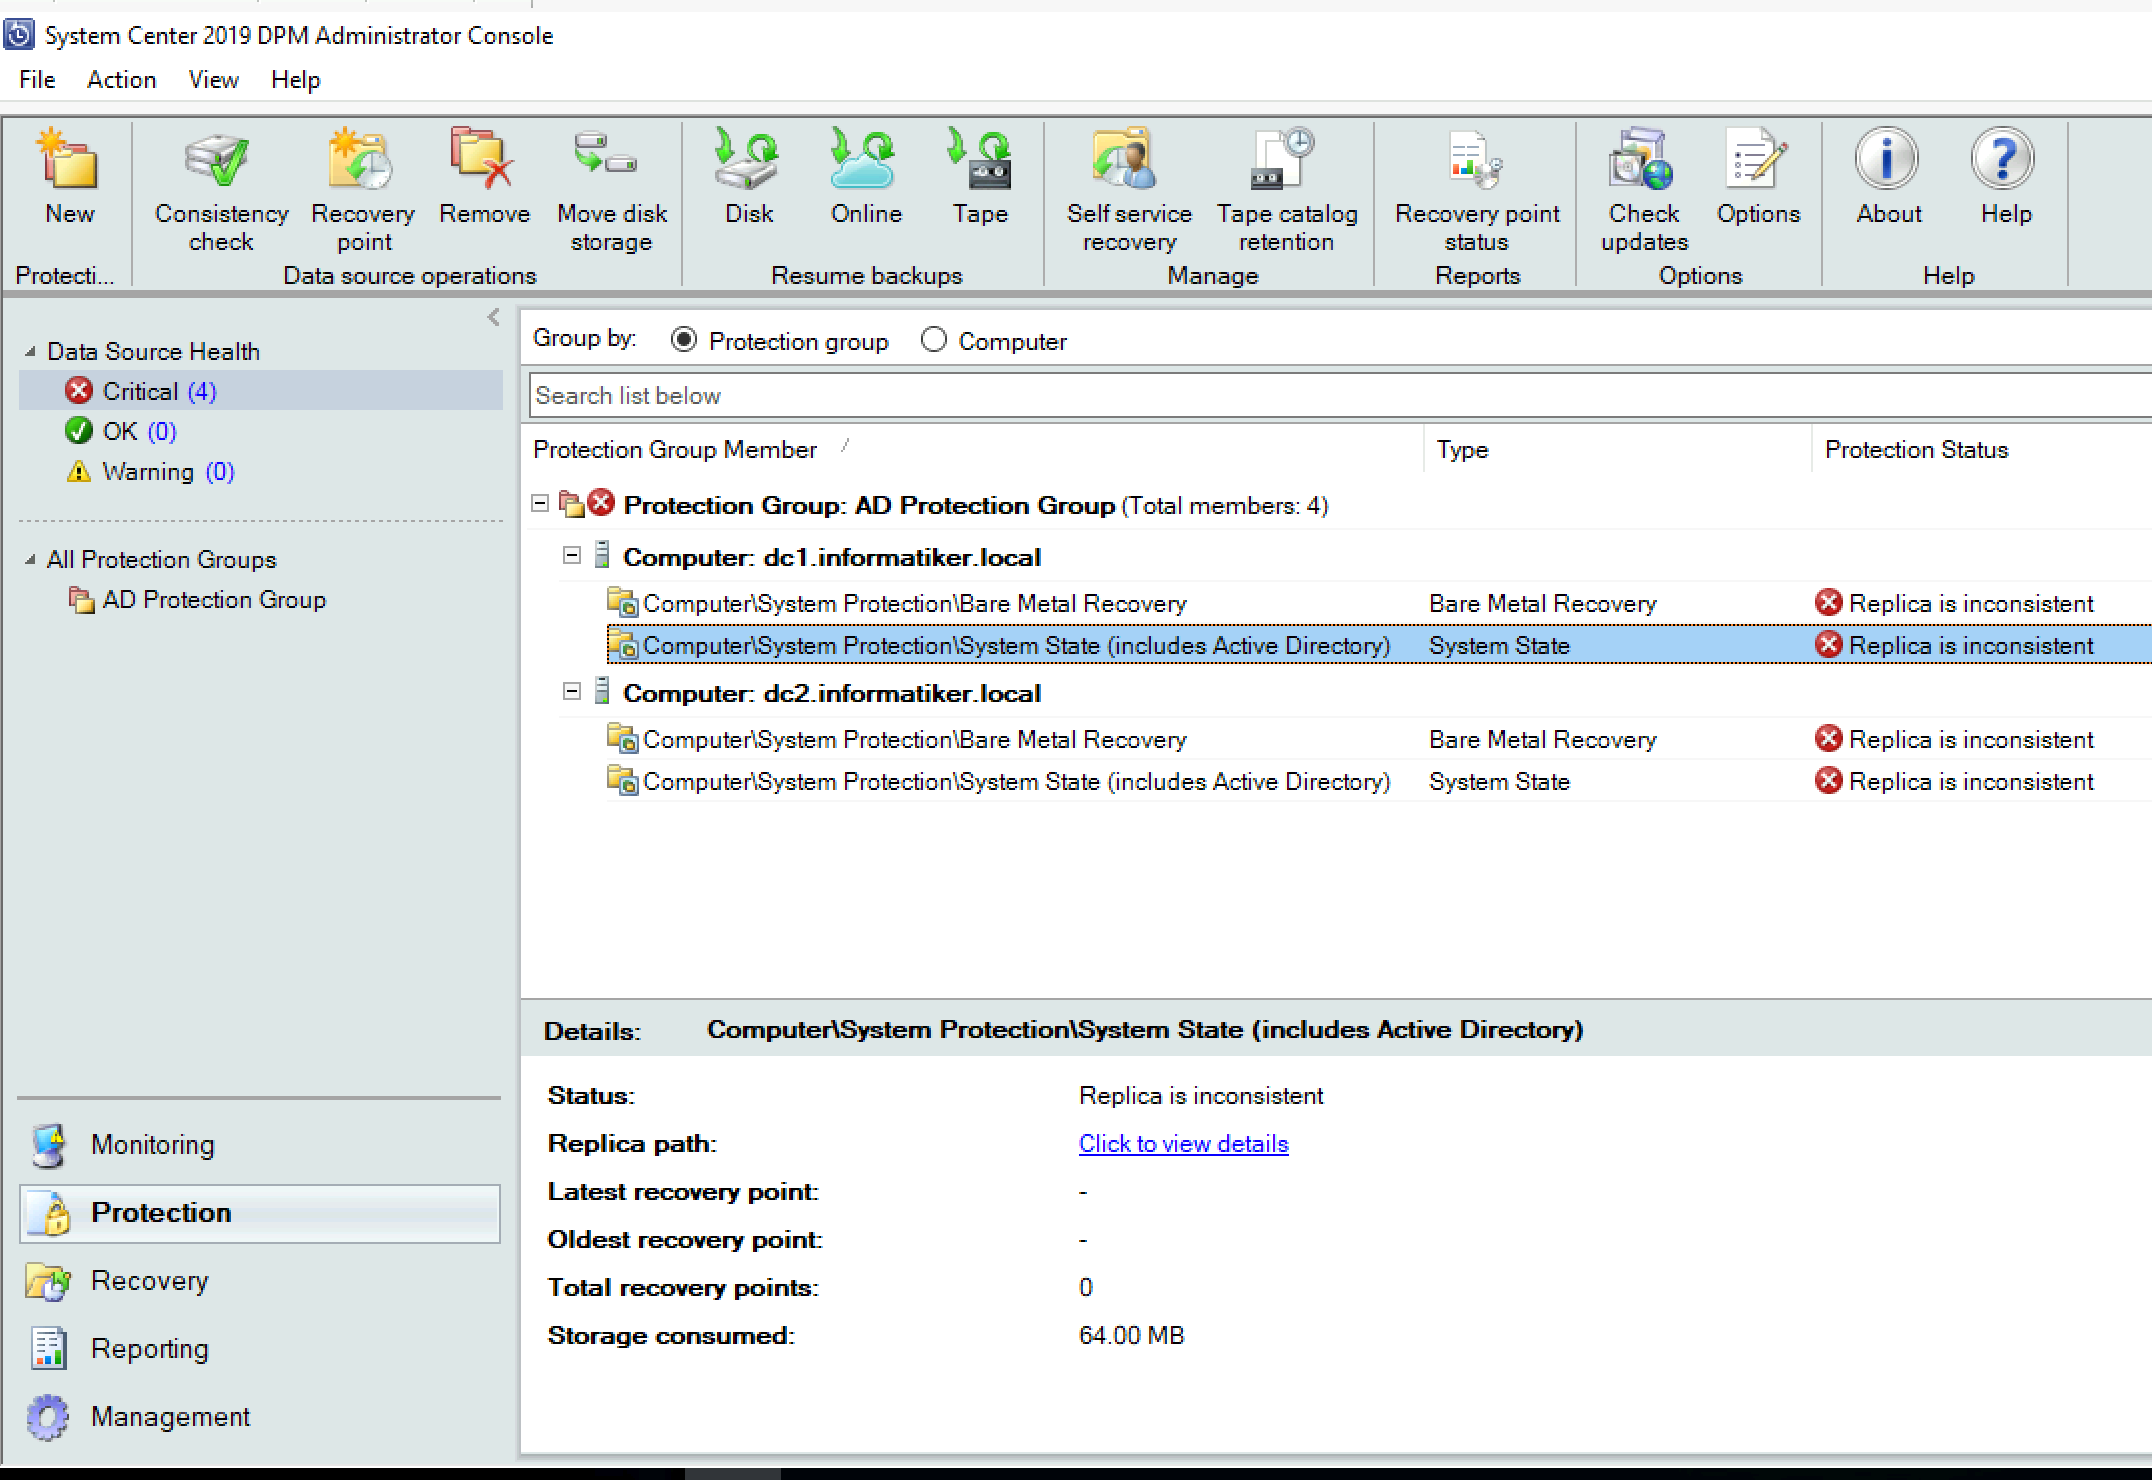
Happiness didn’t last for long. I went to protection screen and wanted to immediately create another recovery point – but I got error that I need to perform consistency check. I performed it, and the result is below “Replica is inconsistent”. Fresh LAB, fresh install of DPM.
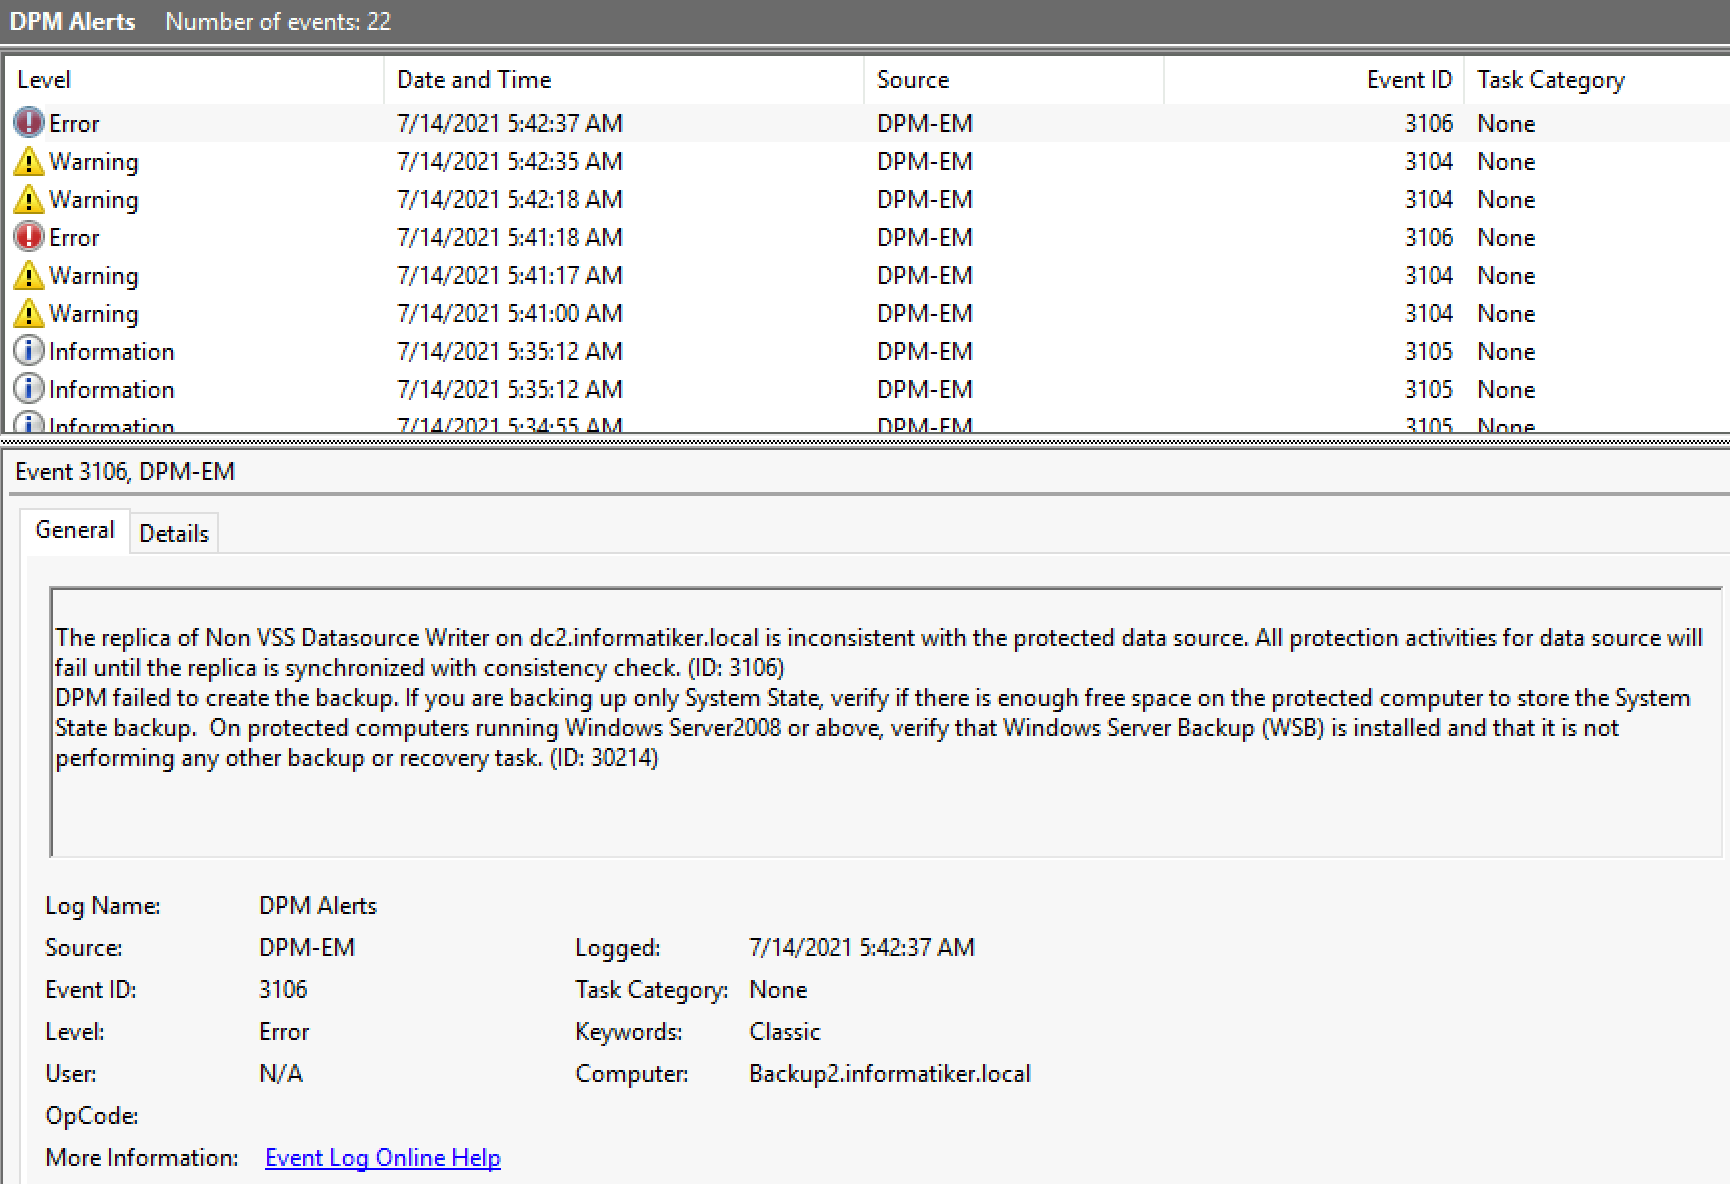
This is what logs say “DPM dailed to create the backup. If you are backing up only System State, verify if there is enough space on the protected computer to store the System State backup. On protected computers runing WS2008 or above, verify tat Windows Server Backup (WSB) is installed and that it is not performing any other backup or recovery task.
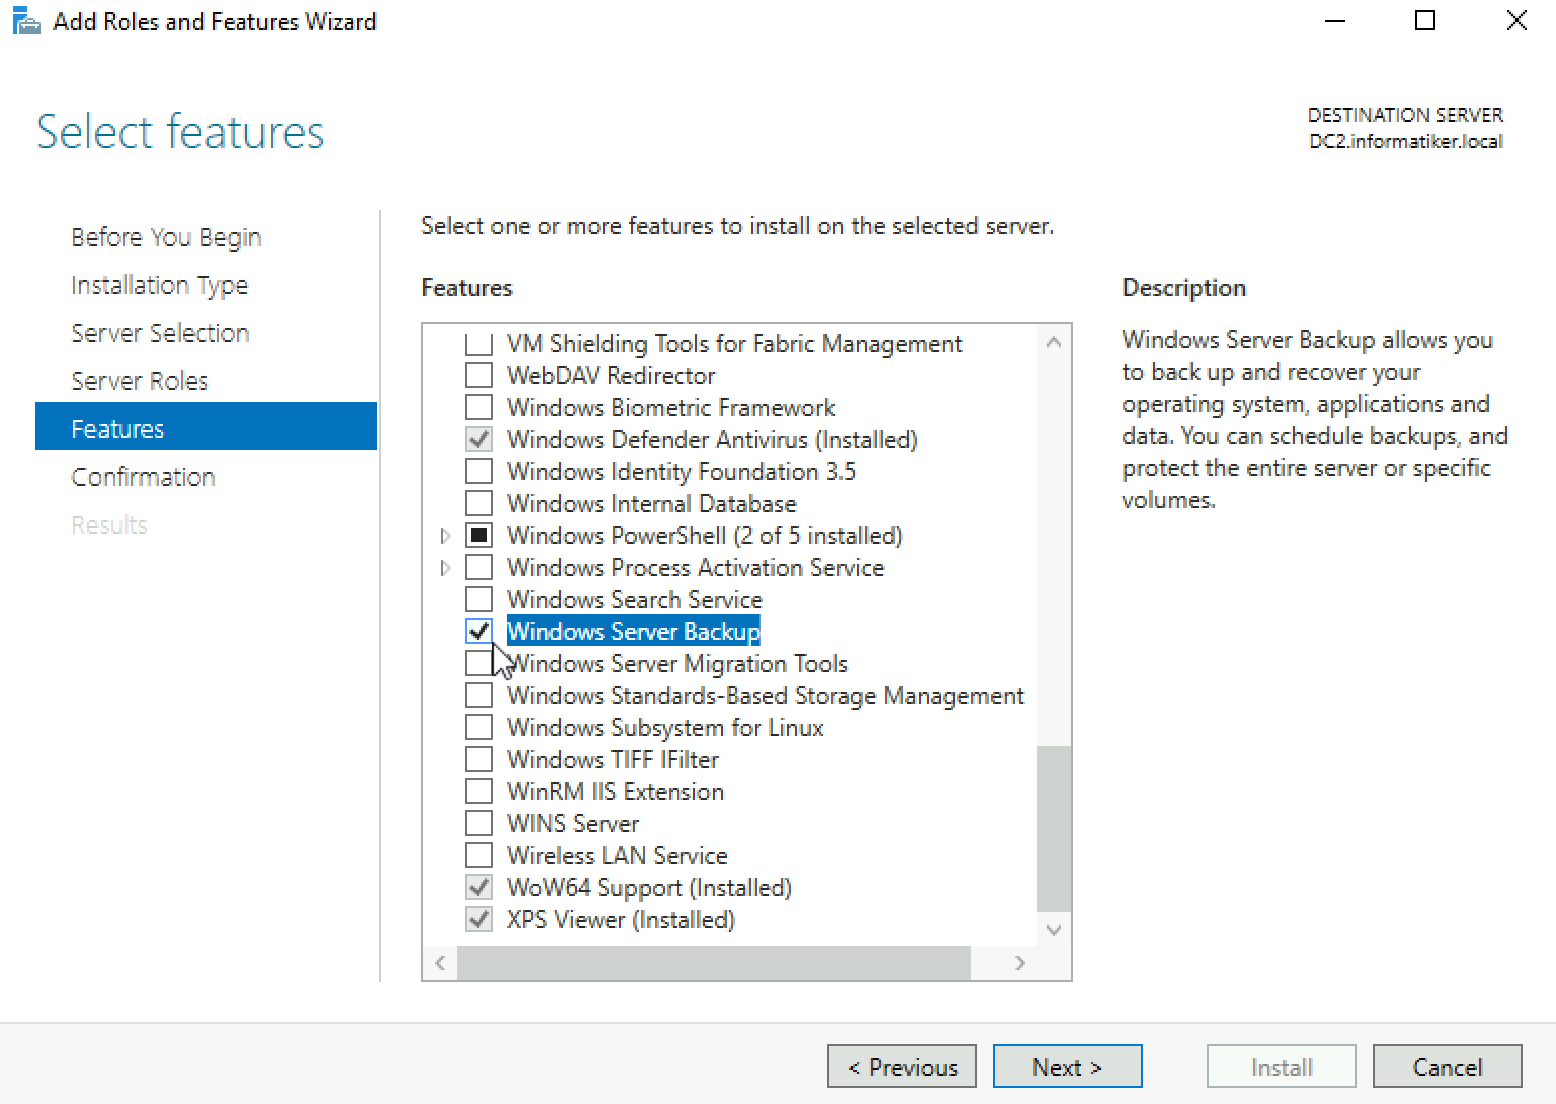
Ok, let’s try to repair this on DC2. First of all, Install Windows Server backup Feature (Do not schedule any jobs on the Windows Server Backup!!)
On one client on the network (with plenty of disk space) create file share. I created fileshare on \\DFS1 and named share folder BareMetalShare \\DFS1\BareMetalShare
Now, back to the DC2. Start CMD in elevated mode (as Administrator) and type in following backup command
Change \\DFS1\BareMetalShare to your network file share name
wbadmin.exe start backup -allcritical -quiet -backuptarget:\\DFS1\BareMetalShare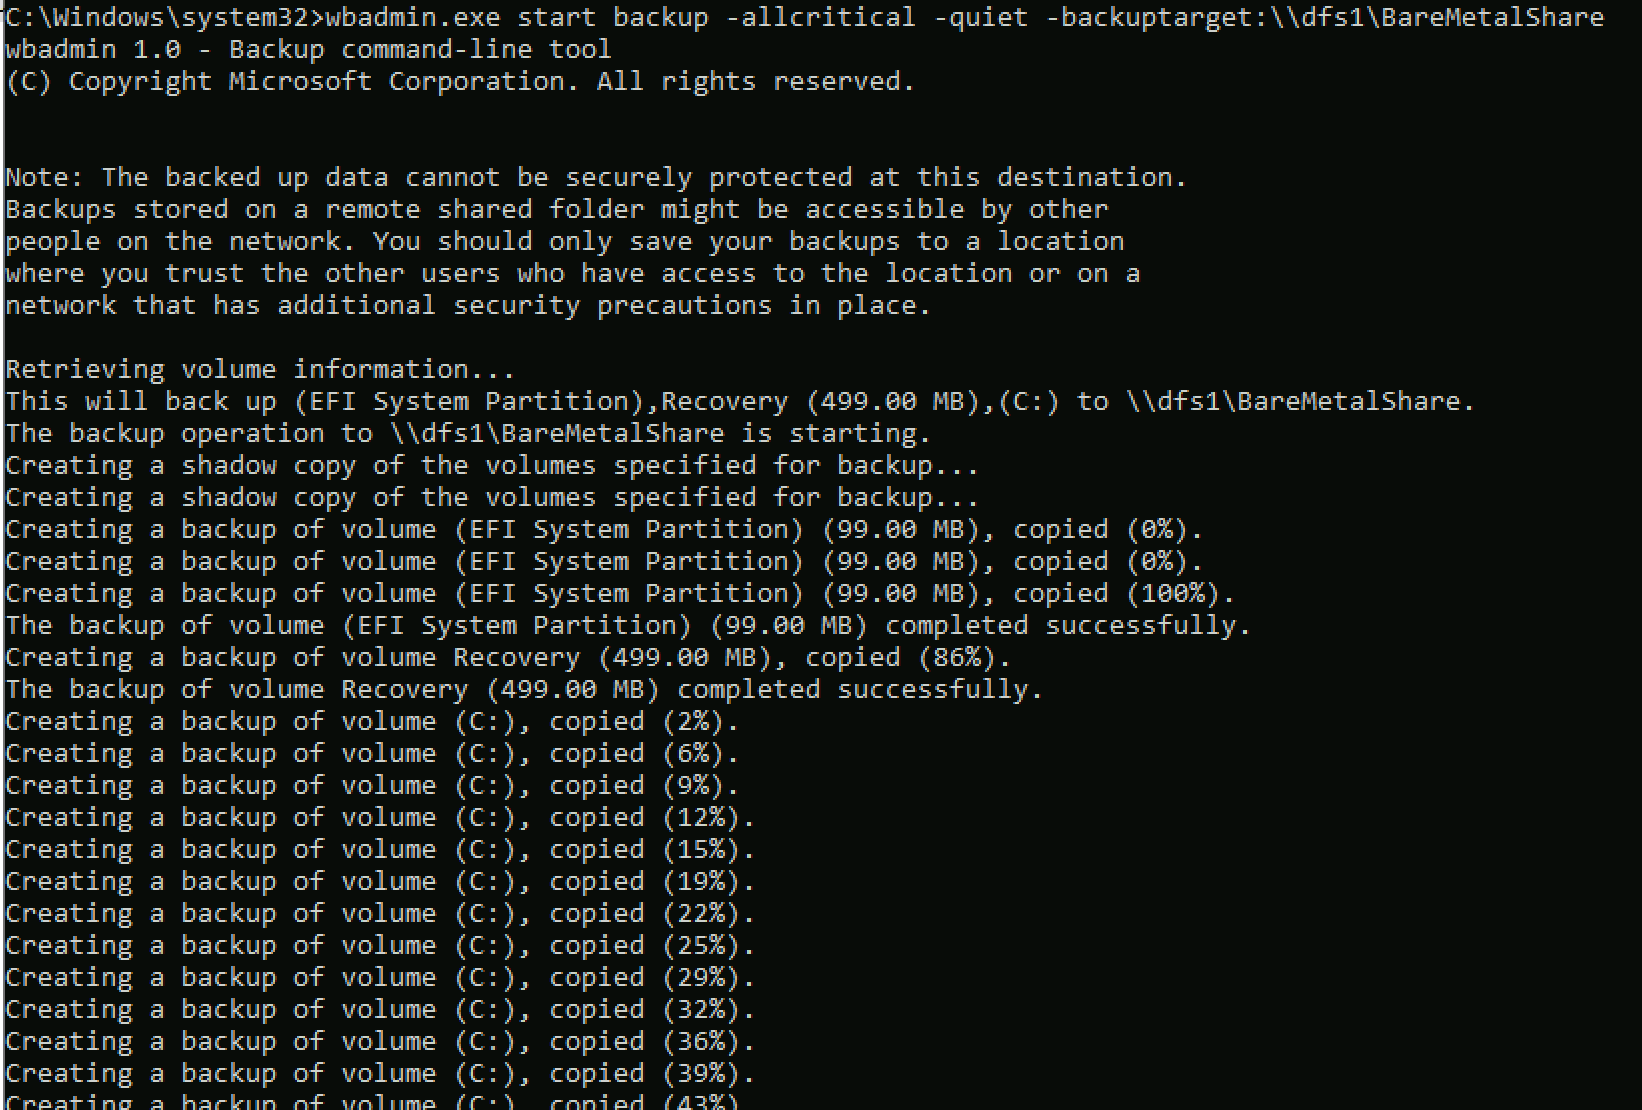
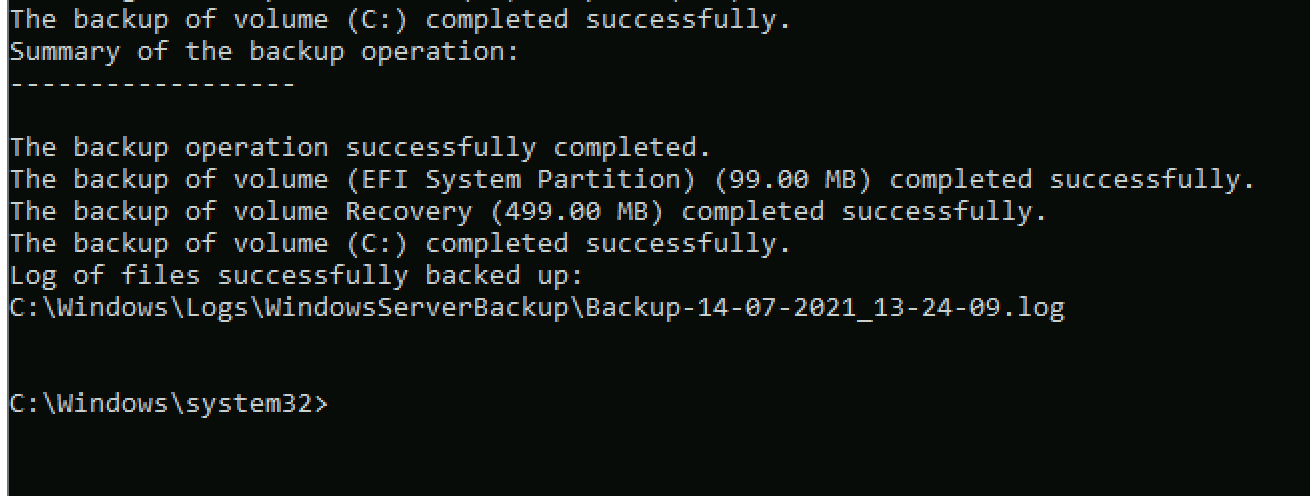
After some time backup was complete.
I went to the file share where the backup is saved. Backup is 19.1GB in size.
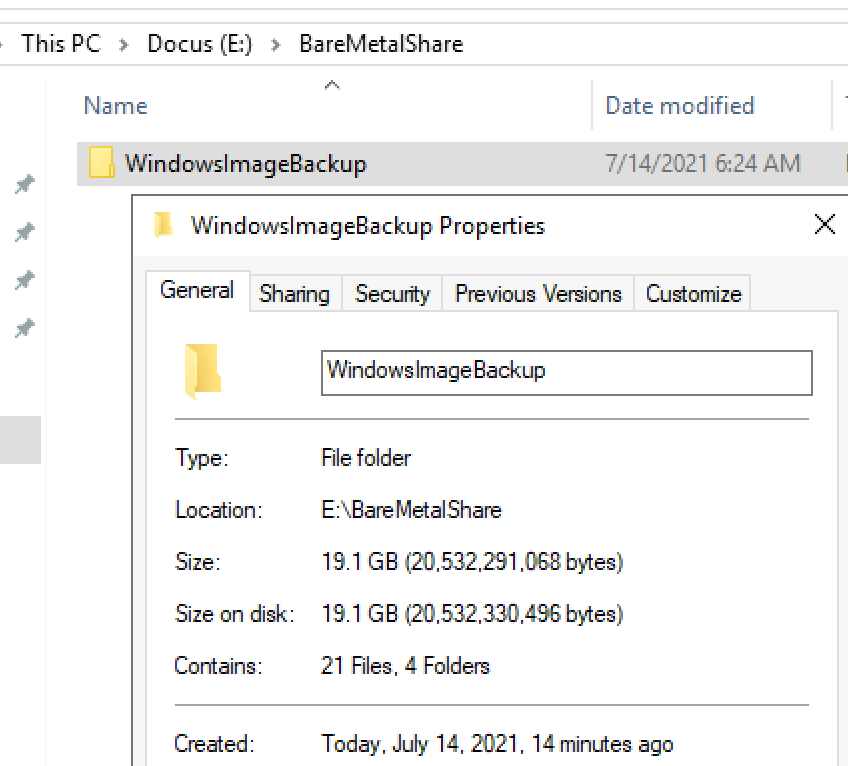
So, it looks like data size is even correctly calculated by DPM.
On DC1 I just enabled Windows Server backup and after that run consistency check (without run wbadmin command). It turned out ok.
Ok, now we finally have clear situation.
File Protection Group
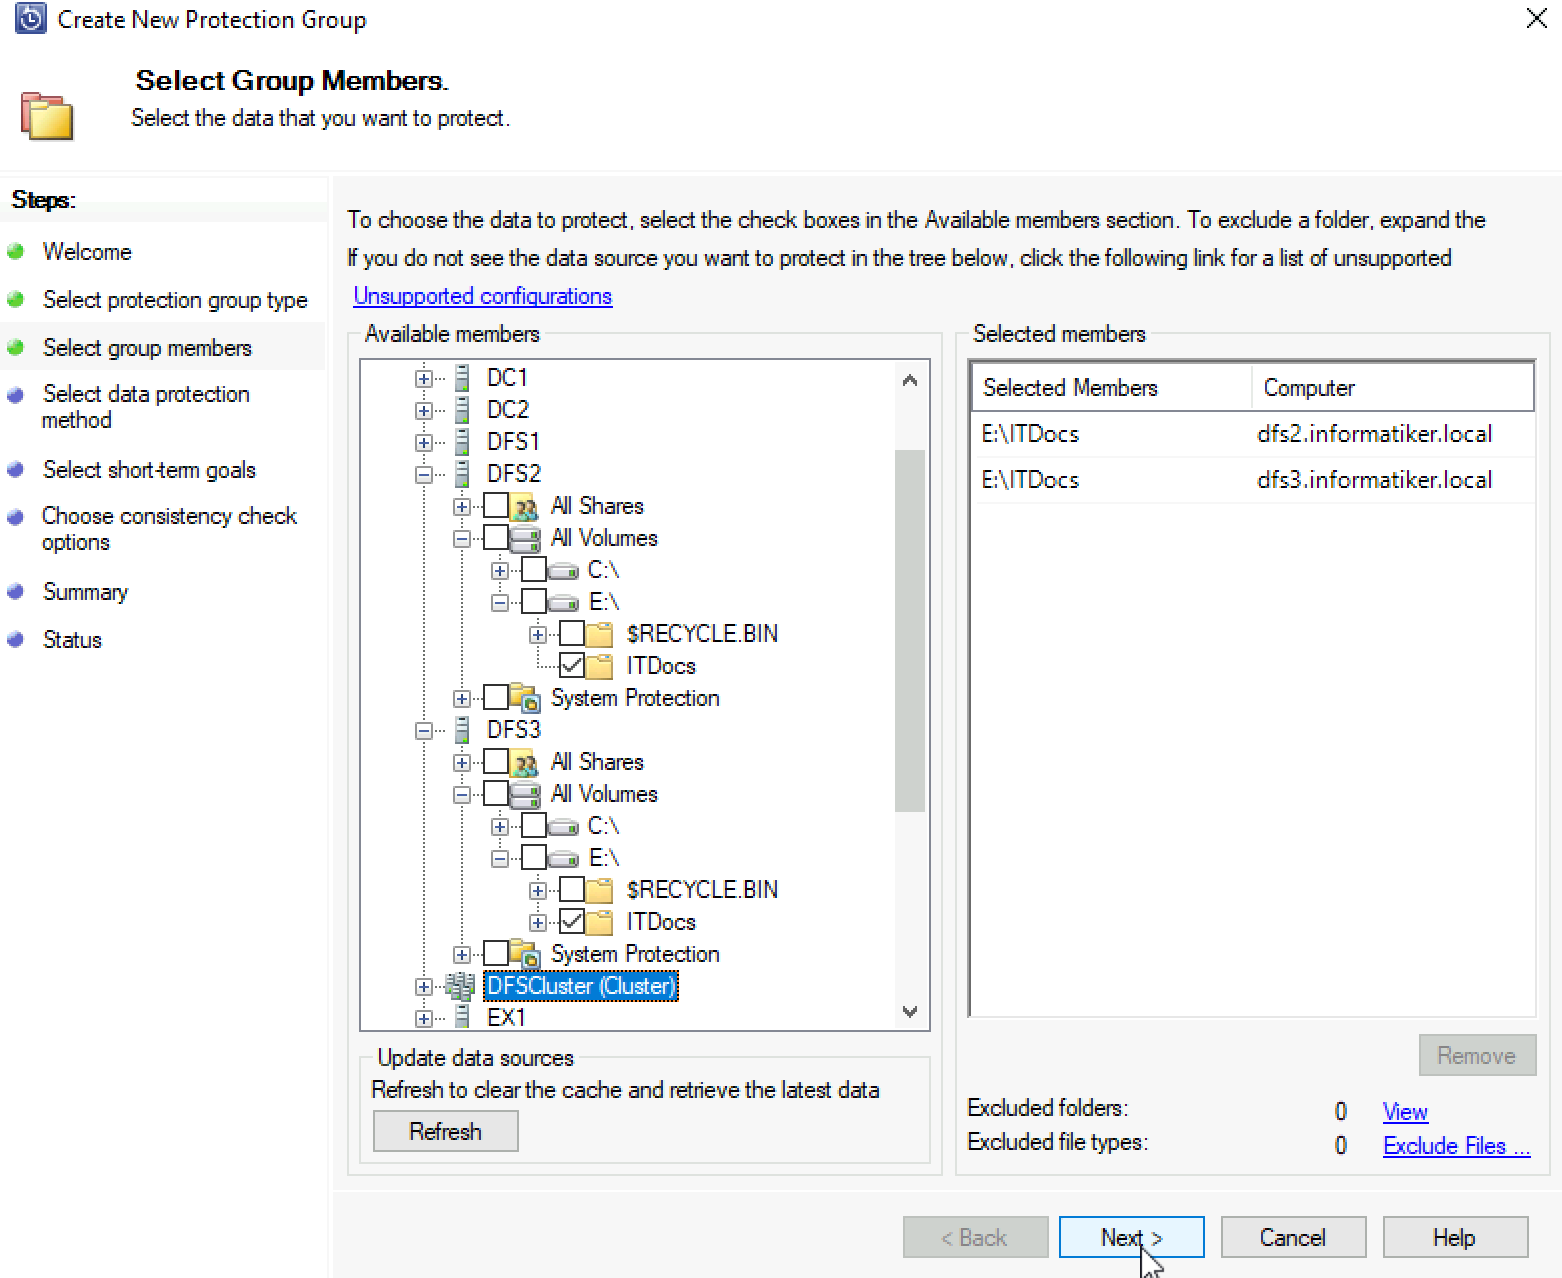
I have two DFS Servers that I also wish to protect. I don’t really care about OS, I care about my ITDocs file share. So, I’ll be backing that up.
I also won’t be covering whole procedure (since it is more or less the same, I’ll only cover important parts). I selected IT Docs on both DFS2 and DFS3 server (these two are active curently, DFS1 which you can see on the screen isn’t active).
I gave group a name – File Protection Group

These are the details of File Protection Group – not much.
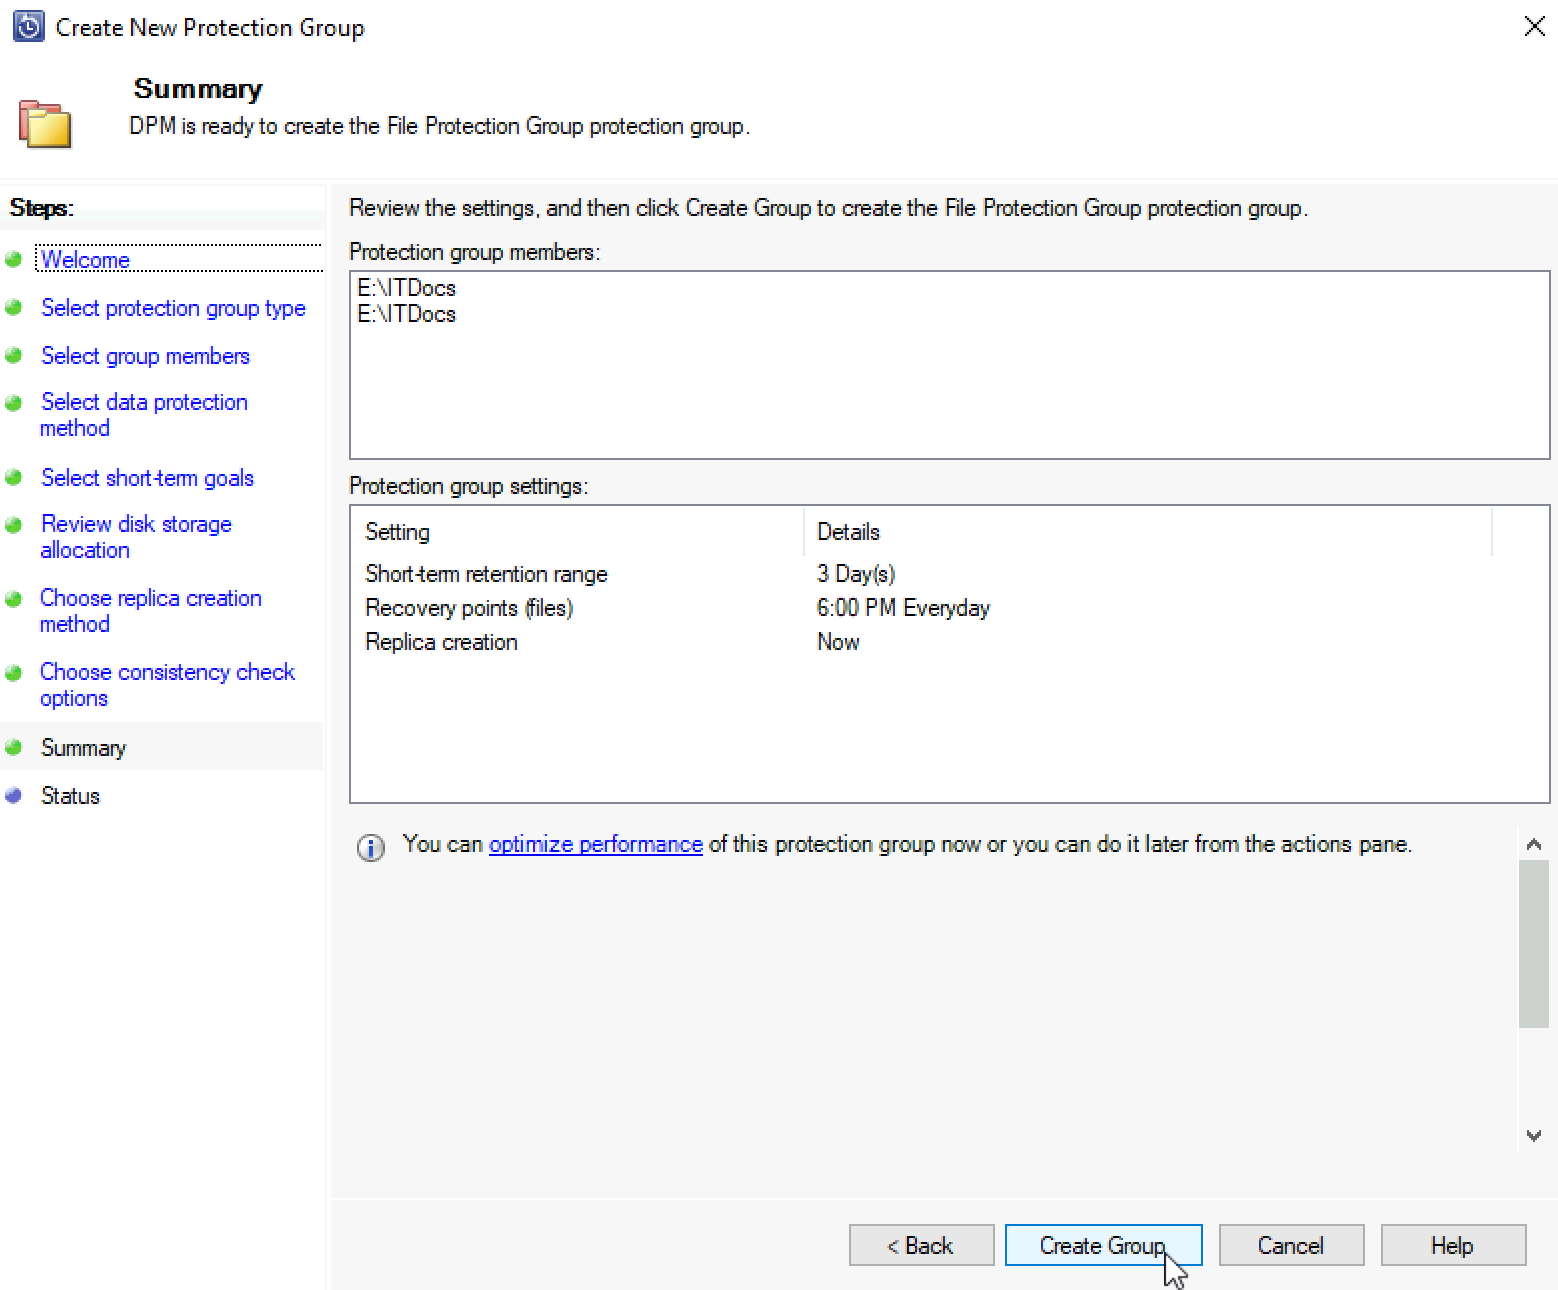
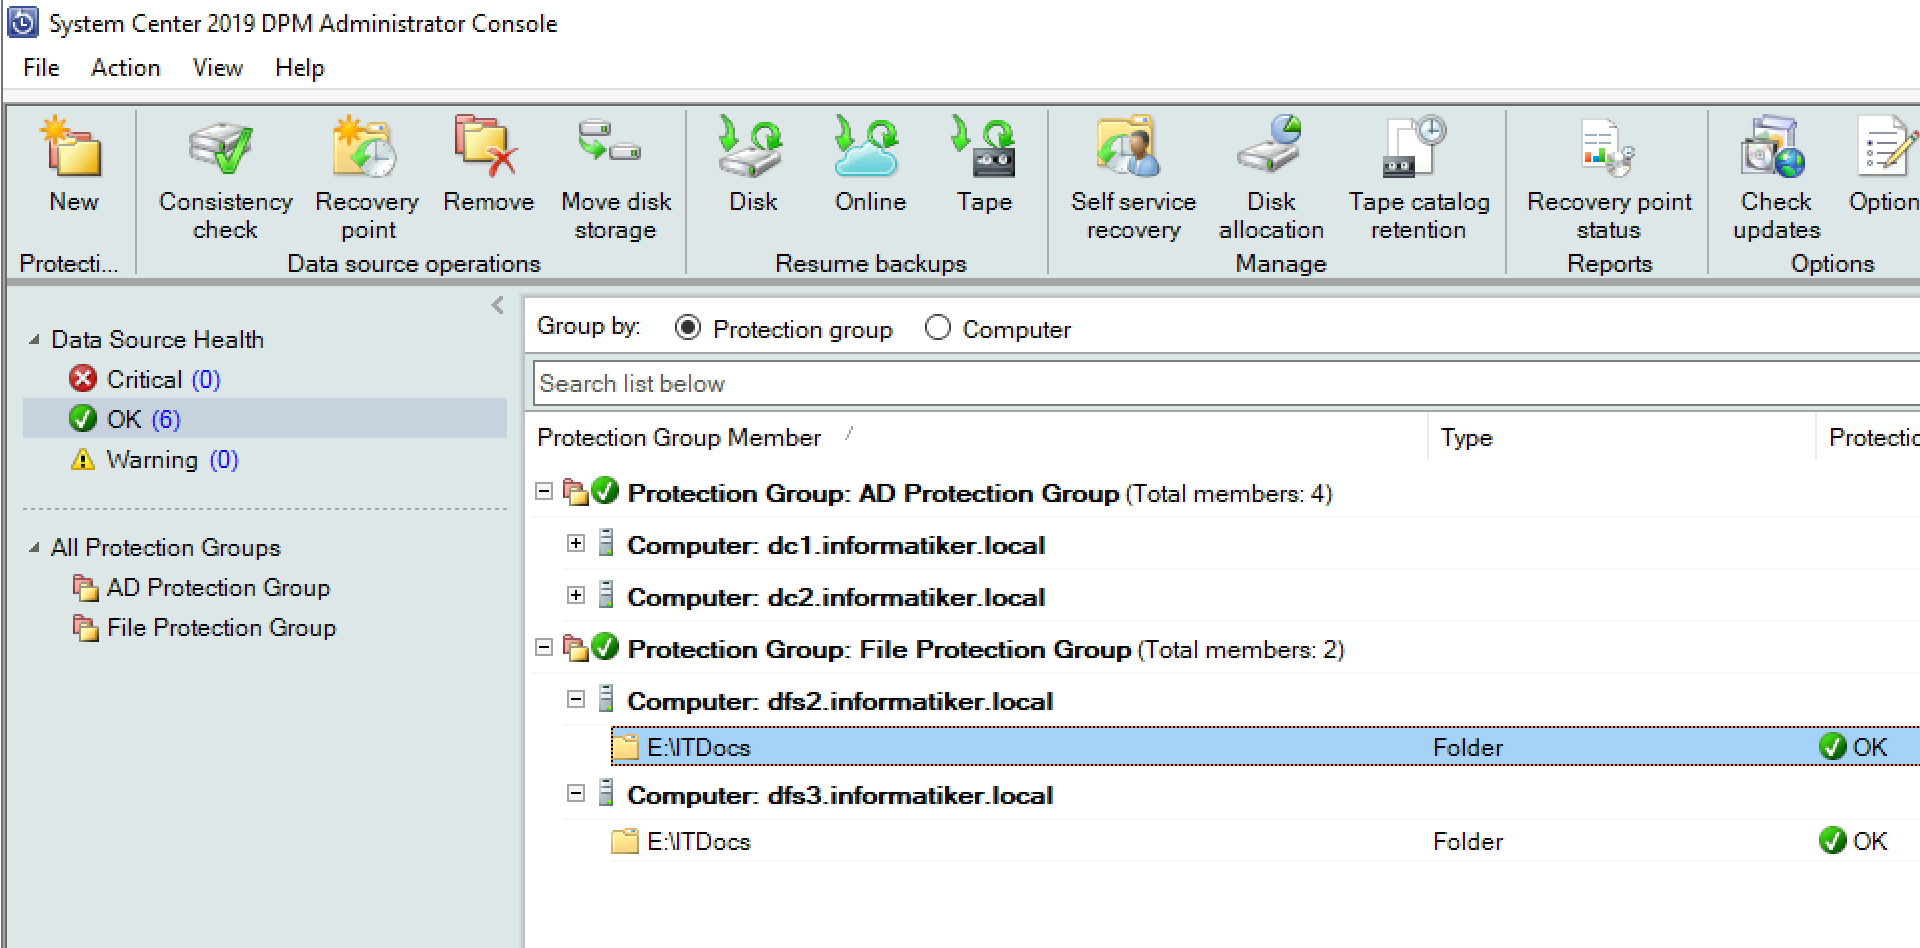
Everything ok, I haven’t had issues like with AD protection.
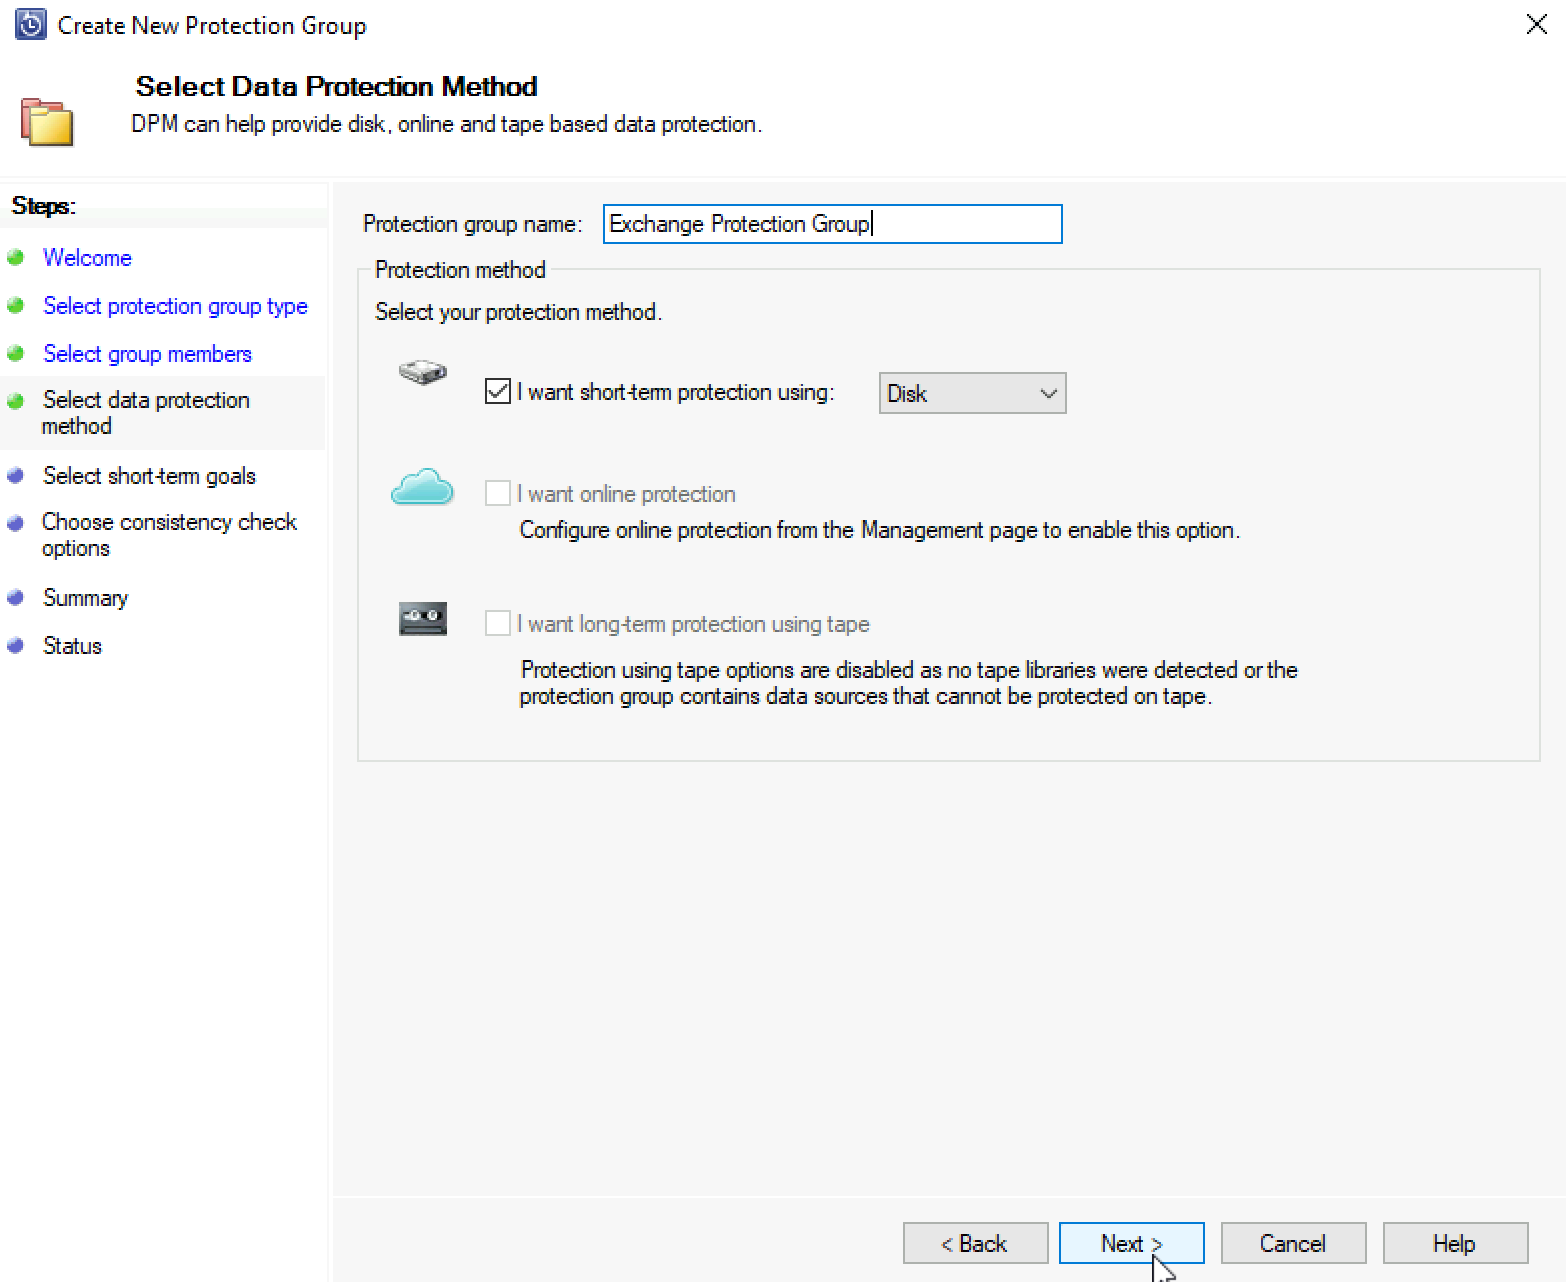
Exchange Protection Group
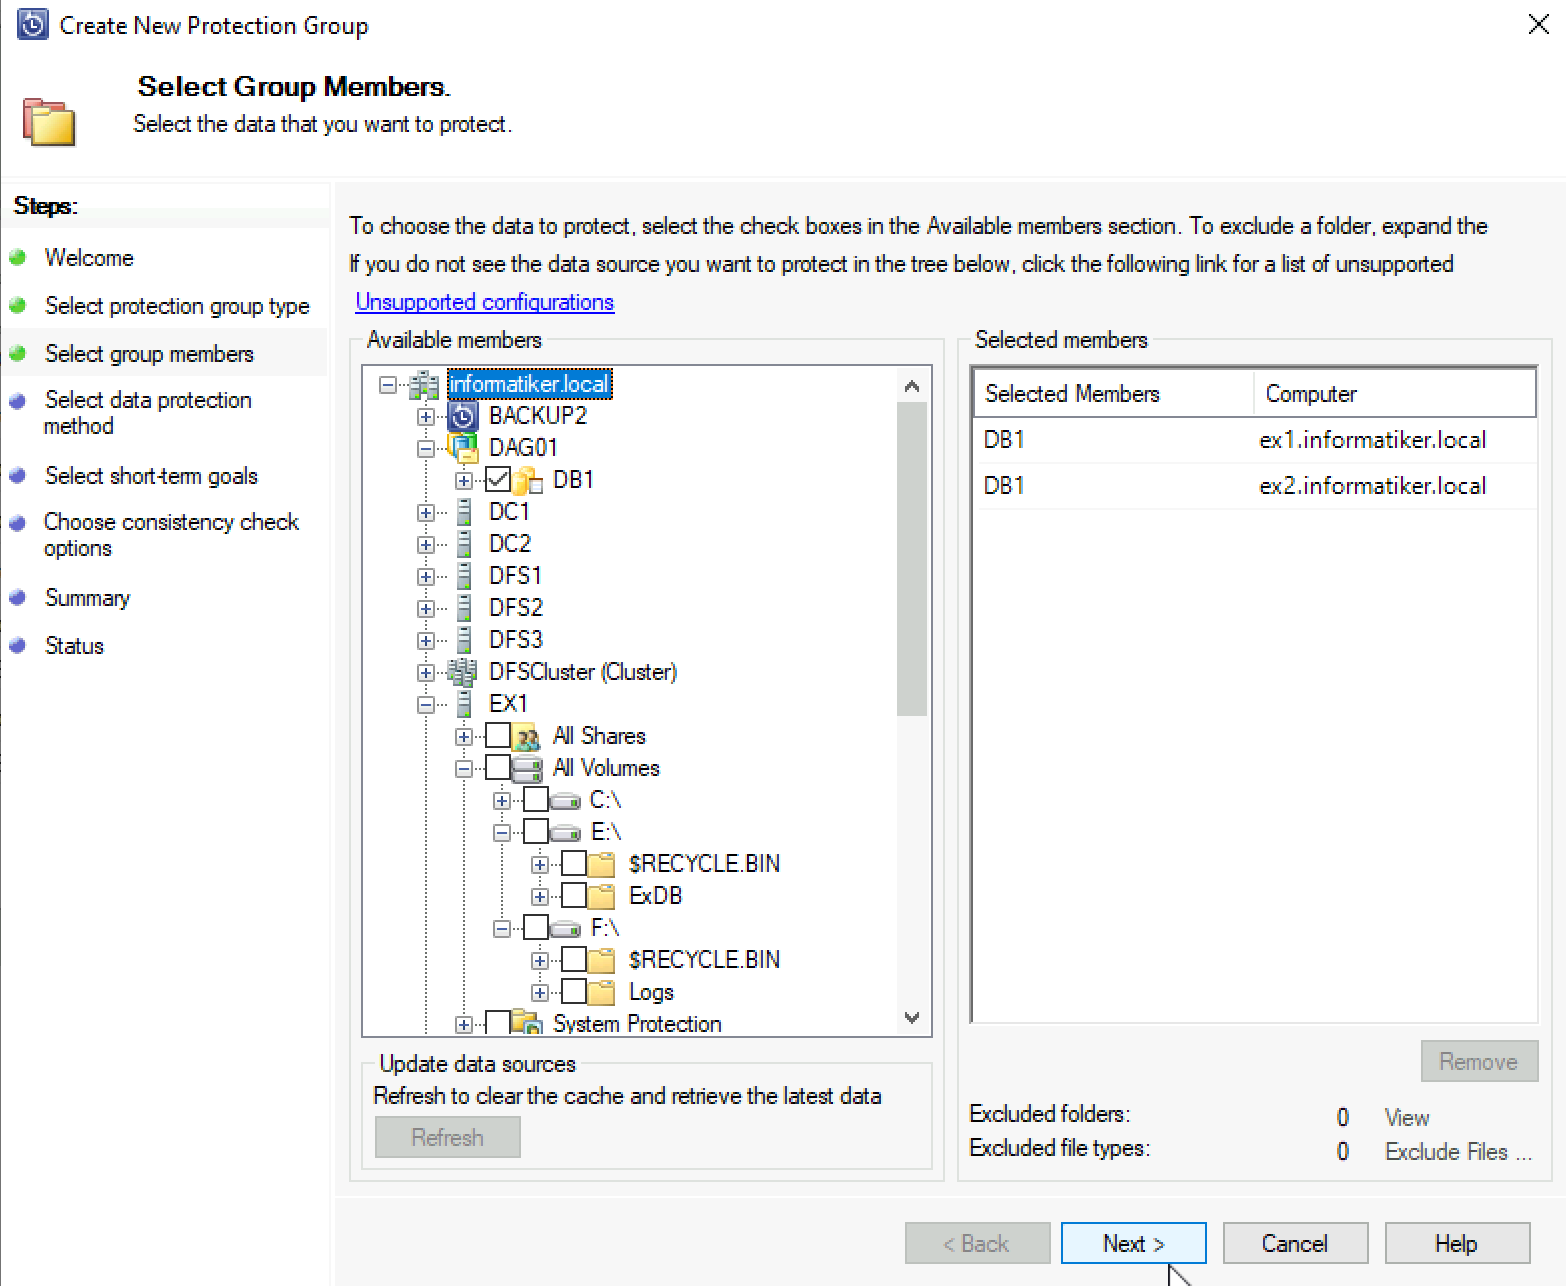
Again, I will only highlight differences since the whole process is more or less the same. I have DAG in place, so I will select DAG DB1 which automatically concluded that servers ex1 and ex2 are the members. If you don’t have DAG, you can select your DB location (I expanded EX1 server so you can see – I have database on E drive and Logs on F drive).
I named Protection Group Exchange Protection Group
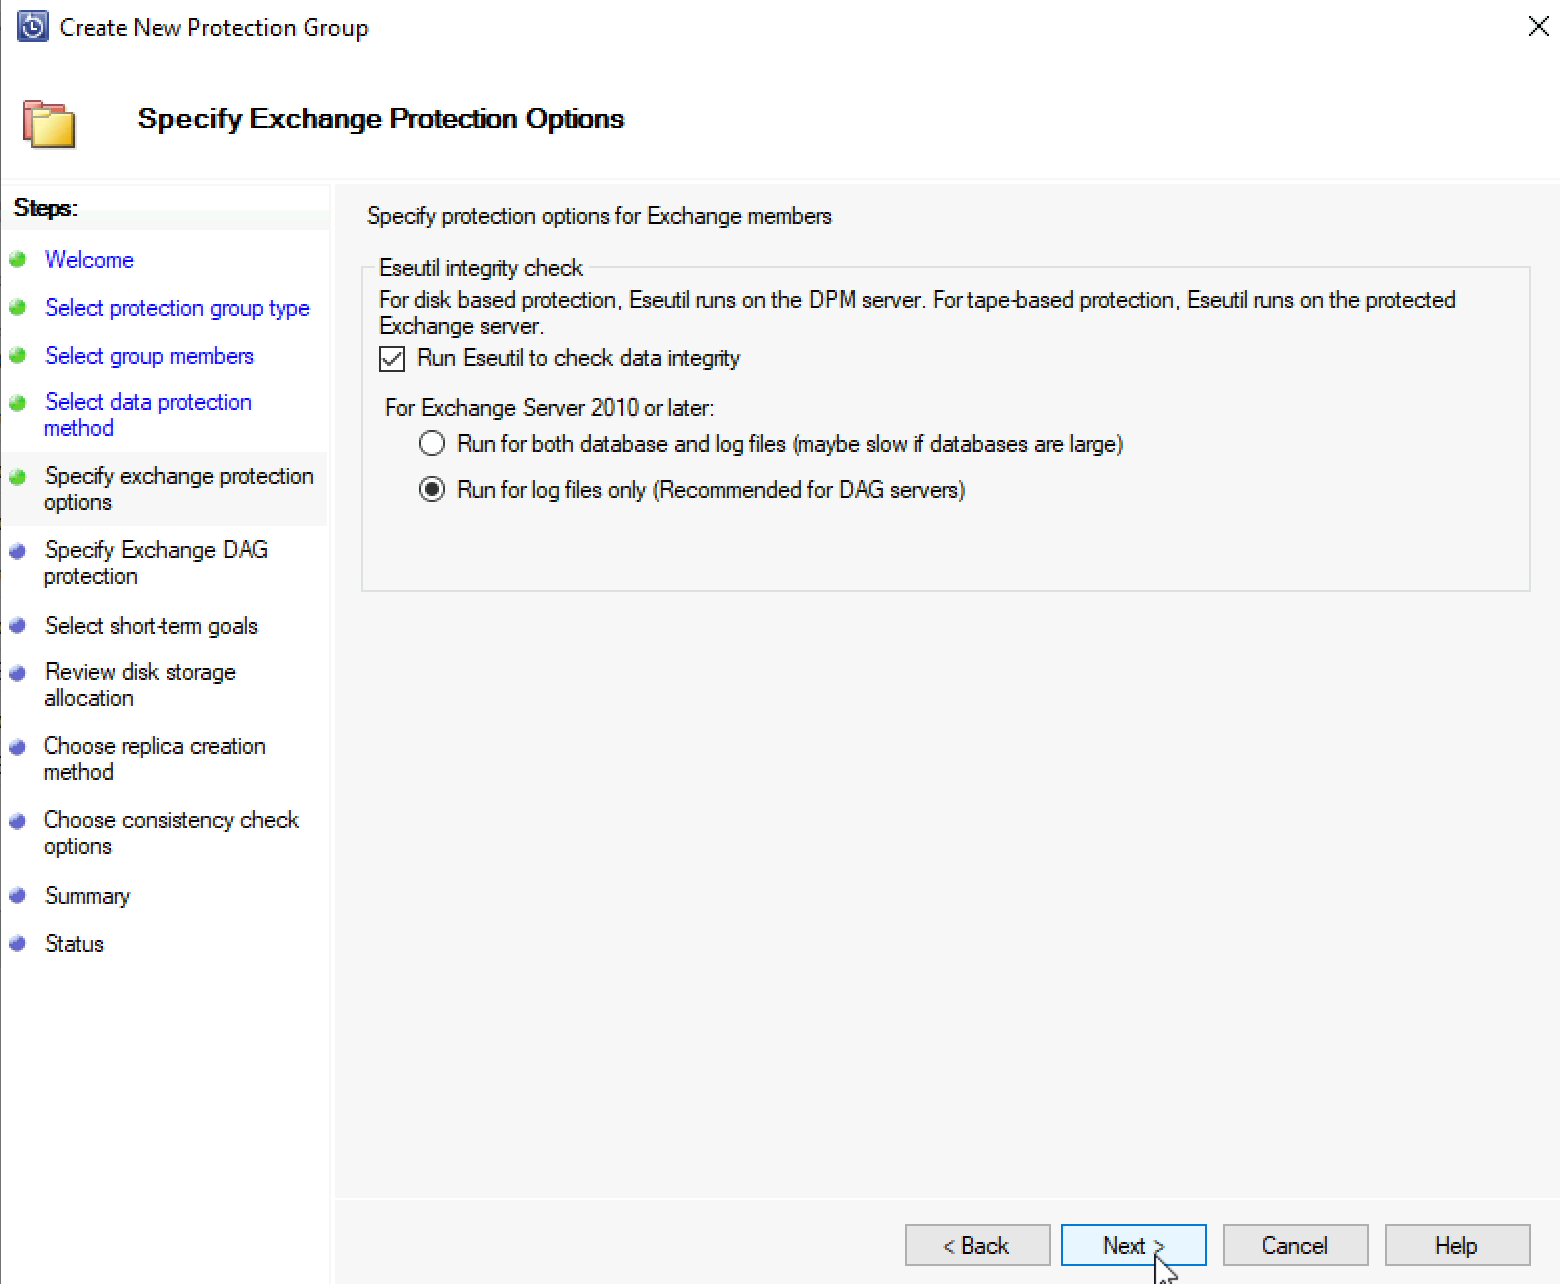
I want Eseutil to run – I also selected run for log files only (since I have DAG in place)
A little error.
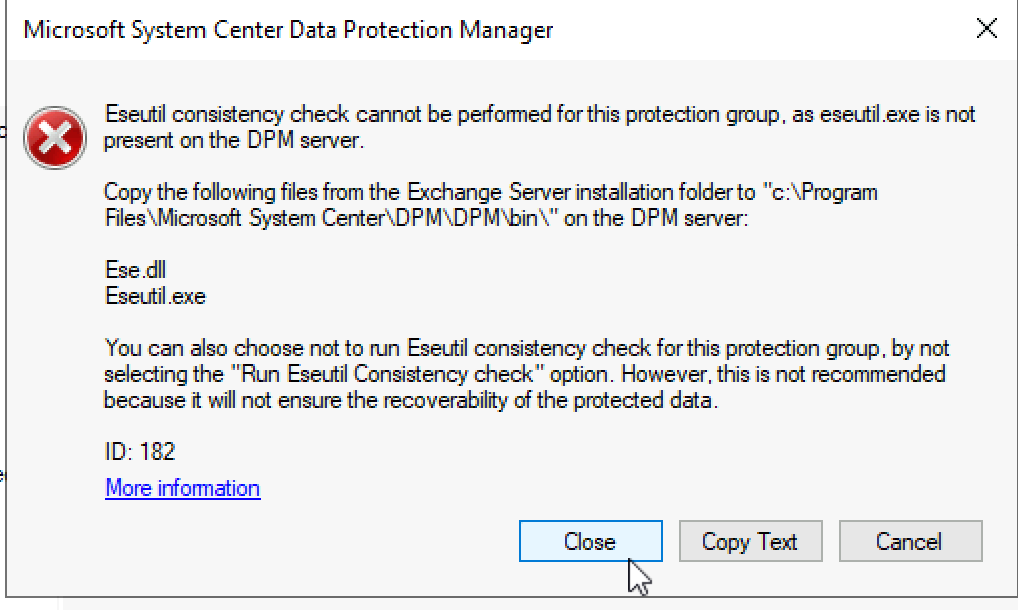
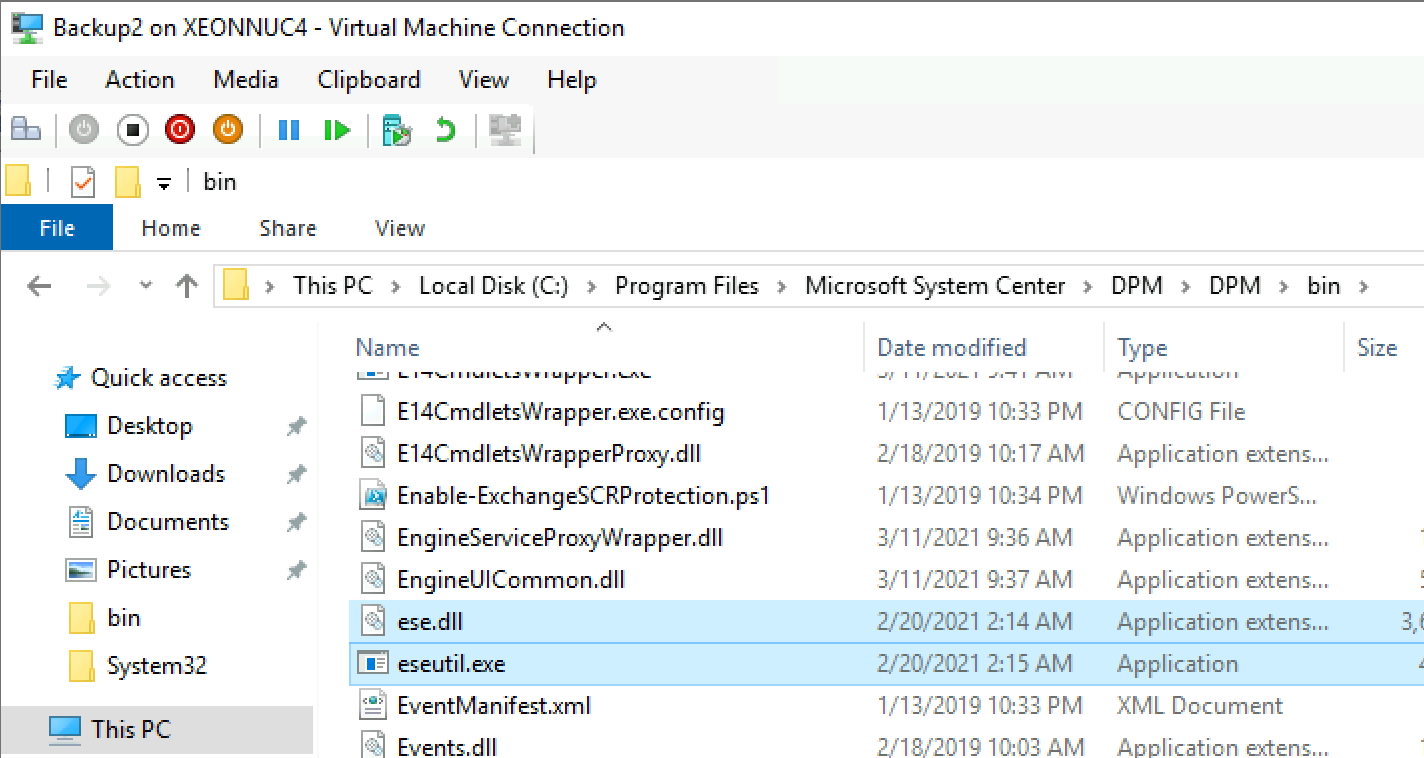
On Exchange Server files ese.dll and eseutil.dll are located in C:\Program Files\Microsoft\Exchange Server\V15\Bin
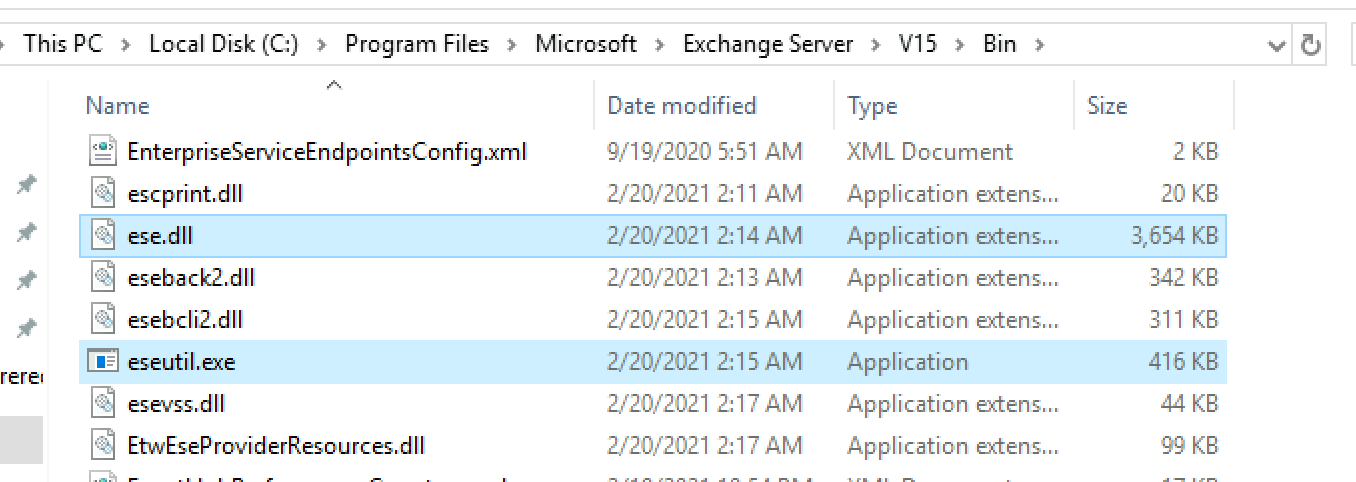
I copied them to the server where my central DPM installation is located into C:\Program Files\Microsoft System Center\DPM\DPM\bin folder
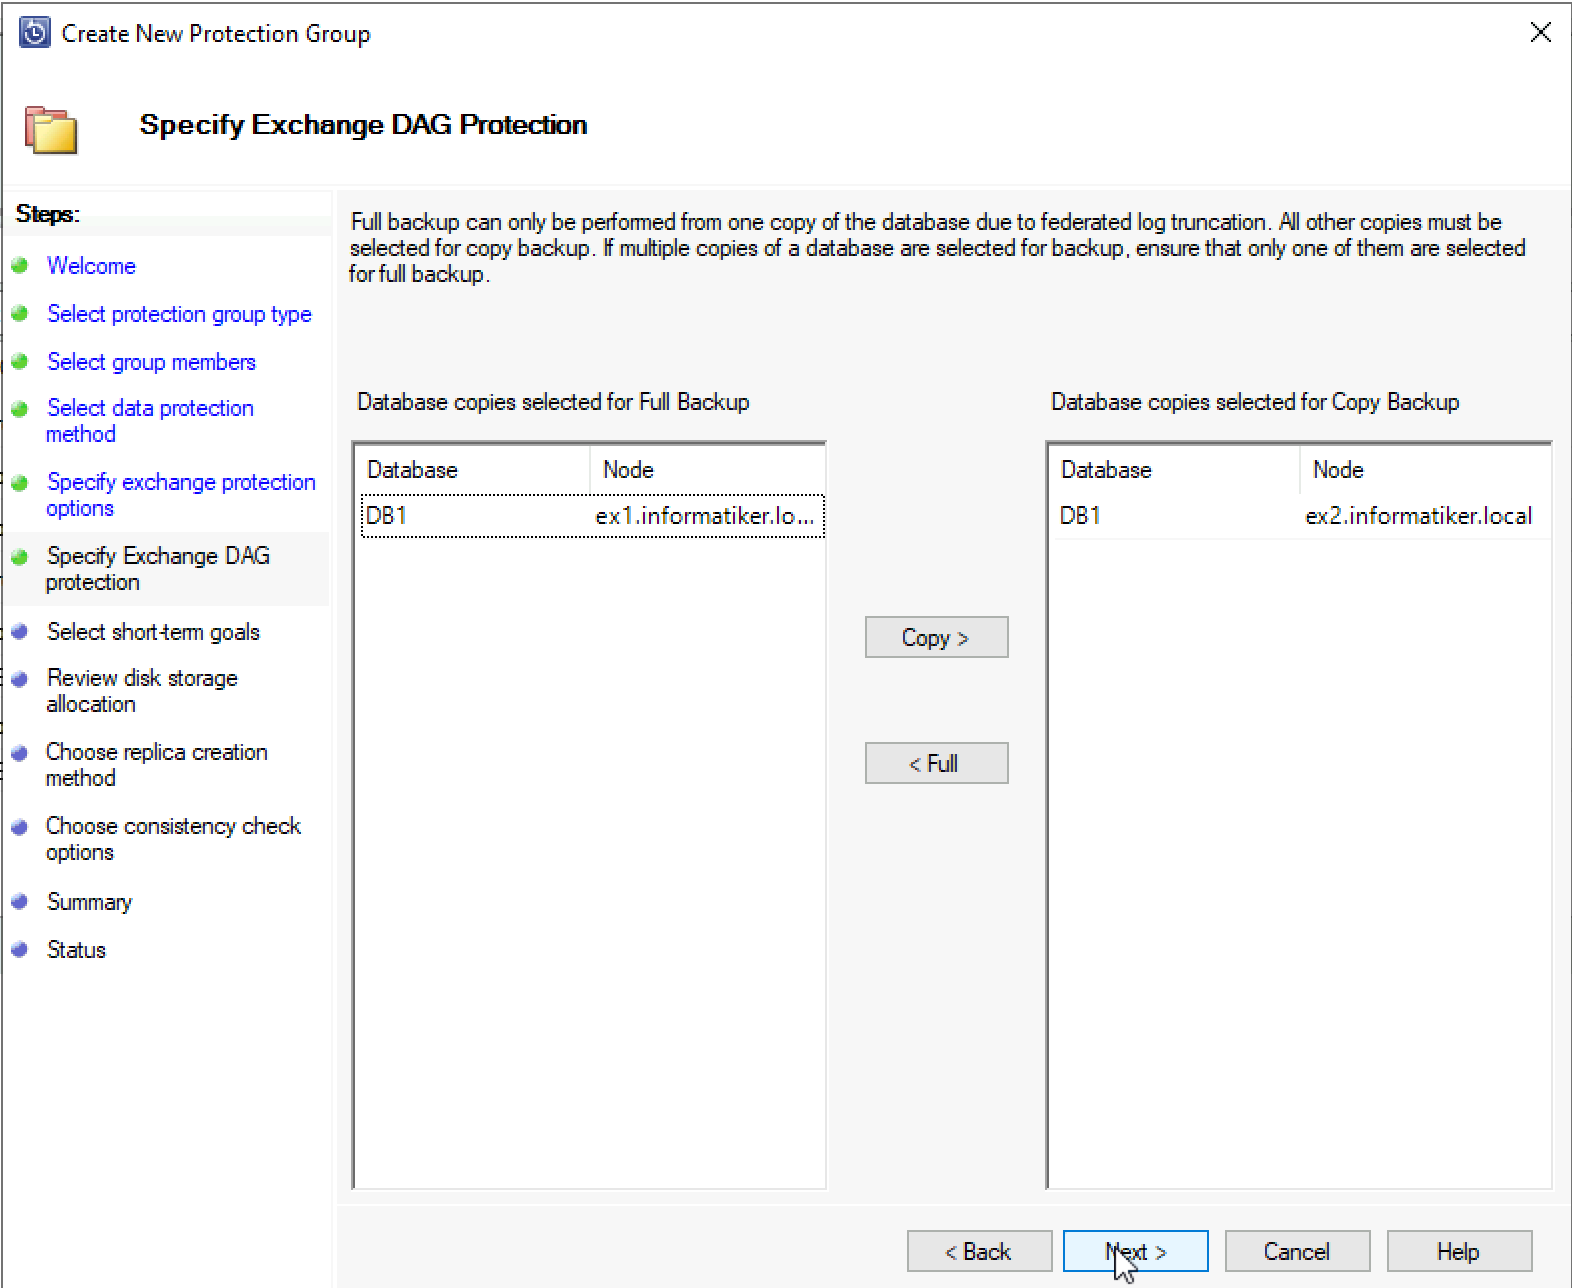
After that backup went on. Since I have DAG as the below screen says, it cannot do full backup on both DBs. So, I selected Ex1 instance for full backup, and Ex2 instance for copy backup.
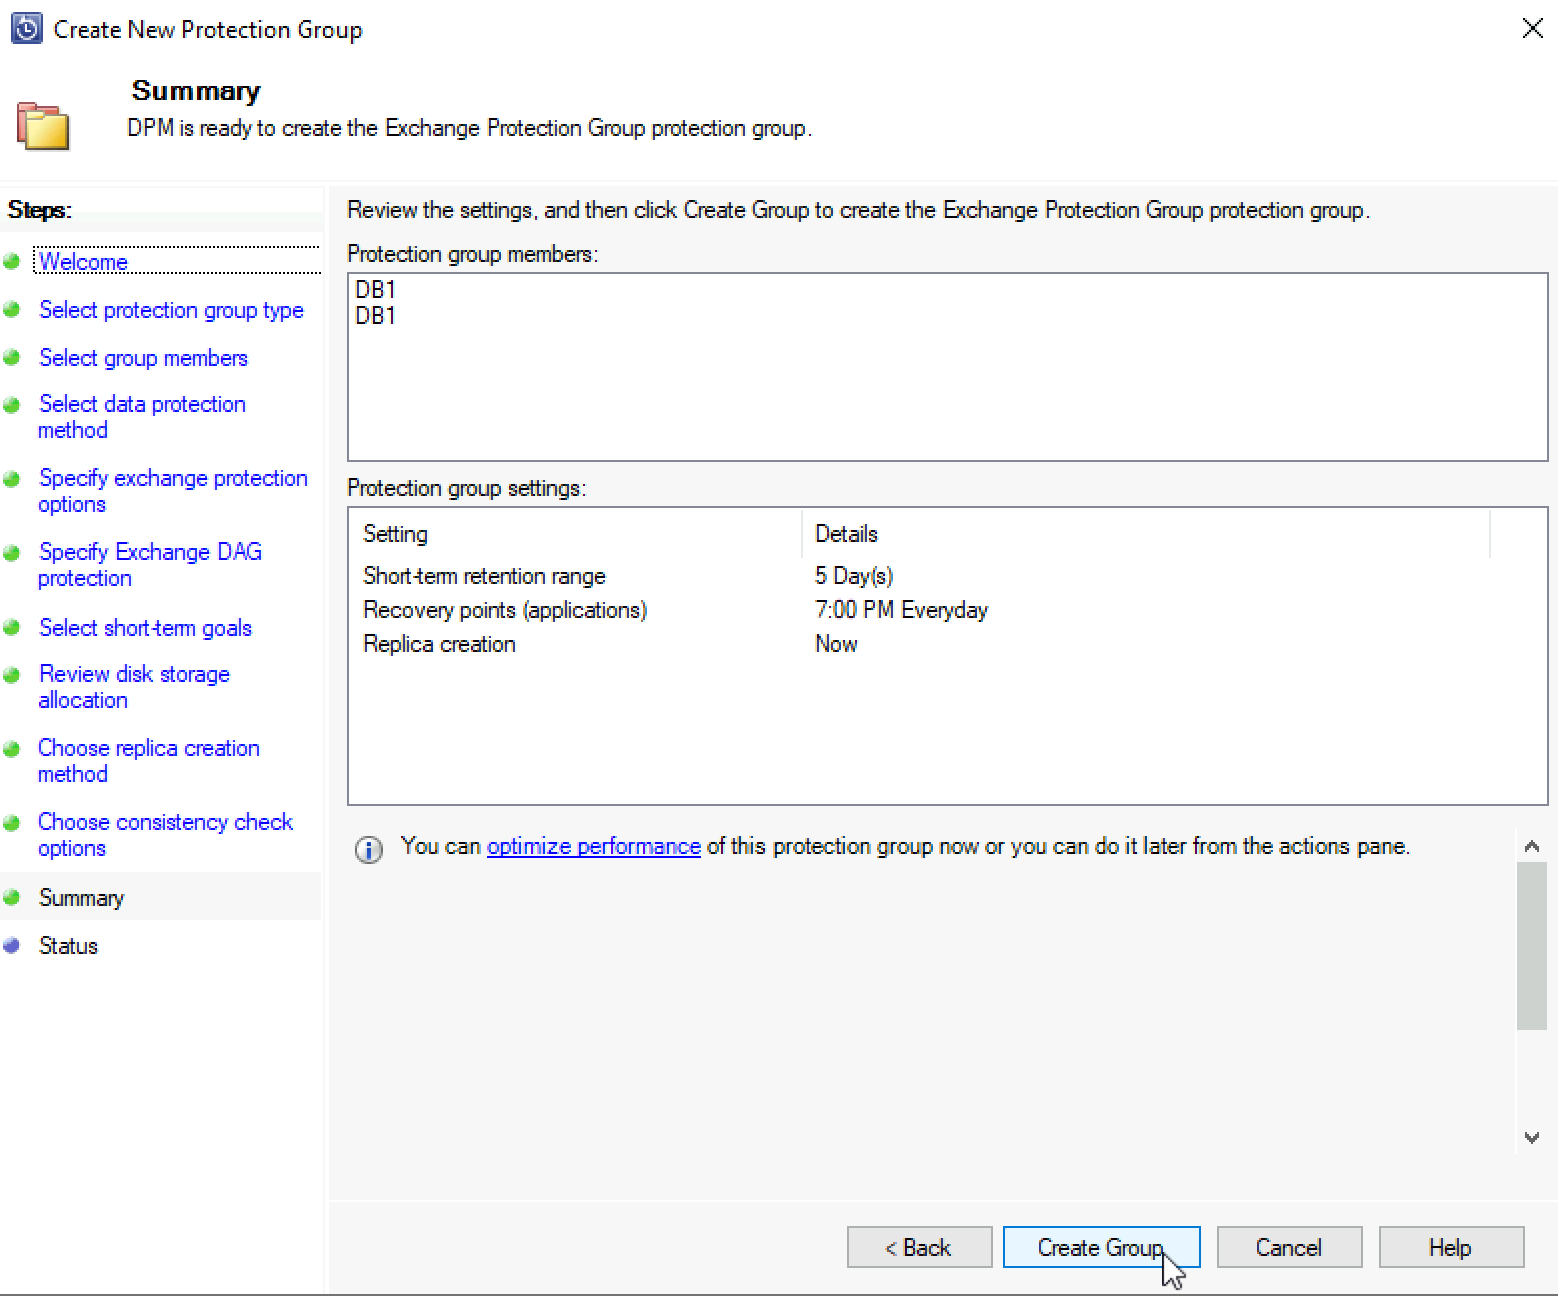
This is the result of my Exchange Protection Group Settings
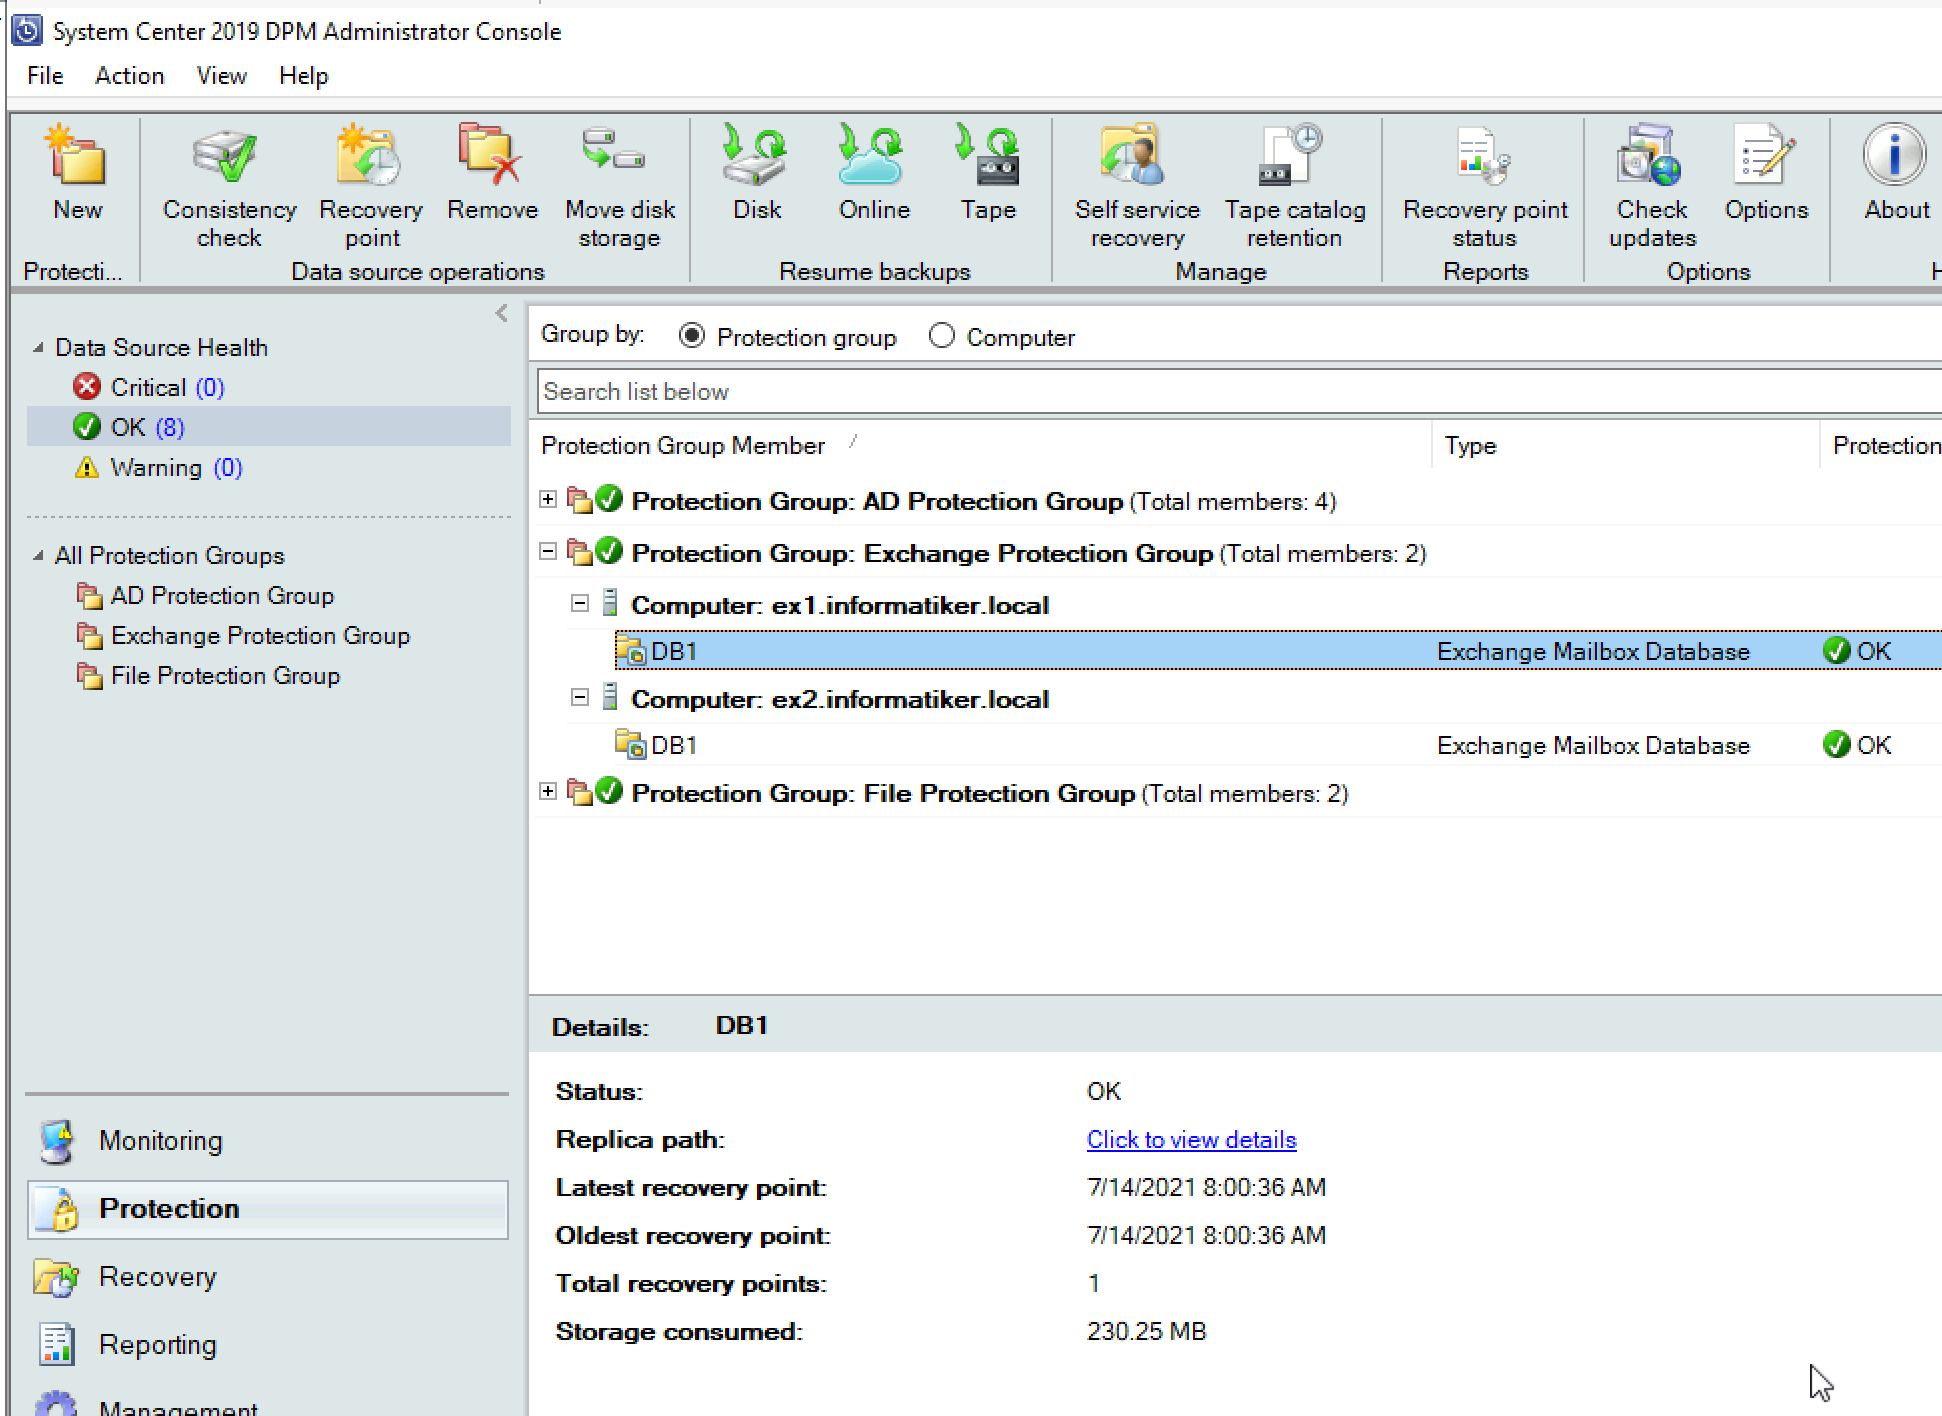
Everything looks ok.
SQL Protection Group
This is the last one we will do for this guide.
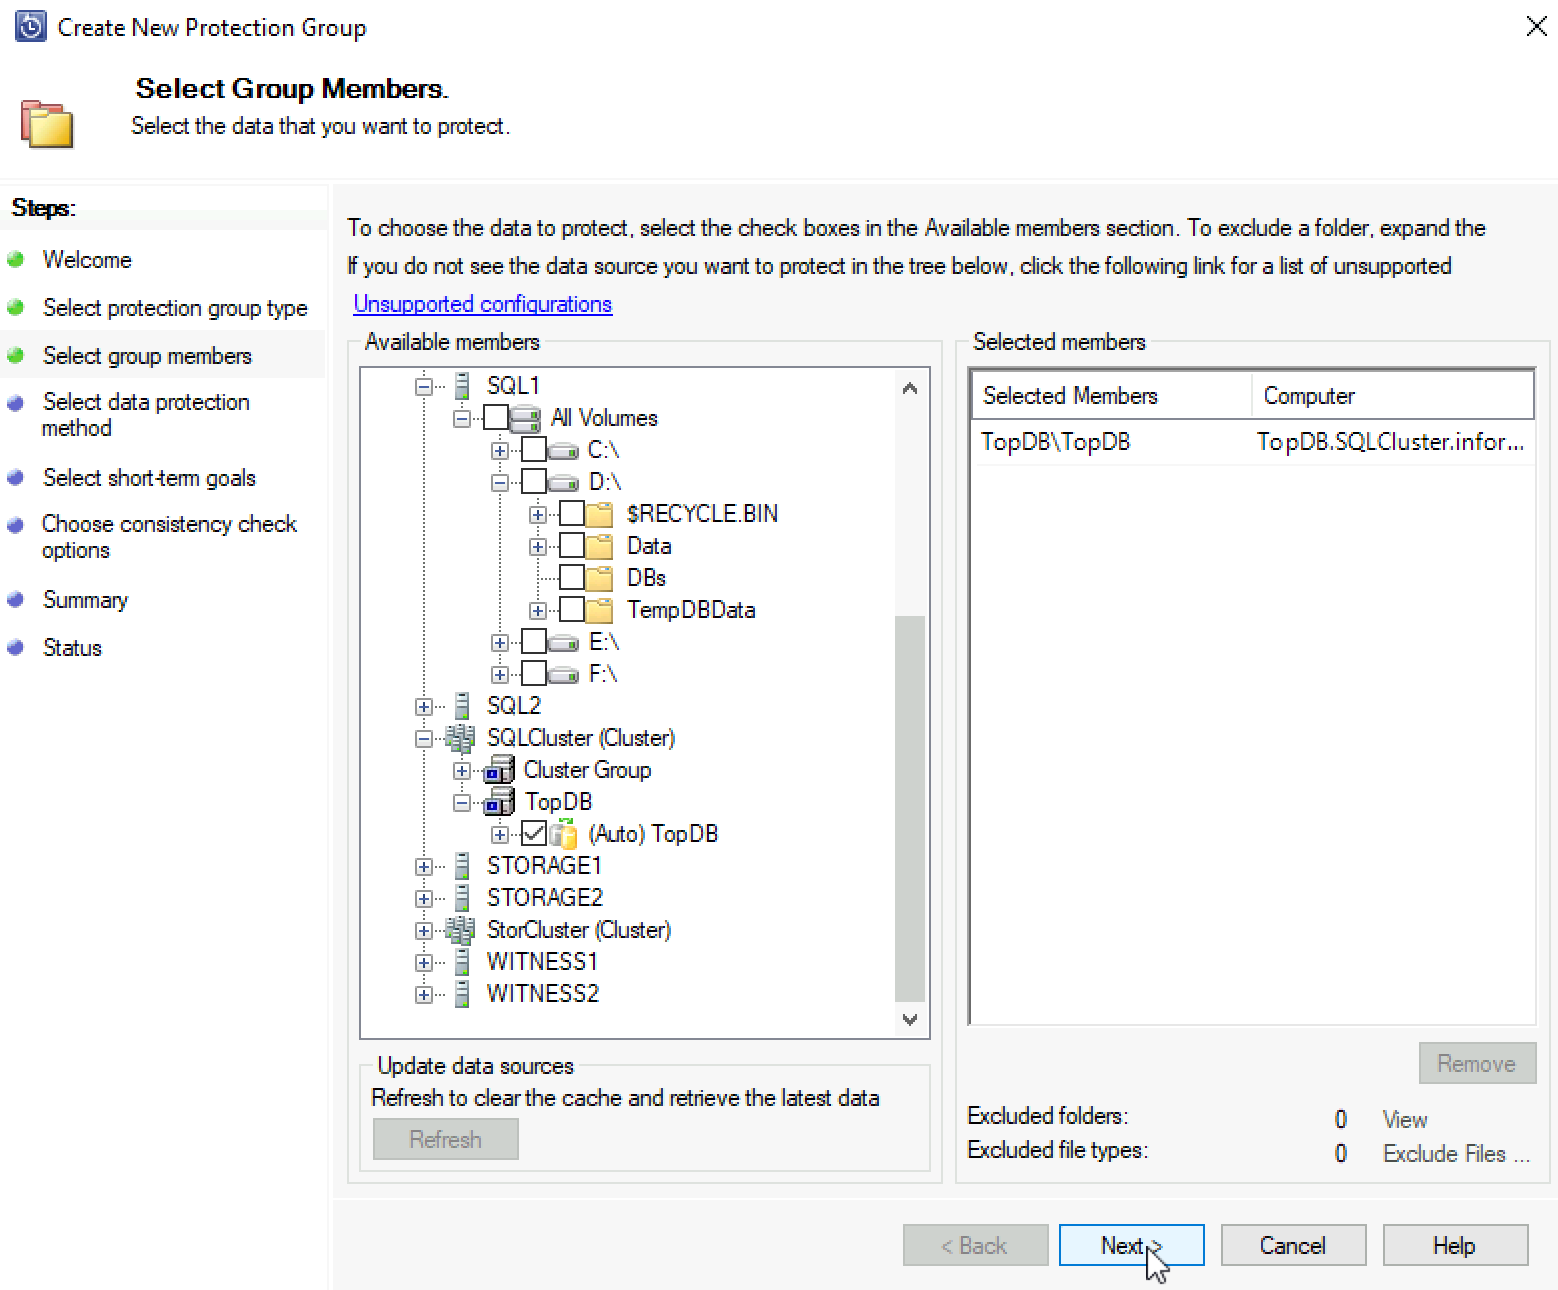
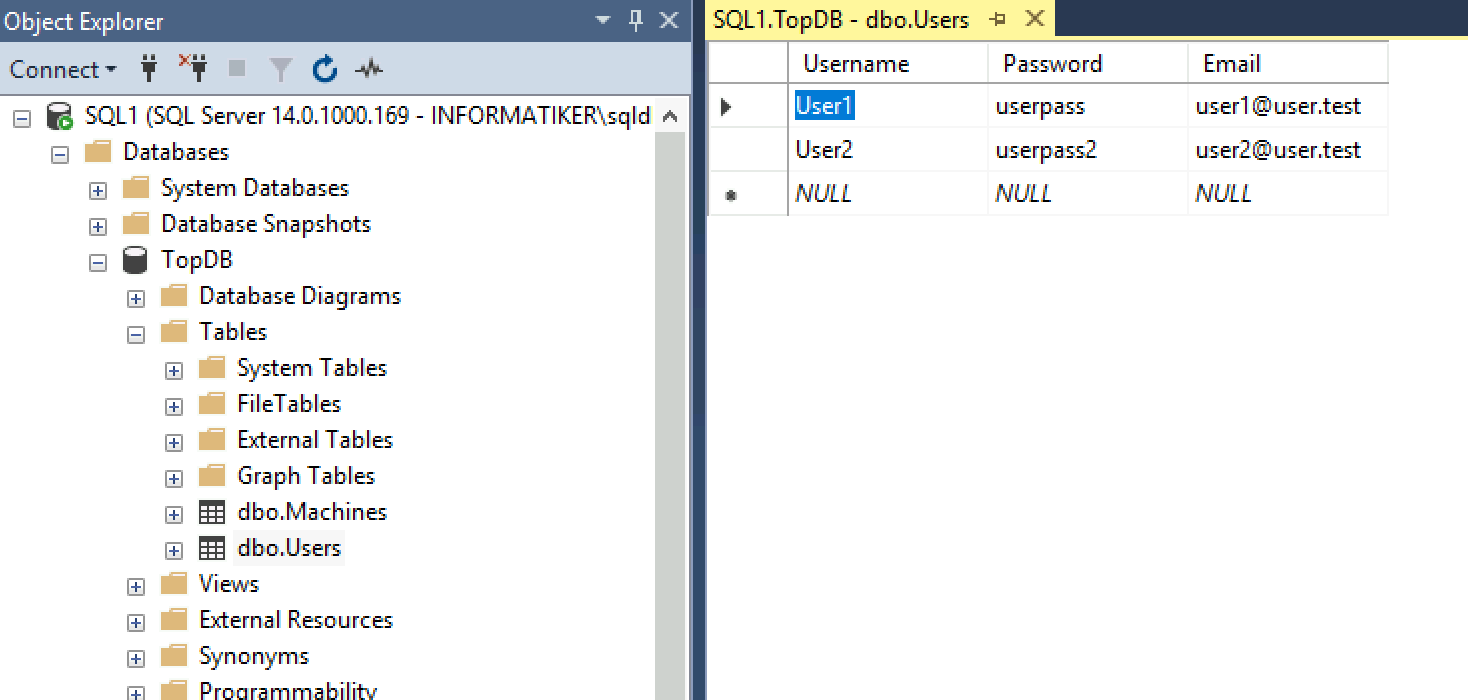
I have SQL in Always ON configuration, so I will backup SQL under SQLCluster. If yu have only one SQL server, you can see above how it looks, like, I expanded SQL1 server.
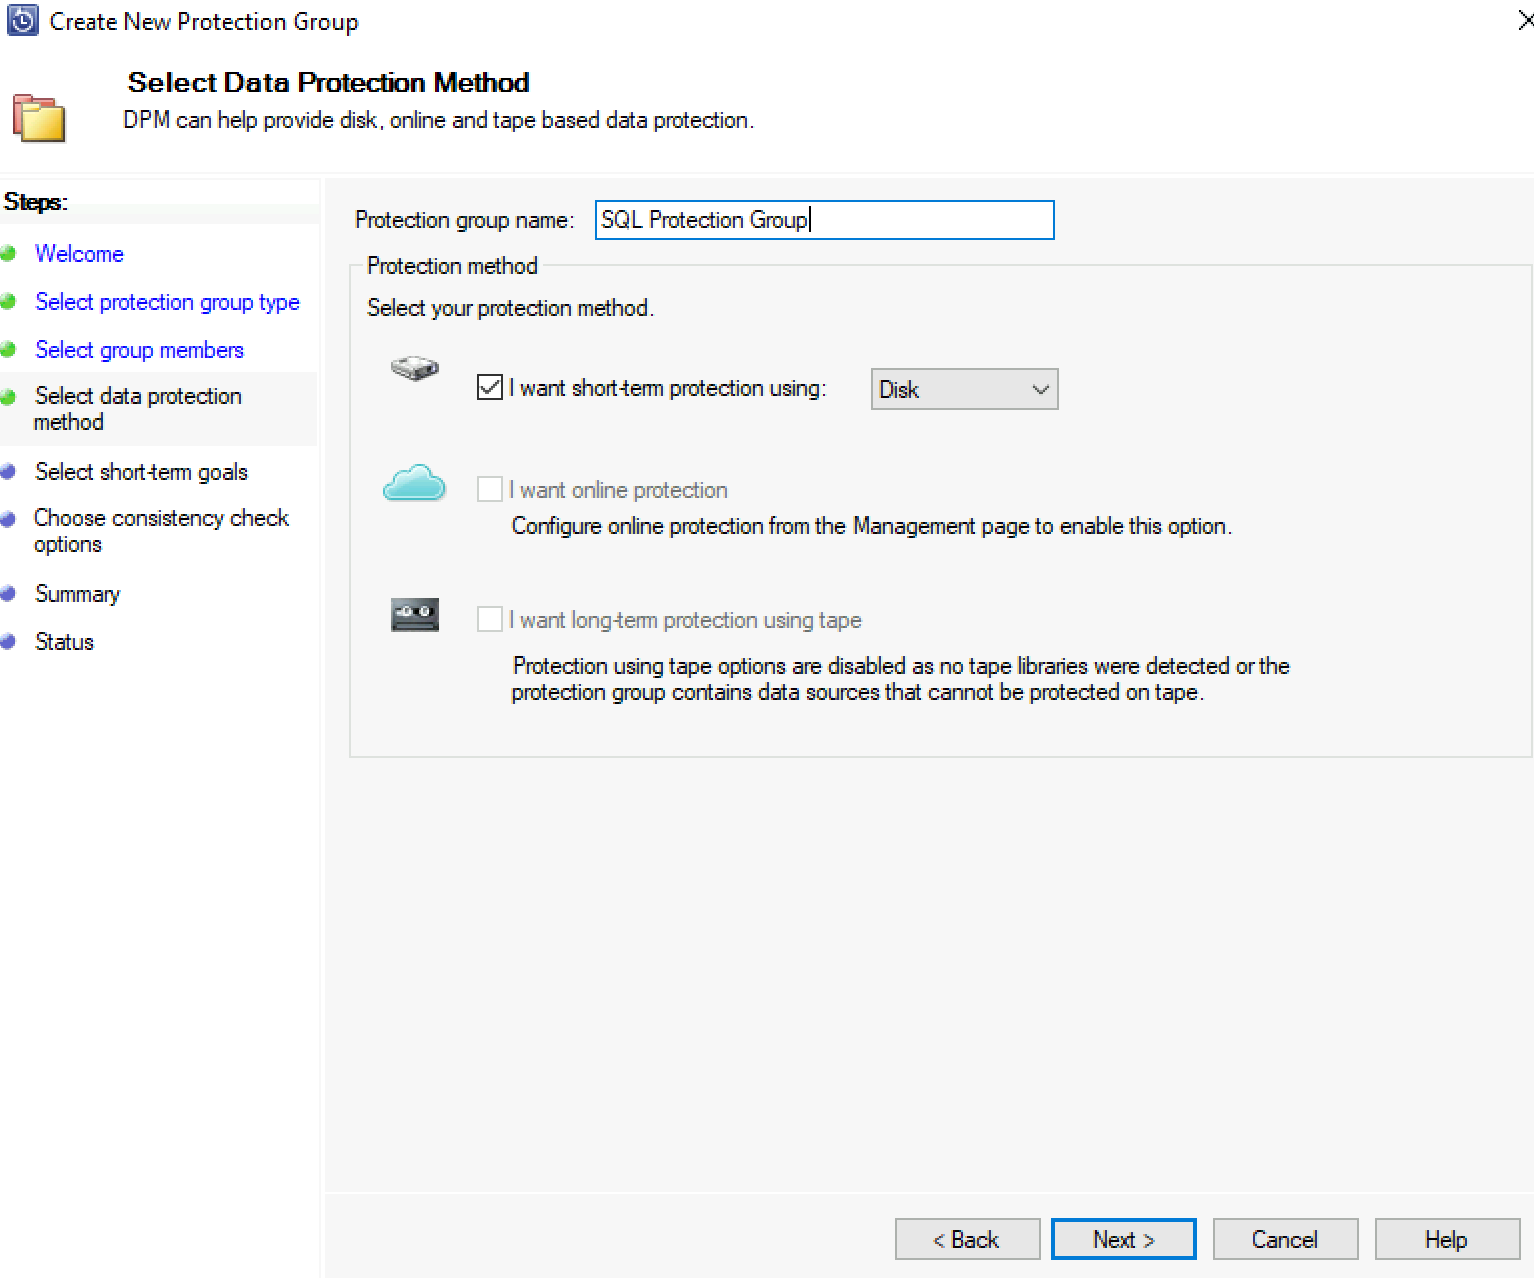
I will name the group – SQL Protection Group
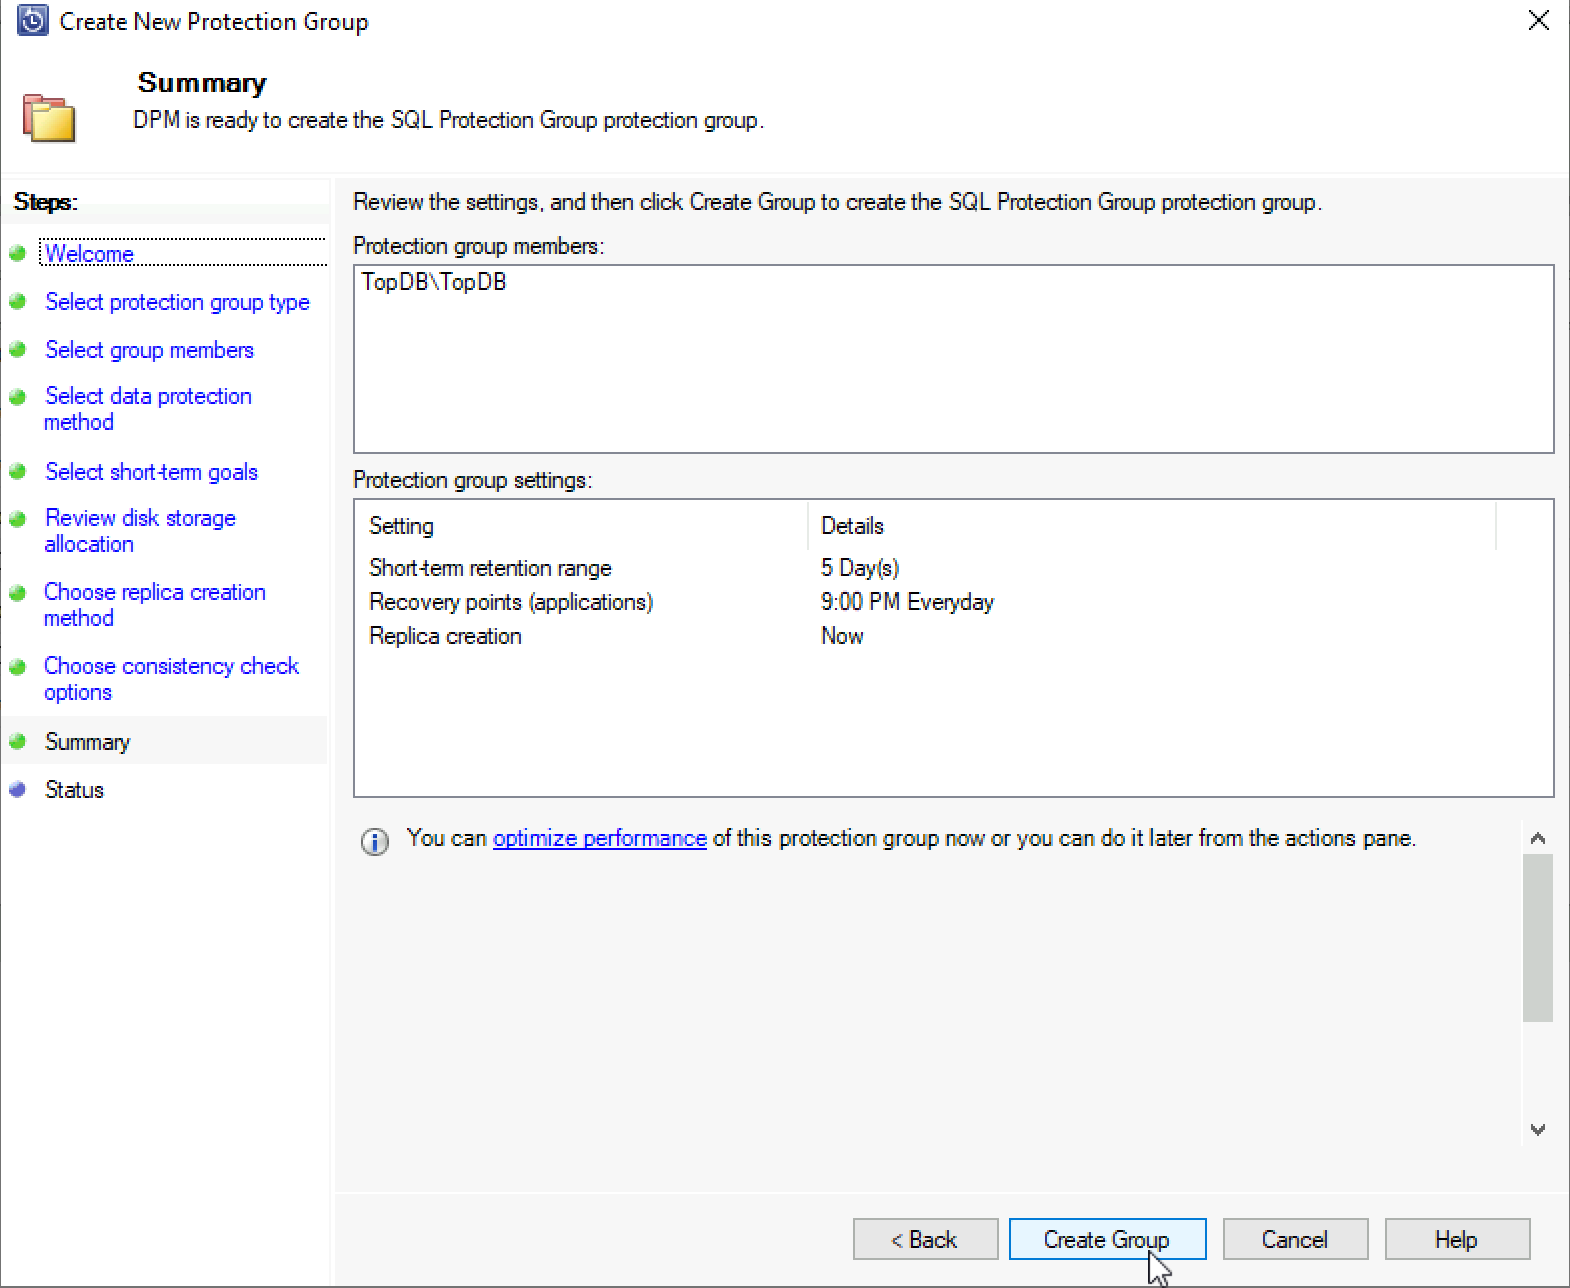
These are the settings
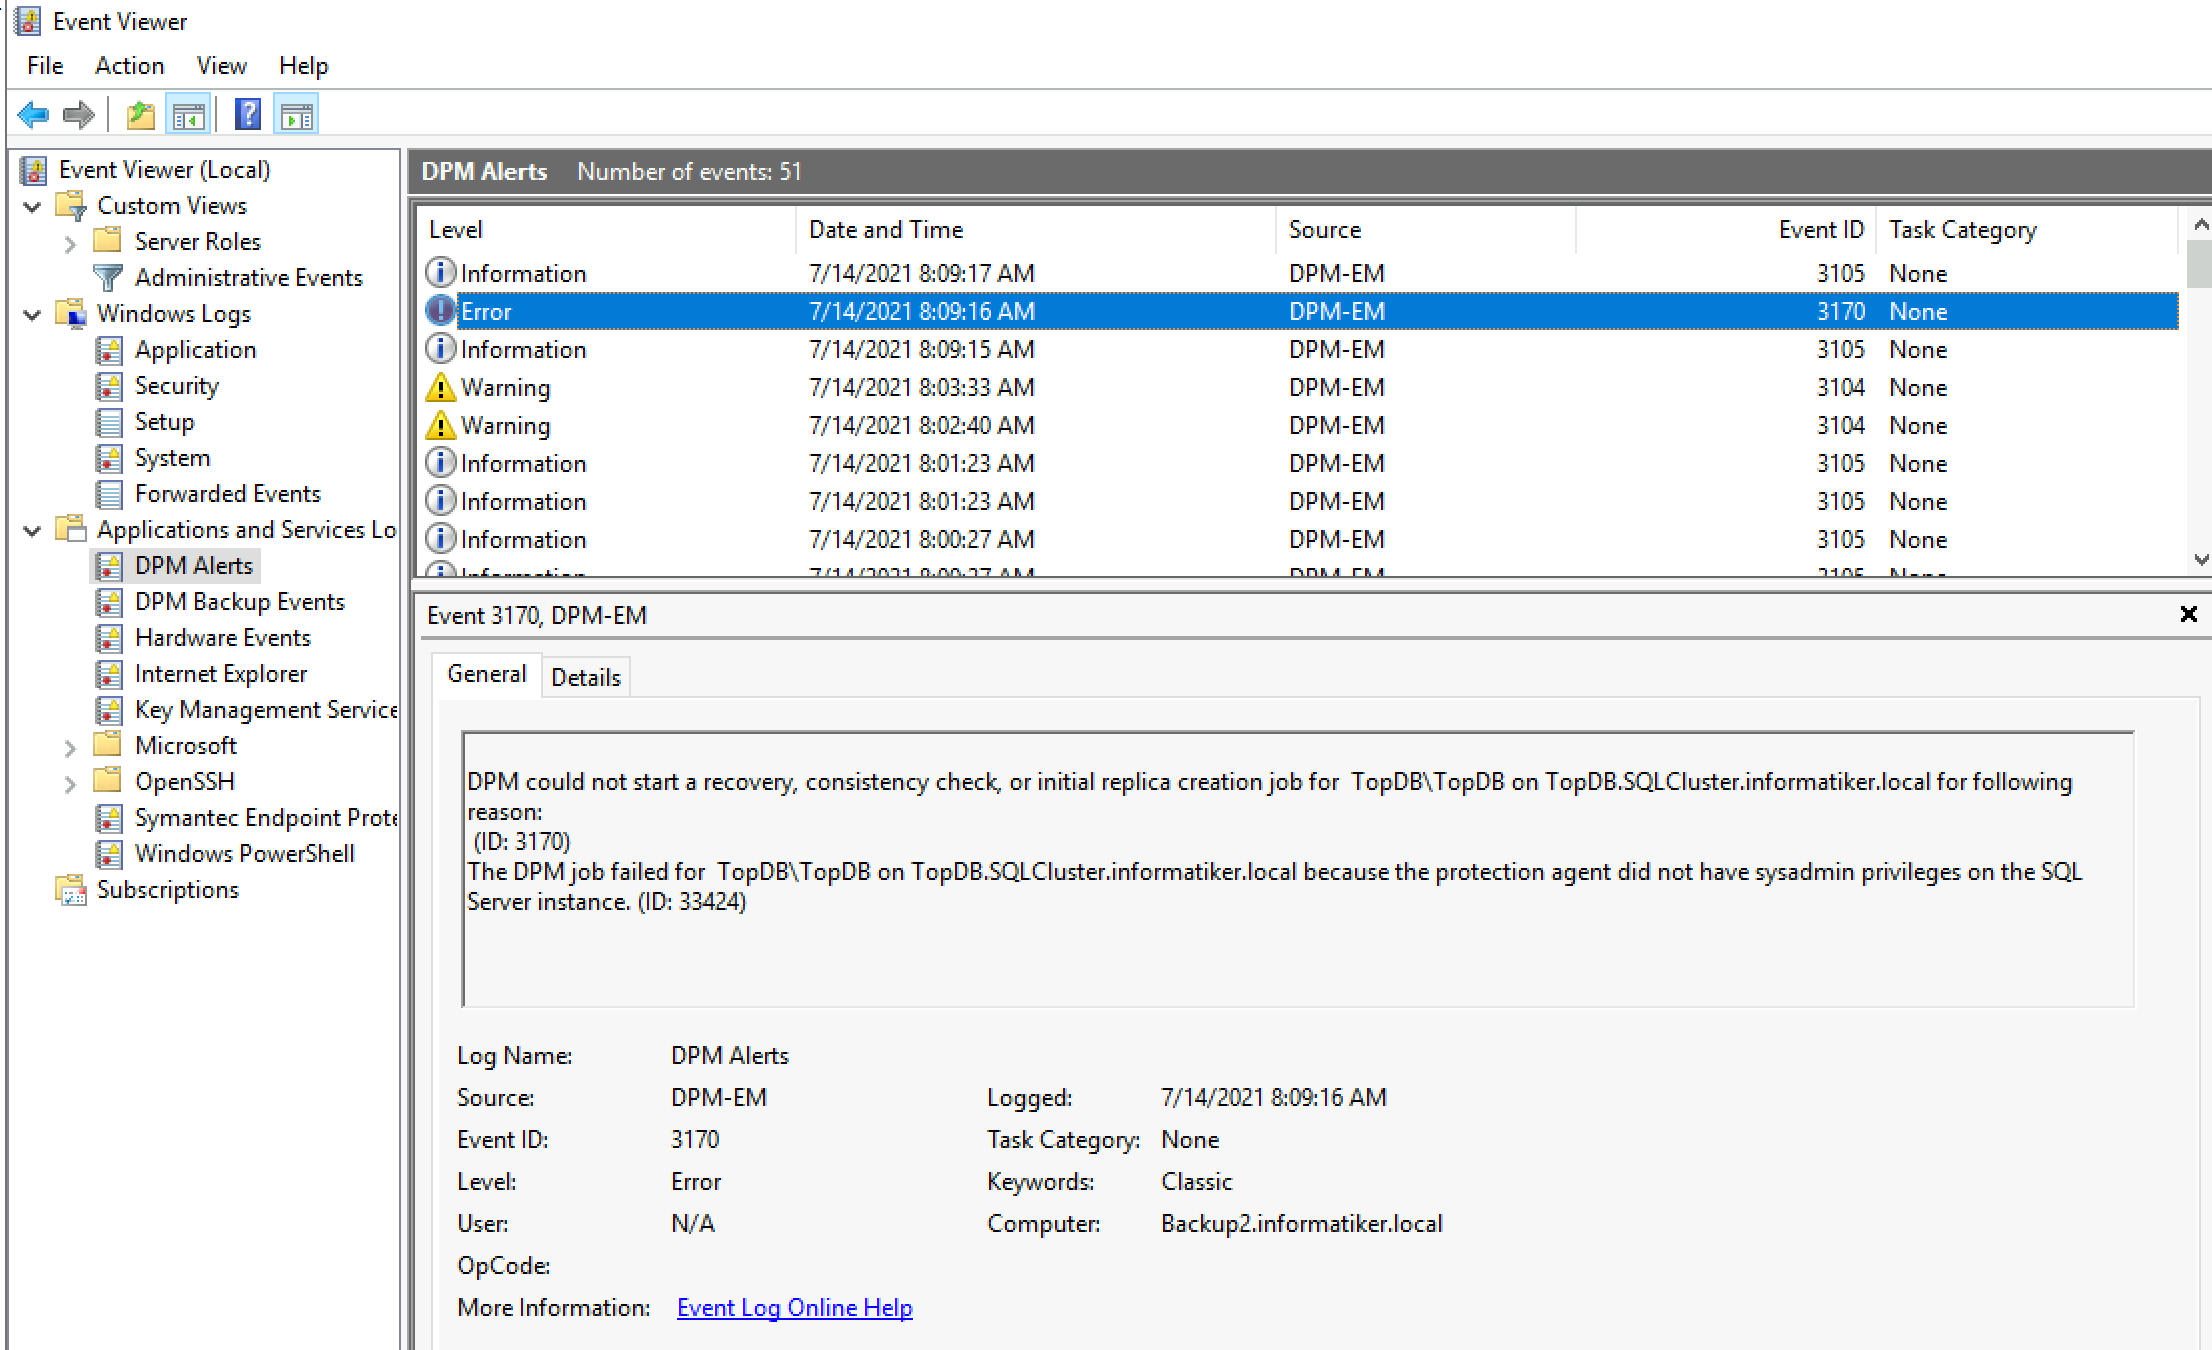
Group creation was success, but soon after I got error – unable to configure protection.

This one also stands for ages (since early DPM versions) – “The DPM job failed for XY because the protection agent did not have sysadmin privileges on the SQL Server instance.
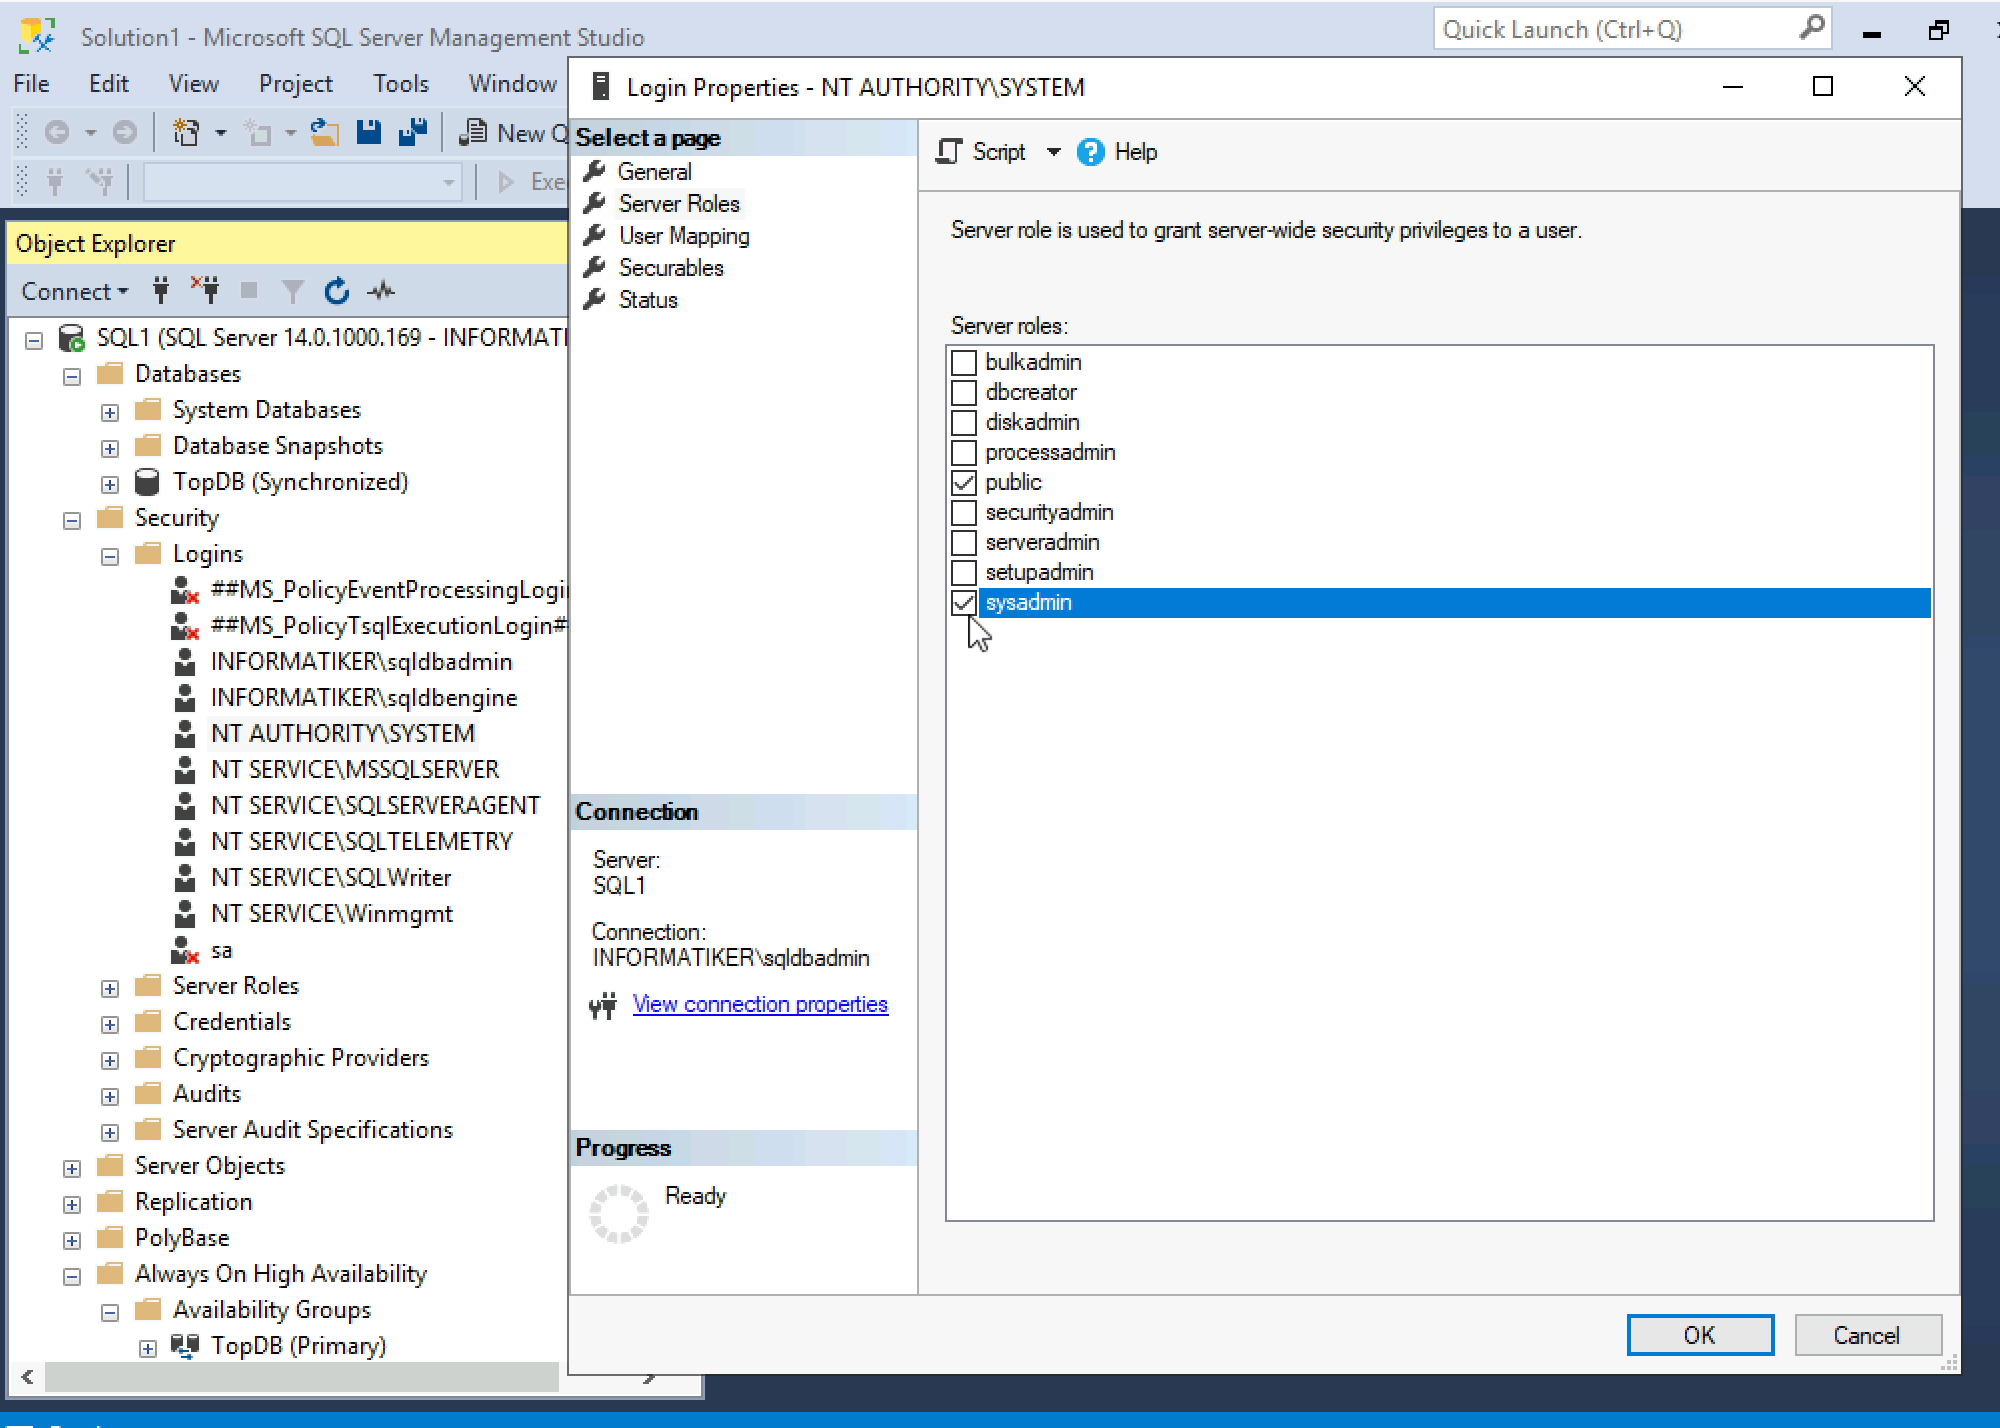
Head on to the SQL Server, open SSMS and click on Security, expand Logins, select NT Authority\SYSTEM – right click on it and select Properties | expand Server Roles and select sysadmin. Do that on all of your SQL servers which are part of the backup.
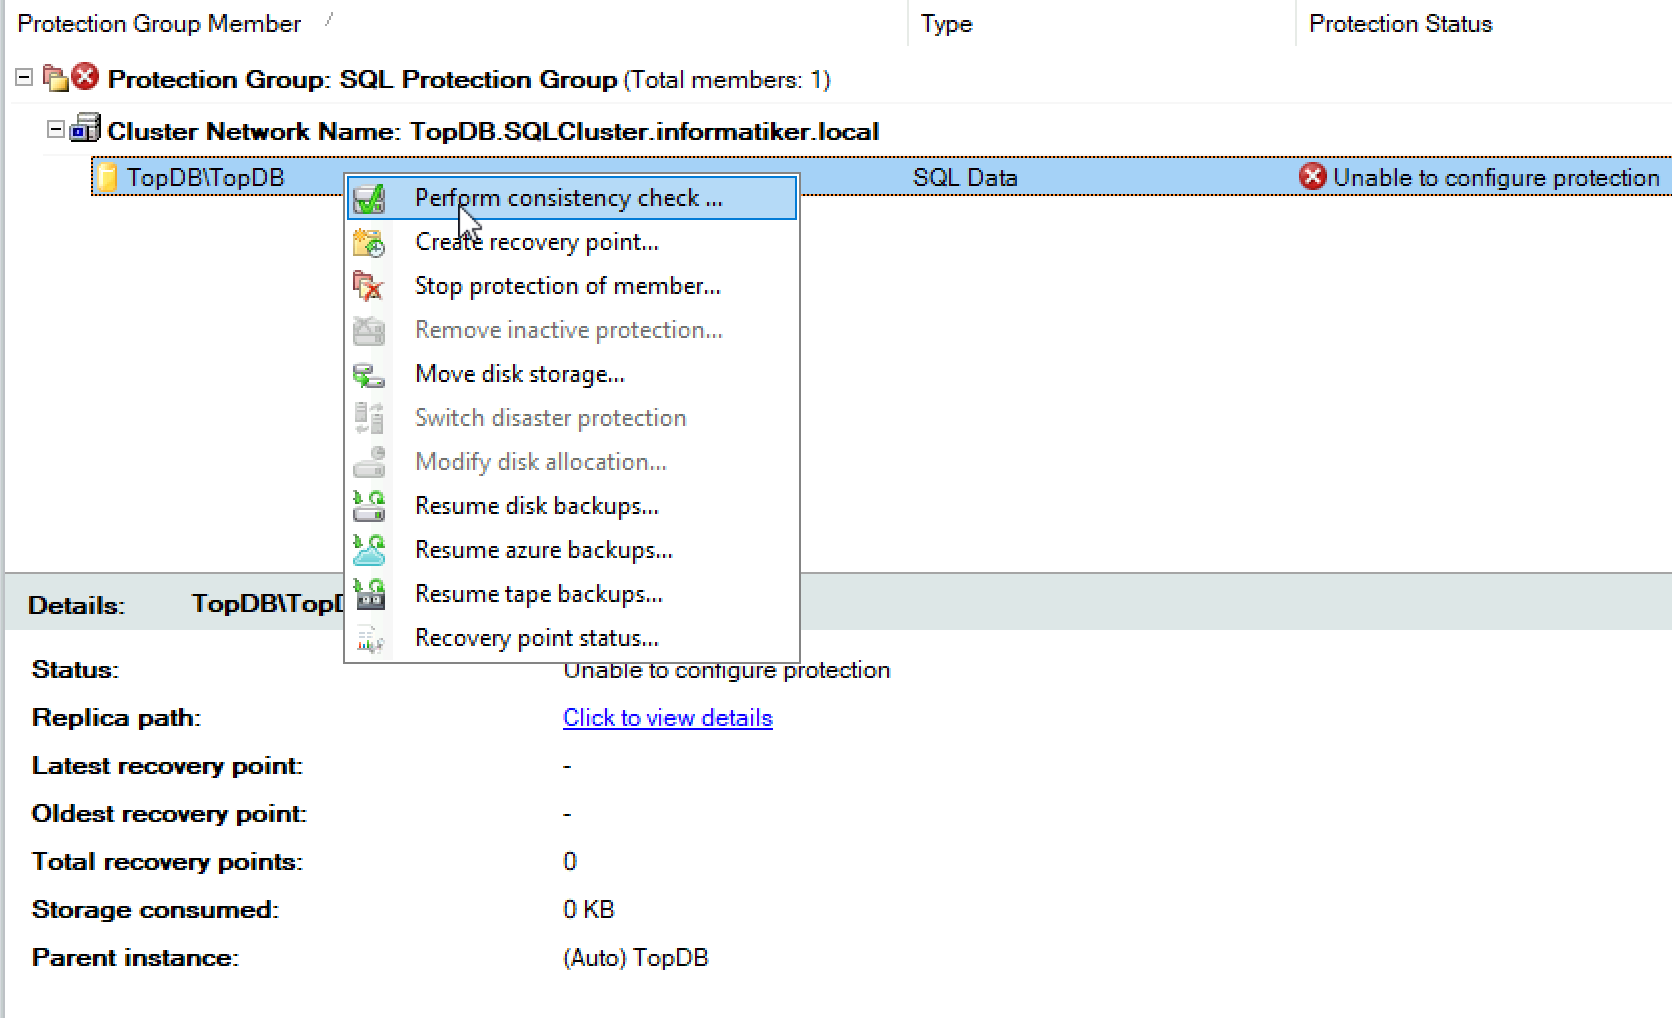
After you done that, head back to your DPM server, right click on your SQL protection group and select Perform consistency check.Confirm with yes and let it roll.
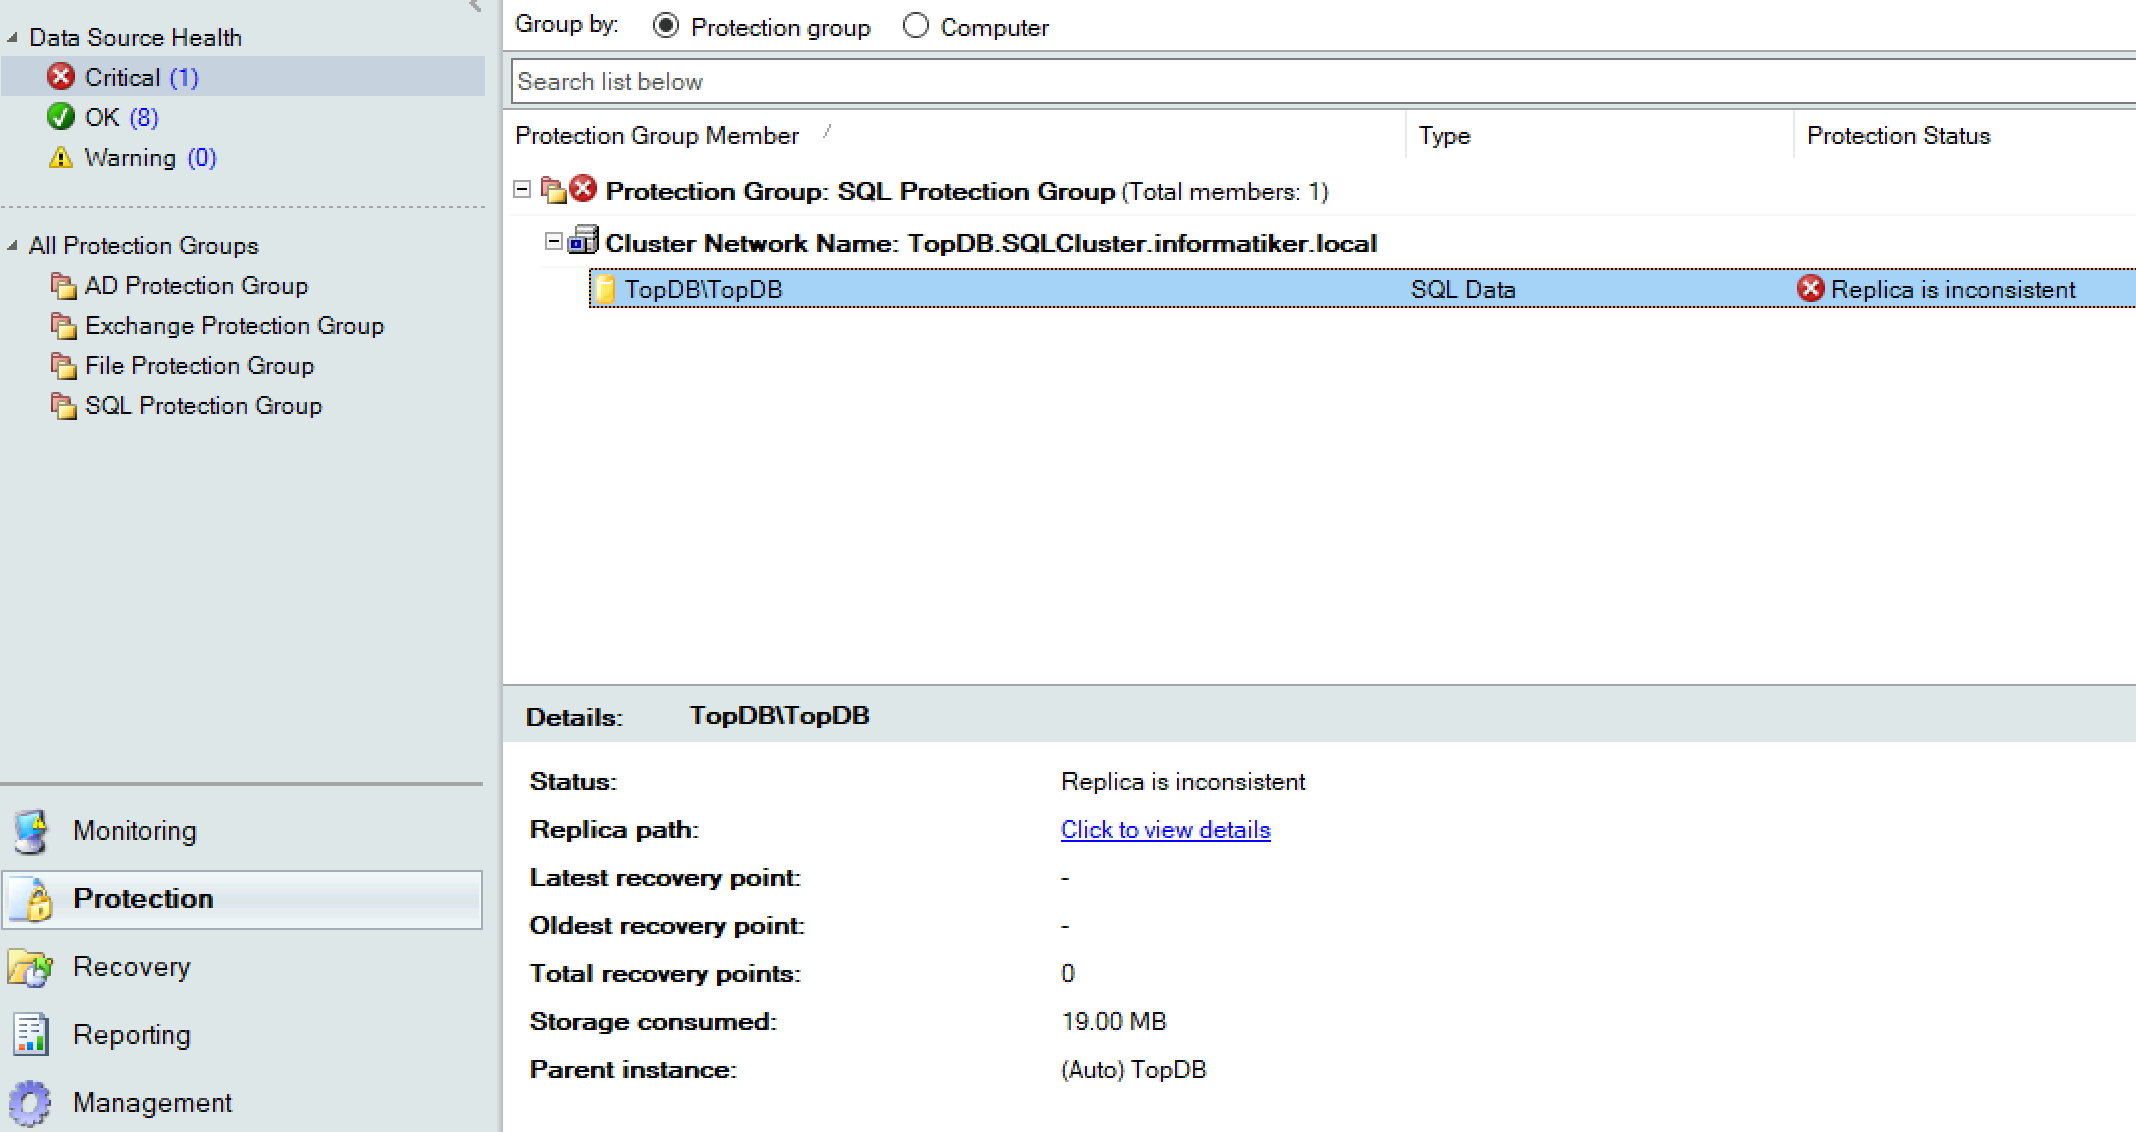
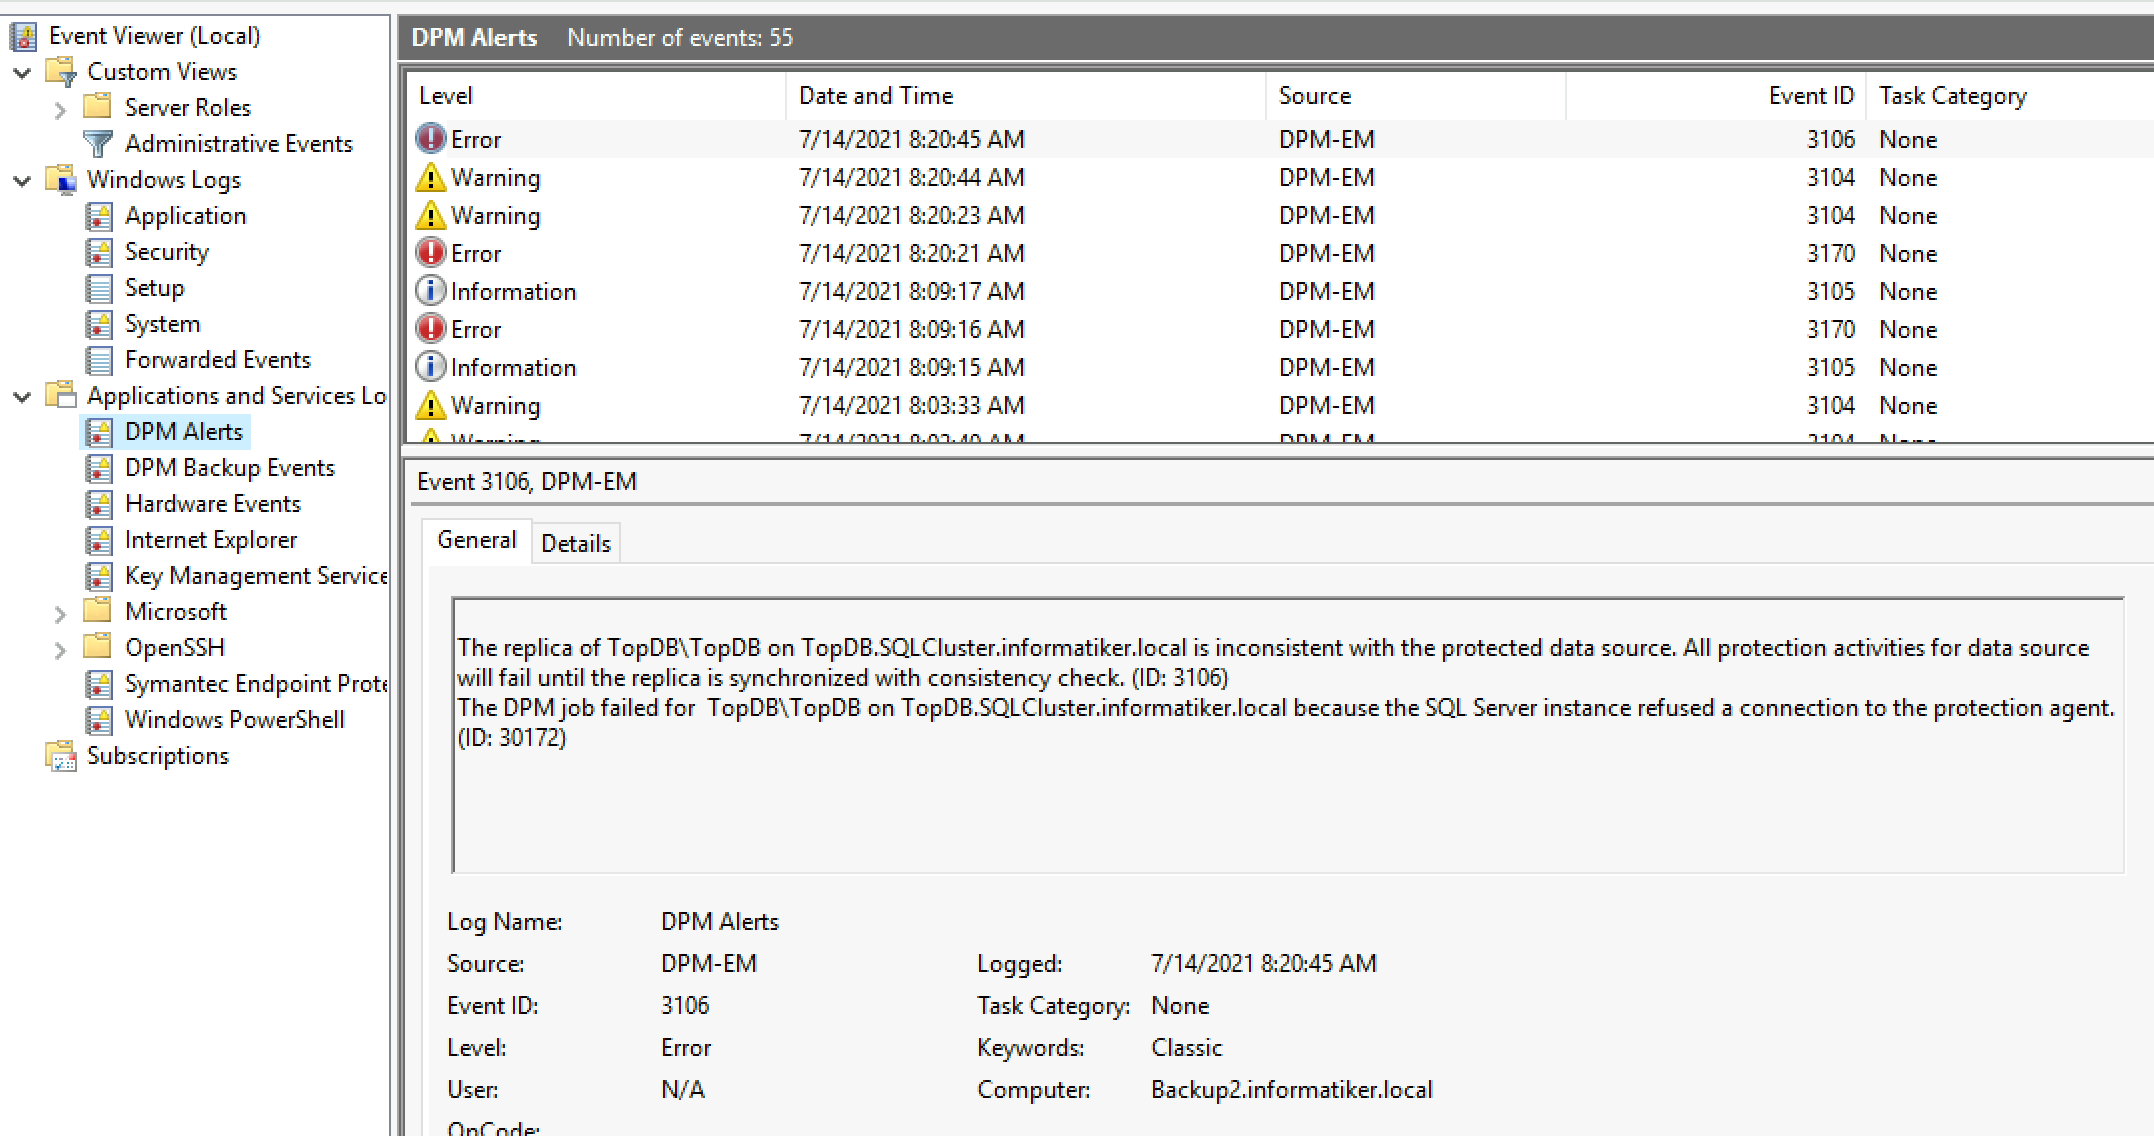
We got rid of one error, but another one appeared – Replica is inconsistent.
This time, error is 3106 – SQL Server instance refused a connection to the protection agent (ID 30172).
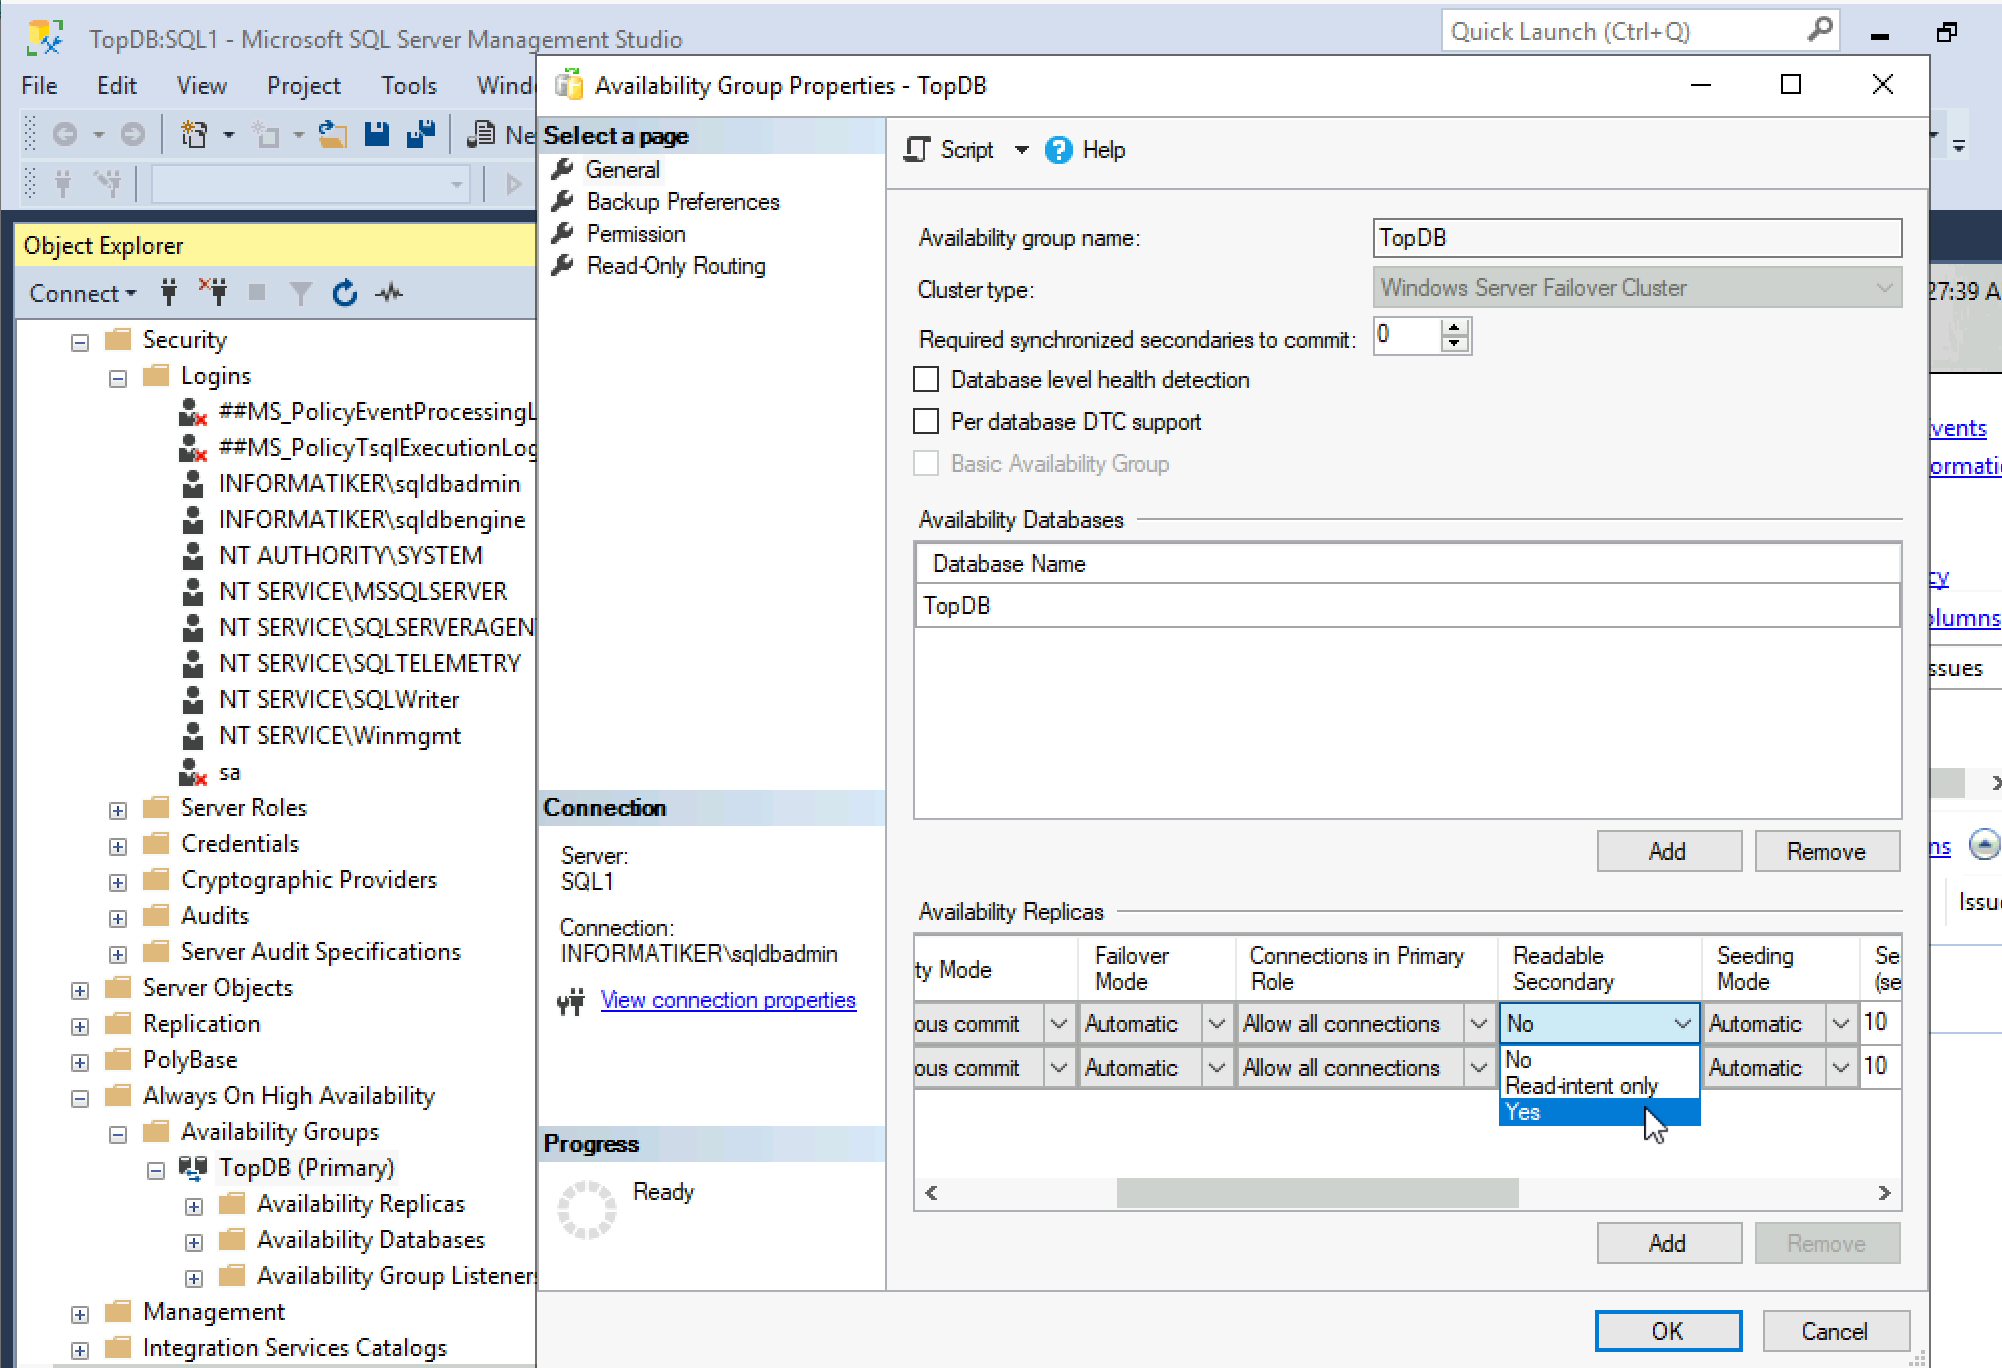
Ok, this error appears when you have Always On replica. Go to your SQL server again and open SSMS. Expand Always ON High Availability and select DB you are protecting and backing up – in my case it is TopDB | right click on it and select Properties. Under General | Availability Replicas change Readable Secondary from No to Yes.
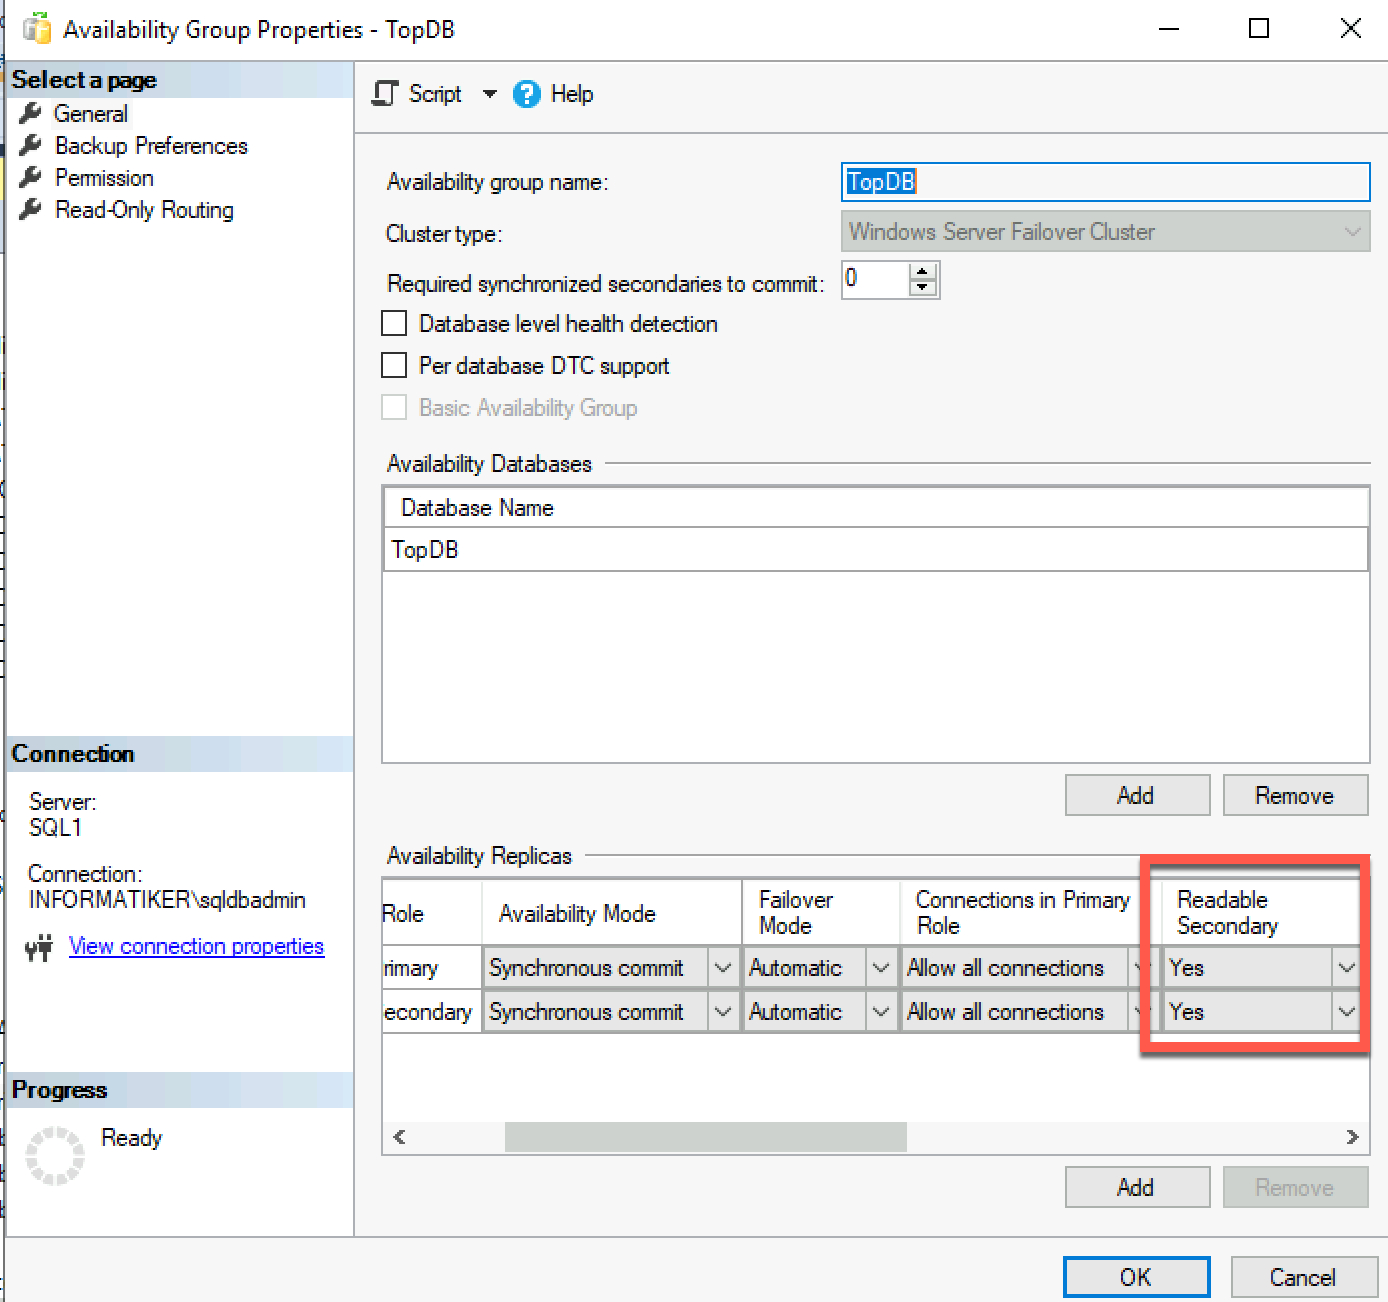
Here is how it should look like.
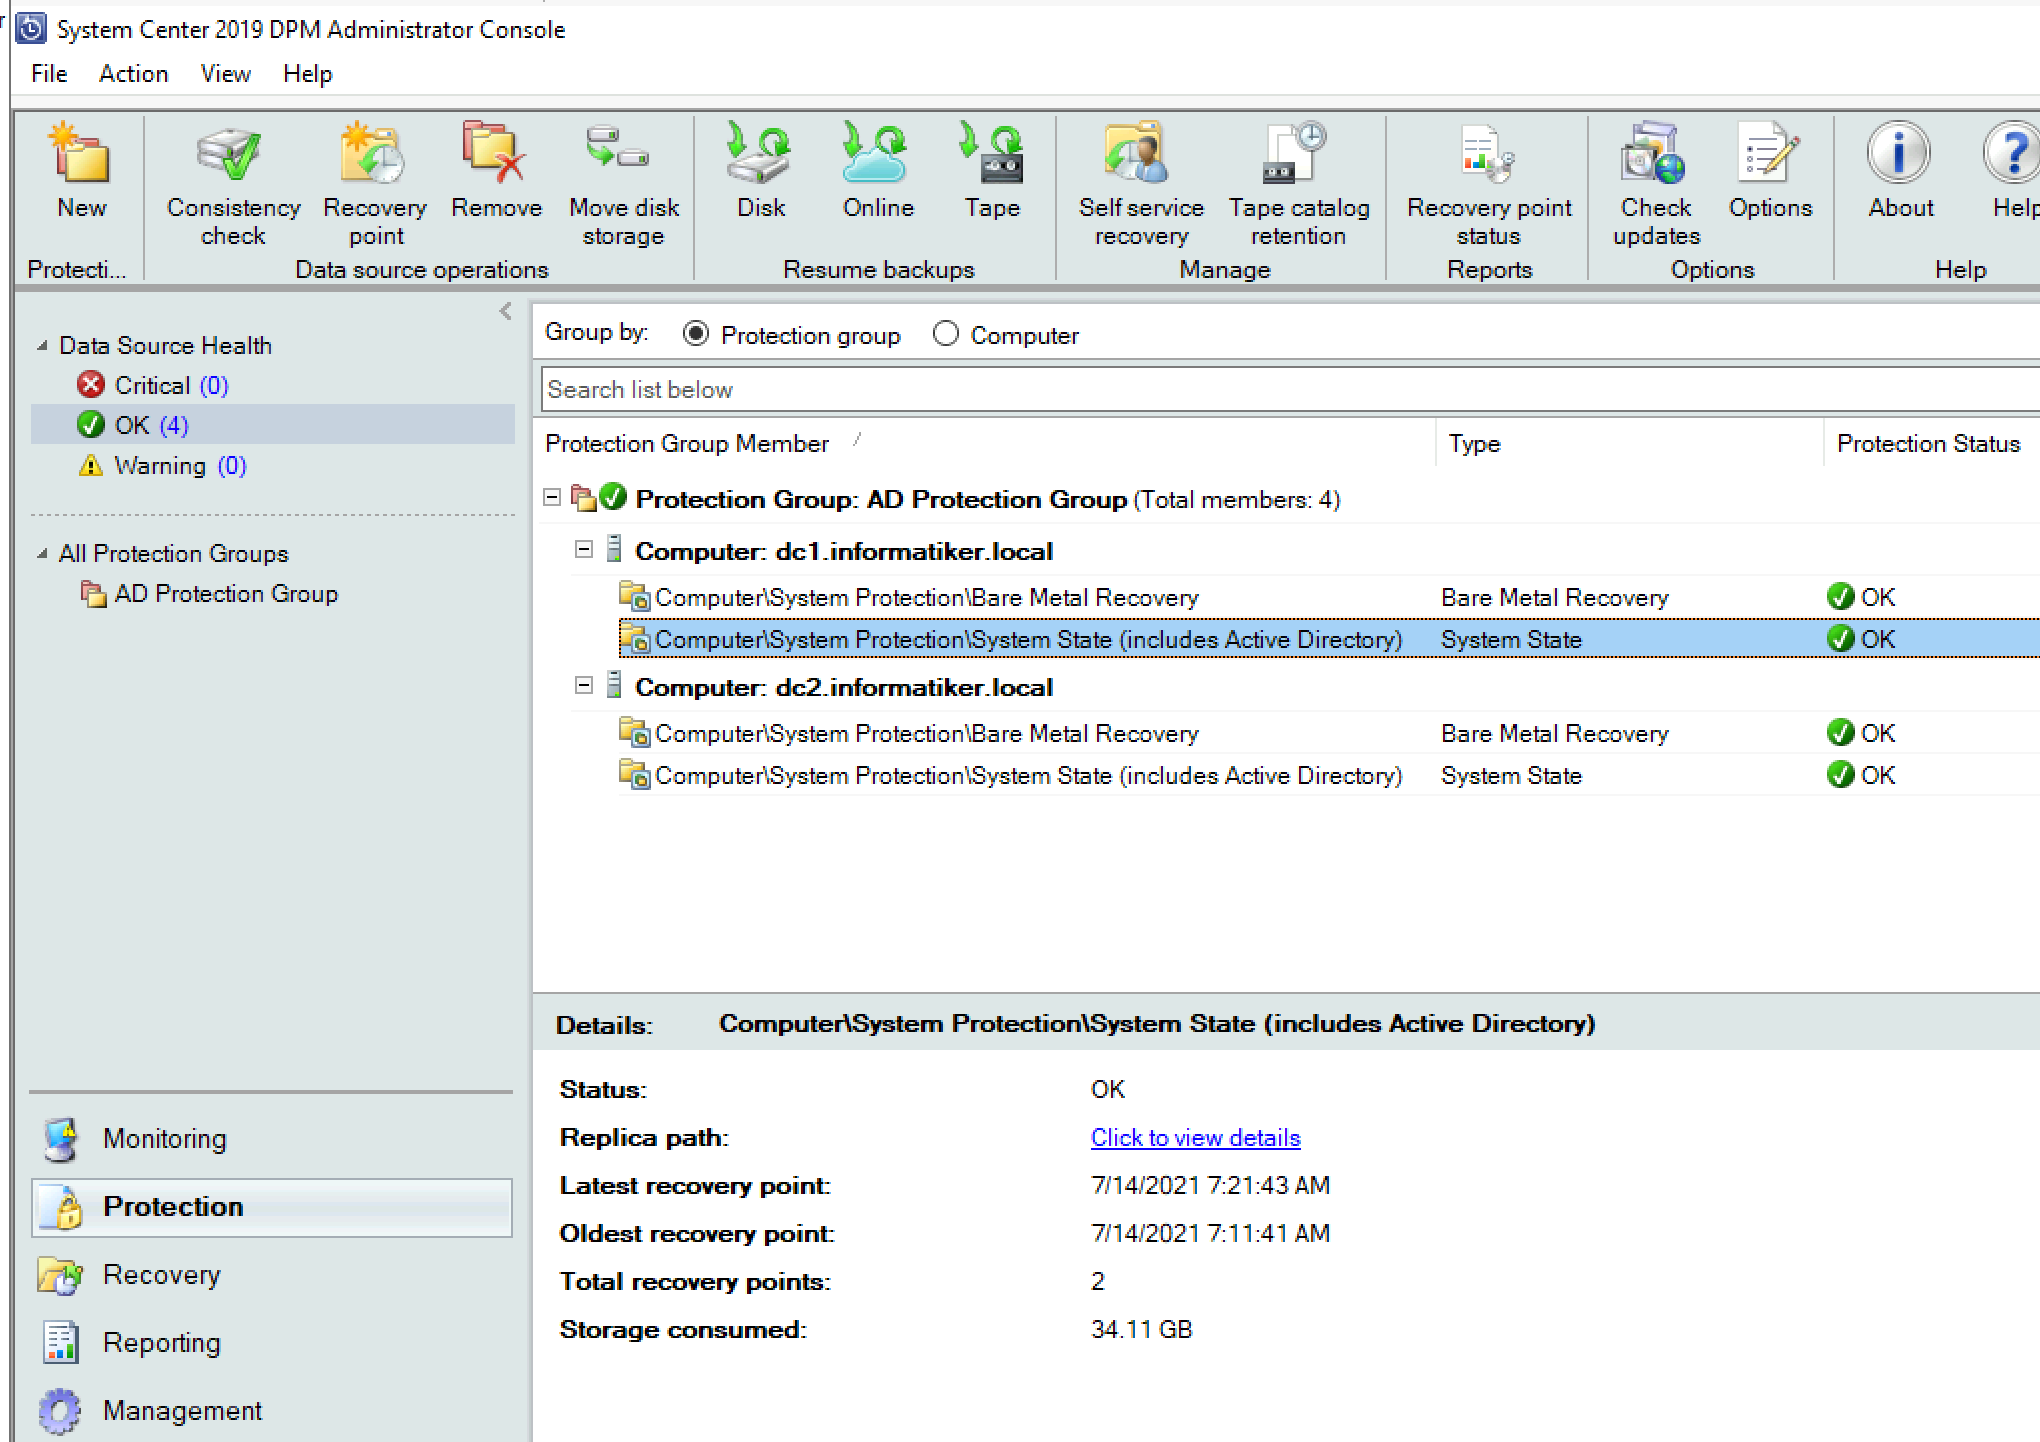
Finally, after we performed consistency check, at last everything was ok.
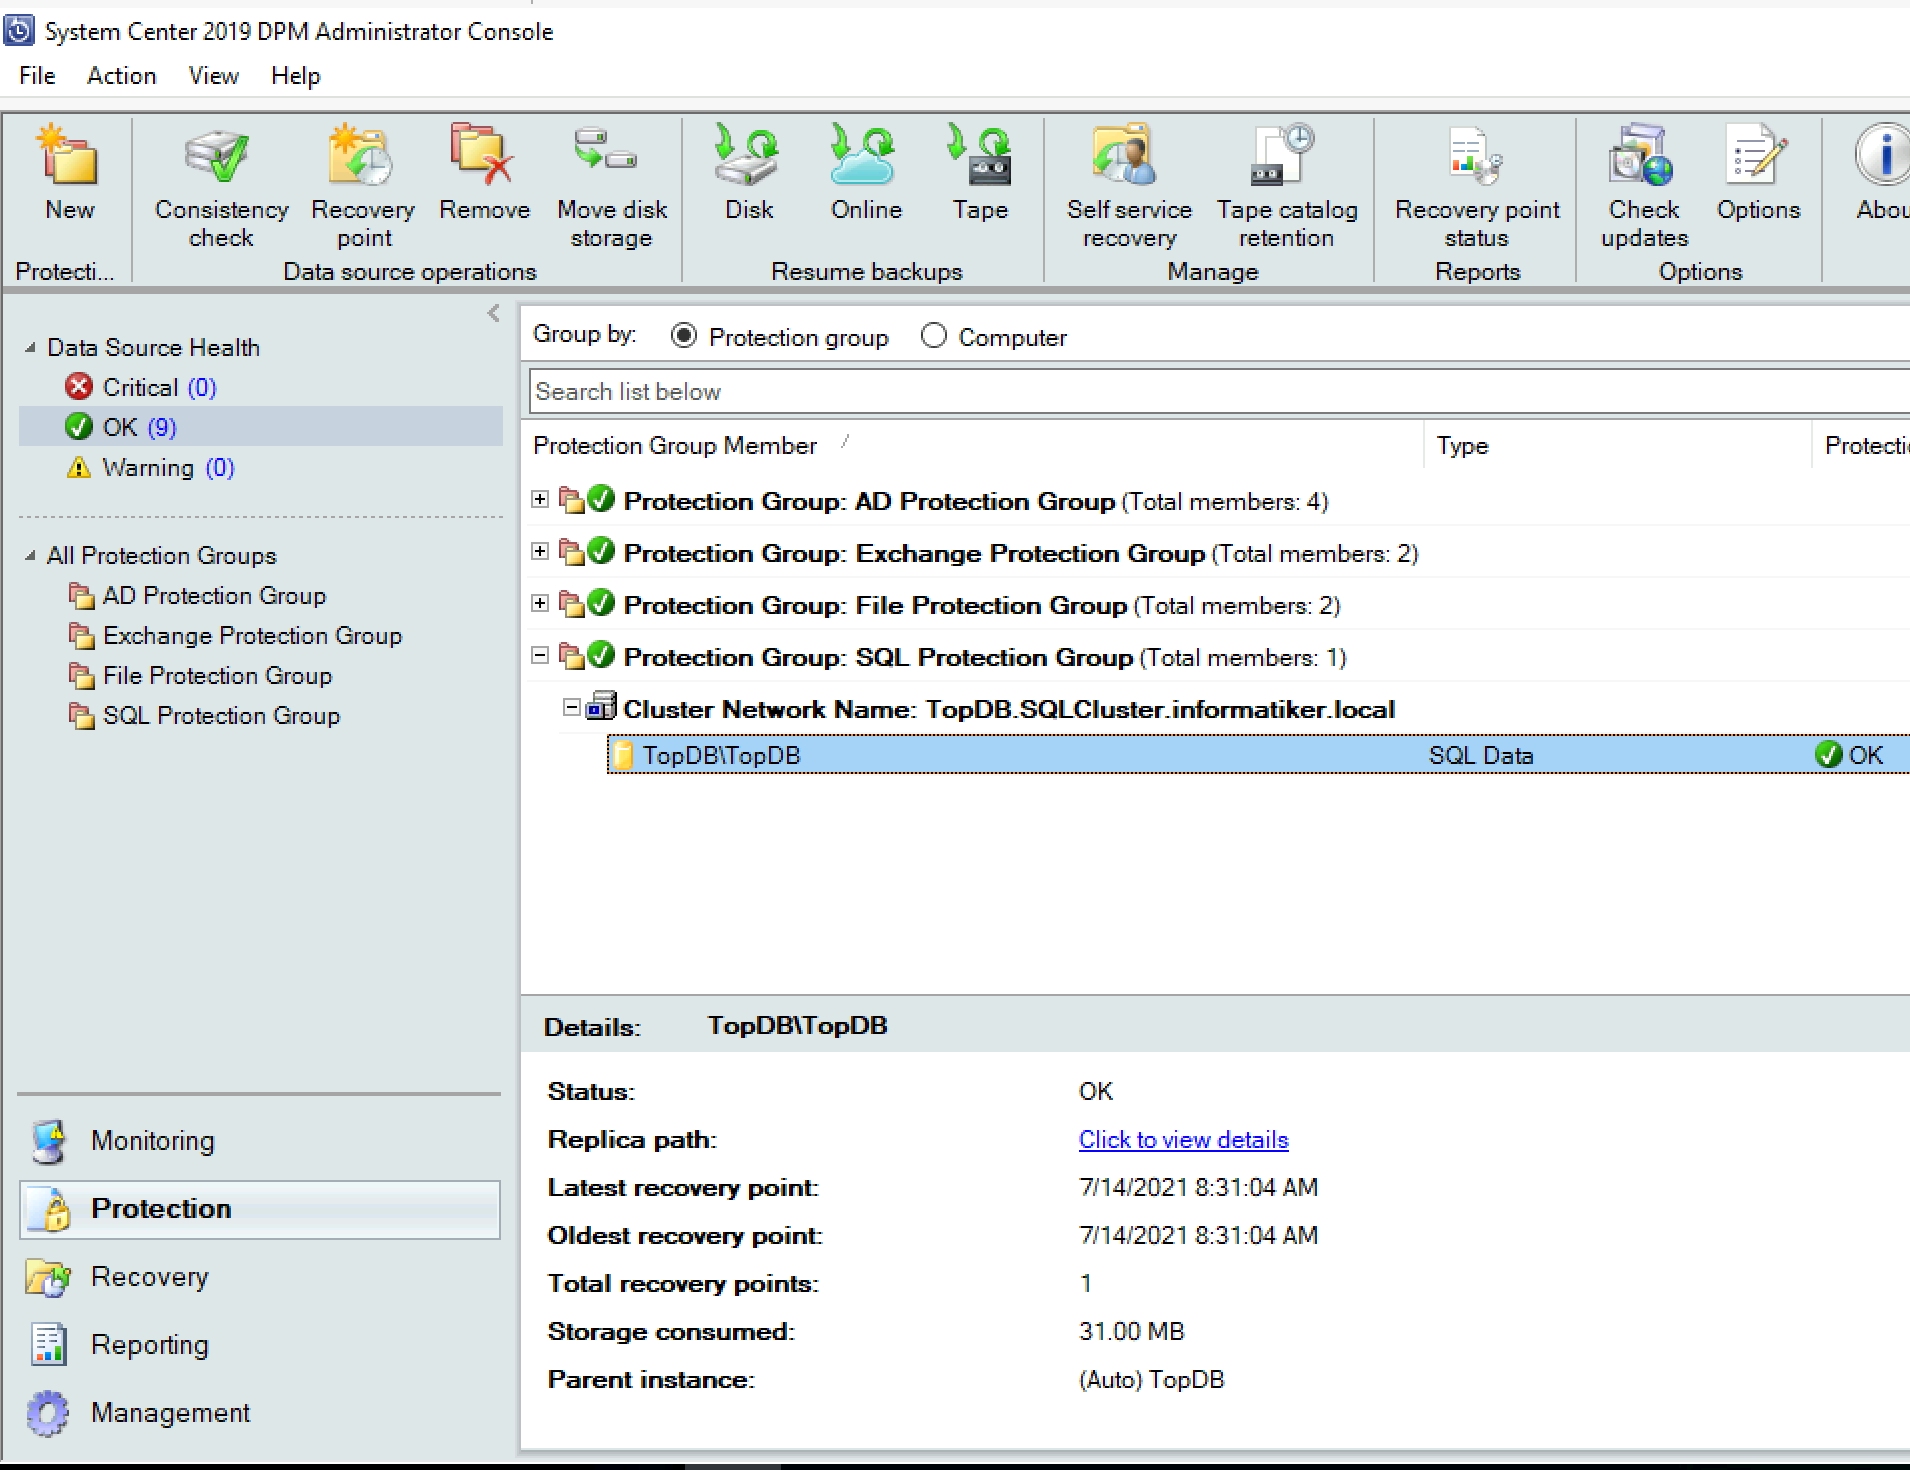
Ok, we are done with the backups, everything is in green and we can proceed to the recovery section.
How to Recover Data from DPM?
This is already getting too long, so I will just quickly show how to recover data from the backups we just created.
I will leave AD and Bare Metal recovery I selected in the beginning for some other guide. I will quickly show how to recover files and databases here.
File Recovery
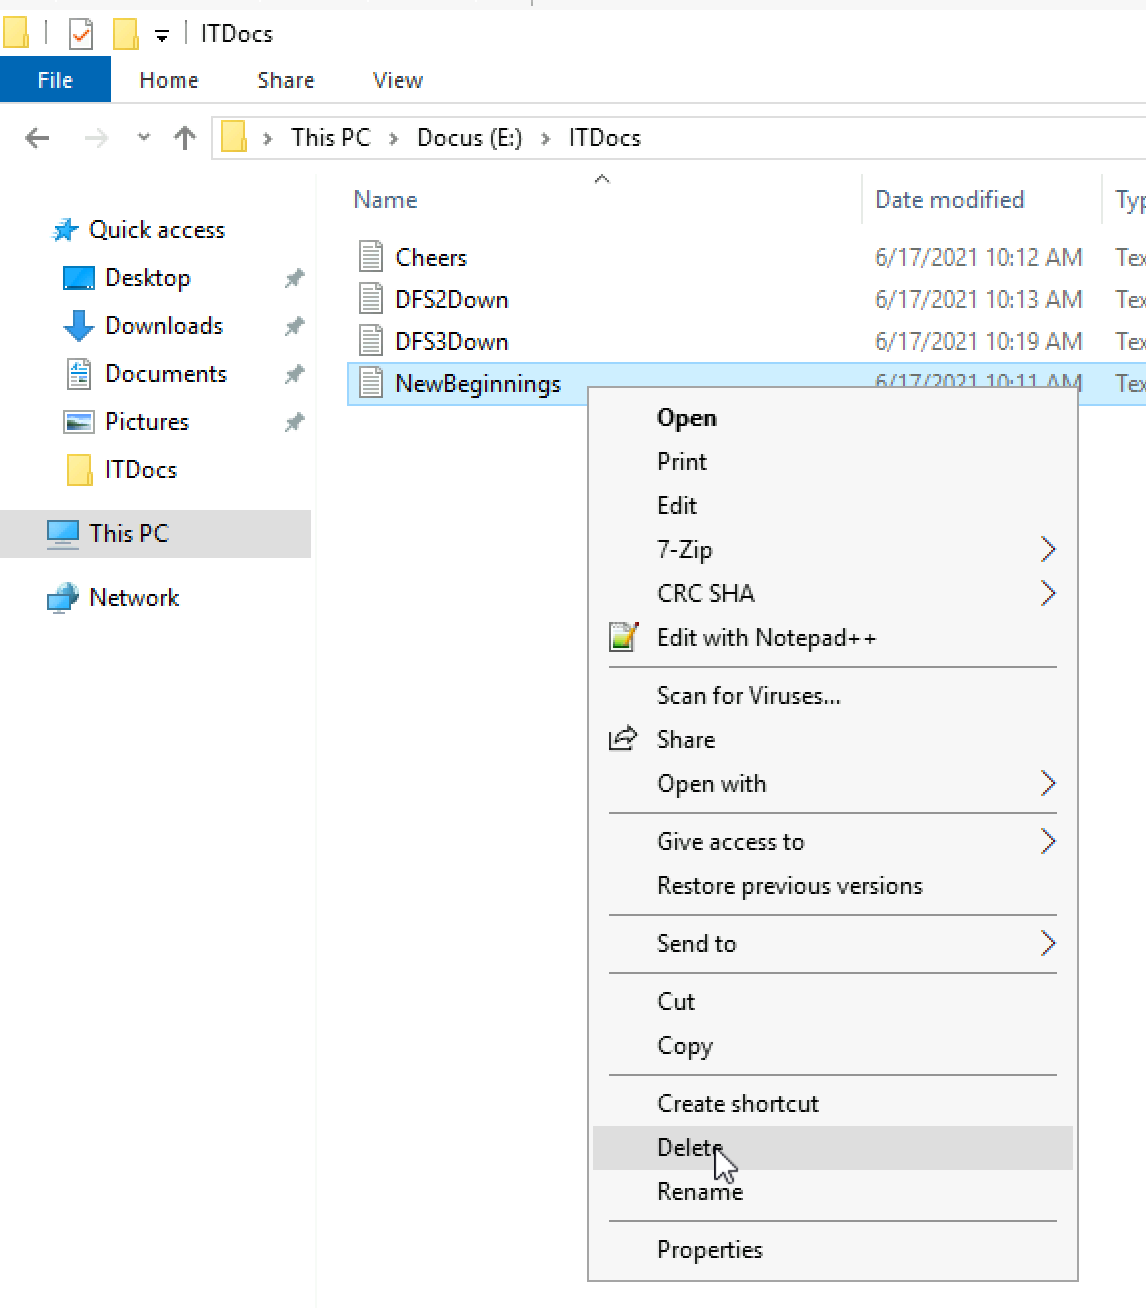
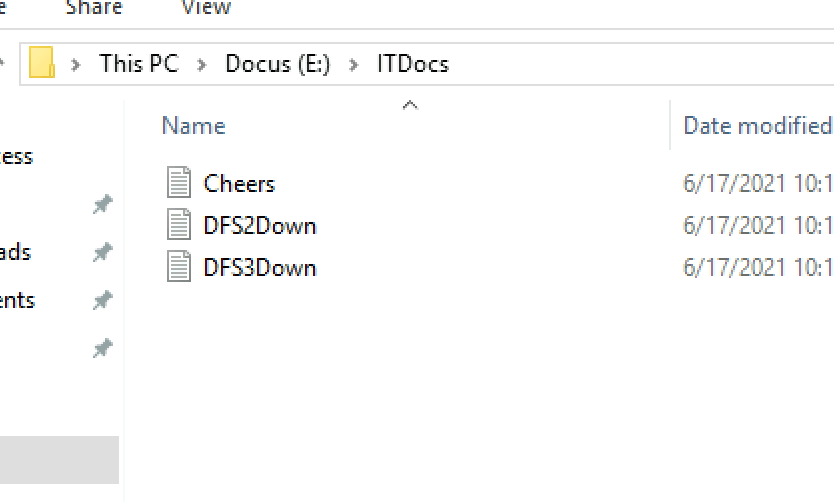
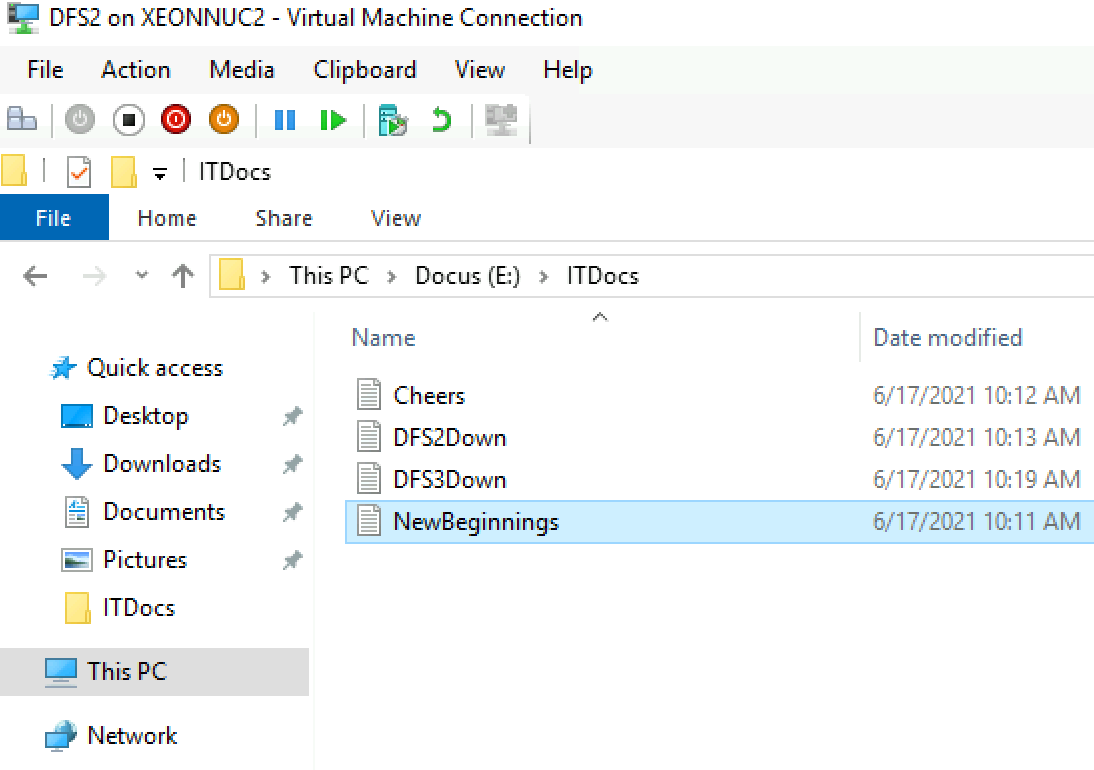
Ok, I will select file NewBeginnings.txt and delete it on file server.
Deleted
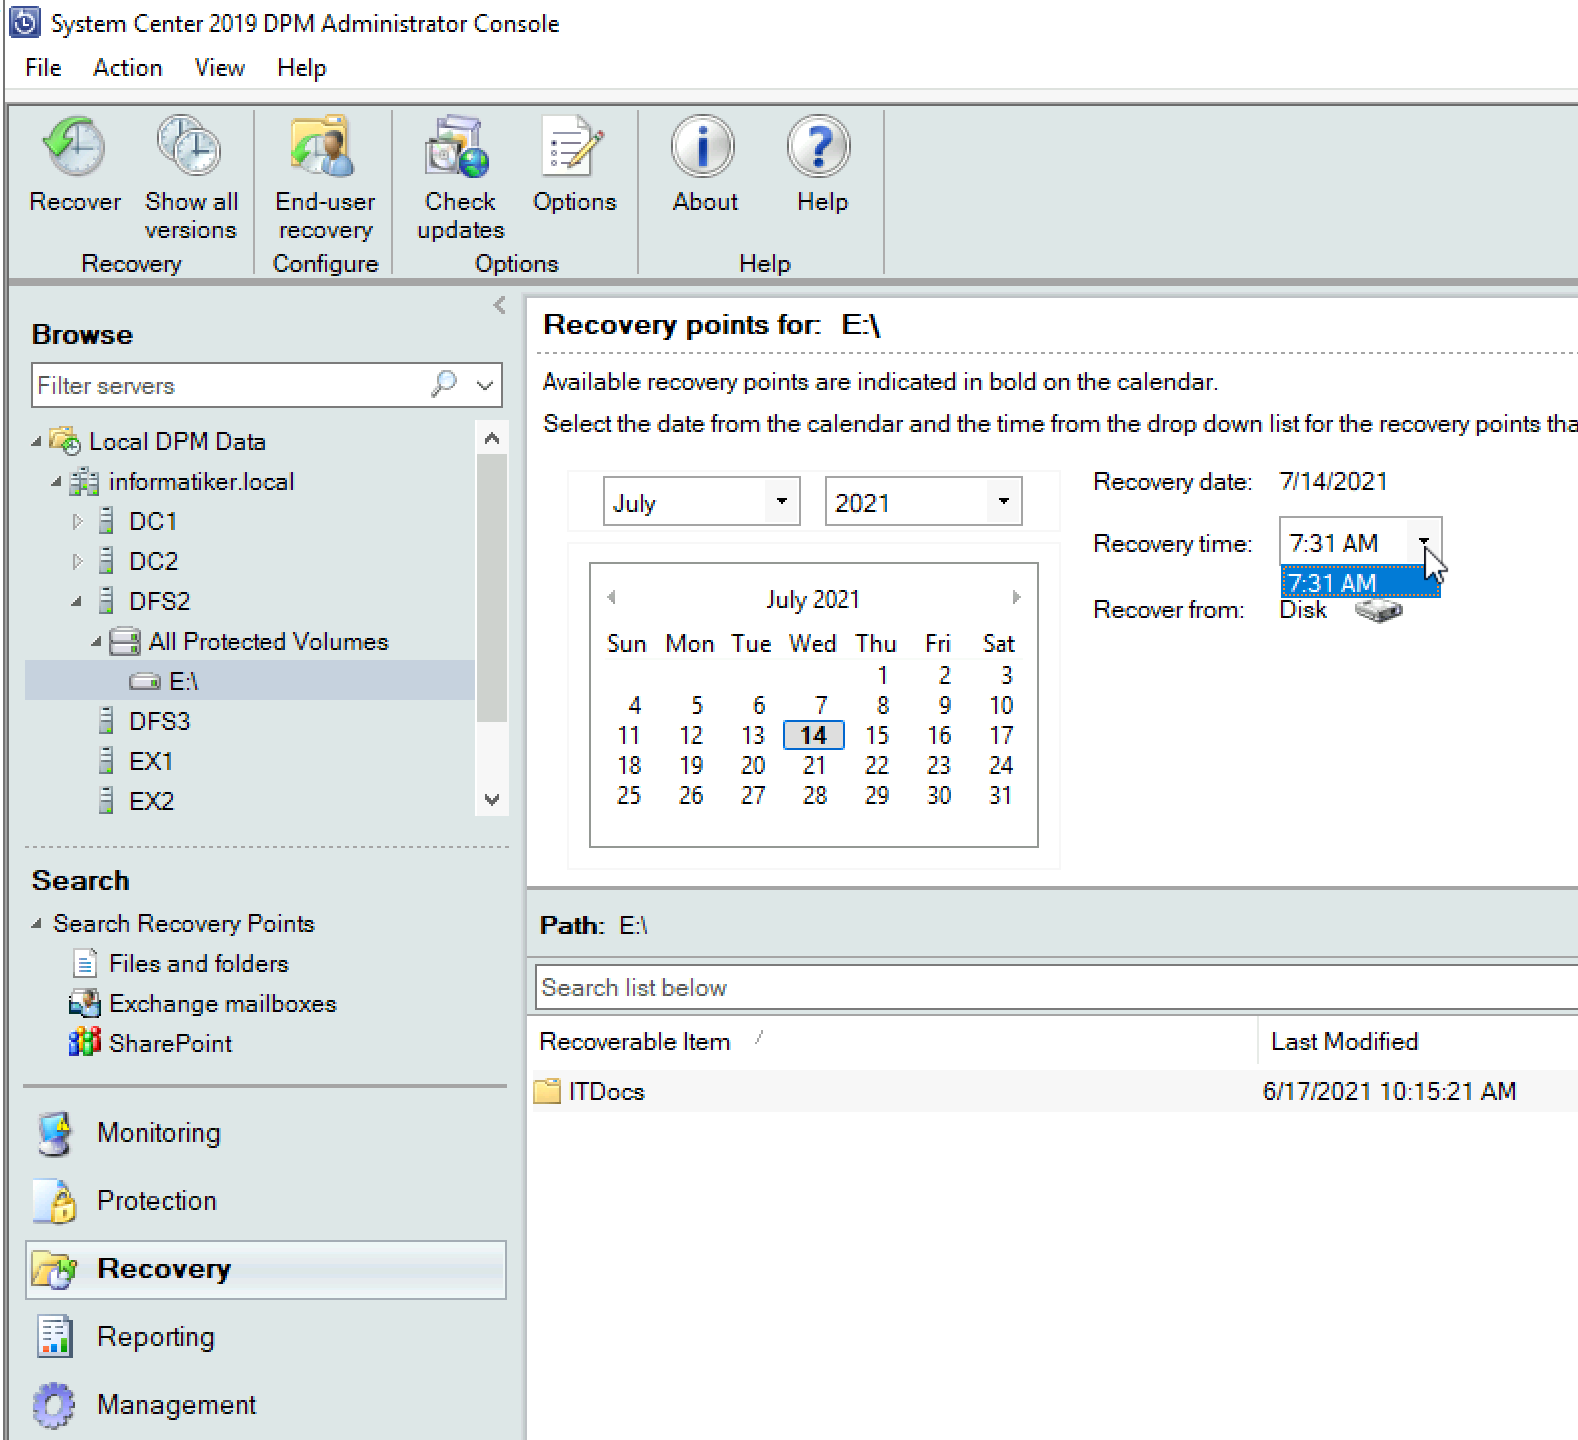
Procedure is the same for whatever you do (be it file, db or bare metal restore) Go to Recovery section in DPM Administrator Console | Select server you wish to recover – in my case it is DFS2 – I expanded it and selected E drive where my ITDocs folder is. Select date you wish to recover to and time you wish to recover to. I don’t have many choices here, so 7:31AM it is.
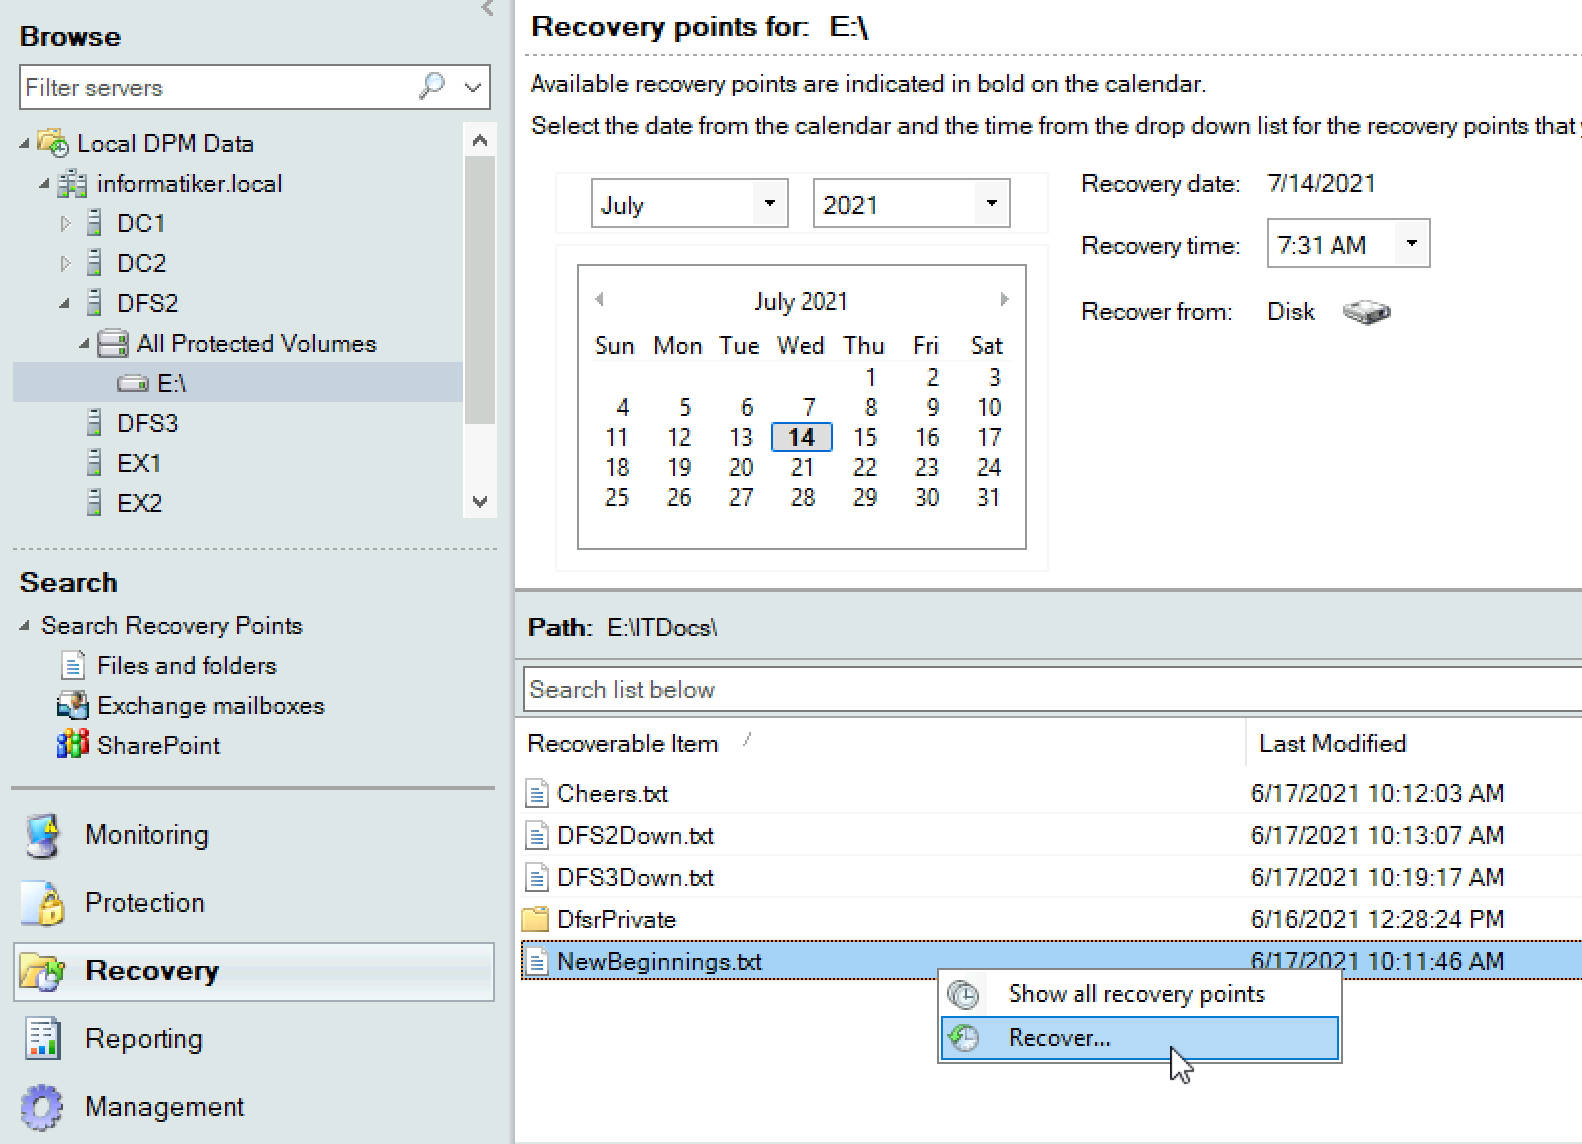
In the end click on ITDocs folder to expand it.
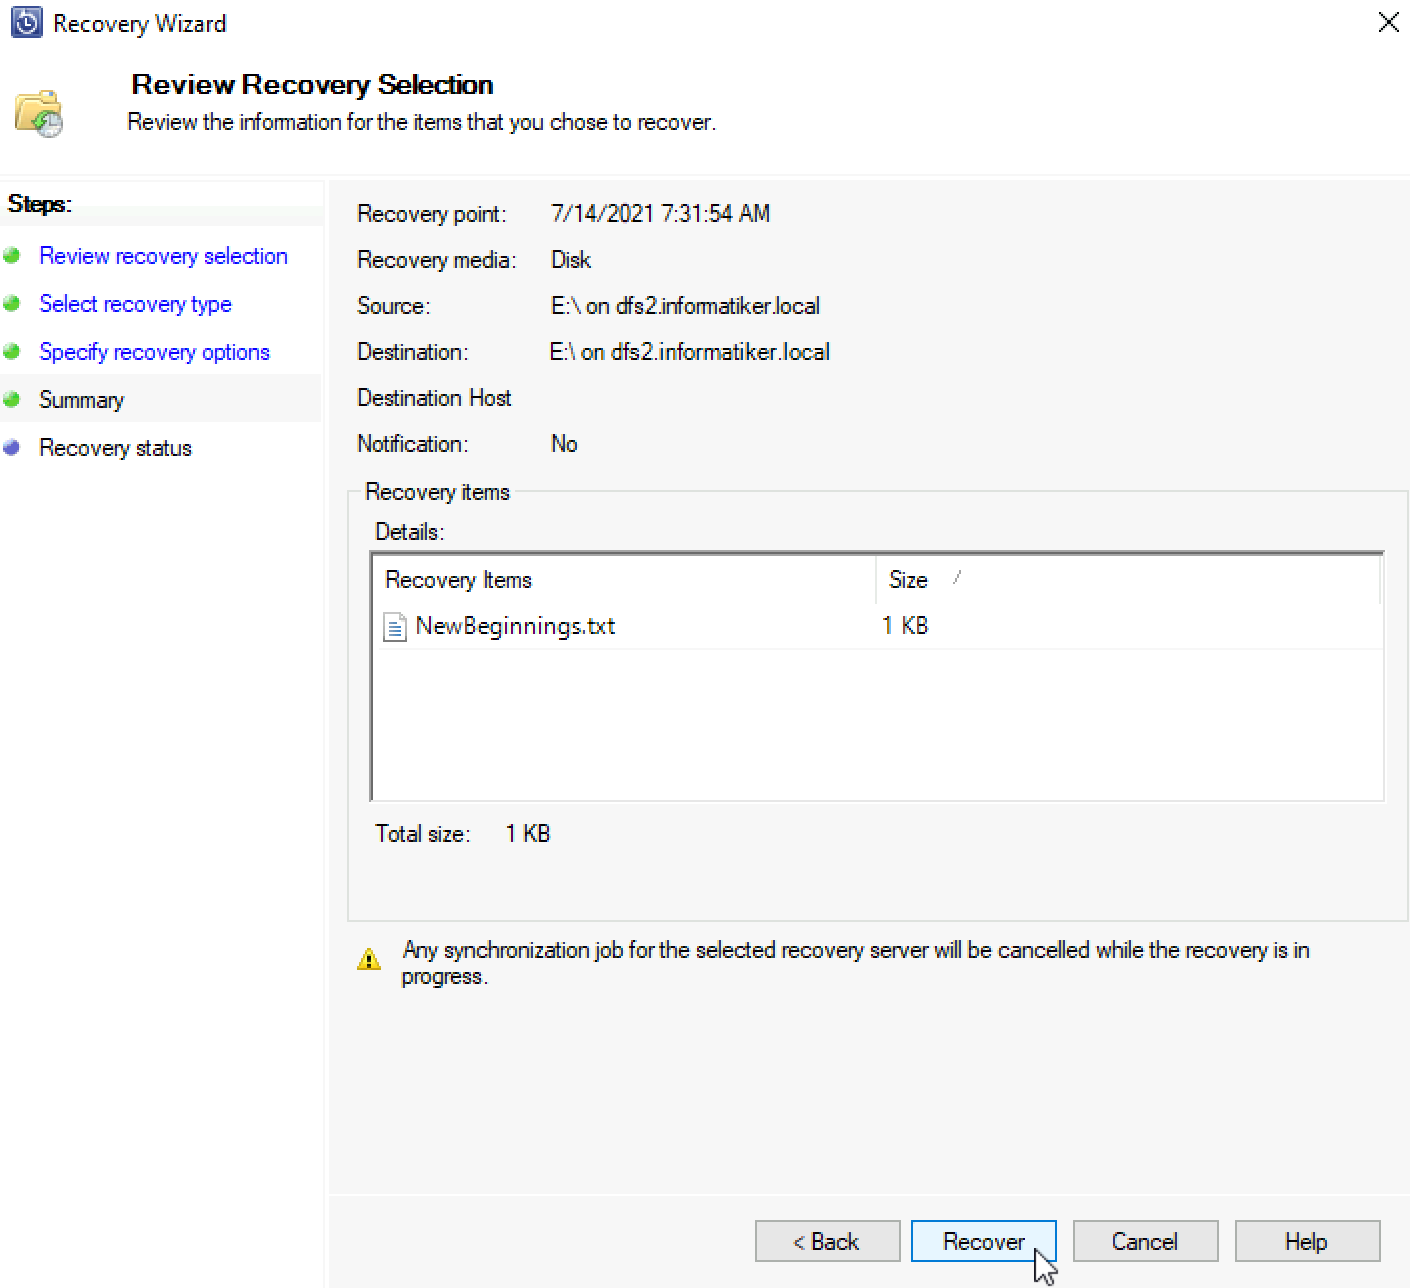
I have deleted file NewBeginnings.txt in my backup, that is great. Right click on it – Recover
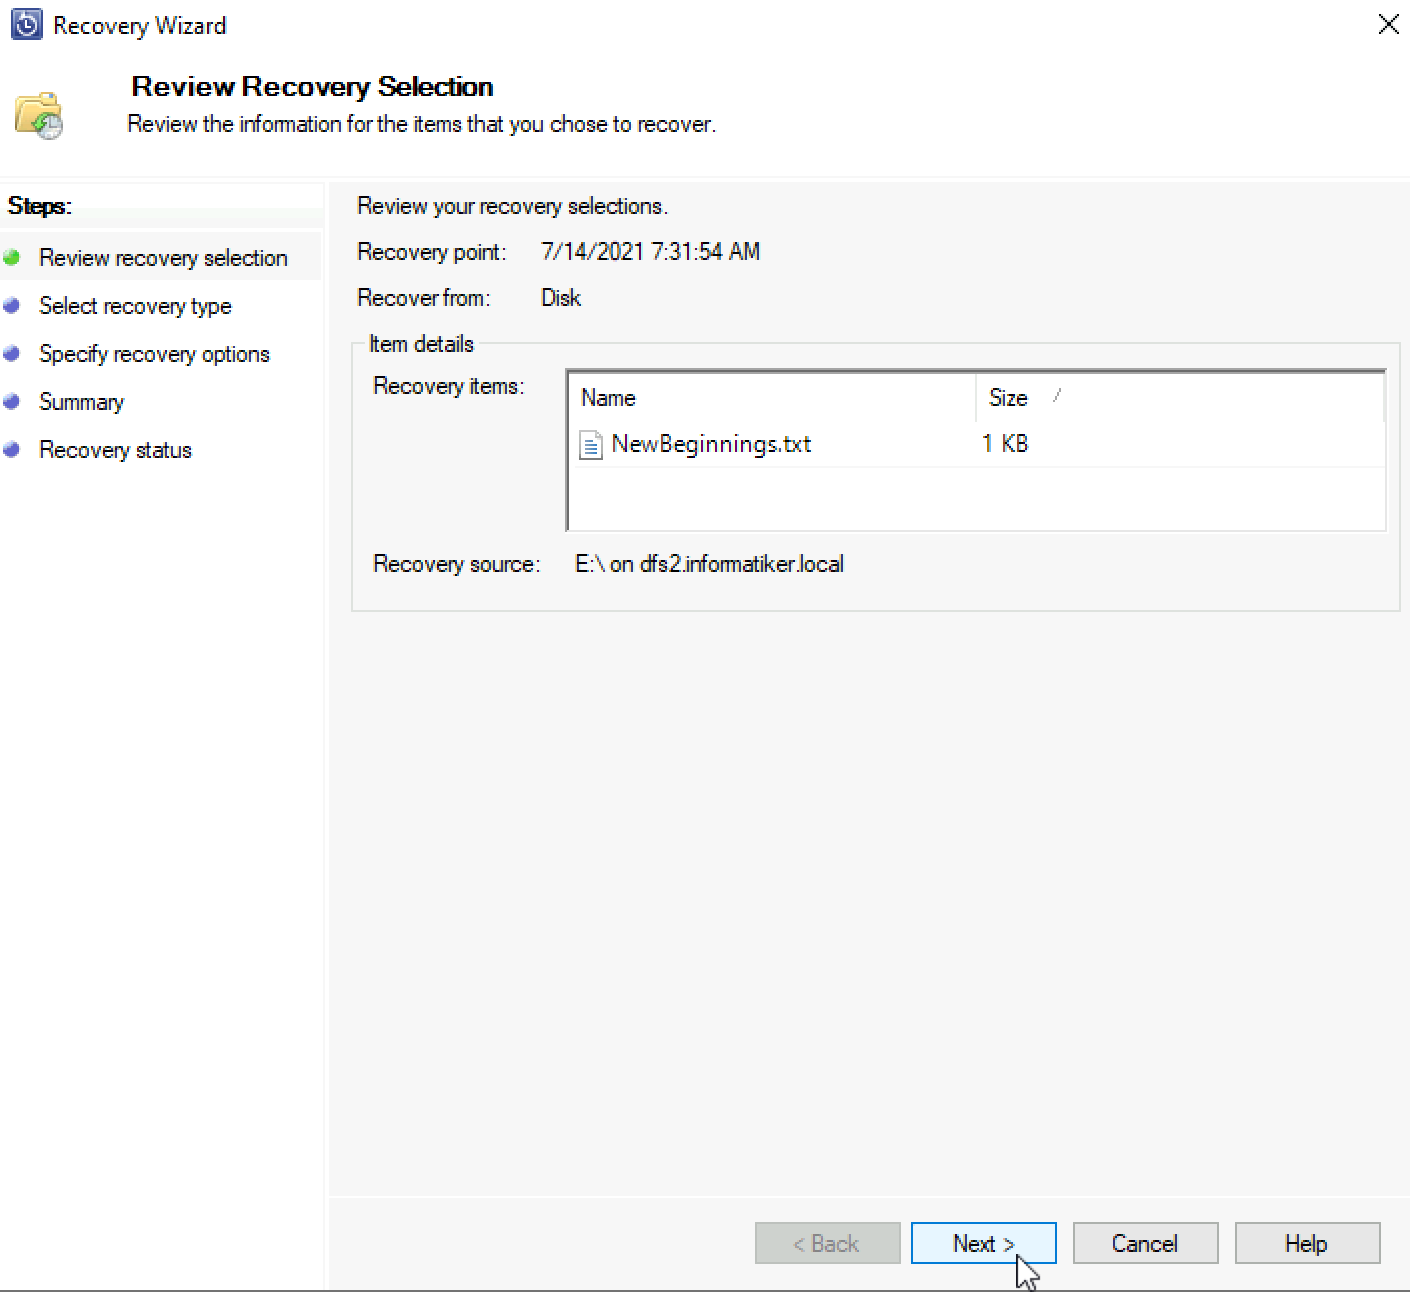
New wizard appears – Next
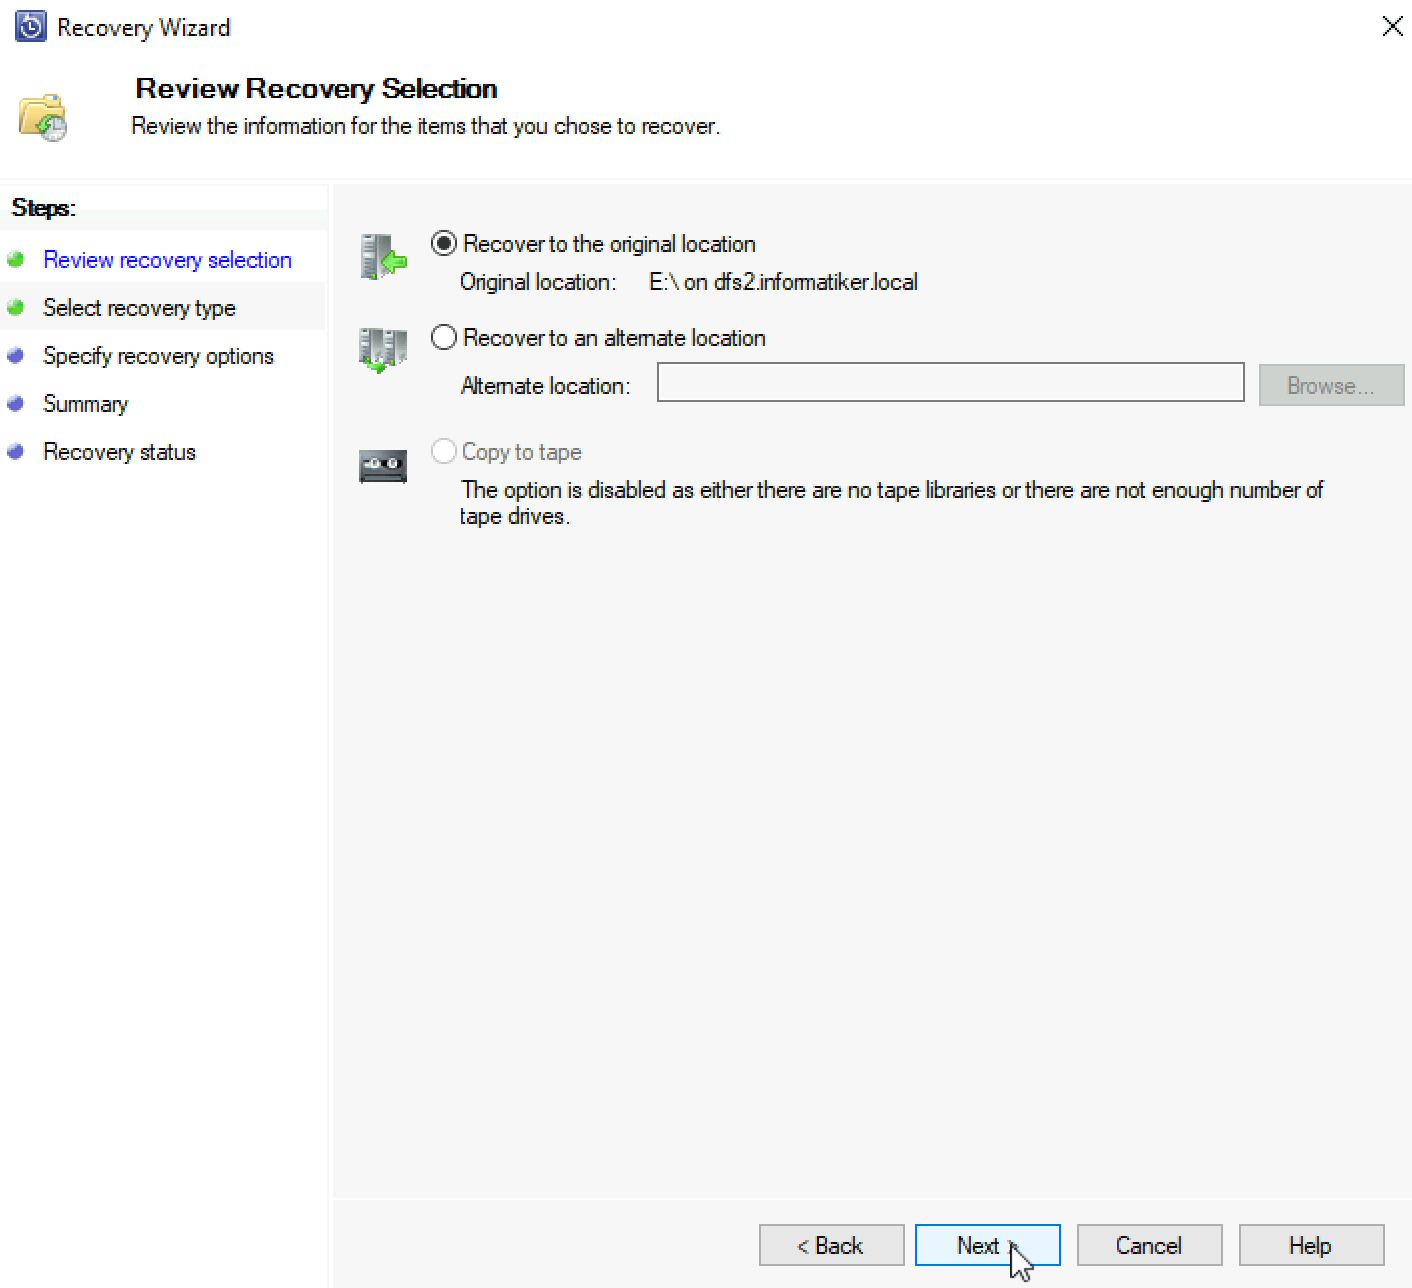
I wish to recover to original location | Next
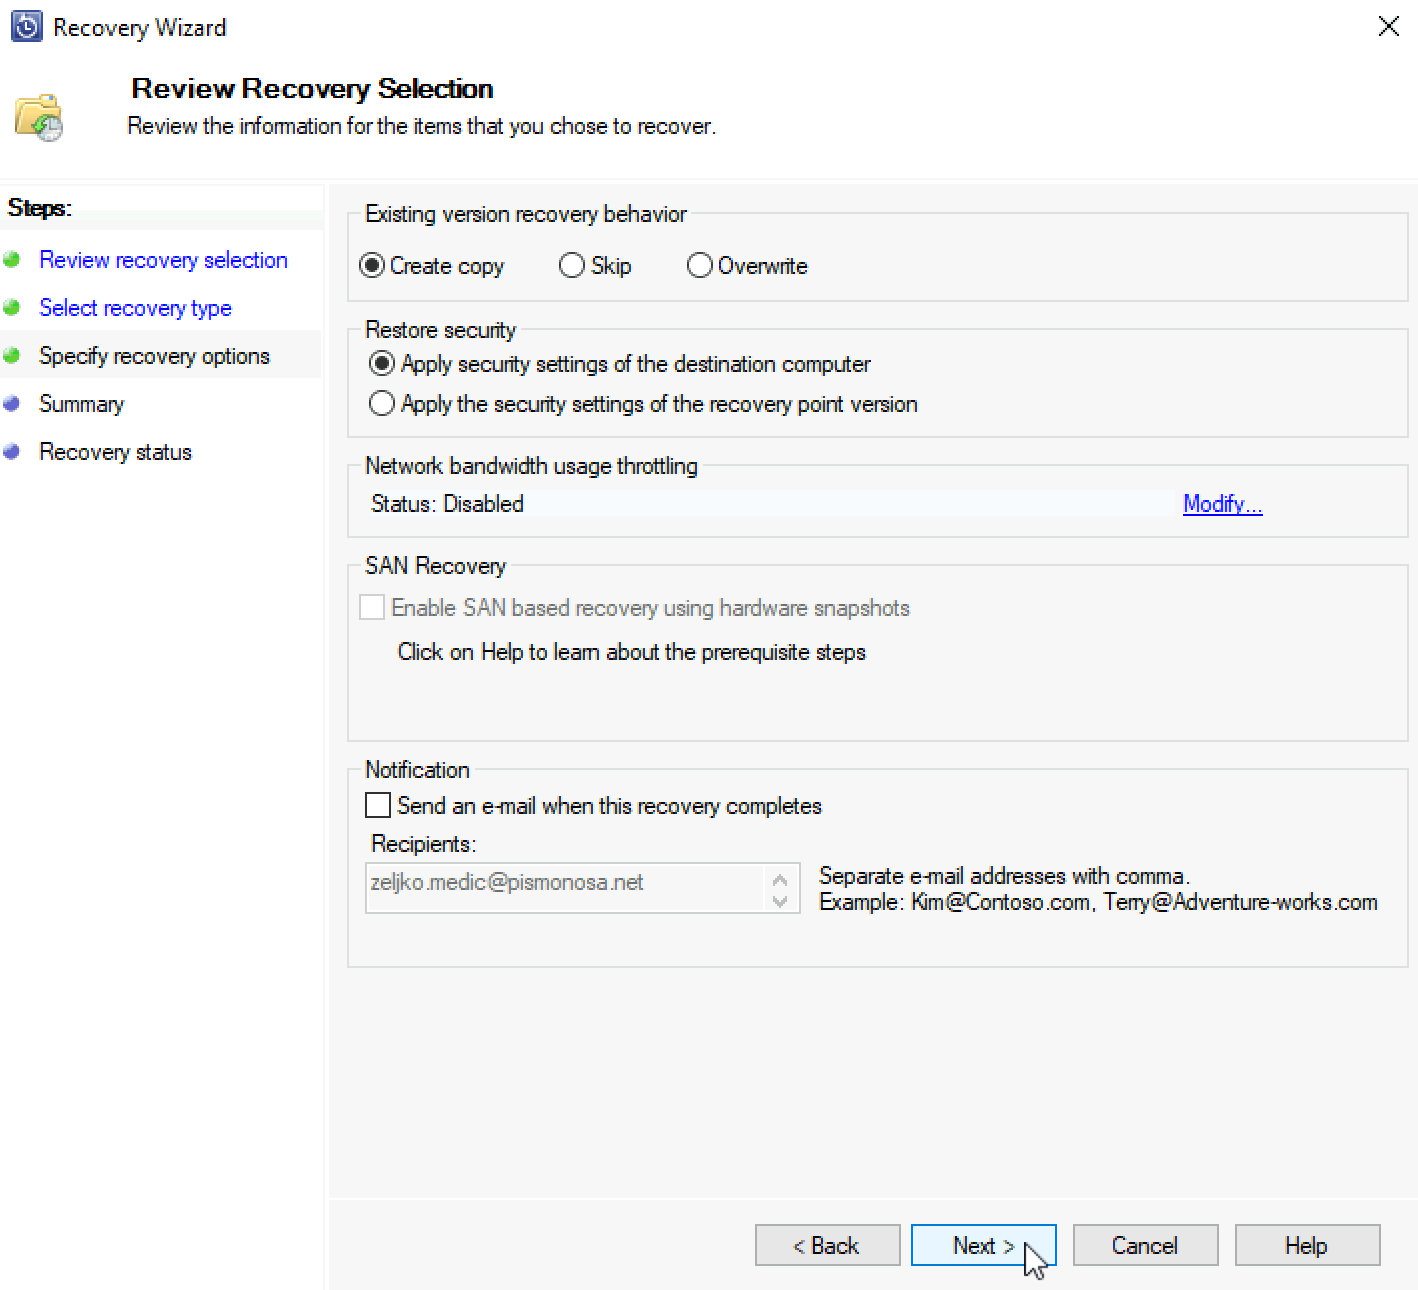
On the next screen you define what will system do if there is already a copy of the file (I selected Create copy) and Apply security settings of the destination computer (it will restore user rights on the file/folder) Next
Let’s recover
DPM says recovery was success.
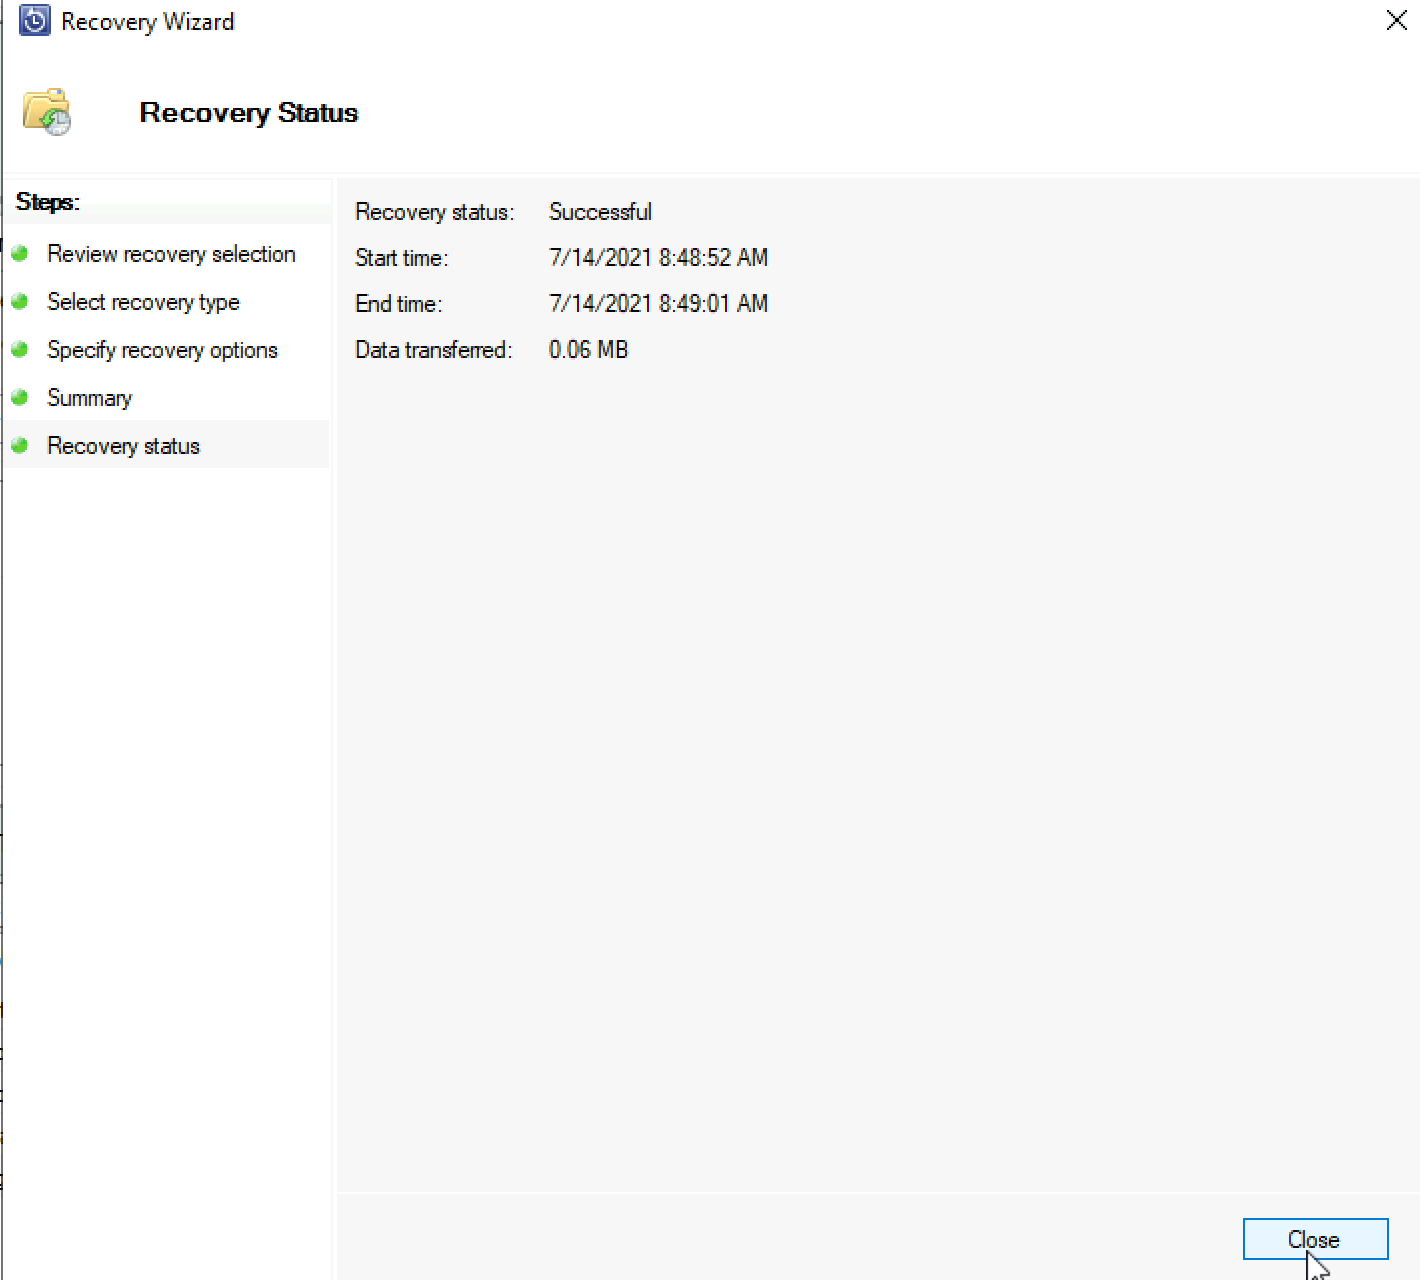
Indeed it was – file is back!
SQL Server Recovery
I backed up AlwaysON database. After that i deleted AlwaysON group AND database. I’m sometimes asked if the is a way to do a granular recovery, like with the files – to only recover one table – no, you can recover entire DB, and then export/copy table to the DB you need.
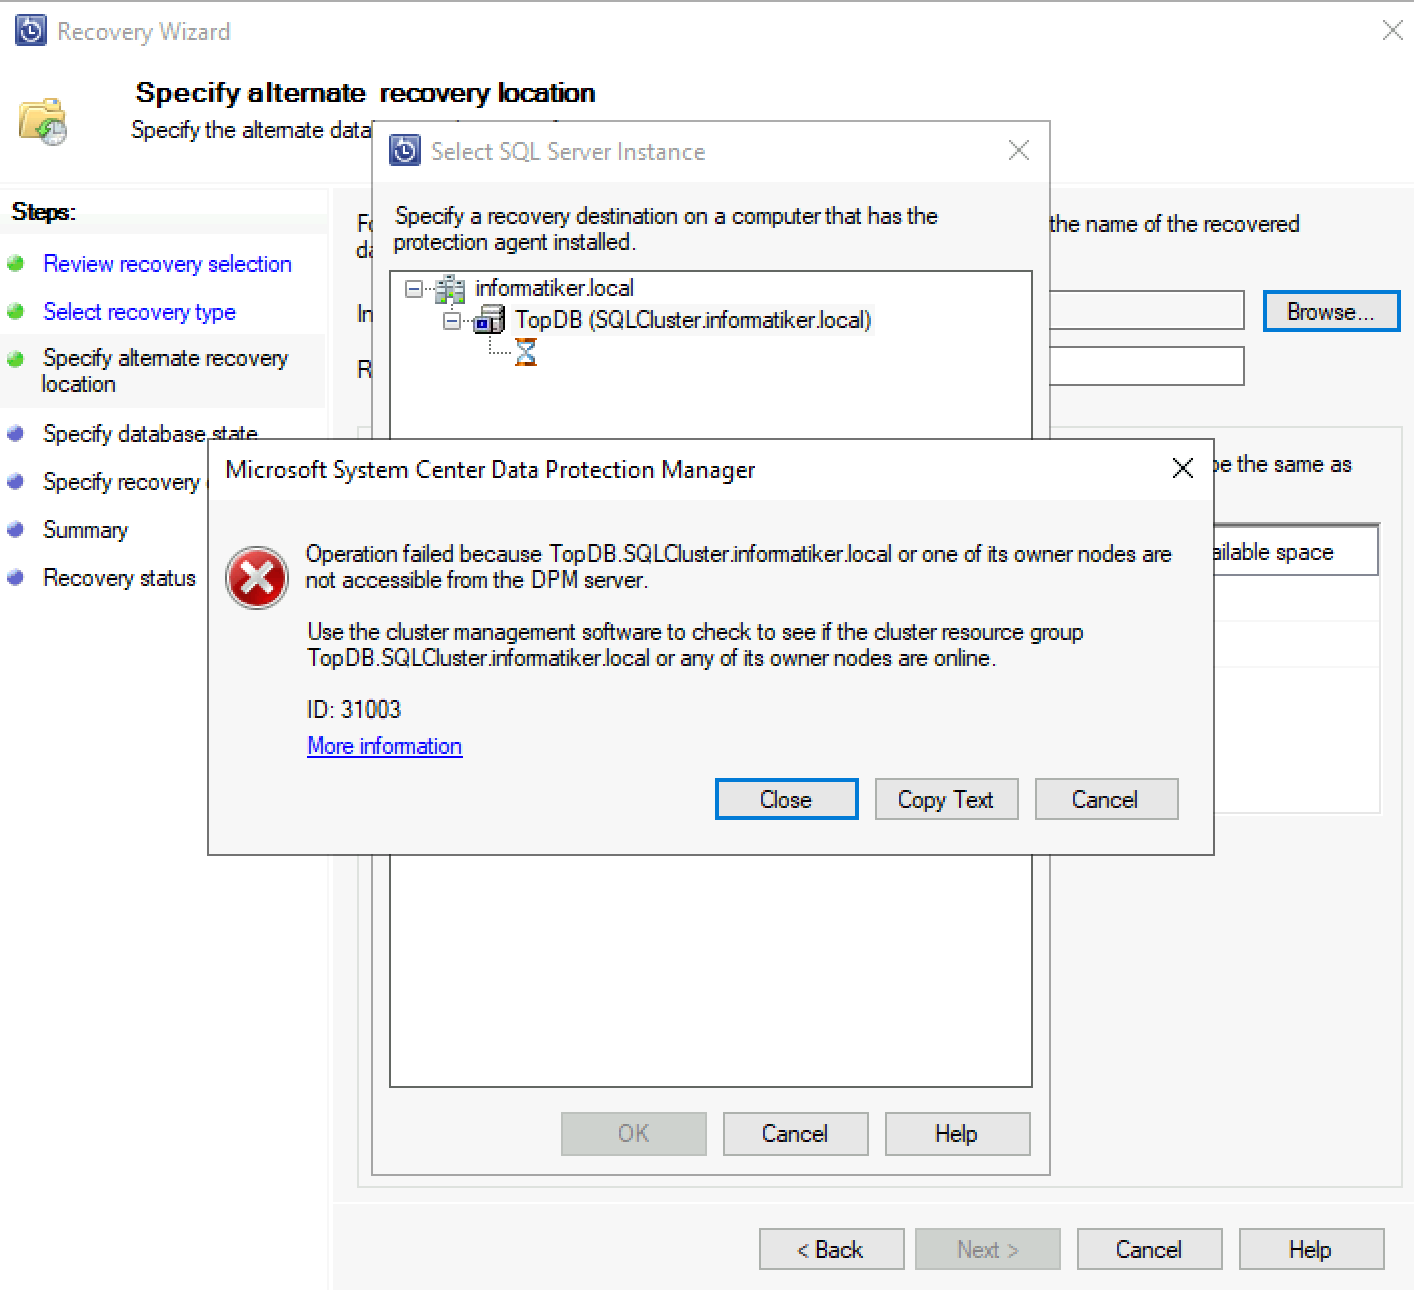
After I start recovery I’m not able to select Recover to original instance of SQL since I have a cluster. If I select Recover to any instance of SQL server
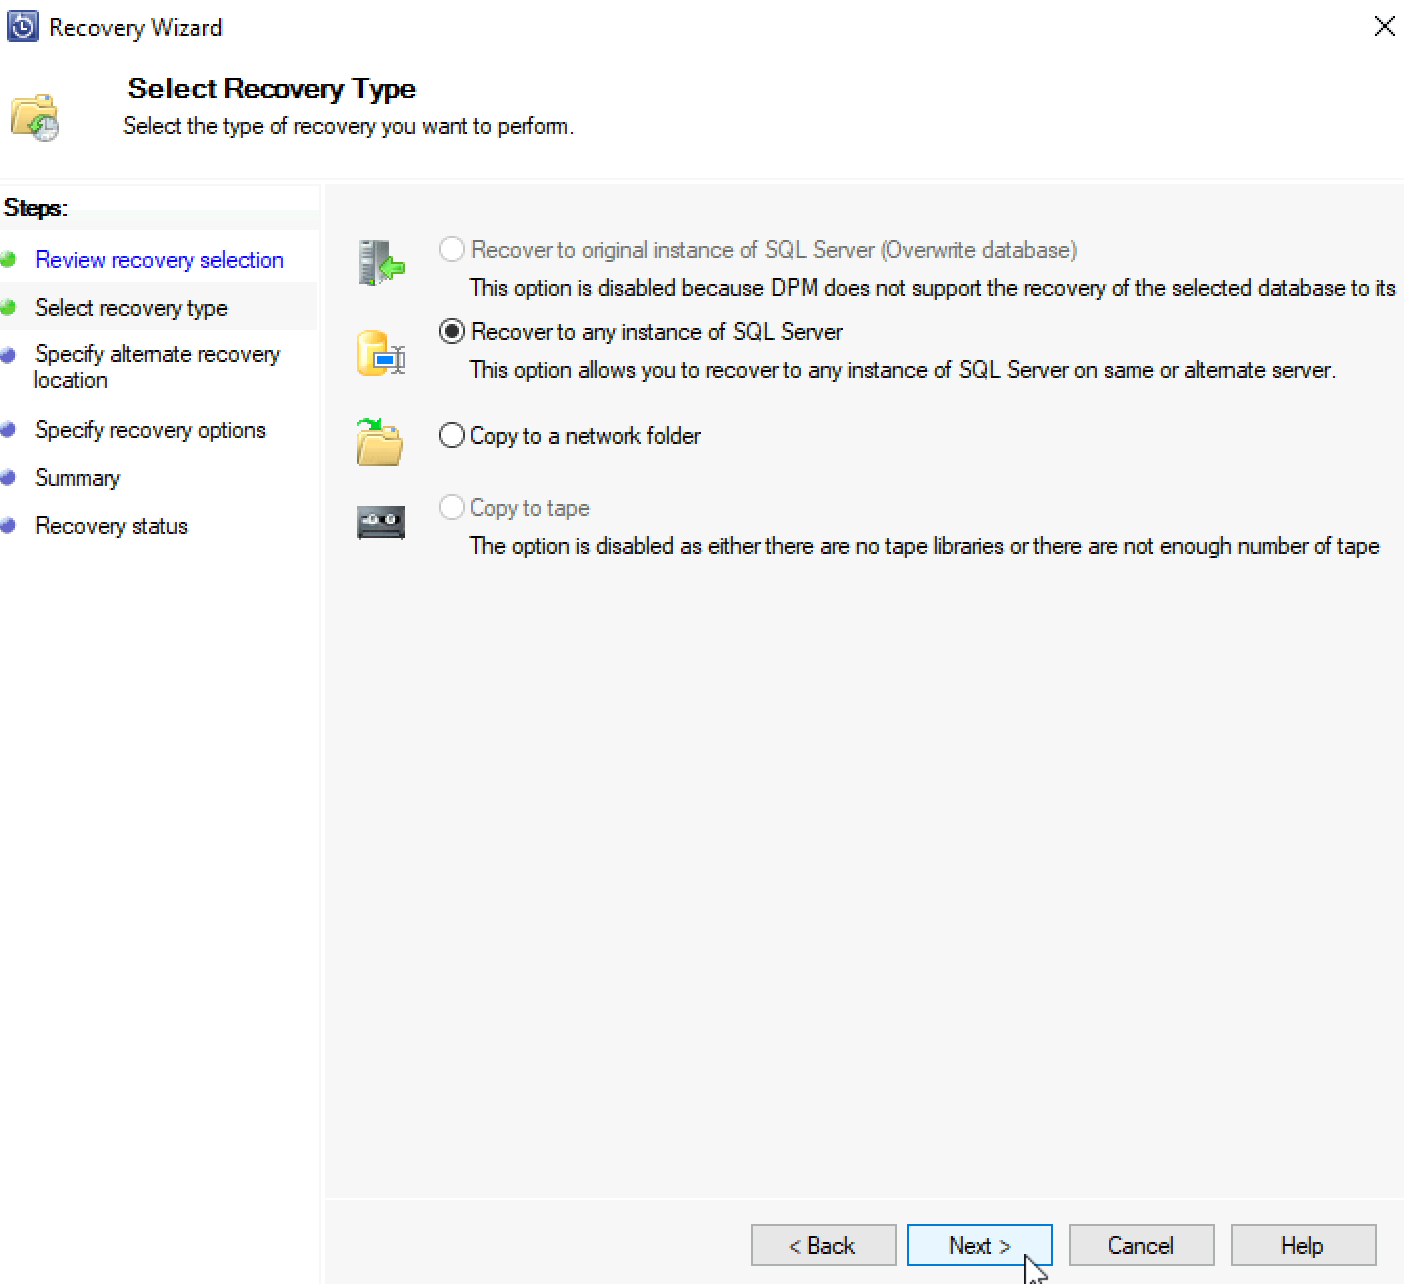
I cannot recover to my SQLCluster bcause cluster is also destroyed after I destroyed AlwaysOn SQL group.
What I see here in this type of scenario as fastest and best way out is to just create file share and copy DB to that file share. After that you can attach database to SQL and recreate cluster and AlwaysON – and backup in the end. This is the fastest way if you are in situation like this.
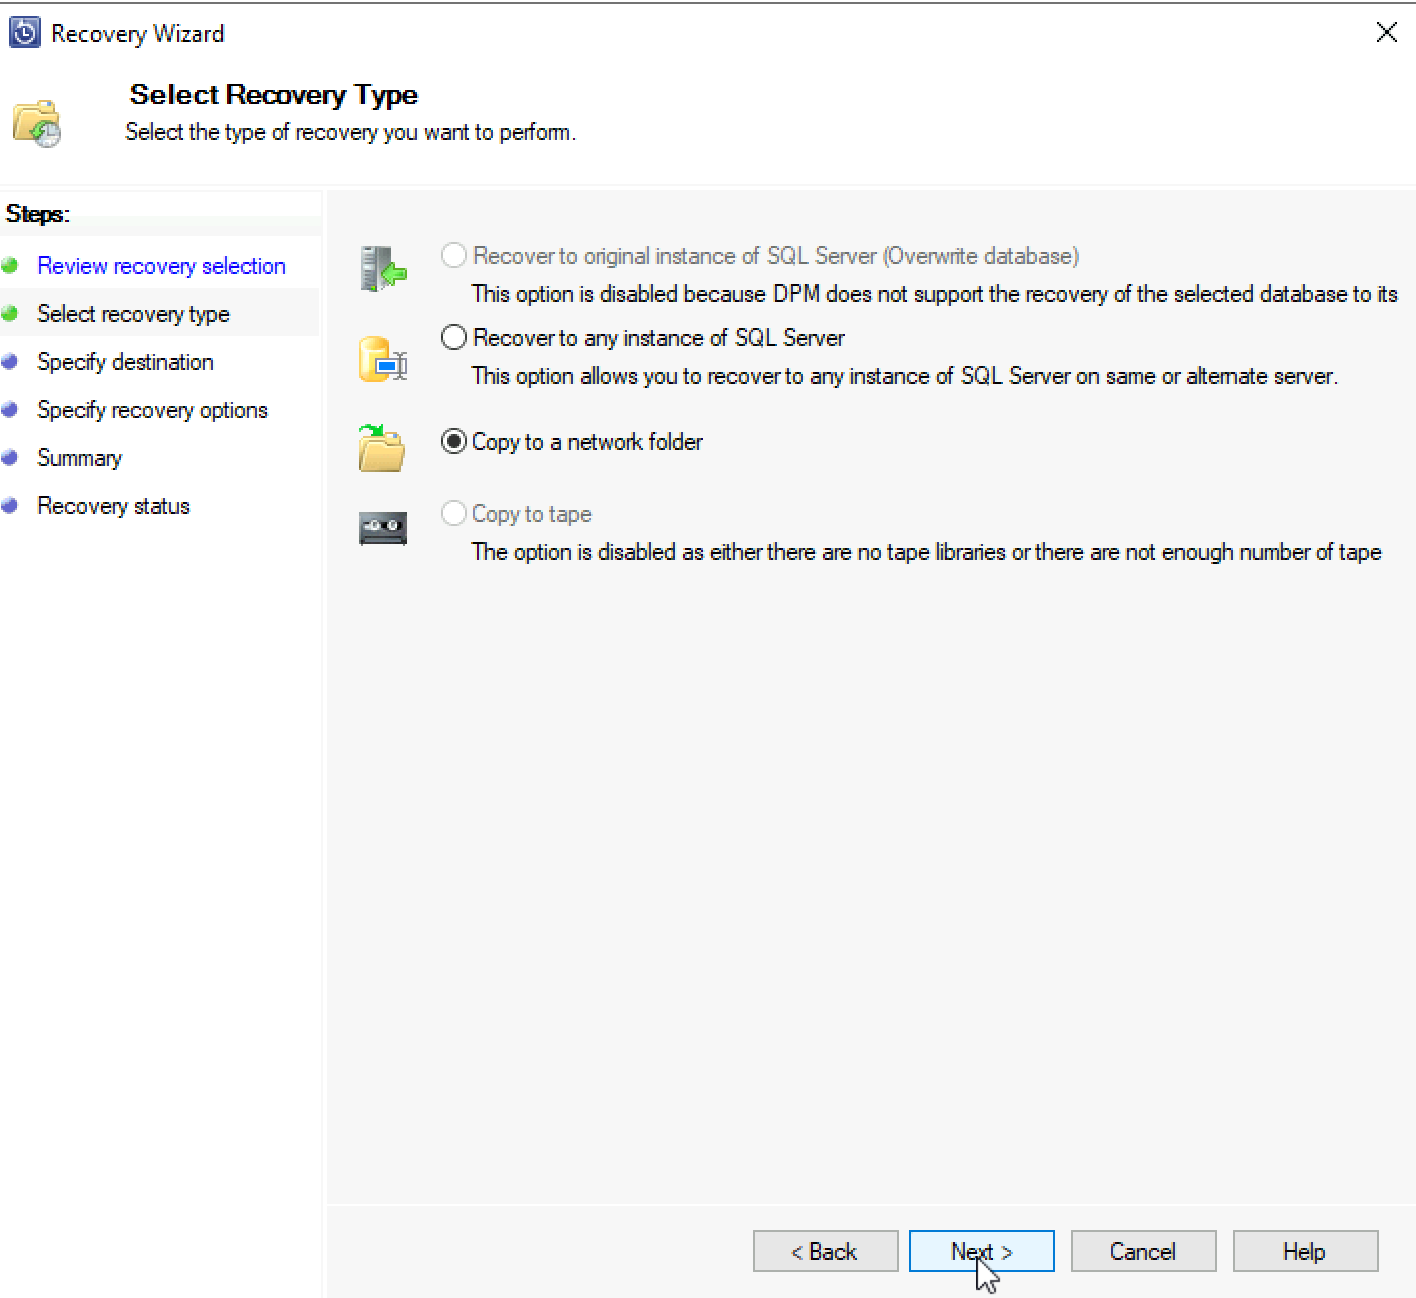
I created \SQL1\DBRestore file share and selected it for restore location.
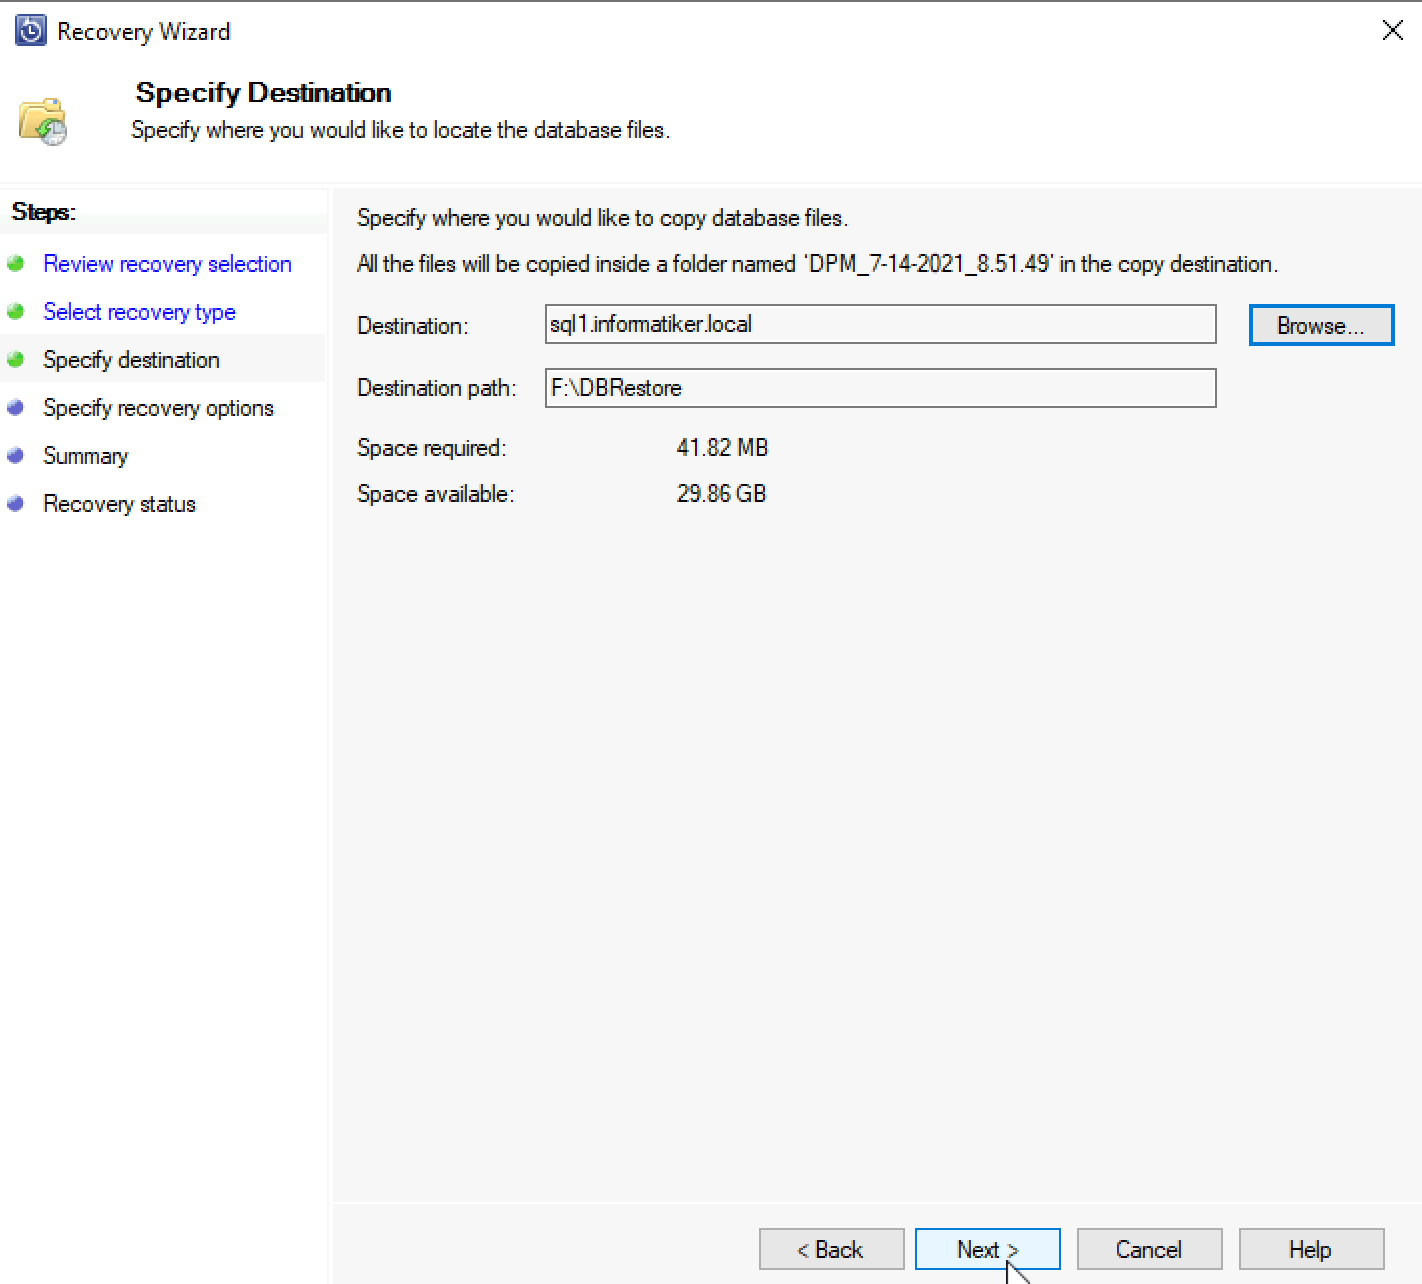
Apply Security settings
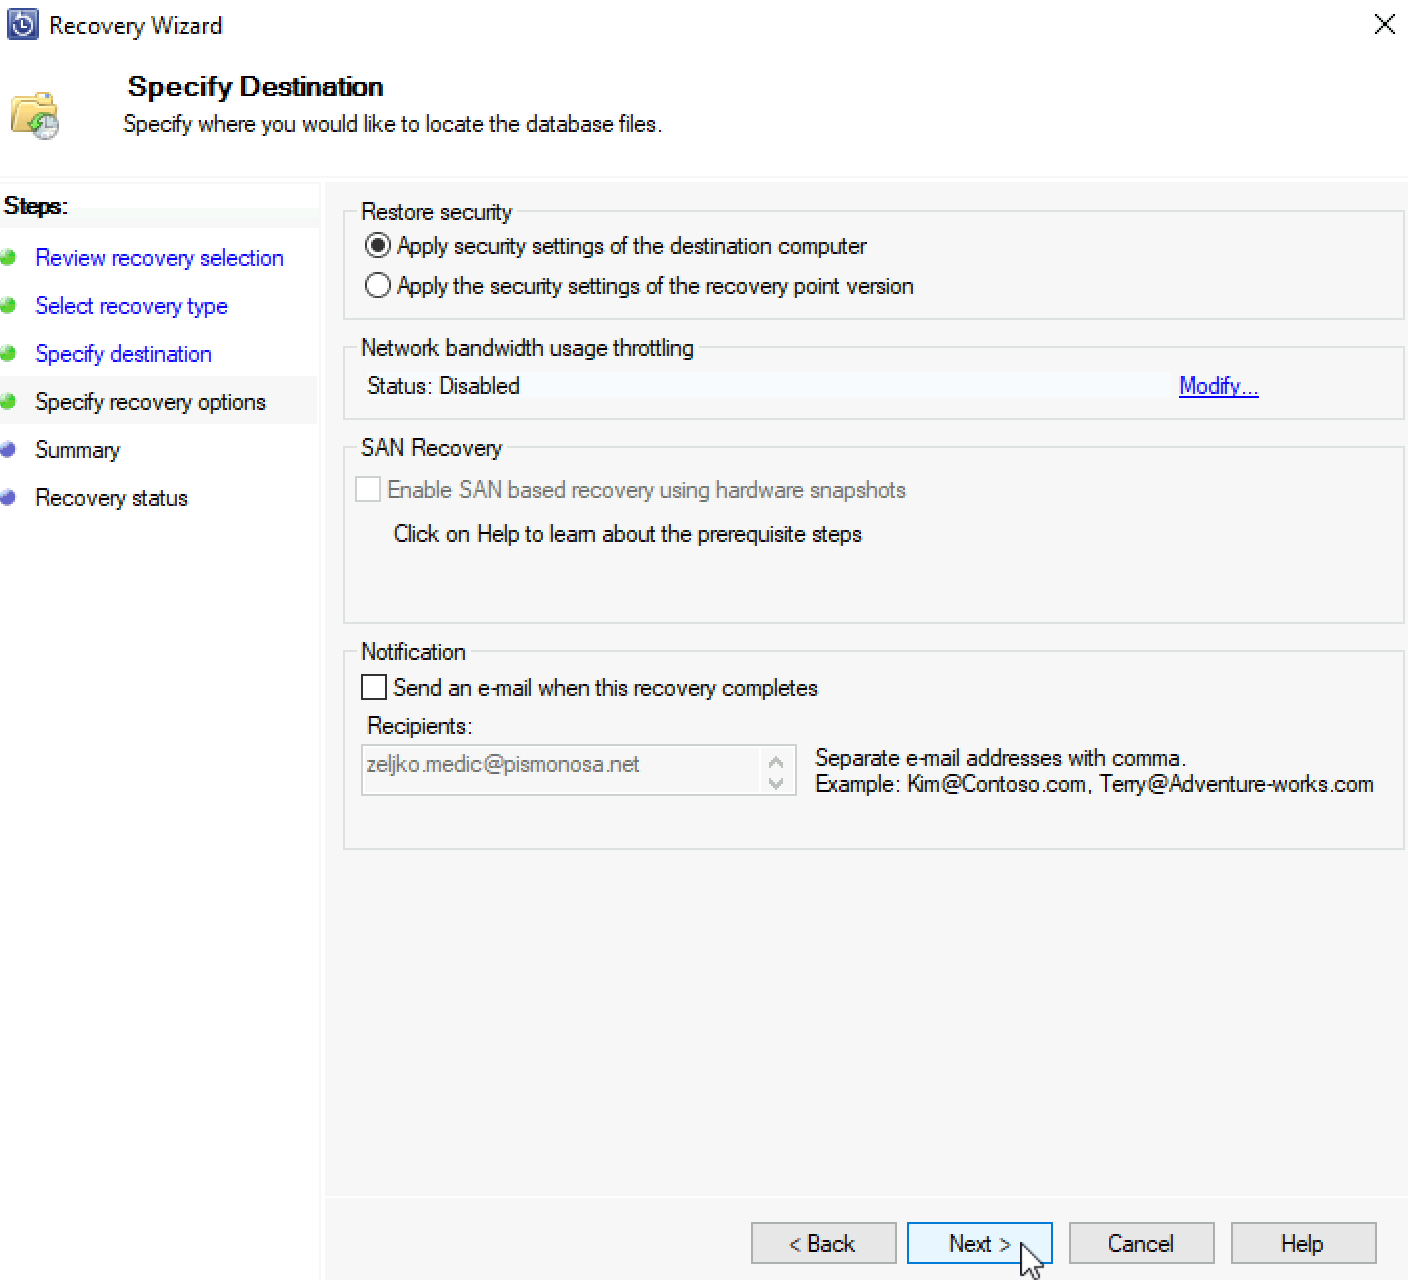
Ok, let’s recover
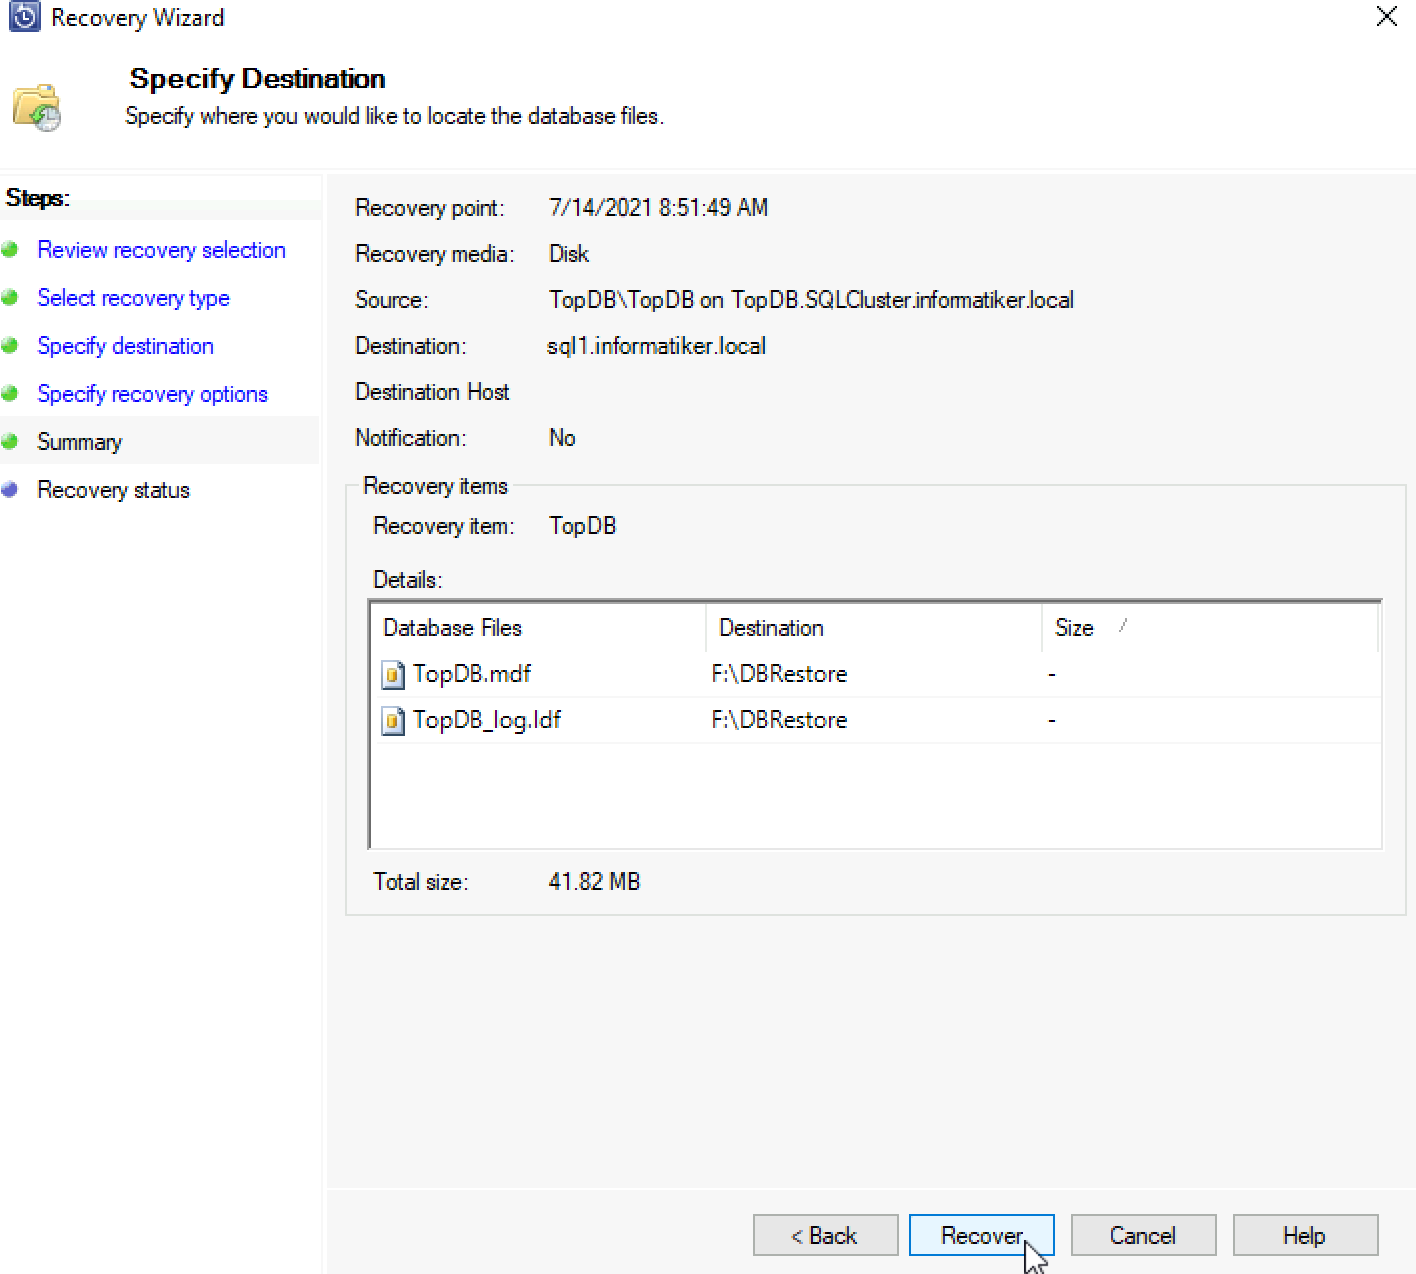
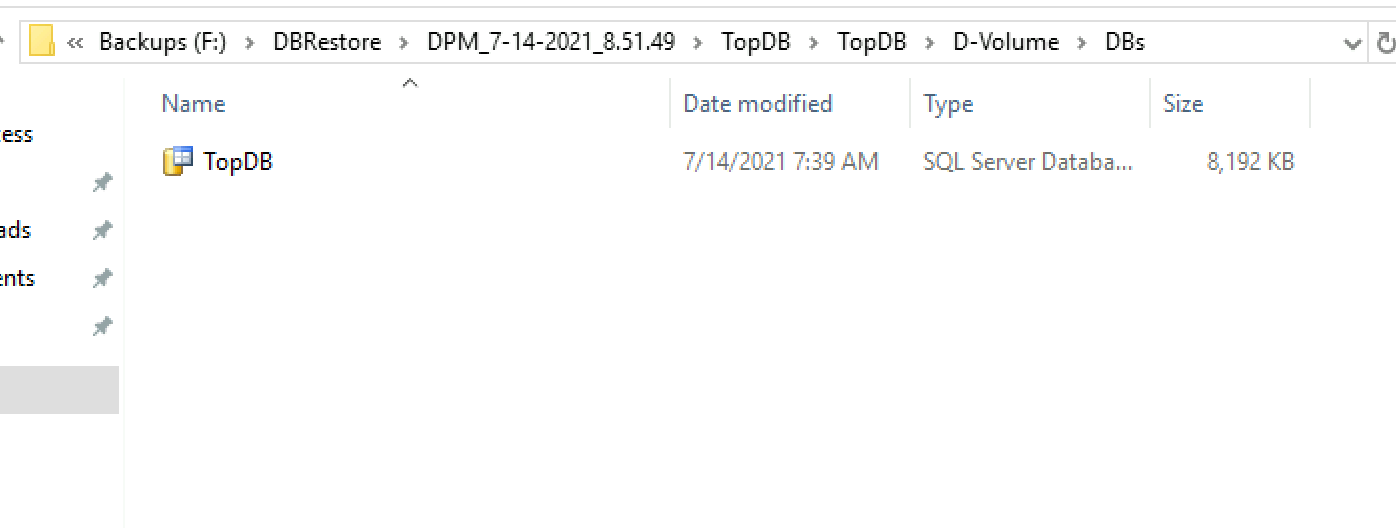
Done
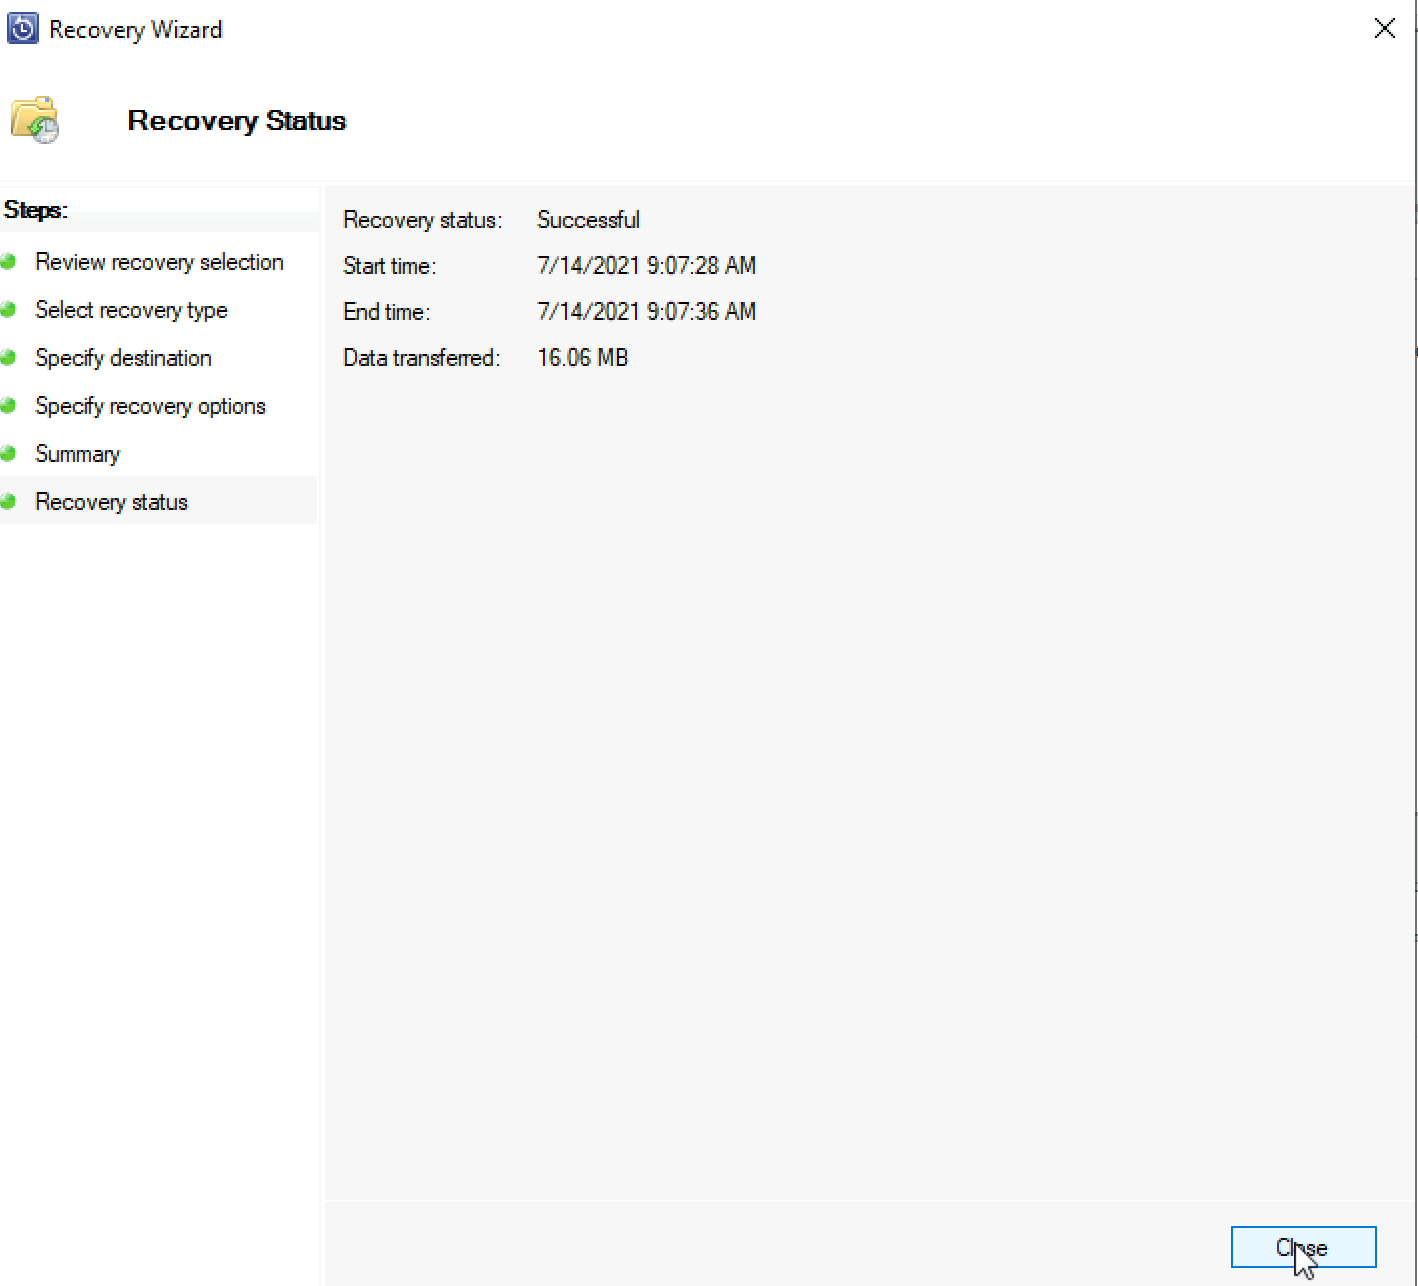
Indeed, DB is in place
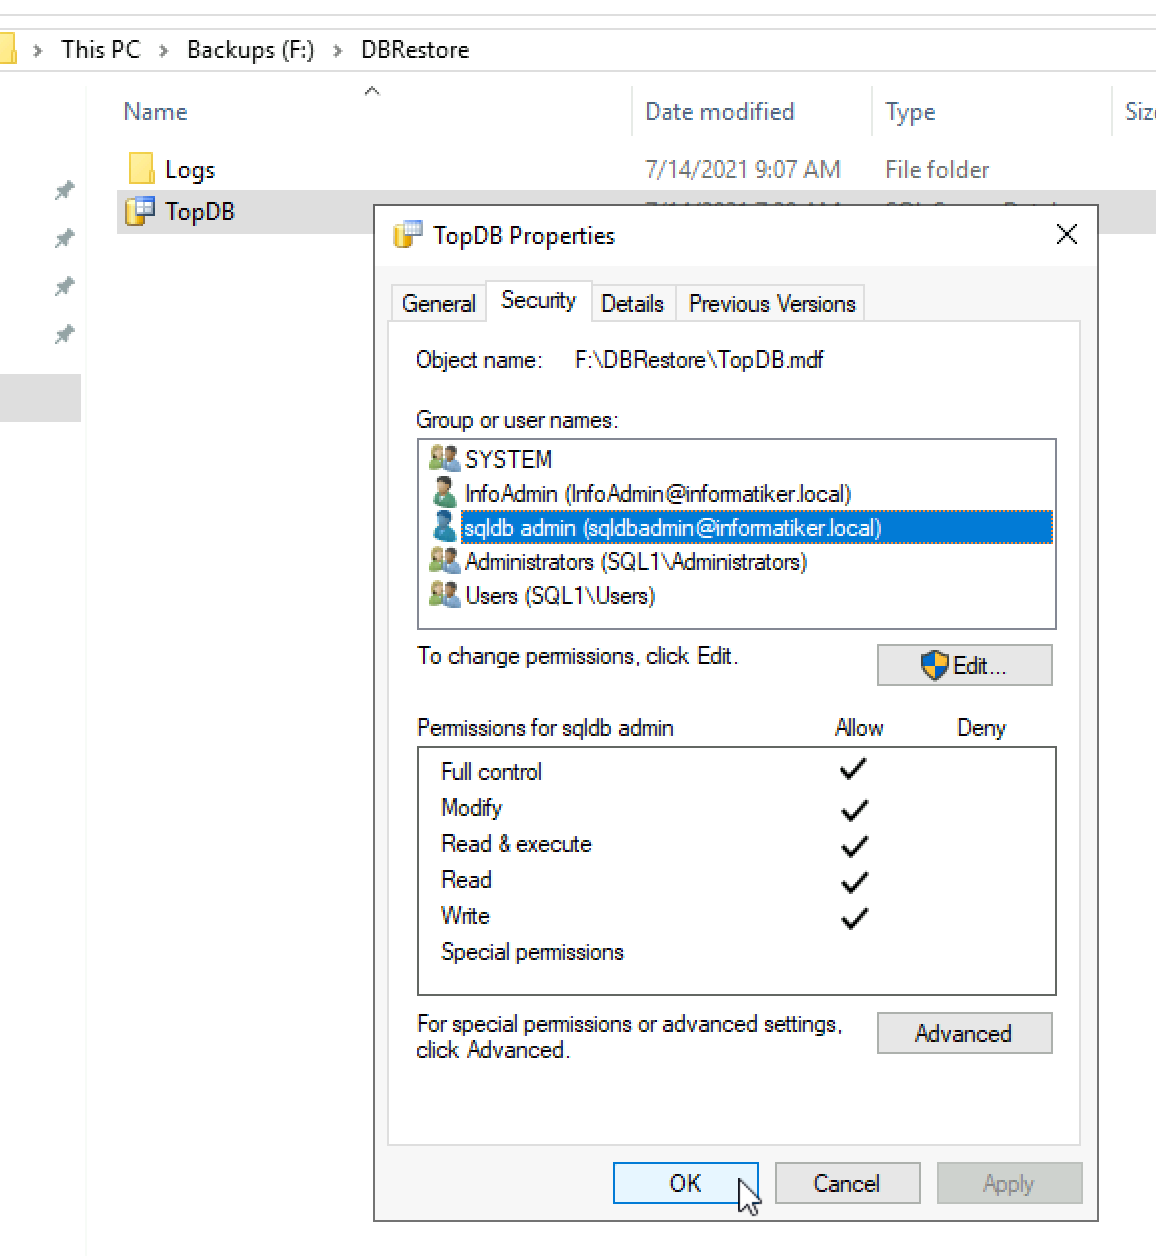
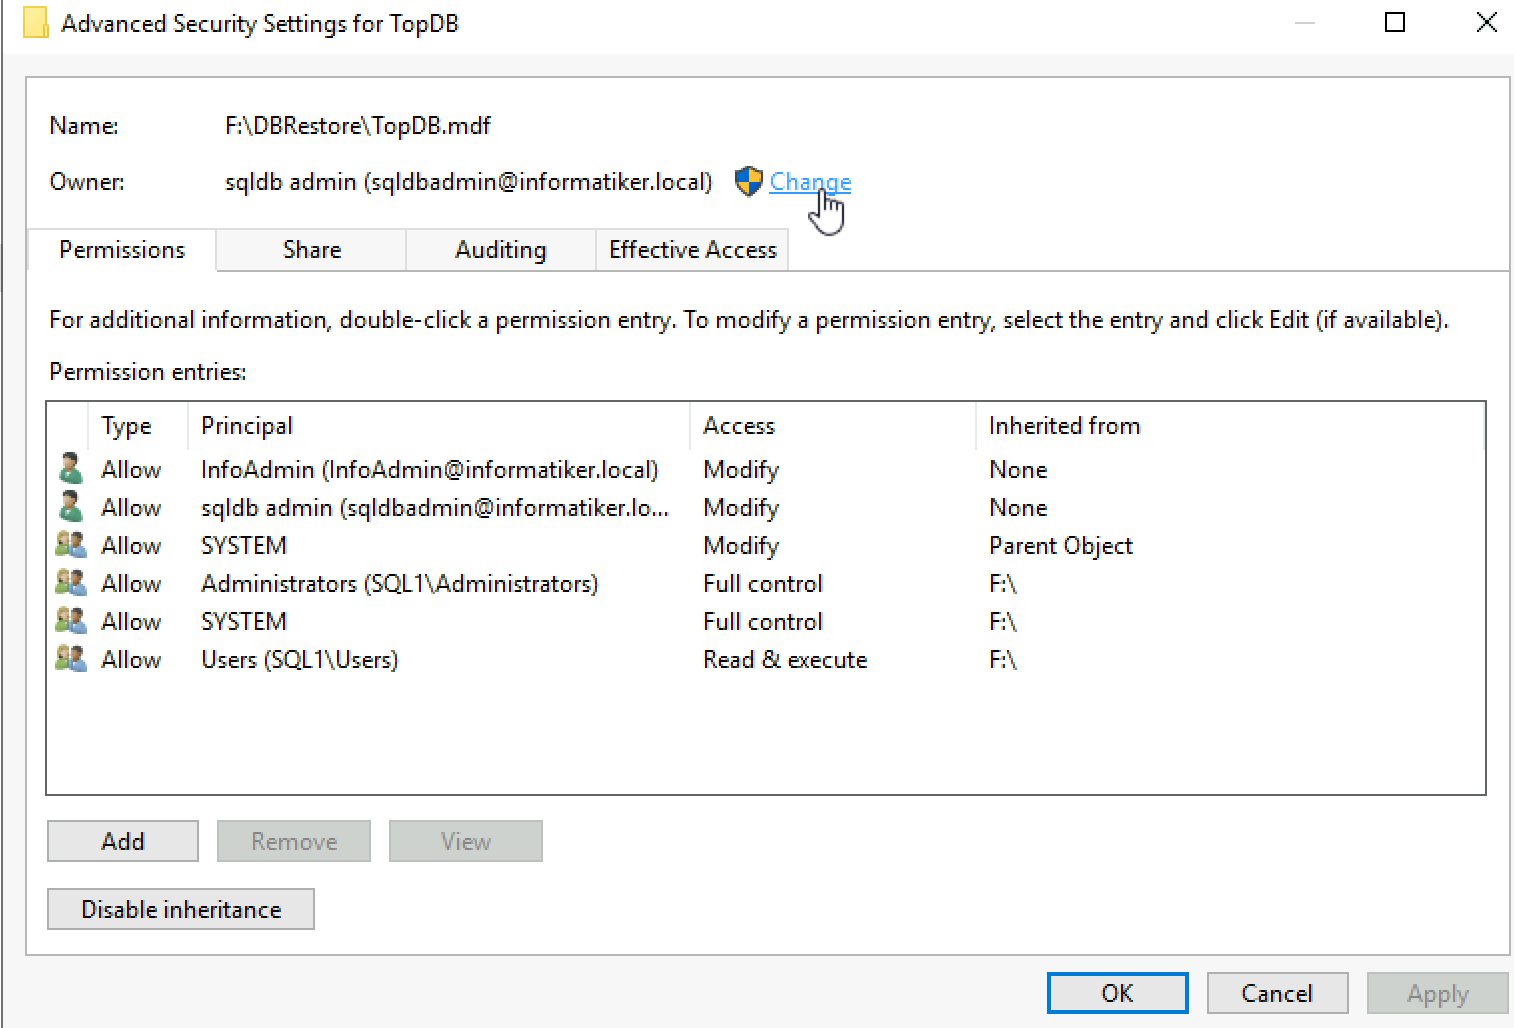
I tidied directory a bit, so that it does not have many subdirs and gave full permissions on DB, logs folder and log file to my SQL user (sqldb admin) I also made it owner of the db and logs.
I went into SQL SSMS and unde DBs selected Attach DB – select DB file and defined log directory and file!
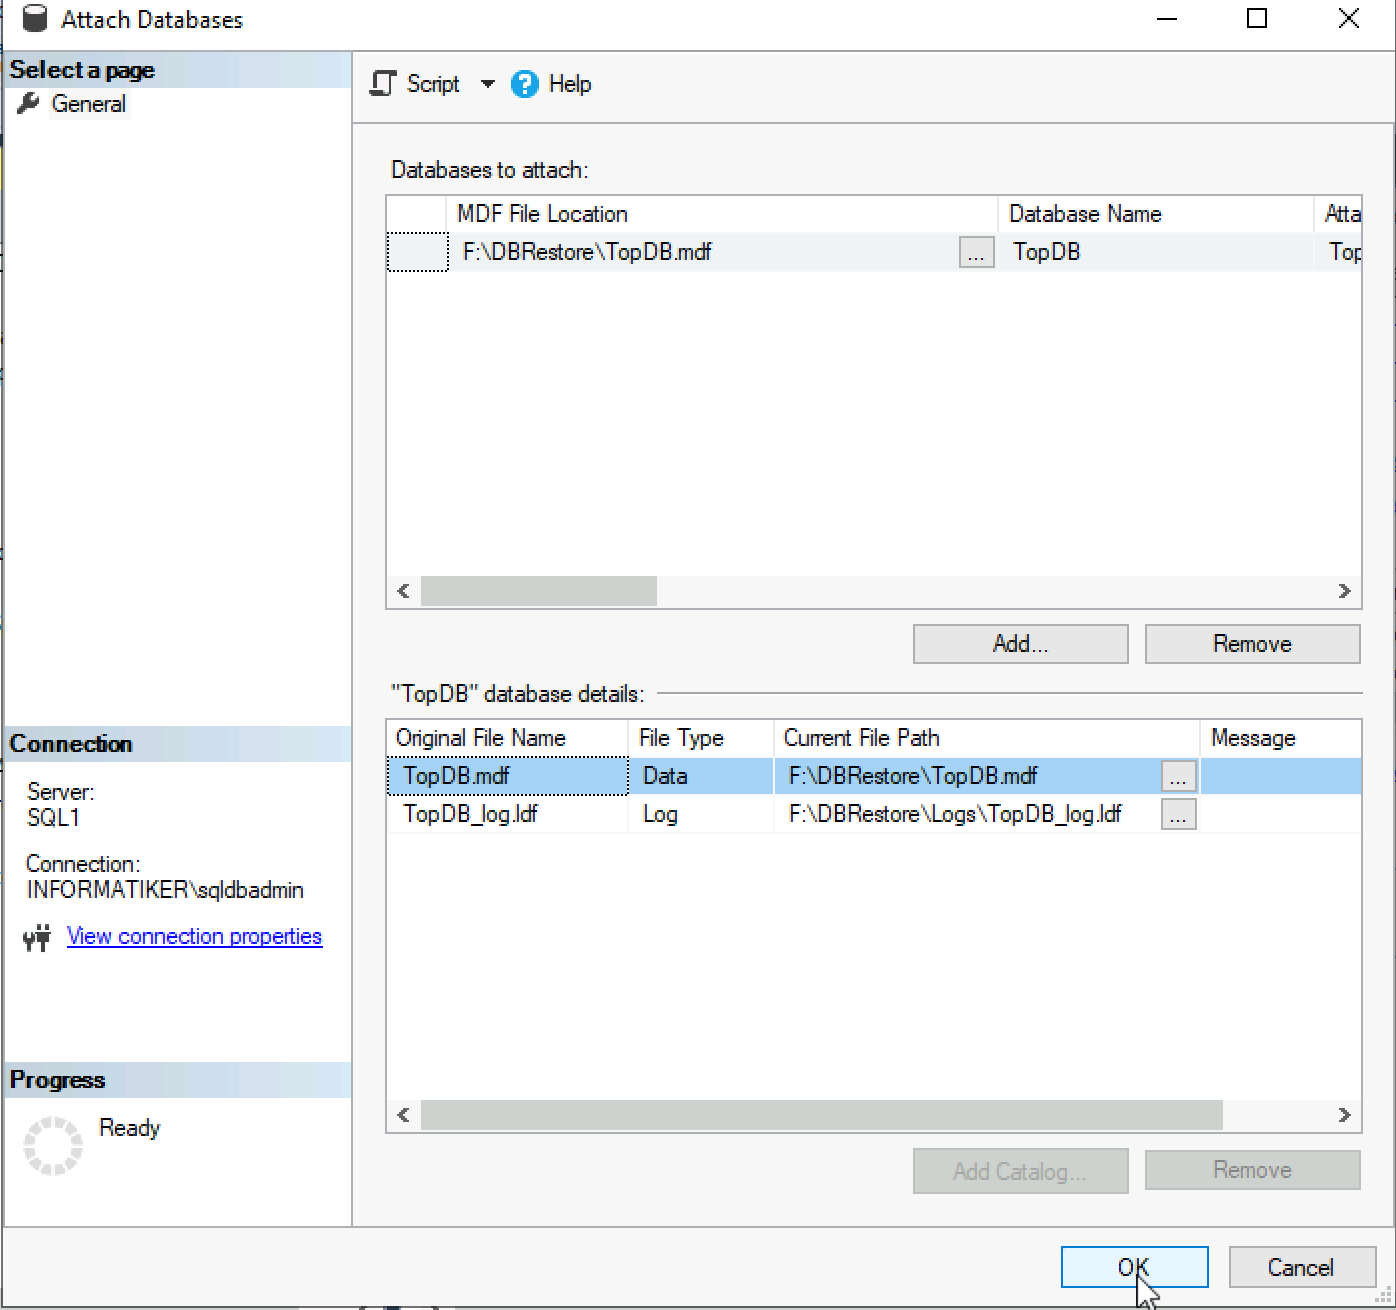
DB is attached, all the tables are in place with all the data in them
I would have to restore cluster and AlwaysON replication in this case, but that is really a smaller problem if I have my data back.
Exchange Recovery
For the Exchange server, situation is little better if we compare it to SQL. We can recover mailboxes (not individual emails! – you can define retention policy for that).
We have test.user2 mailbox in our exchange server.
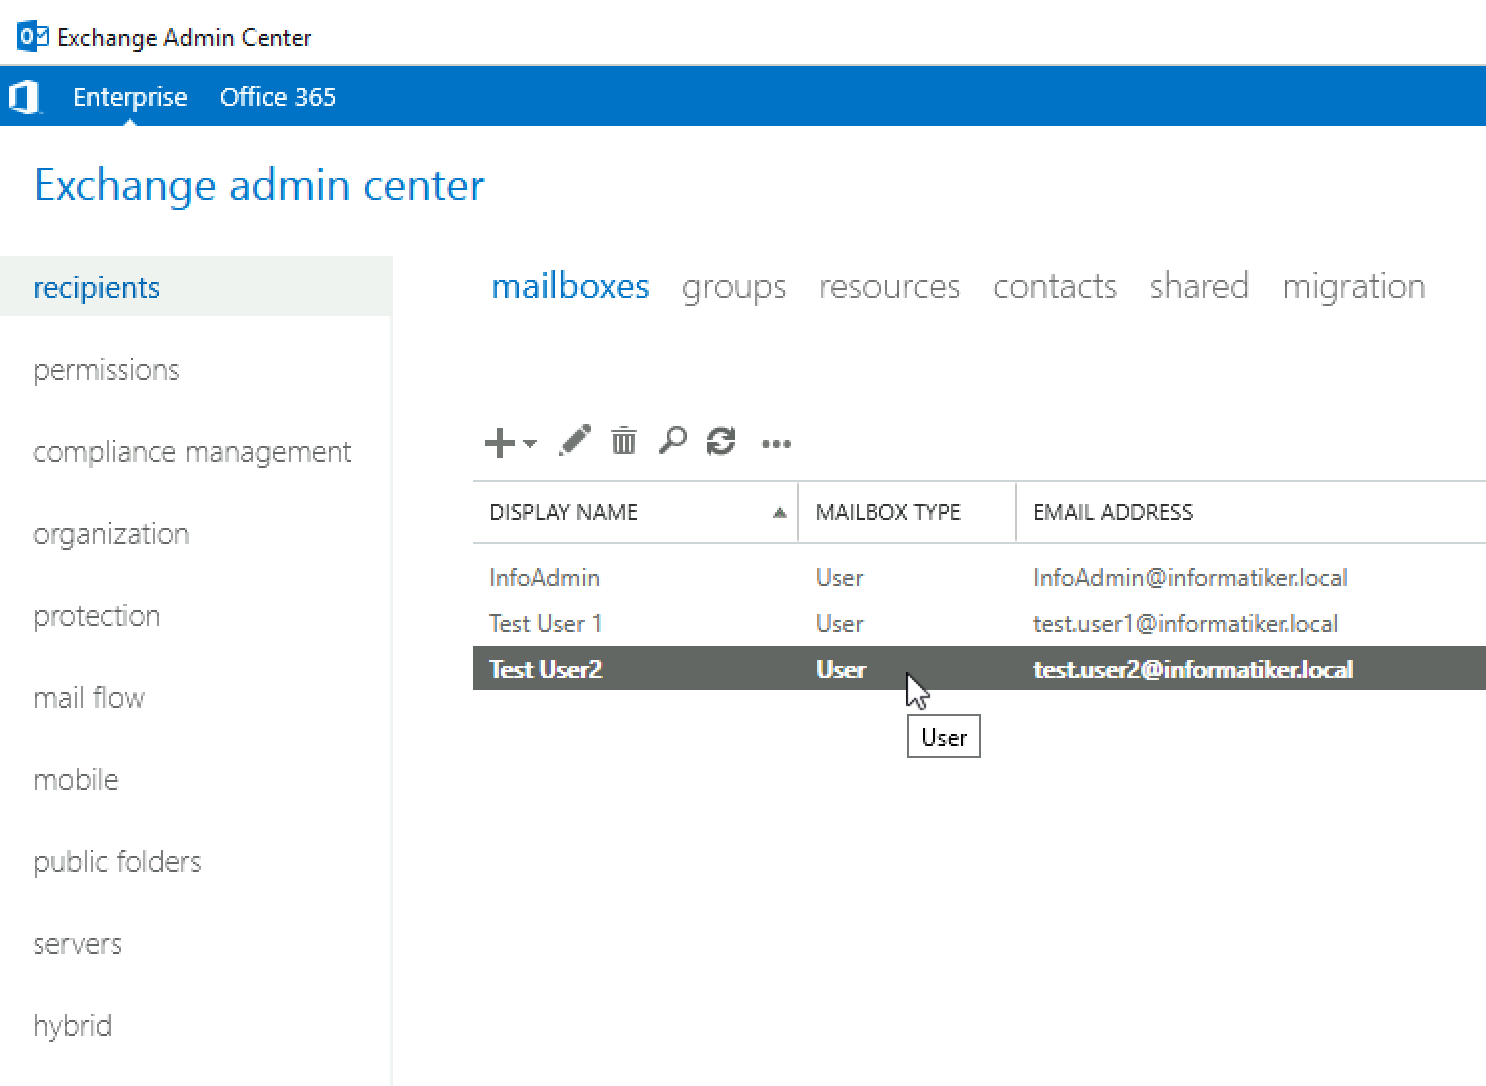
We will delete that user
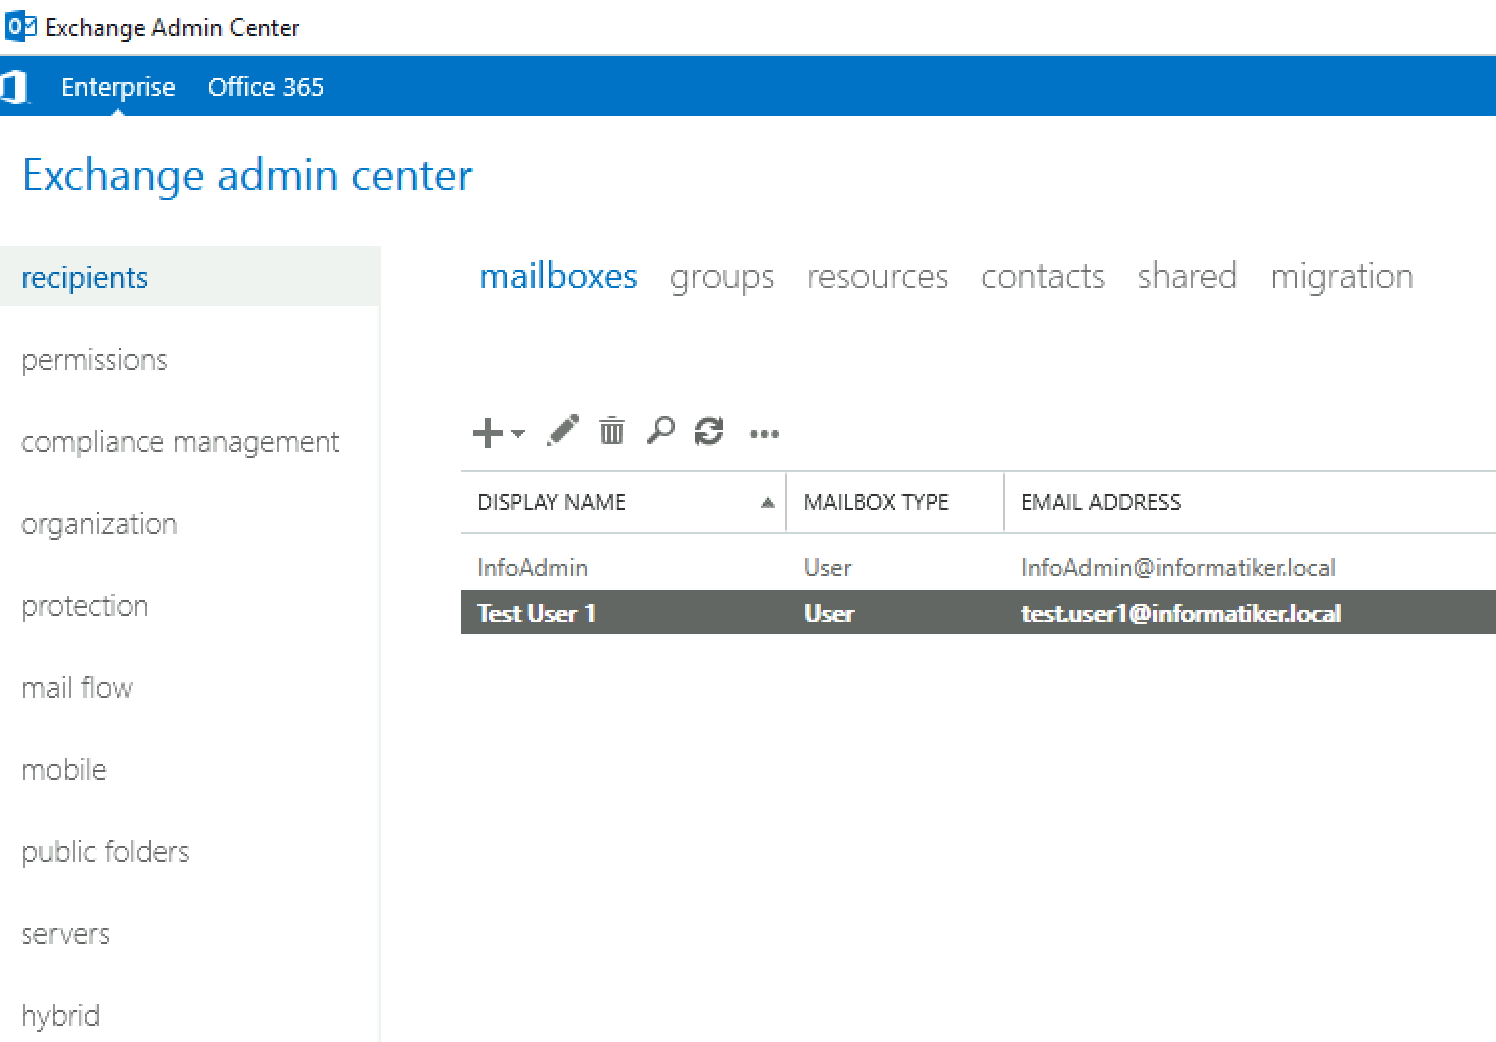
I also created Recovery database named RDB1 on Ex1 Server so I can recover mailbox to it. We need to create new recovery DB in Exchange Powershell on Ex1 Exchange Server
New-MailboxDatabase -Server EX1 -Name RDB1 -Recovery -EdbFilePath E:\ExDB\RDB1.edb -LogFolderPath F:\Logs\RDB1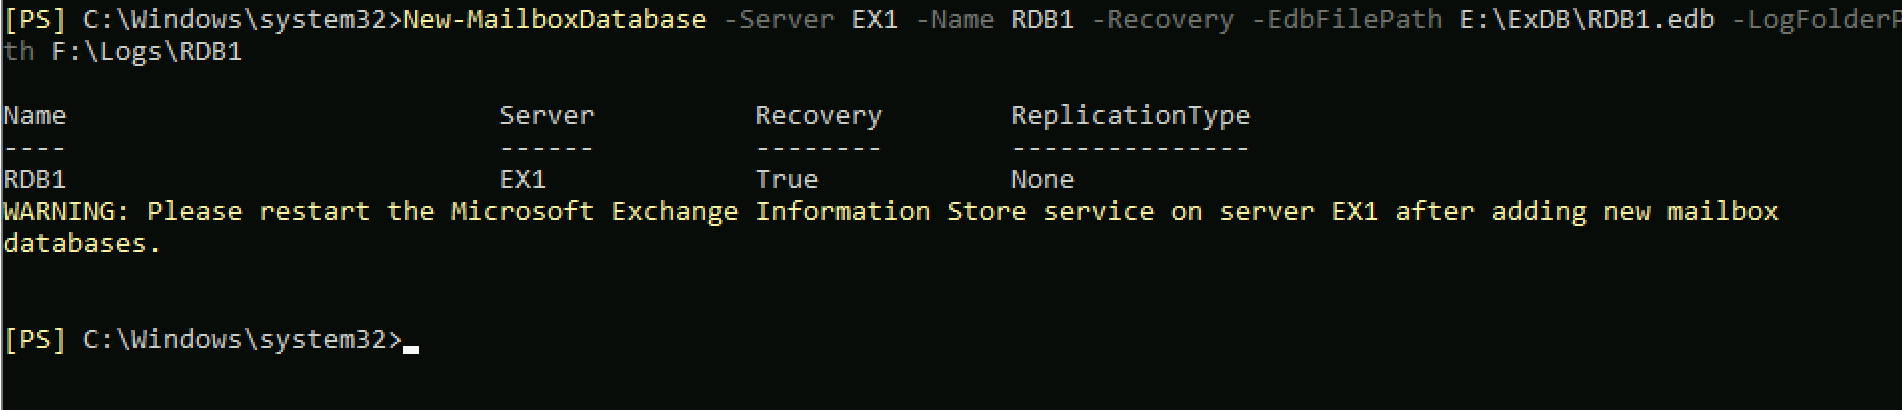
Restart Exchange Information Store Service!
Don’t get confused, you will not see RDB in ECP, you can only manage it through powershell!
Mount the Restore Database
Mount-Database RDB1Last, but not least, we have to set overwrite flag for our RDB database
set-mailboxdatabase RDB1 -AllowFileRestore $true
Ok, lets try and recover the user and see what happens with the content of the mailbox.
There is test.user2 inside our backup – let’s recover it
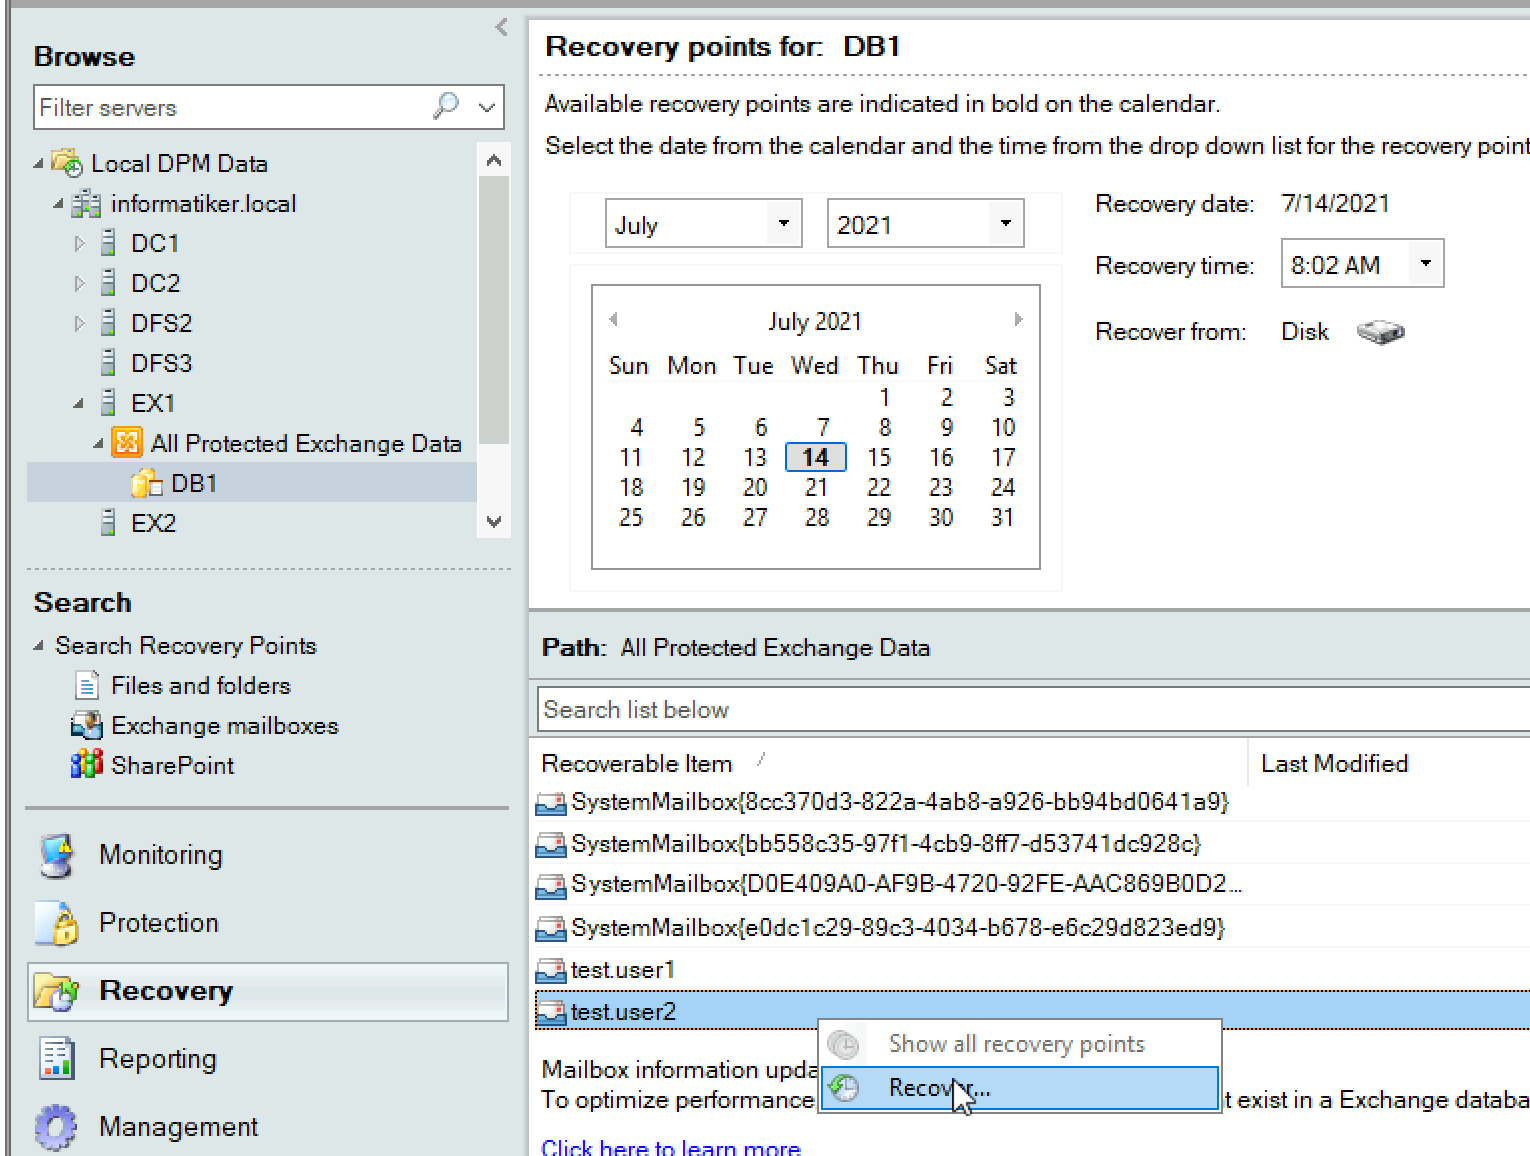
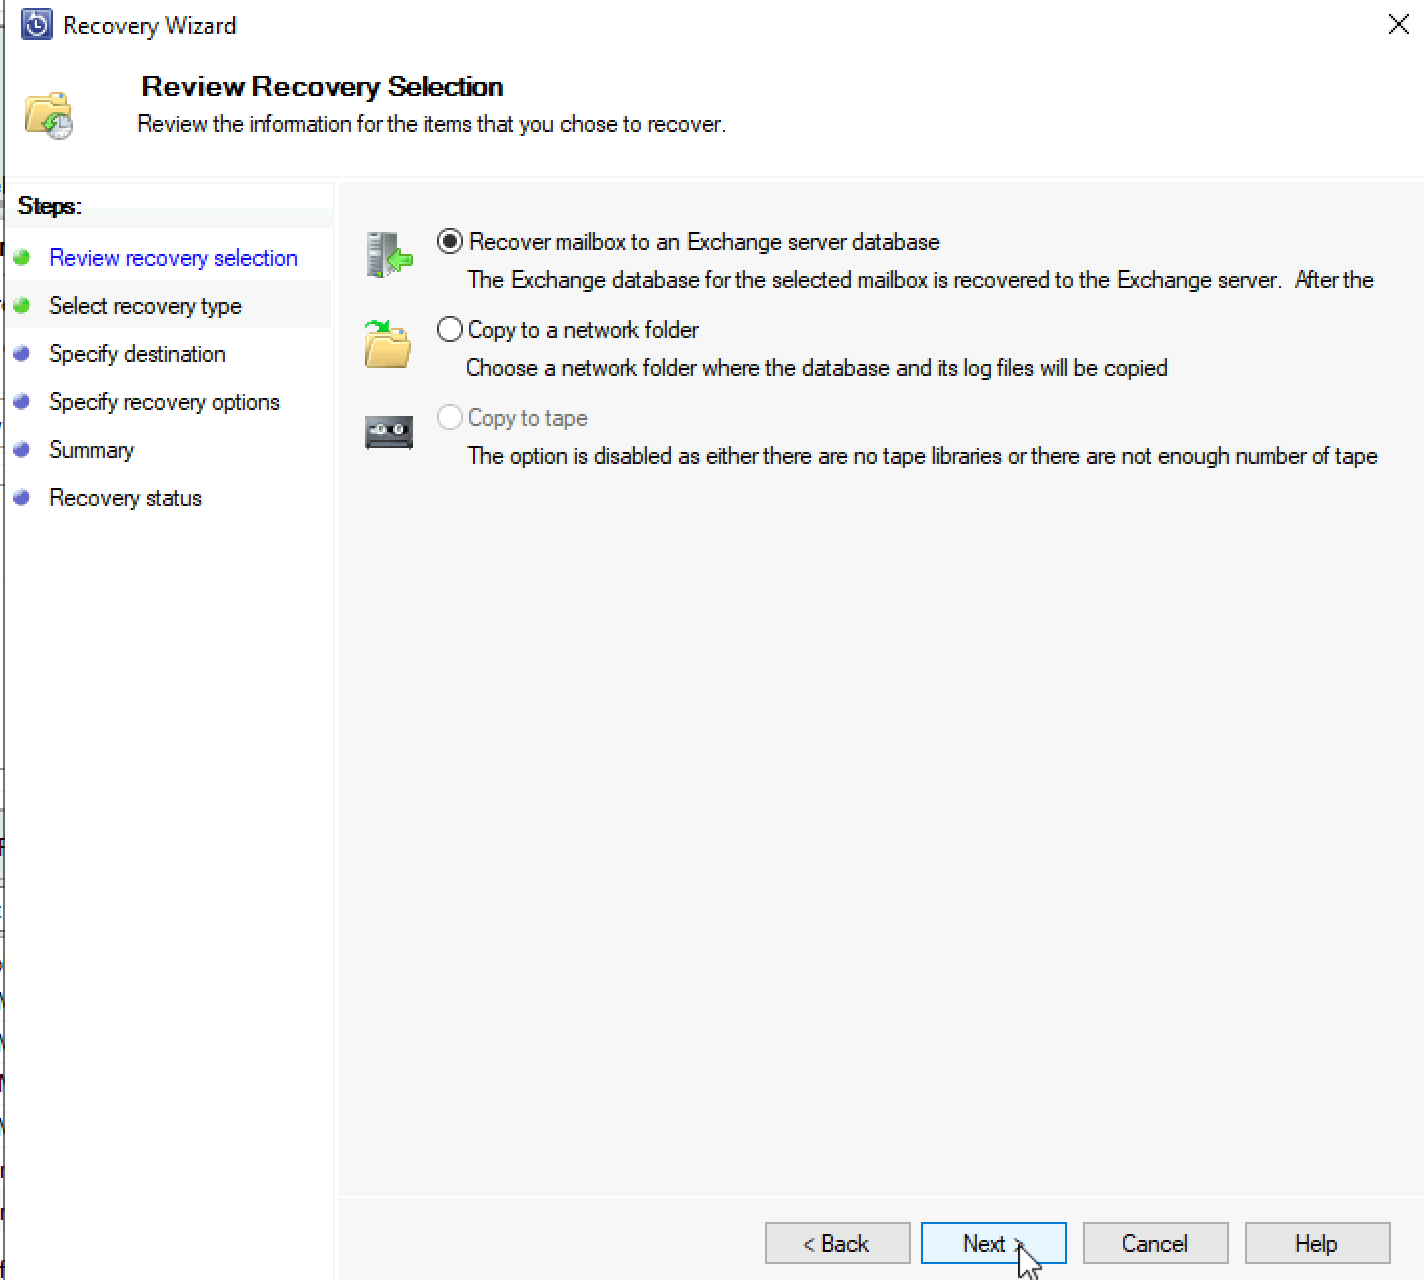
I will recover it to the Exchange server database
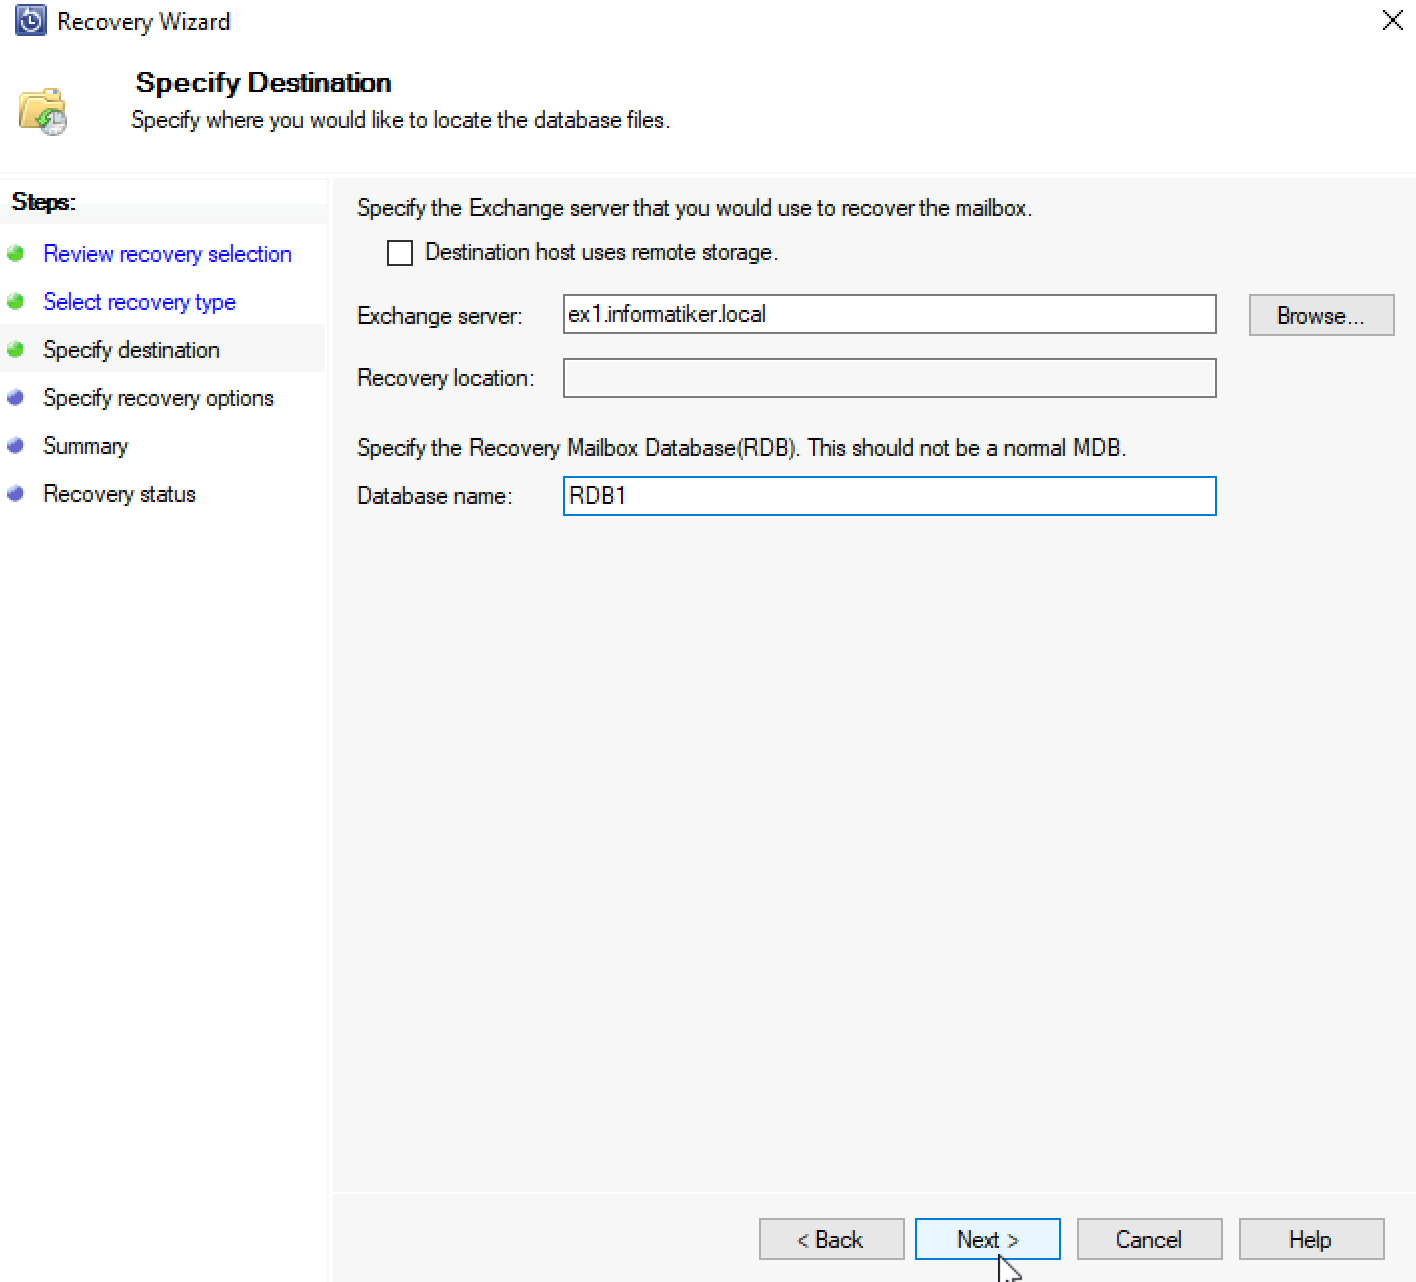
I defined Exchange server Ex1 and recovery database RDB1 I prepared for this. You should not restore to your production/normal DB!
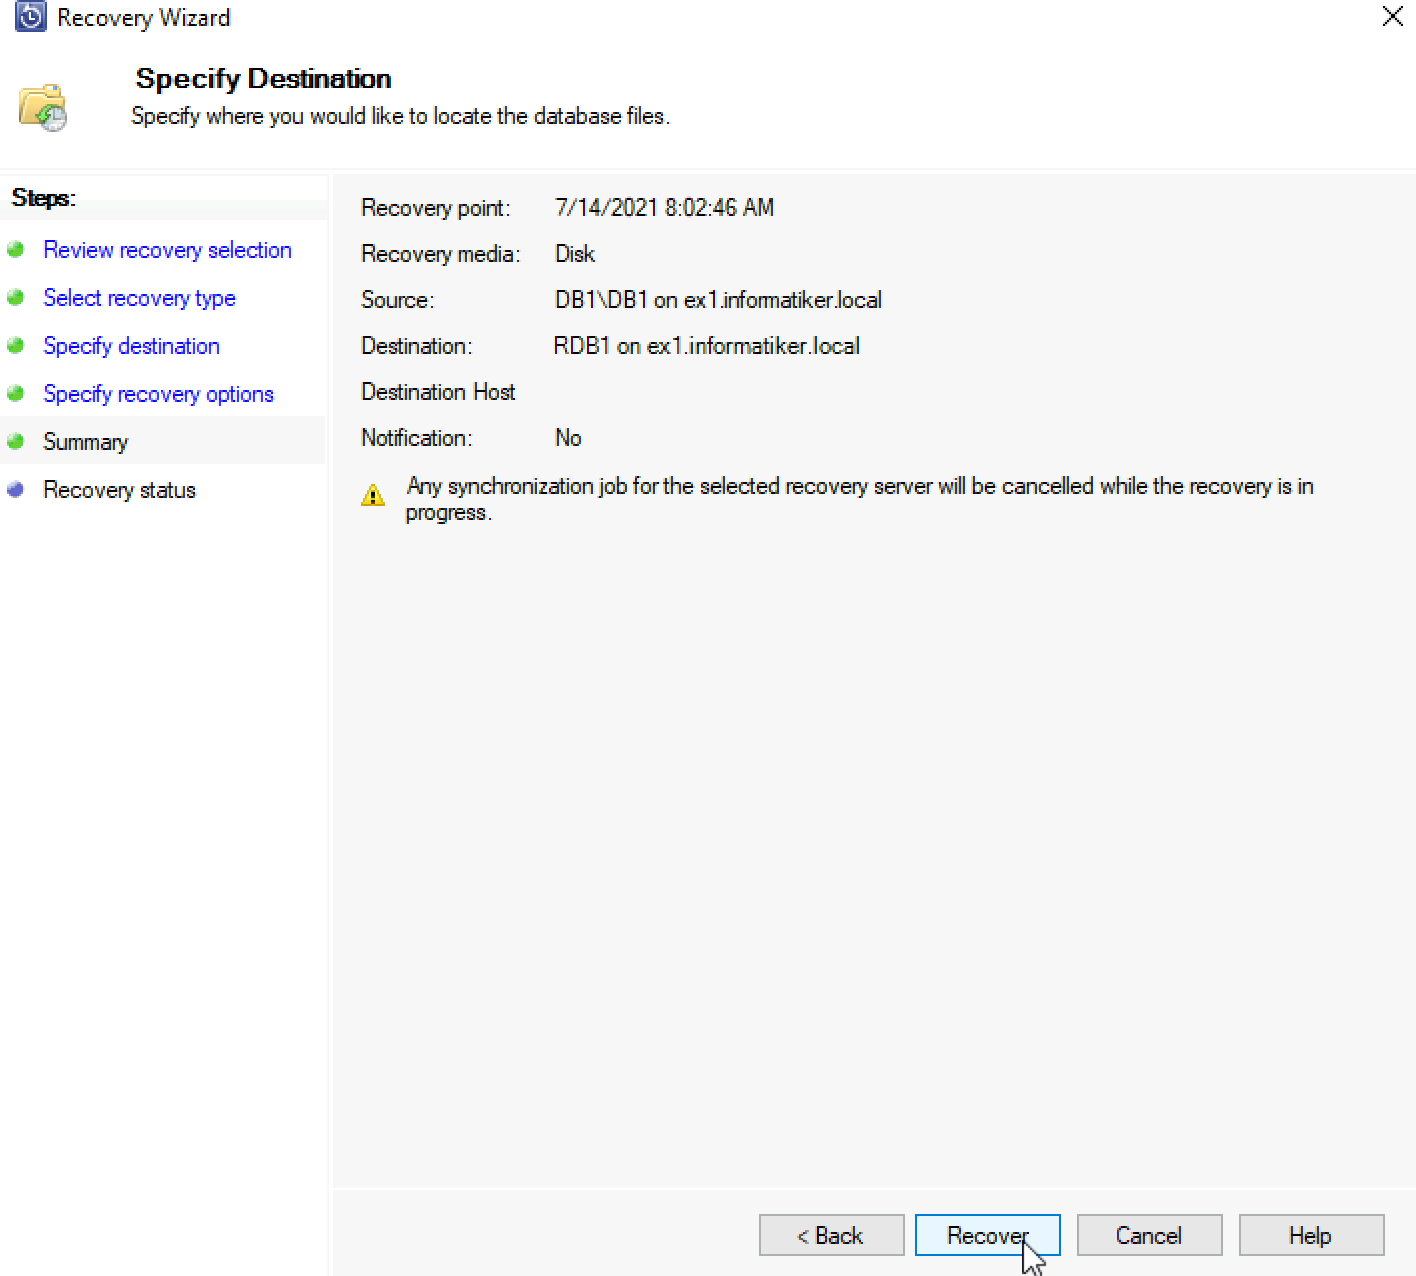
Let’s try and recover the DB
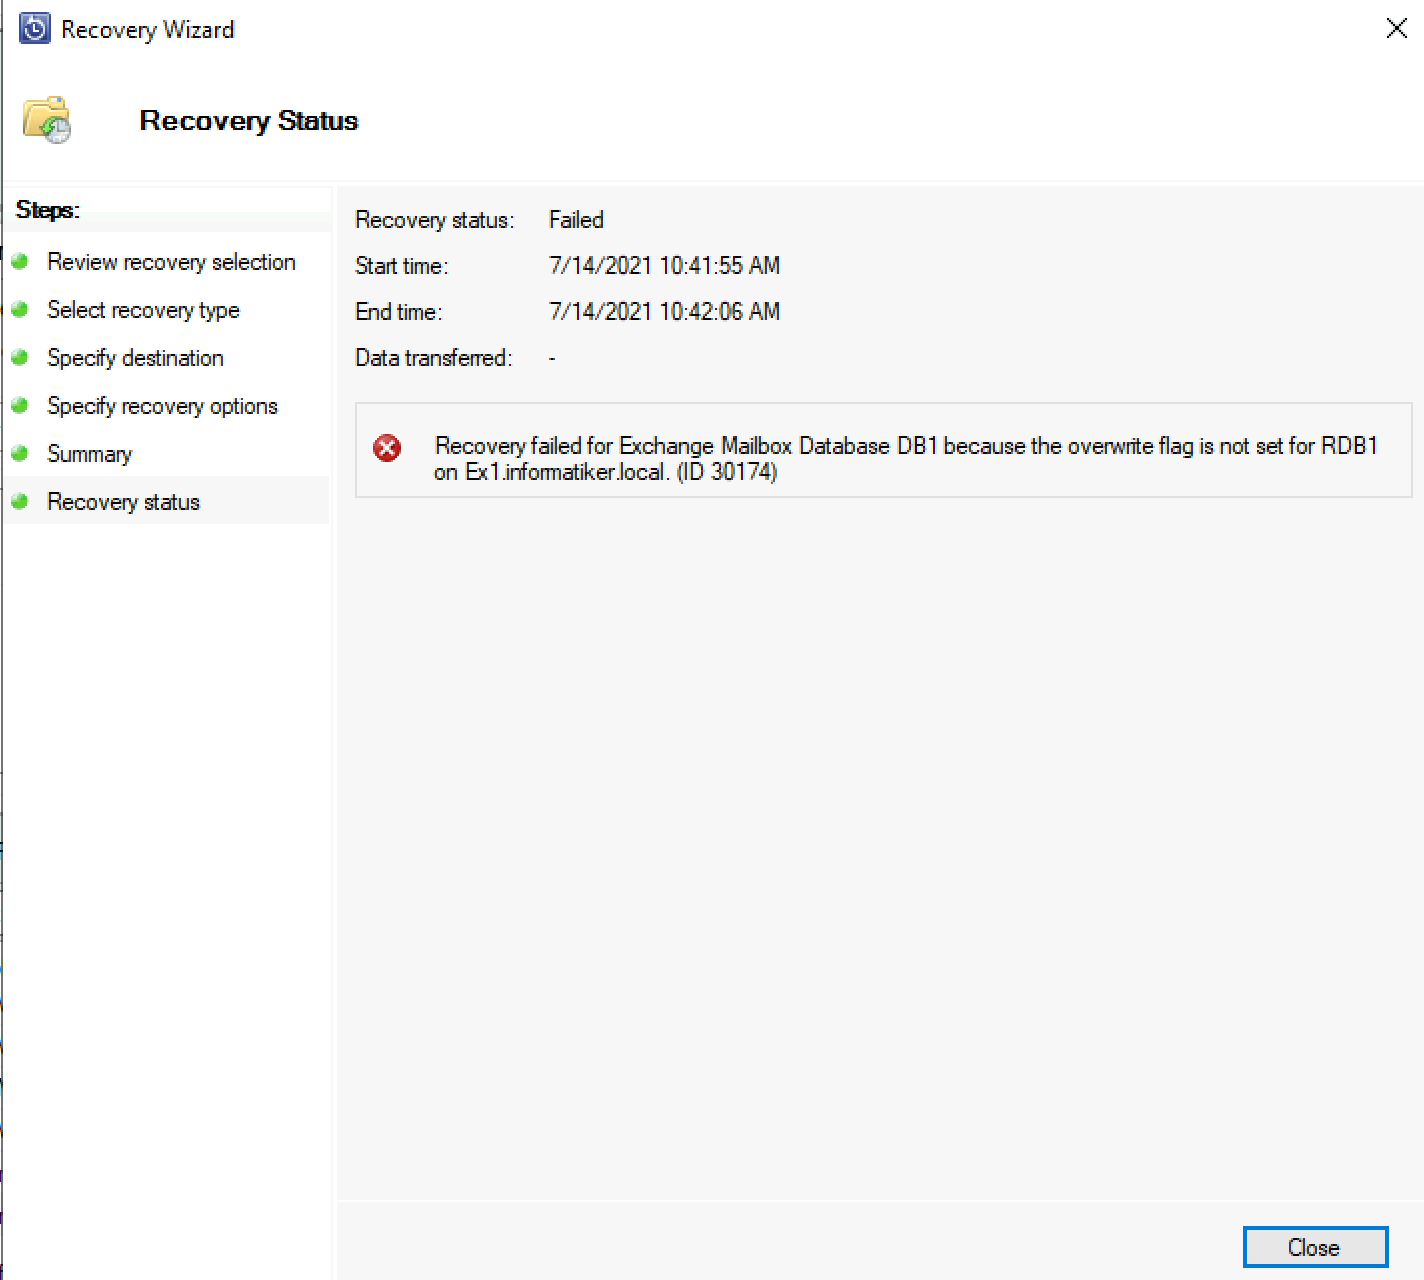
Although we set overwrite flag for the recovery database, I still got error 30174 “Recovery failed for Exchange Mailbox Database because the overwrite flag is not set for …”
I rebooted everything Ex1, Ex2 server and DPM backup server
After that on Ex1 I opened Exchange management shell as admin and run following.
For some reason RDB1 showed AllowFileRestore as False – so I run the command again to make it true.
Get-MailboxDatabase | Select Name, Identity, AllowFileRestore
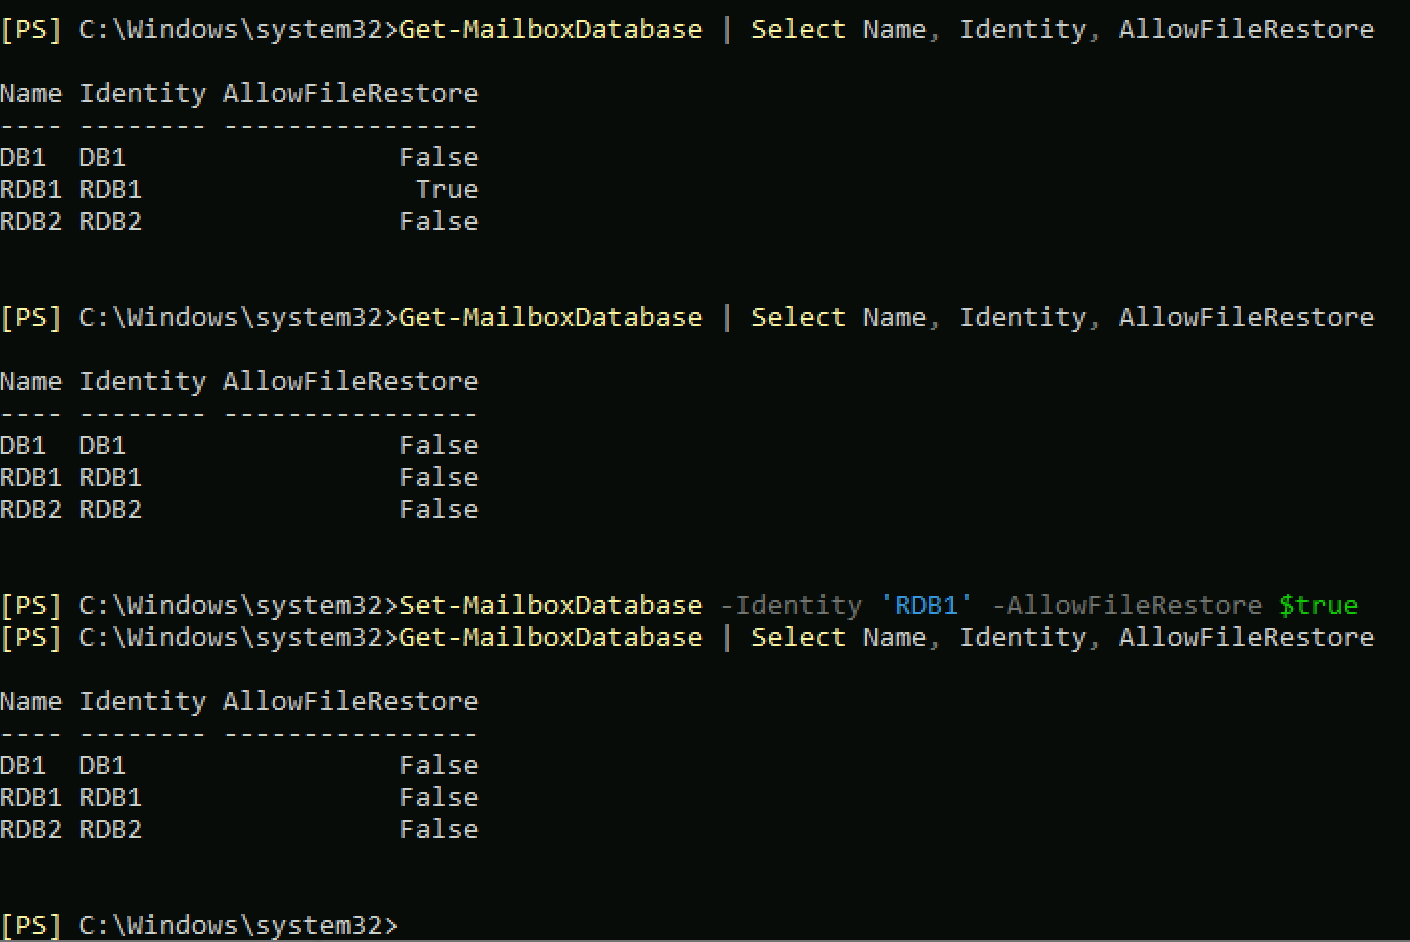
Set-MailboxDatabase -Identity RDB1 -AllowFileRestore $true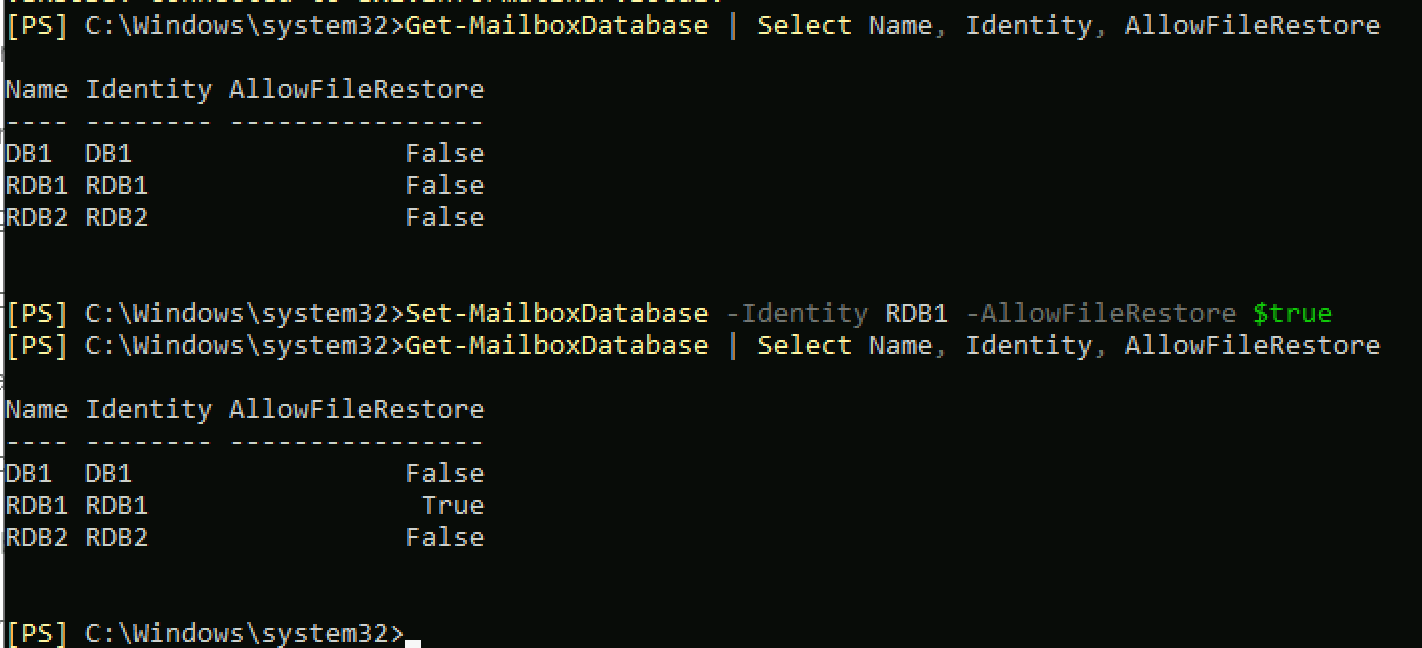
I know I wasn’t going mad – every time I try to restore mailbox and it would fail with error above or event id 2033 it would reset AllowFileRestore flag.
I’ve done this in the past, and I have documented it (for myself) – it worked. I lost 2.5 hours trying to get to the bottom of this, but no luck.
So, for now – I guess we are failing to restore an item to Exchange.
Conclusion
Considering this is Microsoft product made to safeguard other Microsoft products, it has too many issues. I wrote about DPM already on this blog, first time sometimes in 2014 – I’m using it for a long time (not as a main product anywhere) and I cannot still believe how many issues I have with it every time I use it.
Anyway, once you got it to work, it works well, but getting it to work sometimes can be long and painful road.
In the end, I have to say I like the reliability of the product once you get through all the issues with setup and config.