We went through Nakivo backup solution, and I will also make short series on DPM 2019. We will start with installation, since it has many prerequisites and can be challenging.
Before we begin
This procedure can be automated, but assuming you are doing this first time, it won’t be bad to do it manually, just to familiarize yourself with the process and components that are needed.
In case you need more details, here are the resources
https://docs.microsoft.com/en-us/system-center/dpm/prepare-environment-for-dpm?view=sc-dpm-2019
https://docs.microsoft.com/en-us/system-center/dpm/install-dpm?view=sc-dpm-2019
Prerequisites
I will install DPM 2019 on a Hyper-V inside VM and this DPM guide will be about backing up Hyper-V VMs.
DPM will be installed in a domain (informatiker.local) on Windows Server 2019 DTCNTR.
I will name VM on which DPM will be installed – Backup2
DPM 2019
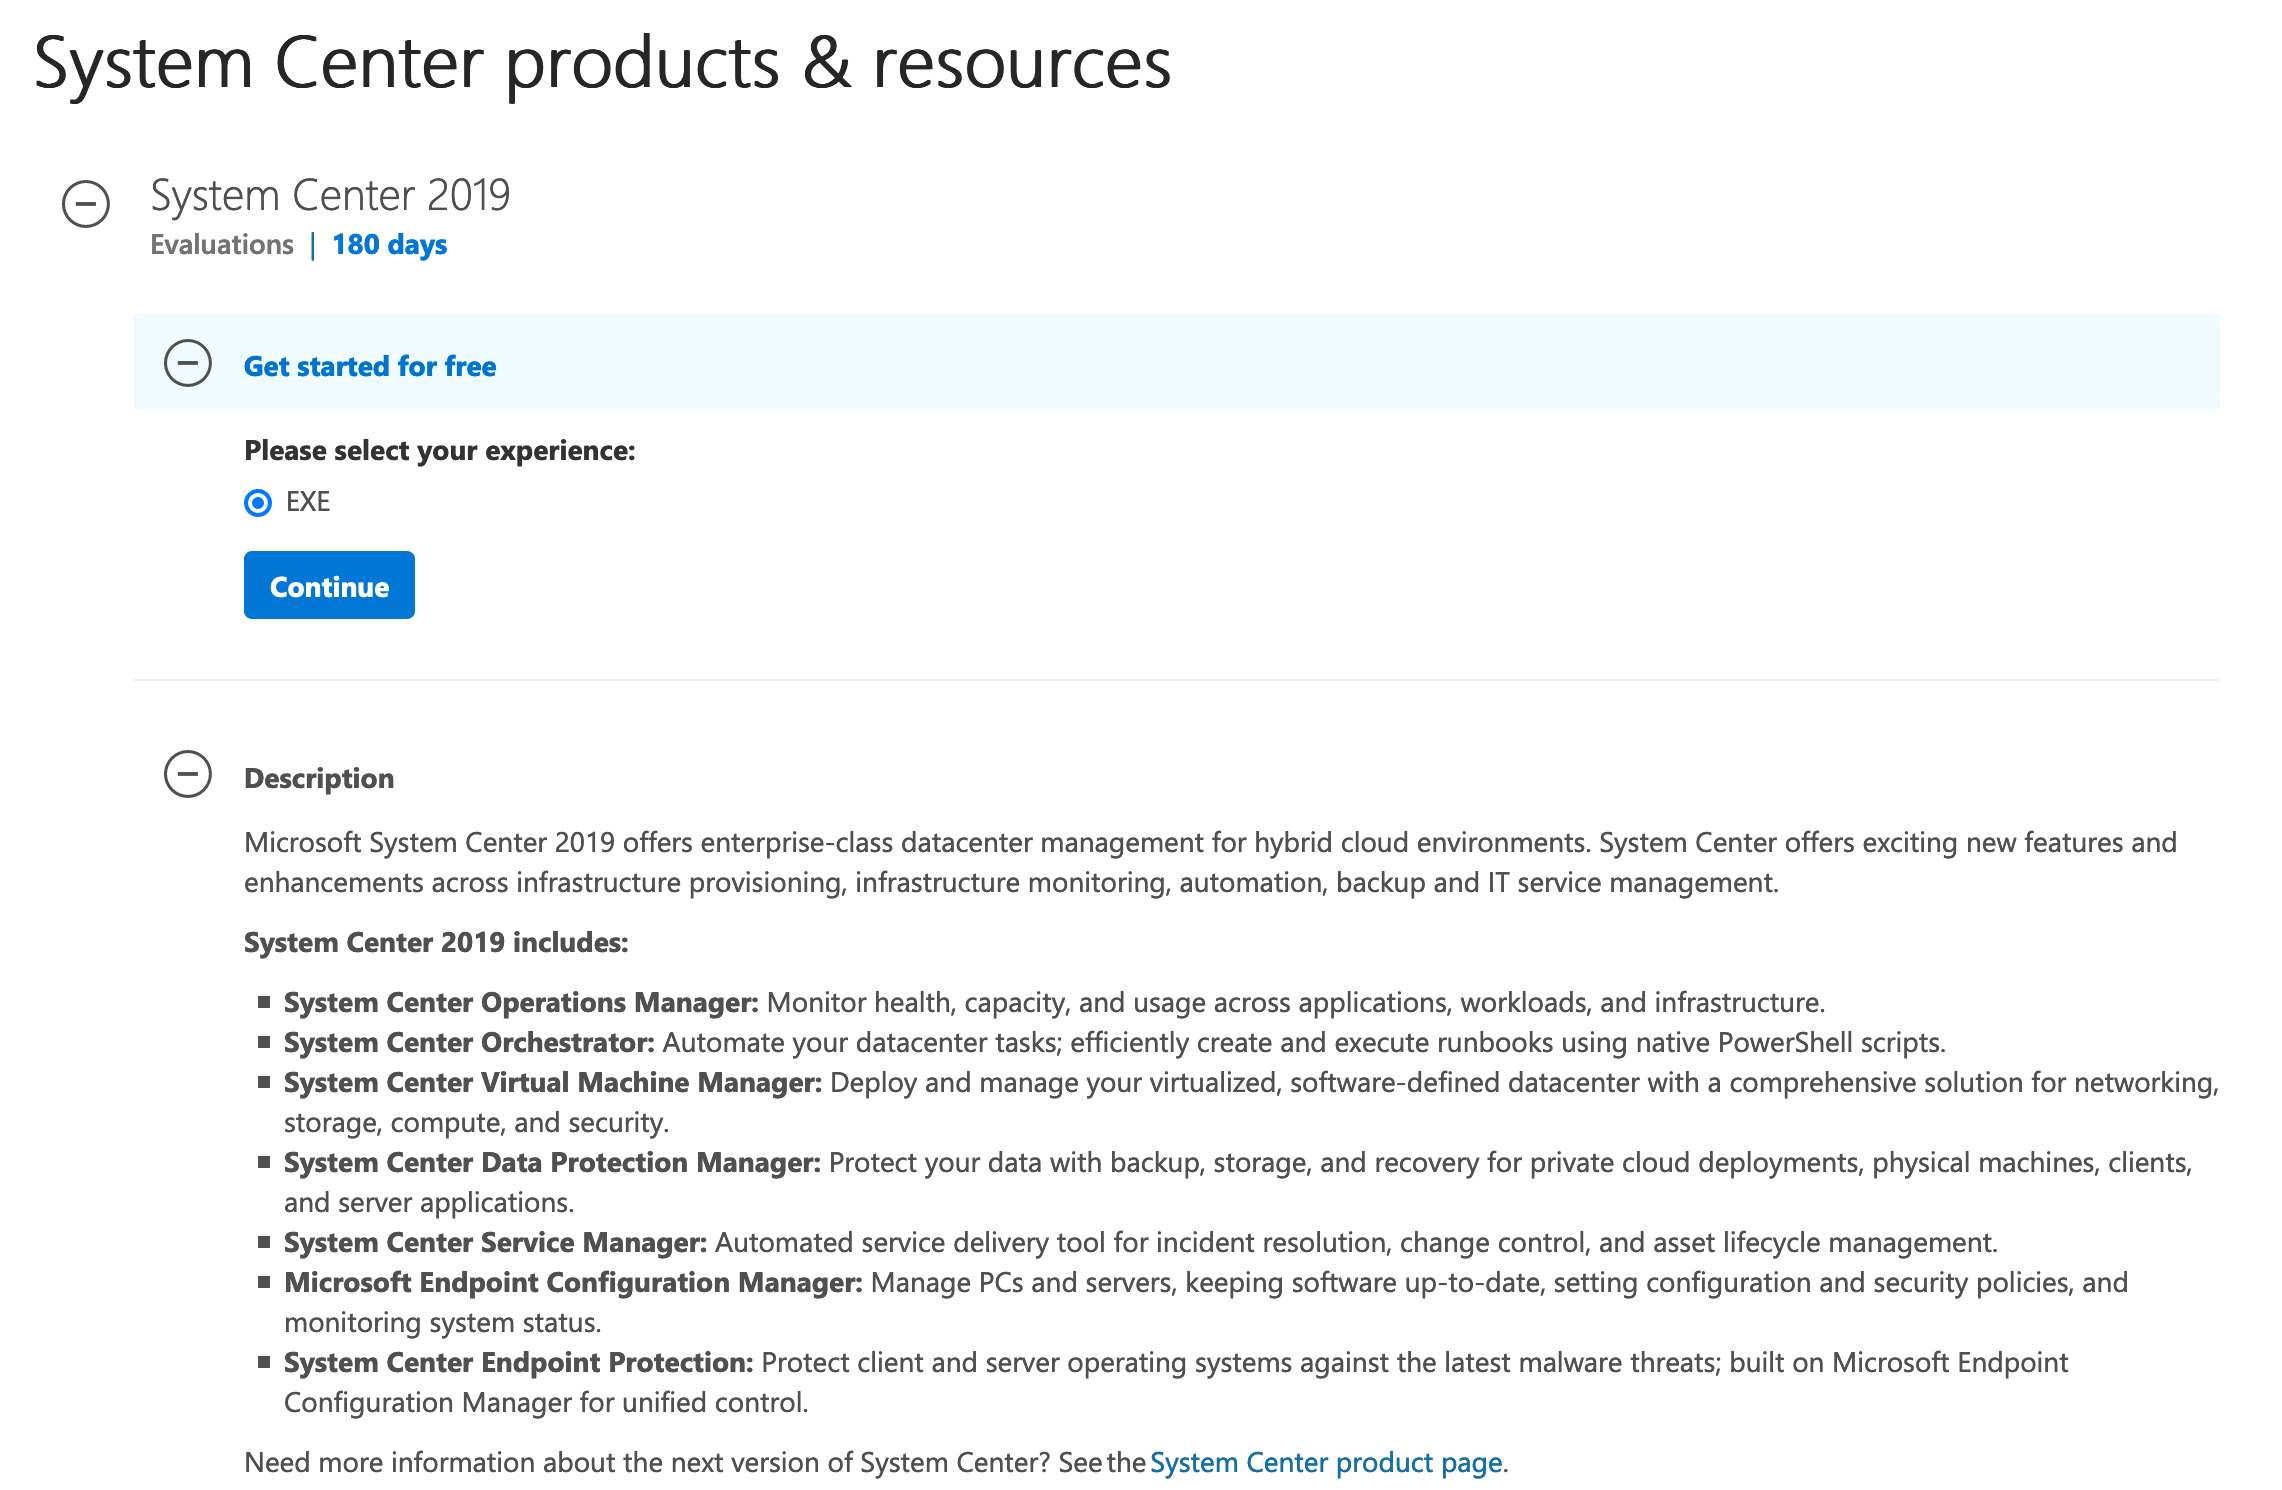
System Center 2019 can be downloaded from here – https://www.microsoft.com/en-us/evalcenter/evaluate-system-center-2019
In case you are not familiar, System Center is a family of products, and for this guide we need Data Protection Manager.
SQL
Other than that, you will also need SQL installation. We will be installing SQL on DPM itself. I planned to use my existing SQL installation inside lab, which has Always ON configuration, but that is not supported.
I will be using dpm admin account as sysadmin account for SGL.
SQL
I have a license for SQL 2017 so I will be using that – you can download SQL from here – https://www.microsoft.com/en-us/evalcenter/evaluate-sql-server-2017-rtm
Using SQL 2019 should also be fine.
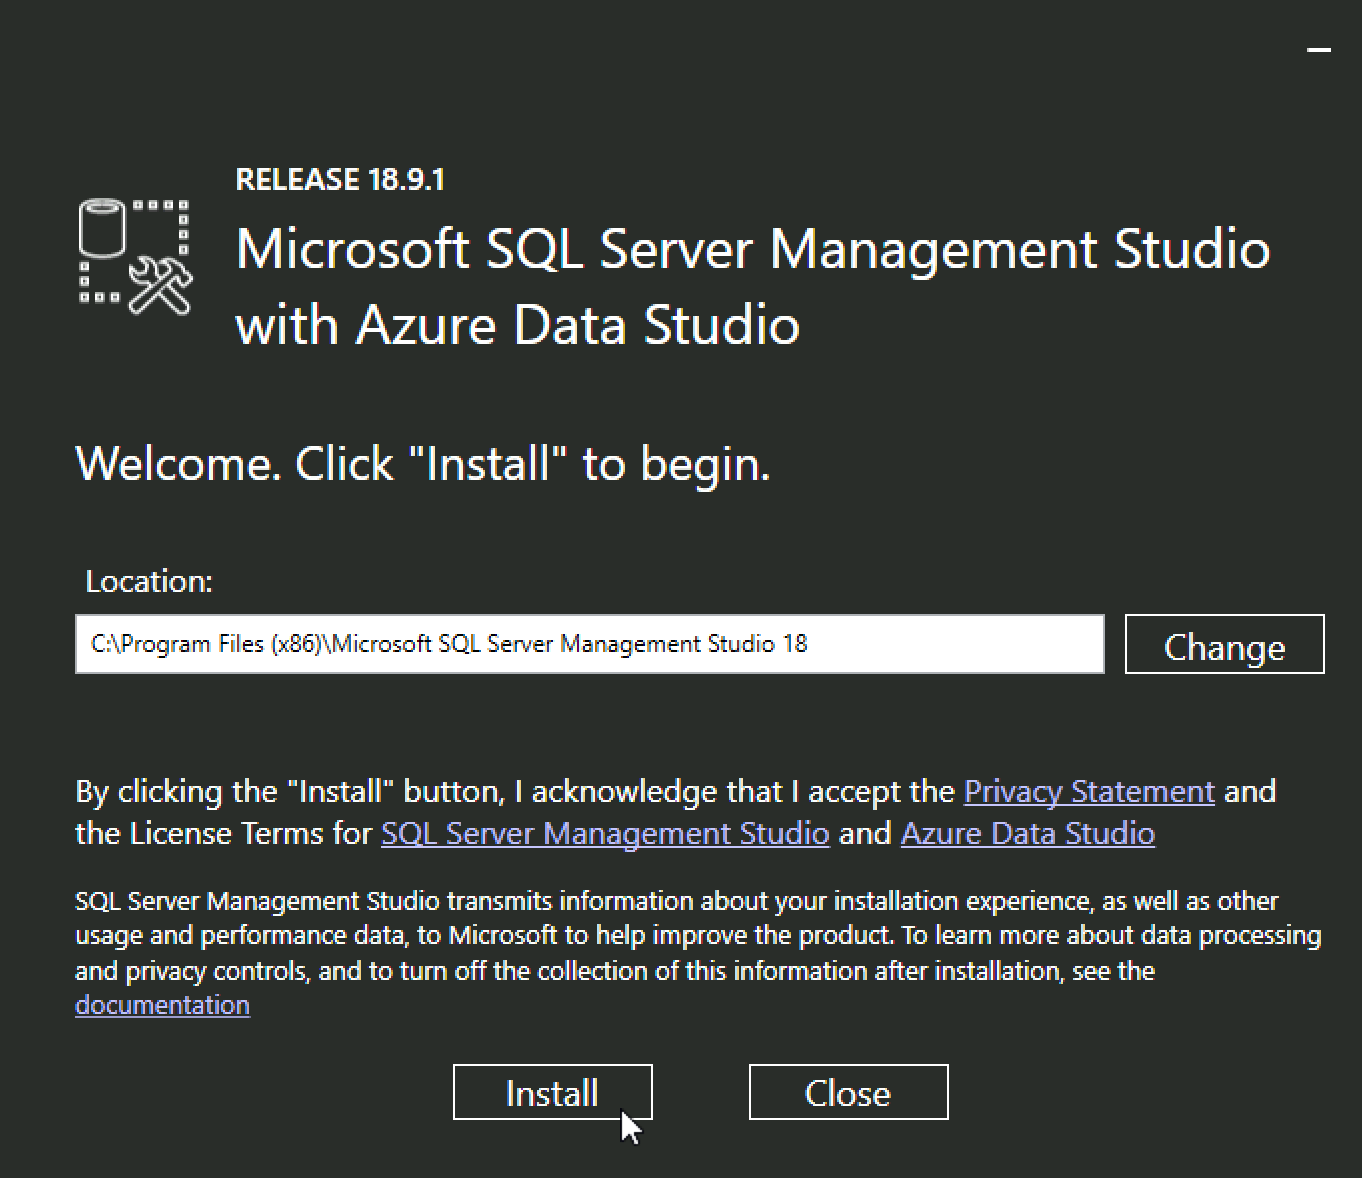
SSMS
Besides SQL we will also be needing SQL SSMS (18.9.1 is actual version at the time of writing this)
SQL Reporting Services
In the end, we will need to download SQL Server 2017 Reporting Services
https://www.microsoft.com/en-us/download/details.aspx?id=55252
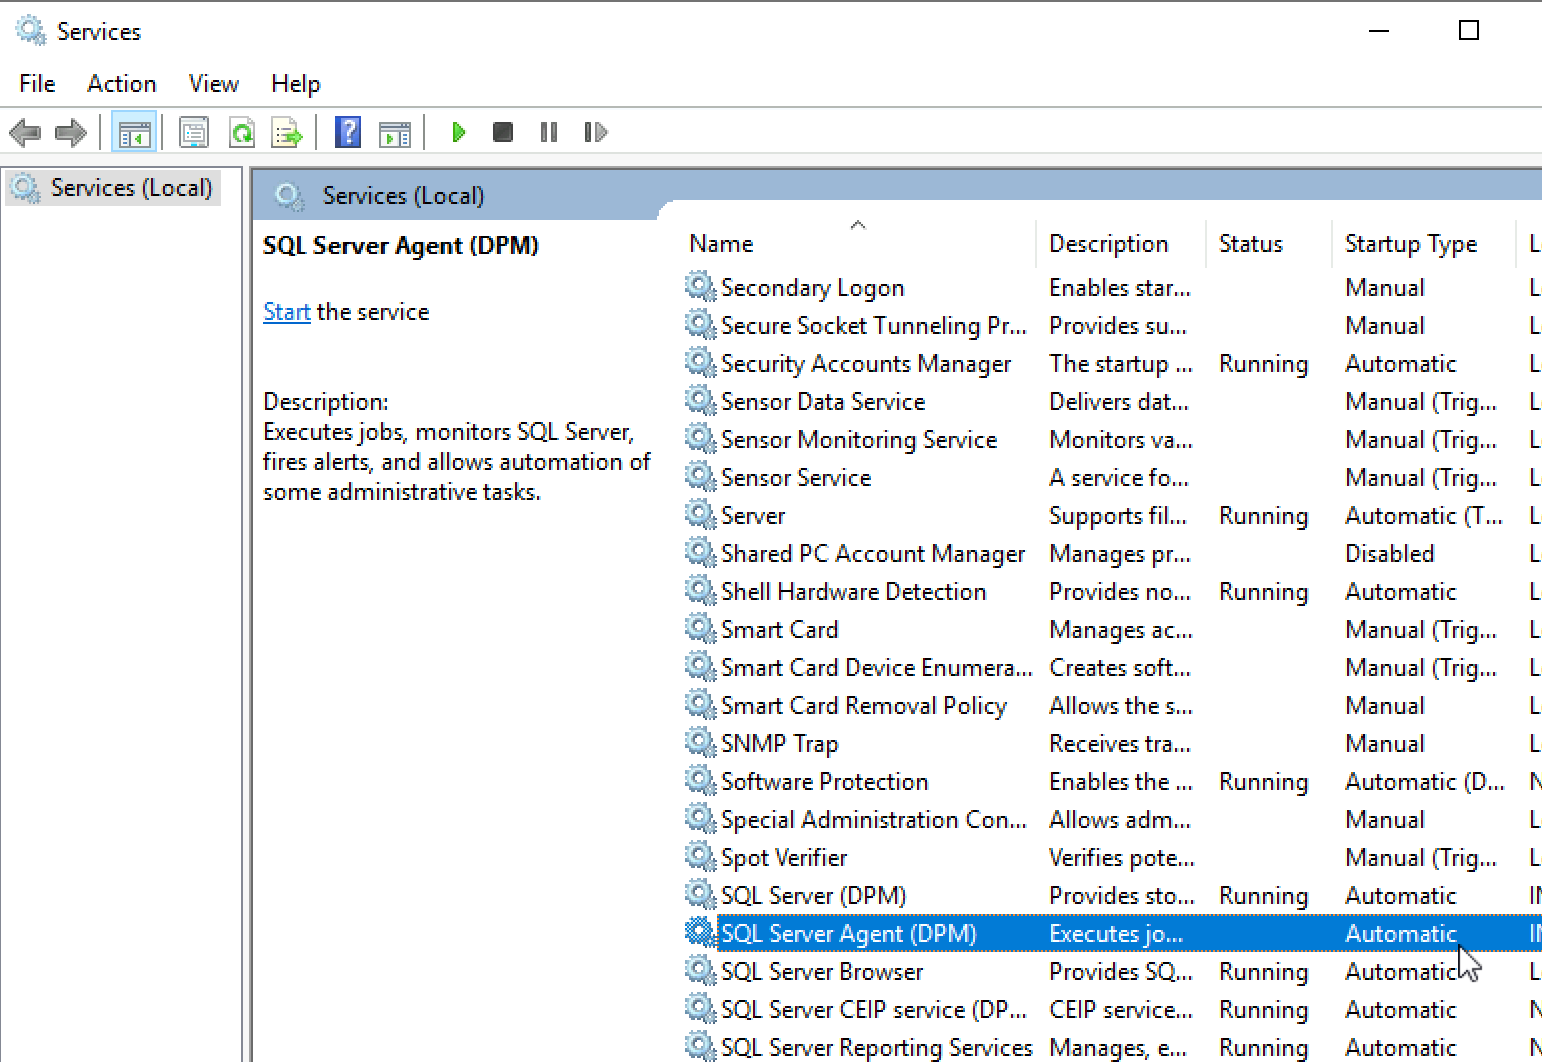
After you install SQL go to Control Panel | Administrative Tools | Services and set SQL Server Agent service to Automatic start (if you don’t do this, DPM installer can do that instead).
For separate SQL VM only:
If you have separate SQL installation on another VM make sure that Inbound ports TCP 1433, 80, 443 and UDP 1434 are opened.
User Accounts
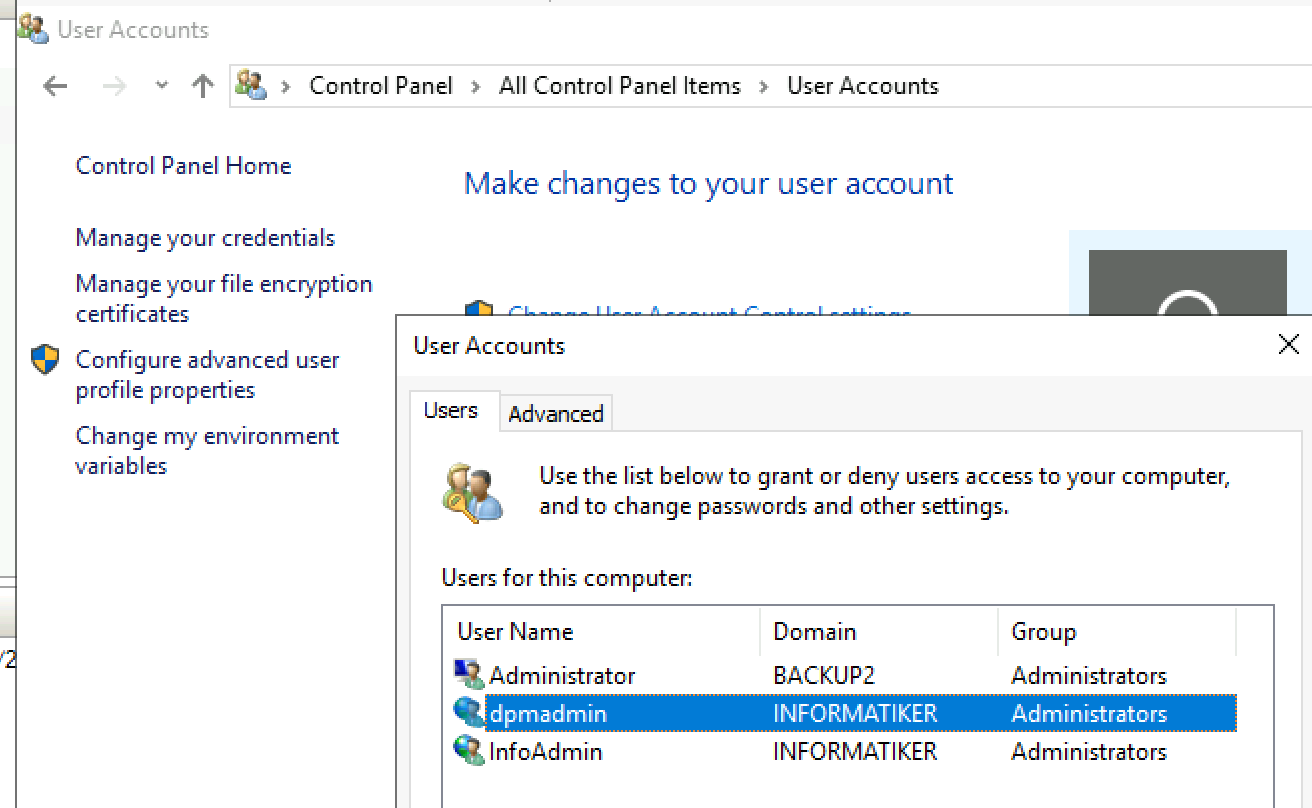
I will use same user – dpmadmin for Windows logon, sql logon and DPM logon. Not the best security practice, but that account is only user on domain, and is only used on that one machine which server DPM.
In domain I created separate OU named DPM, inside there are three accounts
dpm admin – Administrator for DPM VM and DPM itself
DPMSQL Agent – account for SQL Agent installation
DPMsql DBEngine – account for SQL Database engine

dpm admin is also local admin inside Windows Server 2019 we will be installing on
System
RAM and CPU config depends on what and how much you plan to do with DPM. Same goes for the disk configuration.
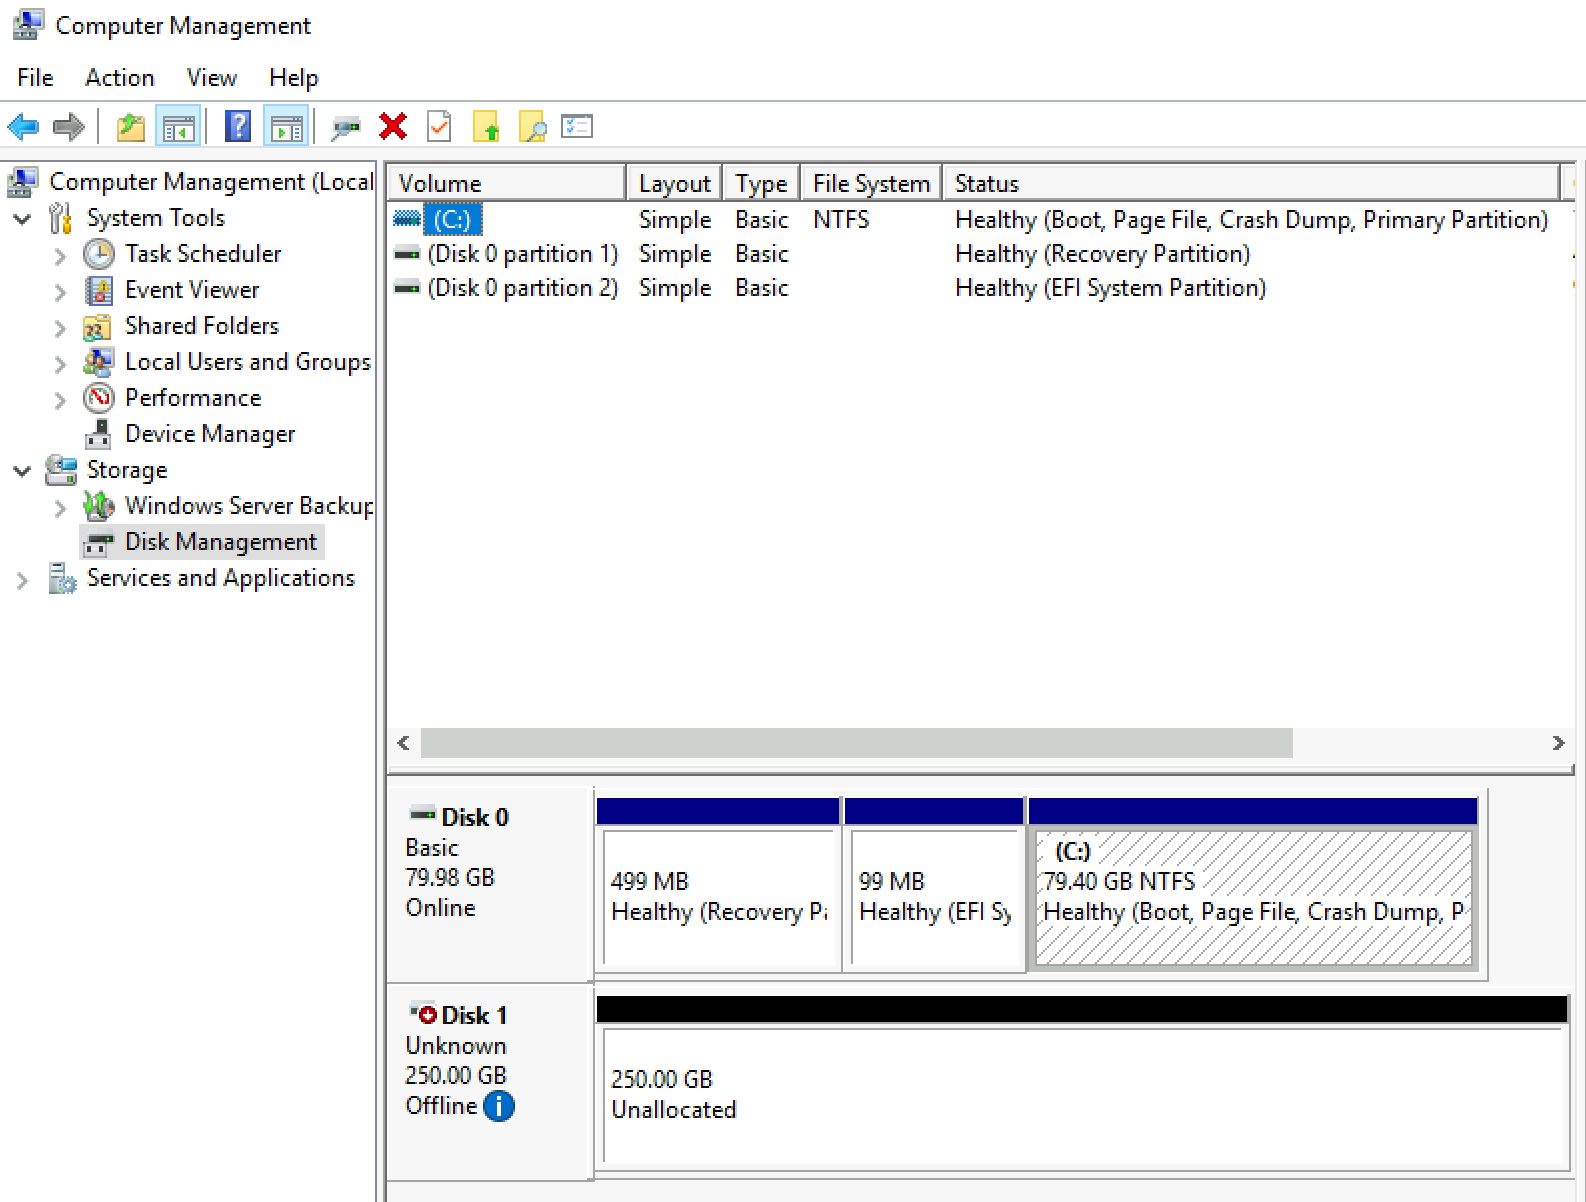
In this setup I have additional local disk of 250GB in size – not initialized and not formatted.
Again, you need to have backup and DR plan, know how heavy are your workloads, how often you want to backup and for how long do you have to keep the backups. Then you can calculate your bandwidth, disk size and VM specs needs.
Windows Roles/Features
Inside Roles and Feature we need to install Hyper-V Powershell which is located in Features section under Remote Server Administration Tools | Role Administration Tools | Hyper-V Management Tools | Select both Hyper-V Management Tools and Module for Windows Powershell
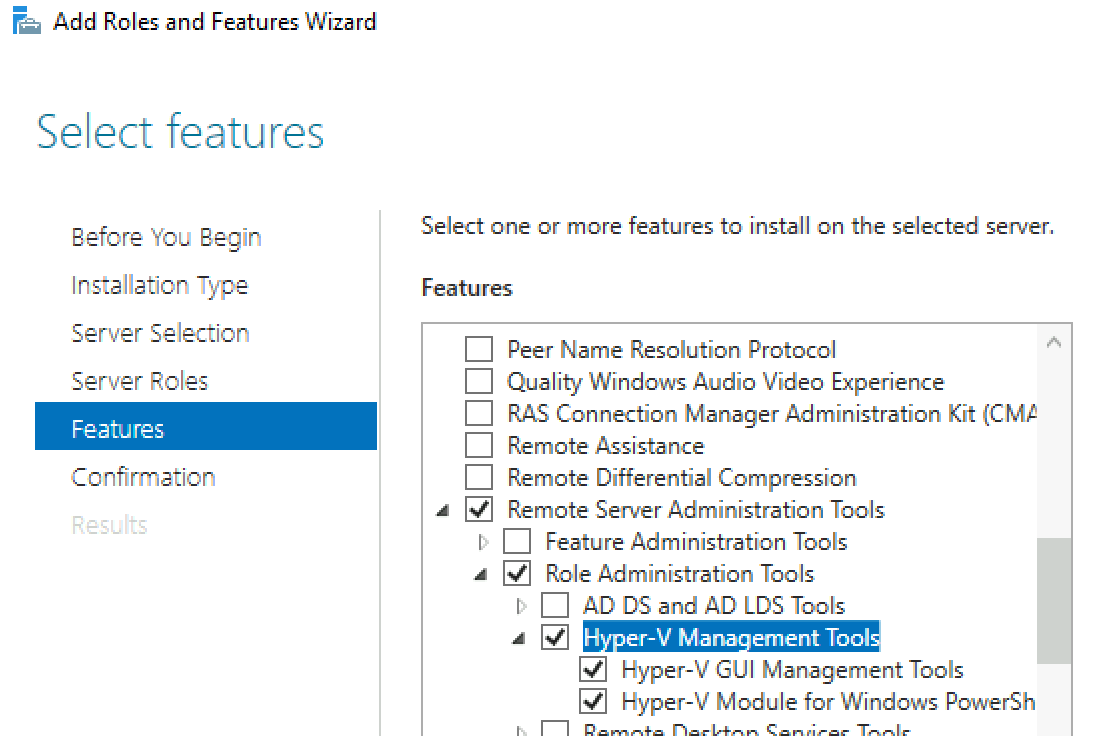
For some reason this may not work, so in order to install Hyper-V Powershell module you can also run command in – Powershell (as Admin)
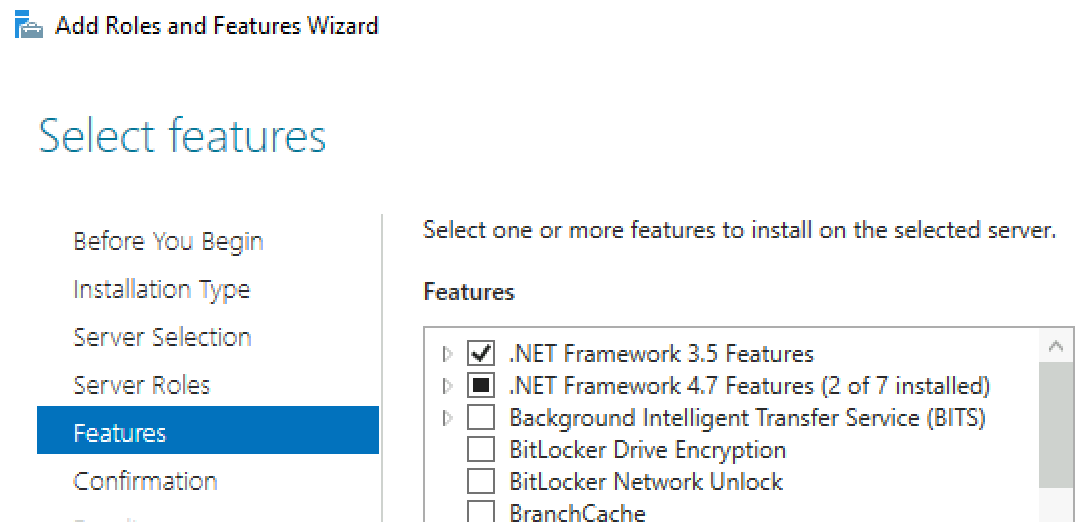
Enable-WindowsOptionalFeature -Online -FeatureName Microsoft-Hyper-V-Management-PowerShellI would also recommend having both .NET 3.5 and .NET 4 installed
SQL installation
SQL is main prerequisite for this one, so we will go through whole installation process. I wasn’t able to use my Always ON SQL install because it is not supported. I will bring up new SQL install locally on DPM VM.
This guide for SQL will also deviate from my standard SQL installs. ( I will skip some screens that are irrelevant)
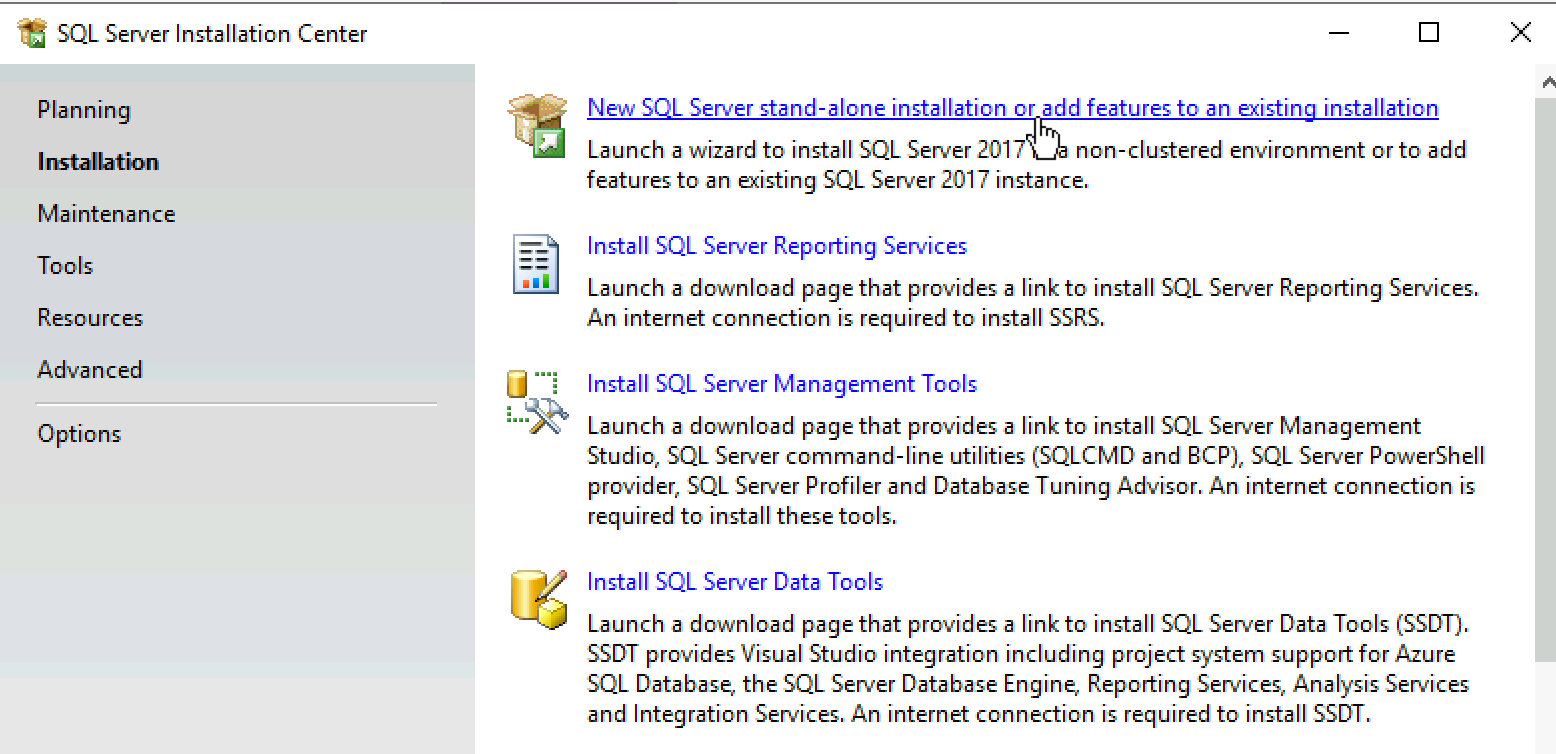
Start SQL setup by clicking on Run as Administrator
New SQL Server stand-alone installation
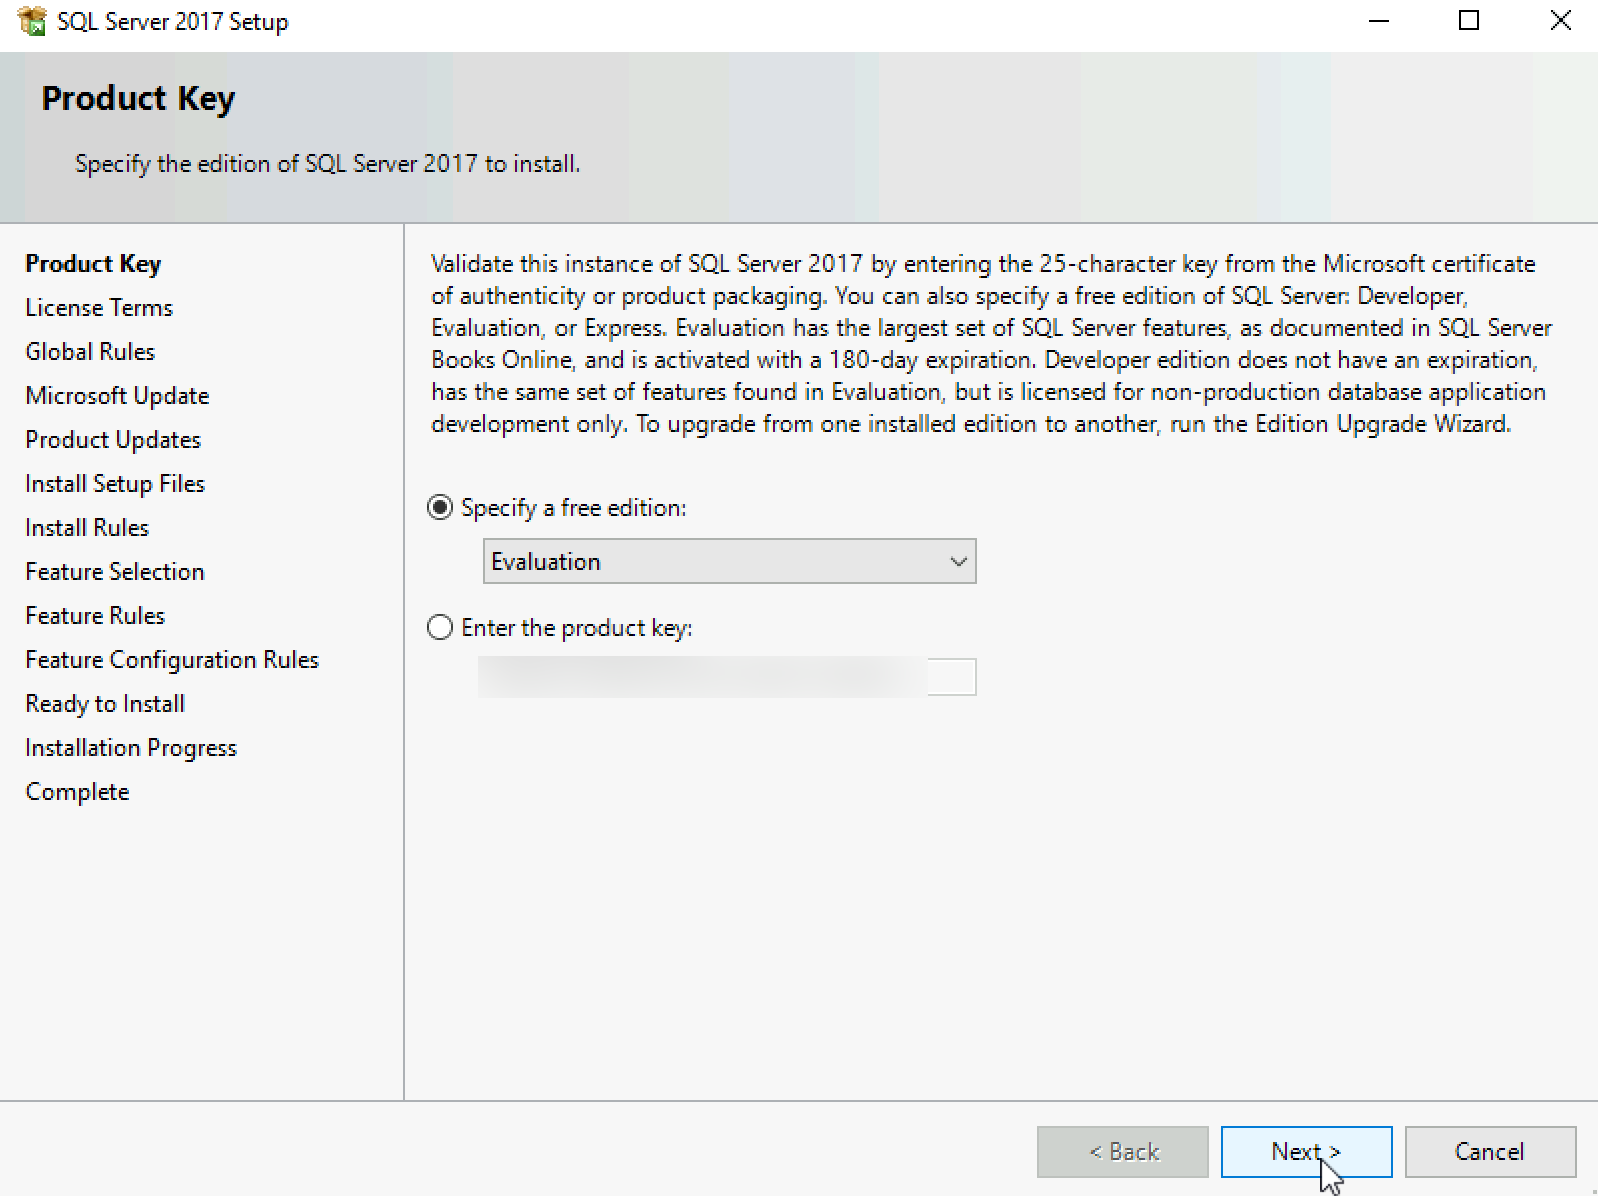
For this LAB I will select Evaluation version | Next
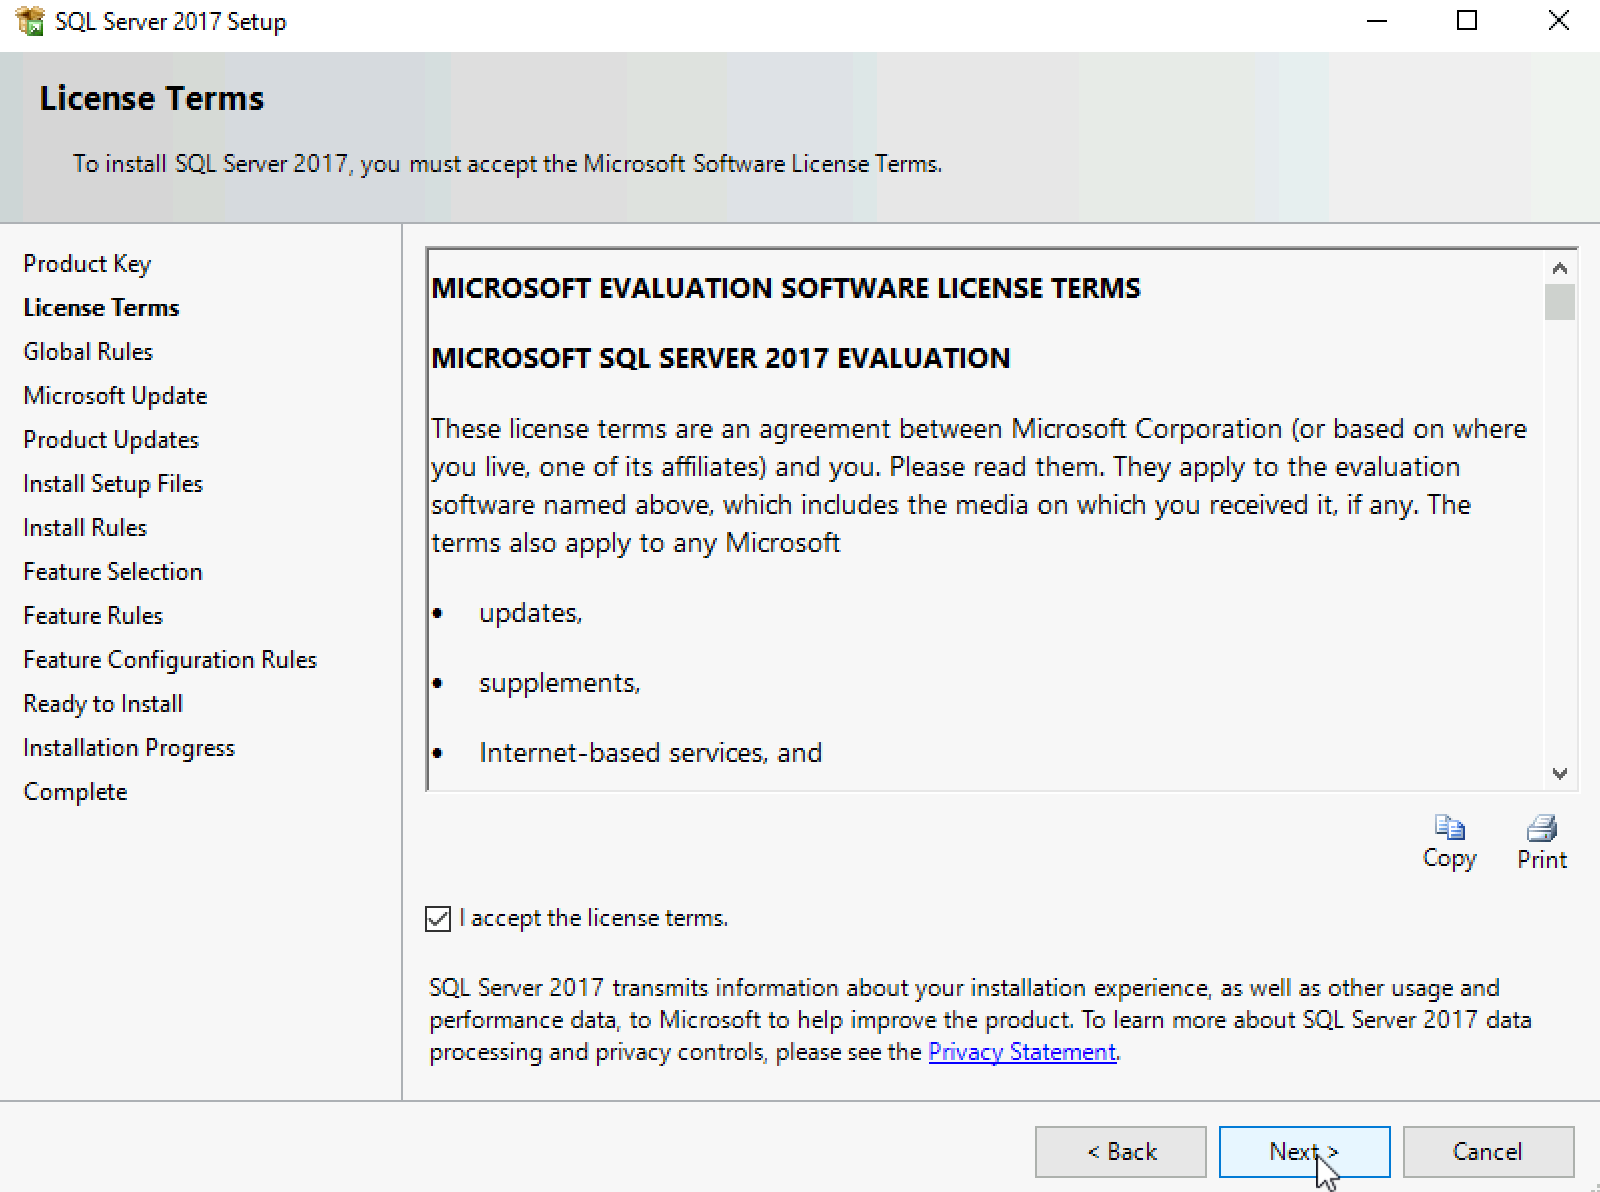
I accept | Next
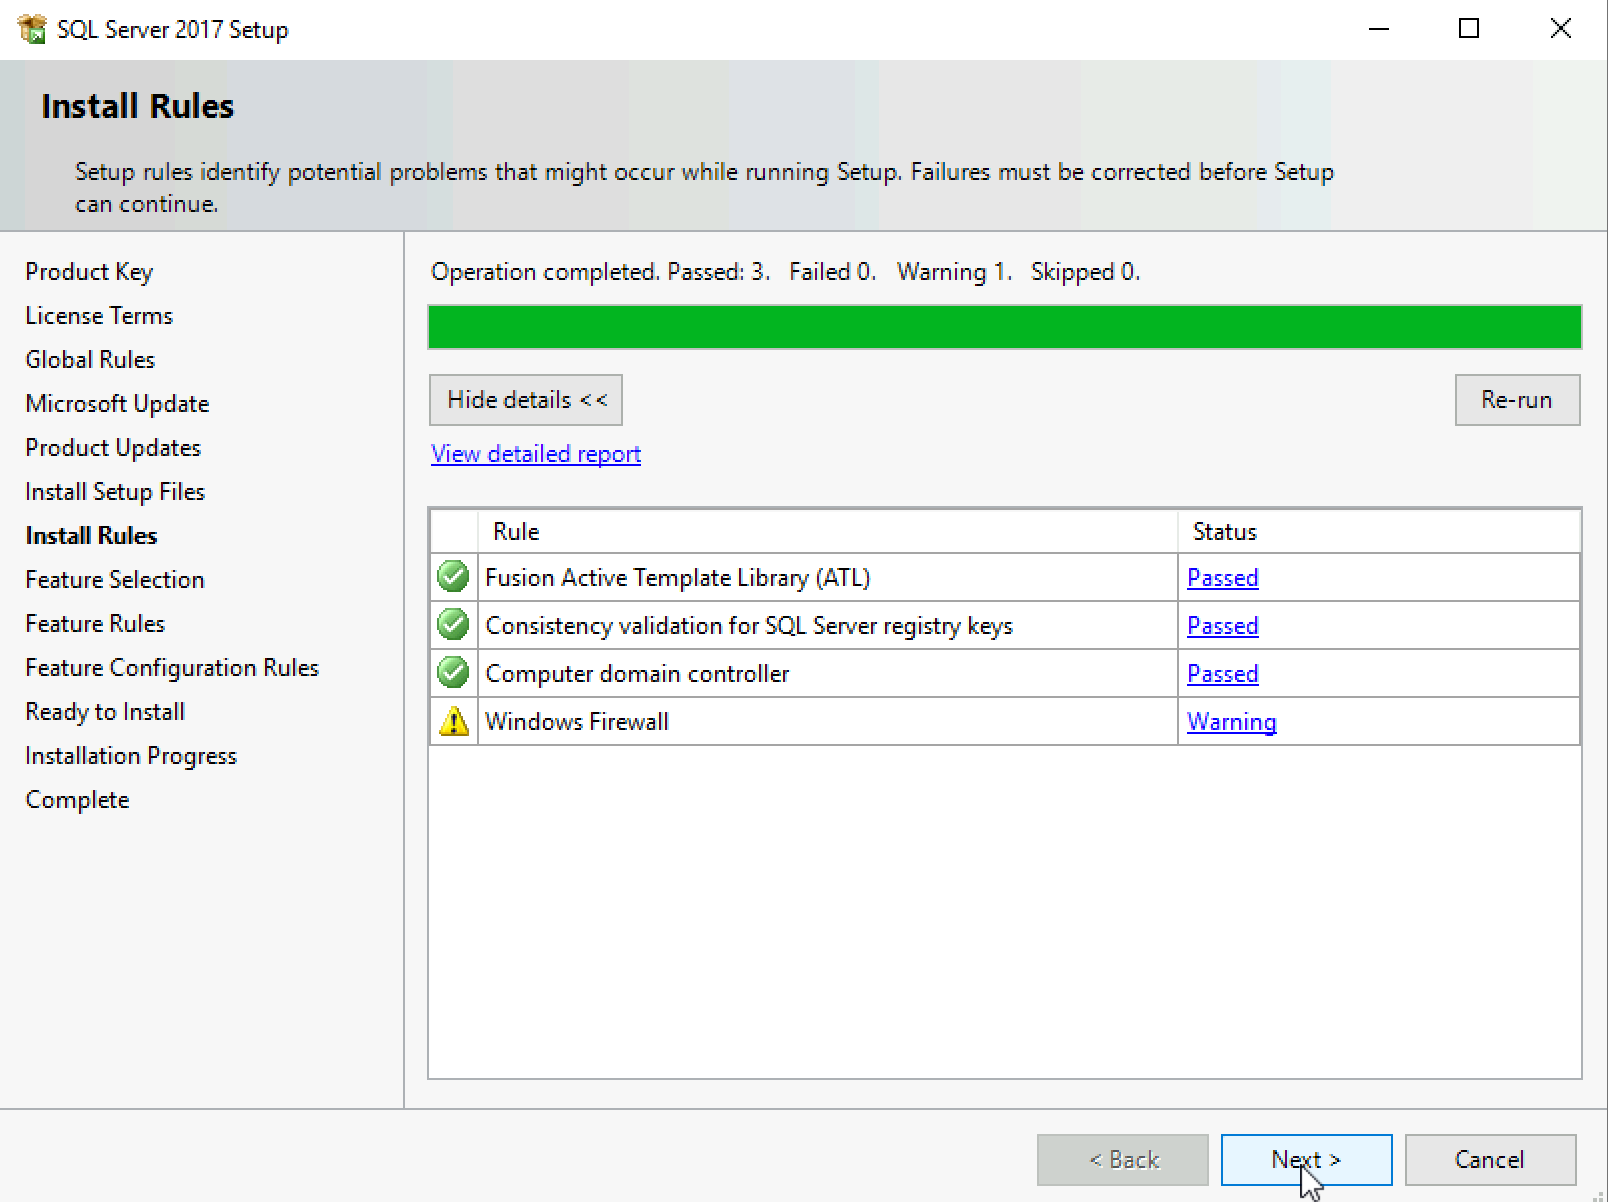
So far, so good | Next
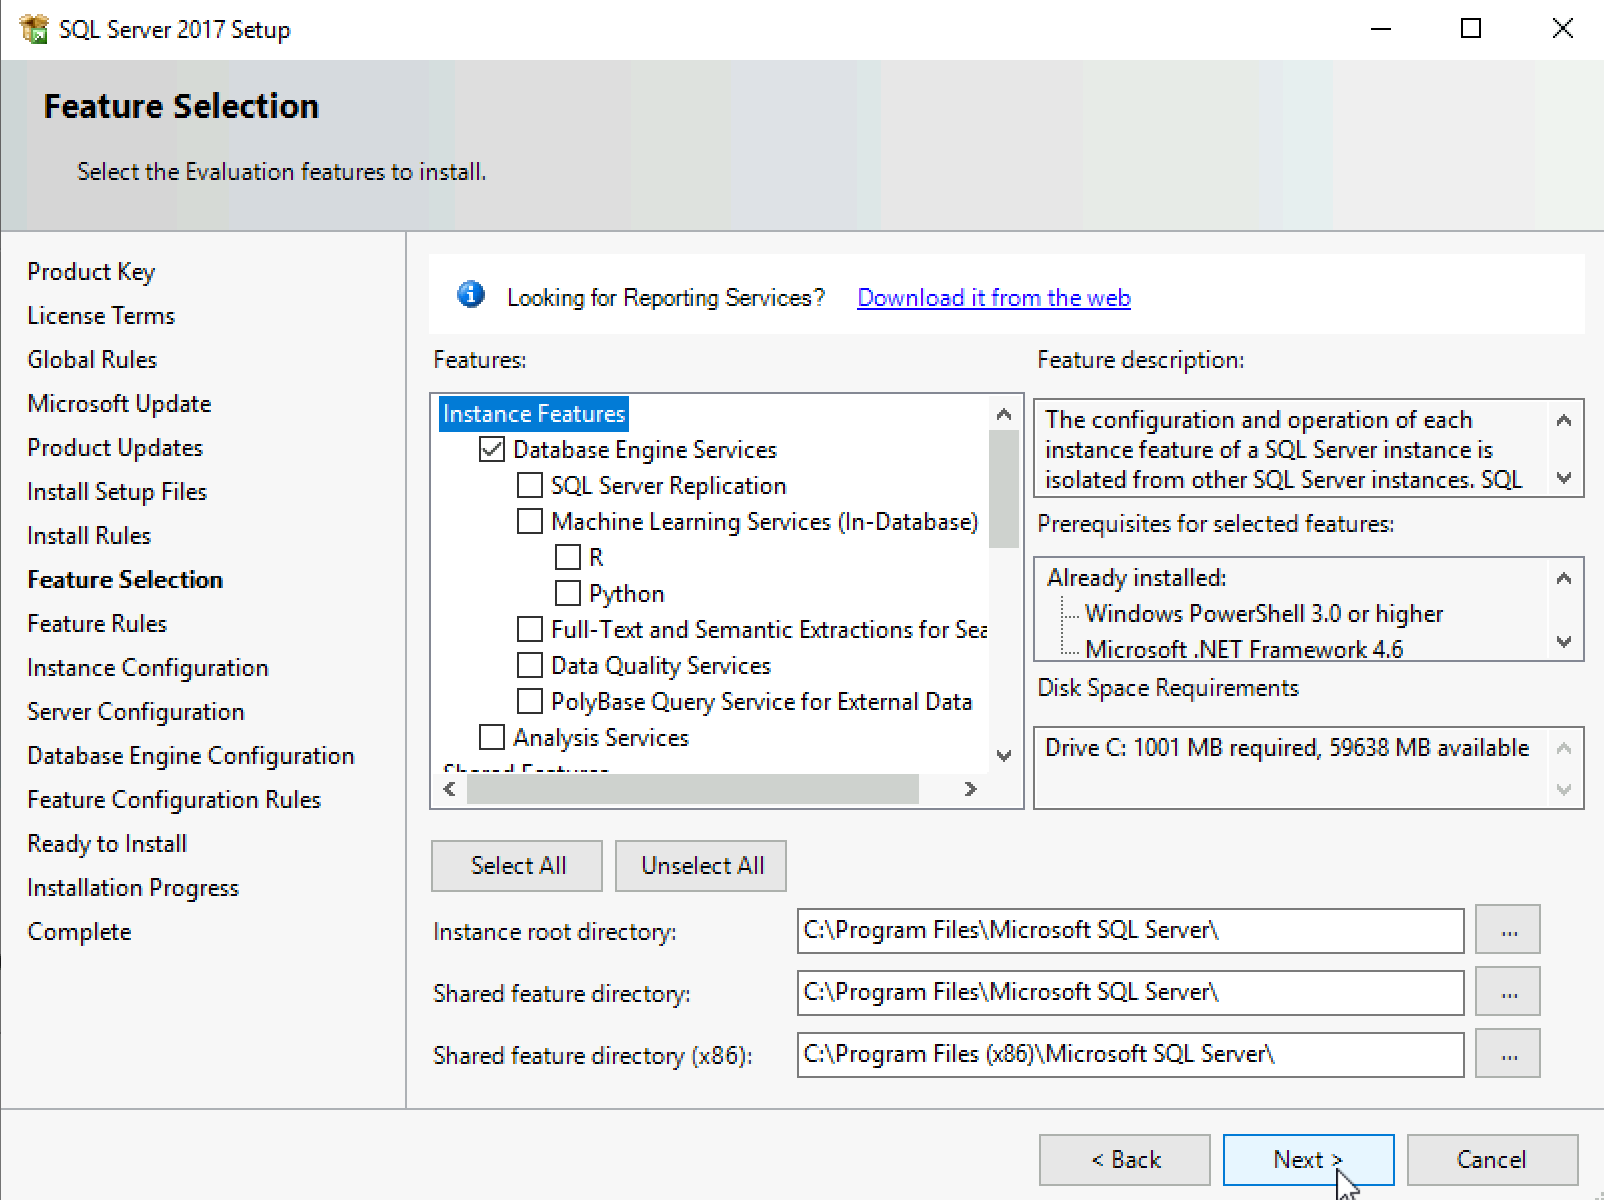
I will select only Database Engine Services and leave everything else as is. Next
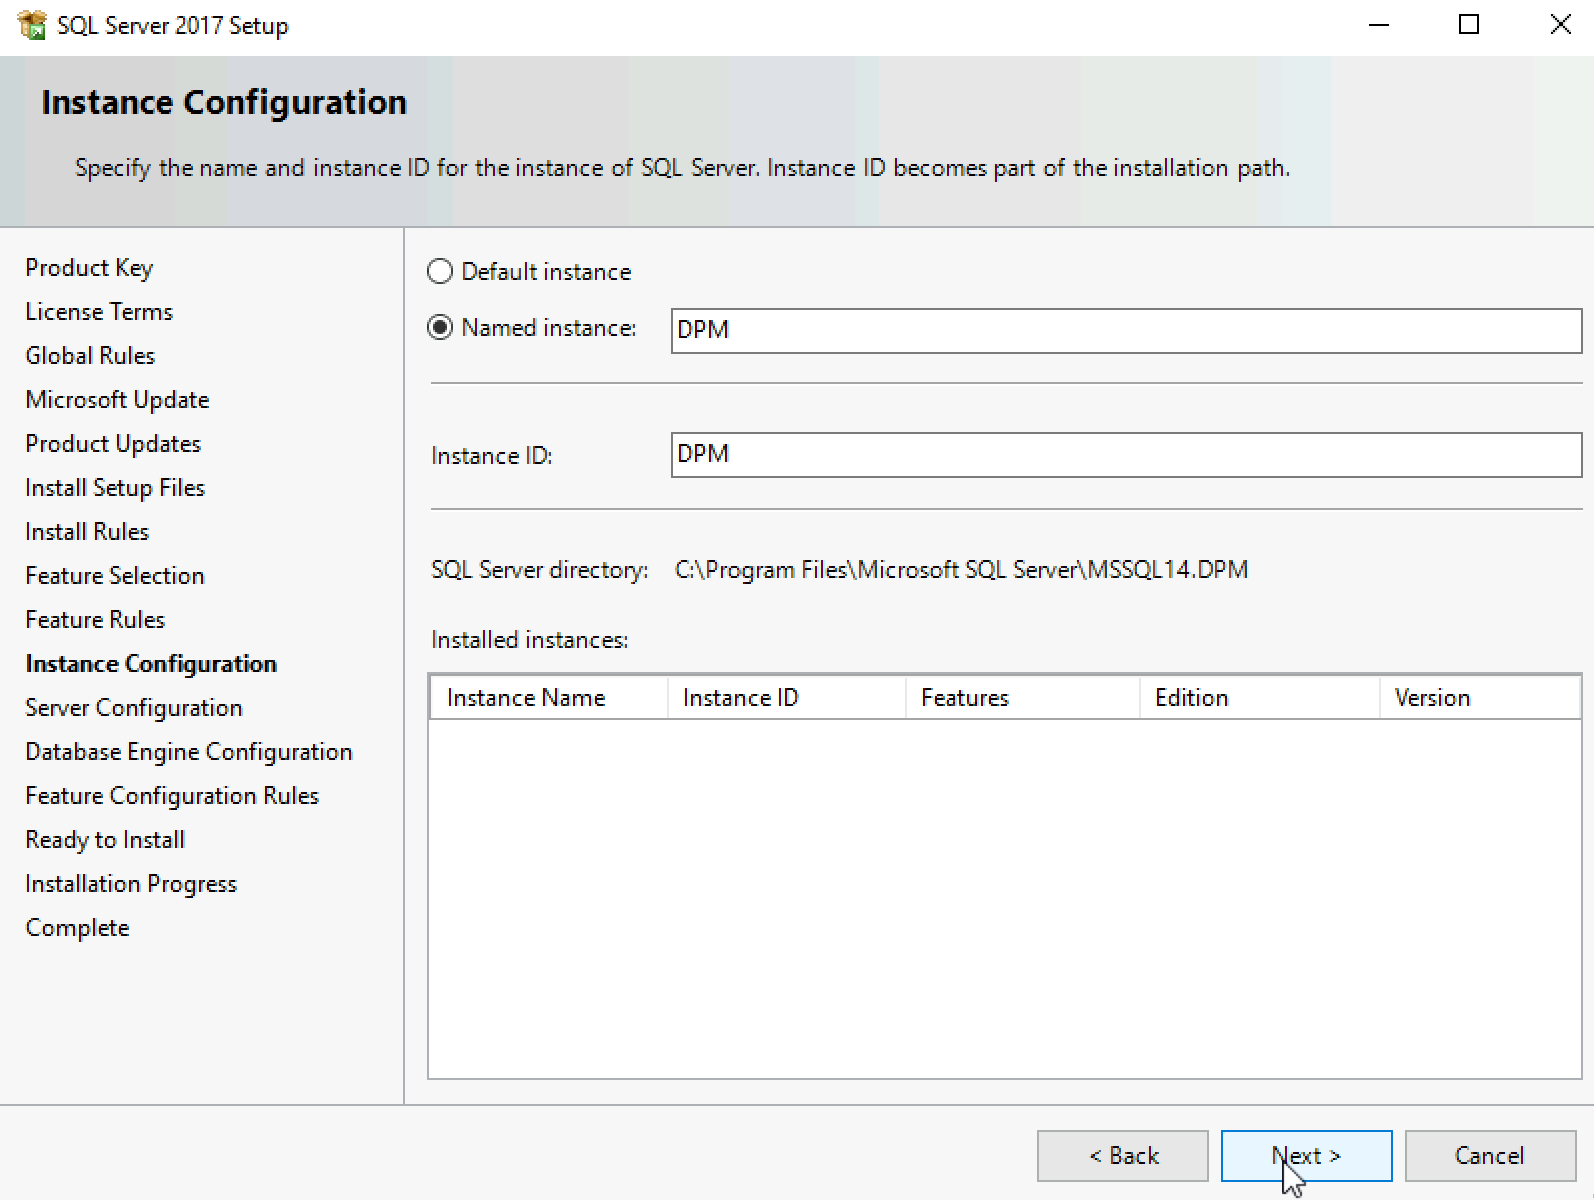
I will name my instance DPM (you can leave default, name your instance some other way…) | Next
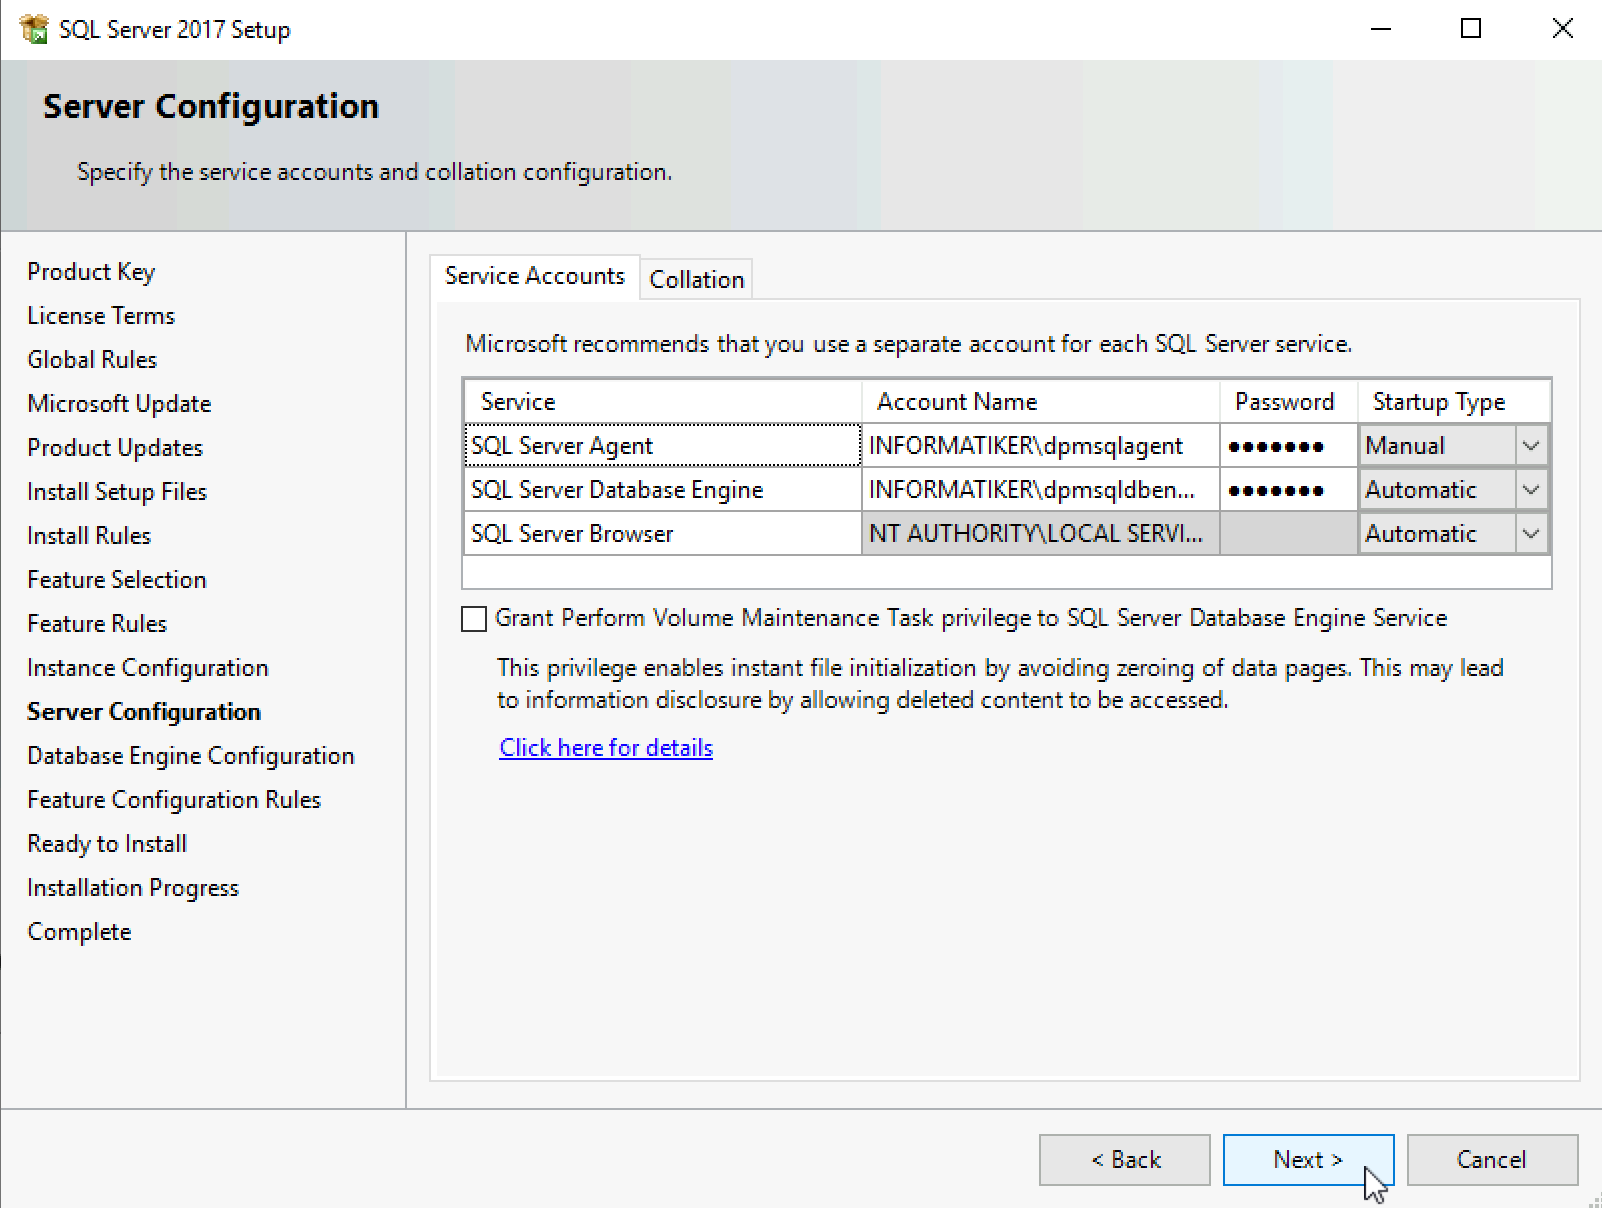
I will change SQL Server Agent and Database engine to domain accounts we prepared earlier. I will leave default Collation (SQL_Latin1_General_CP1_CI_AS) | Next
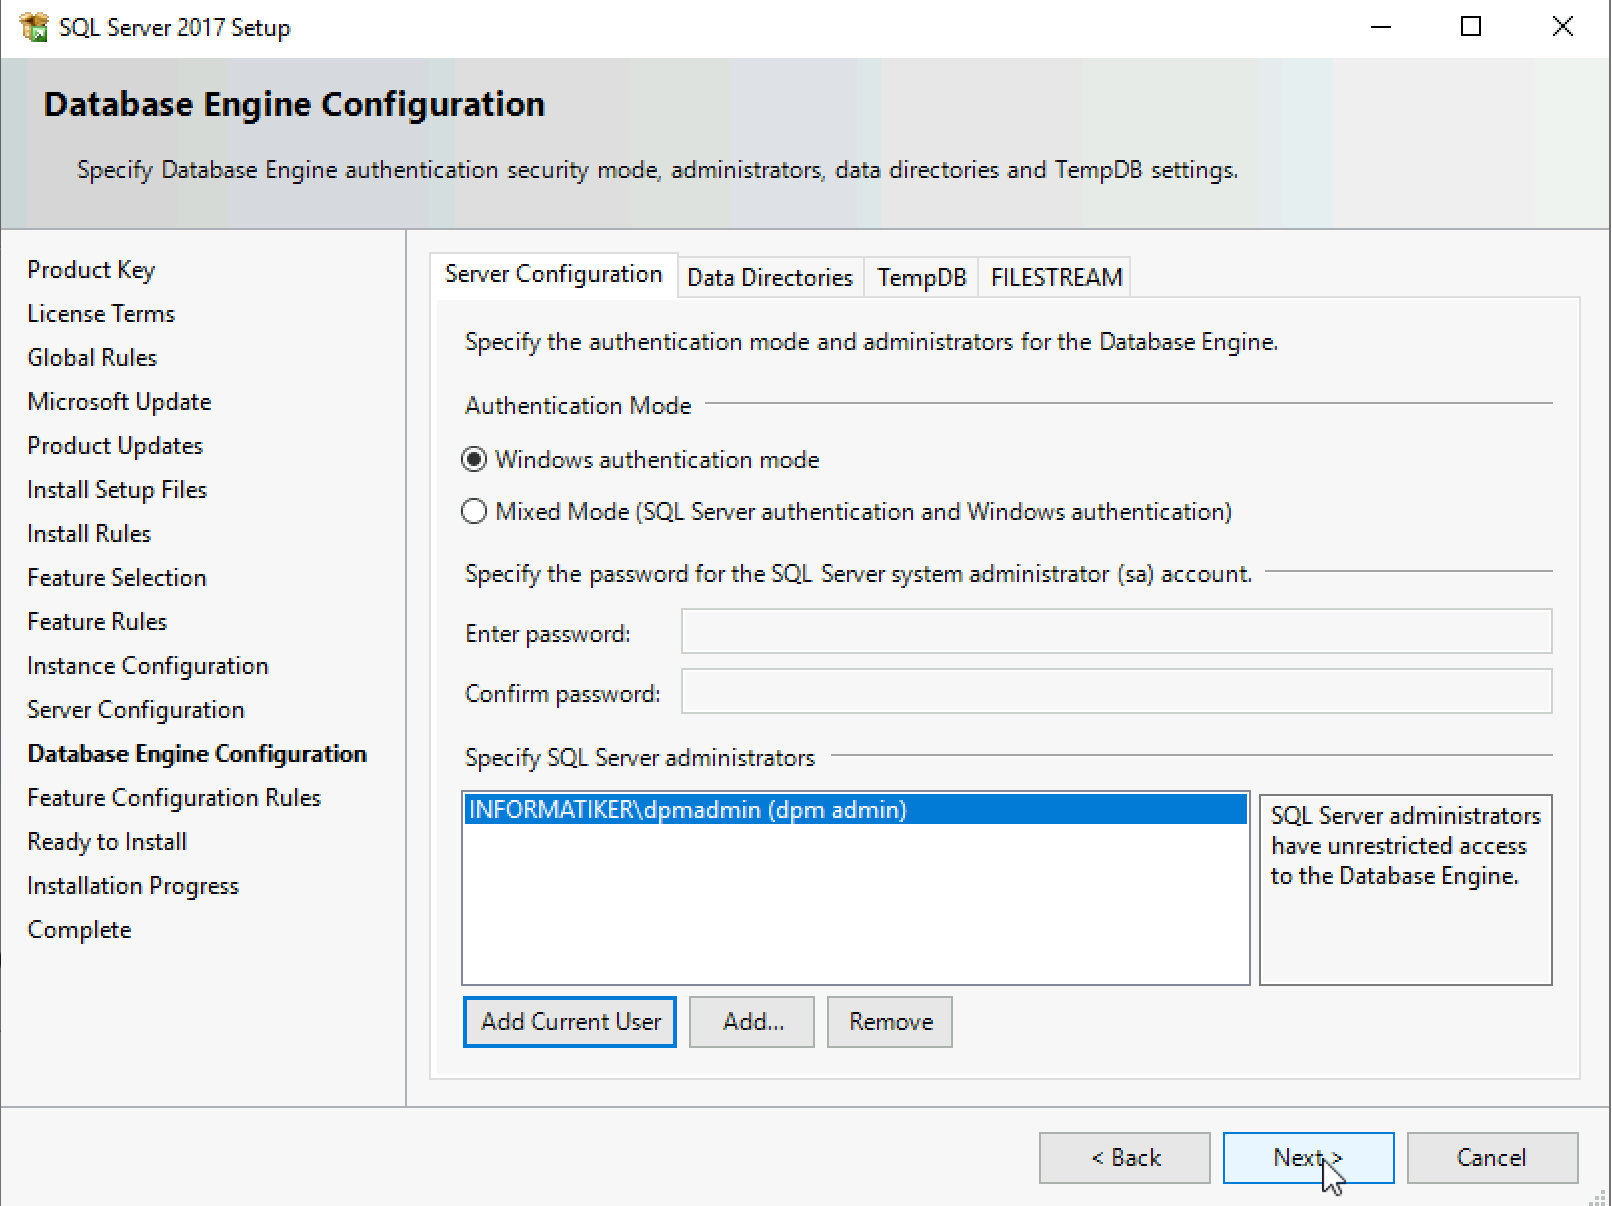
I will leave WIndows authentication and define dpm admin as SQL user. Everything else I’ll leave default. Next
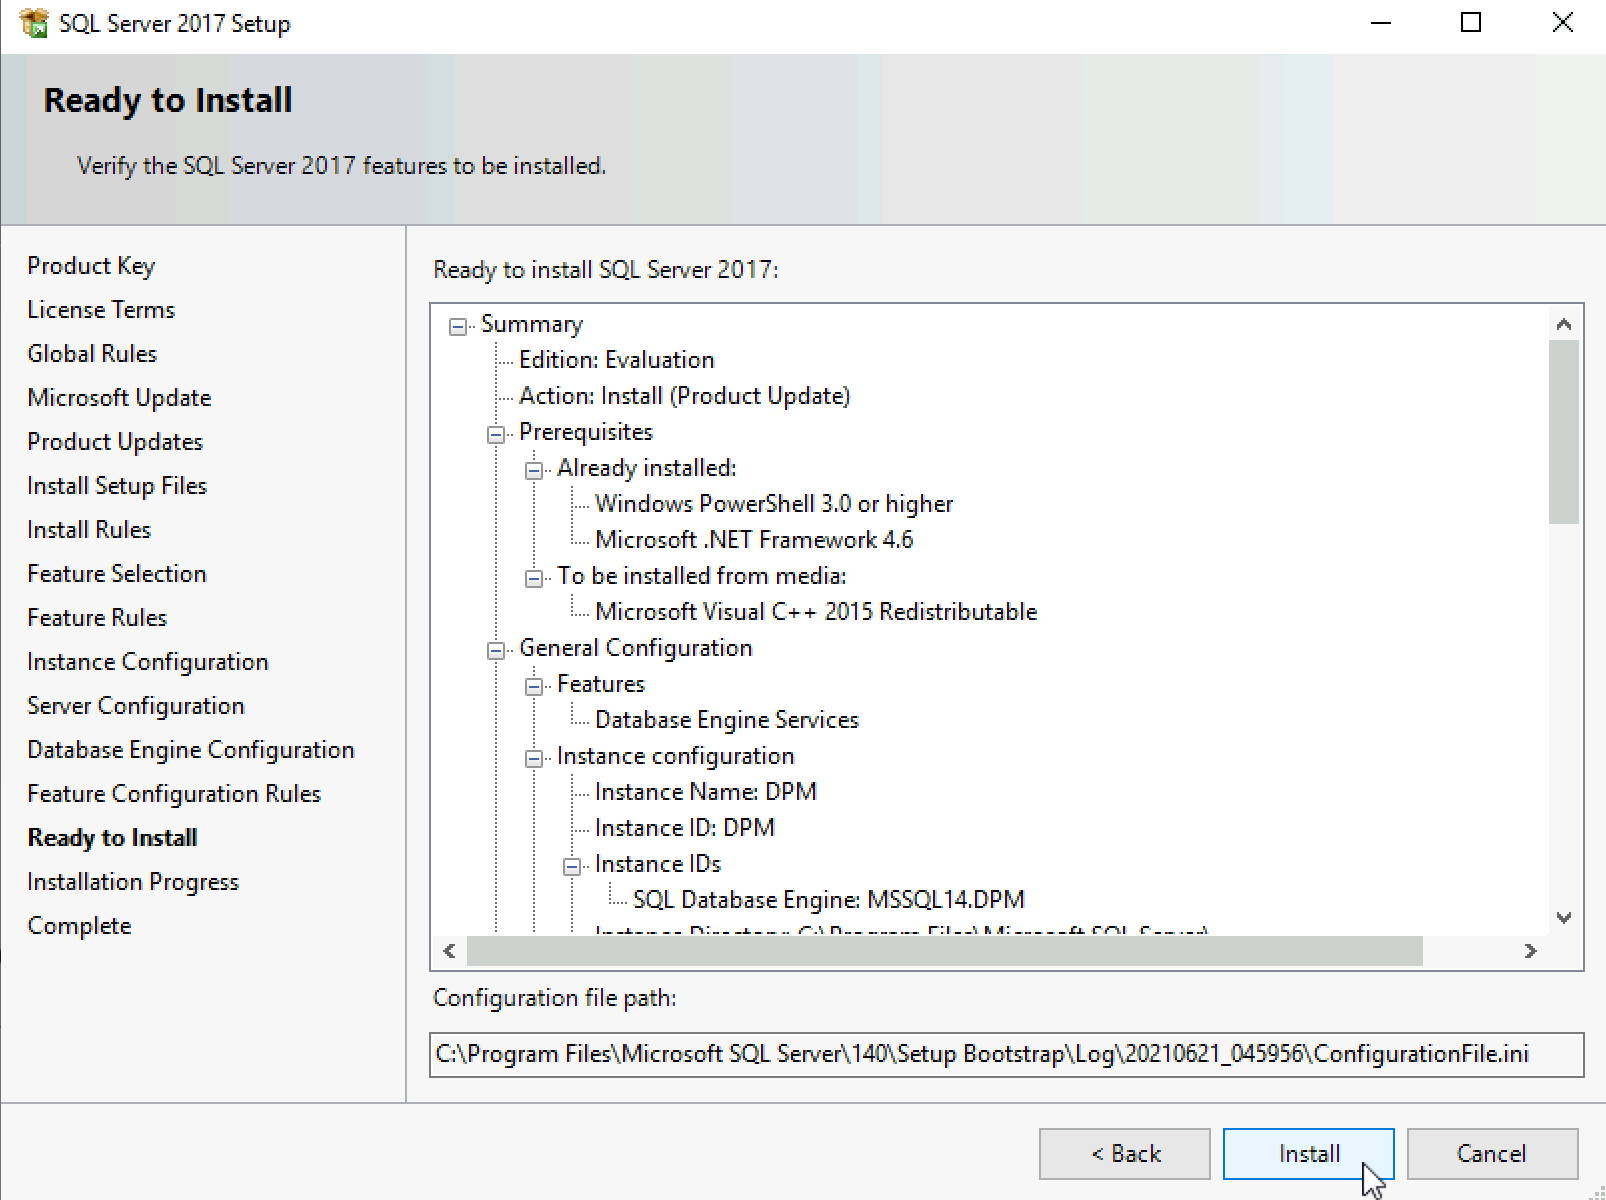
Install
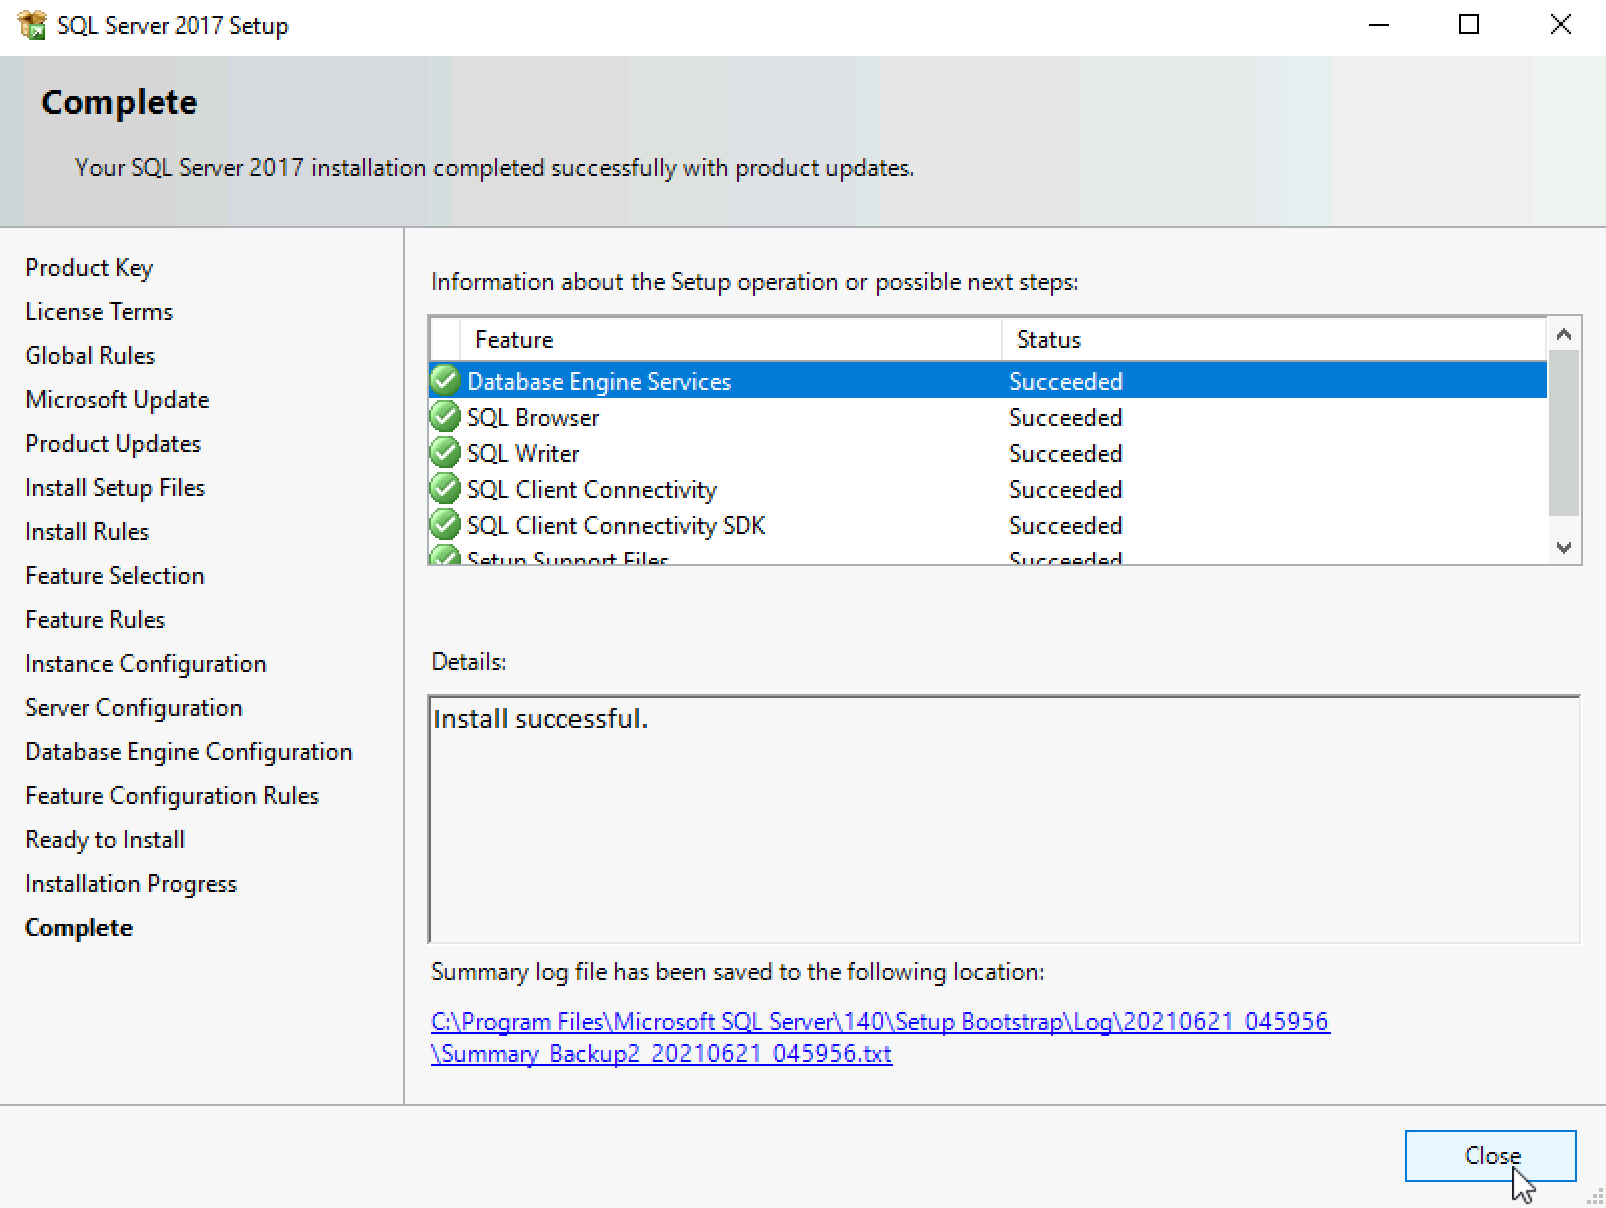
Success
Install SSMS
I will not go through details of SQL Server Management Studio installation. I will just leave it at this screen here. Reboot server after installation is done.
Management Studio is installed.
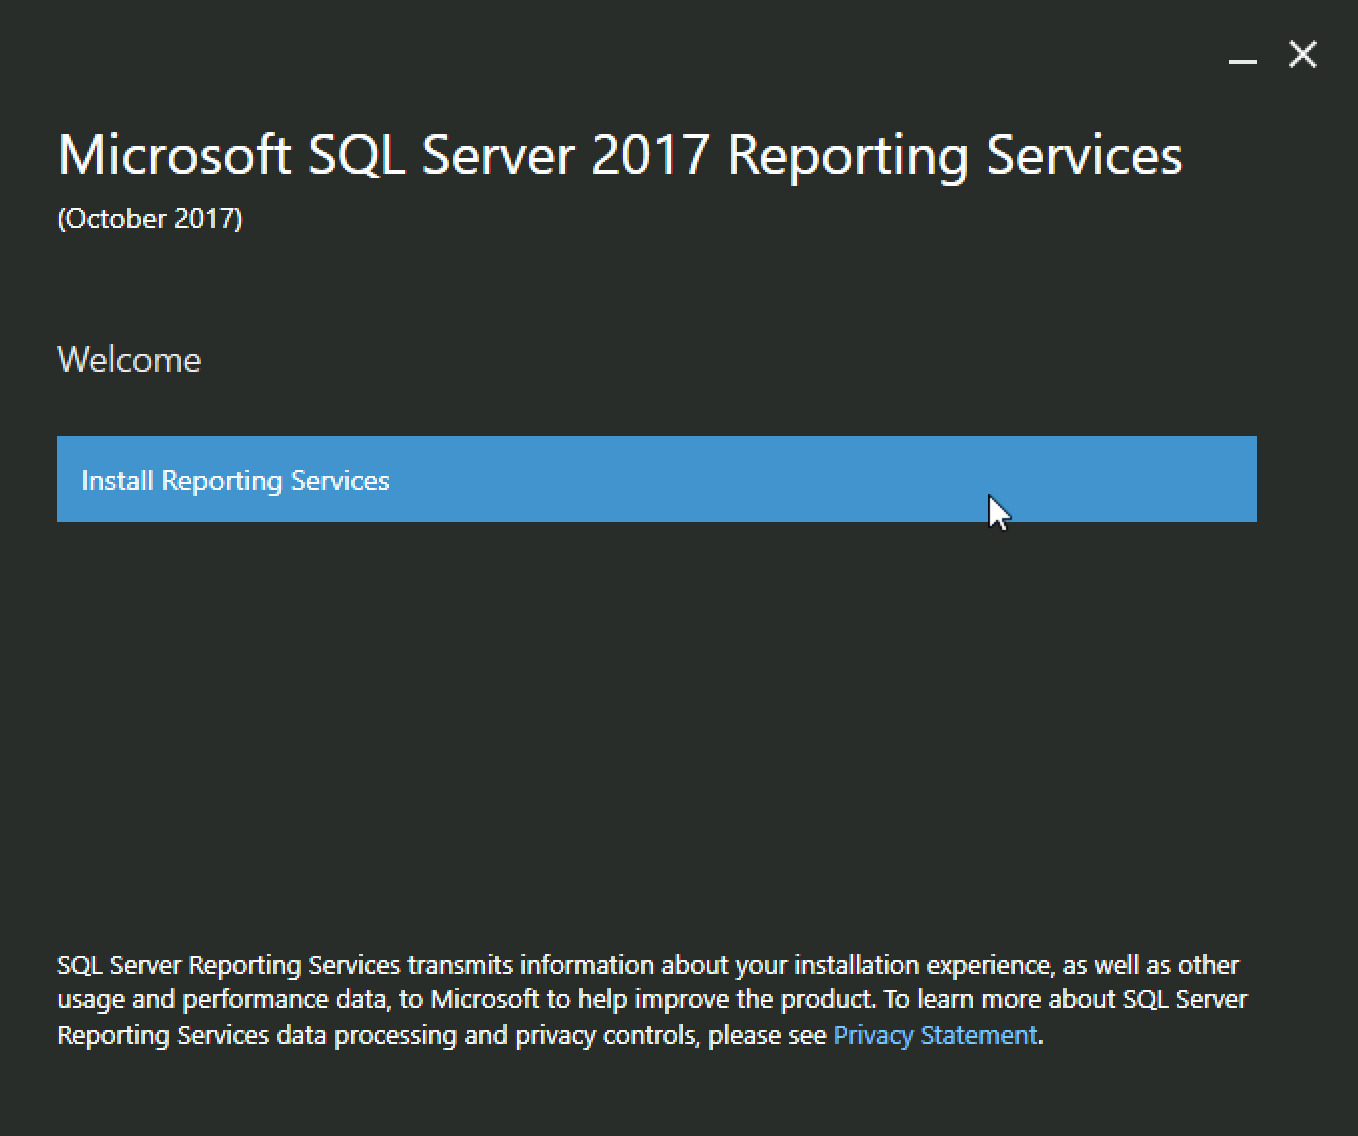
Install SQL 2017 Reporting Services
Last, but still, very important component without which DPM won’t install.
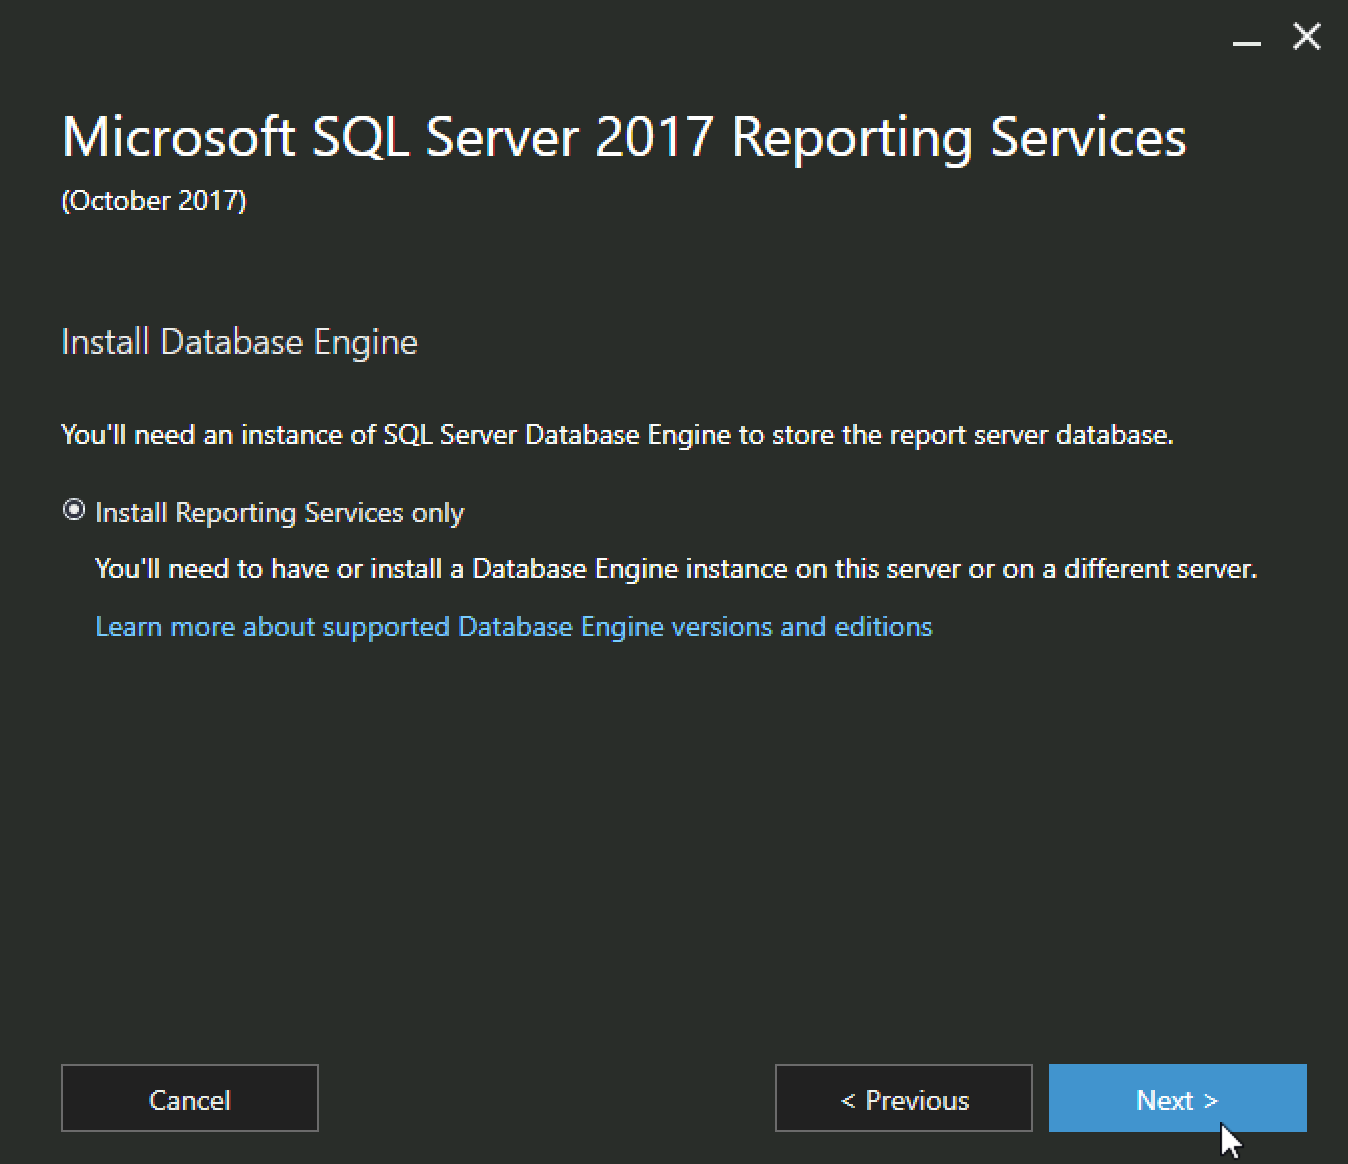
Install Reporting Services
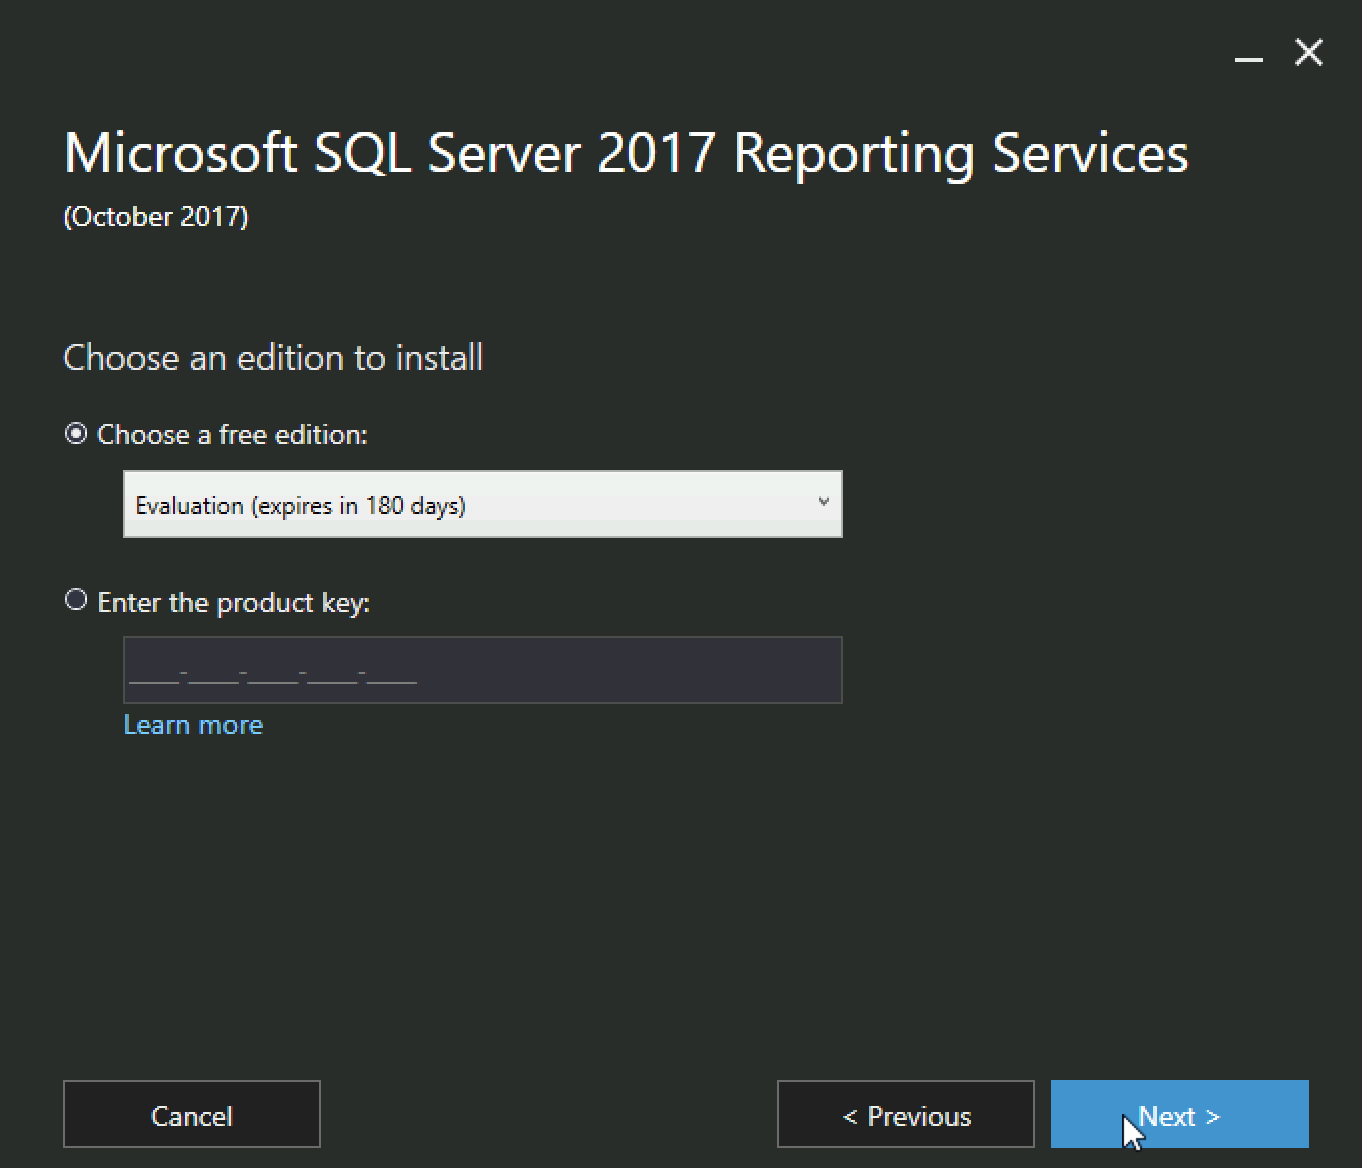
Evaluation | Next
I accept | Next

Install Reporting Services only | Next
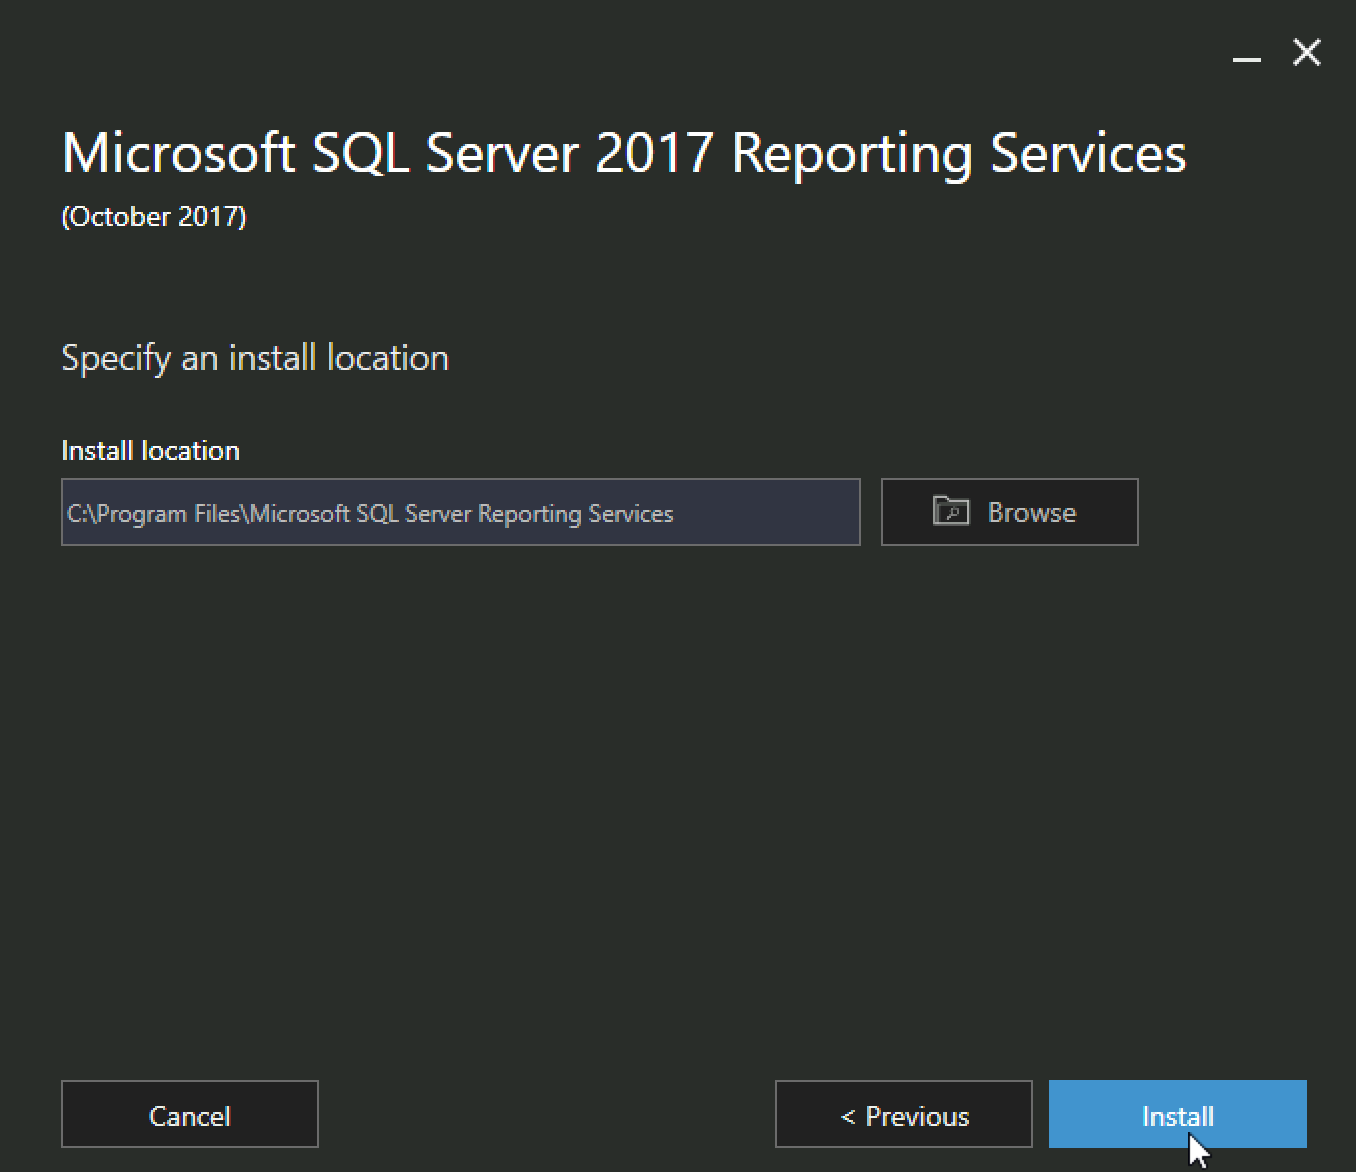
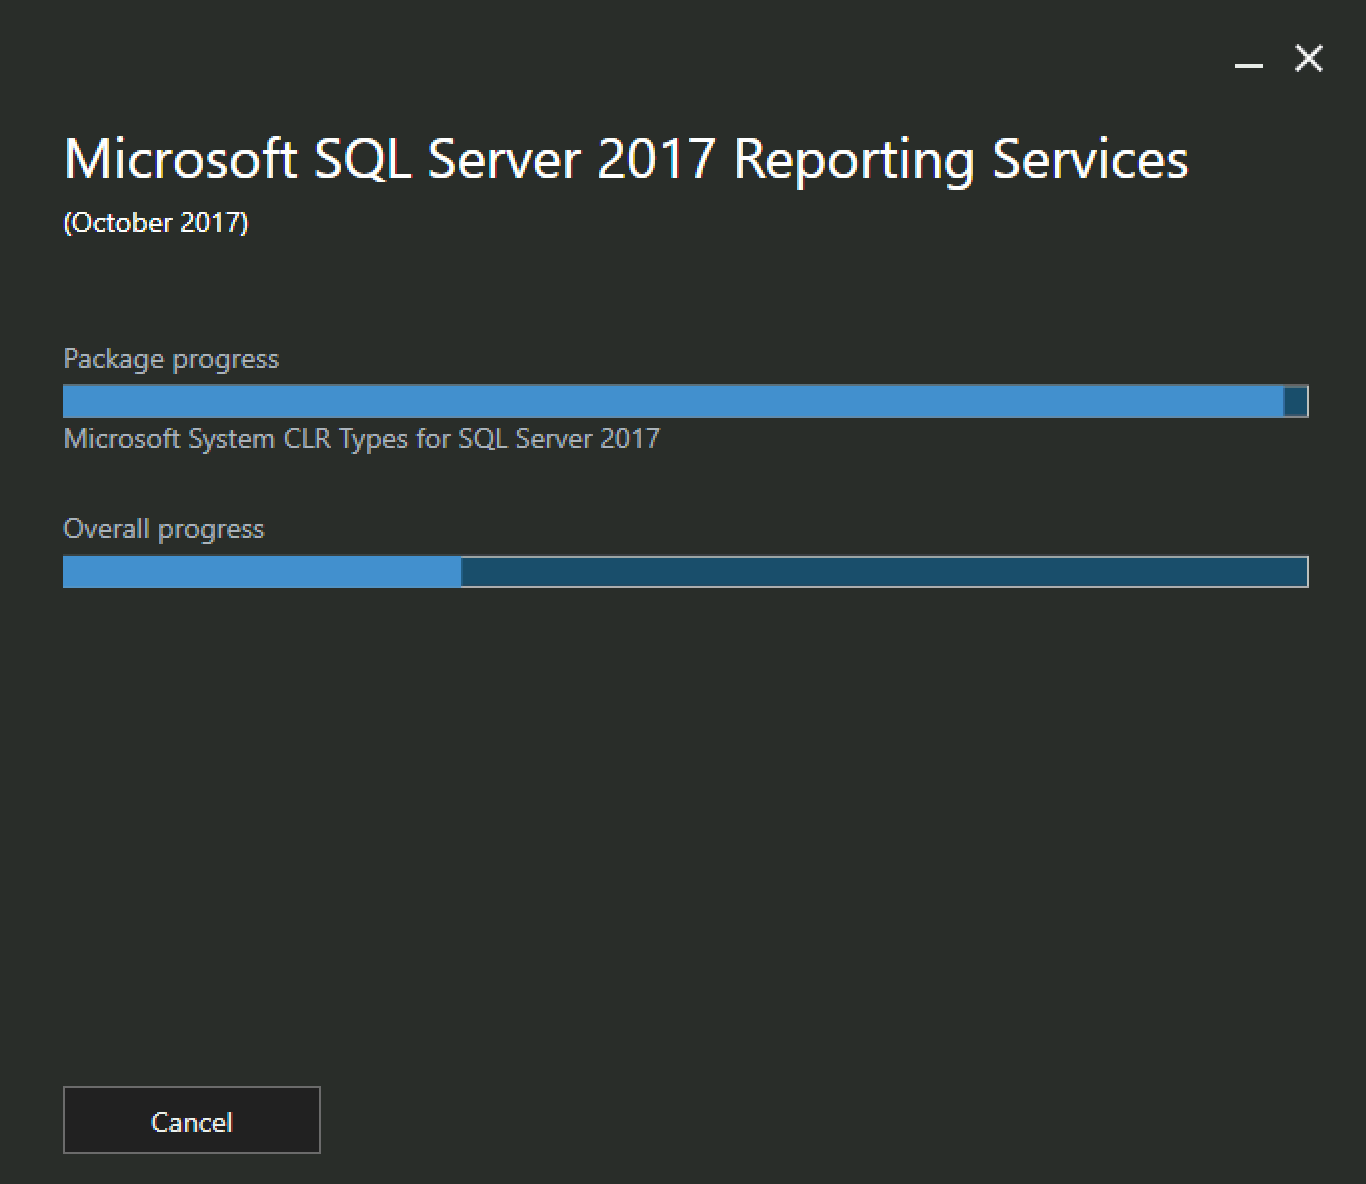
Install
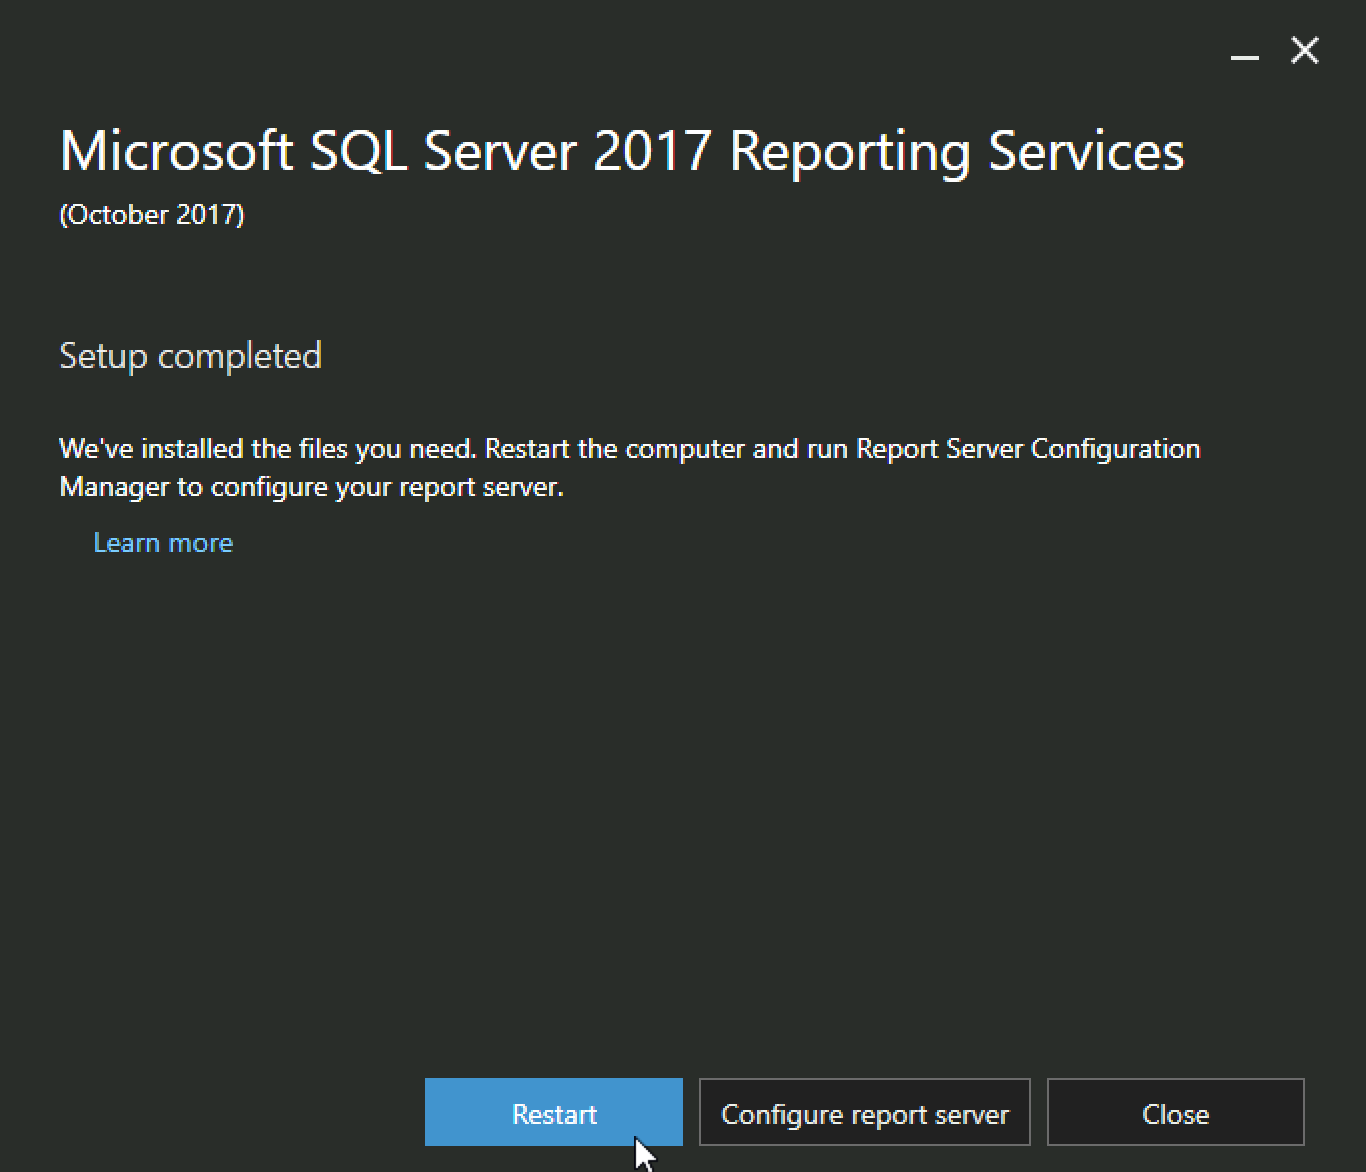
…
Restart. It didn’t work in my case, so I rebooted VM manually.
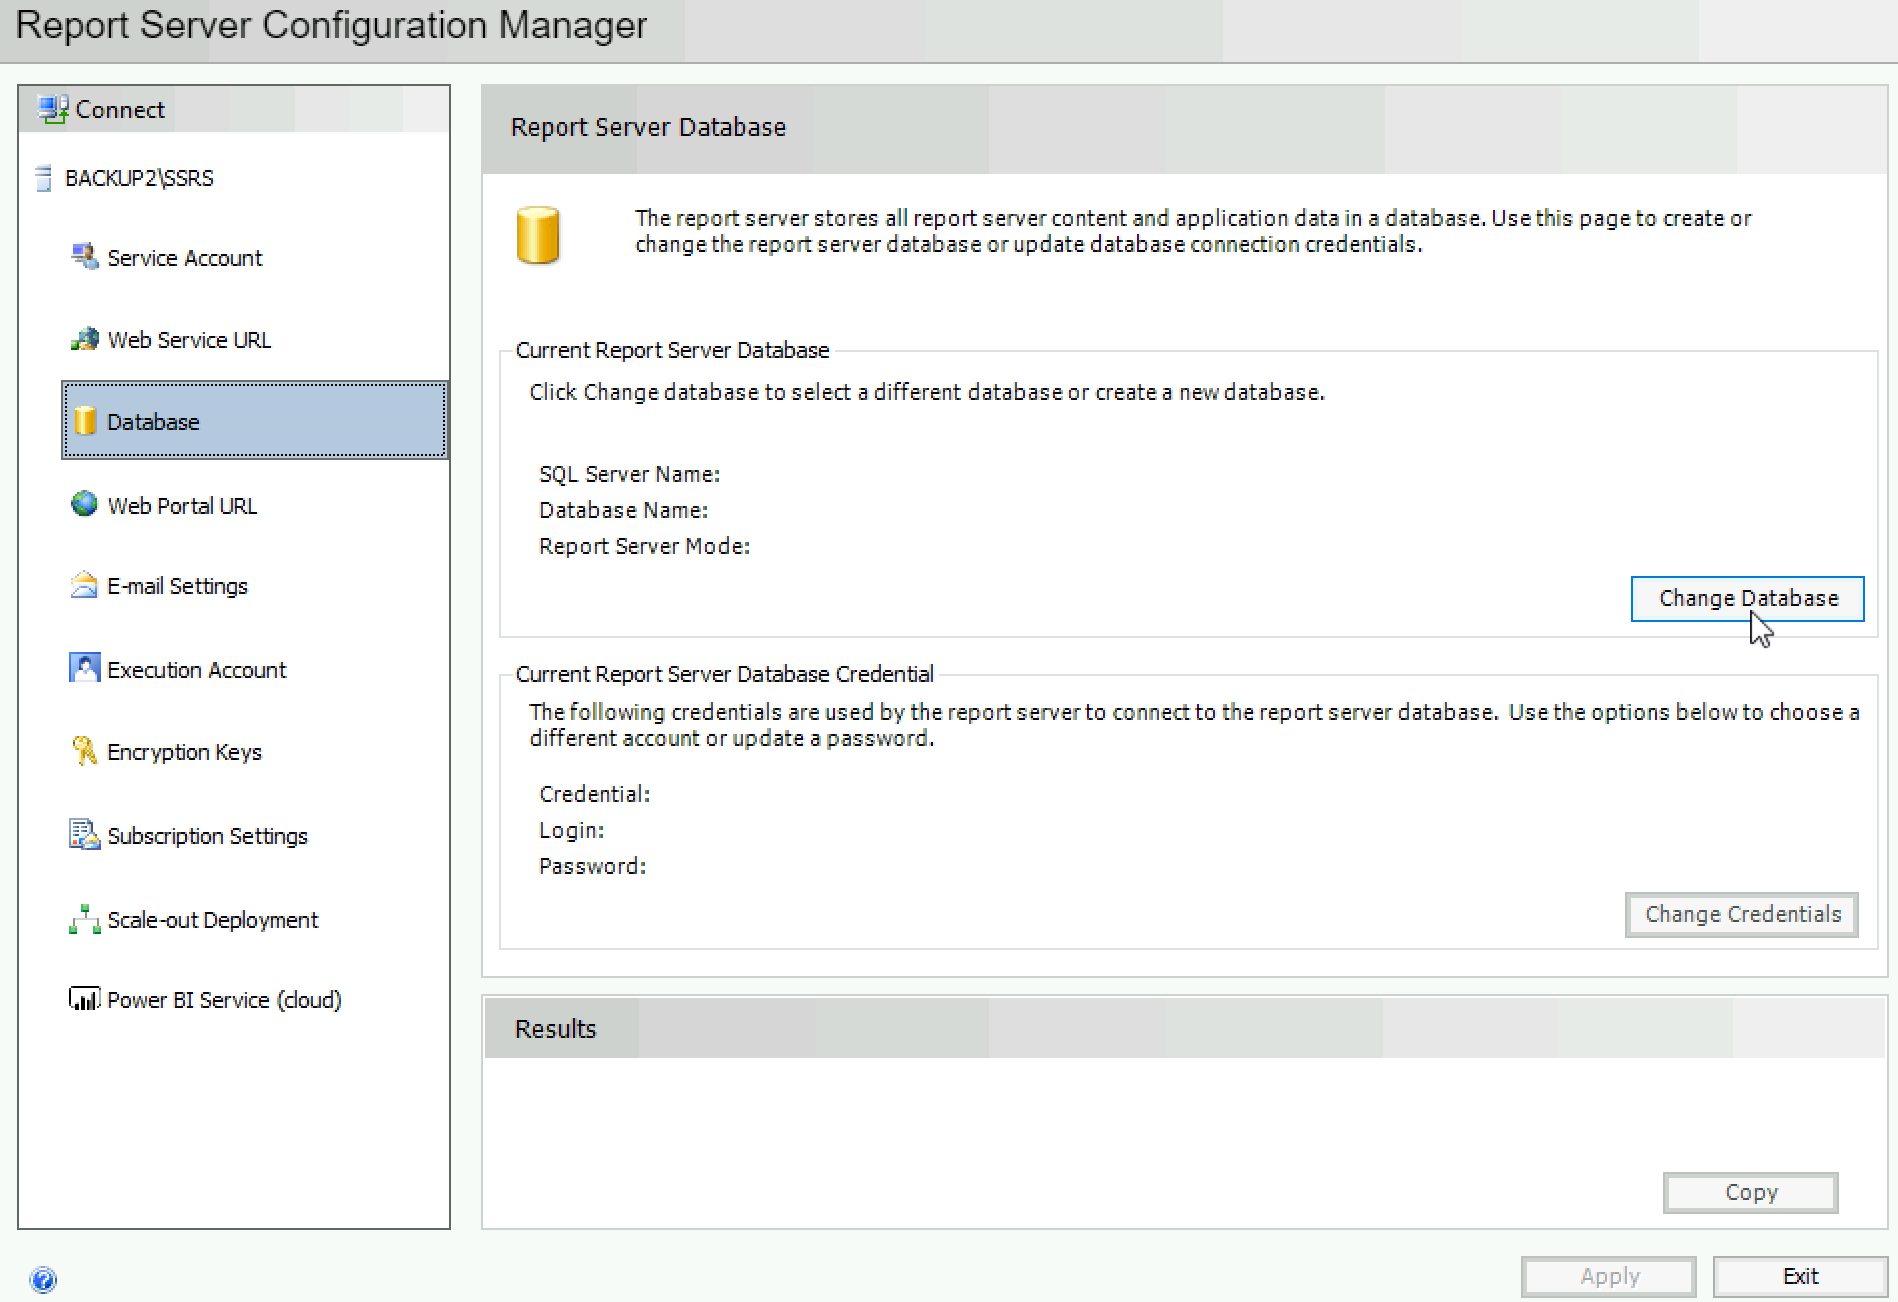
Configure Report Server
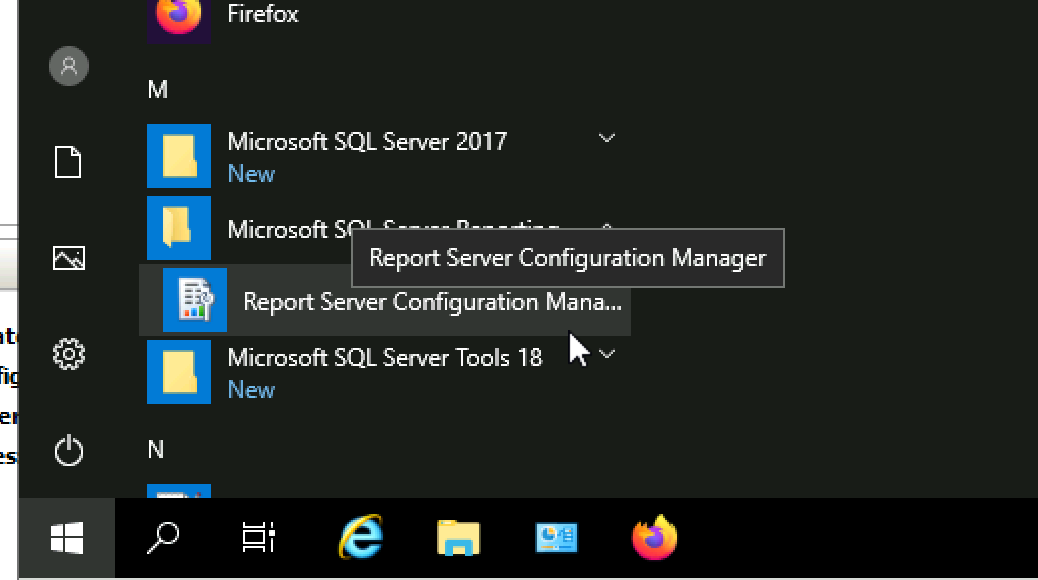
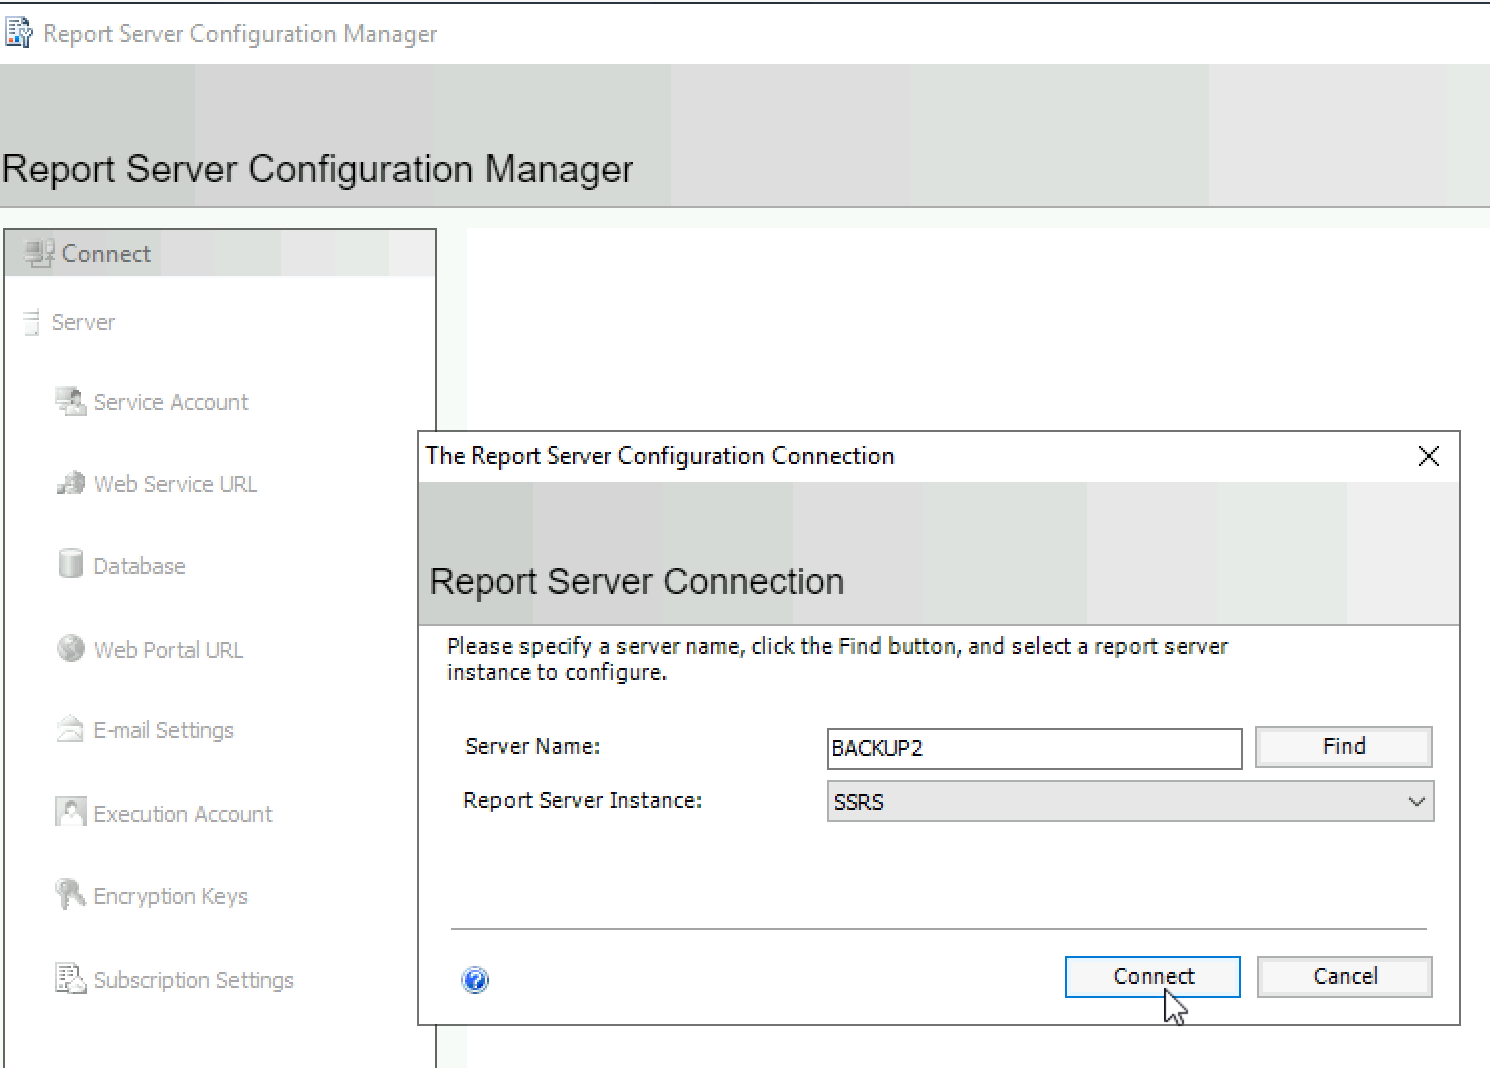
After reboot is done start Report Server Configuration Manager.
Connect
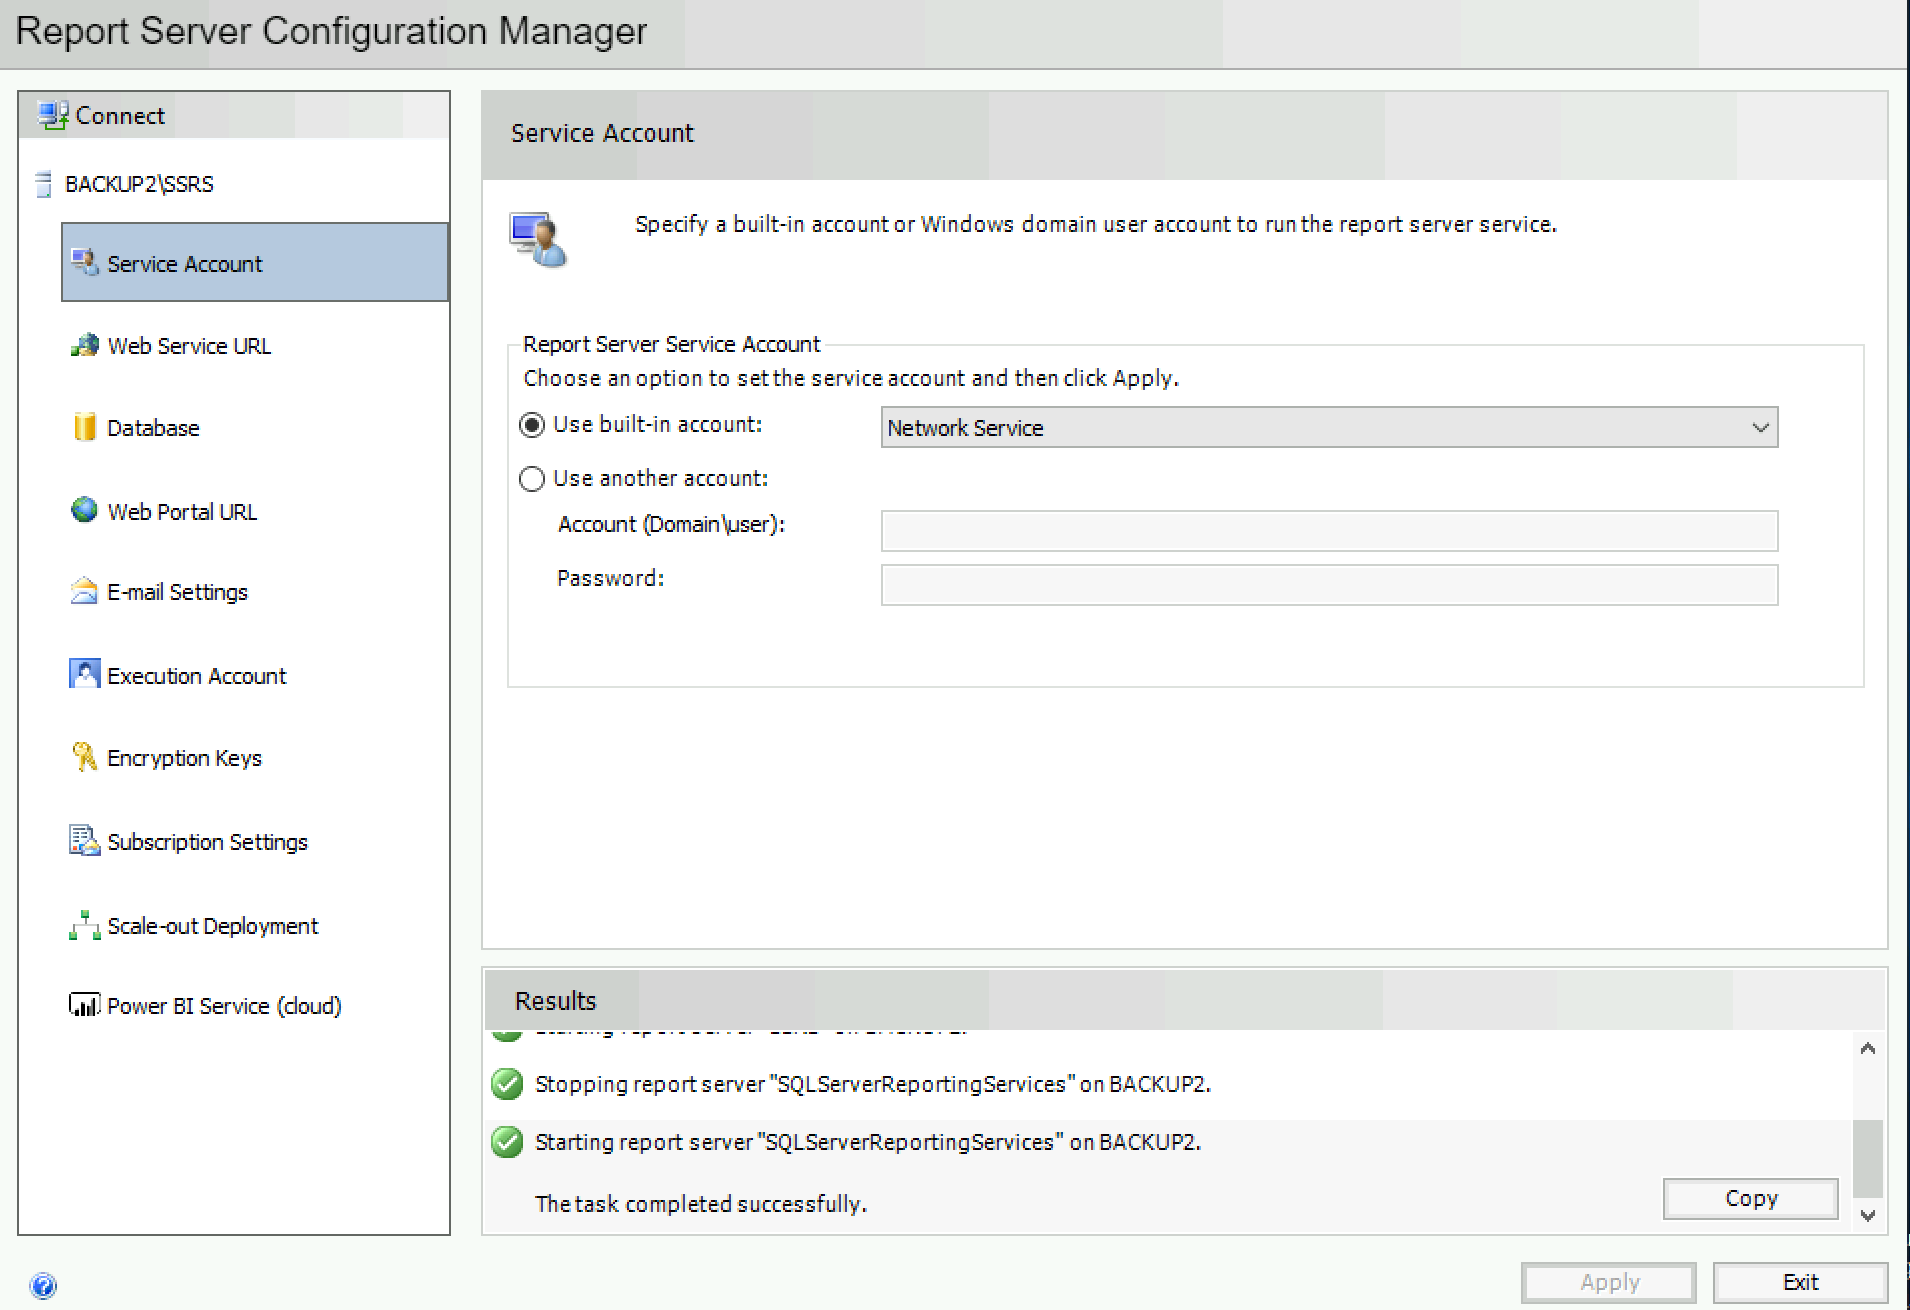
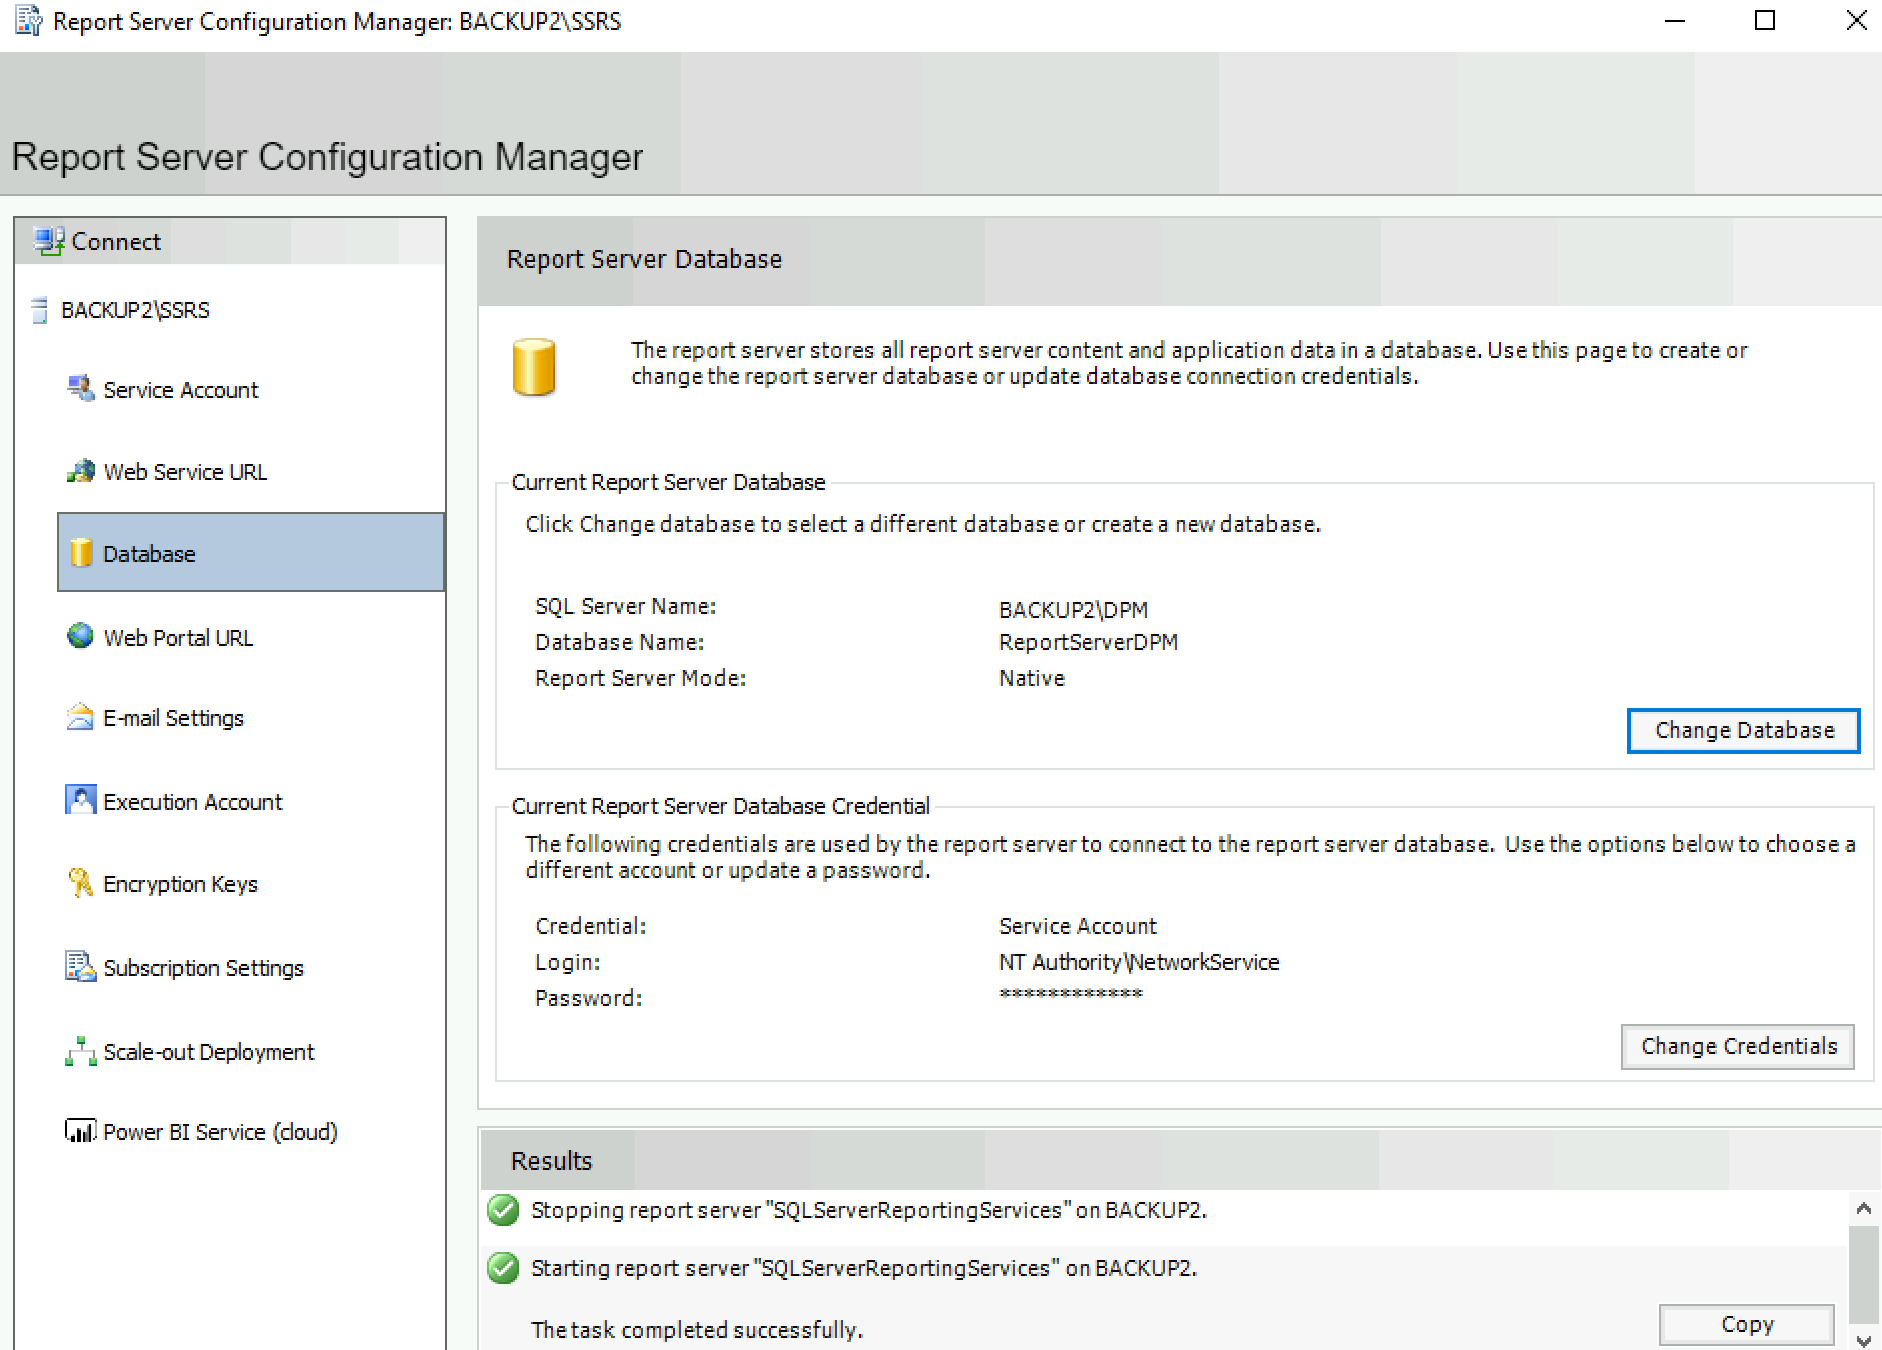
Under Service Account change to Network Service | Apply
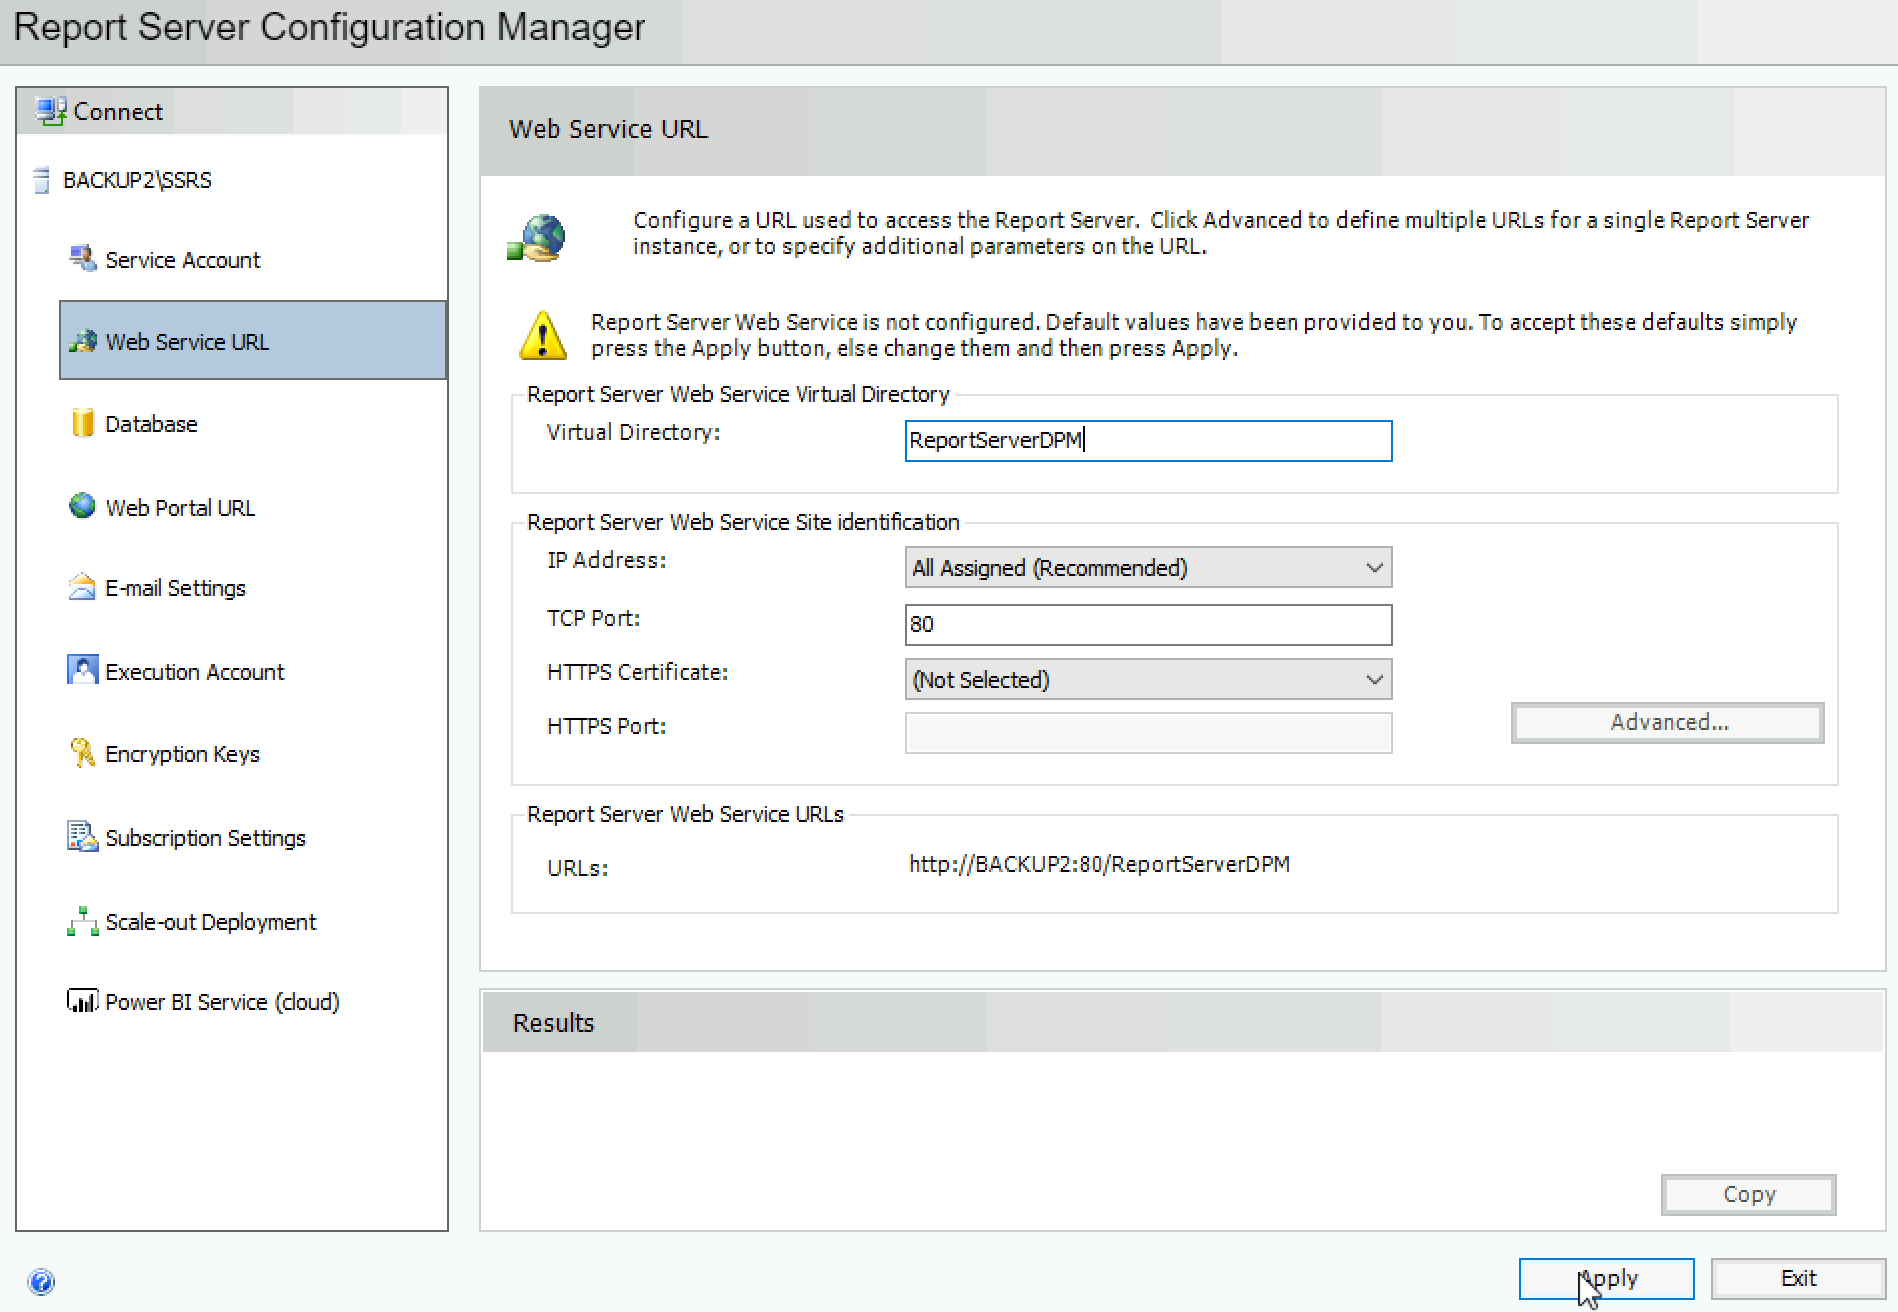
Web Service URL I will just change Virtual Directory Name to ReportServerDPM and leave everything as is. | Apply
Next stop – Database | select Change Database
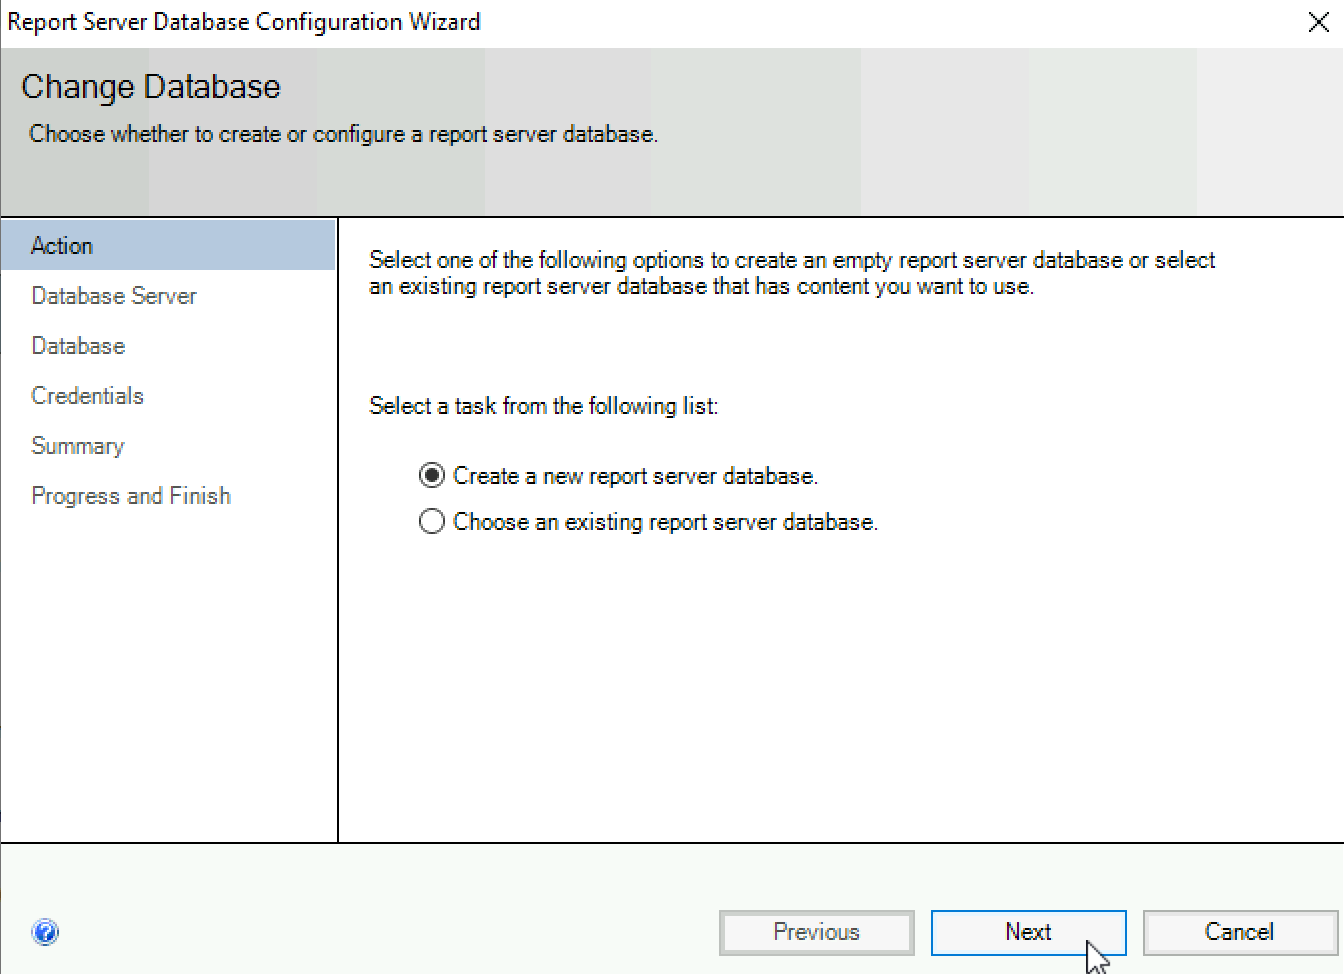
Create a new report server database | Next
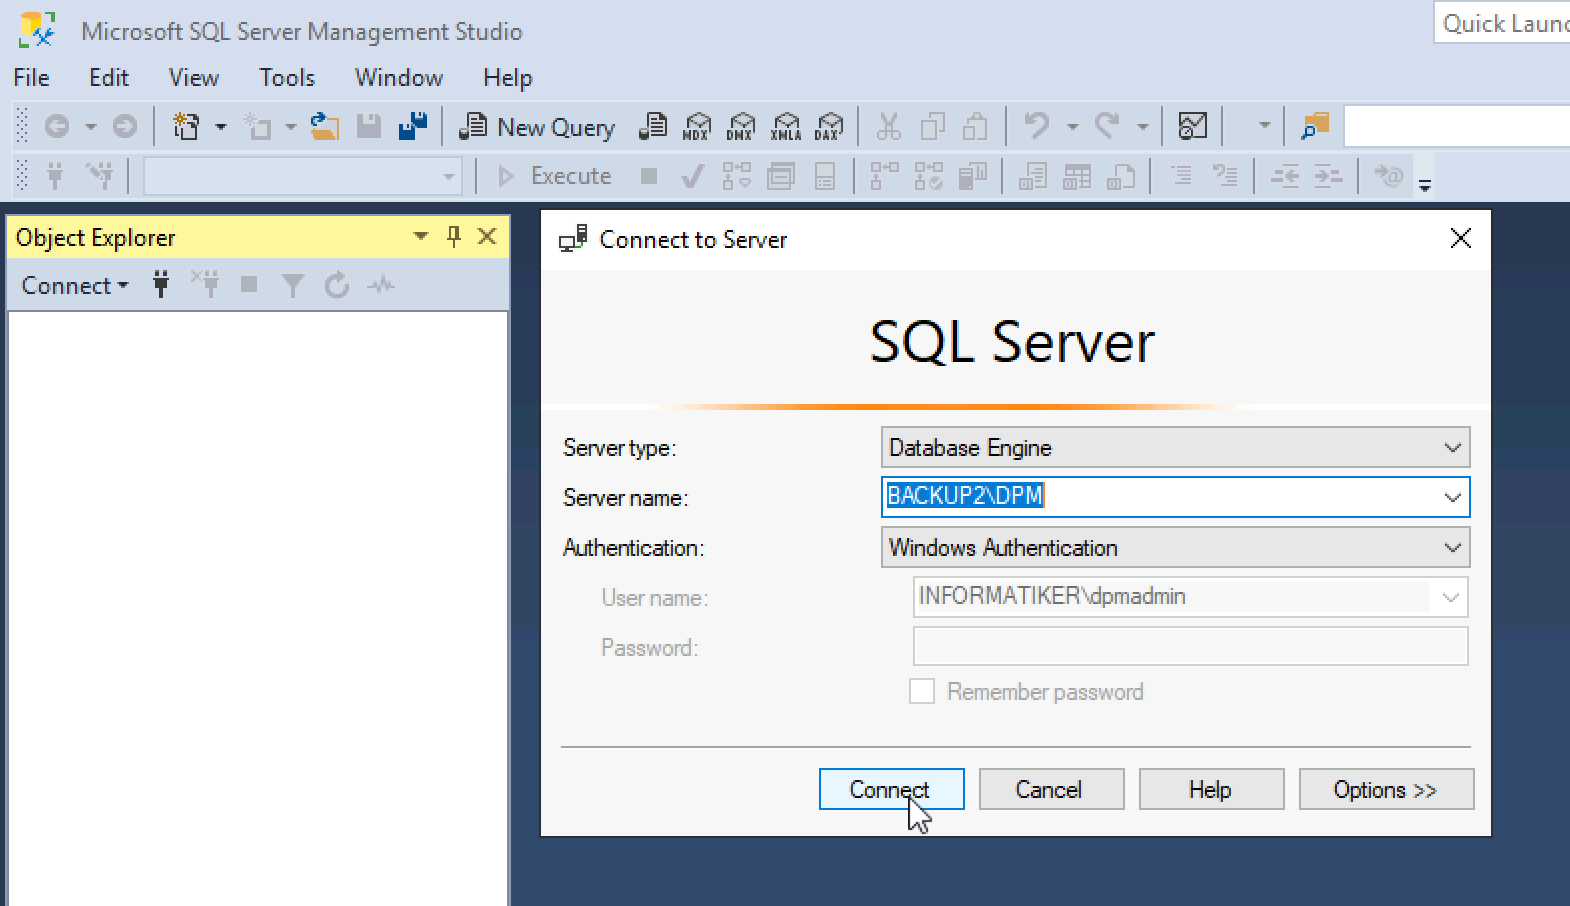
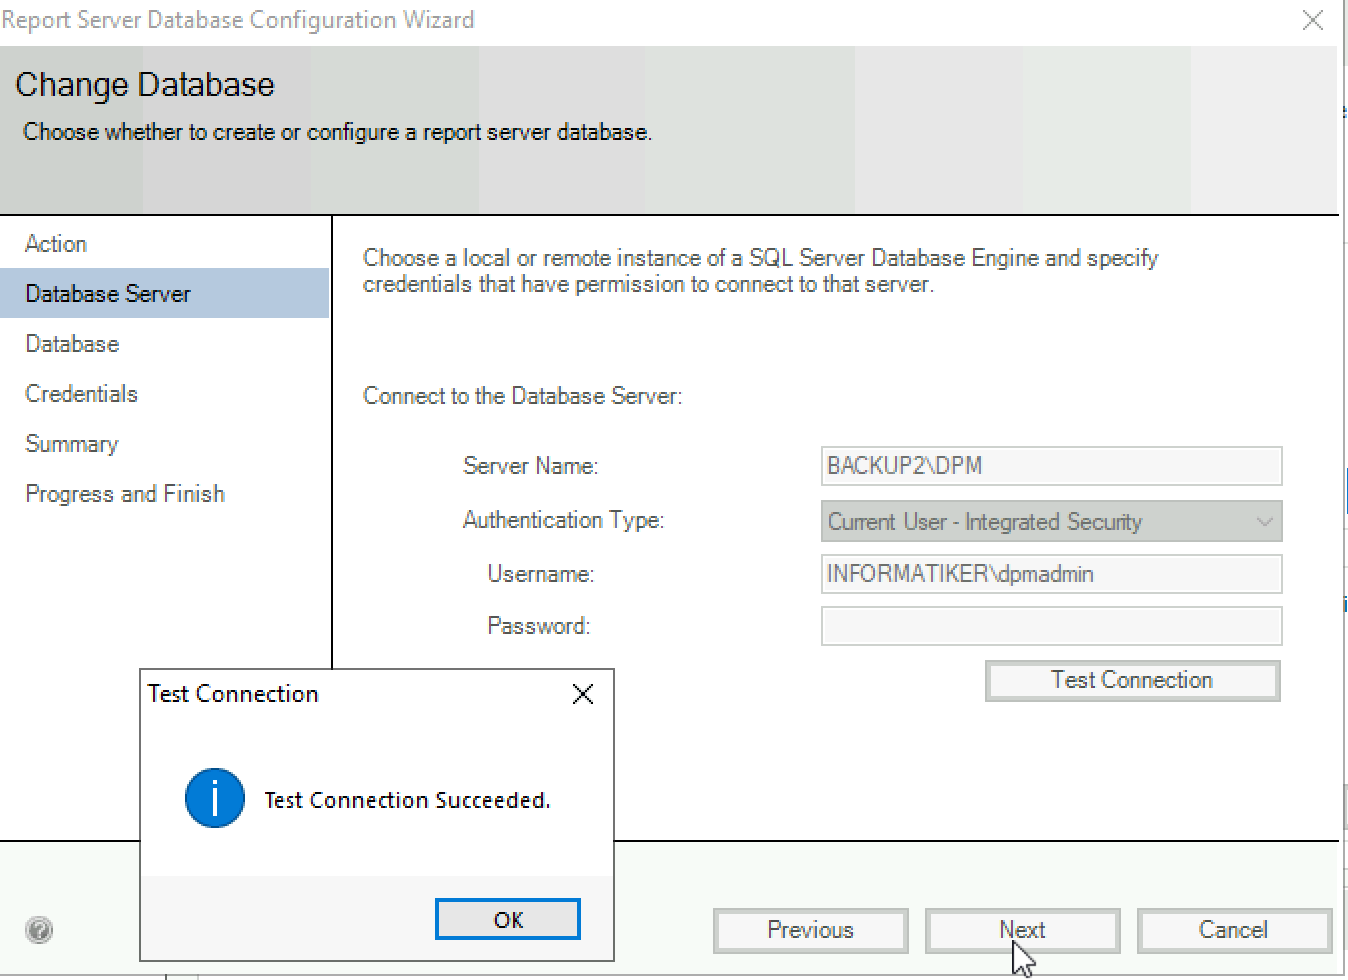
Server name – you need to enter your SQL path – in my case that is BACKUP2\DPM. I left everything else as is and clicked on Test Connection. After that is ok – Next
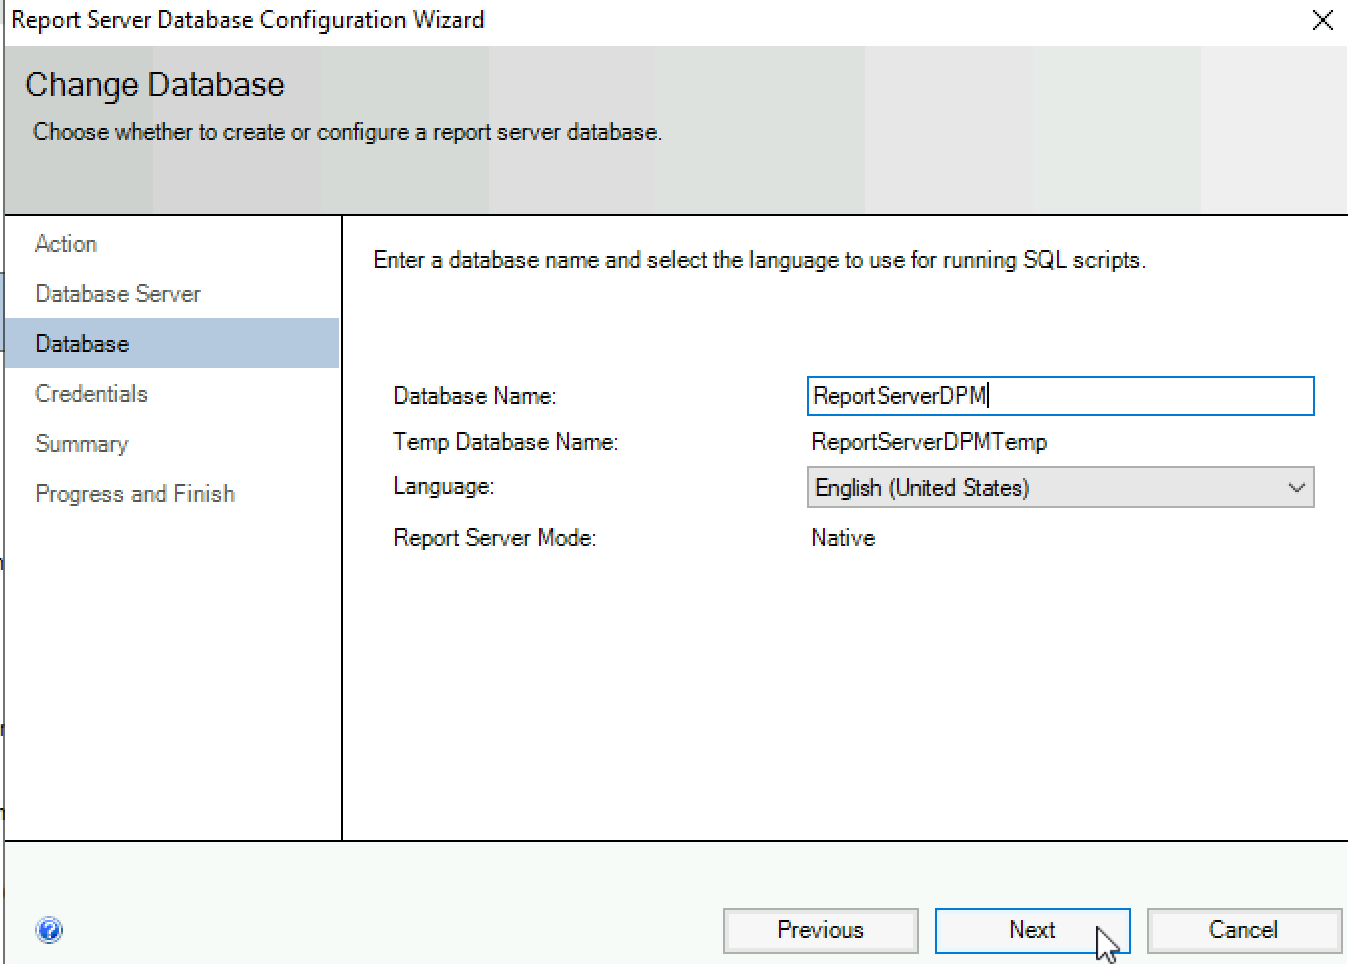
I named database ReportServerDPM | Next
Service Credentials | Next

Next
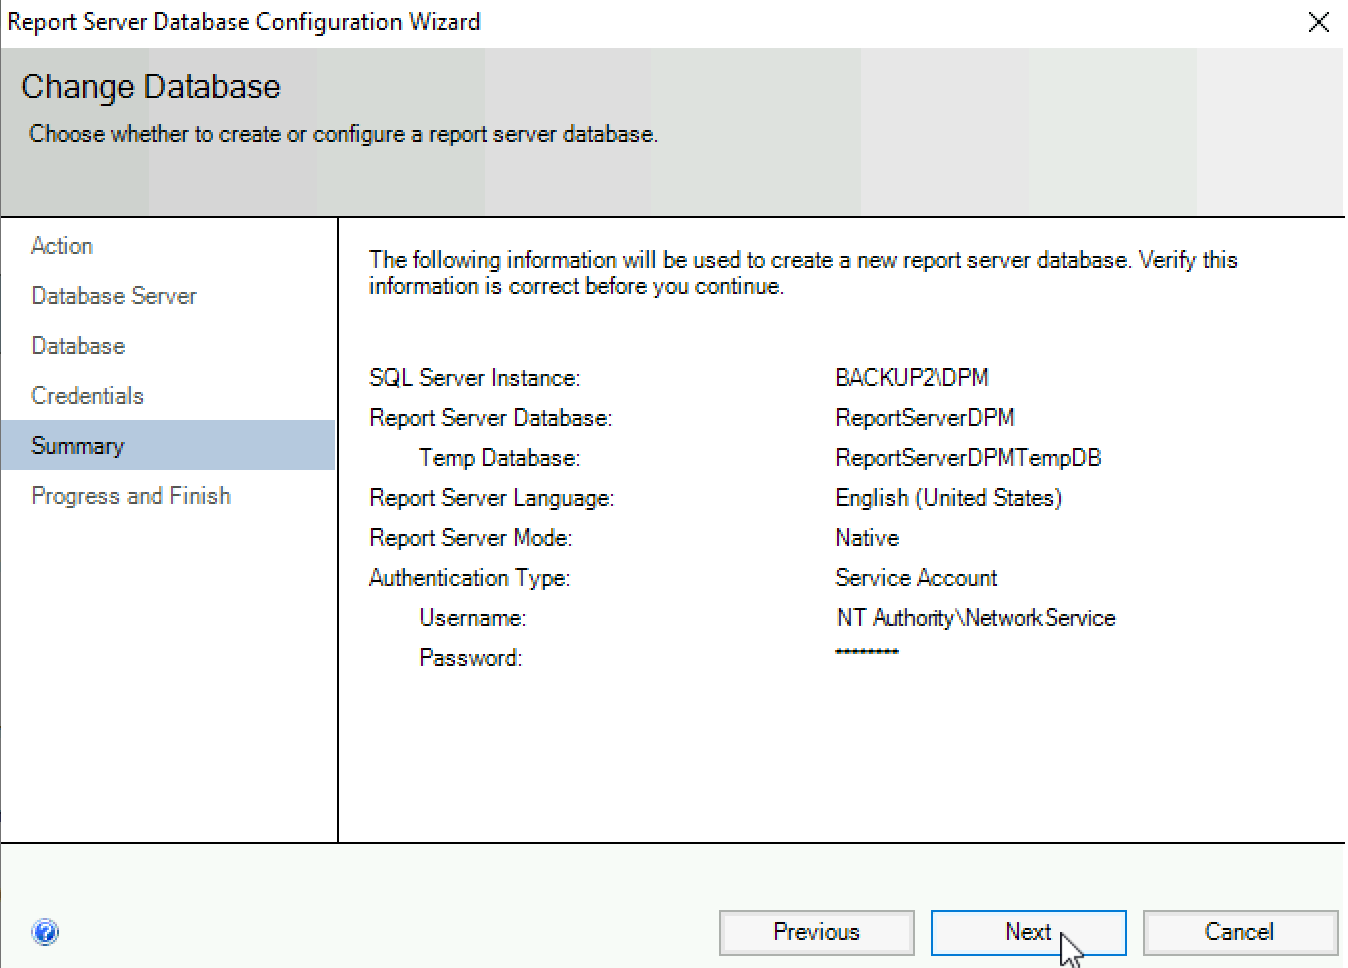
Everything is done – Finish
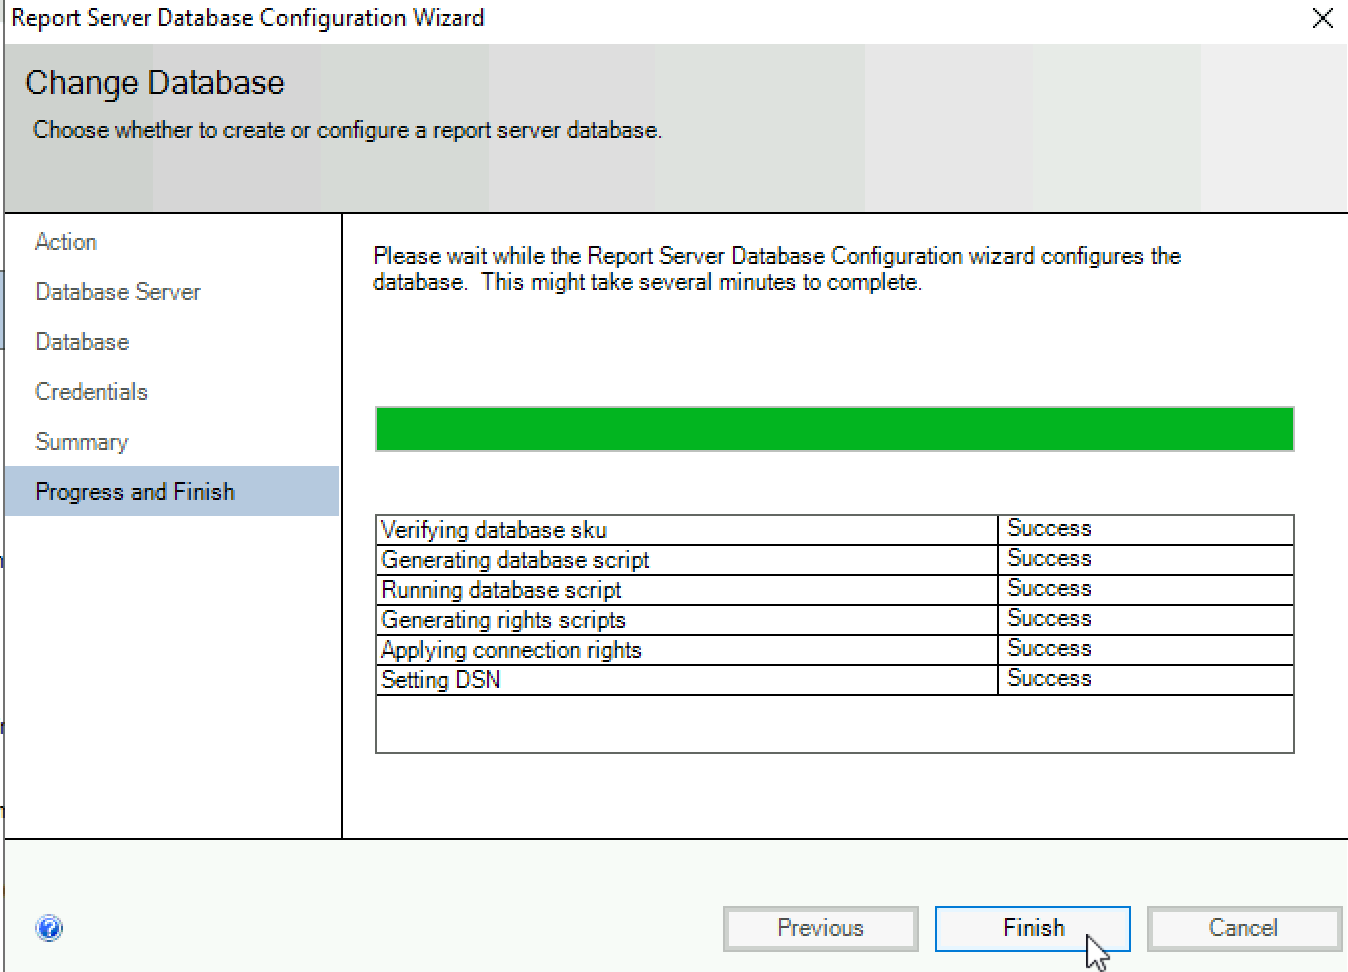
Ok, database is done.
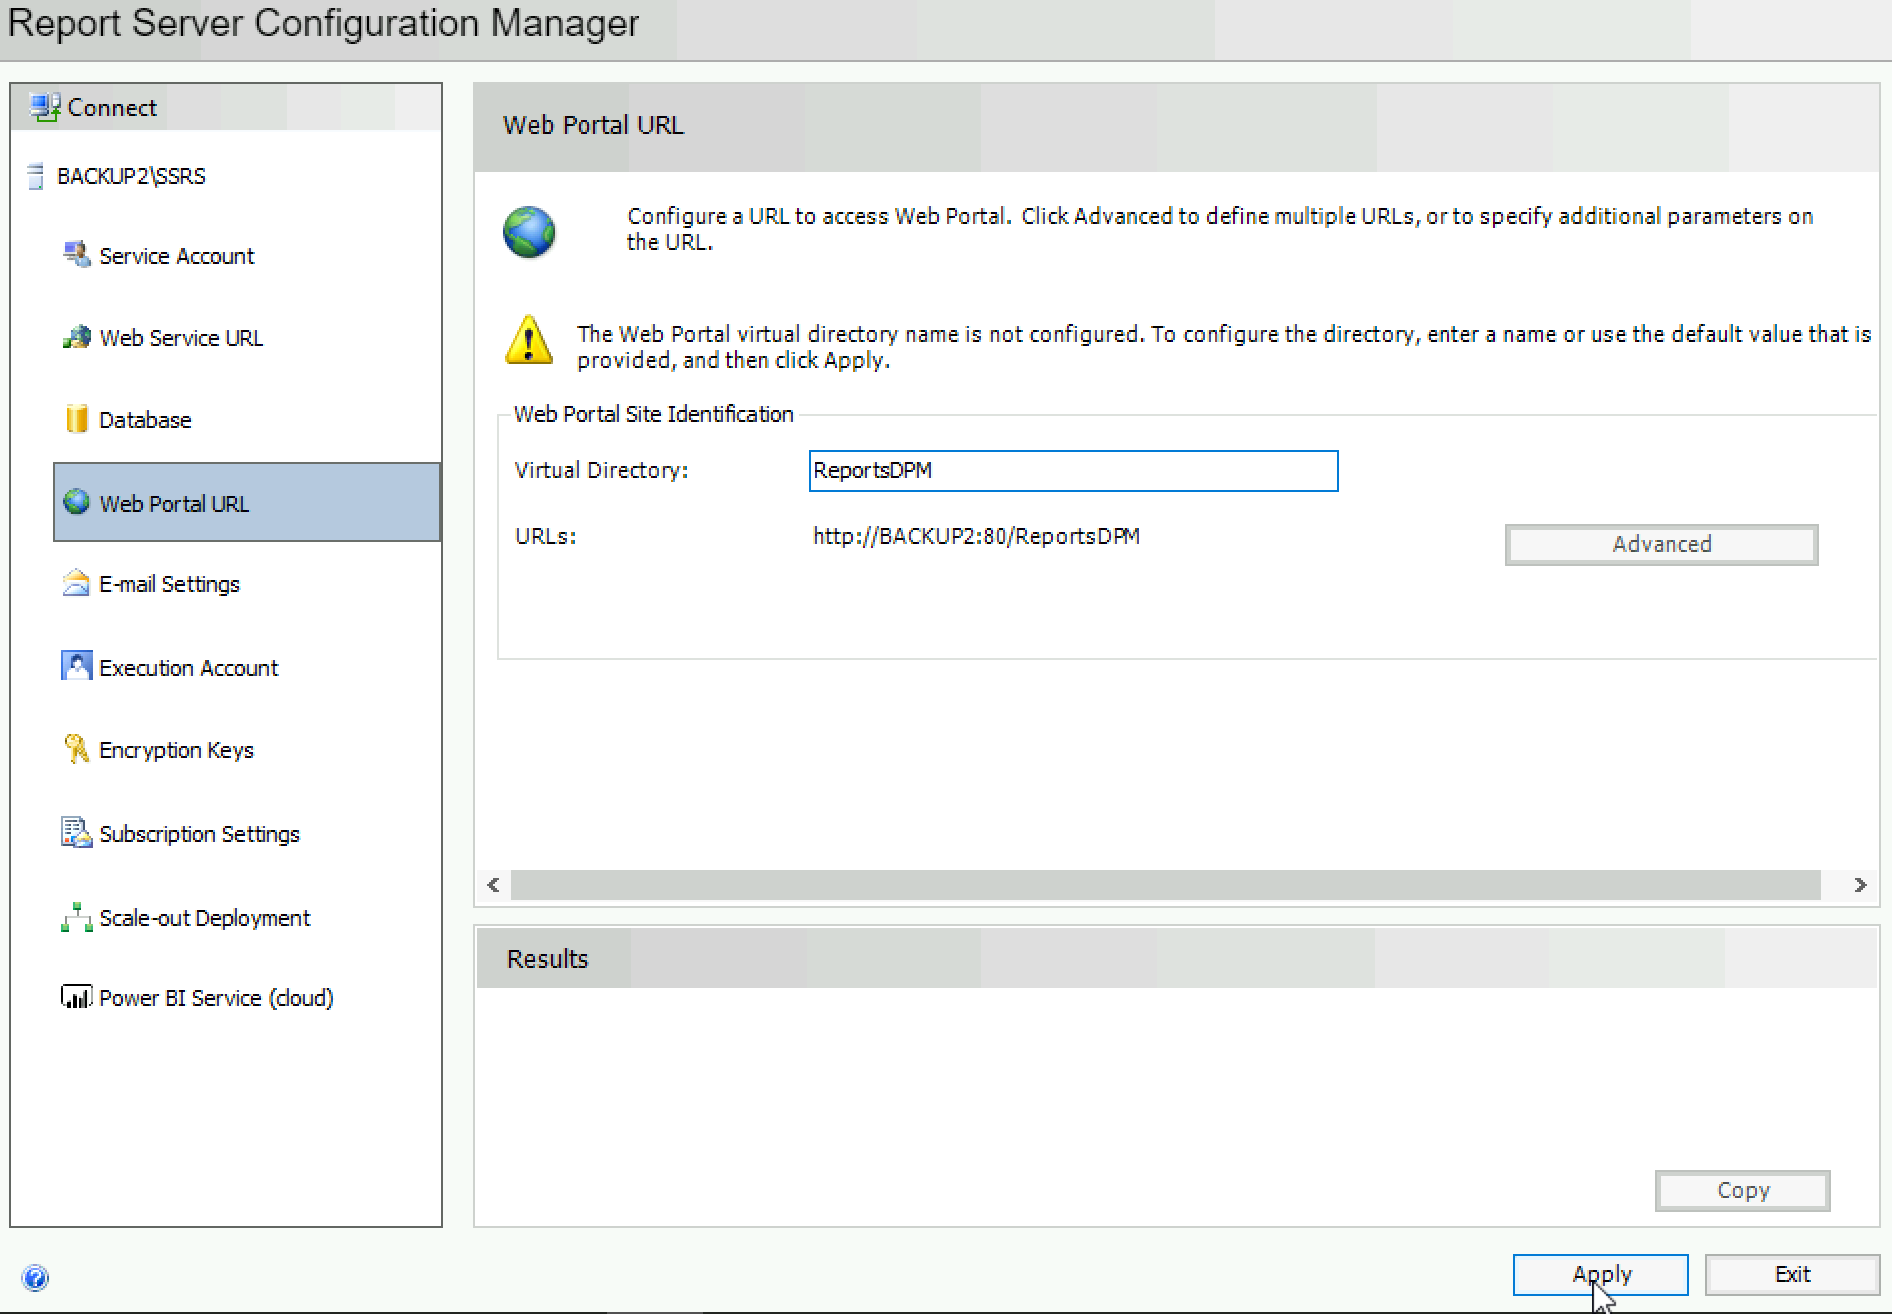
Web Portal URL – ReportDPM | Apply
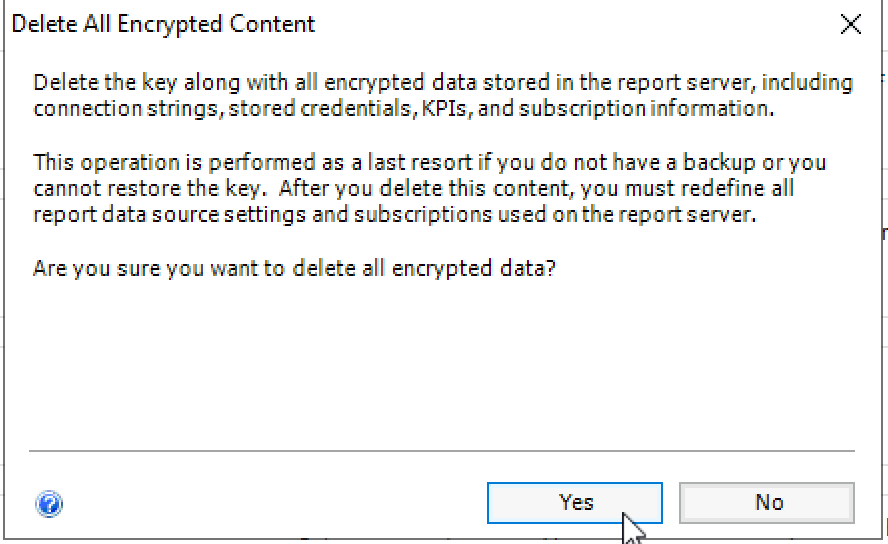
In the end, under Encryption Keys – Delete
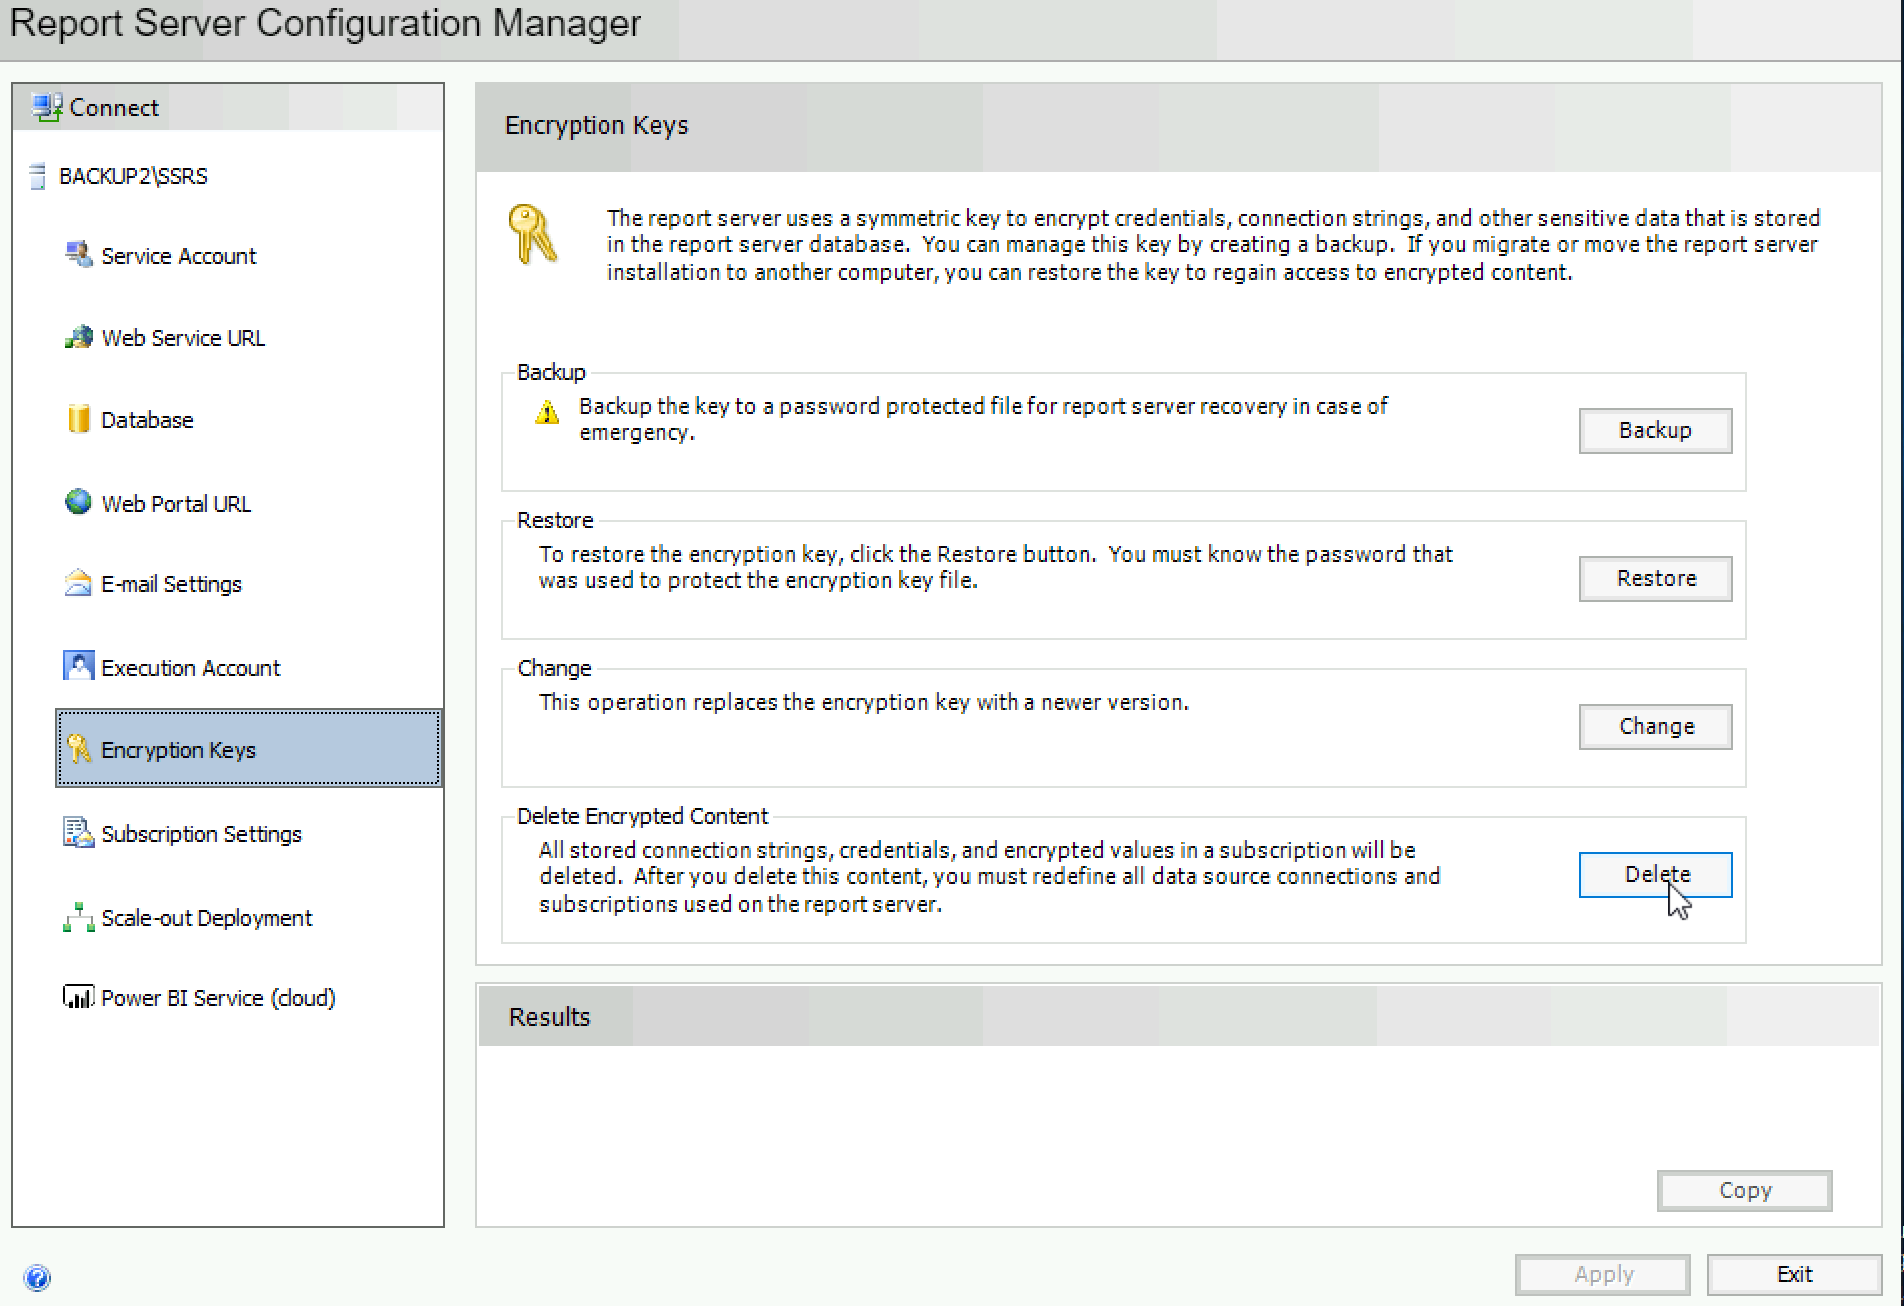
Yes
We can now exit Reporting Services
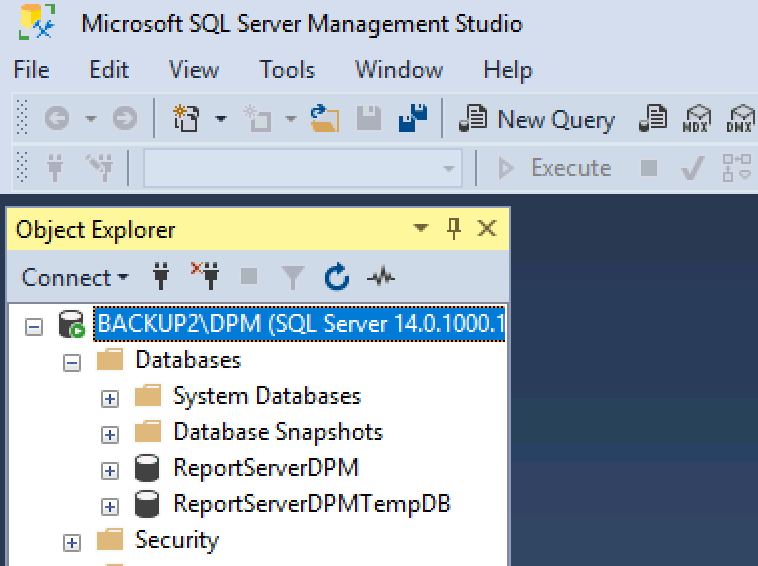
If we check in Management Studio we can see that ReportServerDPM DB is created.
Before we leave SQL world, we need to do one more thing
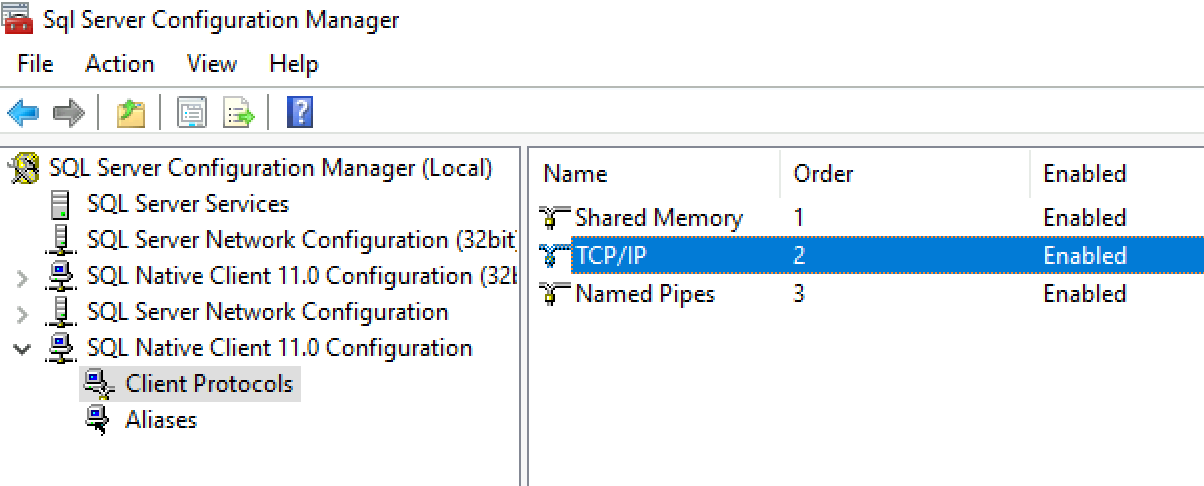
Open SQL Configuration Manager and check TCP/IP settings.
TCP/IP should be enabled.
Ok let’s finally go to the DPM installation.
Data Protection Manager installation
Ok, finally, after walls of text we are on the step where we will install DPM.
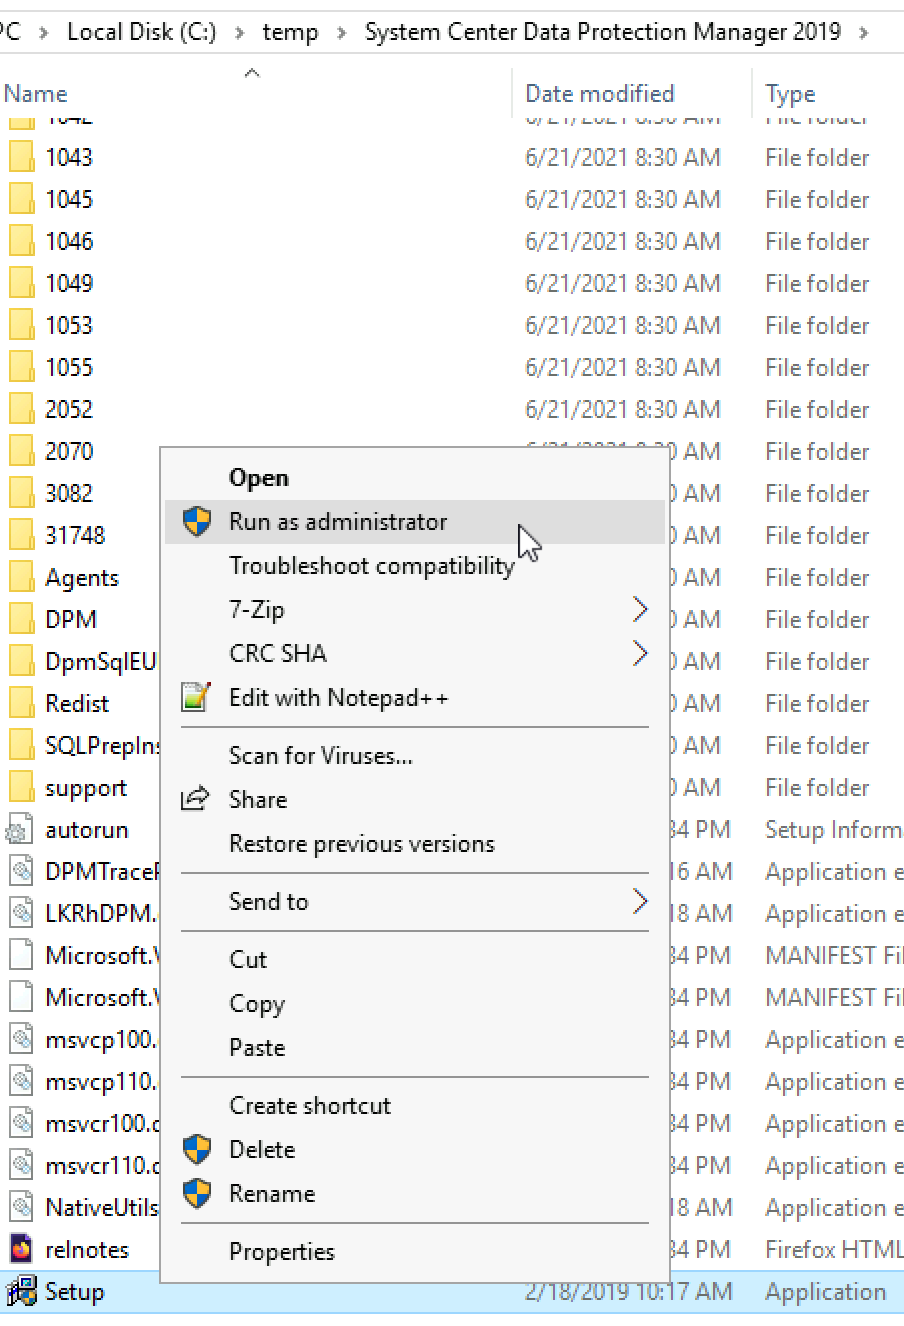
I usually extract DPM to temp folder on C drive
Right click on setup – Run as Administrator
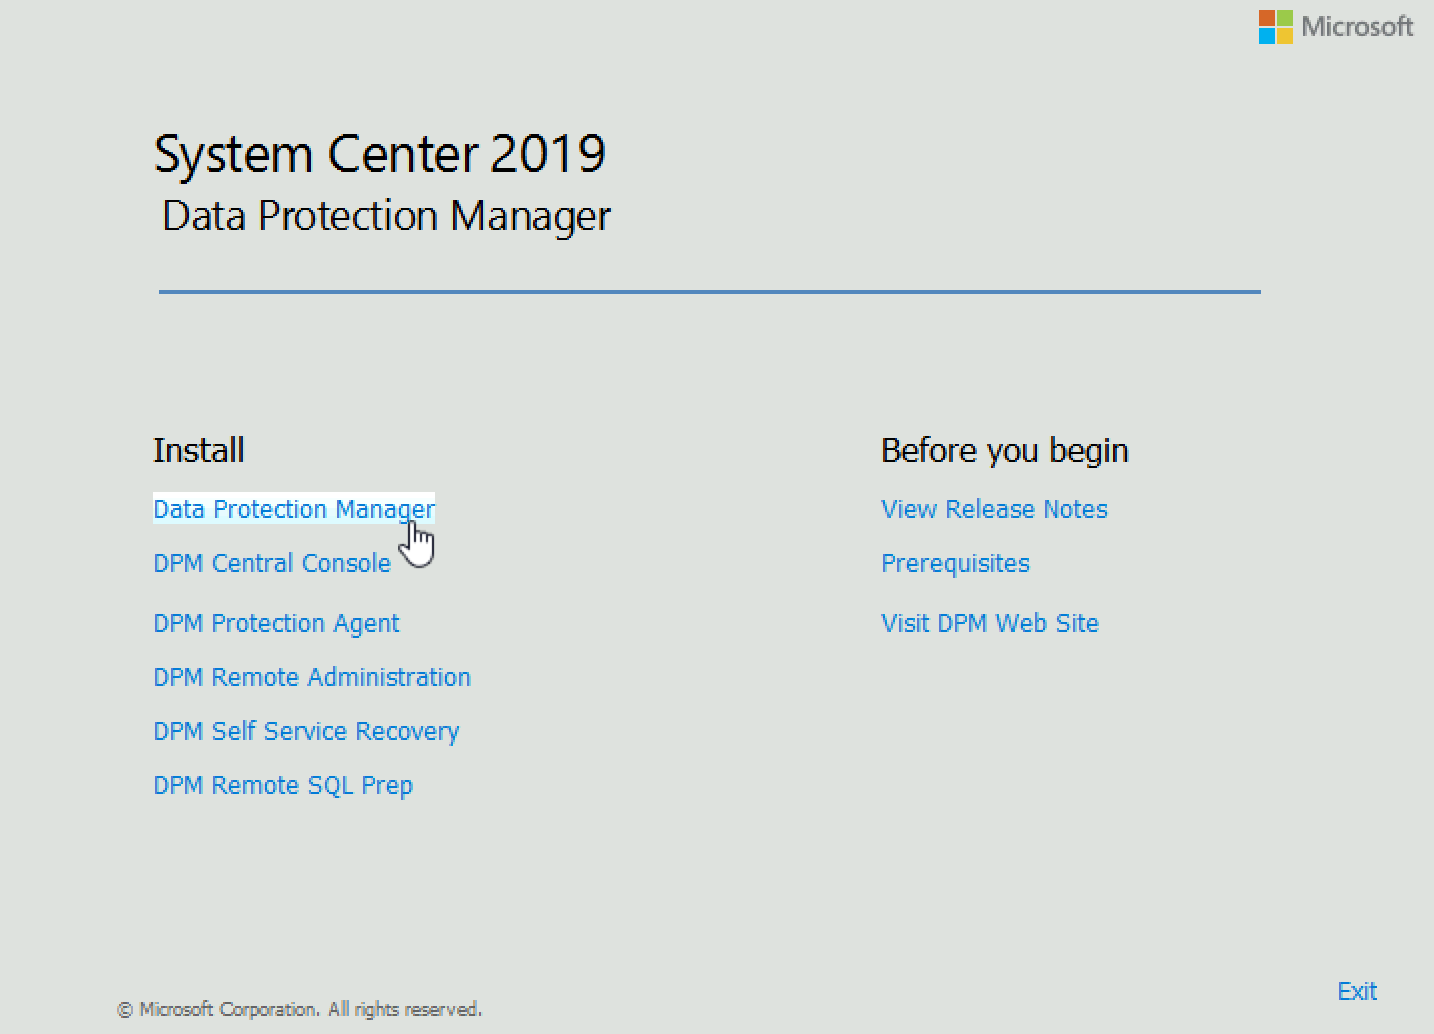
Under Install select Data Protection Manager
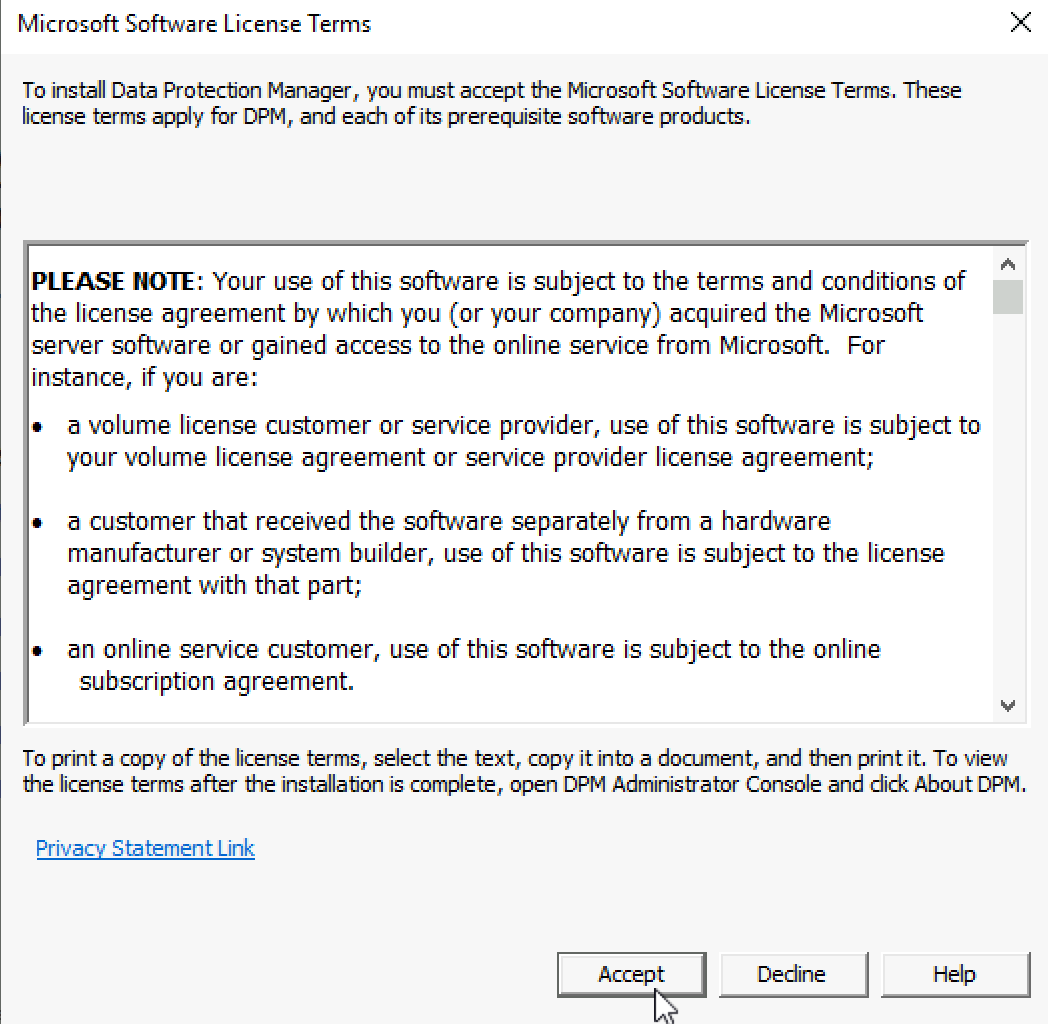
Read License Terms | If you wish to follow along further – Accept. If you Decline – you are done with installation :)
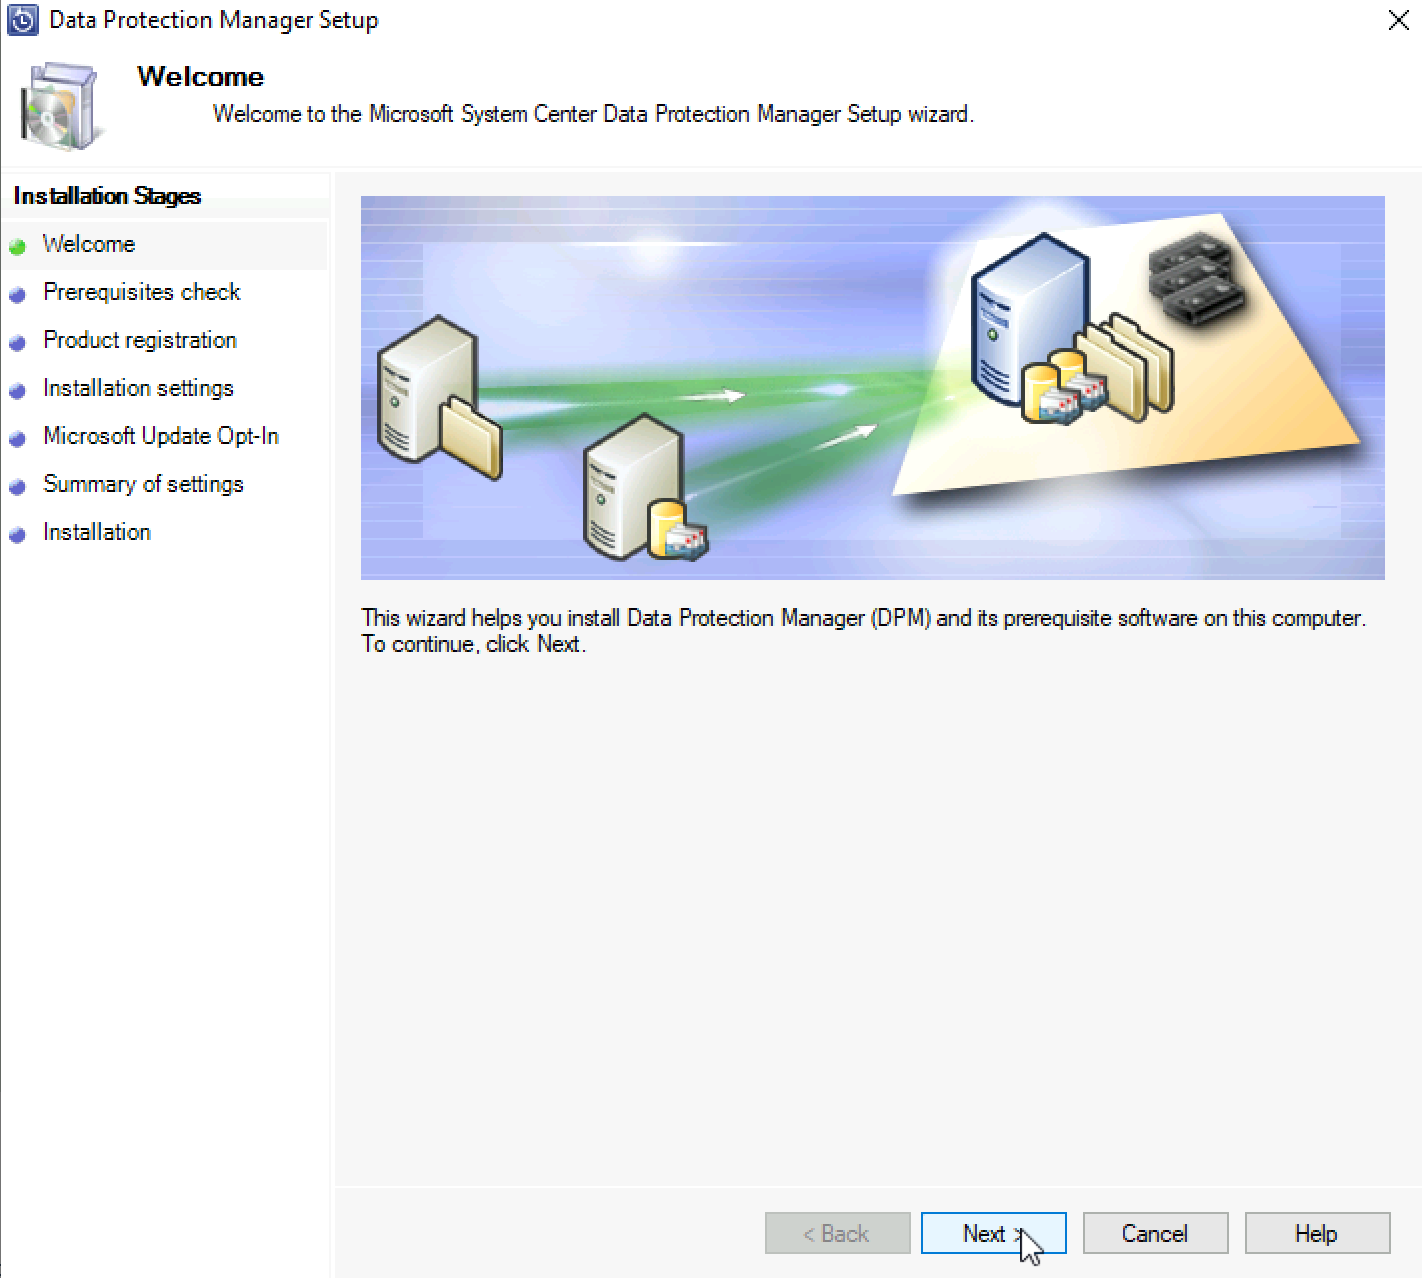
Microsoft welcomes you to the DPM wizard | Next
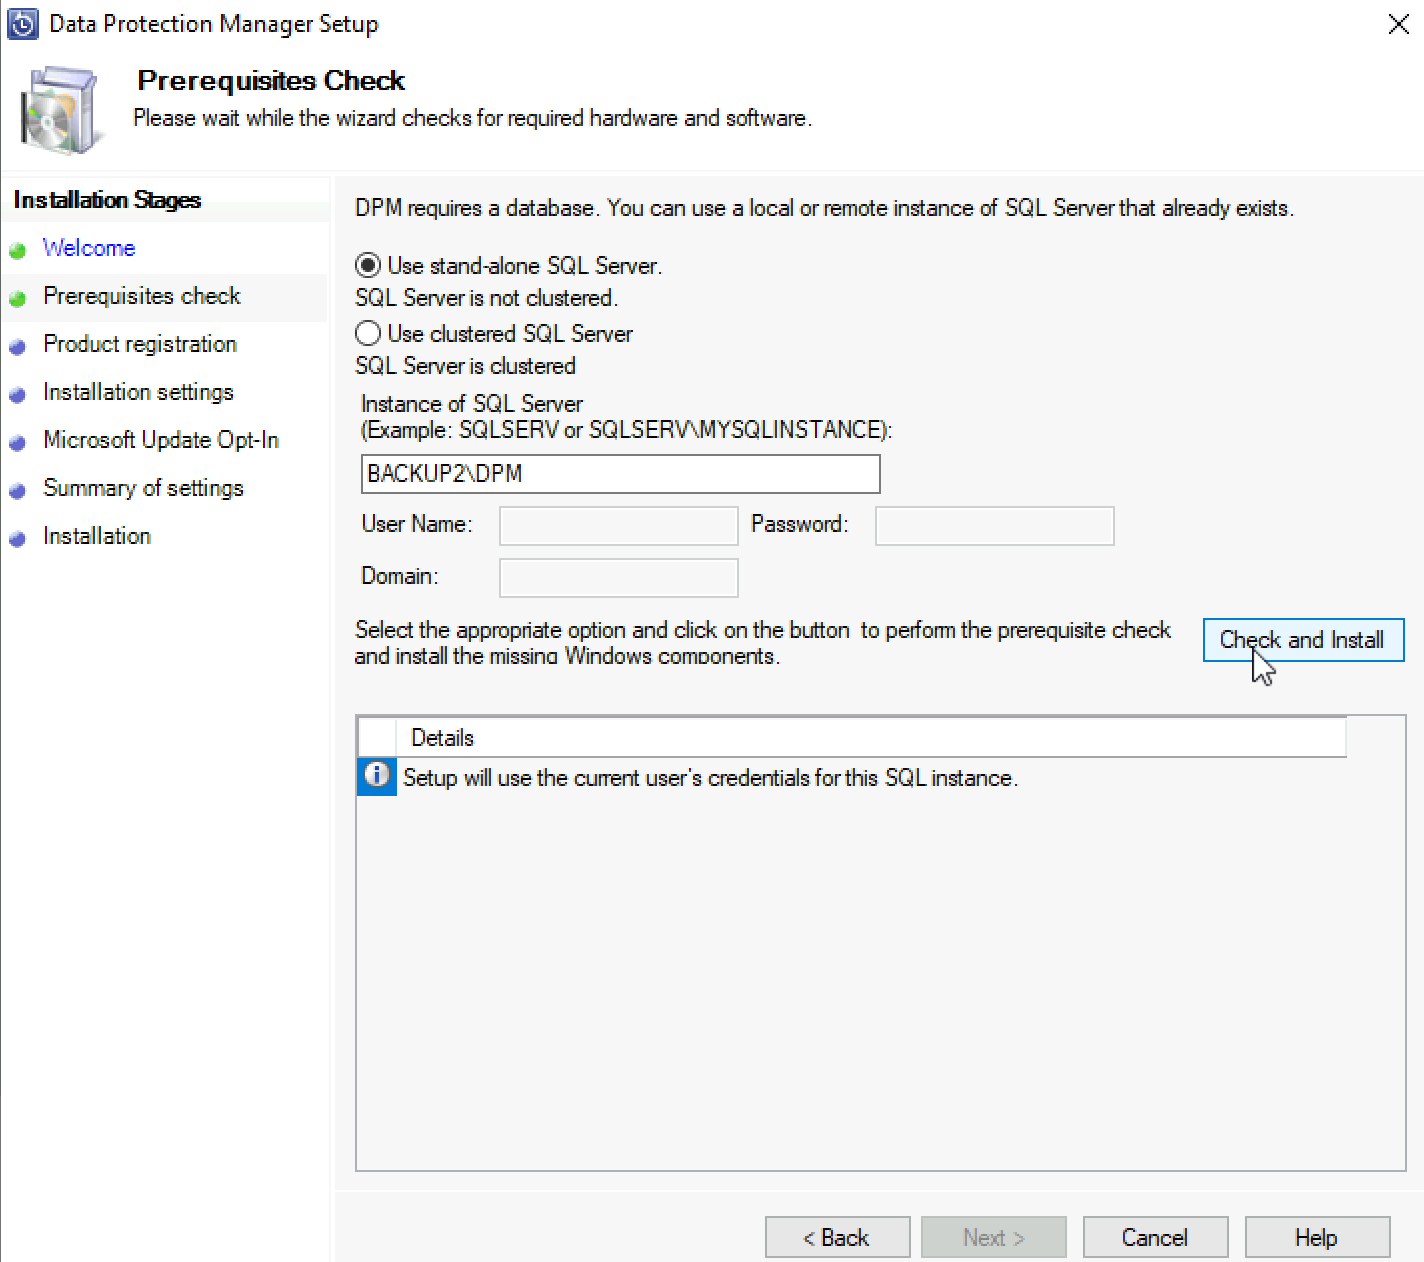
Use stand-alone SQL (Always-ON which I have configured does not work with DPM) and soon after I entered my server name (Backup2) and sql instance name (DPM) username and pass fields were greyed out. Select Check and install
If you get here error “DPM requires TCP\IP protocol to be enabled on the selected SQL Server instance…” and you already enabled TCP/IP check if SQL Server Configuration Manager if on TCP/IP under IP addresses have status enabled and Dynamic port is either 1433 or empty. Also make sure you are not doing this with SQL Express – it also will not work and give you this error (at least in my experience).
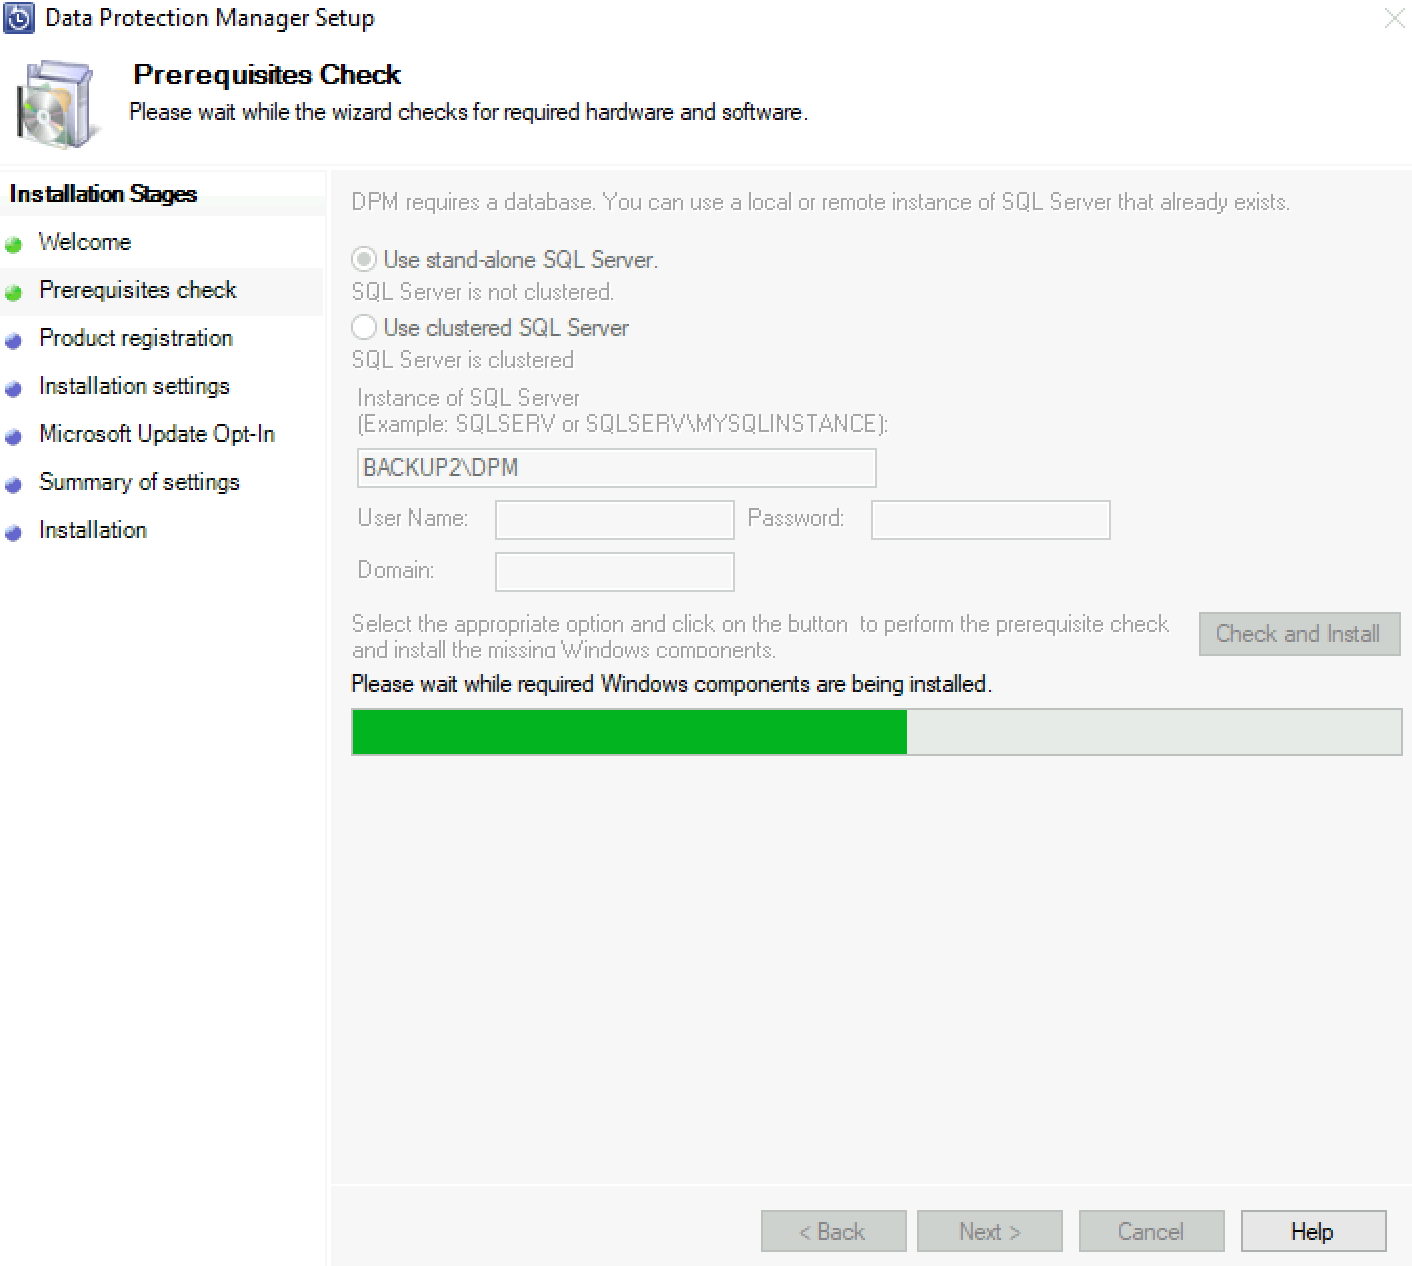
…
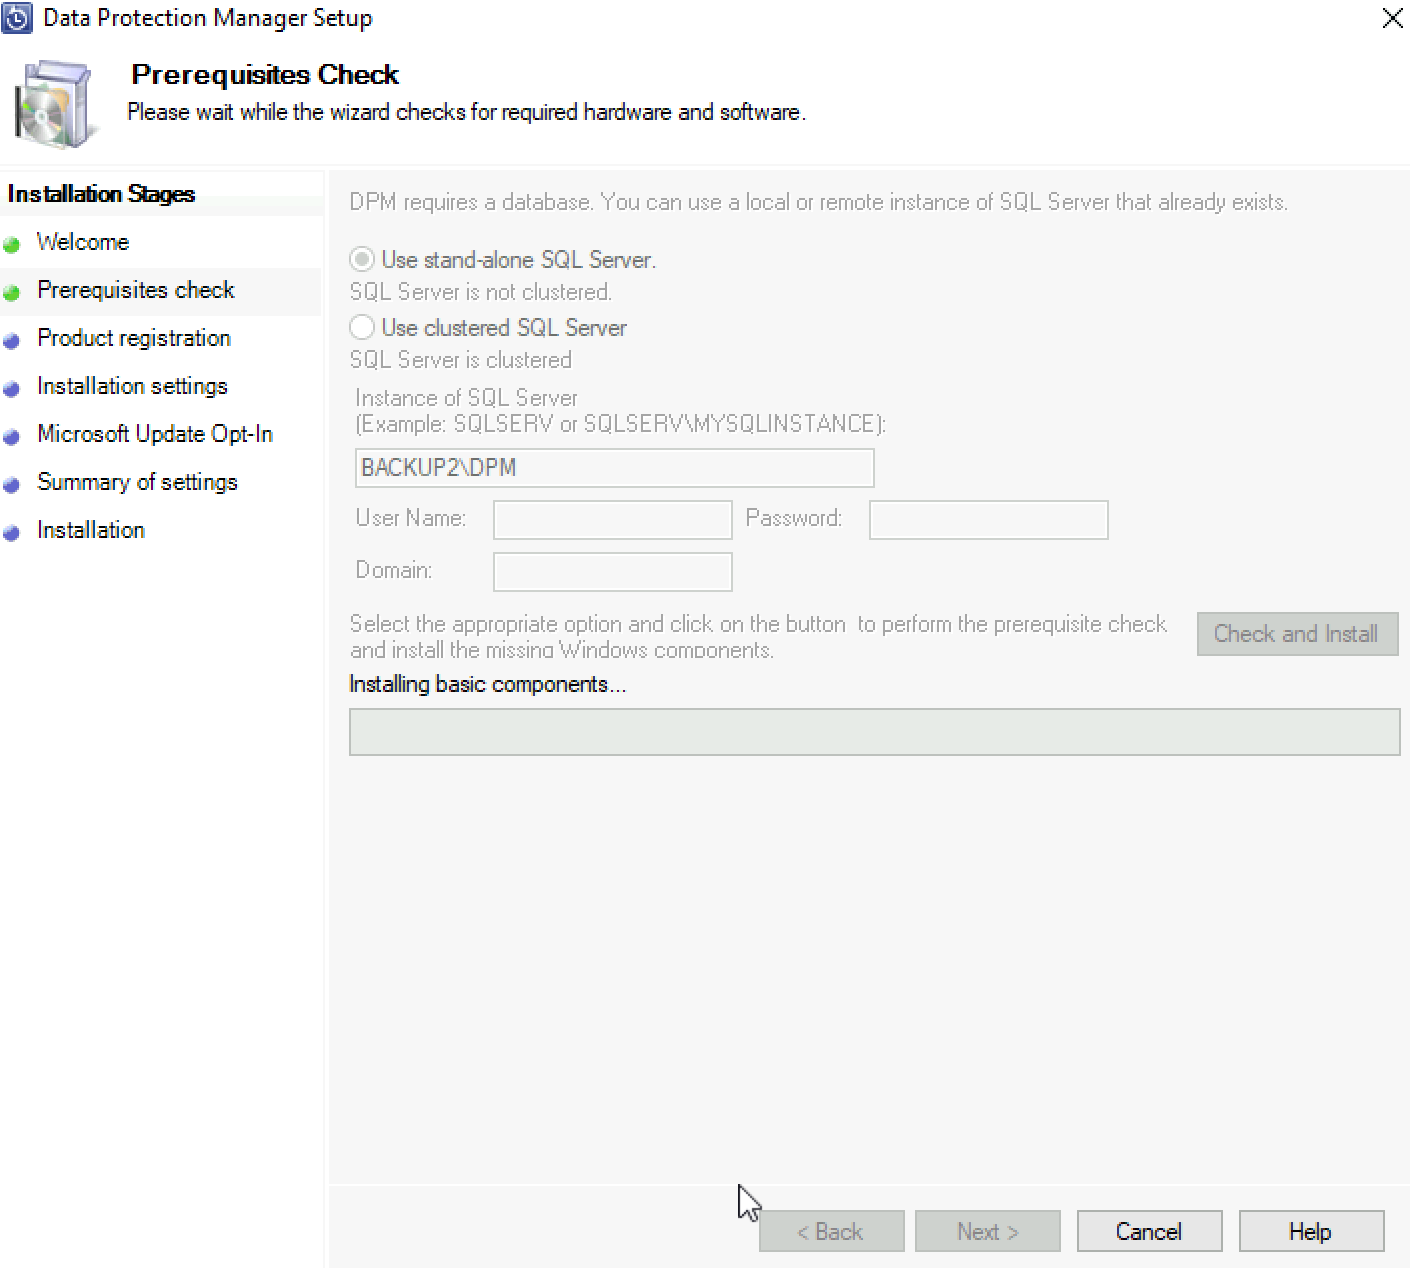
…
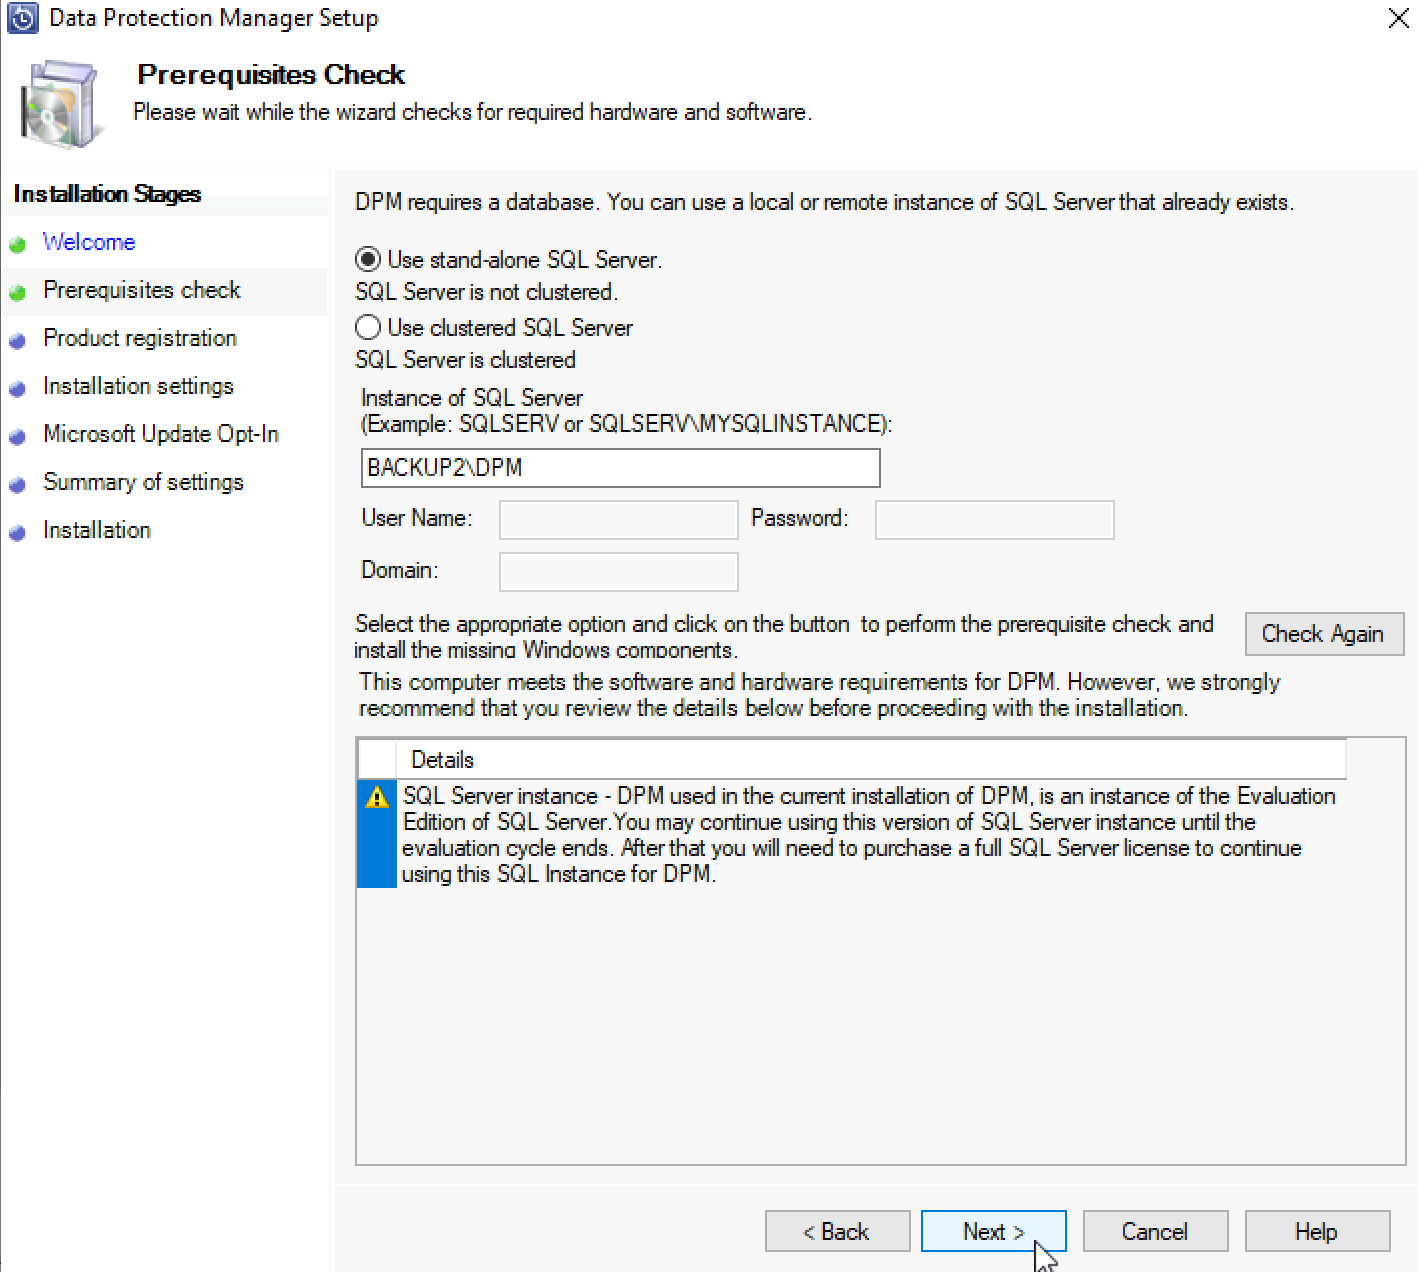
I got one warning – I’m using Evaluation version of the SQL, and I’m aware of that. Be careful if you are going with this scenario in production (which you should not, you should only test with this) – when evaluation expires – everything stops.
Next
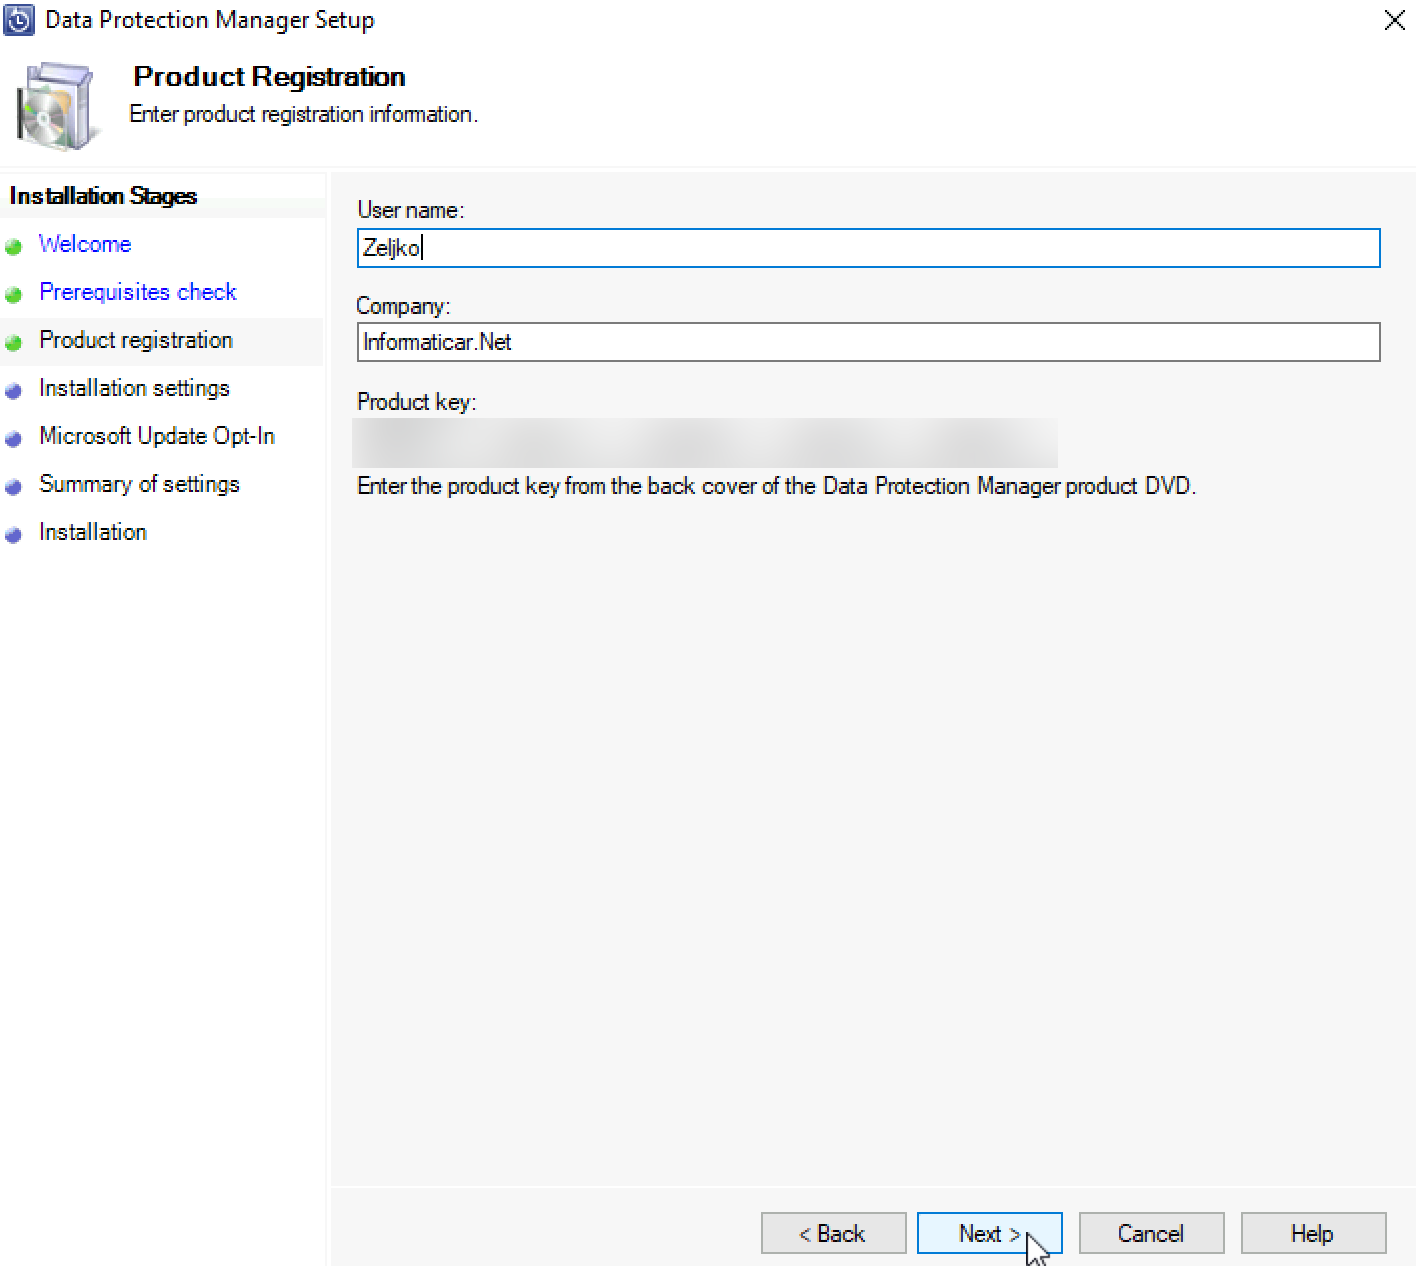
On next screen you will enter username, company name and Product Key | when you are done – Next
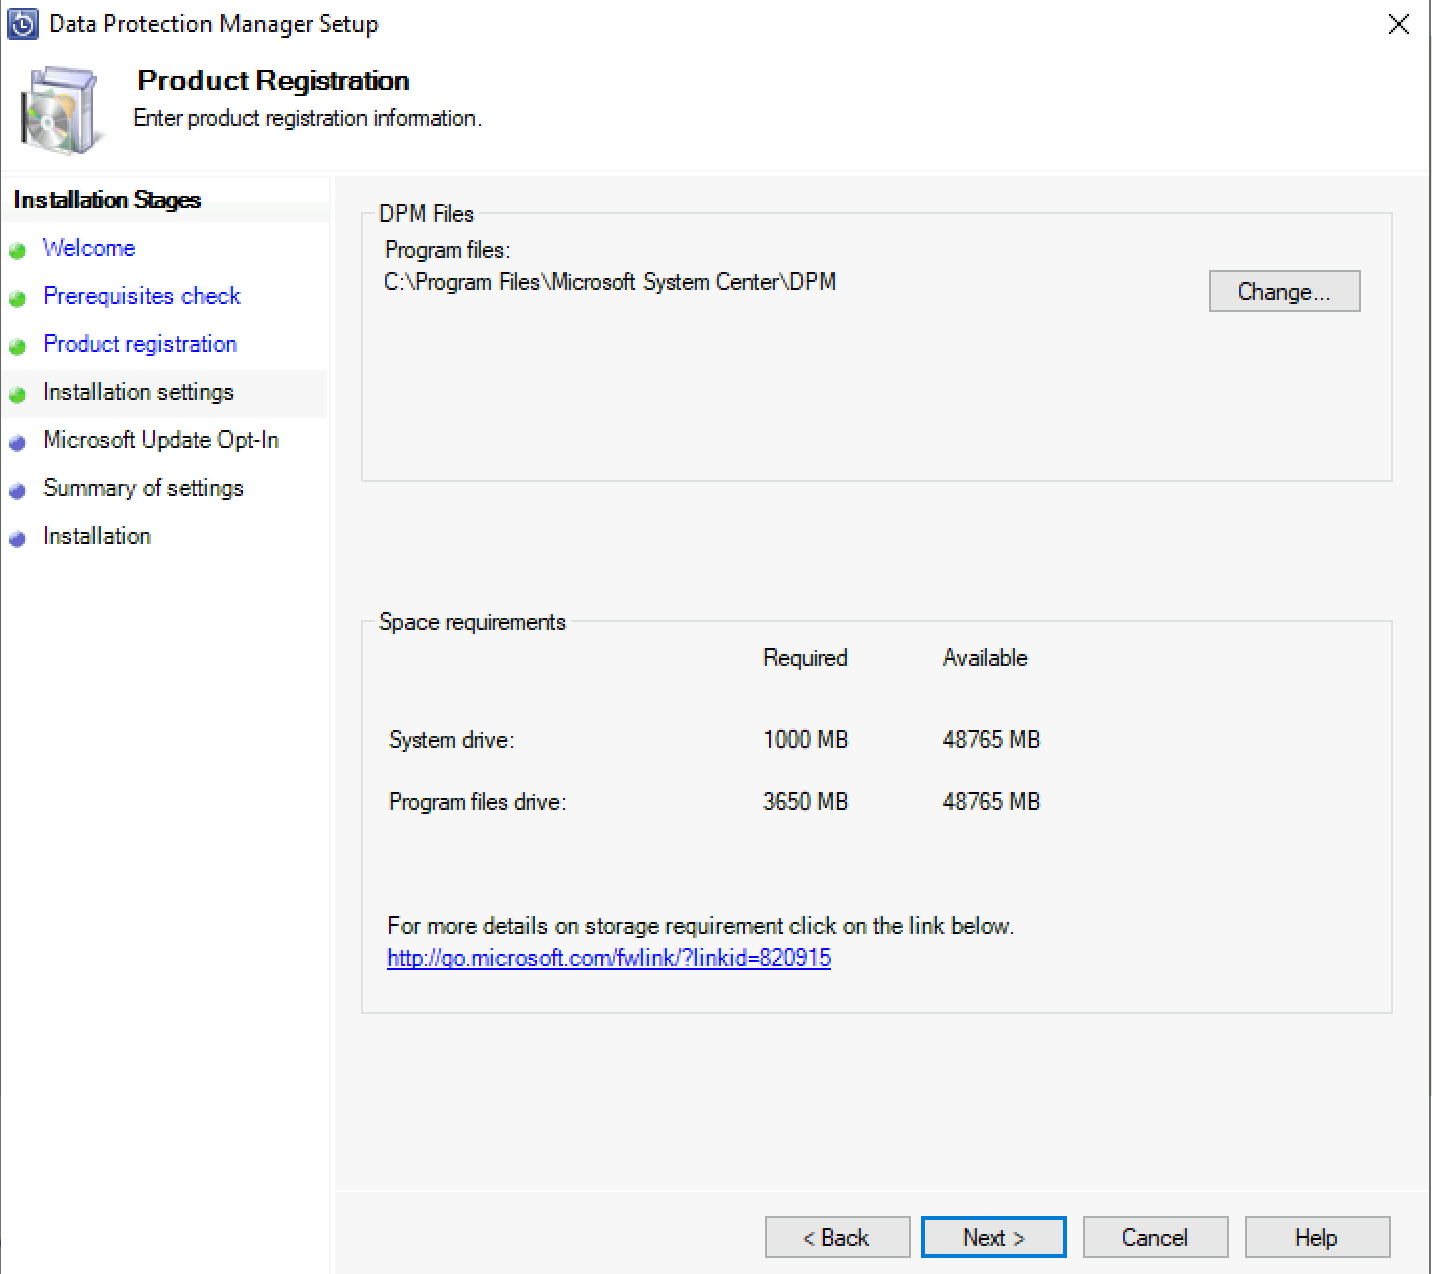
On next screen you will define install location and see disk that is needed | Next
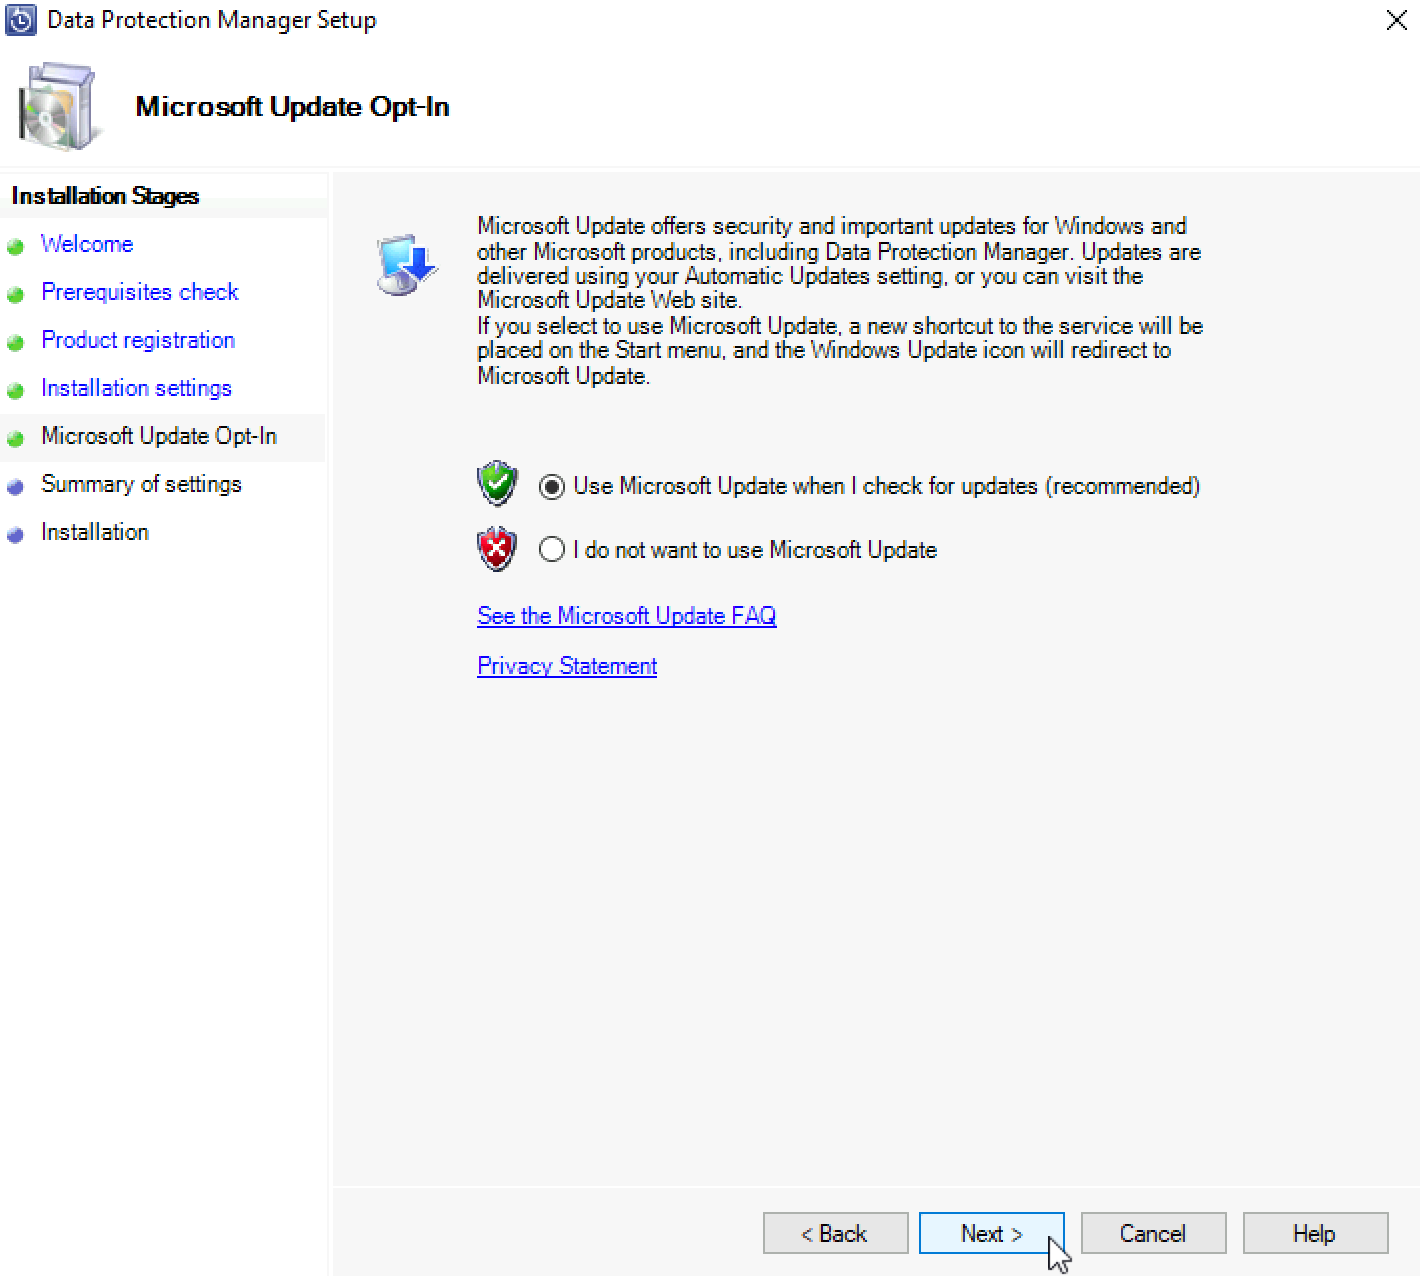
Although Windows Updates can be problematic, I would suggest opting-in | Next
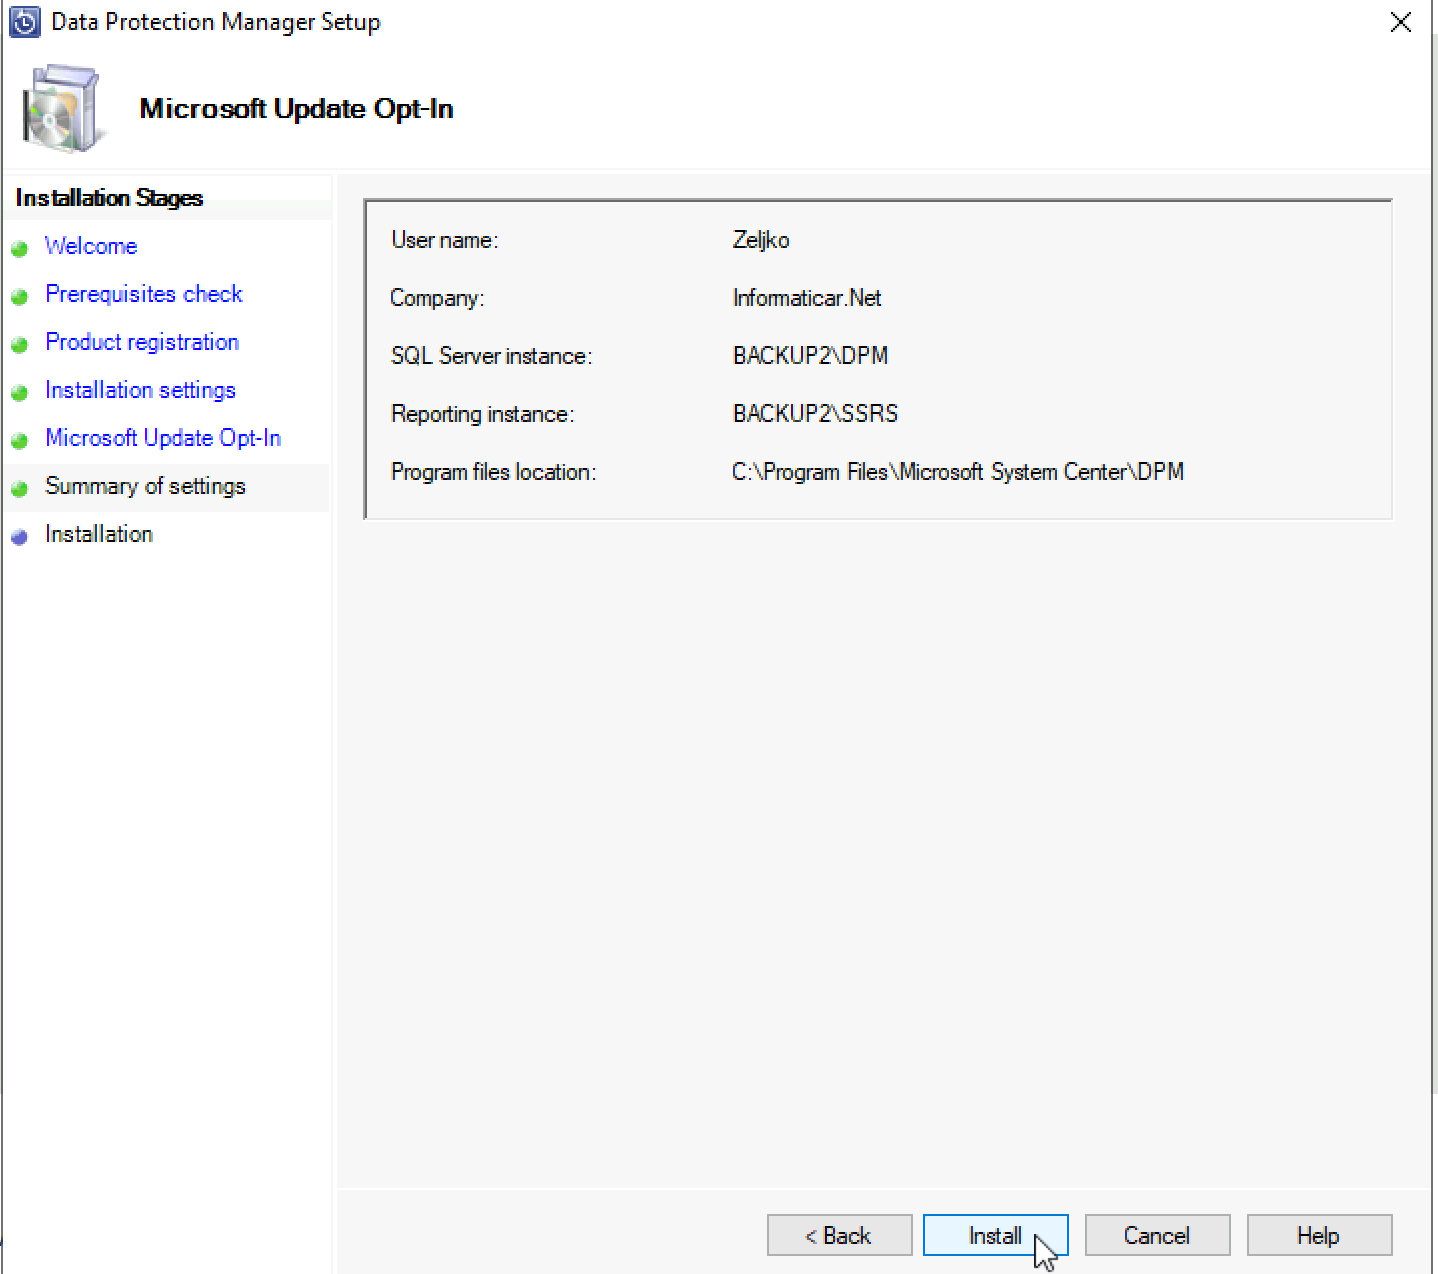
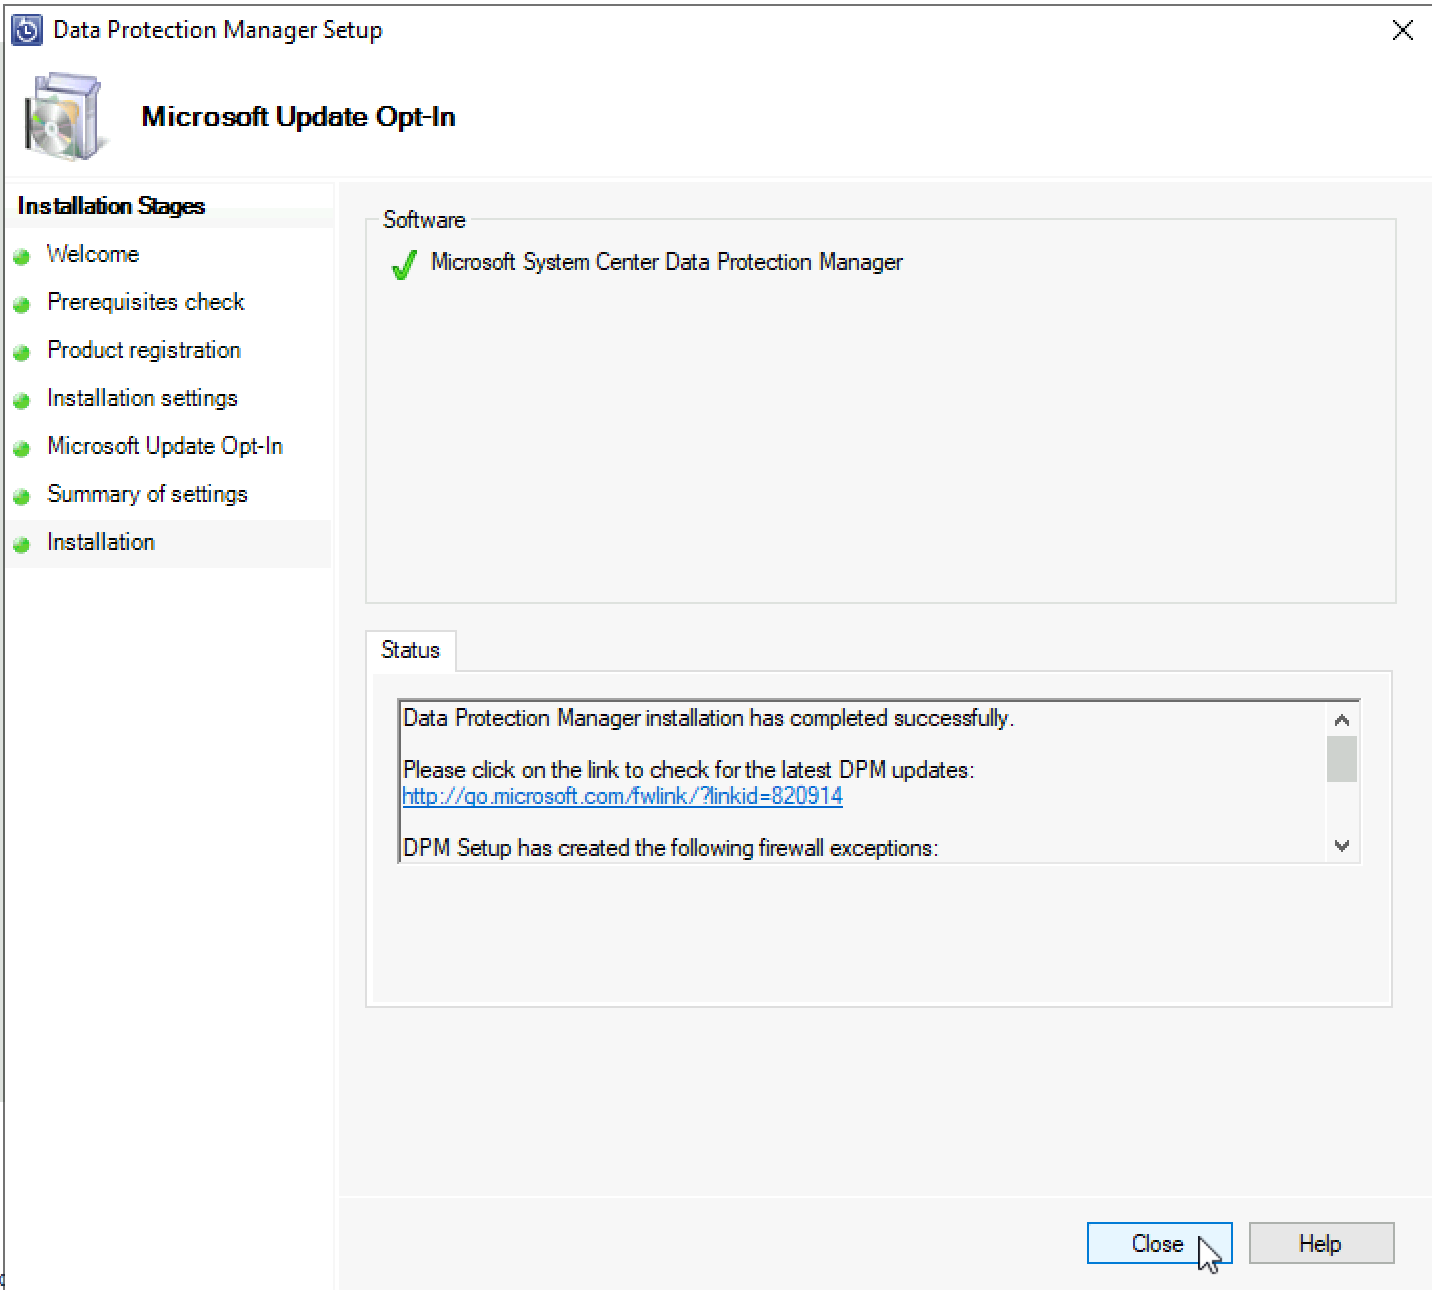
Ok, let’s install
Before you start installation, make sure you also have active network connection, installer uses some network shares and install will failed if you haven’t configured network until this point.

Installation is done! We can close this screen.
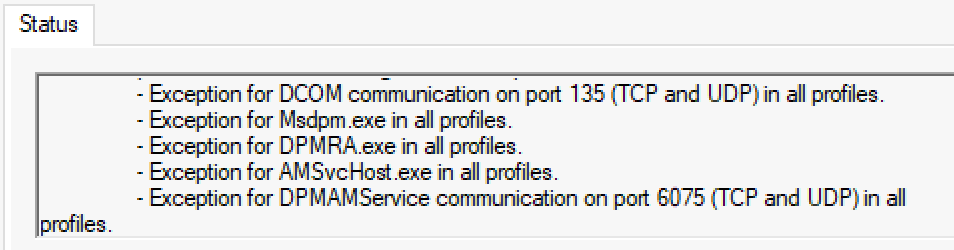
These are the exceptions DPM created in firewall.
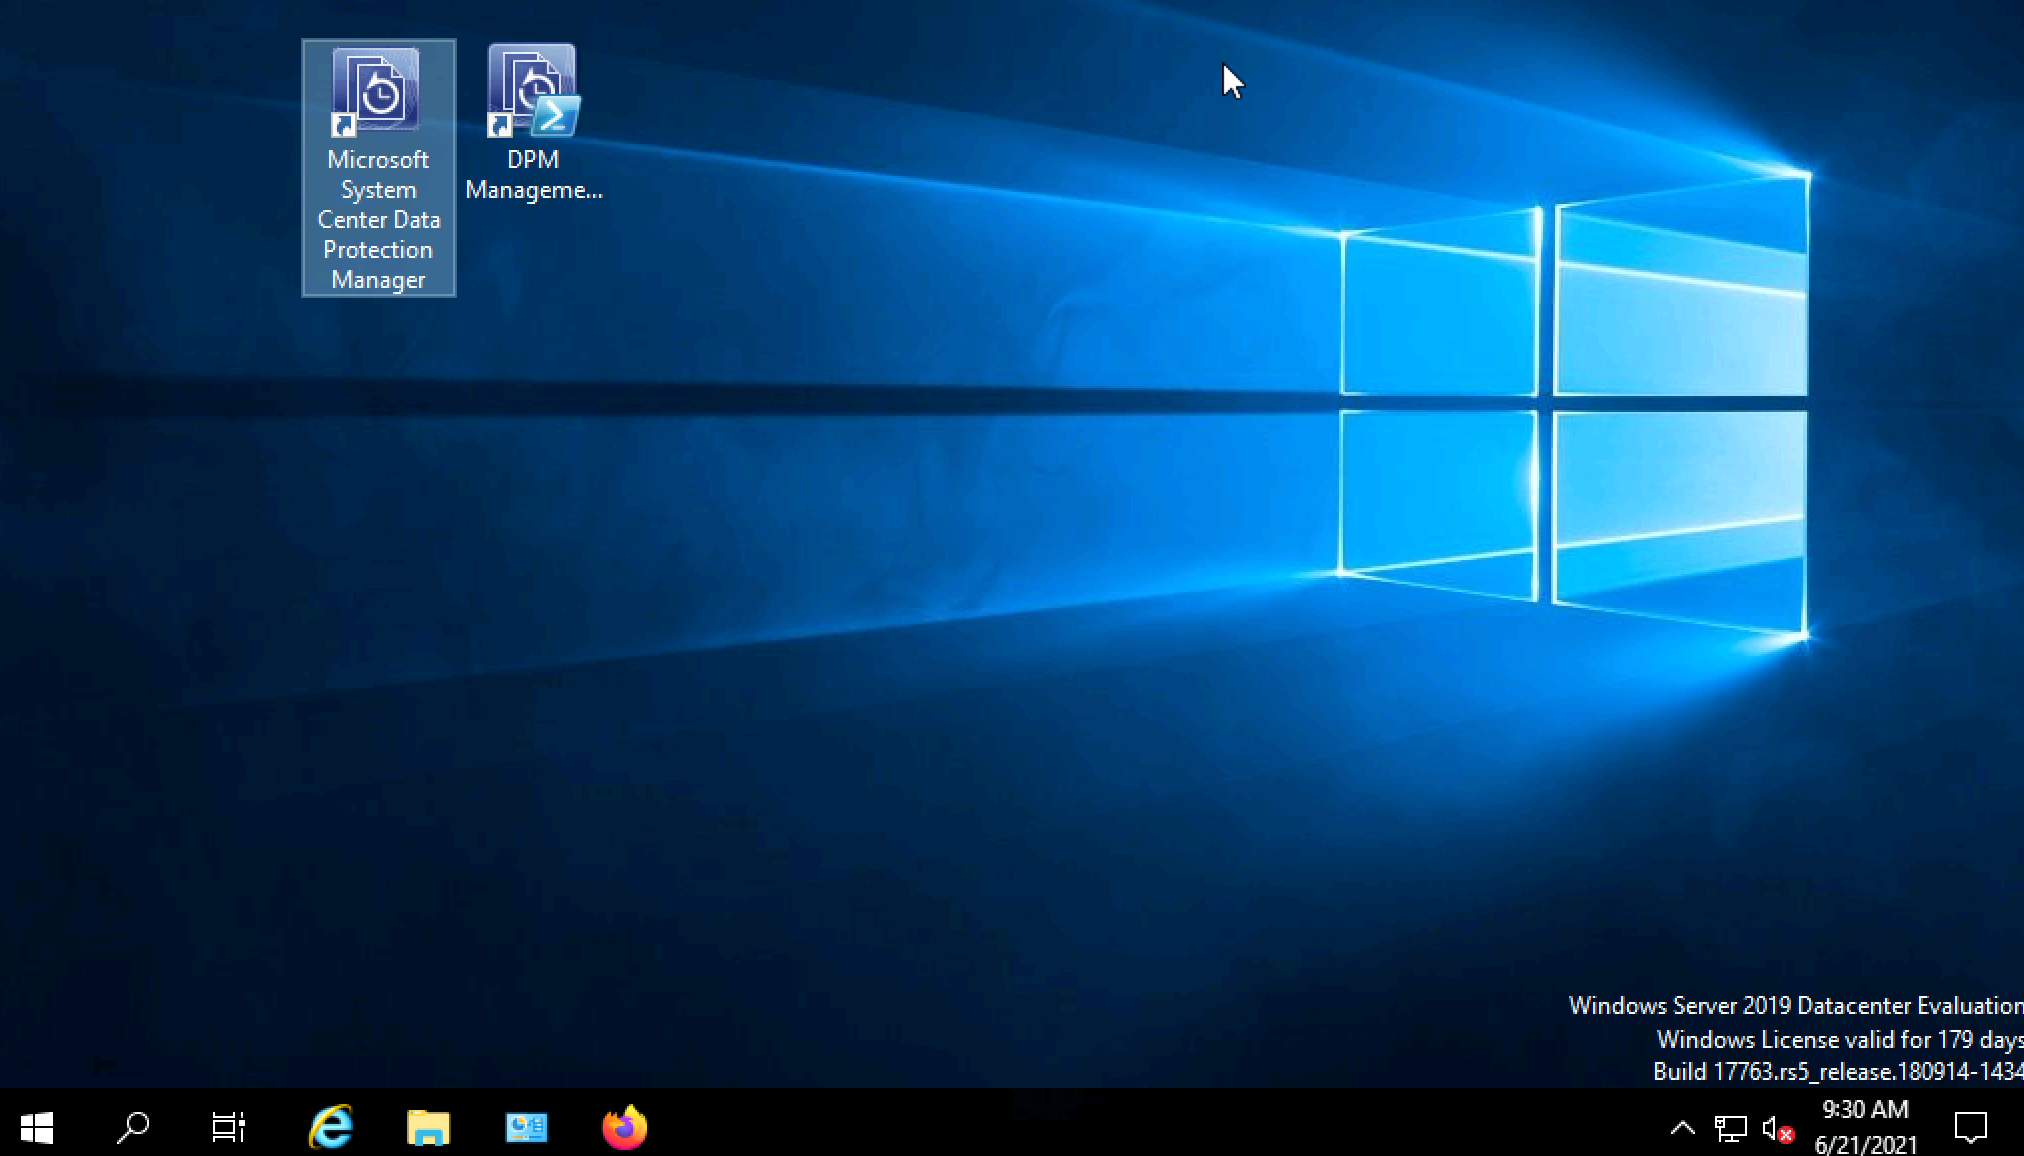
On desktop there are to new icons related to DPM. We will start Microsoft System Center Data Protection Manager to see if it works.
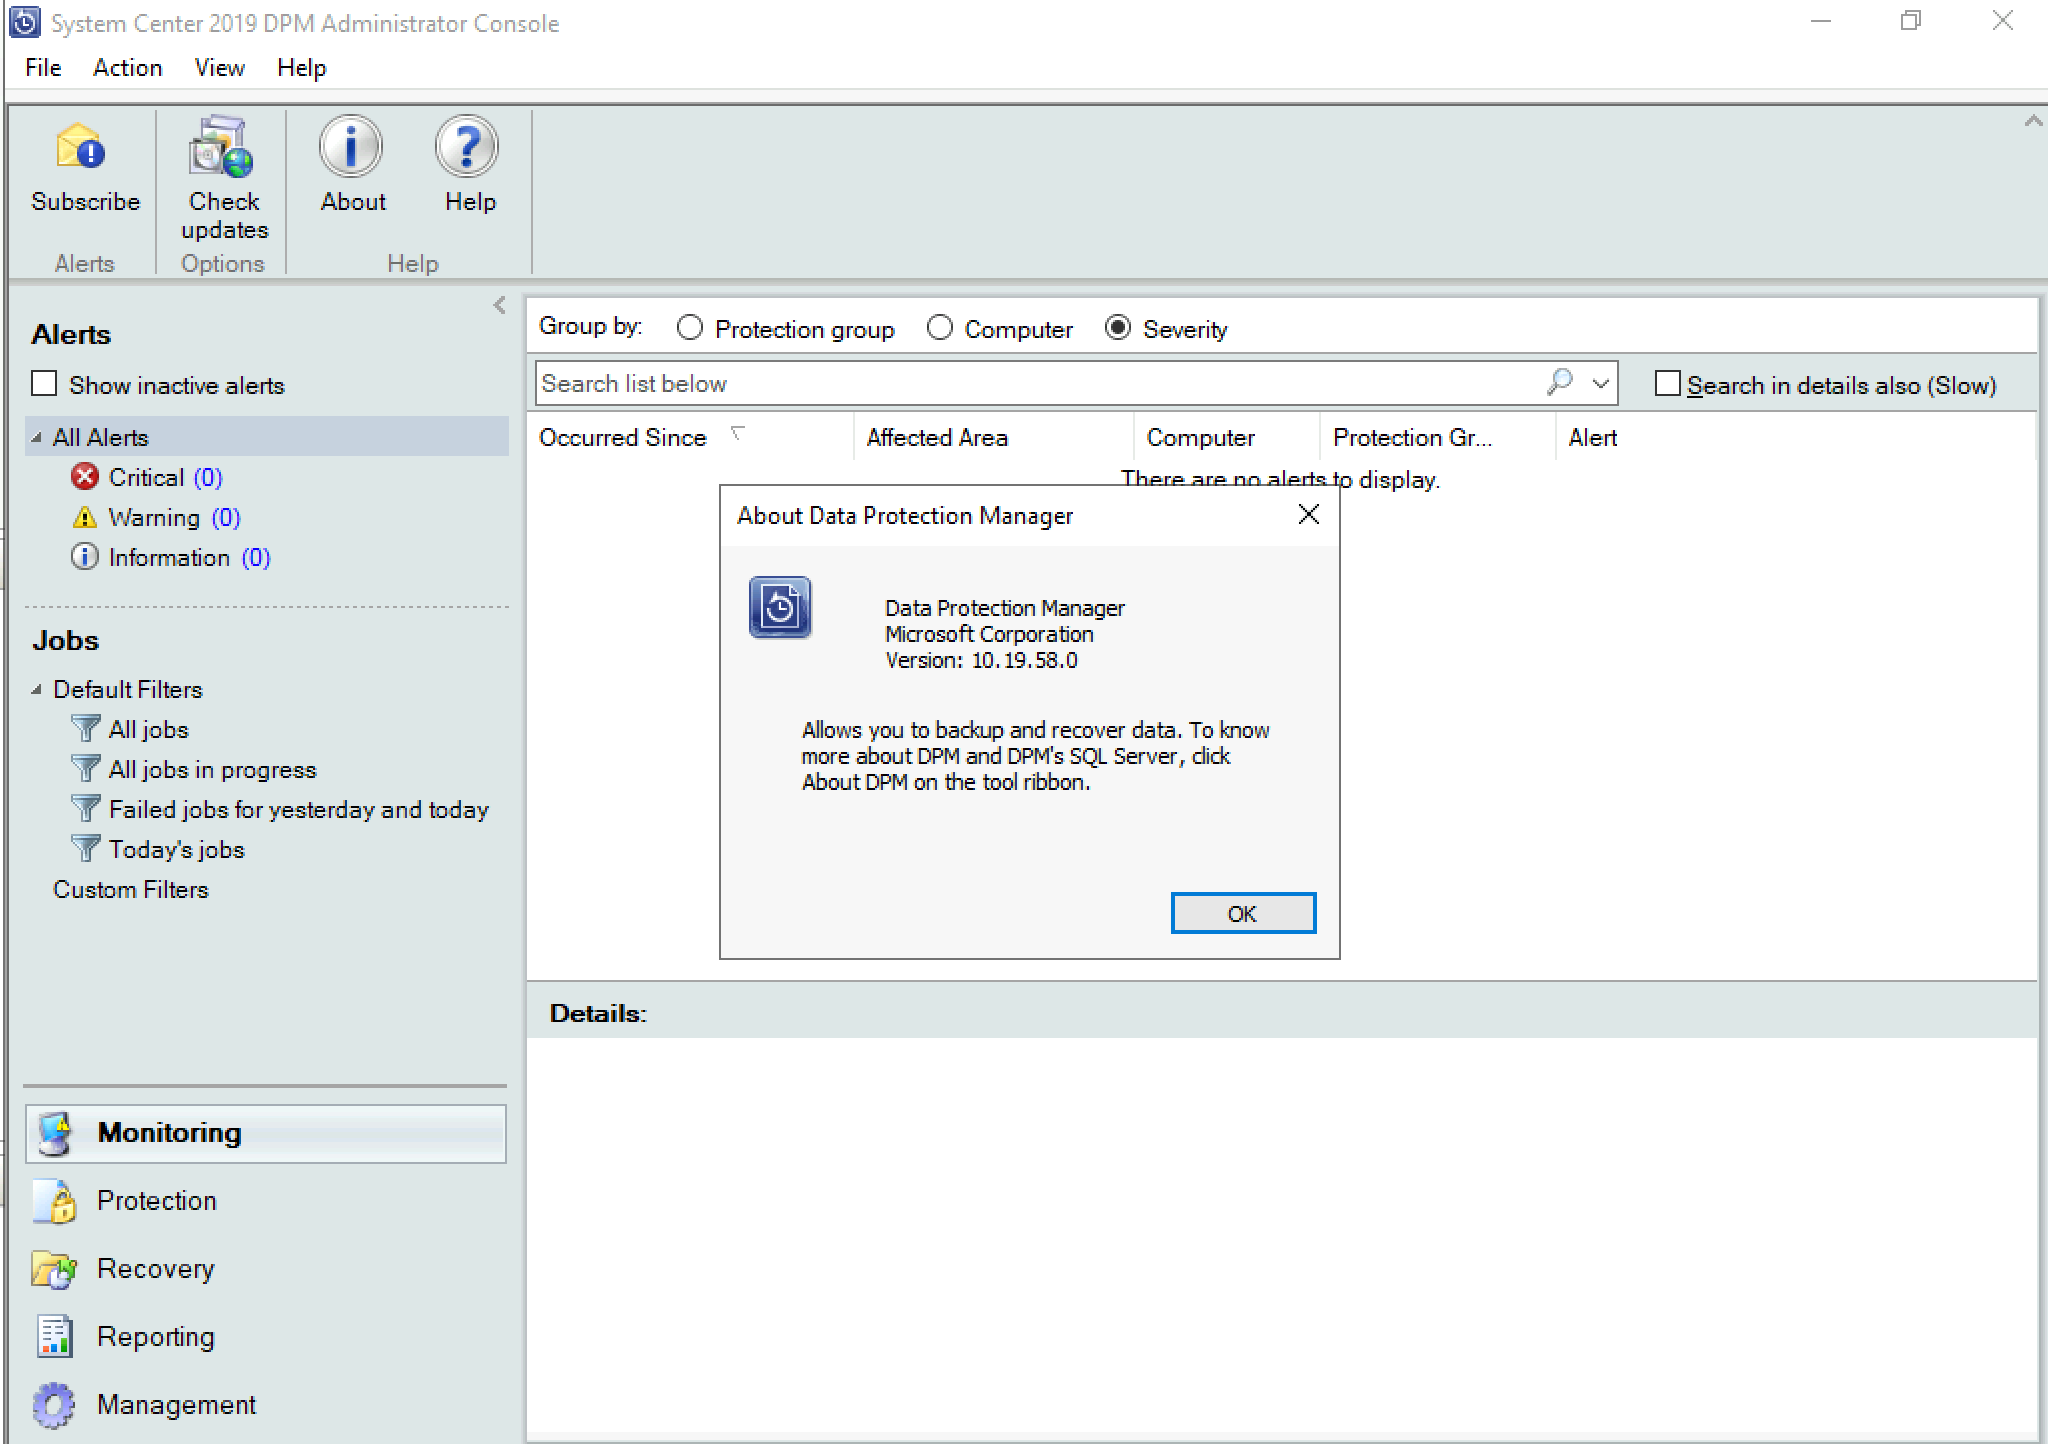
Ok, it works
I won’t make this any longer, since this is already a huge wall of a text.
We will leave configuration and backup tests for some other time.
Conclusion
A bit intensive setup with many little steps that have to be done in order for DPM installer to work. There are options to do this a little bit more automated, but for someone that is doing this first time, with little experience in DPM and System Center, I think this is also a good way.