DPM Administrator console is not particularly feature rich – and that is not a bad thing in this case. Interface is simple and again, has all you need for a successful backup. Let’s check it out
Before we begin
In this guide we will be going through configuration of the storage for the DPM backups, deploying agents on VMs, configuring firewall and updates for DPM.
For more info on the subject please look here – https://docs.microsoft.com/en-us/system-center/dpm/dpm-overview?view=sc-dpm-2019
Prerequisites
I assume you have DPM installed and in place. This LAB contains DPM inside domain with DC, Exchange, SQL and File Server (DFS) workloads for backup.
DPM 2019 Updates
Before we step into DPM 2019, we will first configure updates for it. You can download updates (update rollups) manually via Windows Catalog or via Windows Update in Windows Server 2019.
Here are all the methods described – https://docs.microsoft.com/en-us/system-center/dpm/update-rollups?view=sc-dpm-2019
I will simply go to Settings | Update & Security | Windows Update | Advanced options | Turn on “Give me updates for other Microsoft products when I update Windows.”

Soon, after you check for updates two or three times, you will be offered DPM updates too.
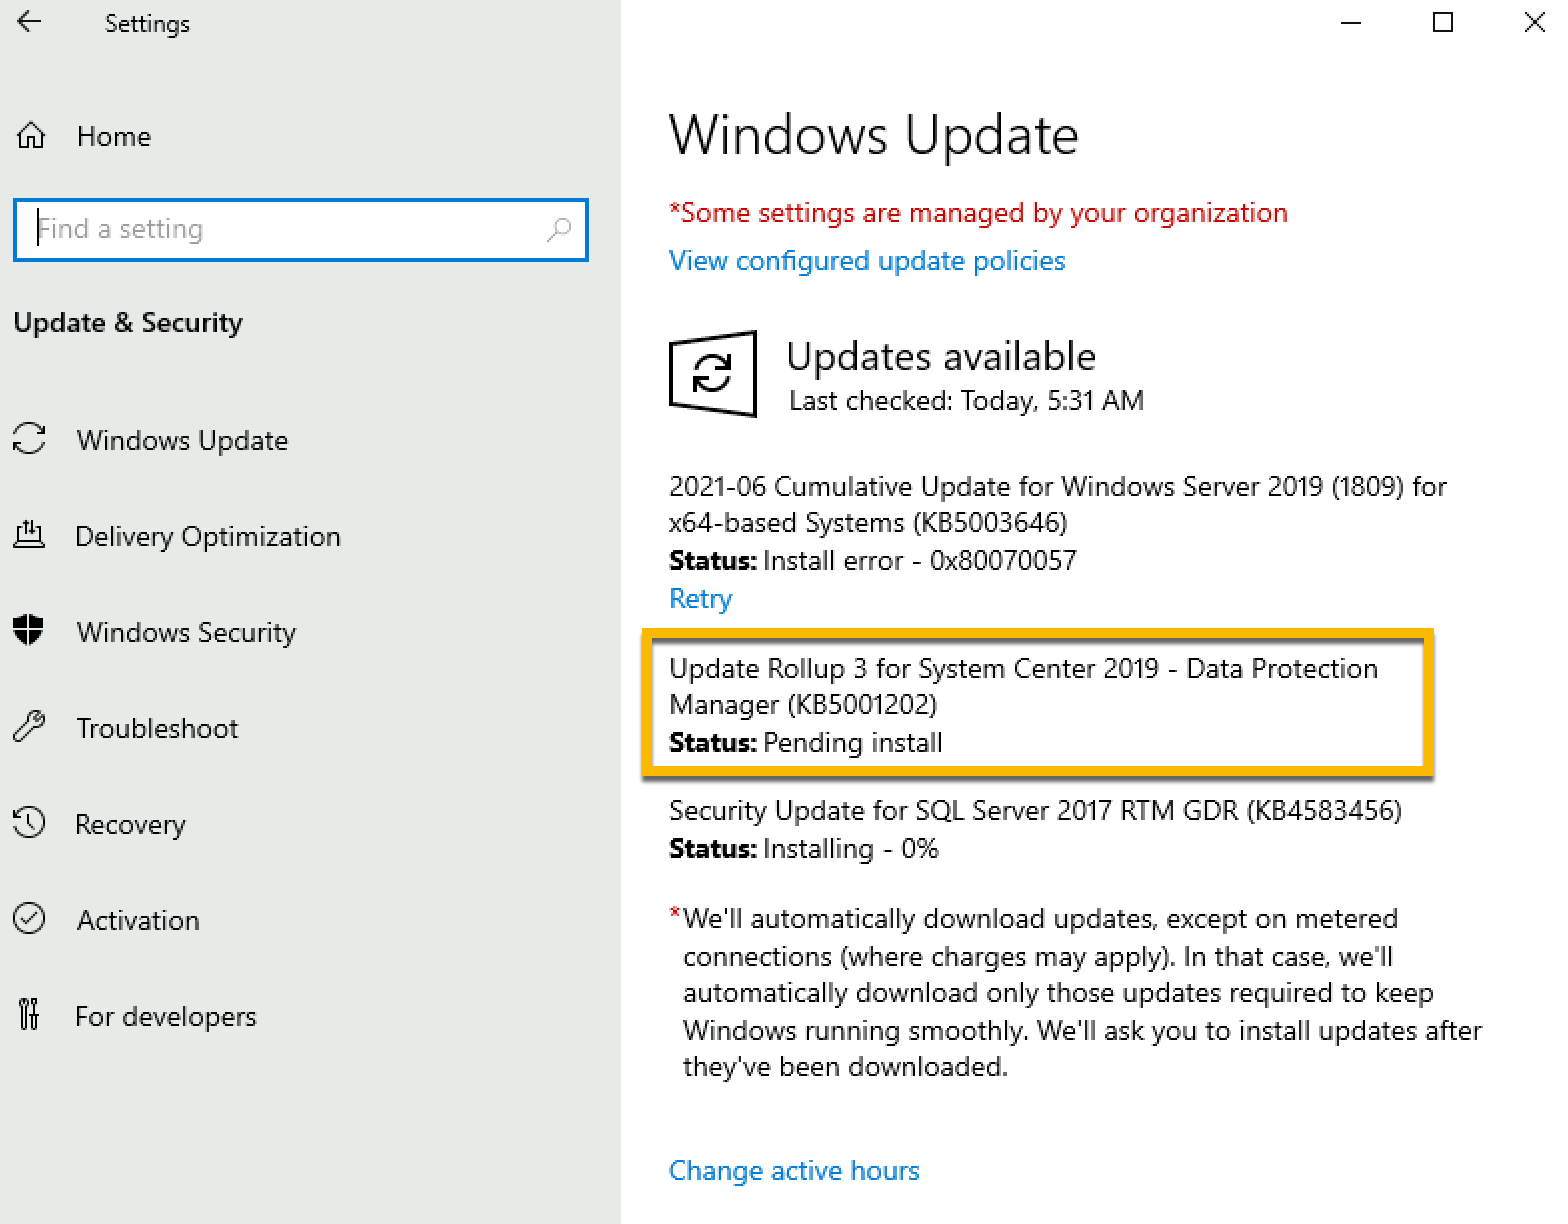
Here you can check DPM 2019 versions – https://docs.microsoft.com/en-us/system-center/dpm/release-build-versions?view=sc-dpm-2019
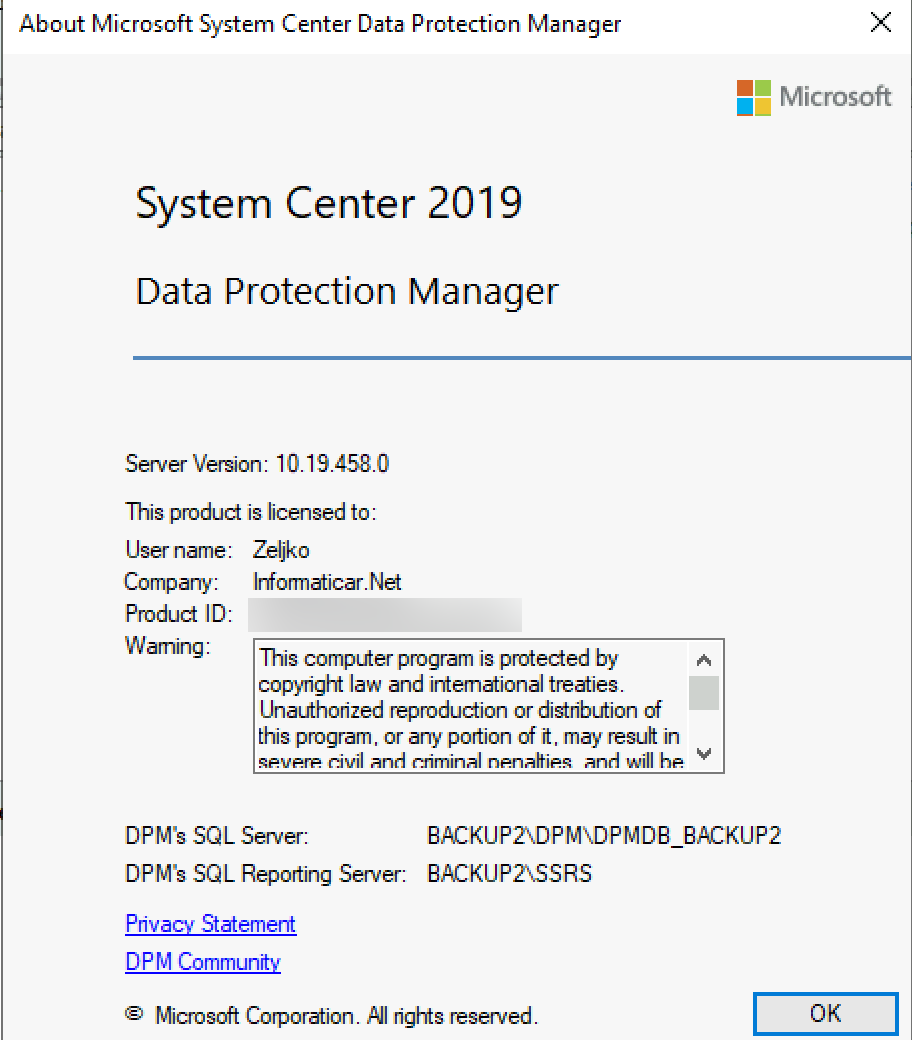
Latest (at the time of writing this in June 2021) is 10.19.458.0.
Ok, we got that out of the way.
Adding backup storage to DPM
There are many storage options you can implement as DPM backup storage.
Here is all about storage and limitations – https://docs.microsoft.com/en-us/system-center/dpm/plan-long-and-short-term-data-storage?view=sc-dpm-2019
You can use local storage attached to VM (VHDX),DAS, SAN, iSCSI, Modern Backup Storage (MBS) – https://docs.microsoft.com/en-us/system-center/dpm/add-storage?view=sc-dpm-2019. NAS is not supported.
In the end, you need to plan capacity and performance for your backup storage, there is no universal solution.
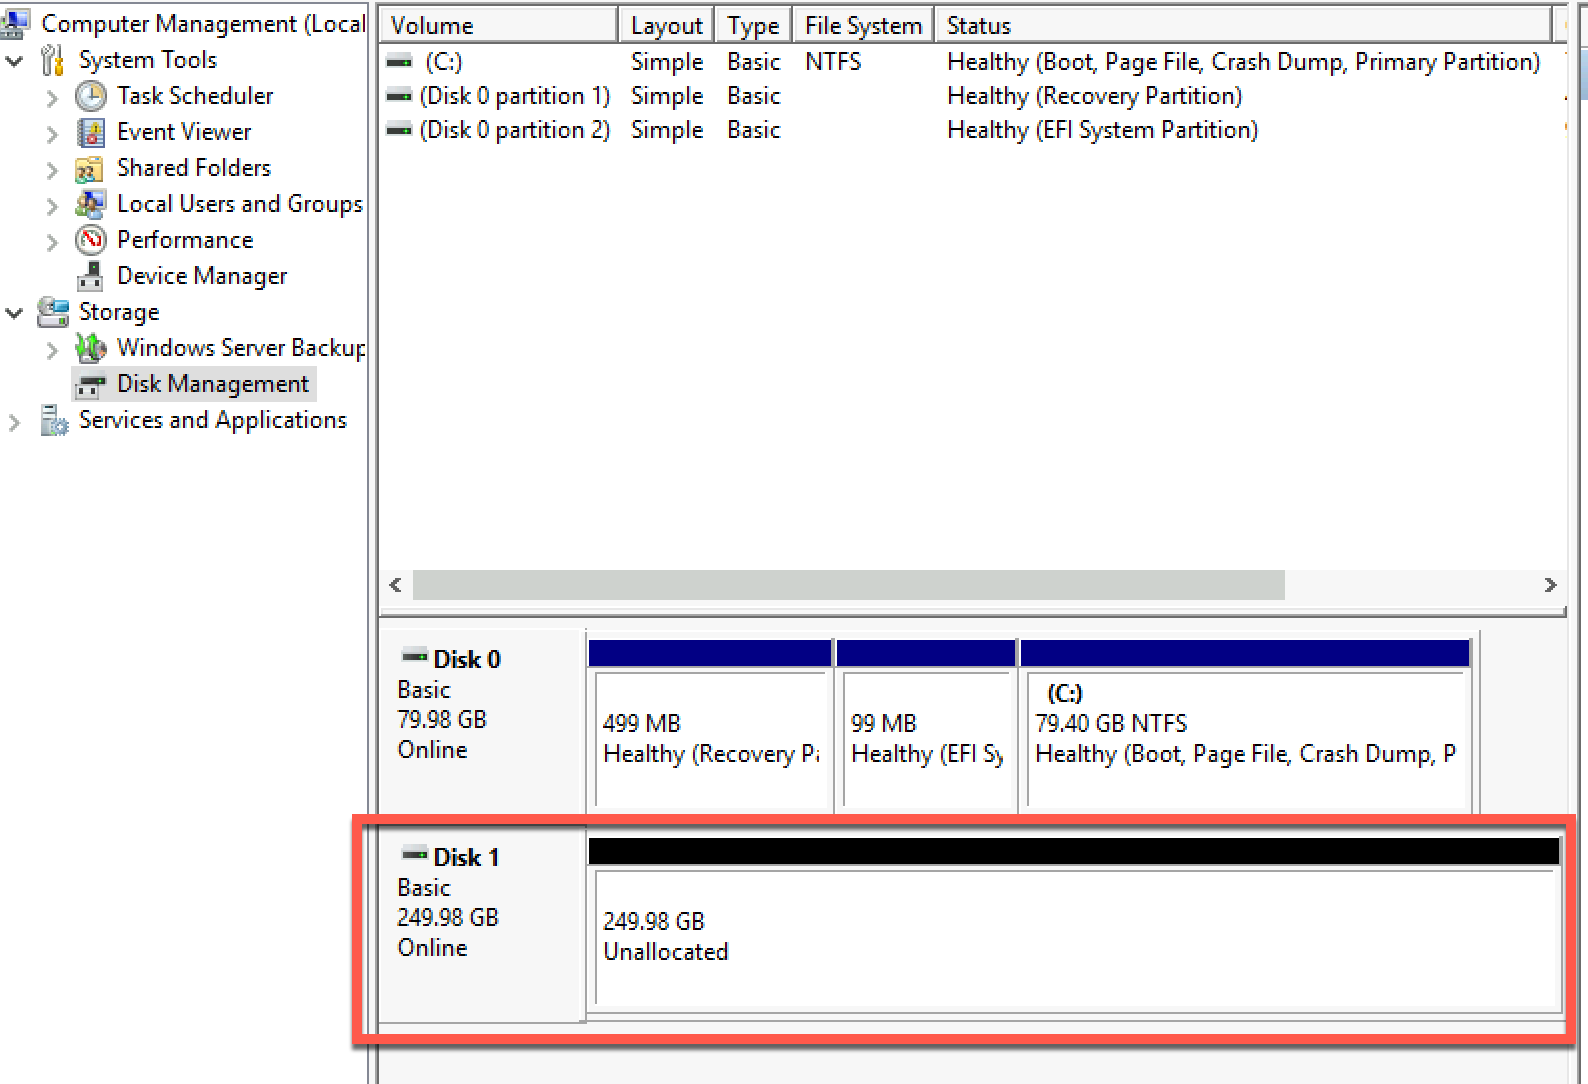
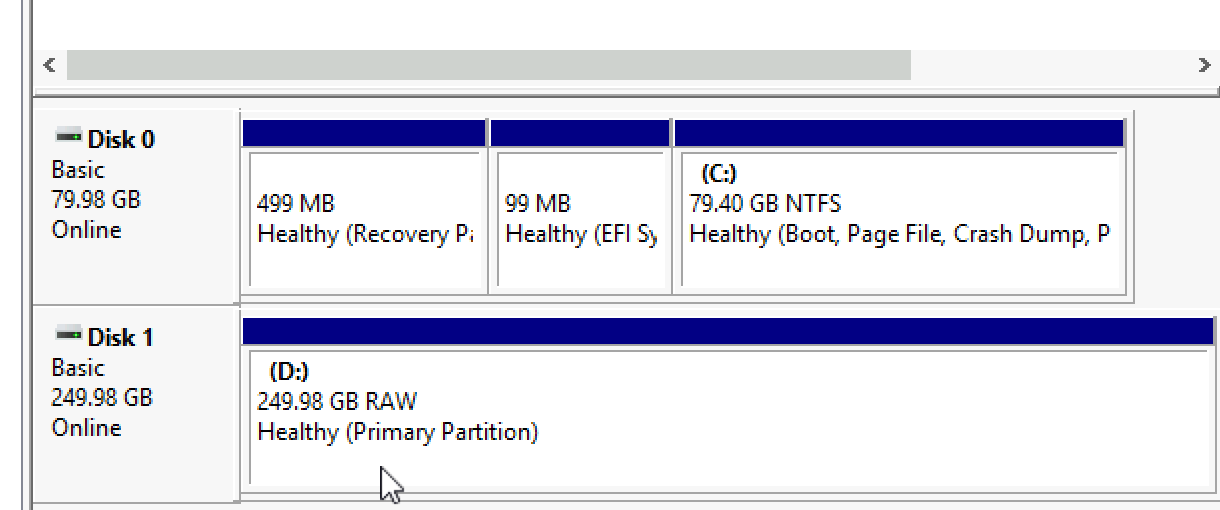
For this lab, we are going to use simple empty VHDX I attached to the DPM 2019 VM.
Disk is initialized as GPT (Basic). Before we can add it to DPM 2019, we have to create volume but not format it!!! Right click somewhere in the place where it says Unallocated and select New Simple Volume.
Assign a letter to a drive, but when you reach Format Partition screen – select “Don not format this volume”. finish the wizard.
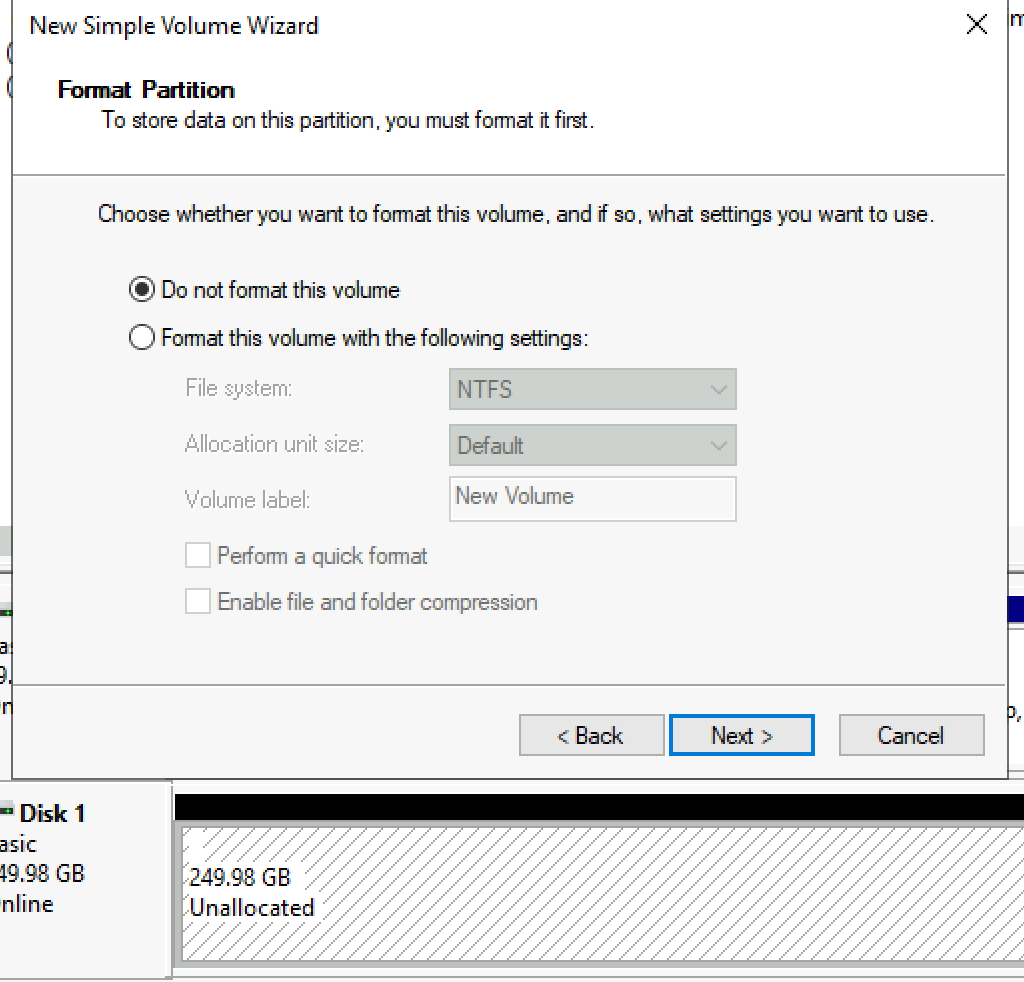
Our 250GB should now have RAW volume with D letter assigned.
We can now continue to DPM.
Open System Center 2019 DPM Administrator Console and select Management from the bottom left part of the screen. After that click on Disk Storage and then select Add from the top left part of the console.
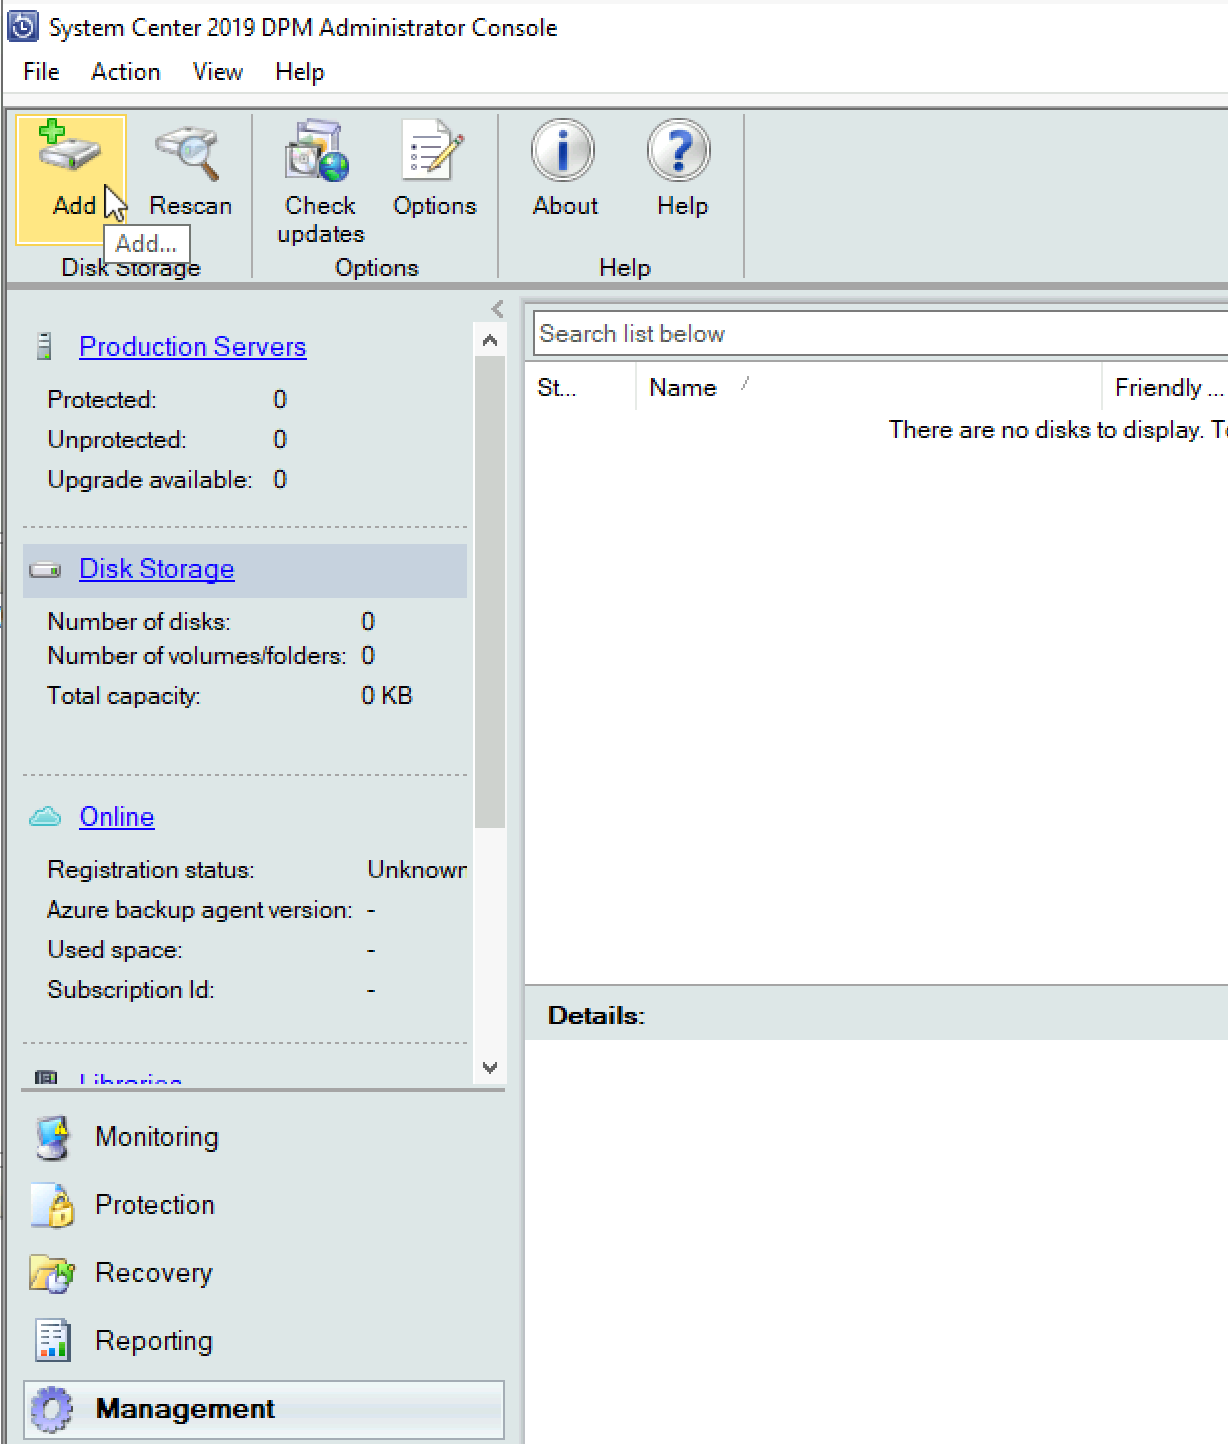
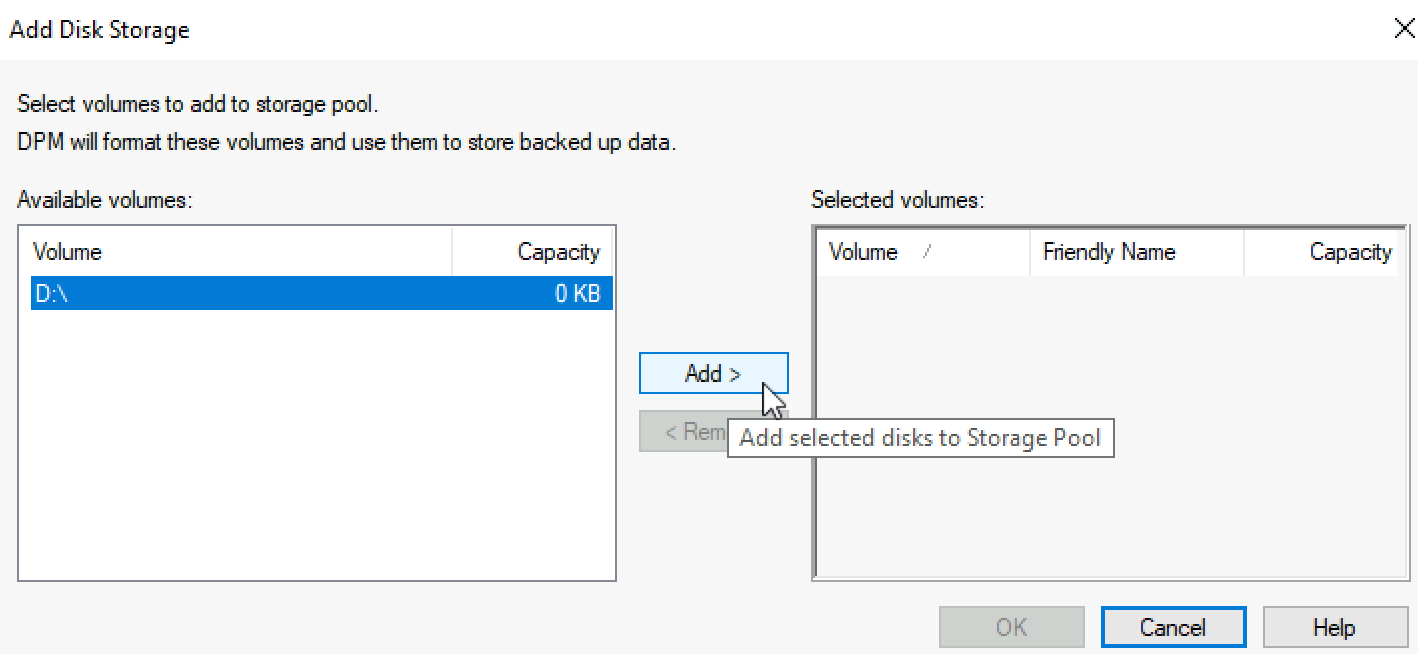
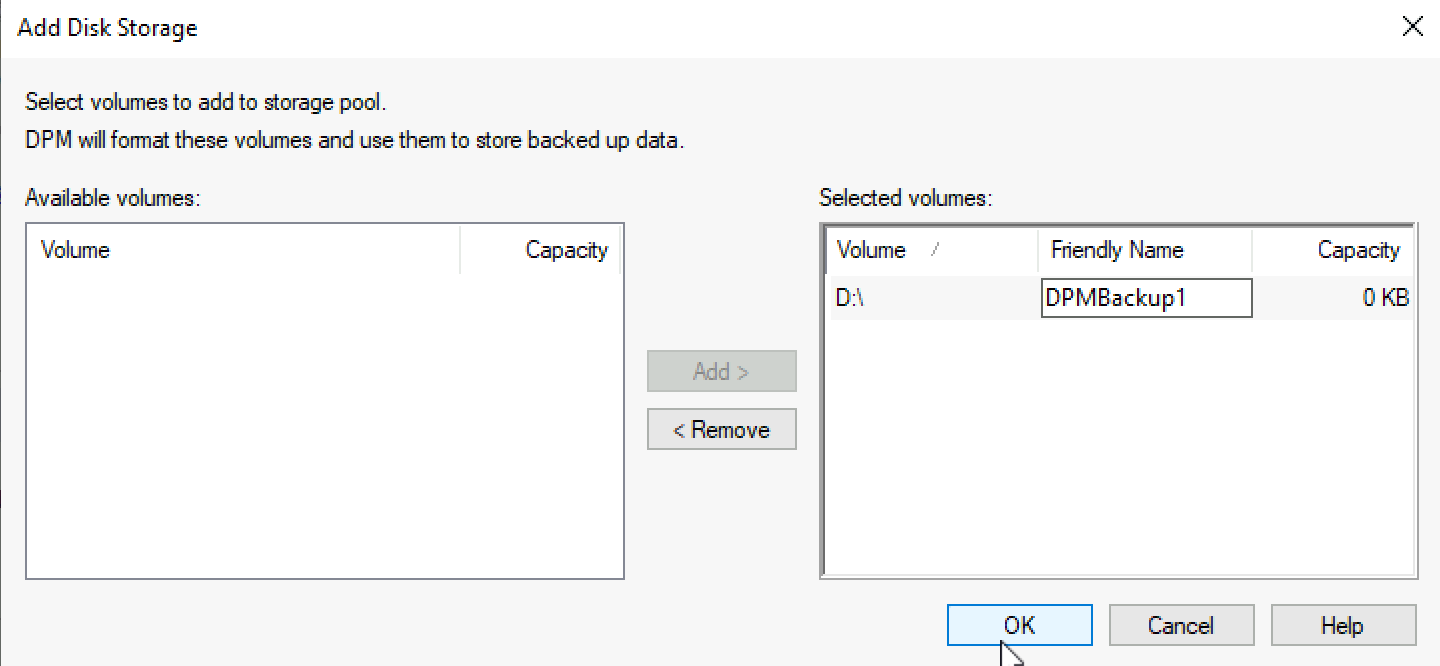
We should now see our unformatted D drive with size 0 (zero). Don’t let that discourage you, DPM will format drive for its needs.
Click Add to add this drive to Storage Pool.
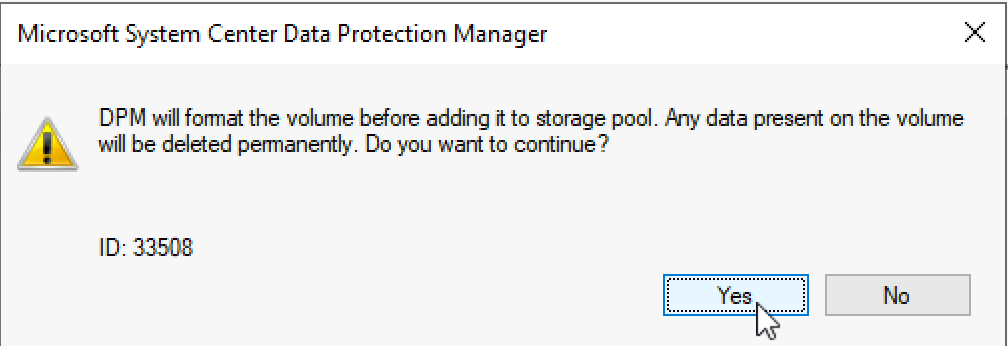
We will confirm format of the drive | Yes
I will give drive a friendly name (DPMBackup1) and select OK.
…
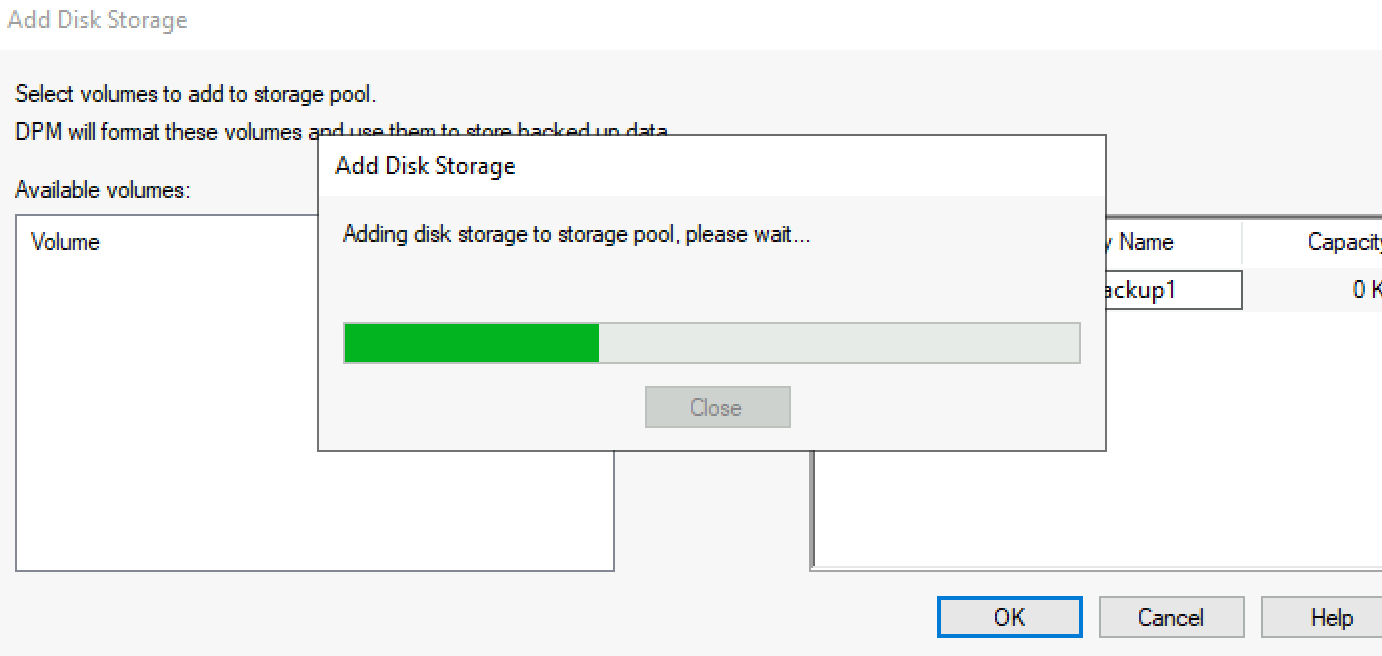
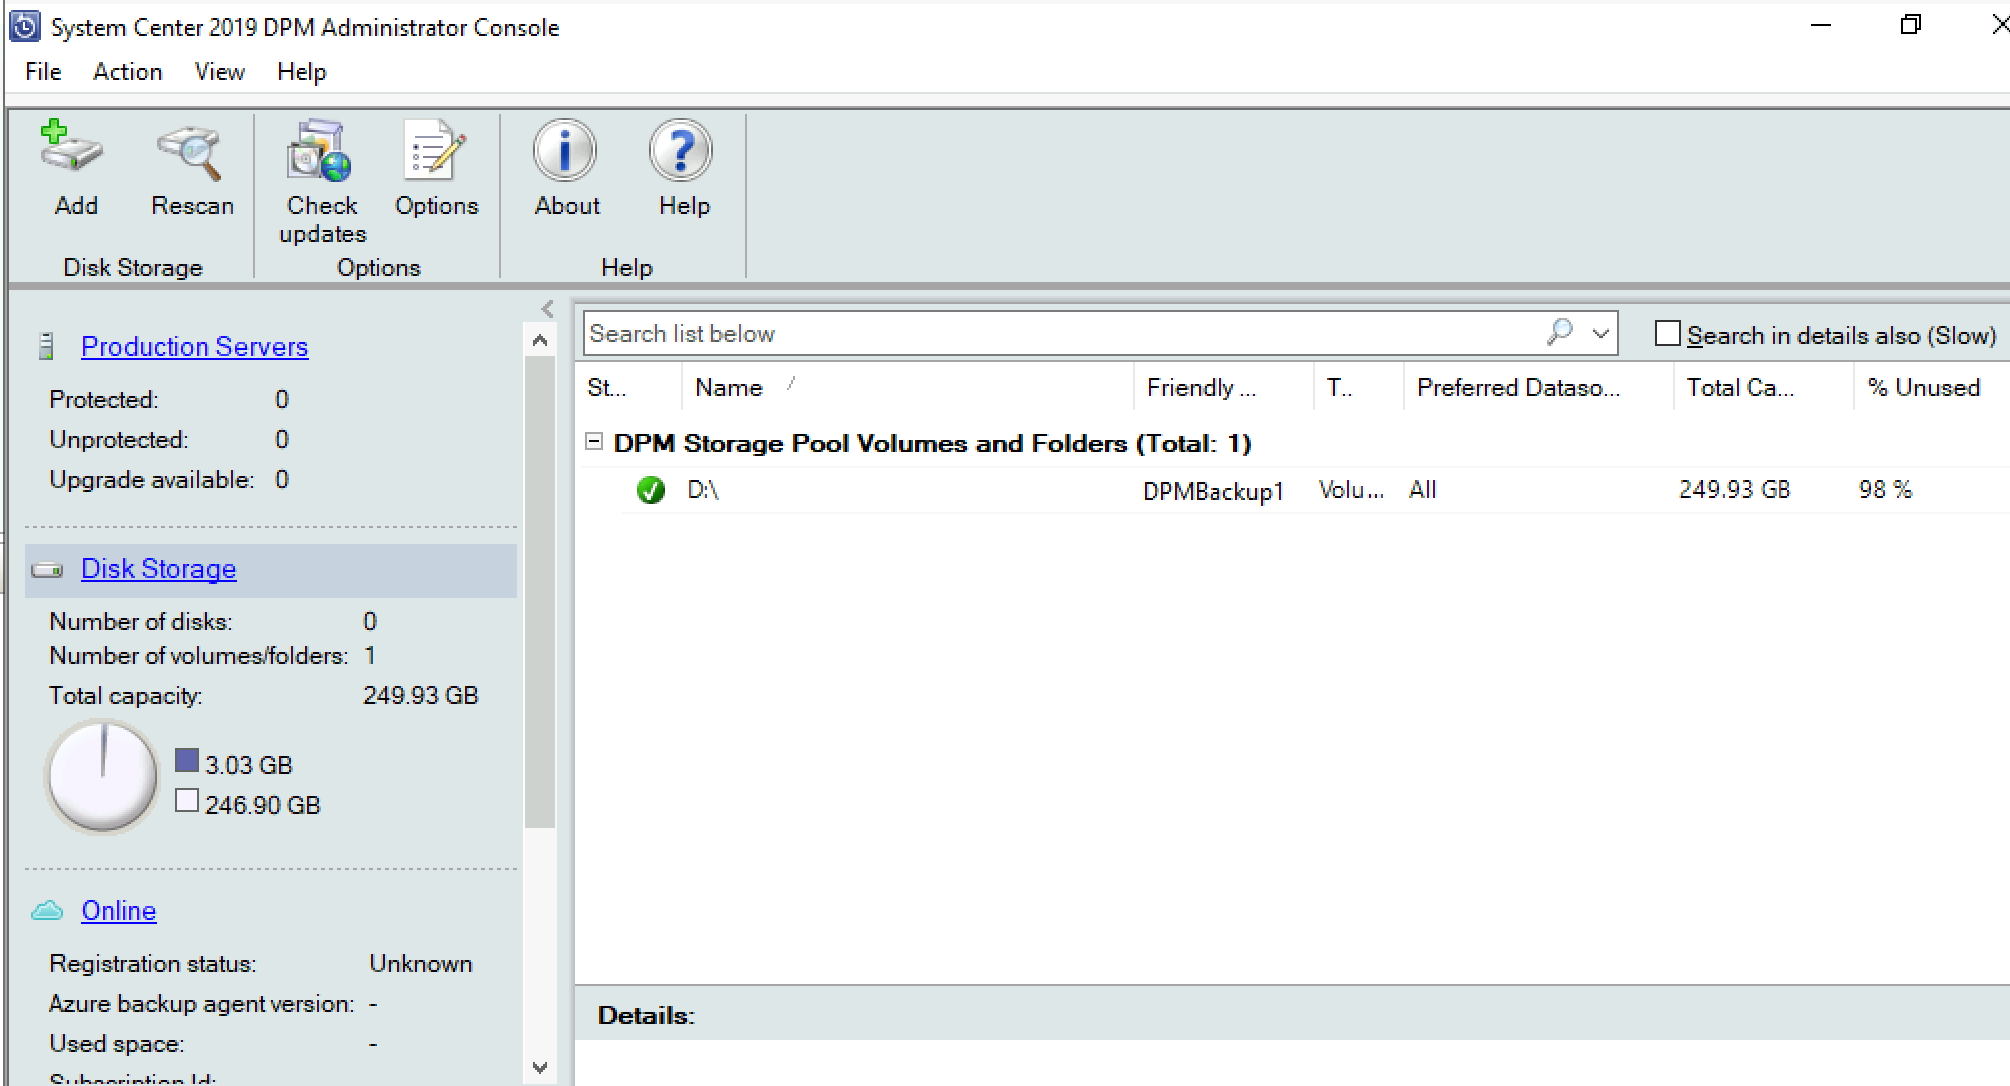
Disk is in our DPM Storage Pool now.
Deploy Protection Agents to VMs
DPM unlike Veeam or Nakivo need agent inside VM to function and do a backup. We can deploy agents to VMs two ways – automatically or manually.
Here are all the details about dpm agent deployment – https://docs.microsoft.com/en-us/system-center/dpm/deploy-dpm-protection-agent?view=sc-dpm-2019#set-up-firewall-exceptions
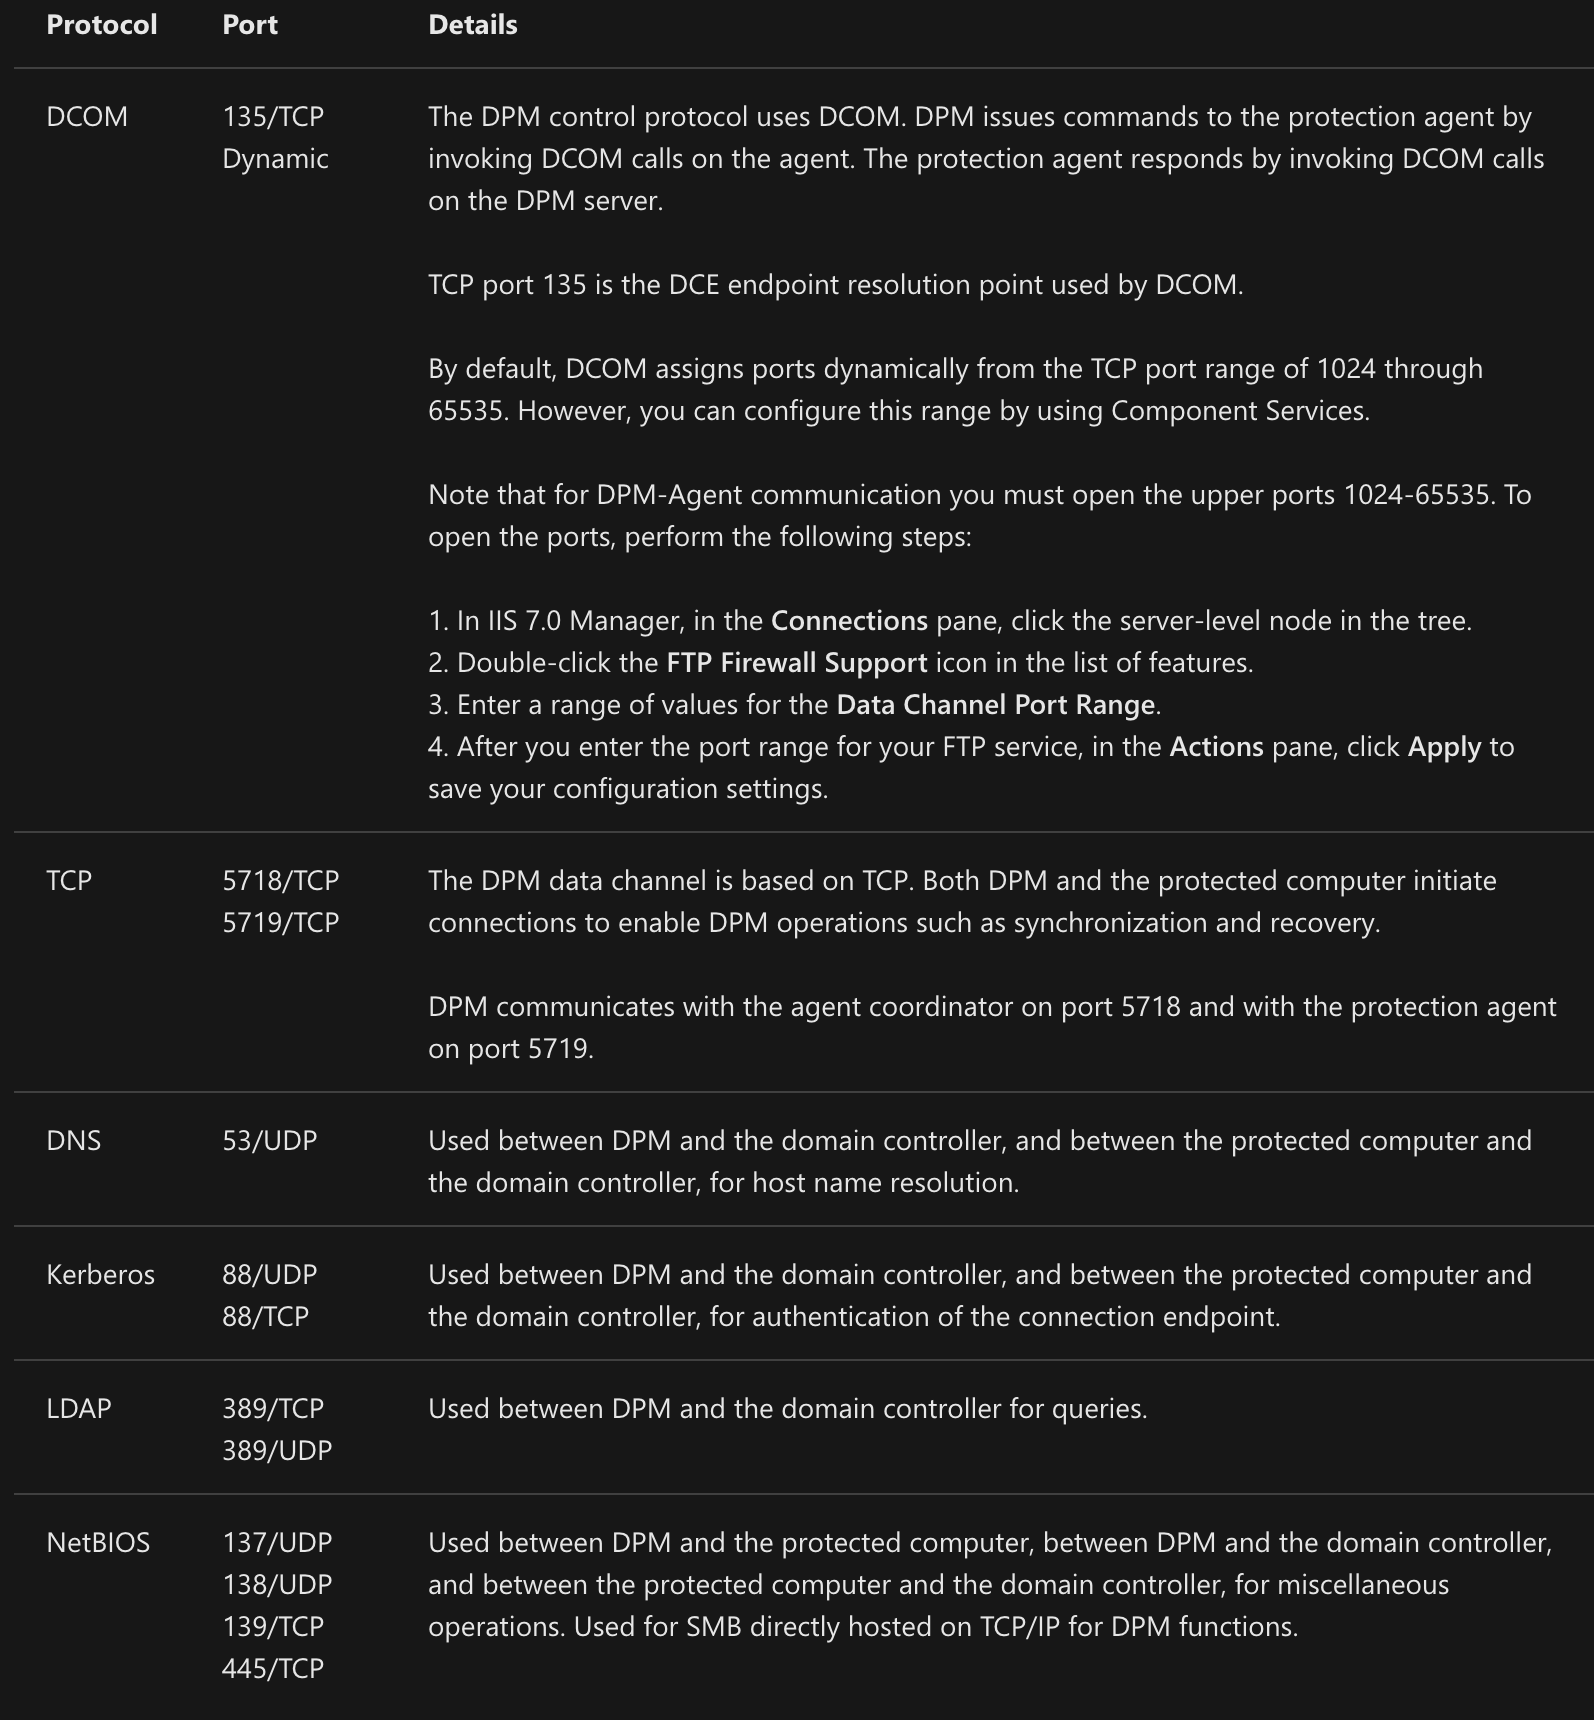
Here is a list of ports if you want automatic DPM agent deploy to work (from a link above)
I’ll be honest with you I don’t use often automatic dpm agent deployment, because I often have many errors with that type of deployment.
If you wish to deploy automatically, you have to open firewall ports specified above on every VM you wish to protect, and then on DPM Administrator Console start the process (I will show you where).
I will show you manual process of DPM agent deployment first (my prefered way)
Manual Deployment of DPM agent
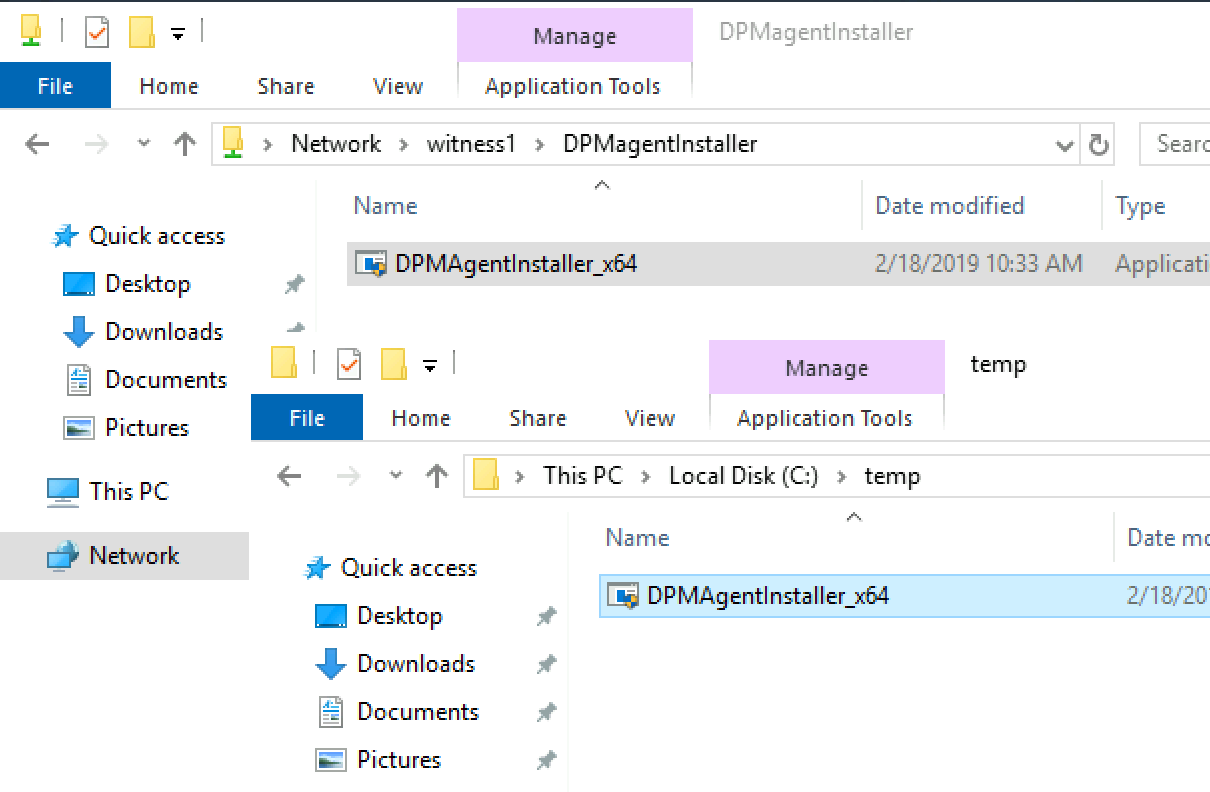
I created file share on one of my servers – \\witness1\DPMagentInstaller
This is the place where I will drop DPM agent installer package from DPM server and use it on VMs I wish to protect with DPM.
On DPM server go to Program Files\Microsoft System Center\DPM\DPM\ProtectionAgents\RA\10.19(your build number)\amd64 (or i386 if you need 32bit version for something old)
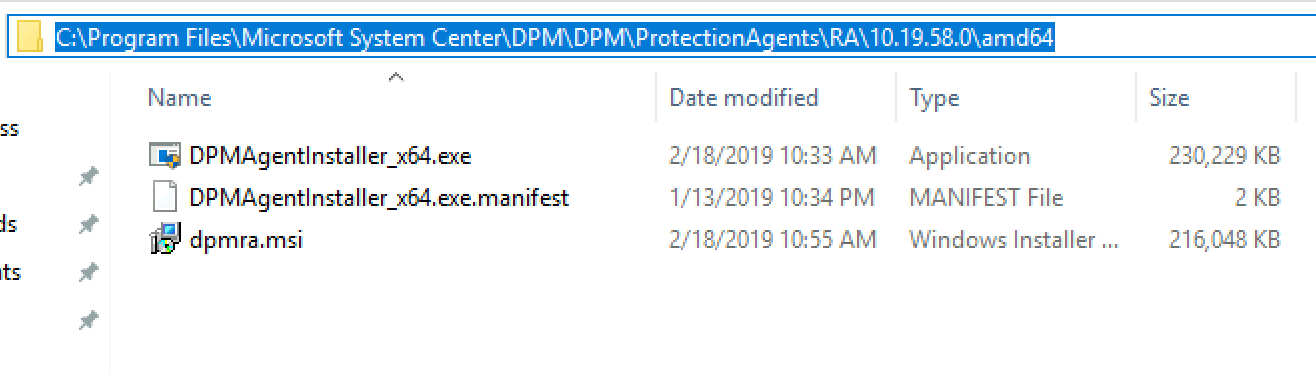
Copy DPMAgentInstaller_x64.exe from DPM server to your file share which is accessible on your domain. I will copy it to \witness1\DPMagentInstaller
Ok, we will copy now that DPMAgentInstaller_x64.exe from the network file share to the first VM we want to protect – Witness2
Witness2 has firewall in place, with no exceptions defined for DPM.
I will copy DPMAgentInstaller_x64.exe from file share to local C:\temp folder on Witness2 VM.
Start Command Prompt elevated (Run as Adminstrator) on Witness2 (VM we will install DPM agent on).
Navigate to temp folder and execute following command – My DPMServerName is backup2.informatiker.local (you need to enter FQDN of DPM server).
DpmAgentInstaller_x64.exe <DPMServerName>This is how command in my case looks like. Pop-up will appear on which you will select Accept
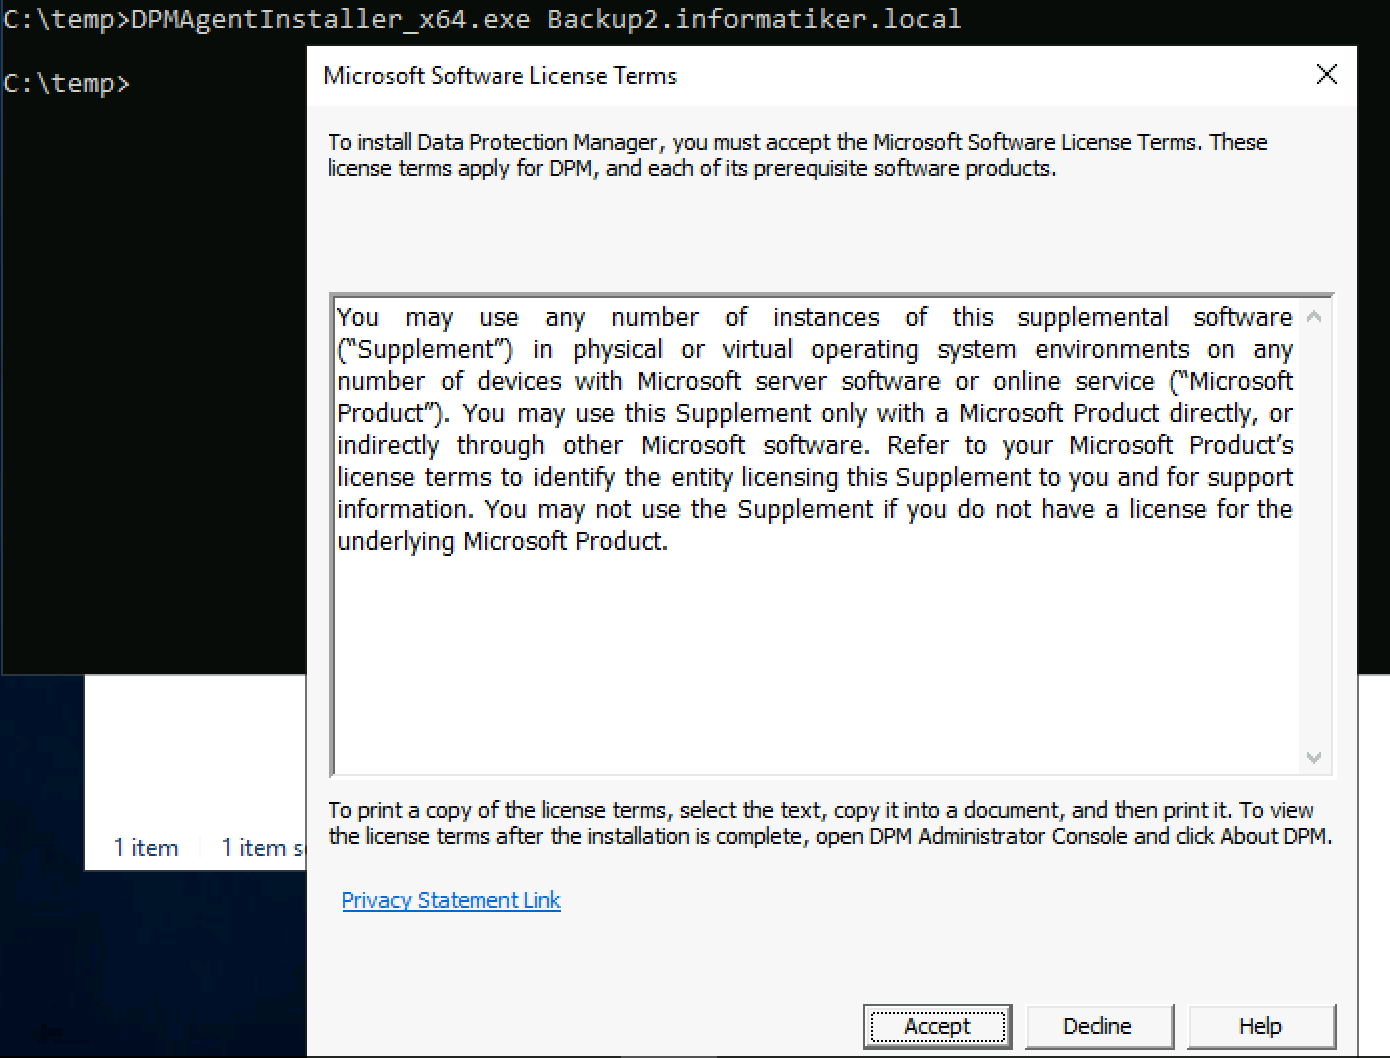
…
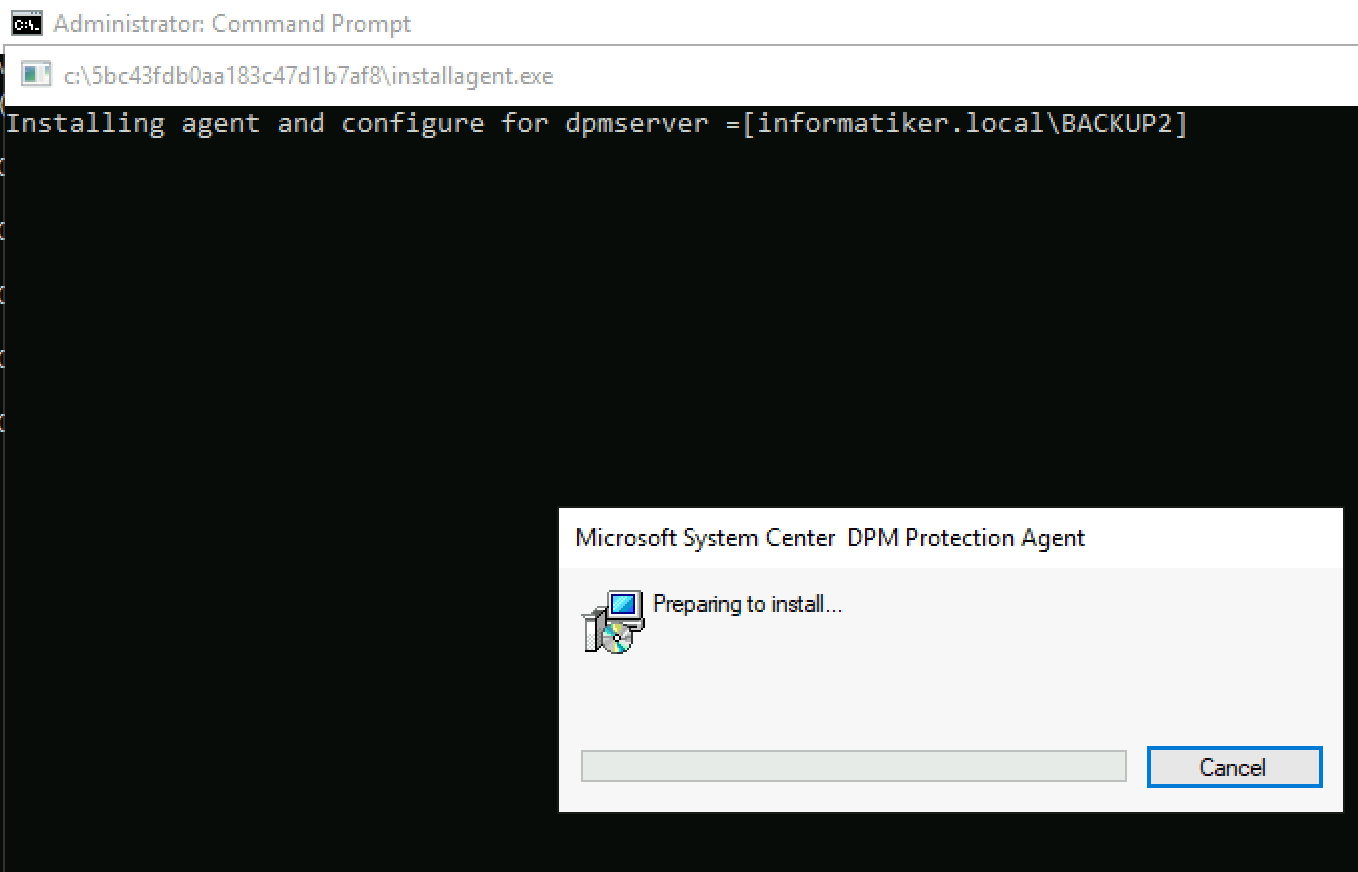
After few minutes following appeared
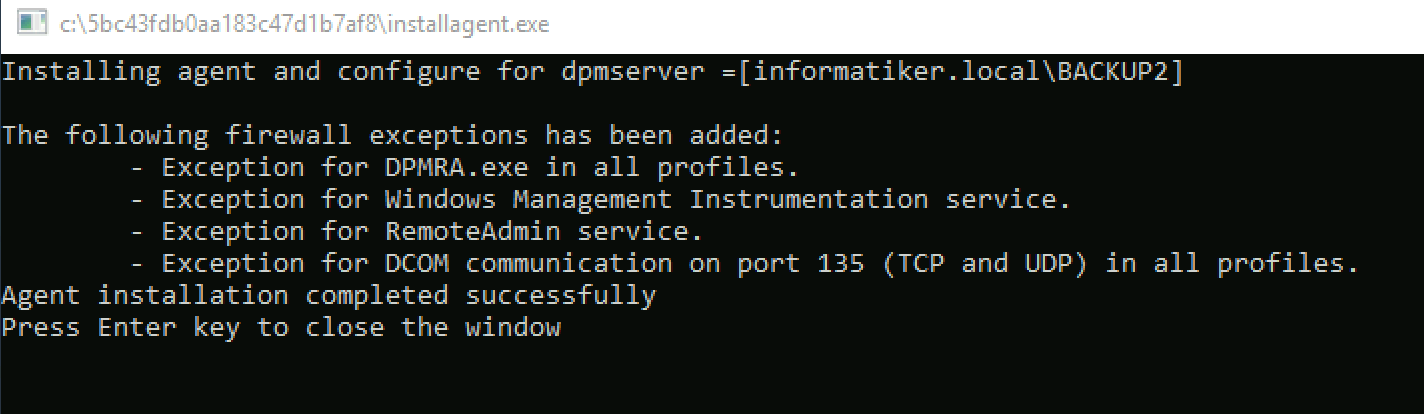
Ok, installation is success.
We now need to go to the DPM server and finish this.
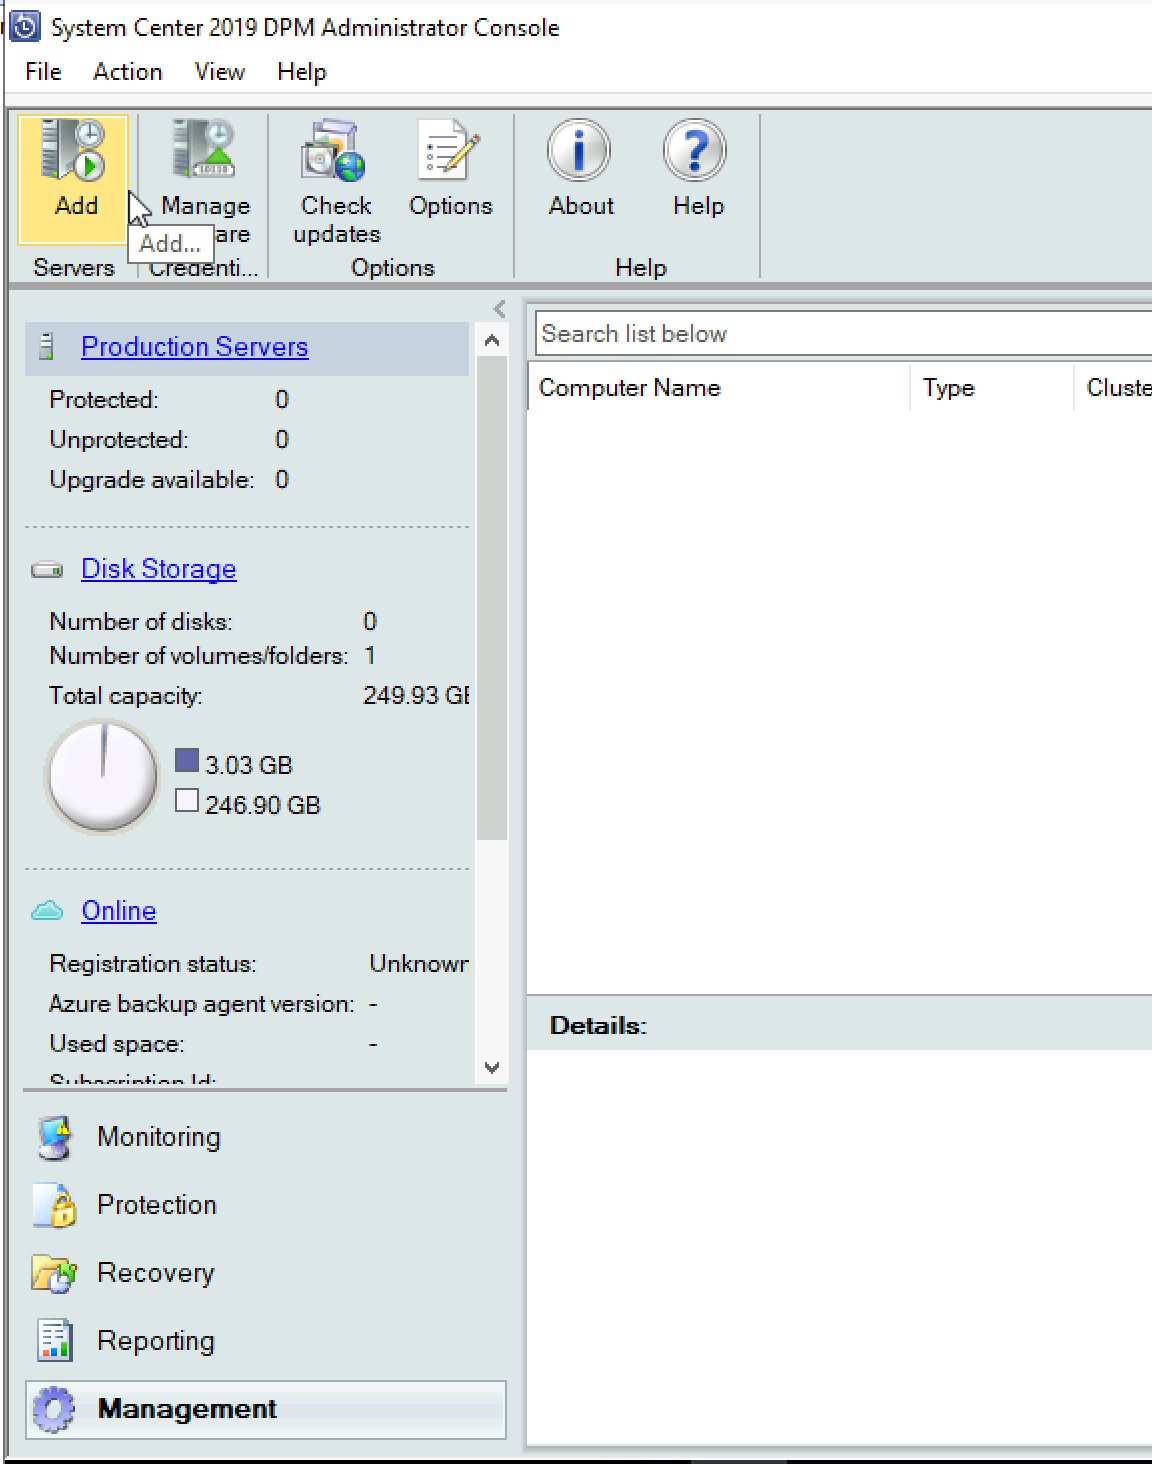
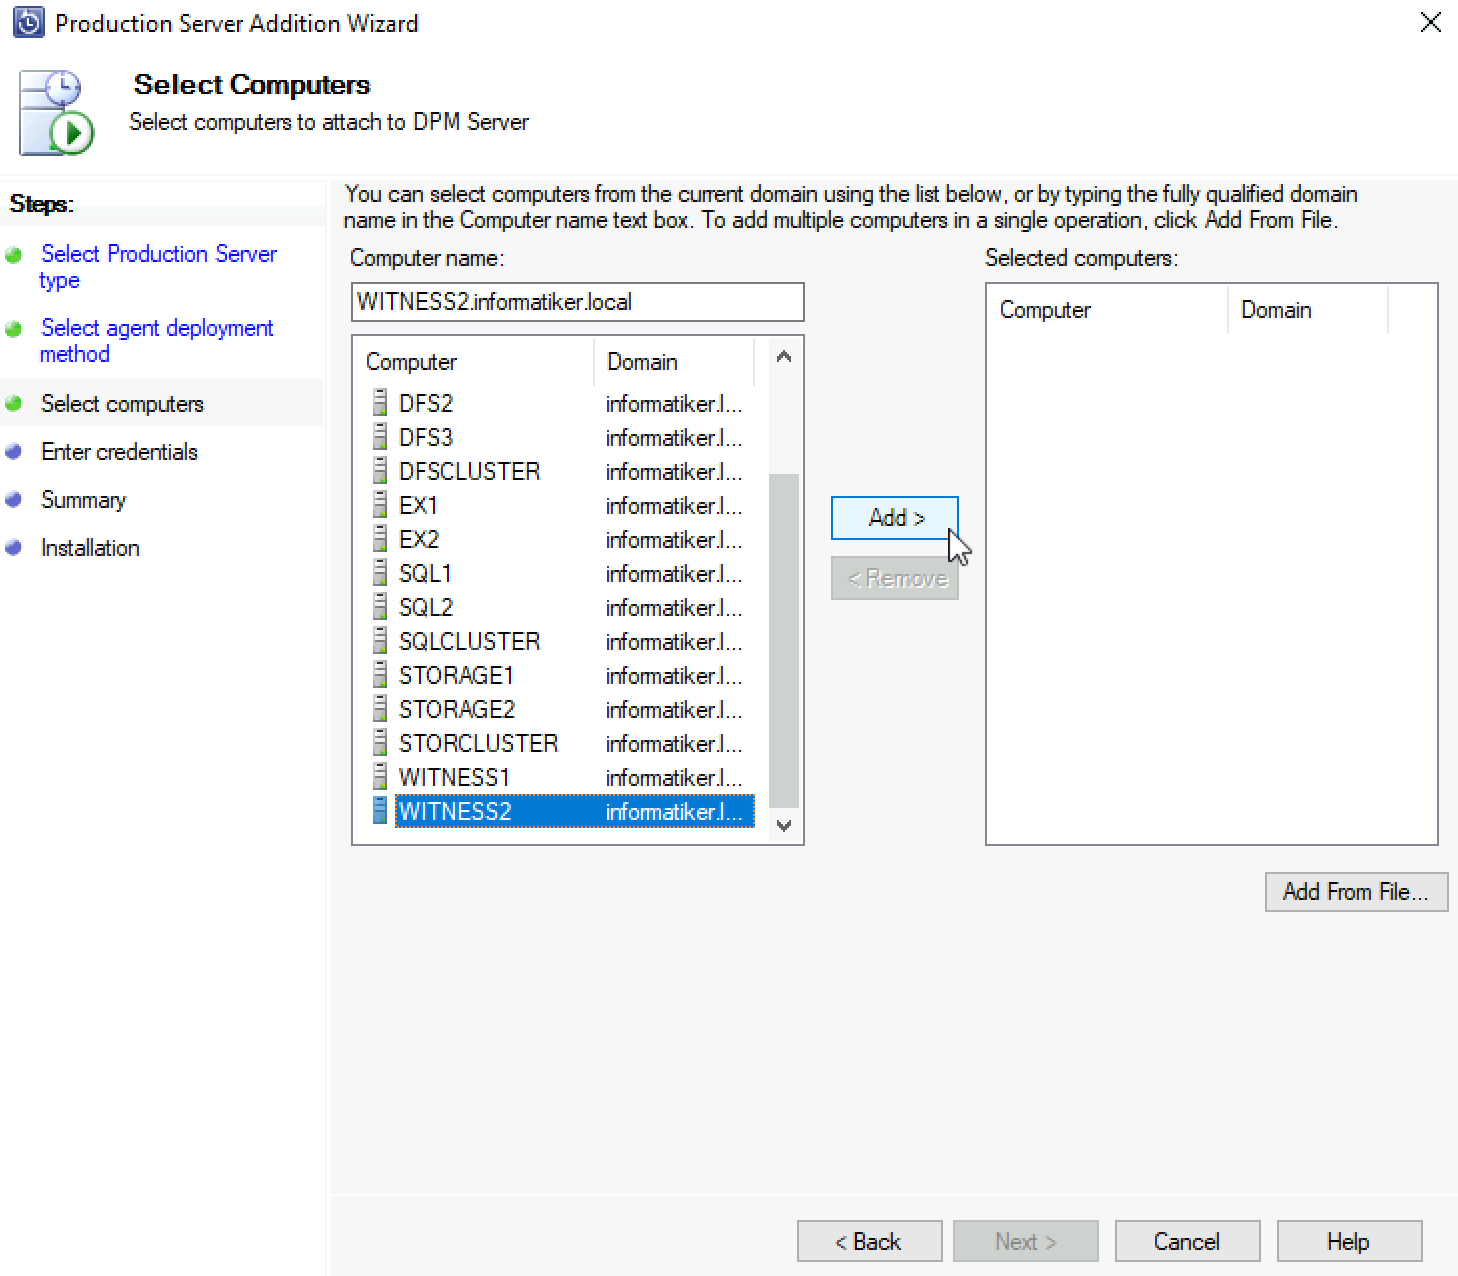
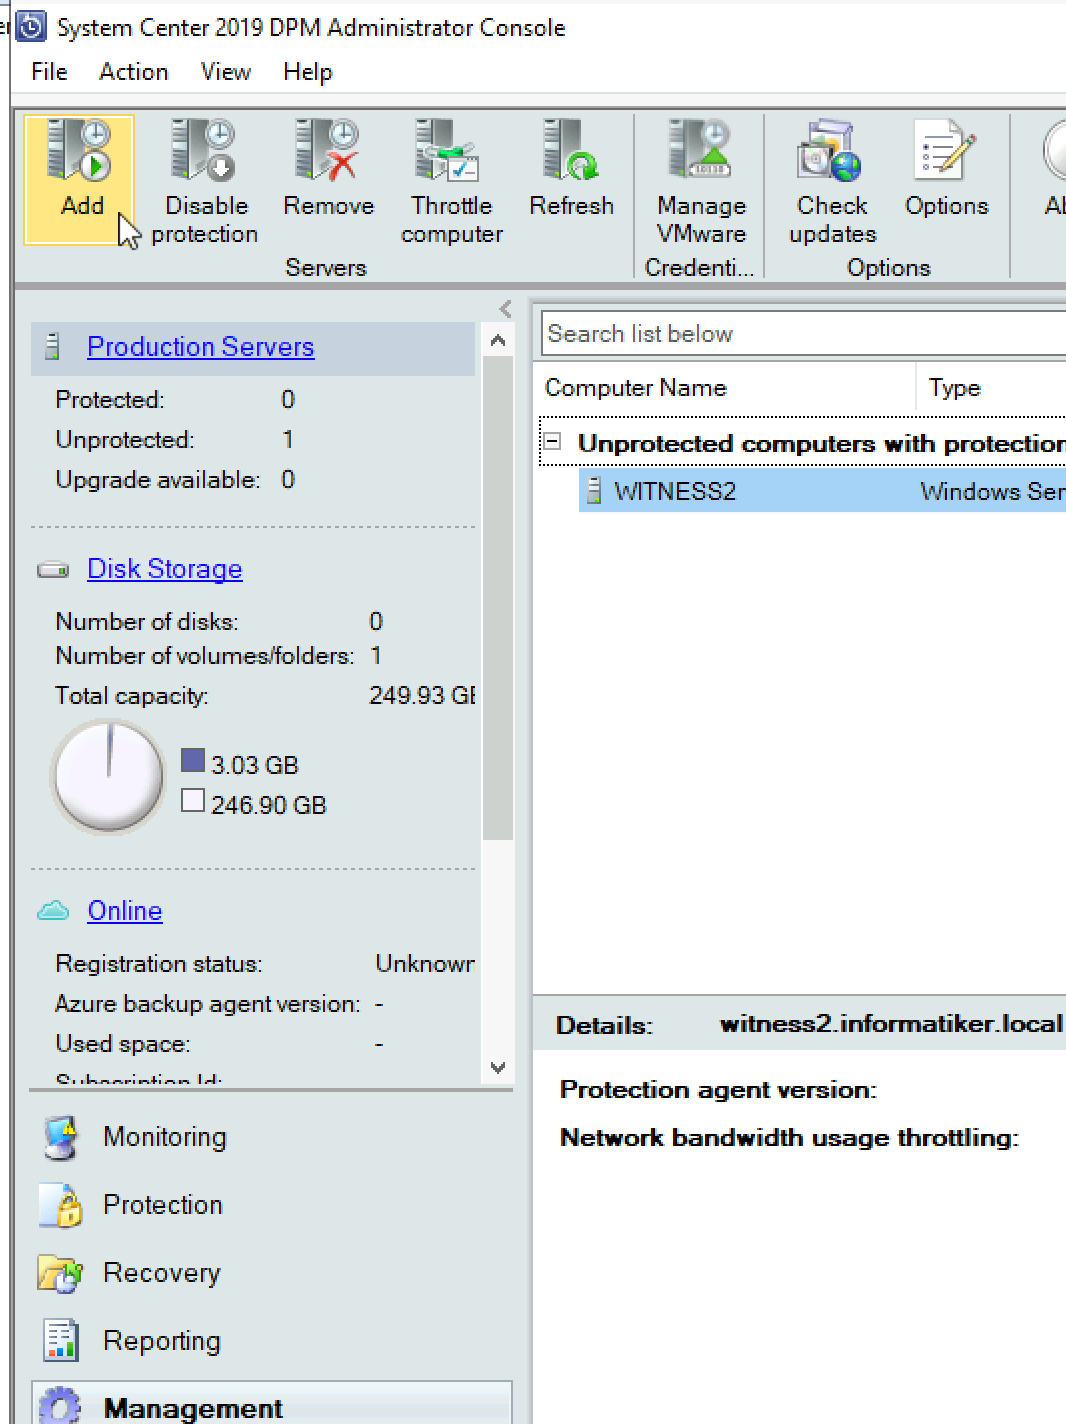
Inside DPM Administrator Console we are still in Management menu. Click on Production Servers in the middle part of the screen and then select Add from top left part of the screen.
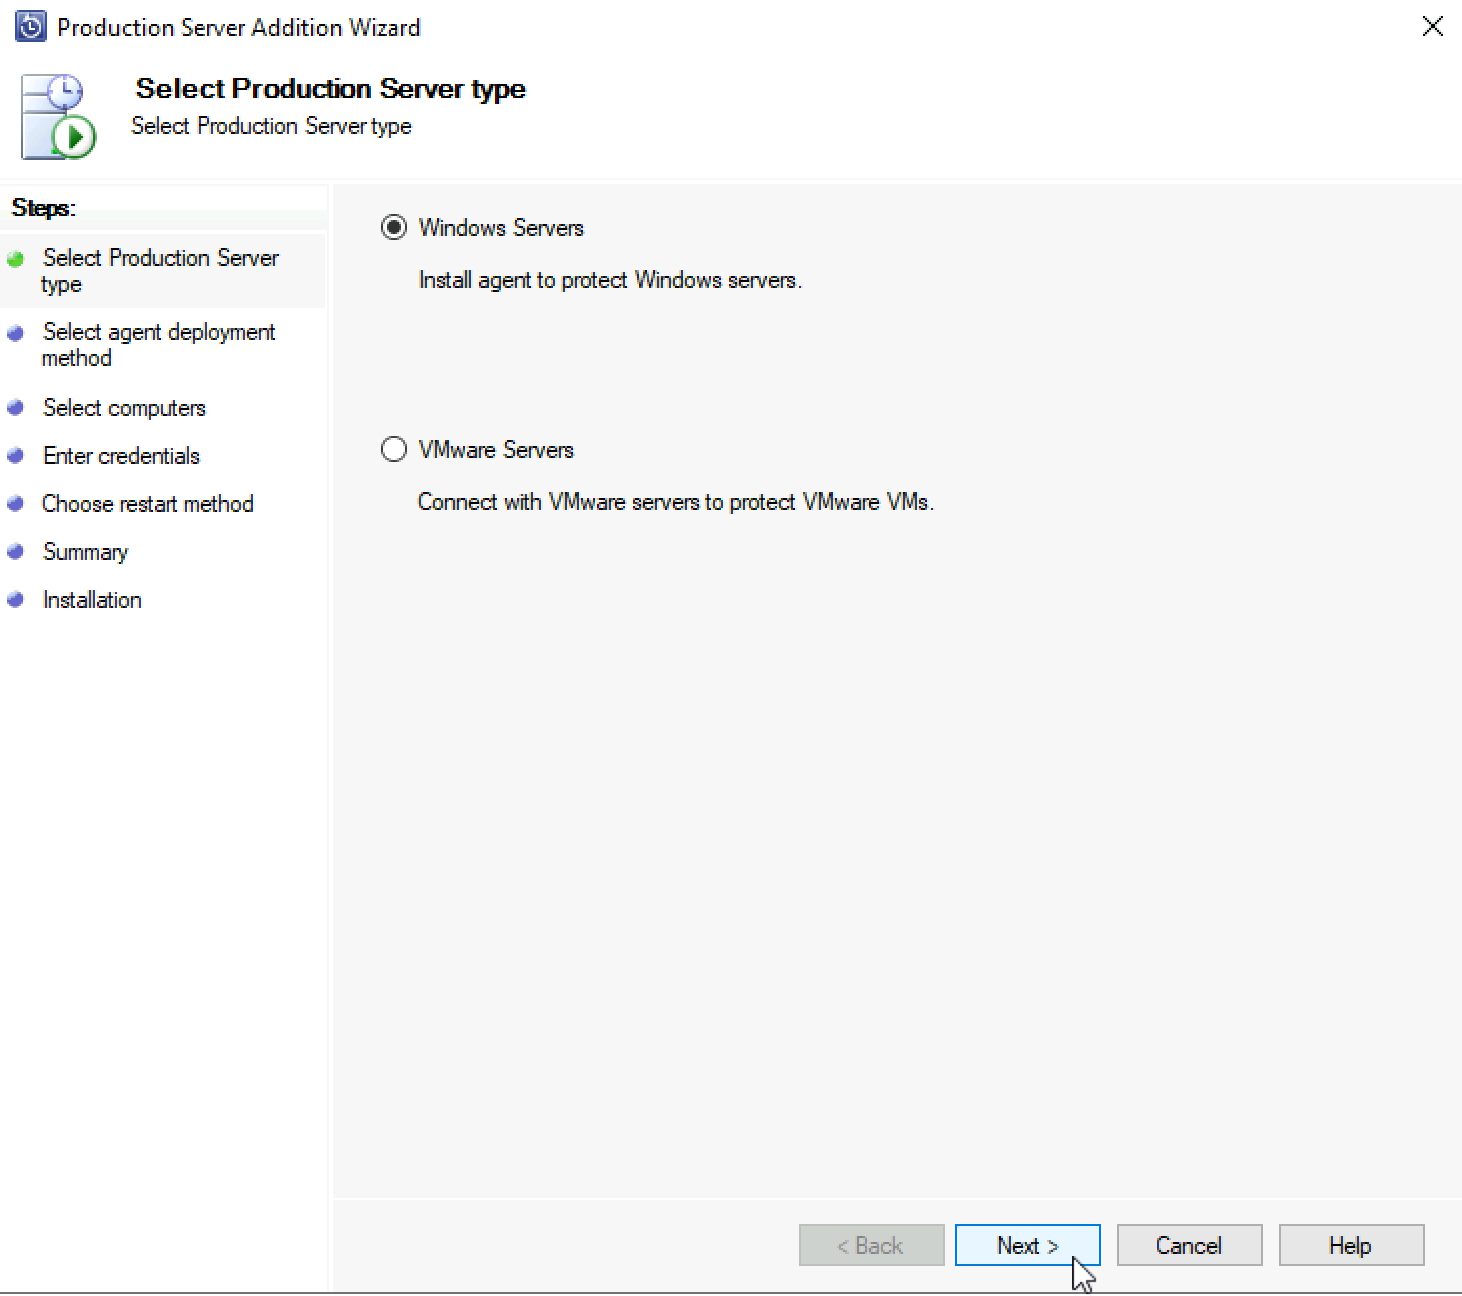
We will select Windows Servers | Next
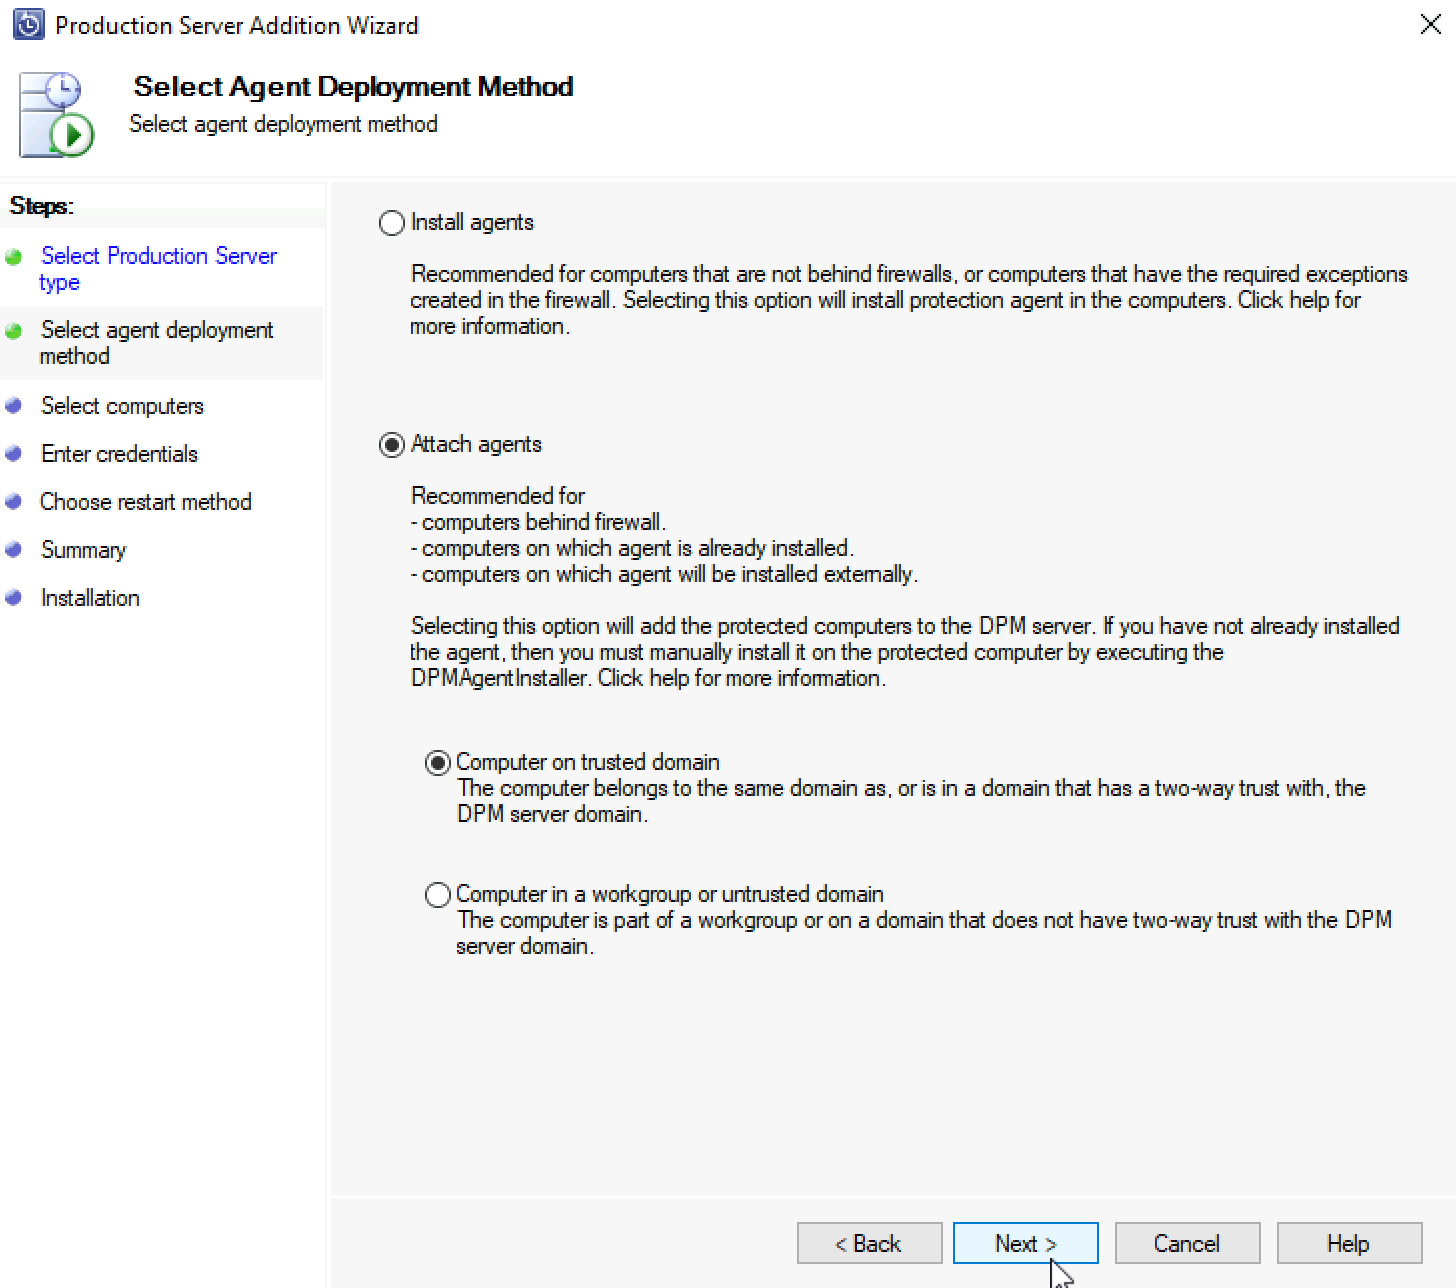
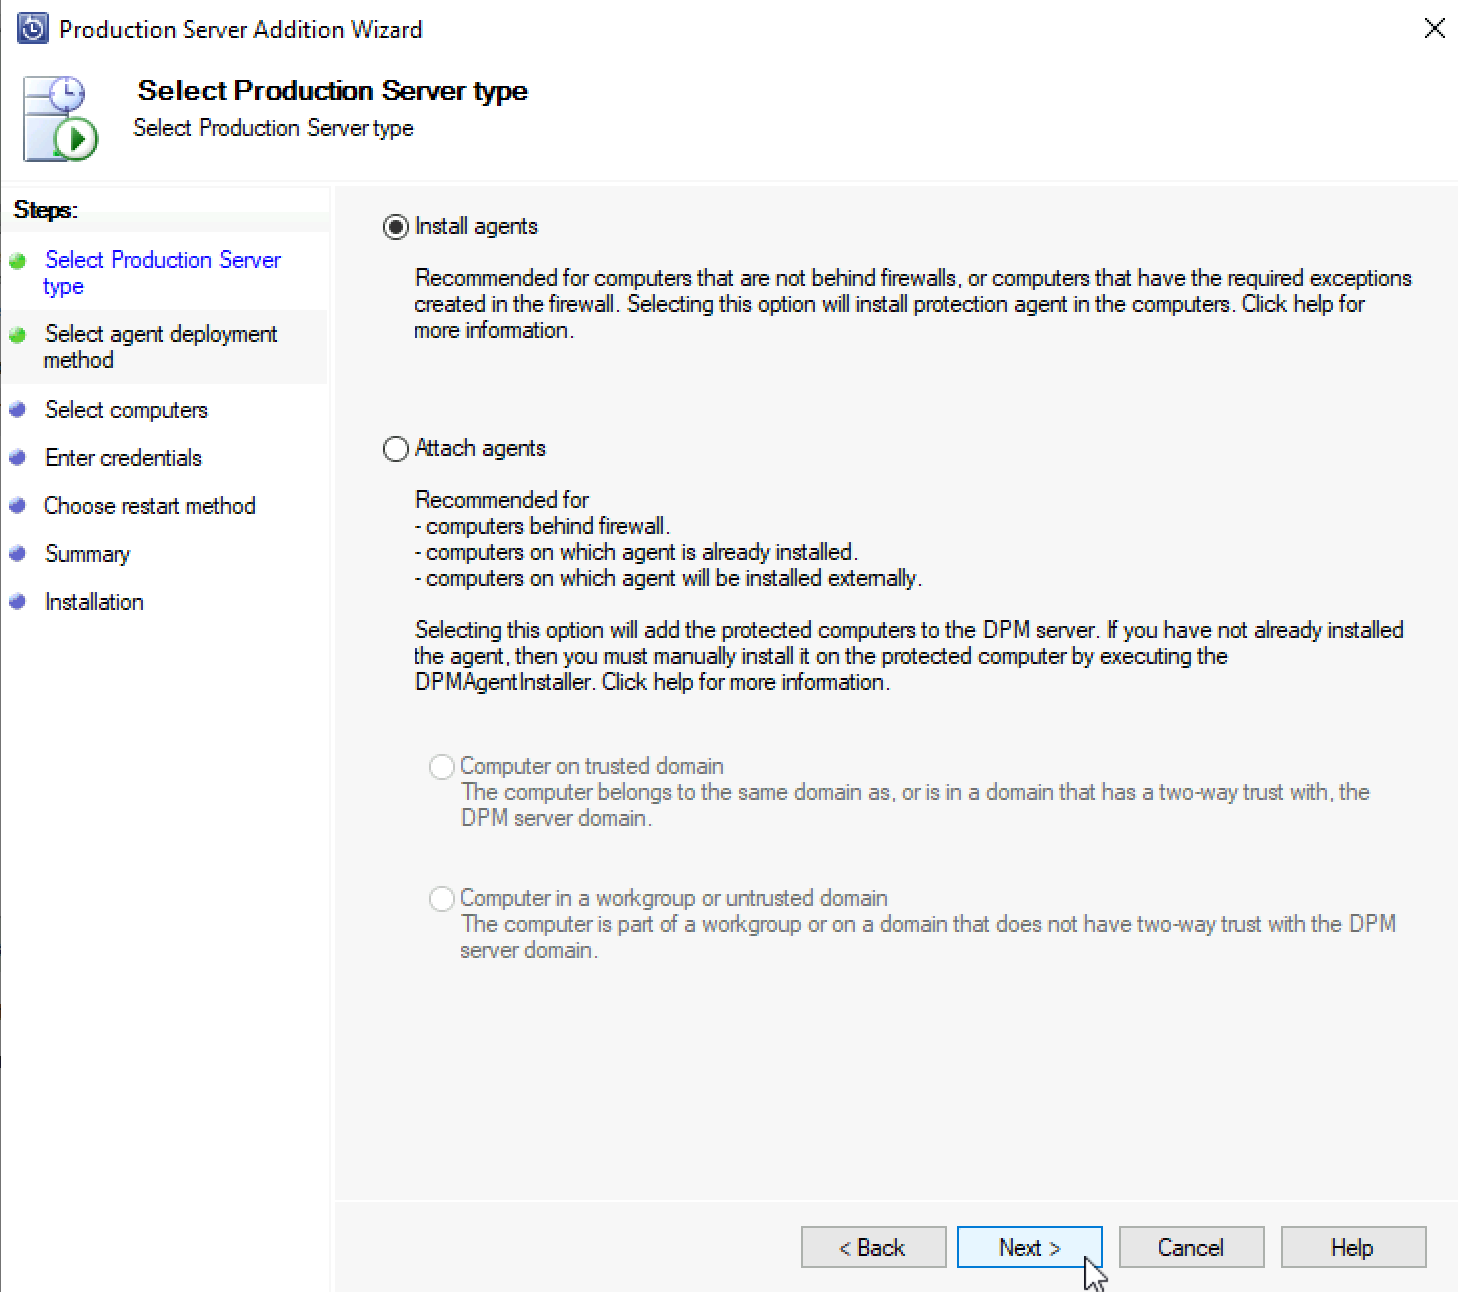
We would select Install agents if we want automatic install. Since we did manual install, we will select Attach agents and then select Computer on trusted domain. Next
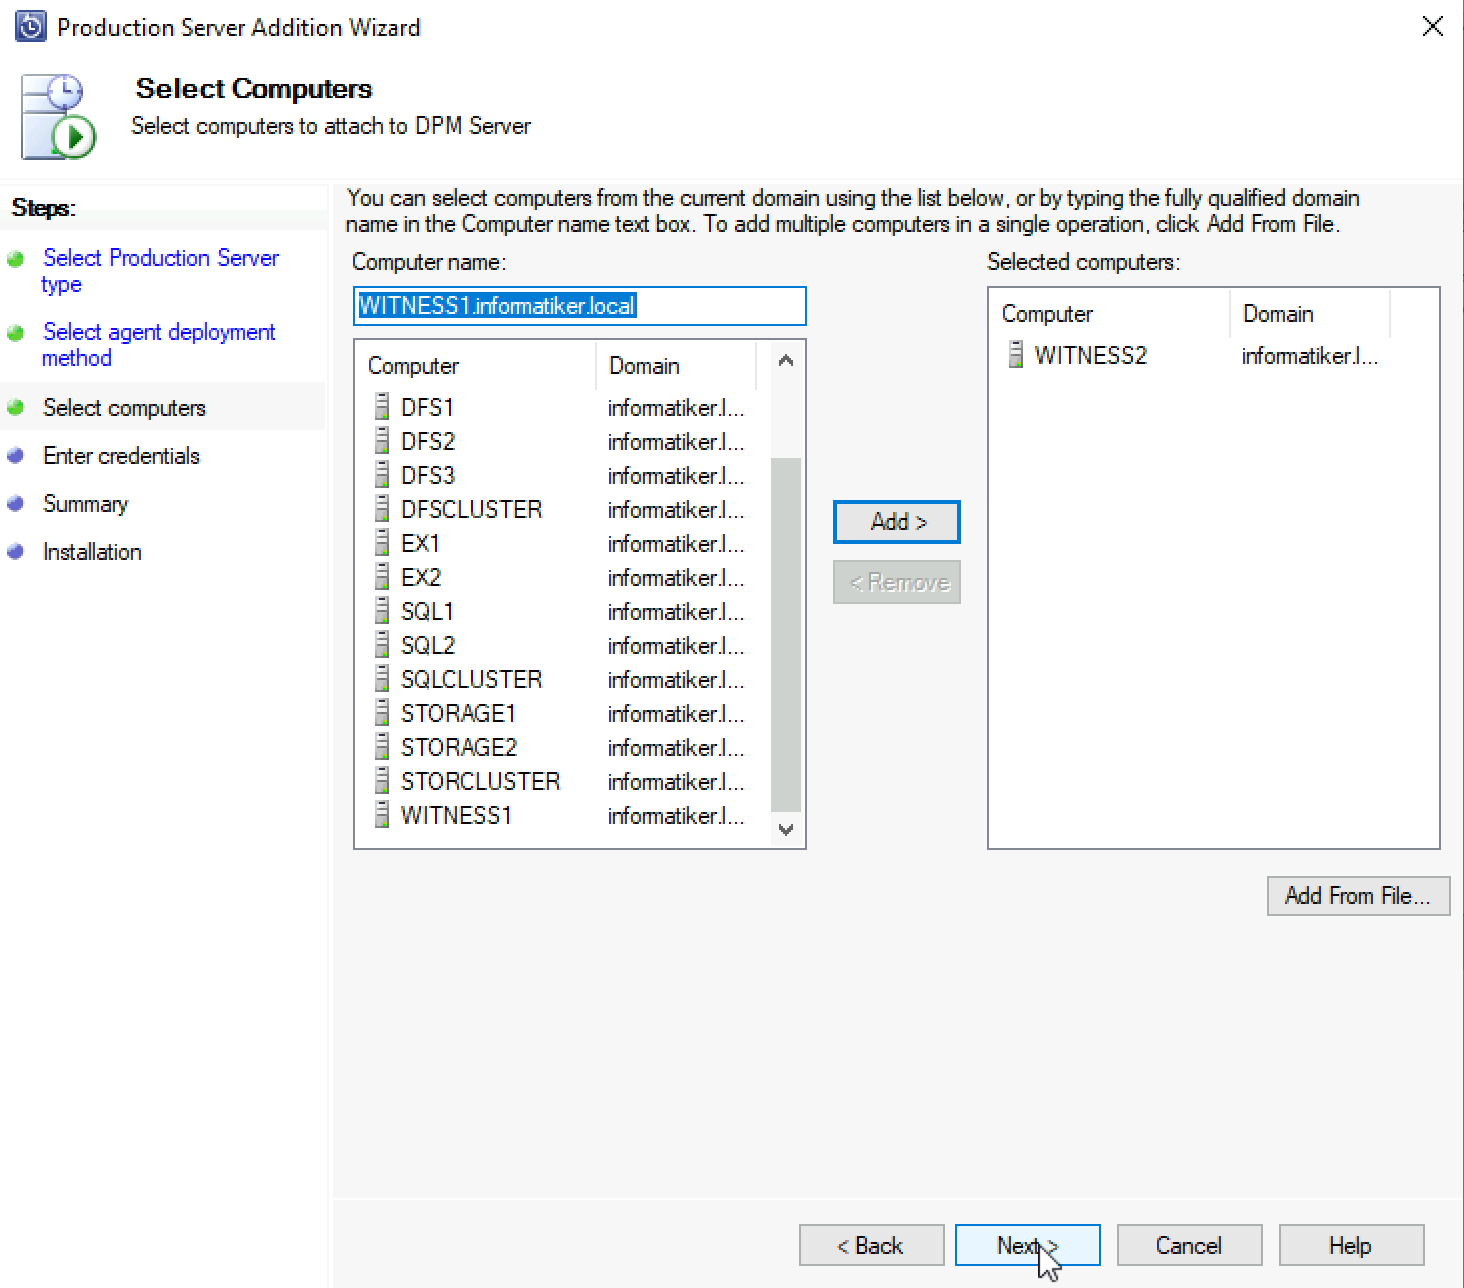
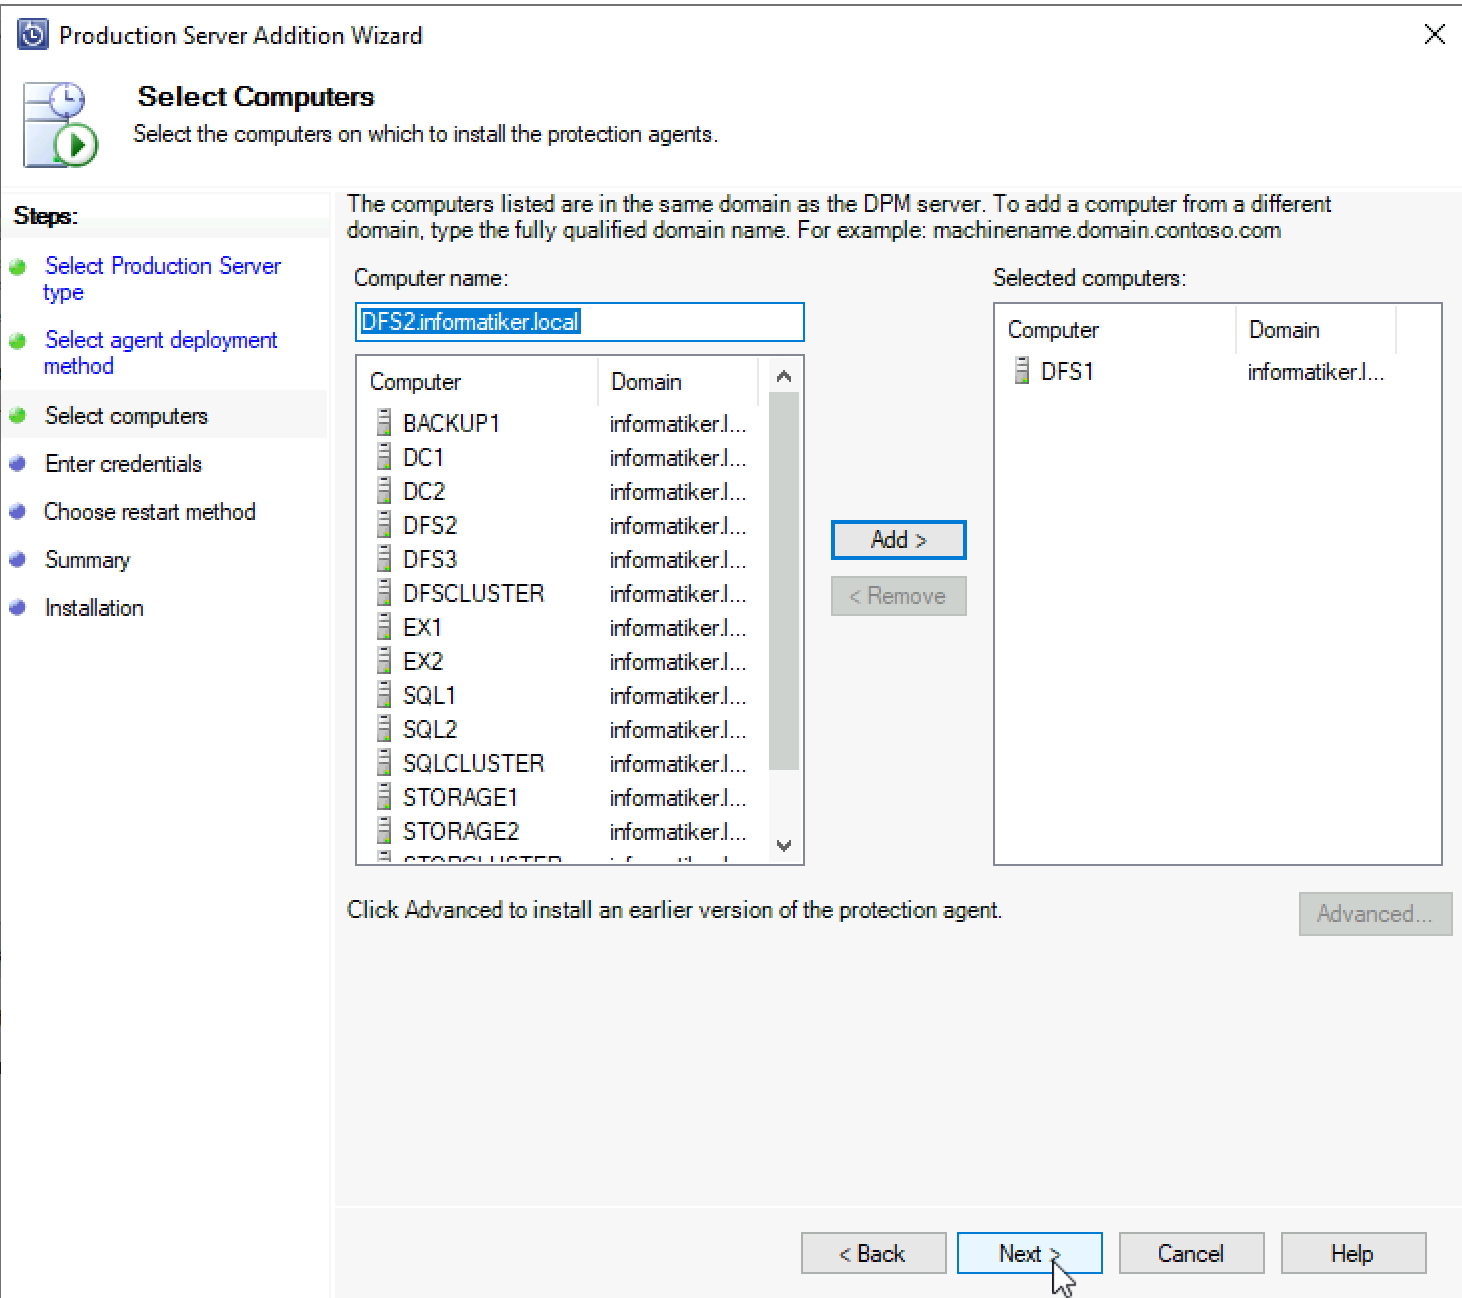
We will select Witness2 and click on Add
After machine is added | Next
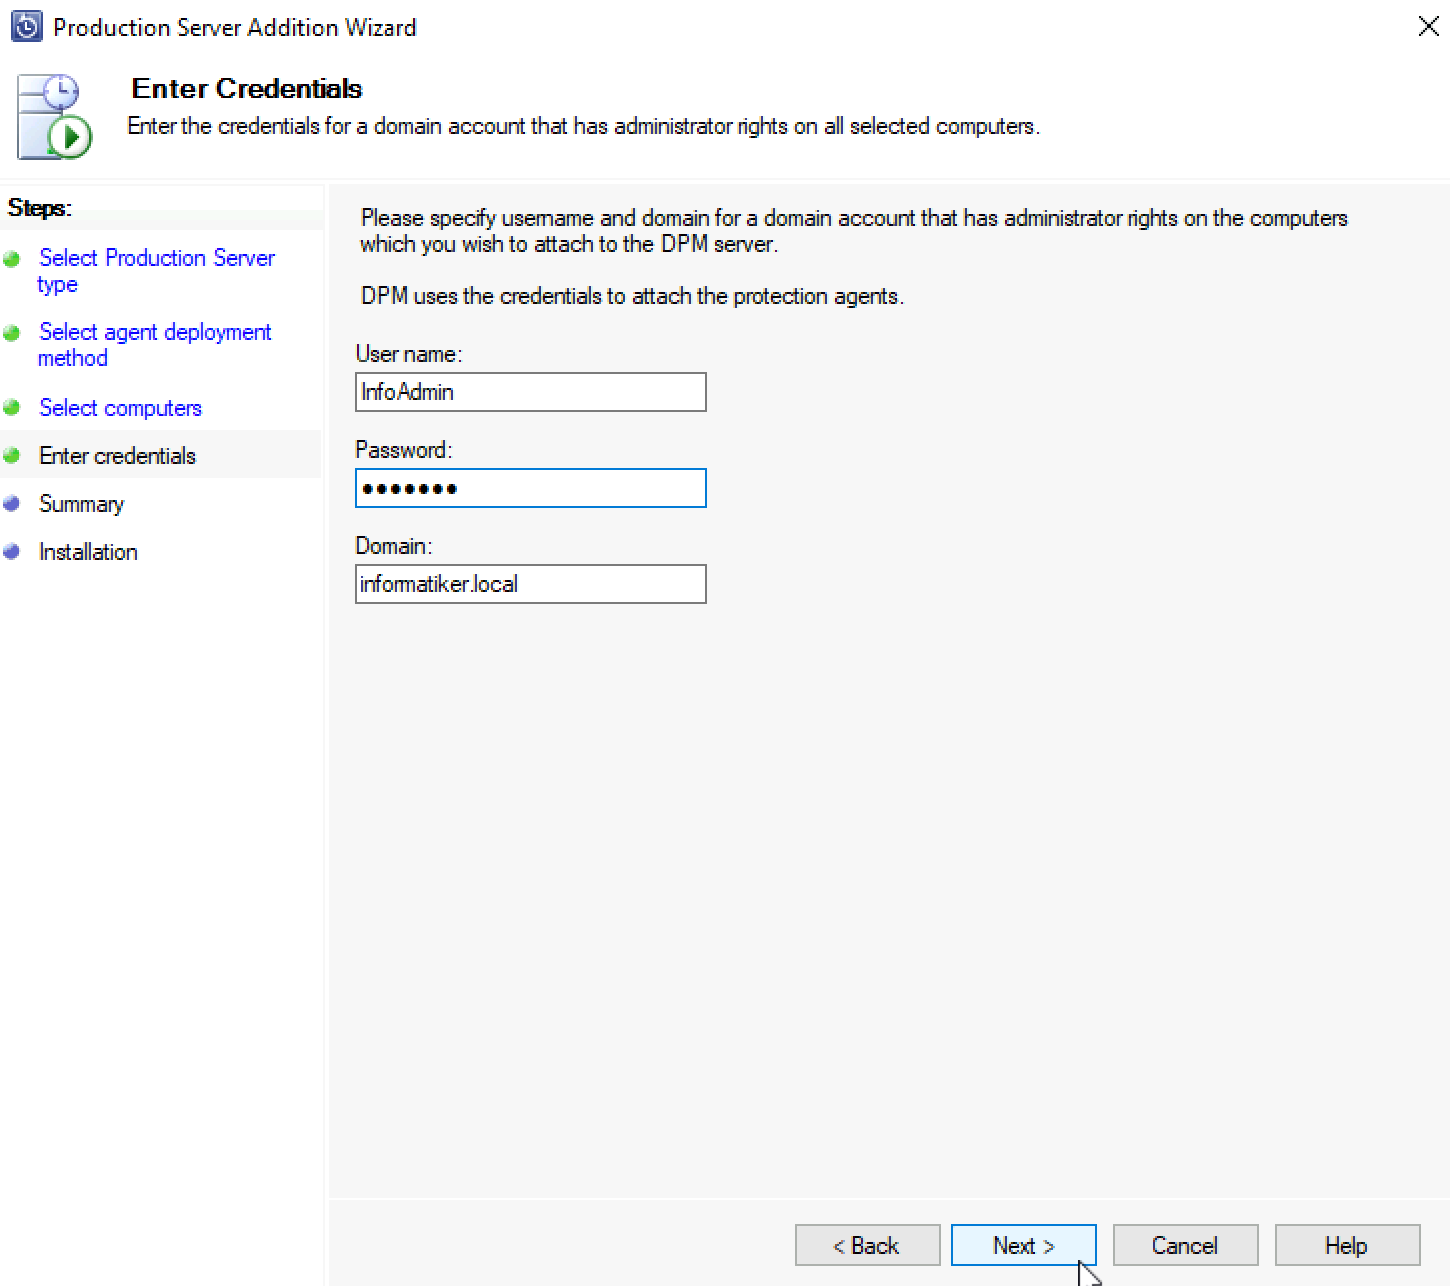
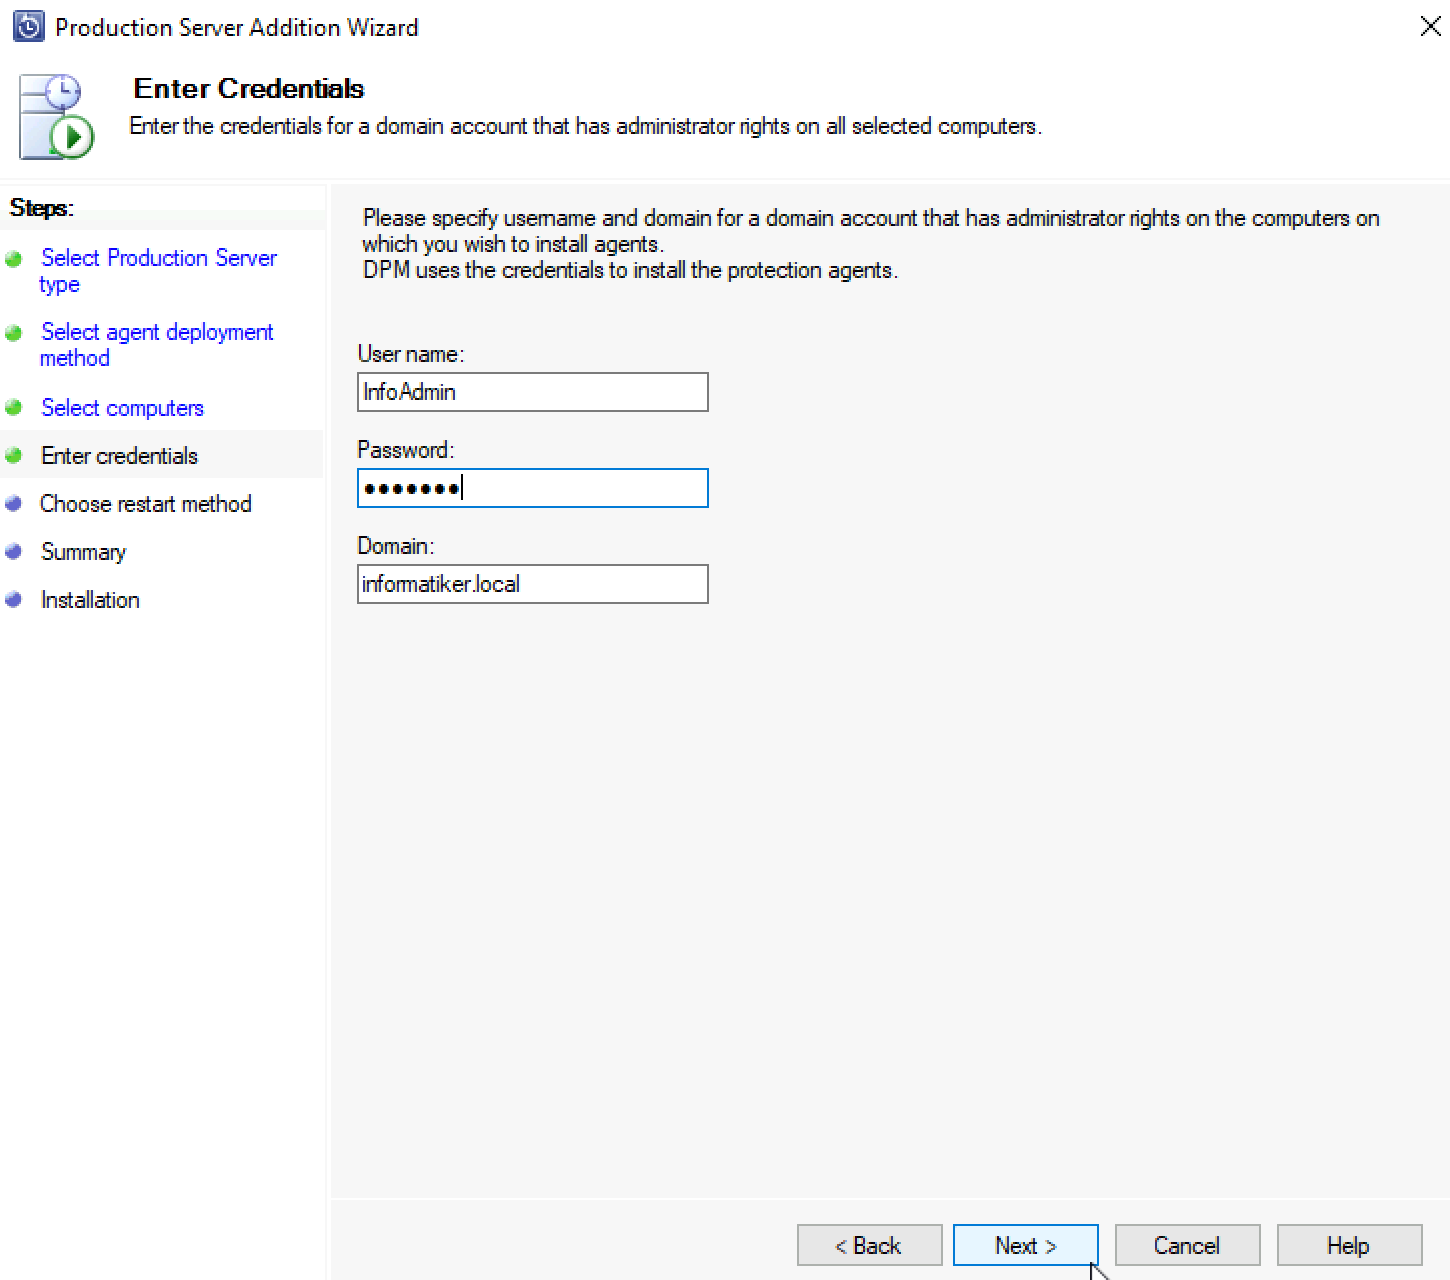
I will specify domain admin account for credentials | Next
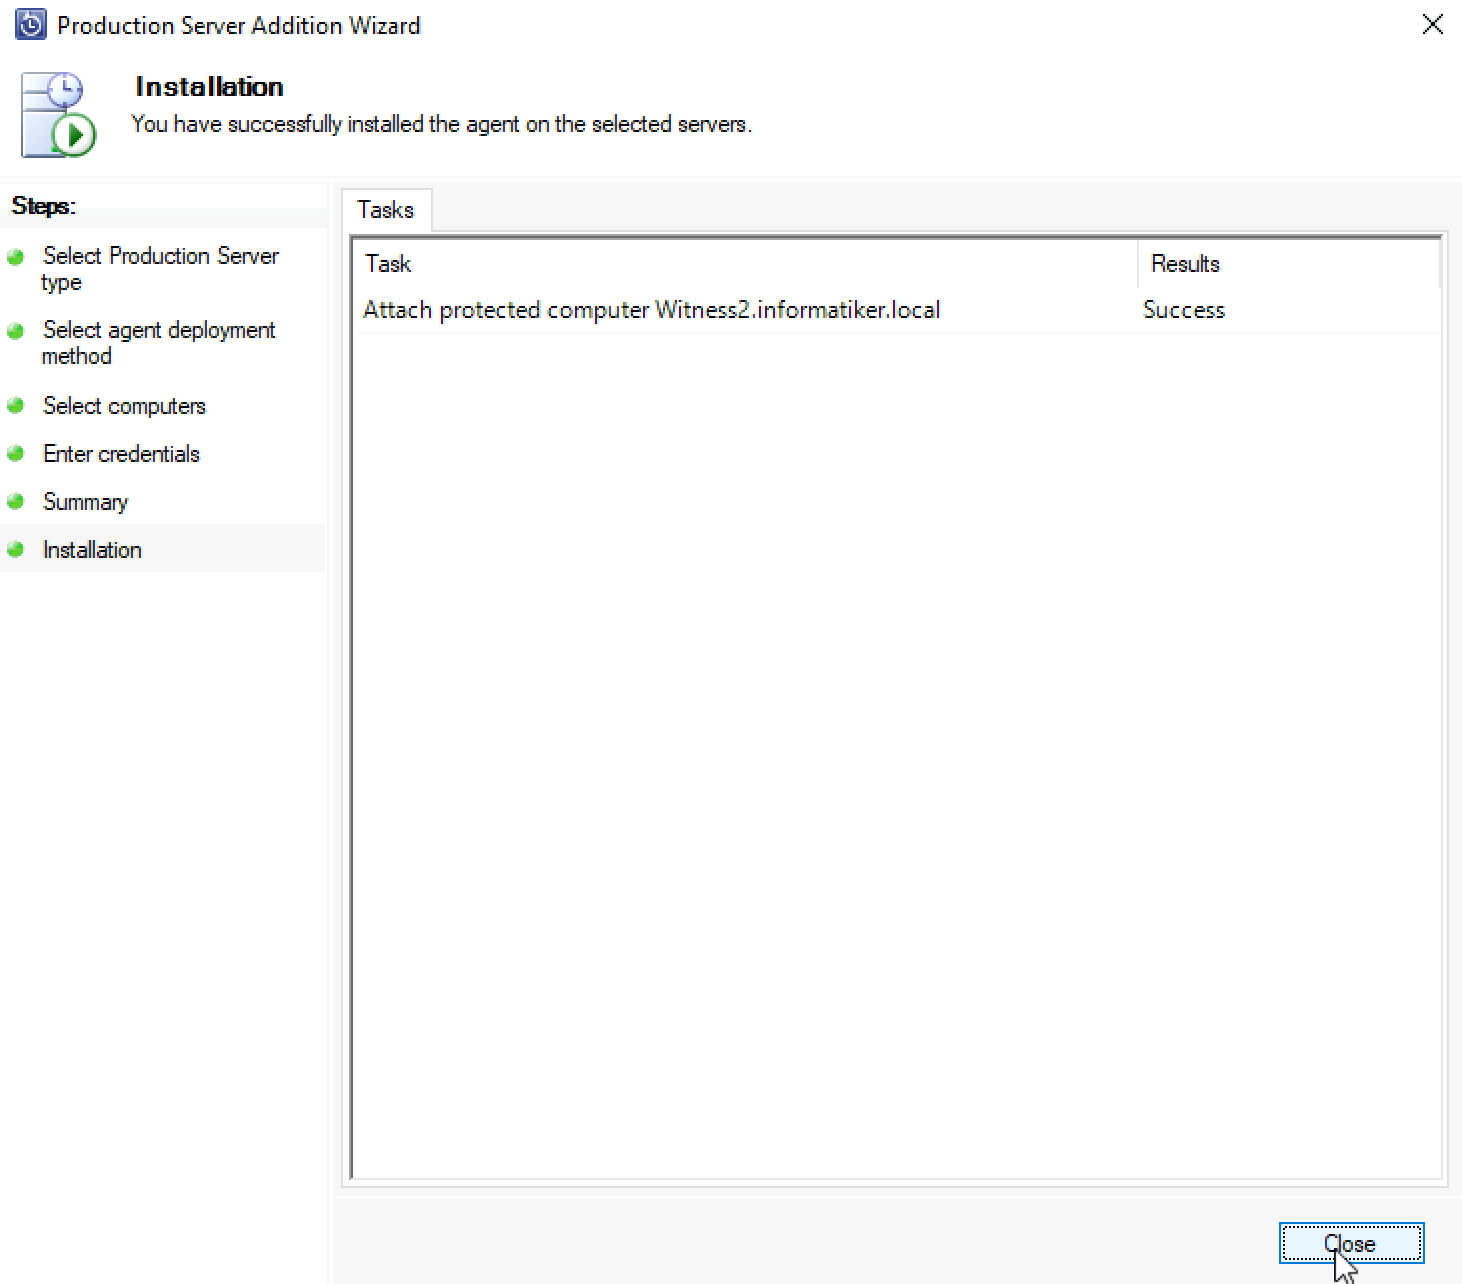
We will now select Attach and hope for the best
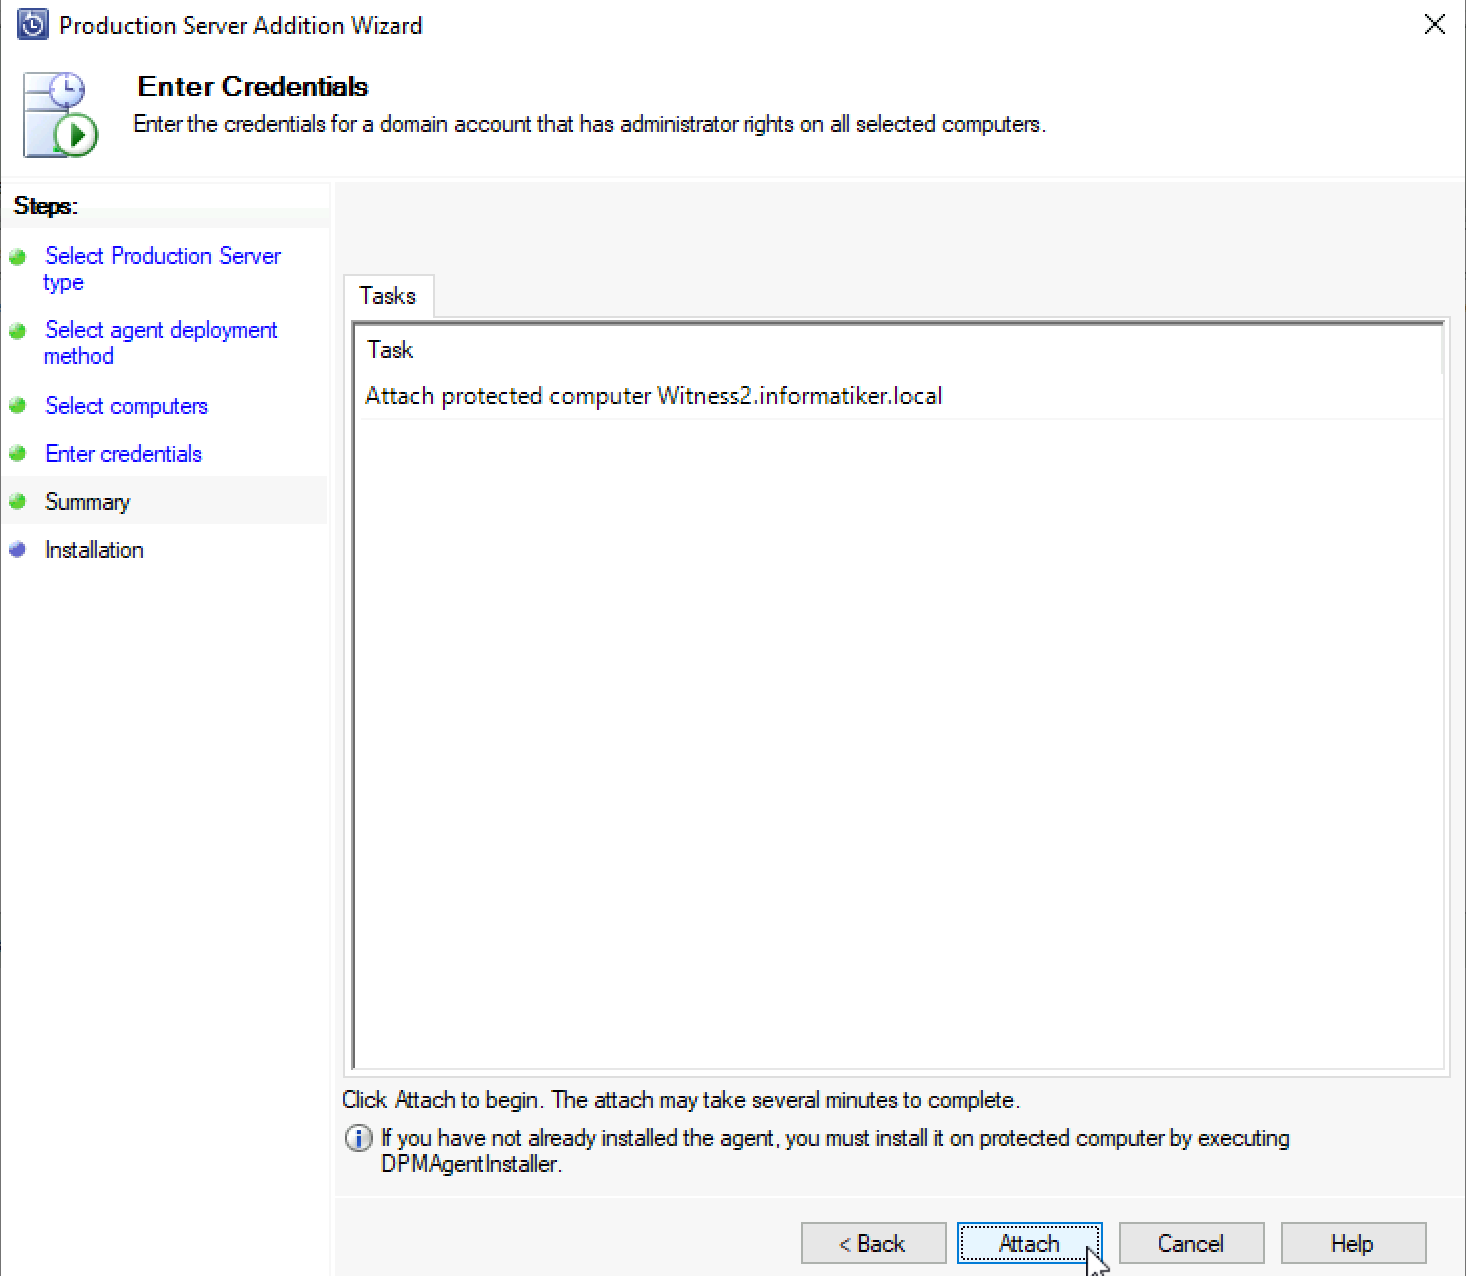
It was a success!!
Red X is nothing too ugly, our DPM agent on Witness2 machine needs update.
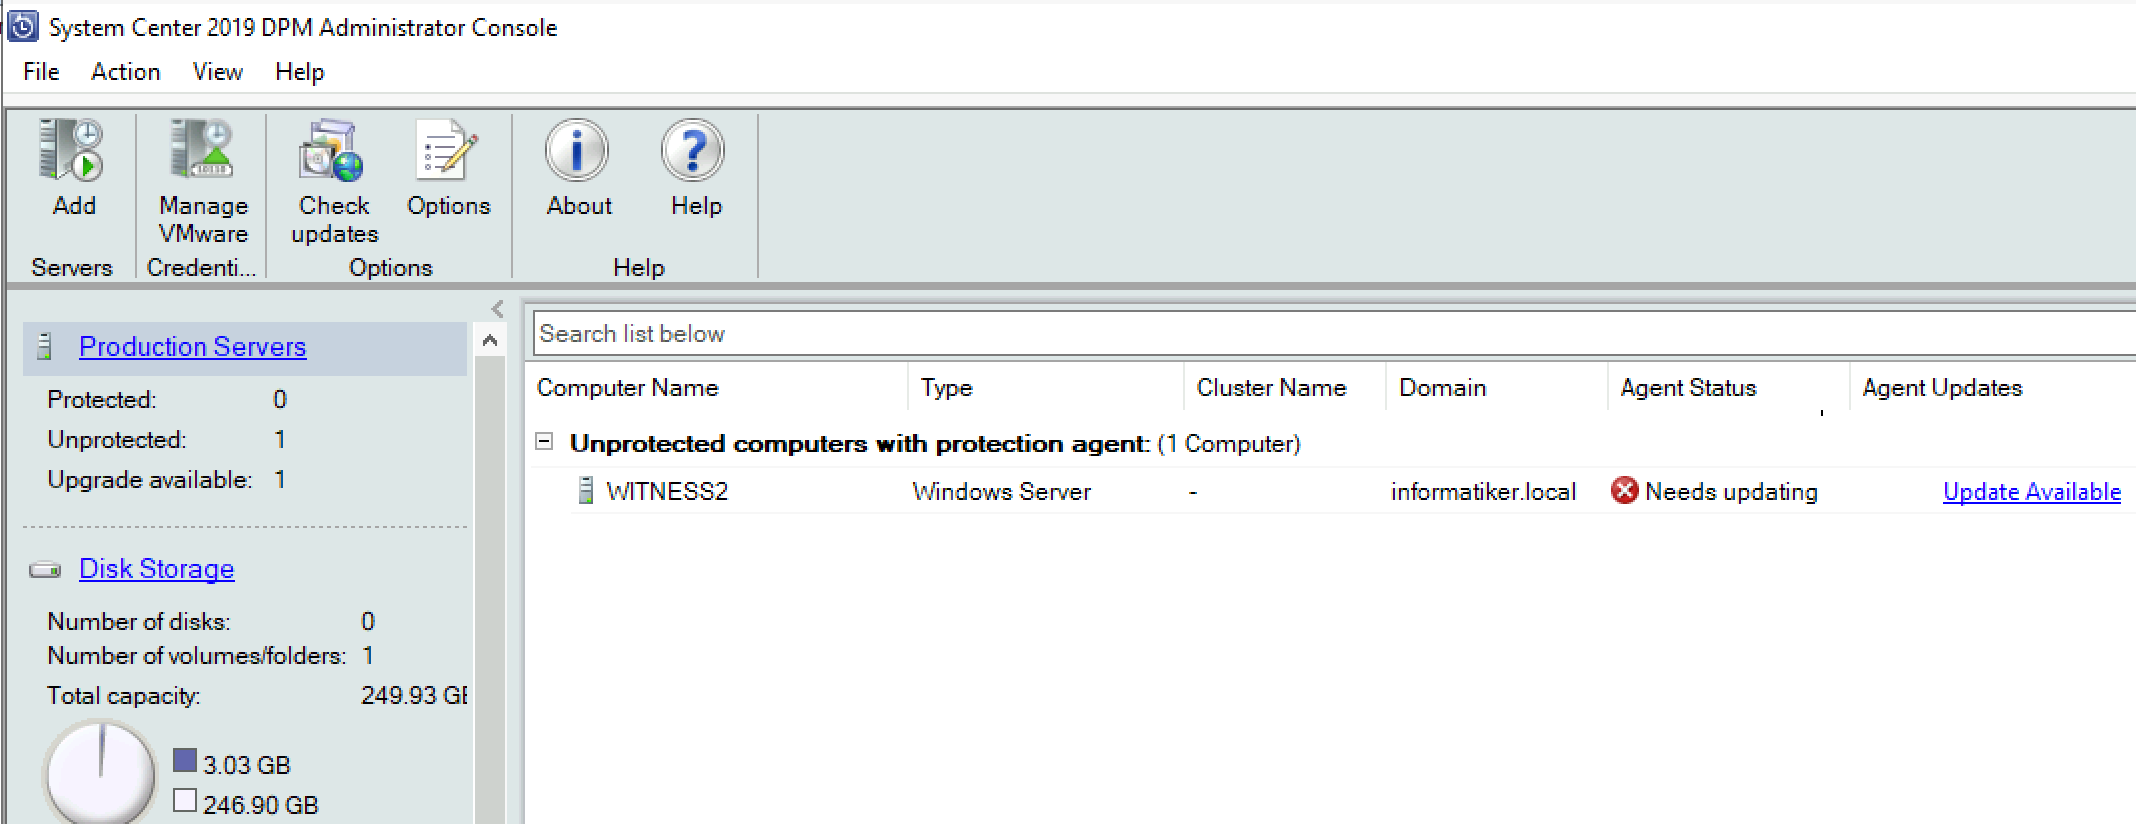
I clicked on Update Available, and now I’m waiting.
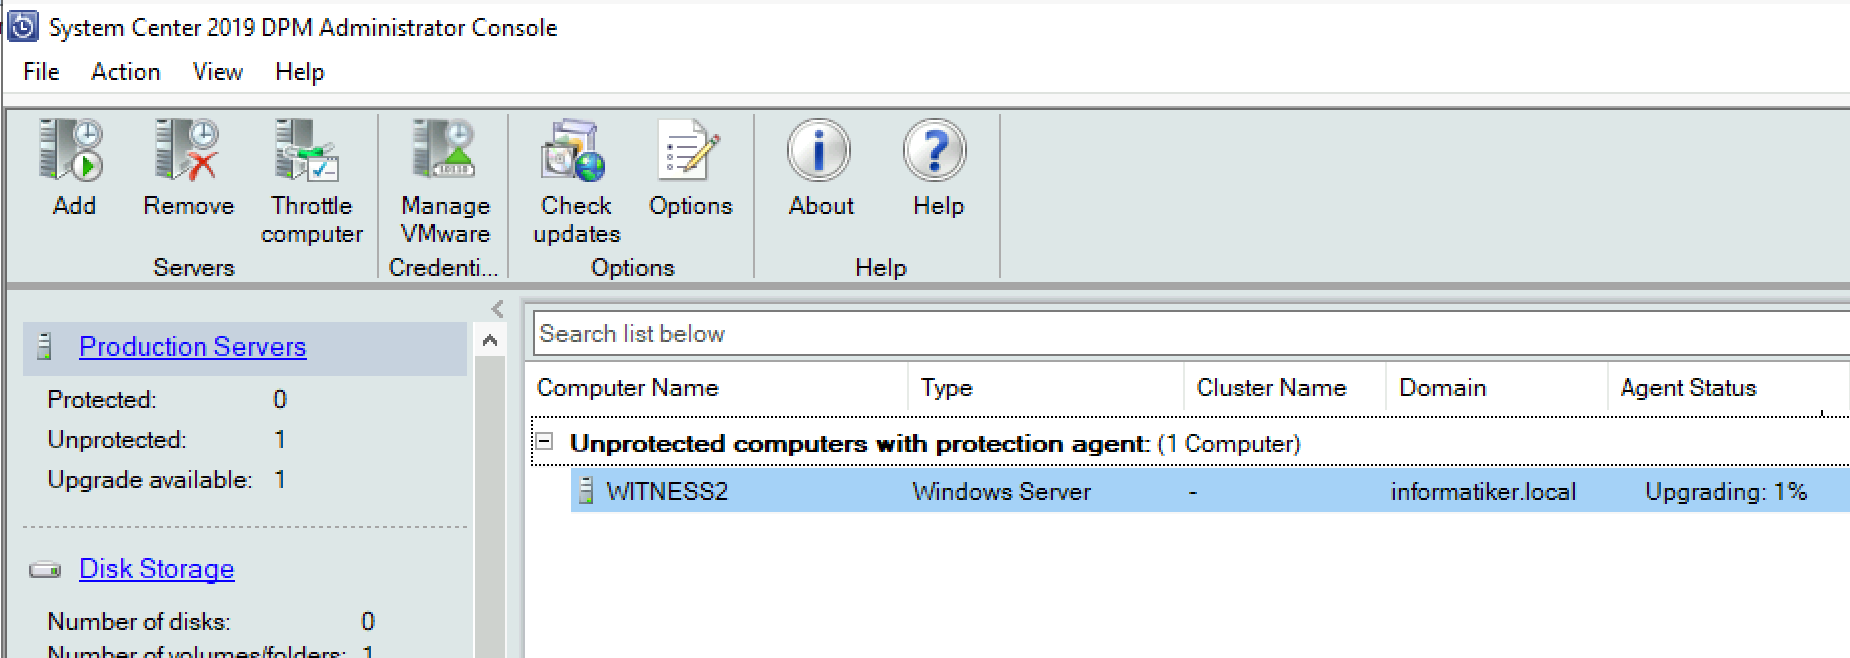
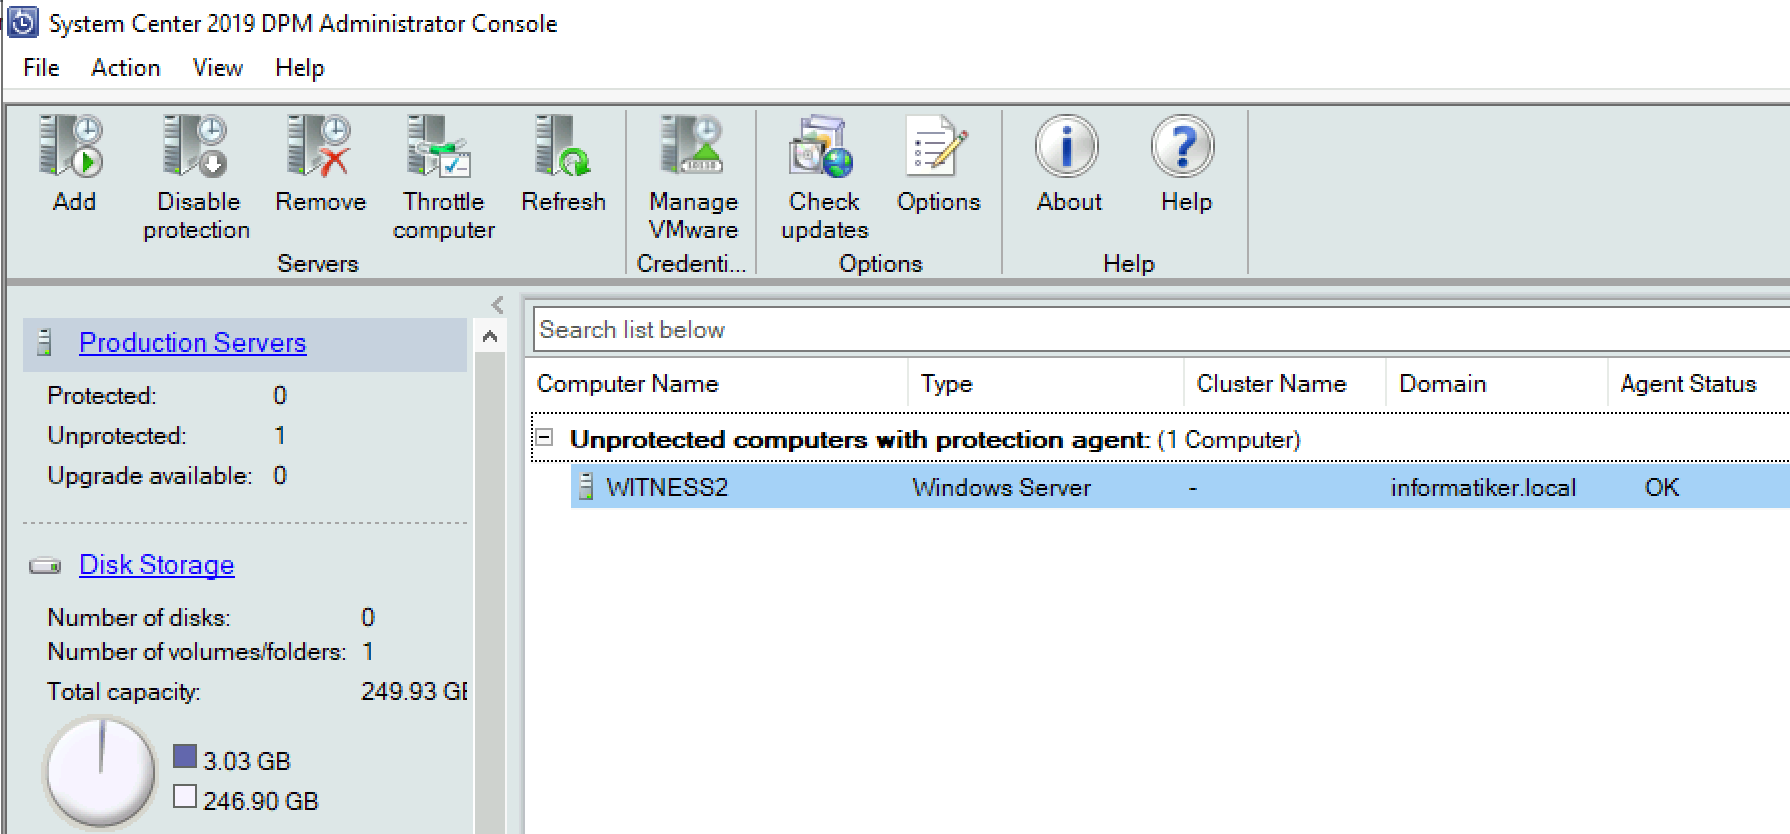
After update is done, everything is OK, we now have one machine with agent installed
Automatic Deployment of DPM Agent
Please read this section (Automatic Deployment) first, before you start to do anything, because things get messy fast.In the end decide route you want to follow, and you can start from the beginning of this section.
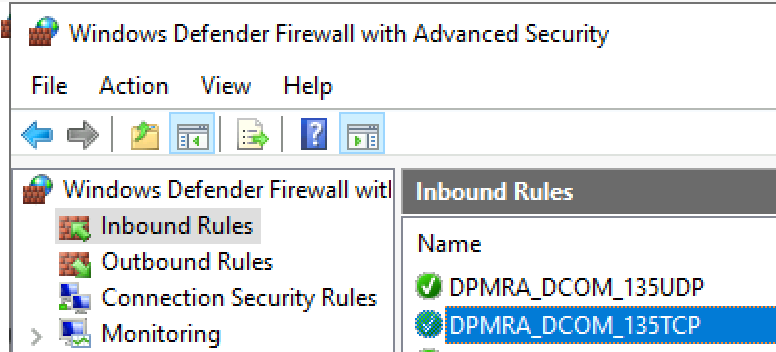
We will quickly try this one to. On DFS1 VM I will open following in Inbound Firewall ports
TCP/UDP port 135
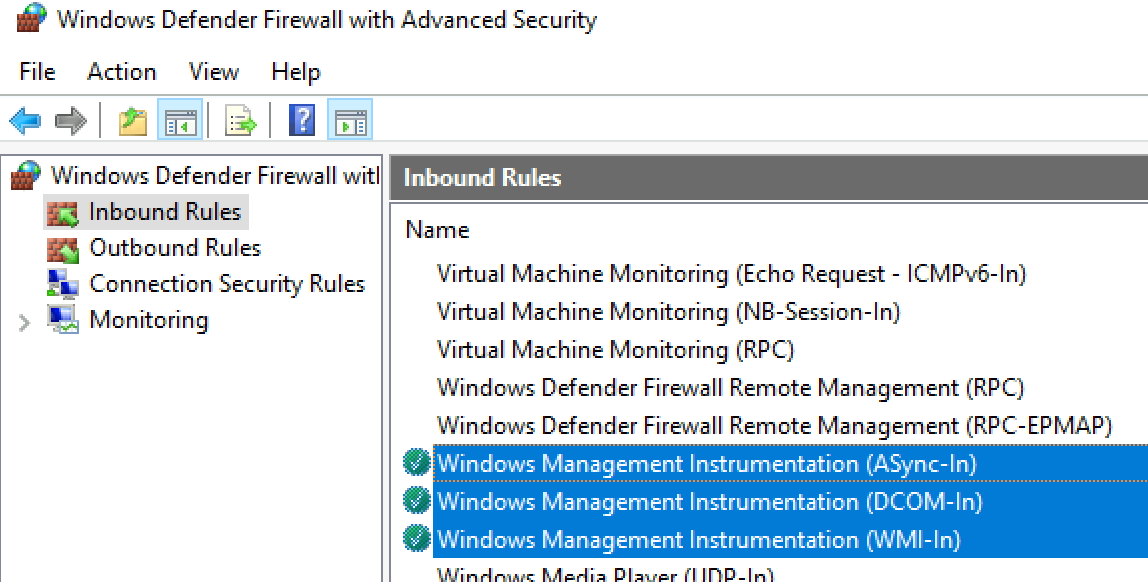
Enable Windows Management Instrumentation rule
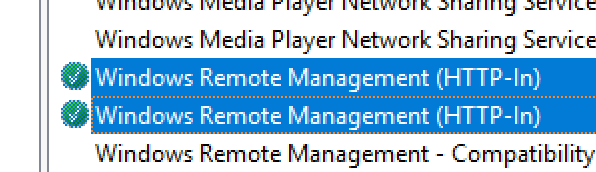
Enable Windows Remote Management rule
Enable Remote Service Management Rule
Later after DPMRA is installed it also needs expection in Inbound firewall (Program Files\Microsoft Data Protection Manager\DPM\bin\DPMRAbin.exe

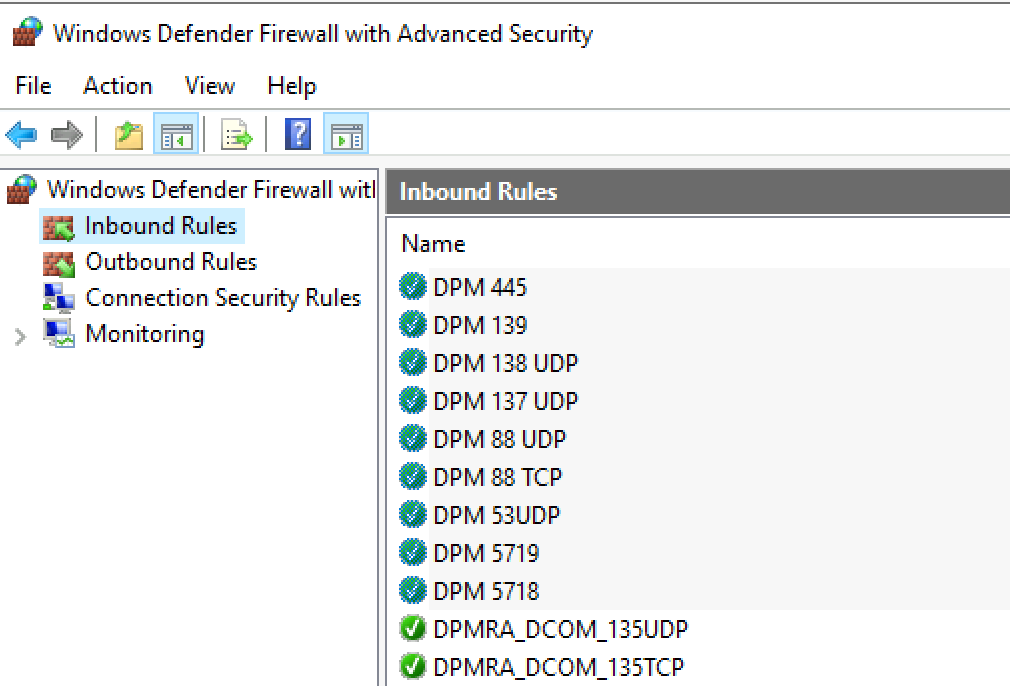
Additionally, I opened all the ports listed in the firewall list above because my DPM agent deployment failed.
Ok, let’s now go to DPM server and try DPM agent install from it, without prior install on VM we wish to protect.
Again – DPM Administrator Console | Management | Production Servers | Add
Windows Servers

This time – Install Agents
We’ll add DFS1 on which we prepared firewall | Next
I will again enter domain admin credentials | Next
I don’t want DPM to reboot my server after install – so No for me. Next
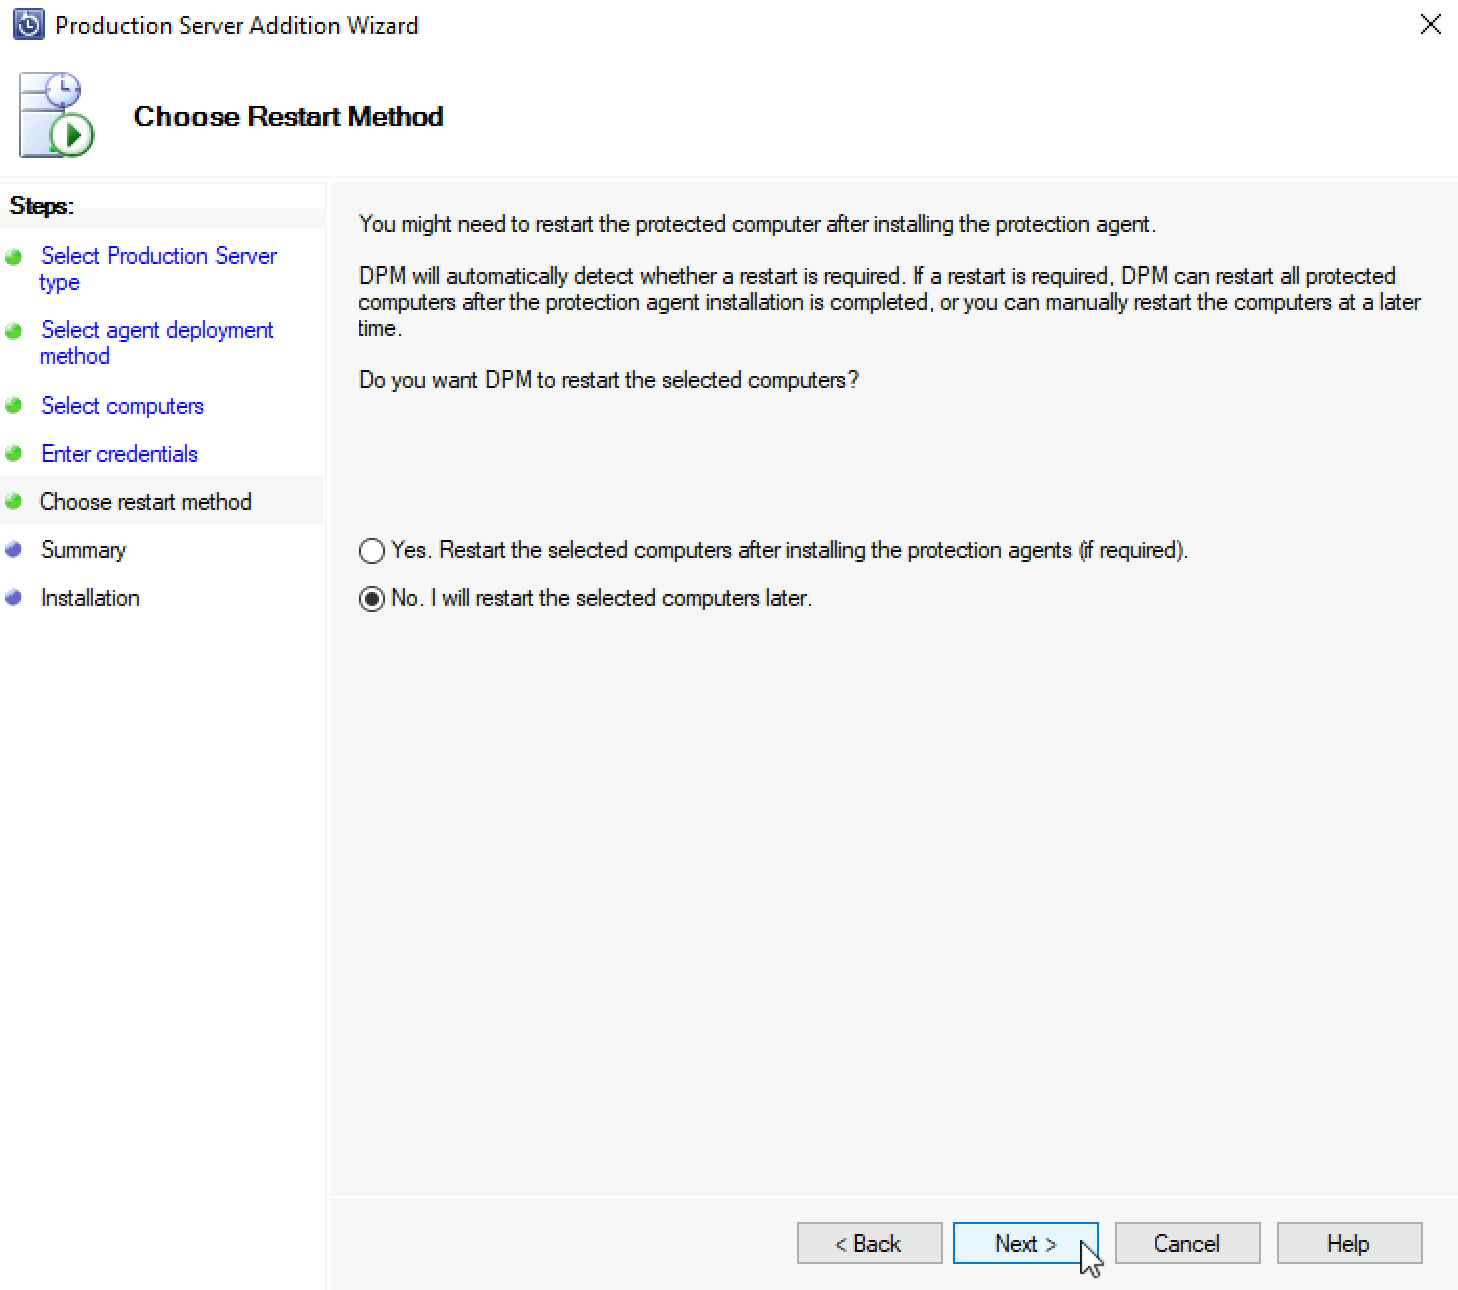
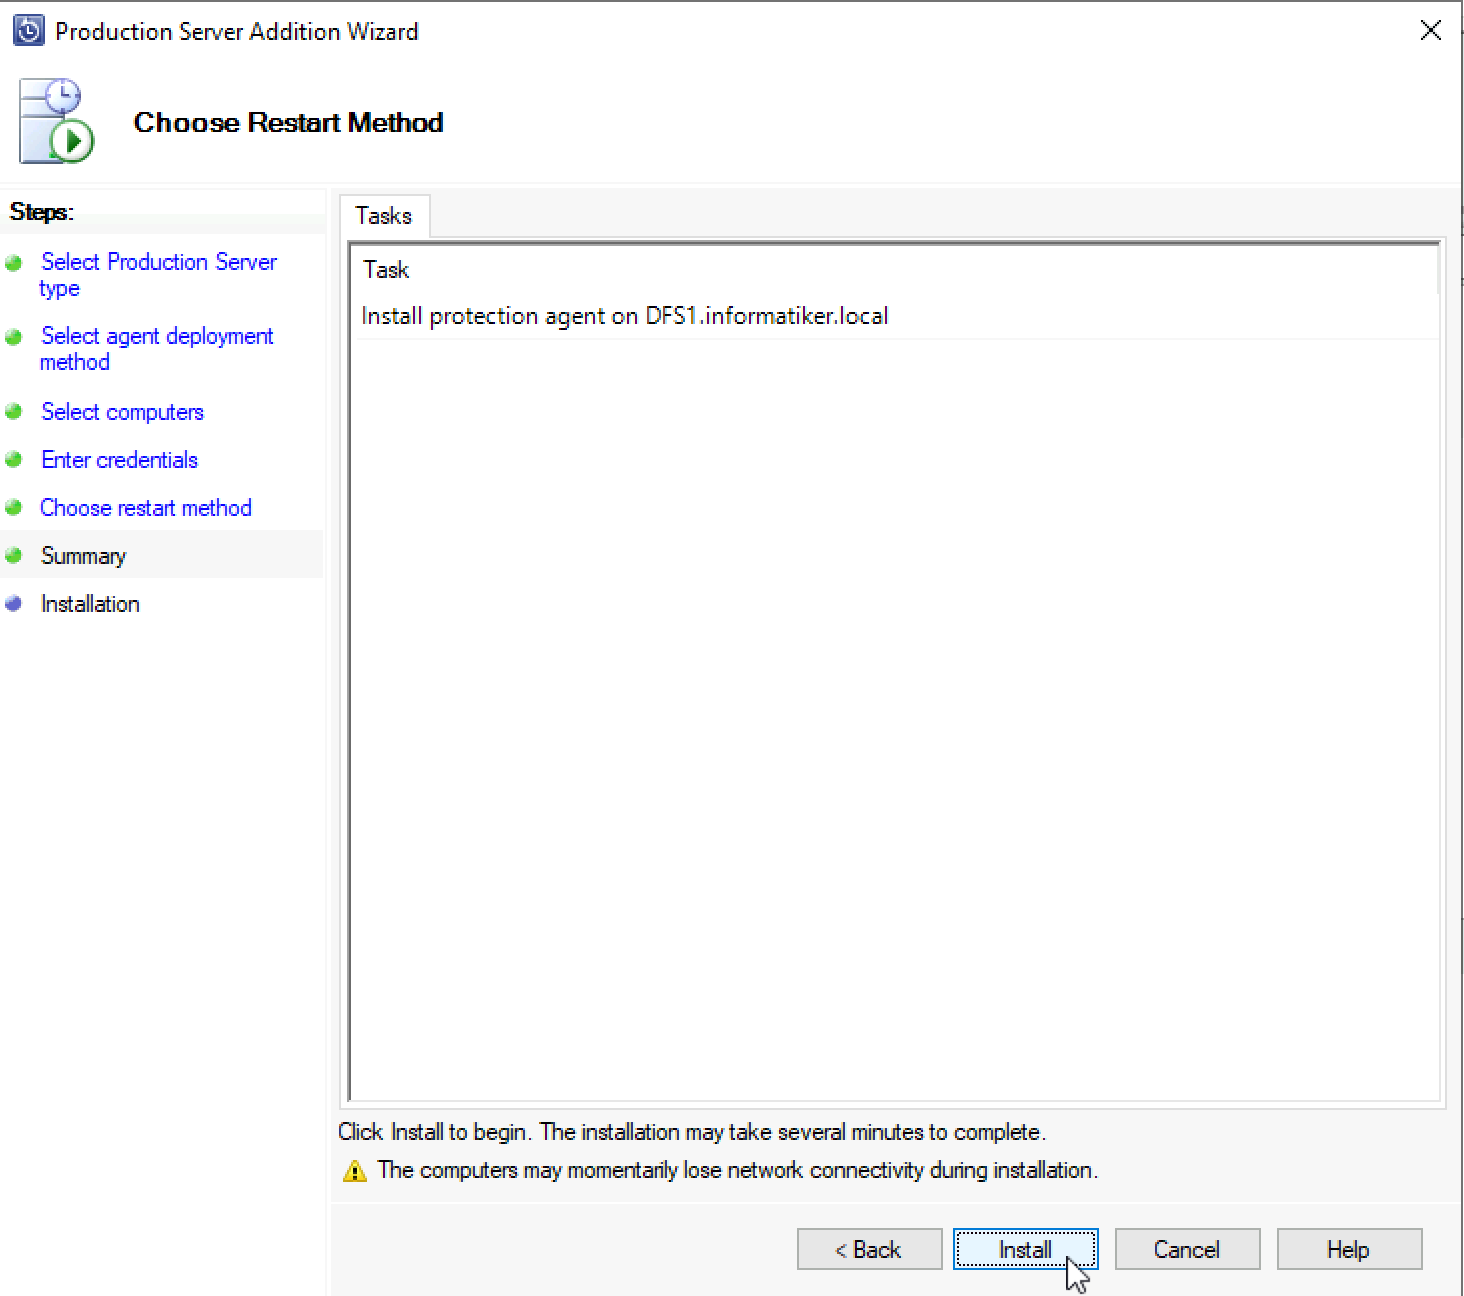
Install
Failed
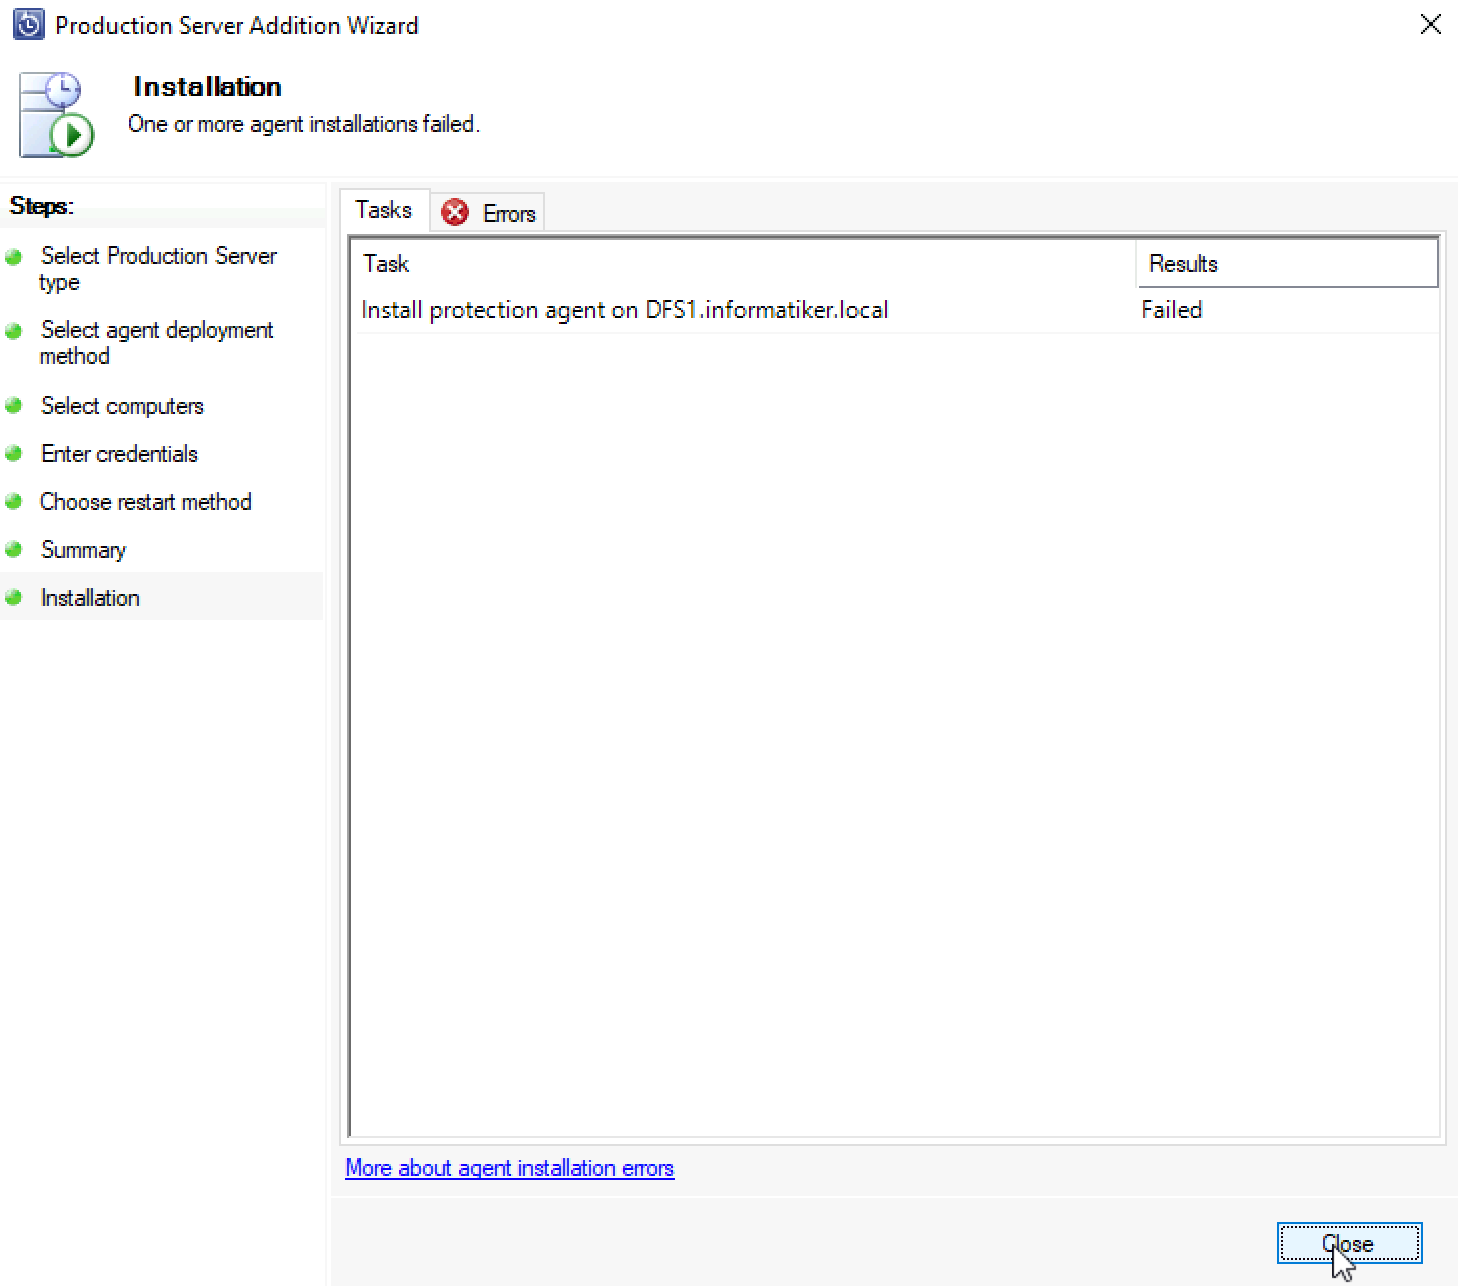
Firewall still looks like a problem despite aaaallll the ports I opened. This is the problem I encounter since DPM 2010, no changes with this one, and it is painful to deal with this. This is why I prefer manual deployment.
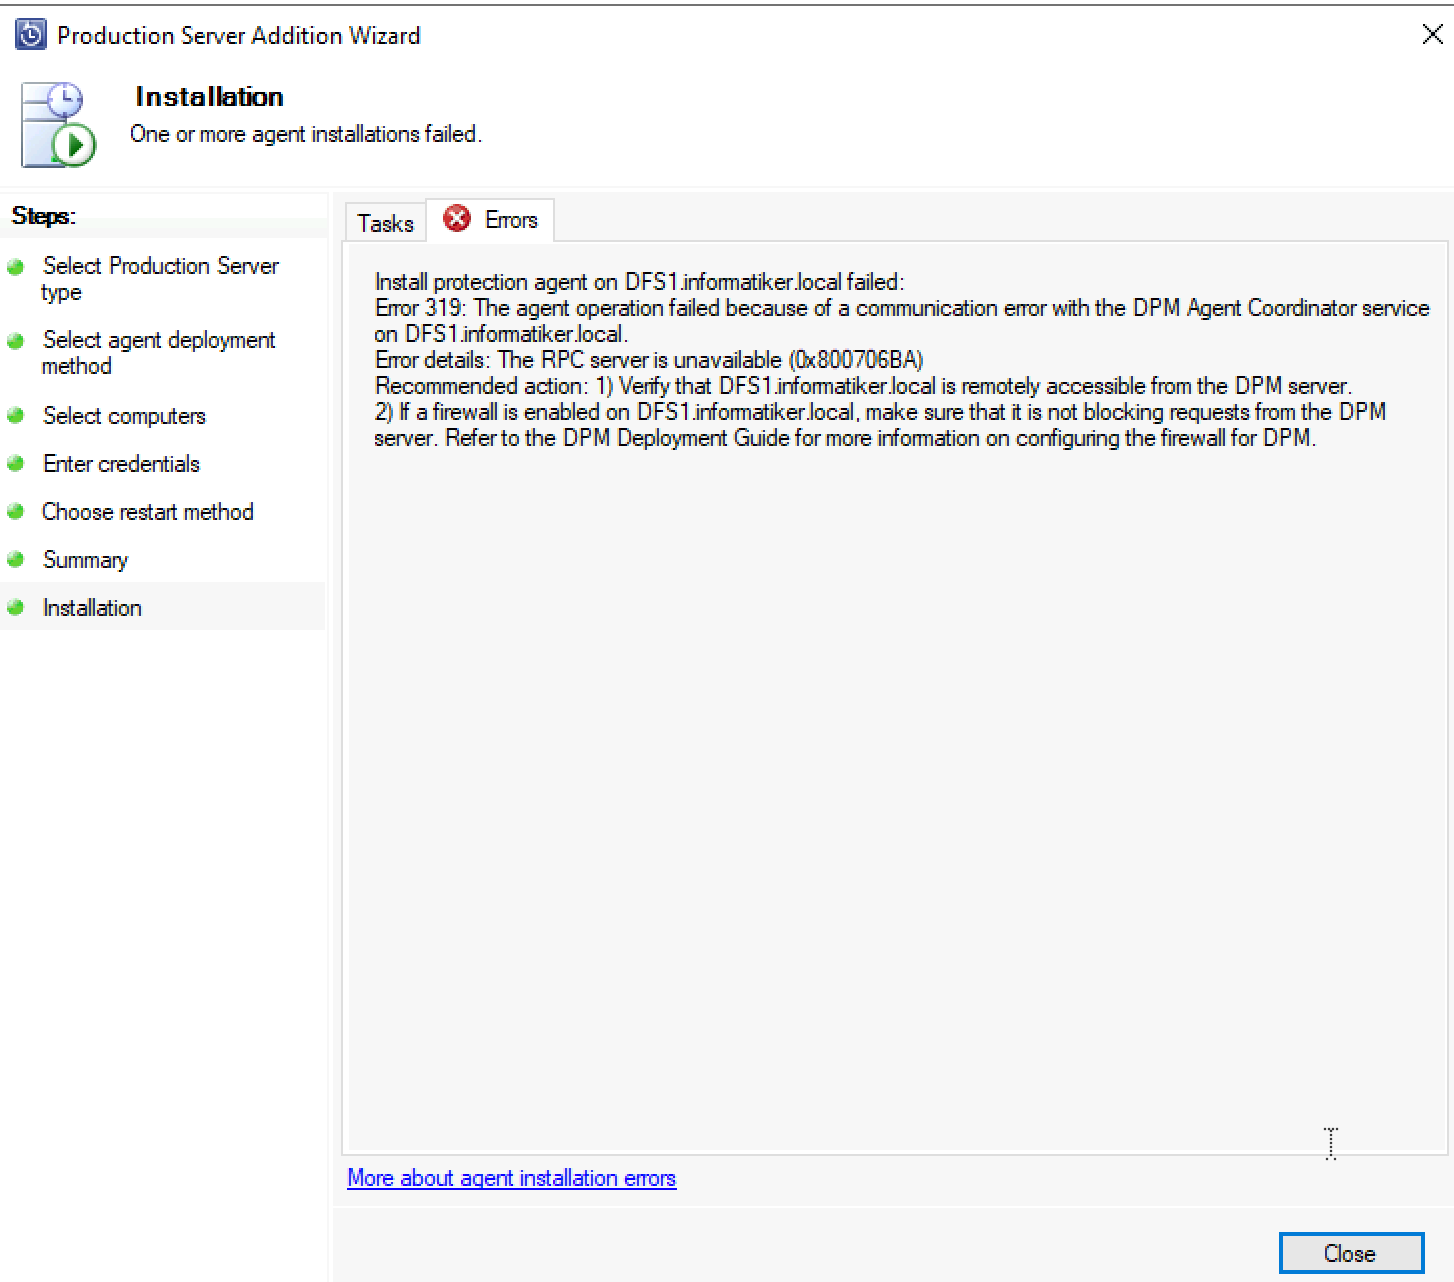
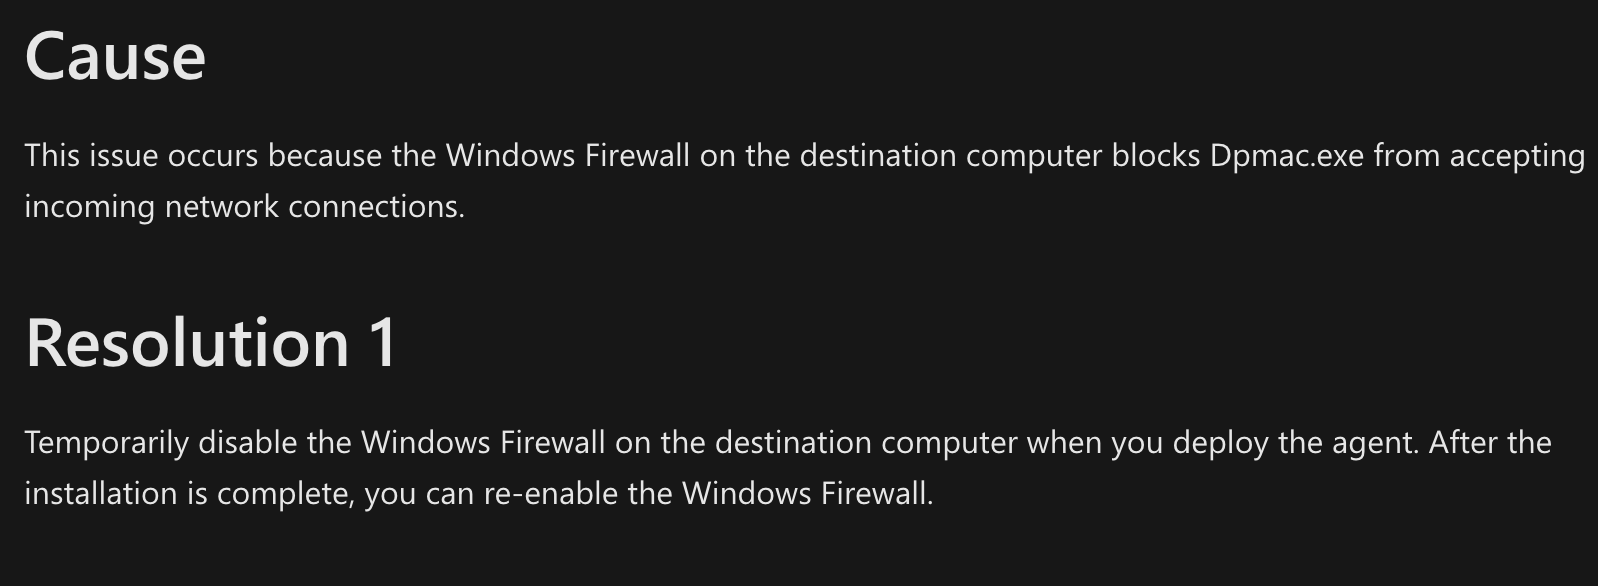
If you get error 319 (like I often do) this is where you can refer for solution
https://docs.microsoft.com/en-us/troubleshoot/system-center/dpm/agent-installation-error-319
Resolution No1 is to turn off the firewall and I’m not making this up. This is official solution from Microsoft itself.
Here, a screenshot, to make it clear.
Resolution No2 is to deploy some more ports and apps in firewall (I haven’t bother to try it).
With Resolution 1 from Microsoft (I turned off firewall) this works immediately, and i finally managed to deploy DPM agent to DFS1.
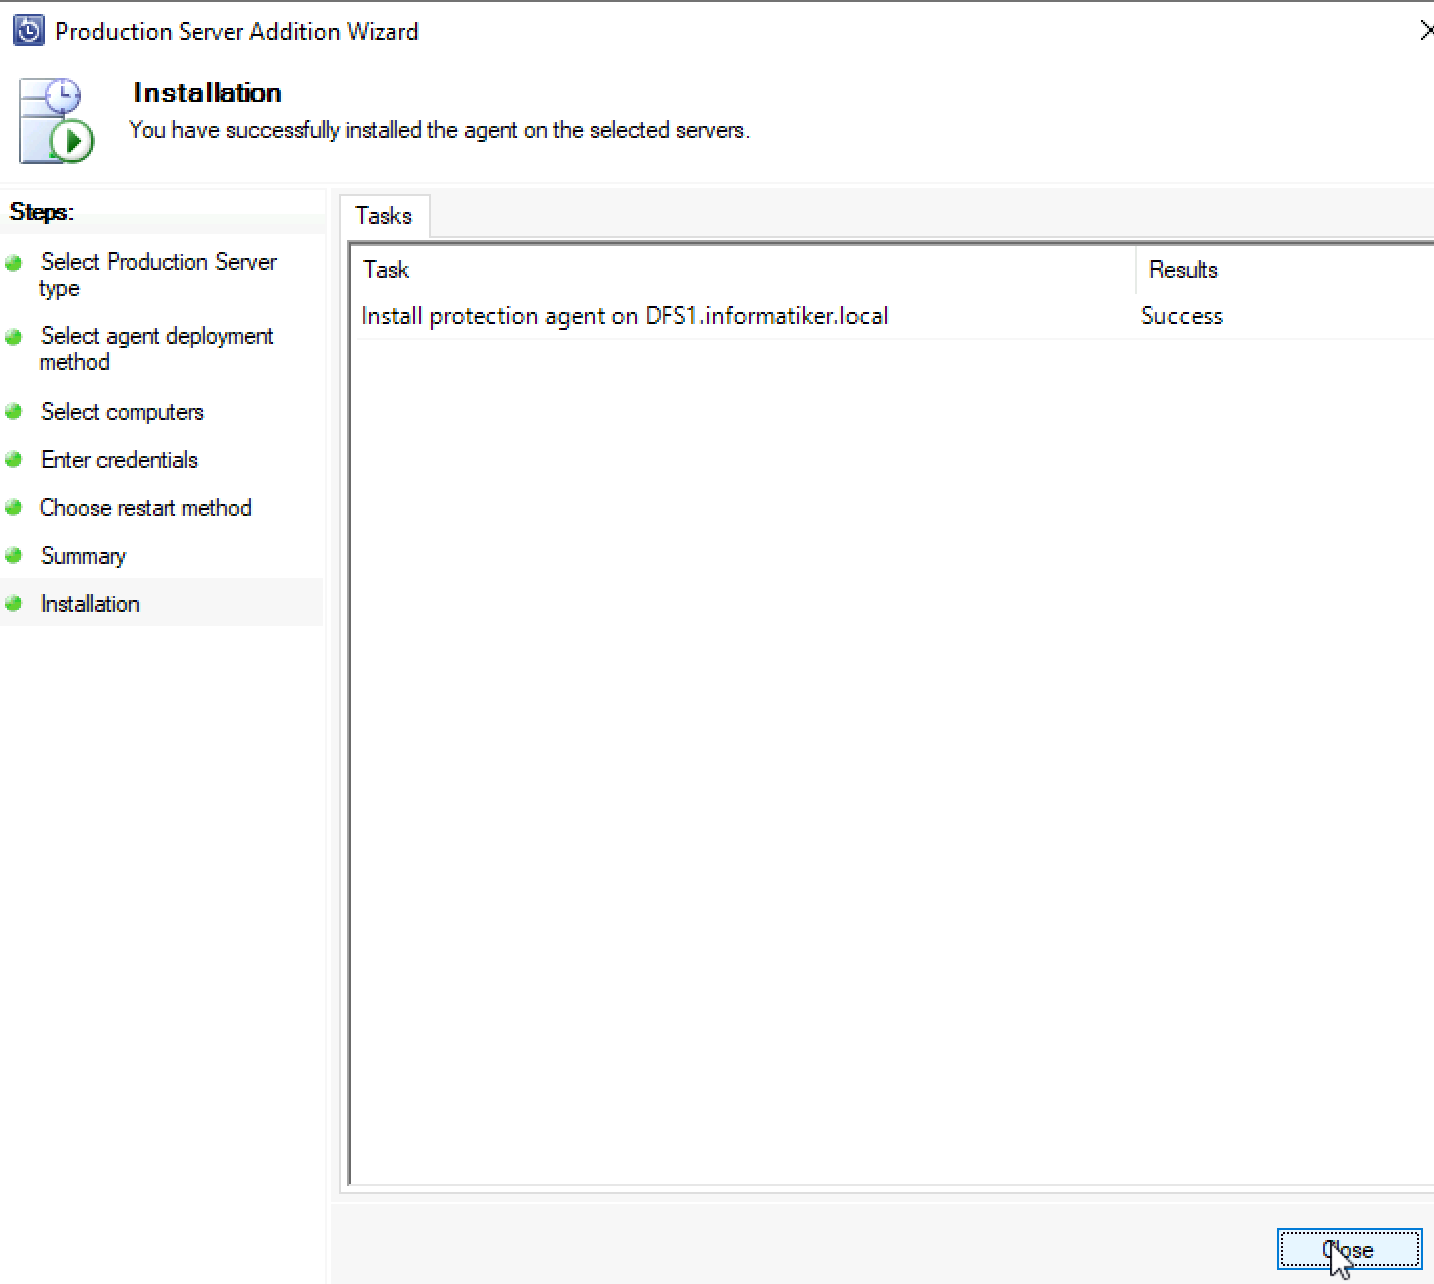
I turned ON firewall immediately after installation was done!!!
So, this is the reason I don’t like automatic deployment of DPM agents, it just isn’t easier and more convenient. Also, you can automate first method I described and make it silent if needed.
I just wanted to showcase why I don’t use automatic deployment in DPM. You would expect that it would be simpler, faster and more convenient – but it isn’t.
In the end, I used manual method and was done with my 10+ VMs in few minutes
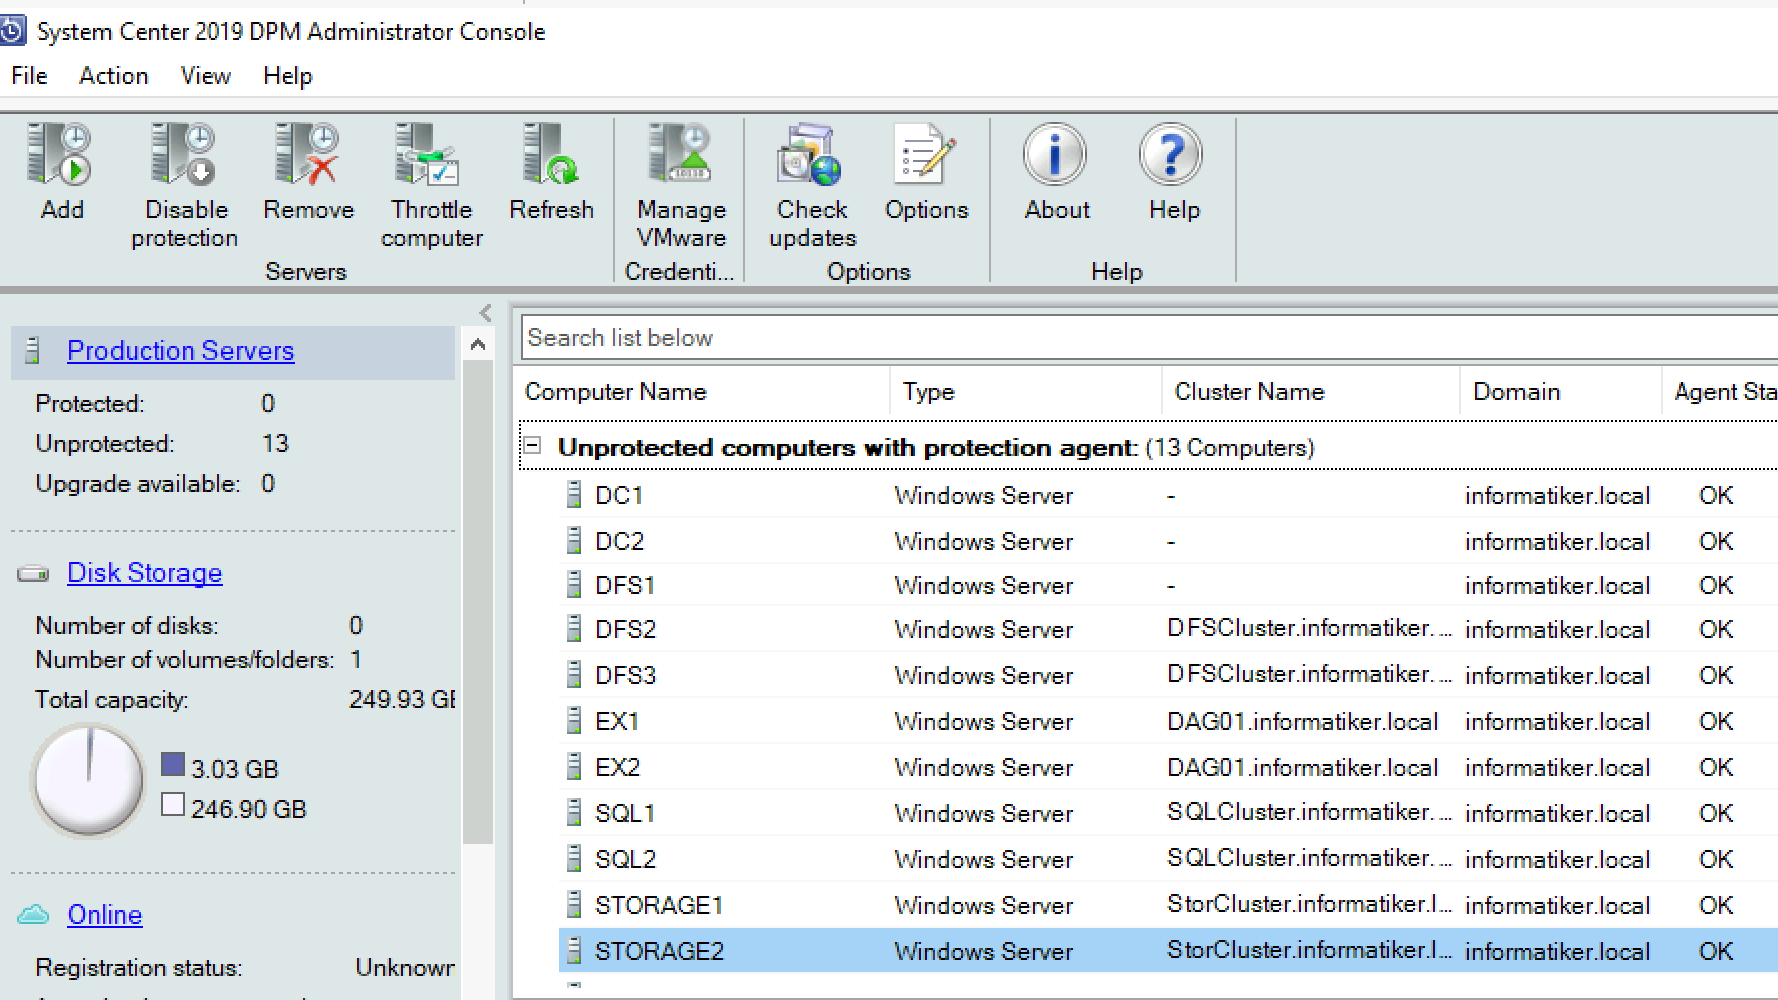
Ok, so we are done with protection agent deployment, which is very important part of this puzzle.
Notifications Options
We are still inside DPM Administrator Console on Management menu.
In ribbon on the top select Options
Here are some things that you may consider setting up, I won’t go through every option here, but only one that I think is most important – SMTP Server and Notifications options
SMTP Server
In order to setup notifications you need to configure SMTP server so you can send emails. Scenario I tested is set with Microsoft Exchange server.
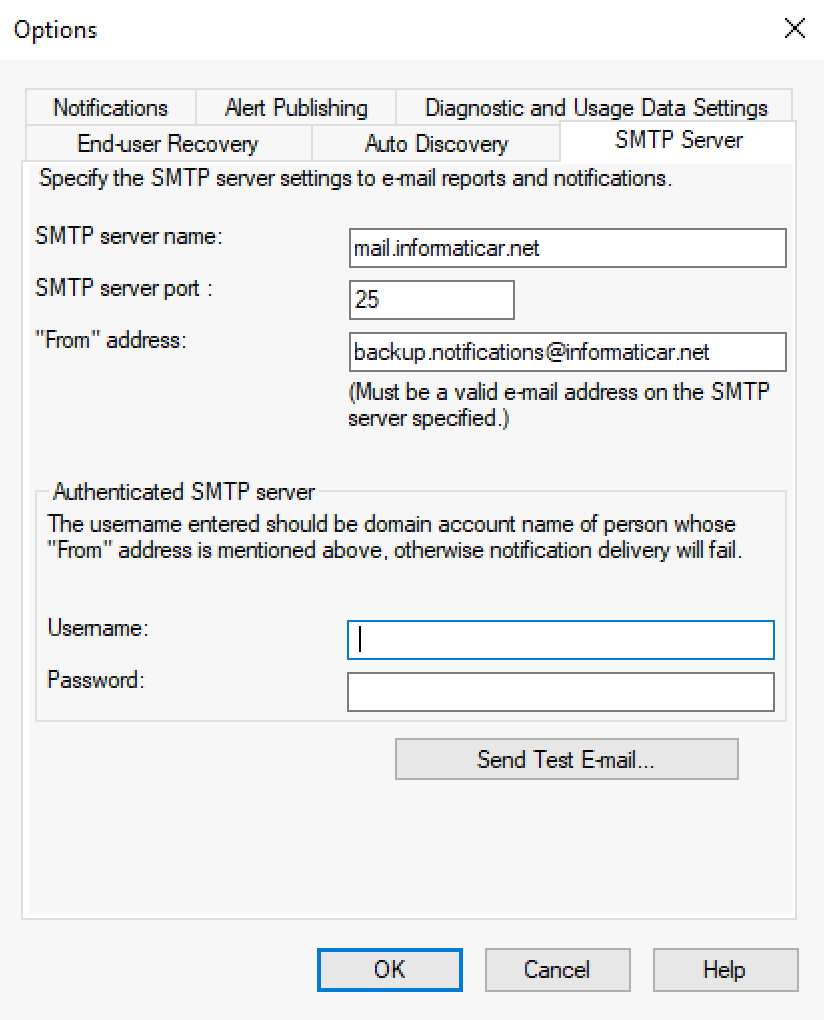
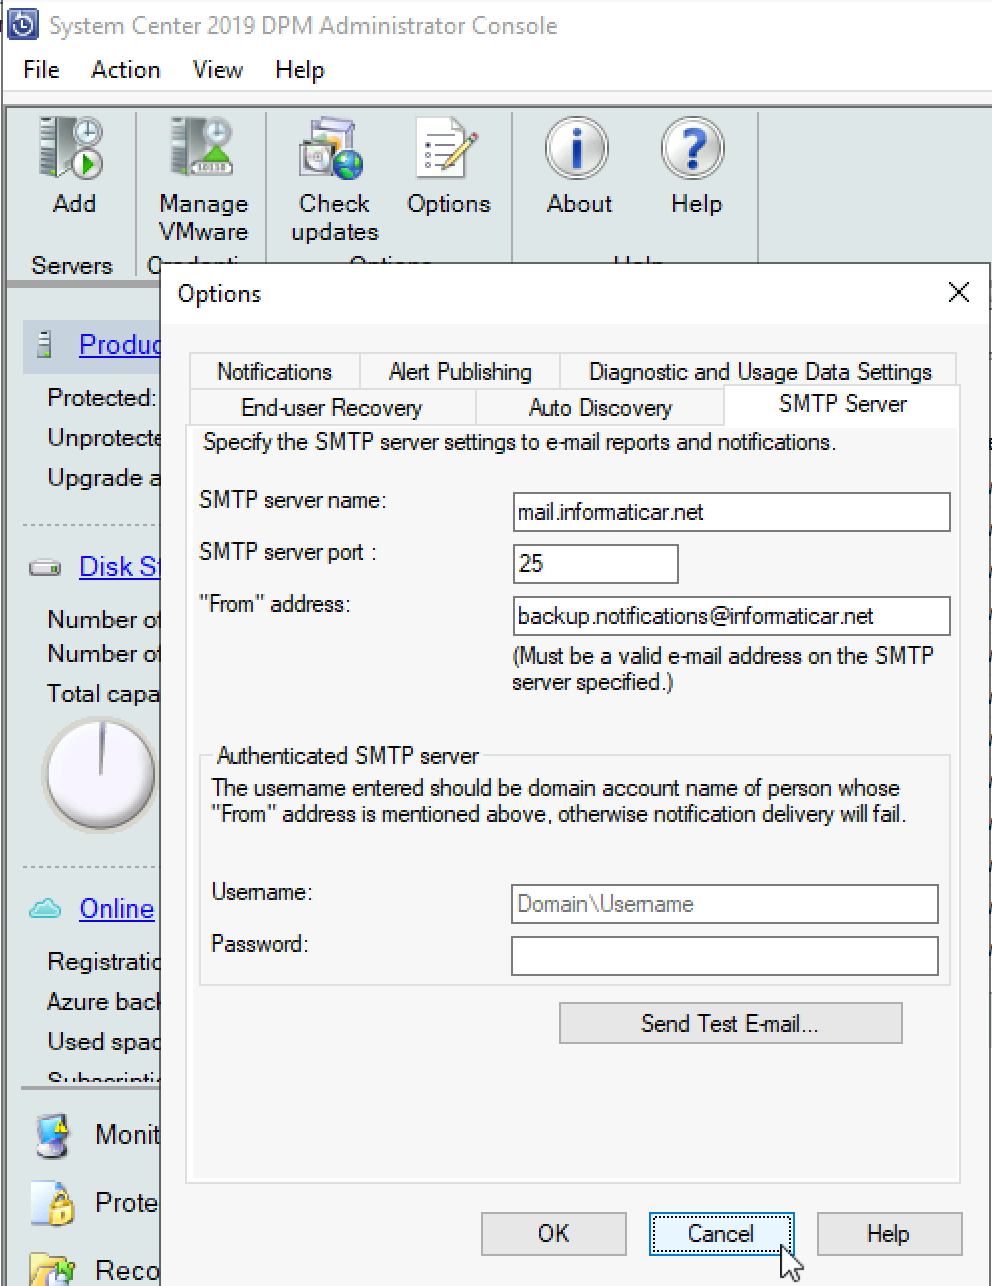
So, in SMTP Server tab I’m going to setup my email server.
My SMTP server name is mail.informaticar.net (you swill enter yours here)
Port is 25
From address (has to be valid address) is – backup.notifications@…
And that is all well
In Authenticated SMTP server do not enter anything. What you need to do is just put cursor in username field and ONCE press *SPACE* on your keyboard. And that is it.
You SMTP Server should like on the screenshot below – I captured blinking cursor in username field so you can see that it has one space.
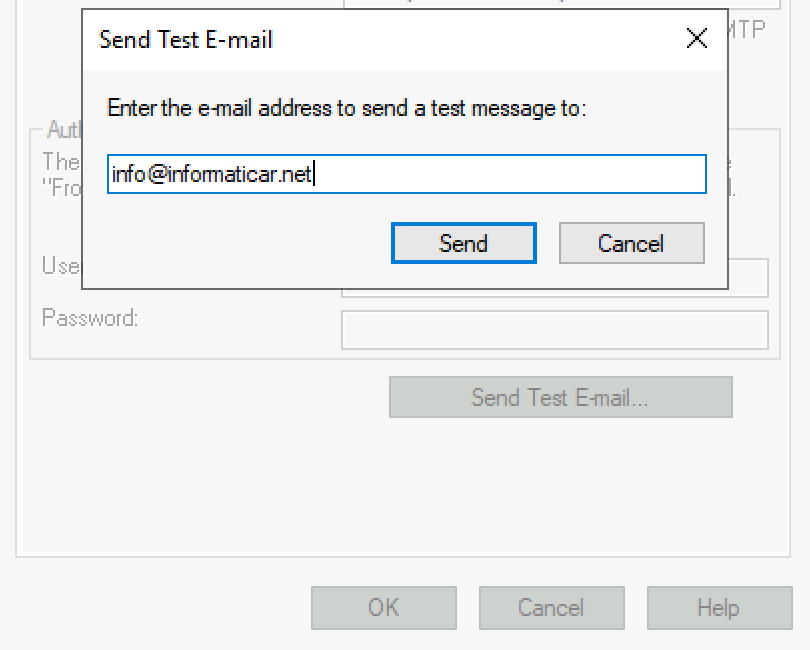
After that click on Send Test E-mail to test your settings.
In next step you will have to enter email address you wish to send email to – Send
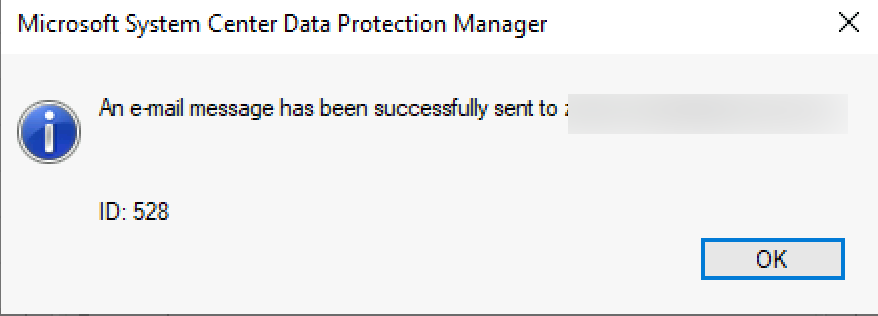
An e-mail message has been successfully sent to…
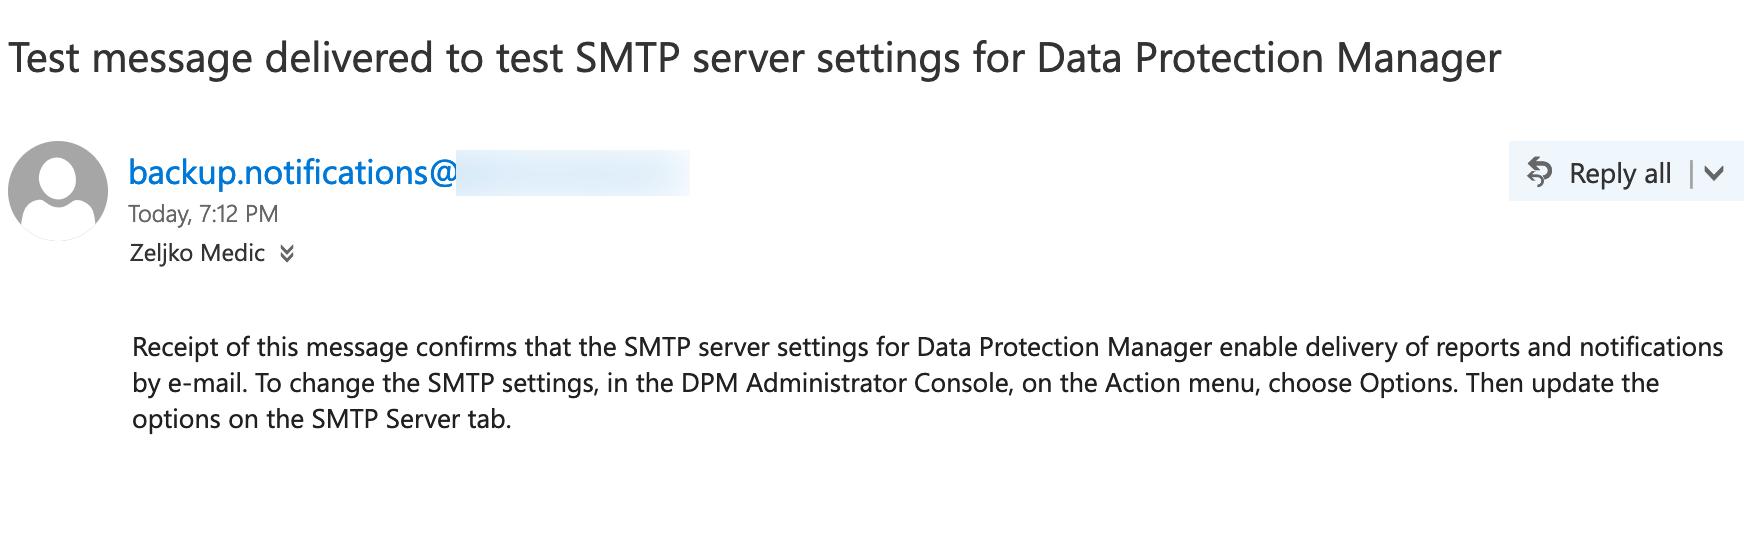
Let’s see if we received it… We did.
If by any case you select to enter username and password in Authenticated SMTP server field…
You will get error ID:2013 Details: The user name or password is incorrect. No matter how you enter your username – DOMAIN\USER or user@domain, it doesn’t matter – error is always the same.
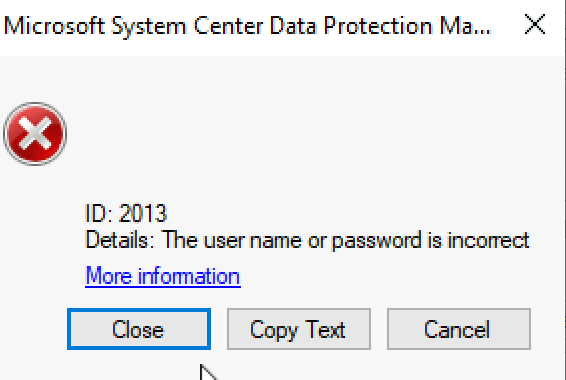
From what I remember, this error goes to DPM 2012 and still is not resolved in some way (at least with better description of an error).
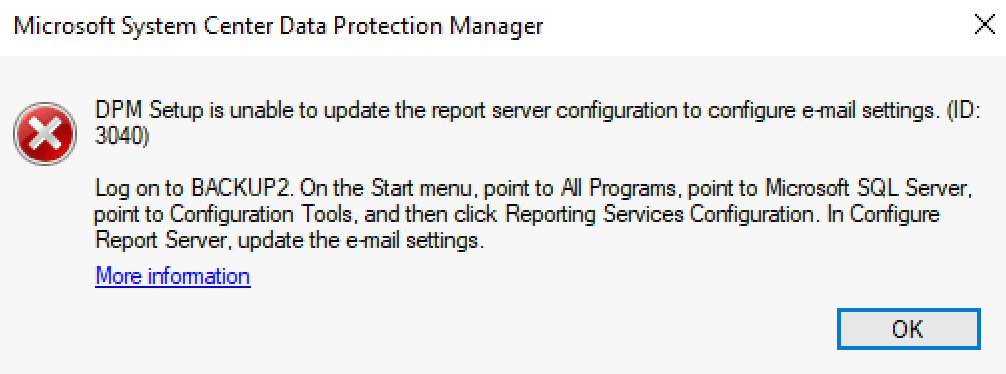
However, when we click OK after first attempt which was successful (with empty username) we will get following error
This at least is a better described
DPM Setup is unable to update the report server configuration to configure e-mail settings (ID: 3040)
Ok, we are already on DPM server and I have Reporting server and SQL on that same server.
So, I will open Report Server Configuration Manager (if you are not sure where and how, check out my DPM 2019 installation guide) and go to E-mail Settings section
Under sender address, enter same one you used in SMTP Server on DPM – in my case that is backup.notifications@…
SMTP server – enter same one you used in SMTP Server on DPM – mail.informaticar.net in my case.
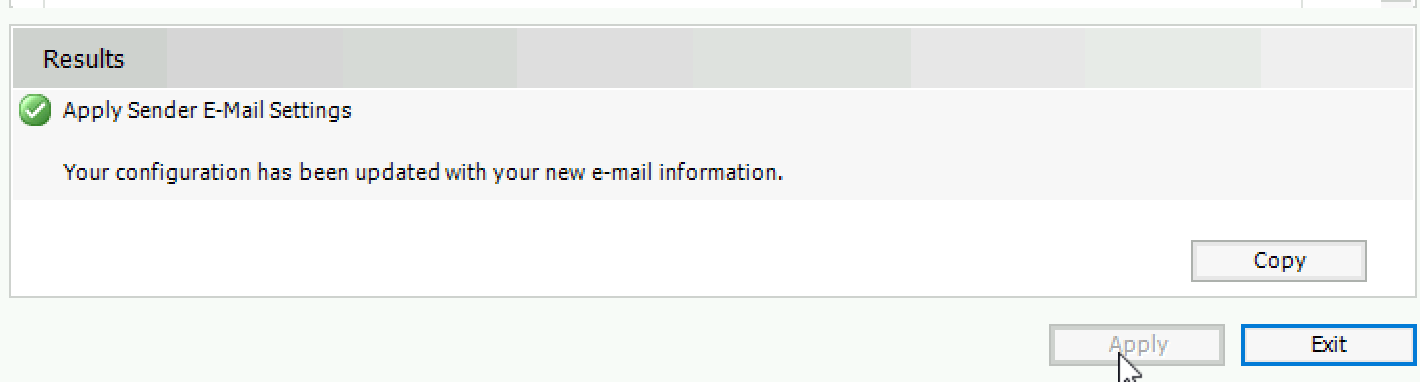
No authentications | Apply
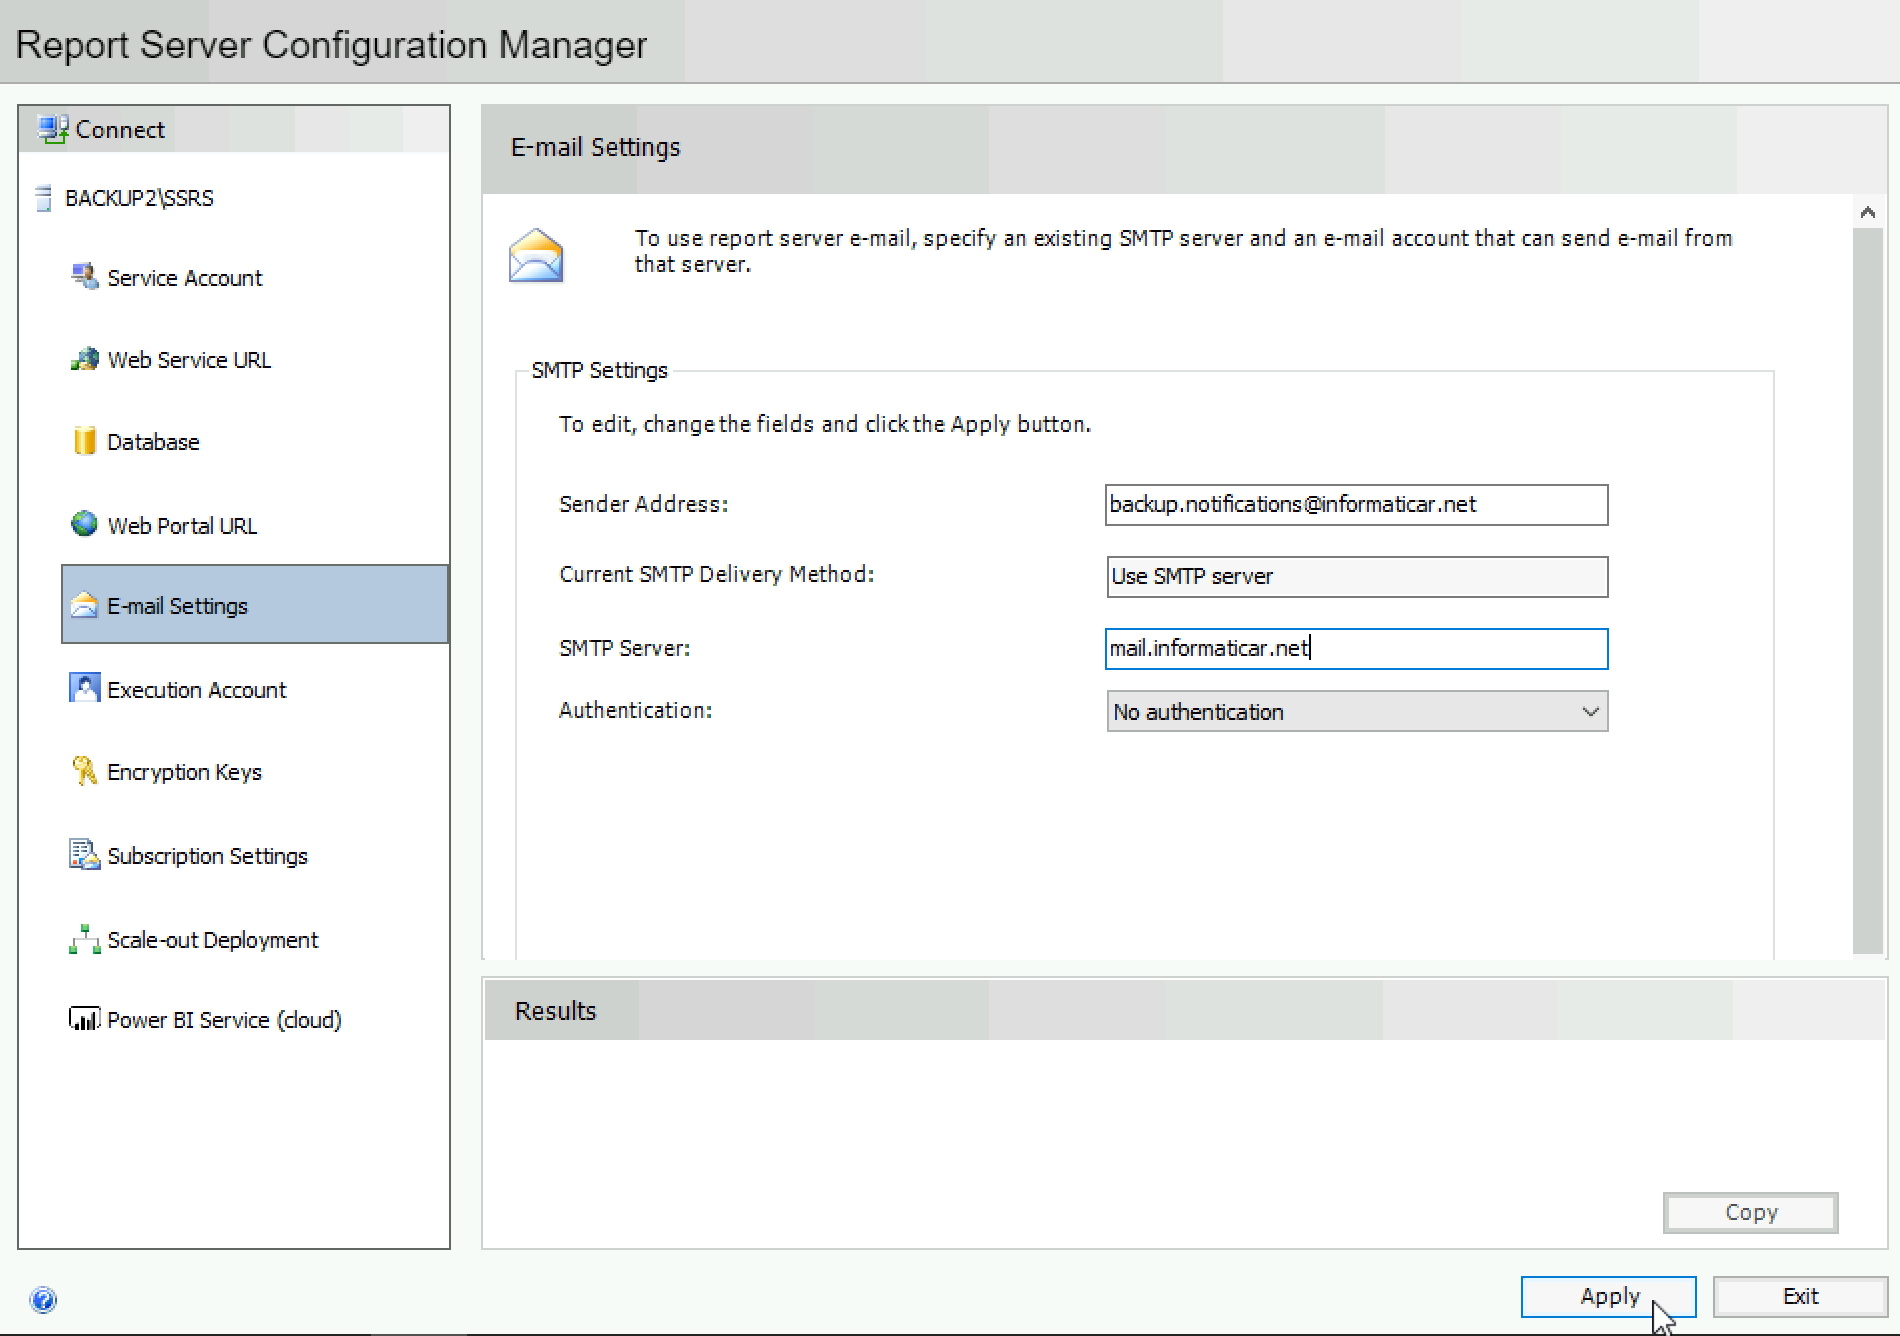
If everything went ok – Exit and go back to DPM Administrator Console
Now, the craziest part of this SMTP server mess inside DPM. We will go back to SMTP server, and the screen will look like the one below.
If you try to click on OK, it will again give you error 3040.
Instead, just click on Cancel and then reboot server. After server rebooted, go back to SMTP Server inside DPM Administrator Console Options, and the screen will again look like the one below. If you try to click on Send Test E-Email you will again get error, but just don’t touch anything, it does not matter. You should now be able to click on OK without error. If you still get error 3040 it doesn’t matter, click on Cancel again- settings are saved.
I know it is a little messy and maybe confusing explanation, but it is what it is.
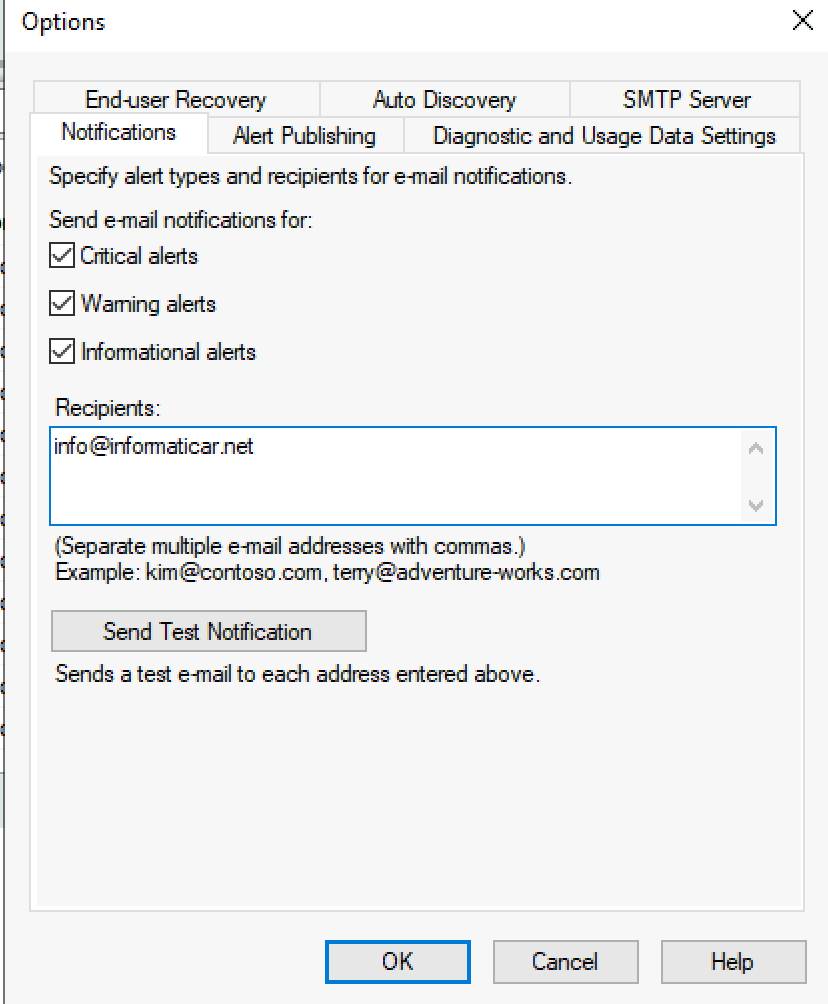
We are still in Options menu now we will just change to Notifications tab.
Select what you would like to be notified about. For this guide I selected all options. In Recipients enter email addresses you would like to receive those notifications.
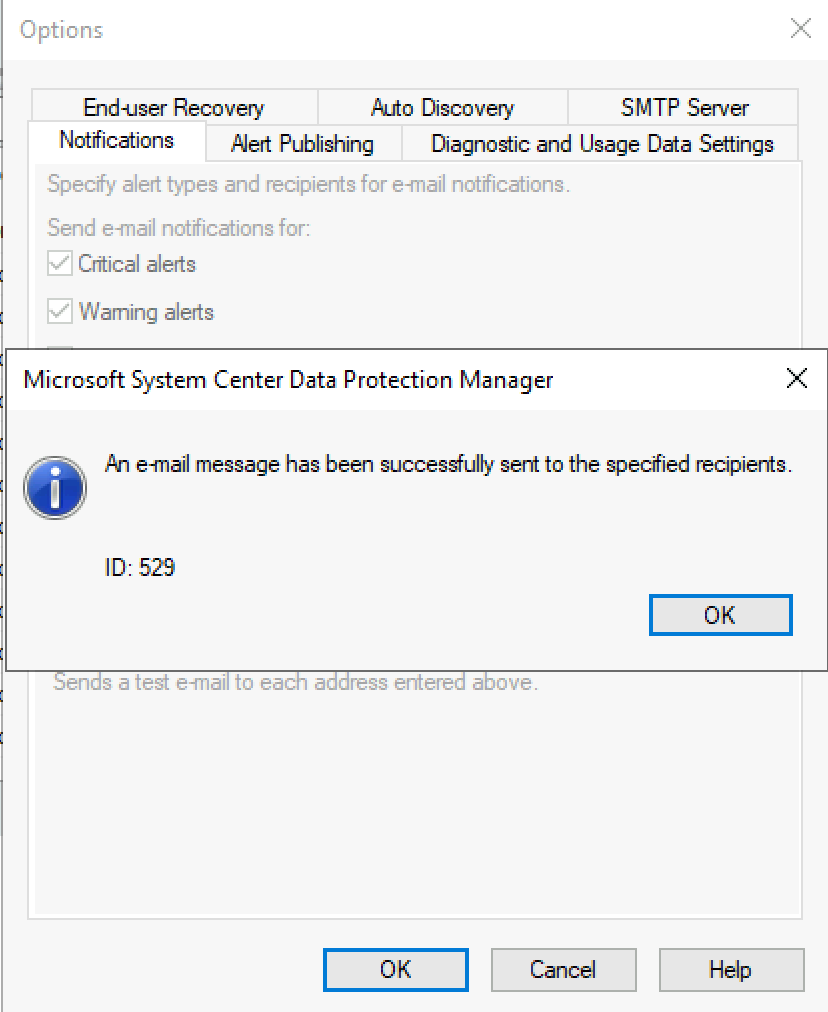
Click on Send Test Notification (this will also be test for our SMTP Server settings again)
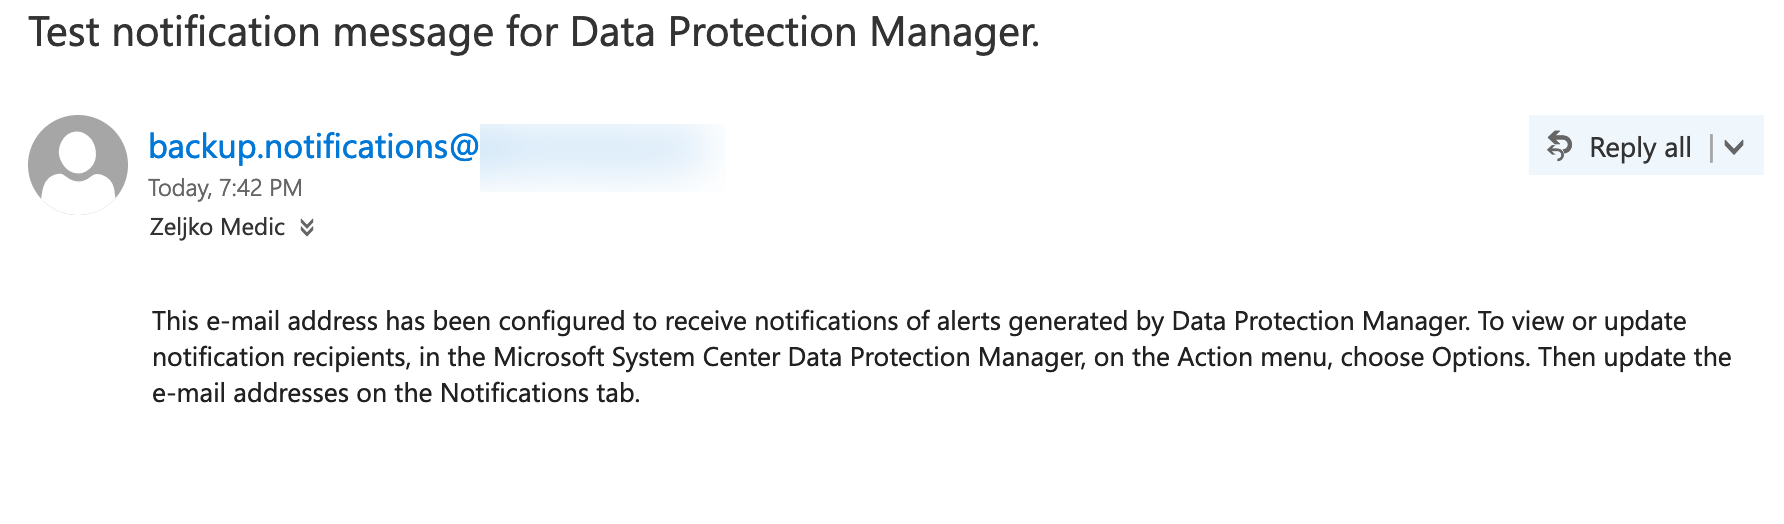
Email was sent successfully
And I received it again
Ok, so we went through all the bugs and made our notifications work. It is extremely important to have SMTP notifications in place for backups – you just need to know about backup status.
There are few more tabs in options, like End-user recovery, auto discovery, alert publishing, diagnostic… You can check them out yourself and see if there is something of importance for you there, I really don’t find any value in those in my scenario here.
Conclusion
These are essential parts of configuration for DPM 2019 so we can make backups and test DPM 2019 further. A lot of anoying errors which make you spend a lot of time on a things that should be really easy to configure. This can be a nightmare if you are new to a product or fresh into IT. Veeam and Nakivo also have their own quirks, but are easier to install and configure.
However, I find DPM still very valuable once you get a hang of it.