How to set up SSH keys for your Linux install. For this guide I will be using Ubuntu 20.04 as a server and MacOS Big Sur as a client.
I want to connect from my MacOS client to my Ubuntu 20.04 server without password. Before you start this, make sure you have access to your server some other way or backup your data in case you lock yourself out.
Create SSH keys on MacOS
On MacOS client (same should apply if you use Linux as your client) run following
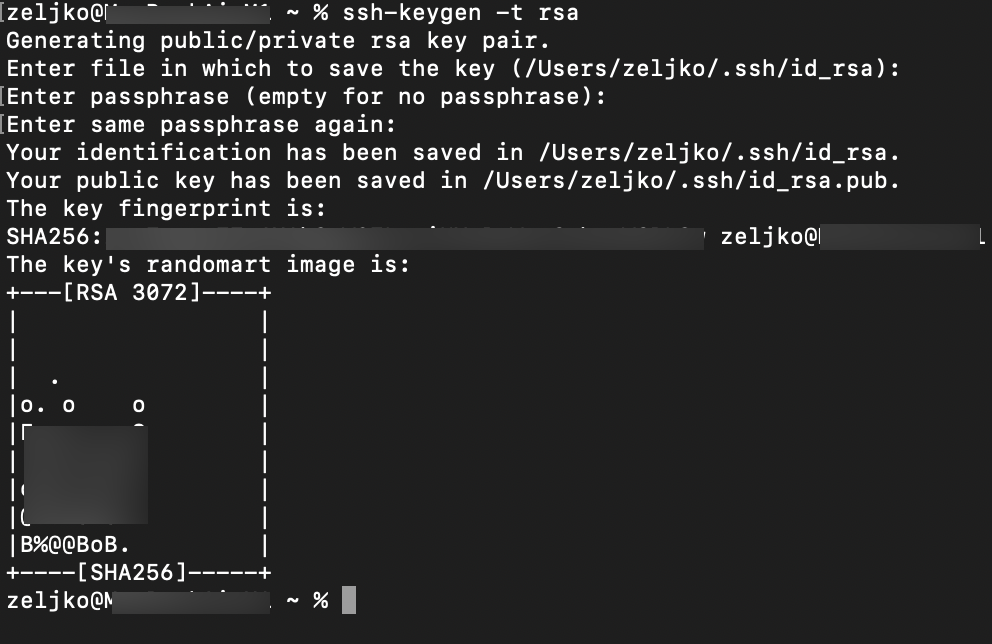
ssh-keygen -t rsaDefault key is 3072 bits strong, if you wish to go for 4096bits, use following command
ssh-keygen -t rsa -b 4096I left default file name /zeljko/.ssh/id_rsa
You can also enter passphrase for you cert if you wish.
!!Entering passphrase for your certs is very good security measure You should not skip it in production environment, it gives you a good extra layer of security.
Key is located in /zeljko/.ssh/id_rsa
Public Key is located in /zeljko/.ssh/id_rsa.pub
Copy SSH Keys from MacOS to Ubuntu 20.04
Command assumes you dont have .ssh dir create in your home directory on your Ubuntu server.
We will now copy created public ssh key from MacOS client to Ubuntu 20.04 server.
Exchange “username” for your remote Ubuntu user which has rights to access server through SSH.
xxx.xxx.xxx.xxx would be your remote IP address of Ubuntu server.
cat ~/.ssh/id_rsa.pub | ssh username@xxx.xxx.xxx.xxx "cat >> ~/.ssh/authorized_keys"
If you use custom ssh port like I am, you will also have to add -p switch to your command and it will look like this

On Ubuntu server, login to SSH, if it still asks you for your password, you will need add a line in /etc/ssh/sshd_config
sudo nano /etc/ssh/sshd_configThe line which we have to uncomment and change to no is:
PasswordAuthentication no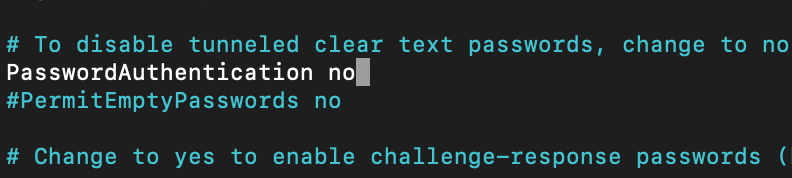
Reboot ssh service after the change.
sudo systemctl restart sshAfter this point, your passwordless authentication should work. There are some thing below this point which are covering potential other scenarios, but of course covering all in detail is not possible.
______________________________
FOLLOWING PART IS IF YOU ARE USING LINUX ON BOTH SIDES, AS CLIENT AND SERVER.
Creation of the key would be the same, but for copying public key from client to server you could use following command
ssh-copy-id -i ~/.ssh/id_rsa.pub username@xxx.xxx.xxx.xxxEND OF LINUX CLIENT – SERVER PART
___________________________________
EXTRA STEP if you named your key files differently.
If at the first step at the creation of keys you named your files differently than id_rsa you will need to do some additional step so your local ssh client knows which file to use.
This part is done on a local computer, so in my case that would be MacOS
Start ssh-agent
Watch for these backquotes in command, these signs are not simple quotes, I lost a lot of time figuring that one out. Backquotes should be on your tilde ~ key.
eval `ssh-agent`Now, run following to add your custom key
ssh-add ~/.ssh/mycustomkeyname_rsaConfirm that your custom named key is added
ssh-add -lThat command should respond with your private key fingerprint. Confirm it by generating fingerprint from your public key.
ssh-keygen -l -f mycustomkeyname_rsa.pubIf all went well you should now be able to connect with your keys via ssh.
Connecting with custom SSH key
If you have more than one key, you can specify key with which you want to establish ssh connection with -i parameter.
ssh -i ~/.ssh/mycustomkeyname username@xxx.xxx.xxx.xxxSimple configuration, hope it works for you. There is a lot more to cover on this topic, but for now, this is it, and it should make your life easier when often connecting to various servers via ssh.