Let’s join client to our FreeIPA domain we setup earlier.
We will be joining CentOS 8 to the FreeIPA server we previously set on RHEL 8
Let’s first check for the available modules on our repos.
sudo yum module list idm
If we want to find out more details about FreeIPA client module we can do so, by typing following
sudo yum module info idm:client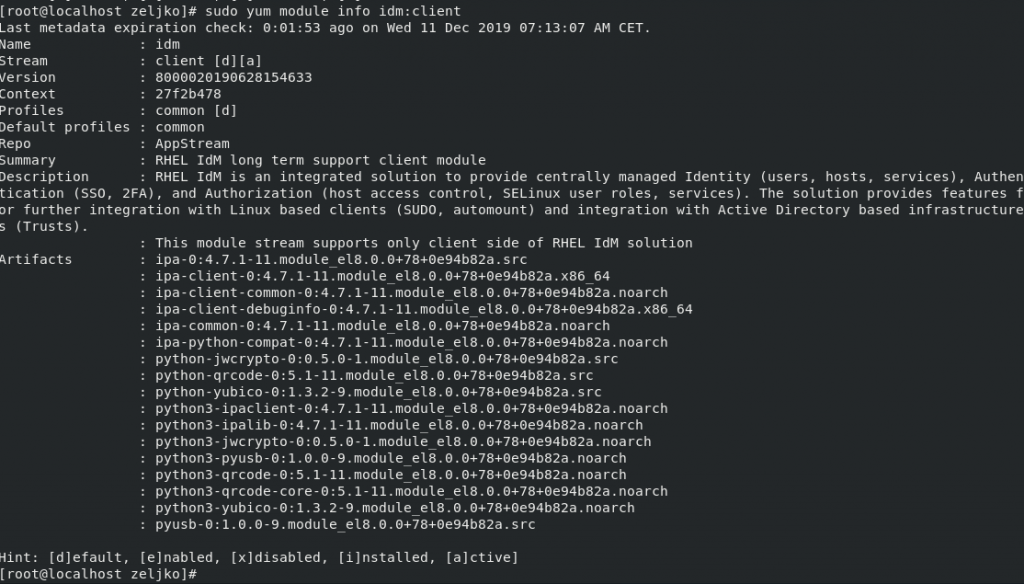
Now let’s install FreeIPA on our CentOS 8 client
sudo yum -y install @idm:client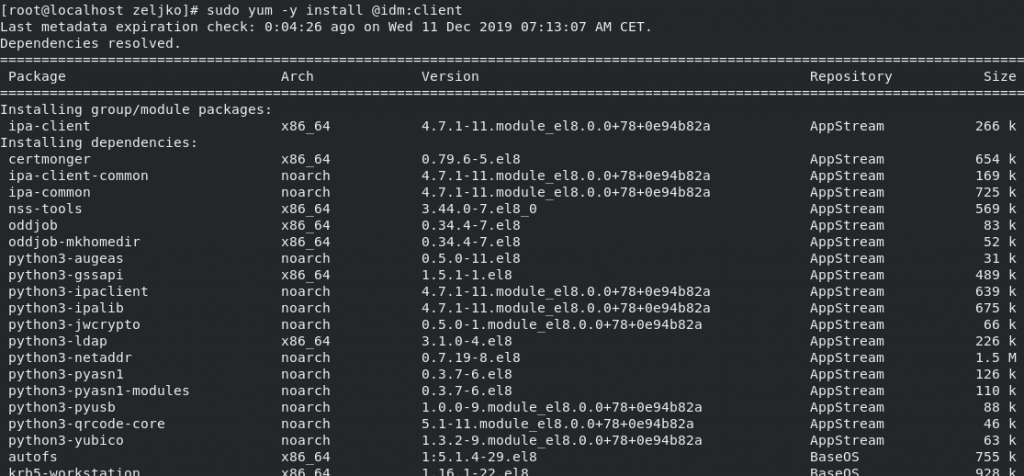
If you wish to check for the version of FreeIPA Client install, type in
rpm -qi ipa-client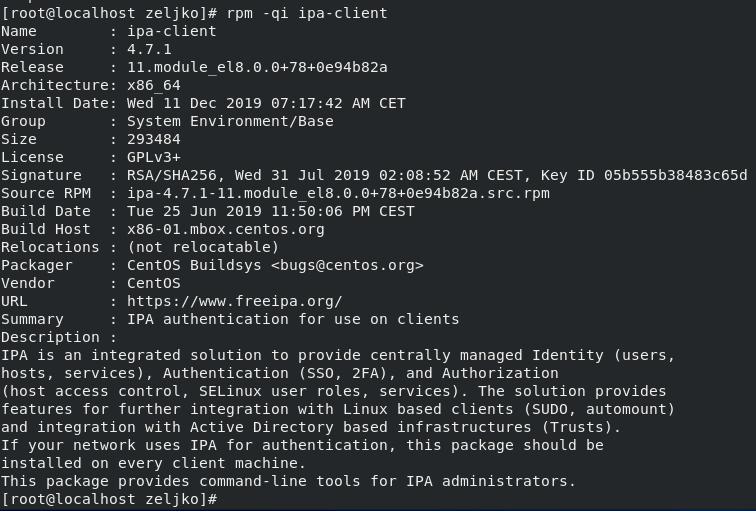
In same way you can check for the version of sssd.
rpm -qi sssd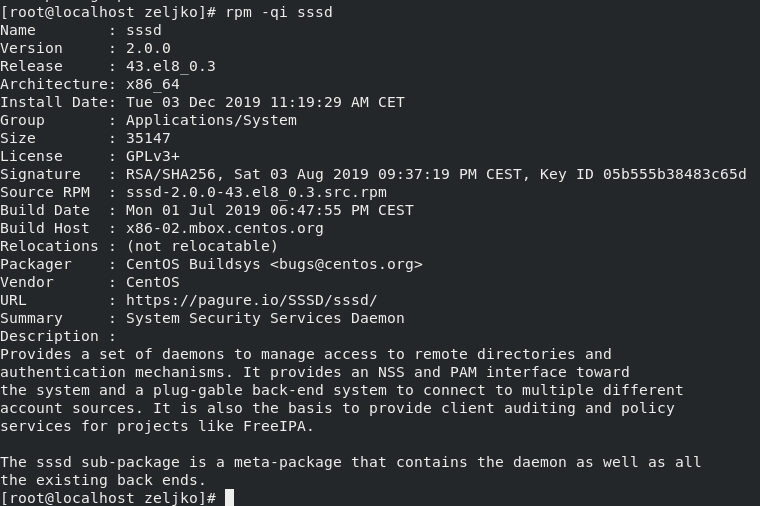
Next, we will configure our client to connect to FreeIPA
First, we will add FreeIPA server to /etc/hosts file so it can speak to server by name.
(In my case 10.20.10.7 is address of my FreeIPA server and dc.test.local is its name.)
echo "10.20.10.7 dc.test.local"| sudo tee /etc/hosts
Next, we will set name for our client.
export HNAME="server1.test.local"
sudo hostnamectl set-hostname $HNAME --static
sudo hostname $HNAME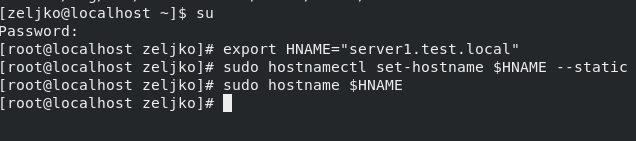
Now, we can finally configure FreeIPA client by running following command:
sudo ipa-client-install --hostname=server1.test.local --mkhomedir --server=dc.test.local --domain test.local --realm TEST.LOCALTo explain command a bit:
server1.test.local – name of the client we are joining to FreeIPA server
dc.test.local – name of the FreeIPA server
test.local – my domain name
TEST.LOCAL – FreeIPA server Kerberos REALM name we defined earlier on server.

In case you have DNS configured you can also use command

You will be asked for a few questions. If you don’t have DNS you want to continue with fixed values, so select yes
Also check settings you entered before you continue with install, and if everything checks out – confirm with yes.
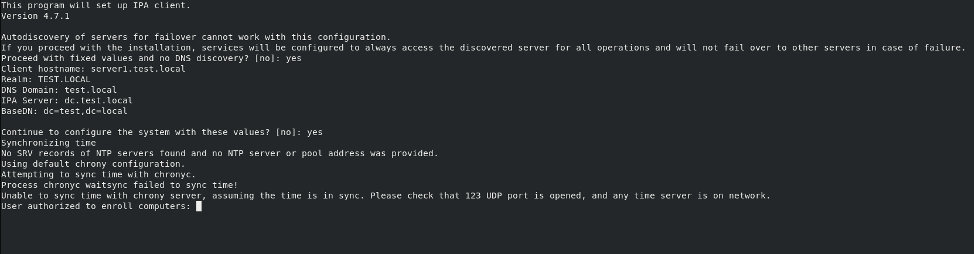
You will be asked for a user that is authorized to enroll users to FreeIPA server, that would be admin
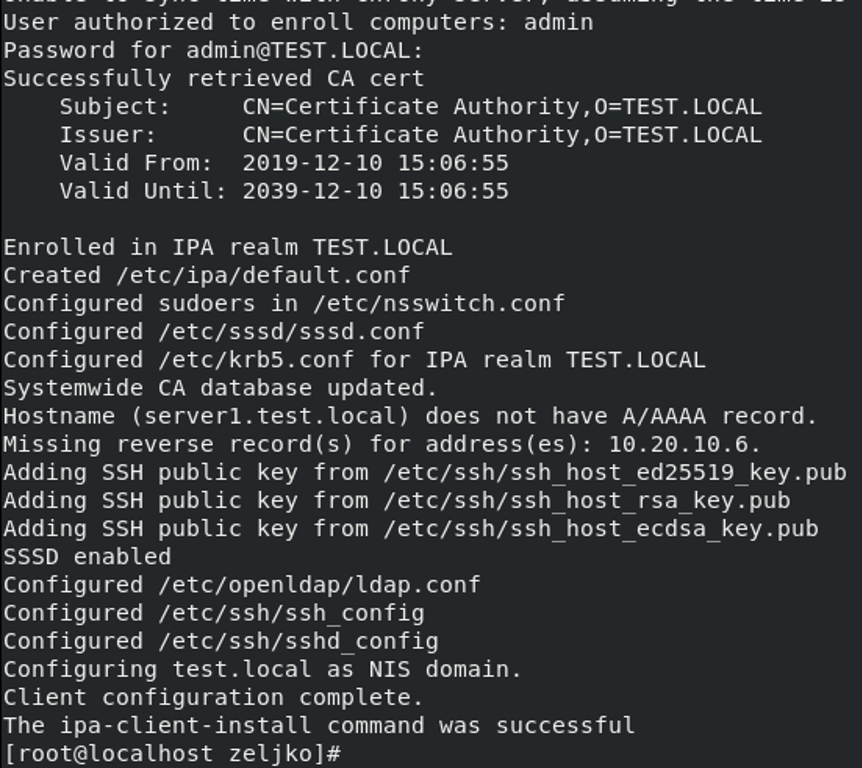
Congrats, we enrolled our first client to our domain!!
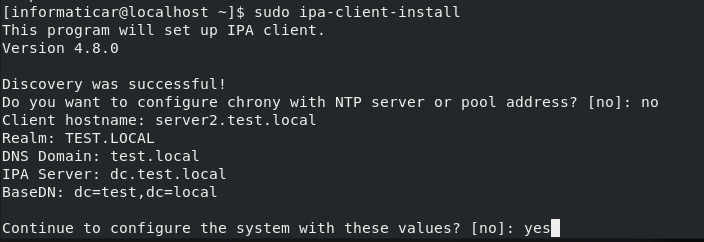
Here is just a quick screenshot on how it looks when you setup with DNS integrated into FreeIPA
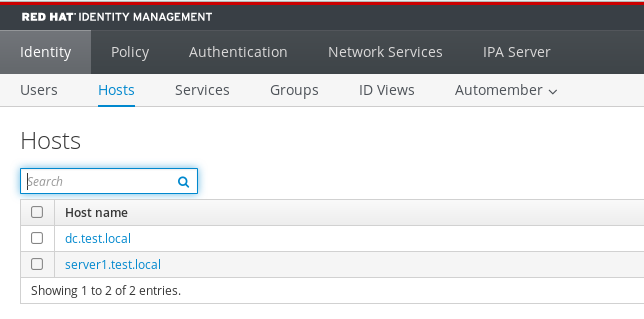
If we check on the FreeIPA server, we can also see we added new host
Now, after we done it, we will enable automatic creation of home directory for users by entering
(double minuses before enable and update)
sudo authconfig --enablemkhomedir --update
Let’s check on the client if we can see user (korisnik) we created on the FreeIPA server
id korisnik
It is visible
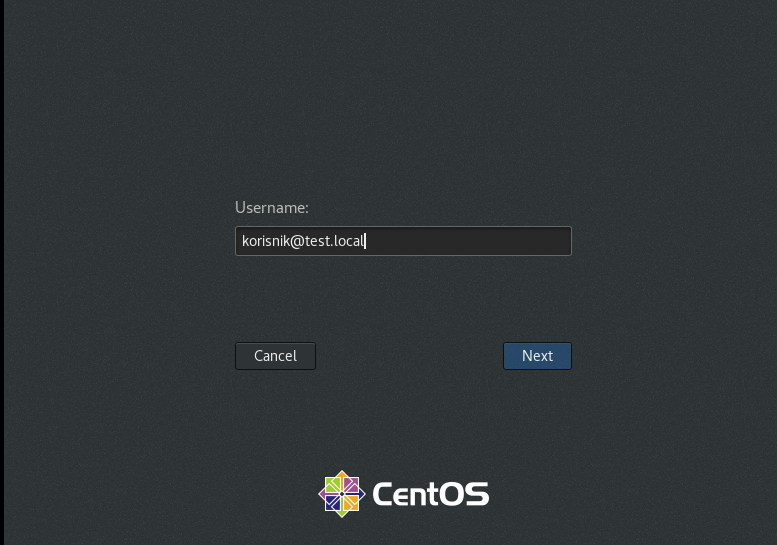
I’m using GUI interface, so I will now reboot client and try to login with user I created on domain server.
For username I’m going to type in username I created on domain server (with @test.local because that is my domain)
korisnik@test.local
Next
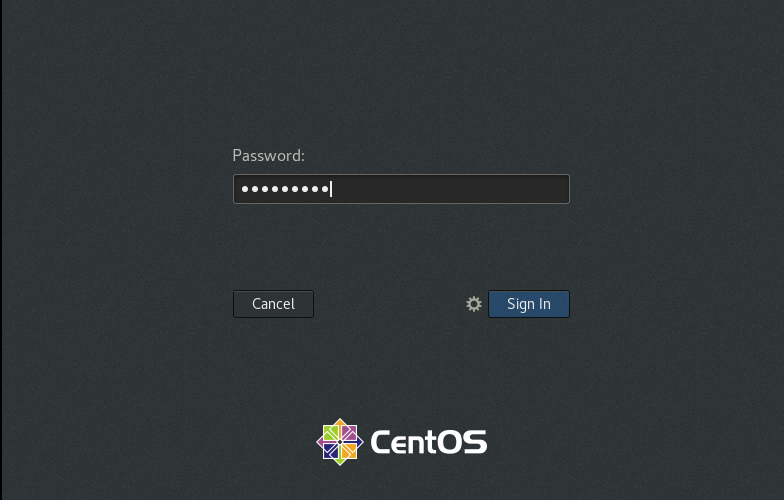
Type in password
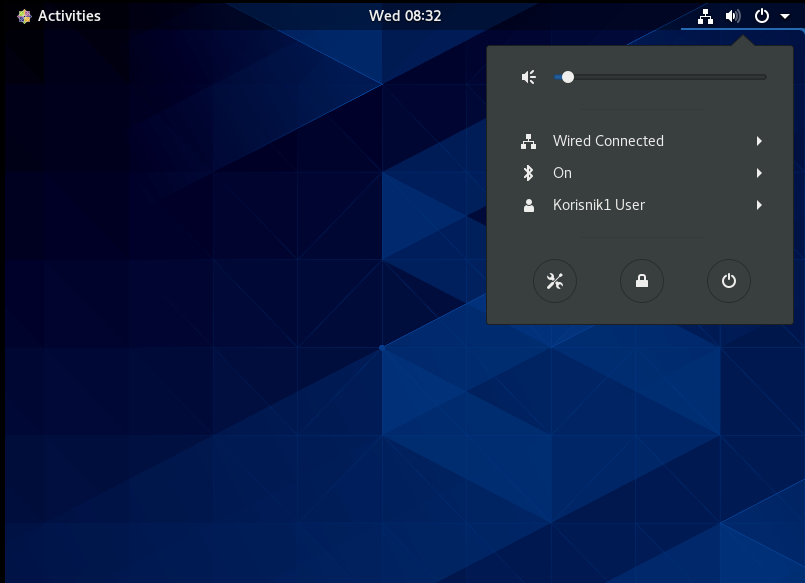
You will be greeted with initial wizard, and after you pass it, you are ready to work on a domain
We can also administer FreeIPA server from our client machine. Procedure is more, less the same as the one I showed in article about FreeIPA server
First thing we need is Kerberos ticket
sudo kinit adminWe will then verify our ticket with klist
klist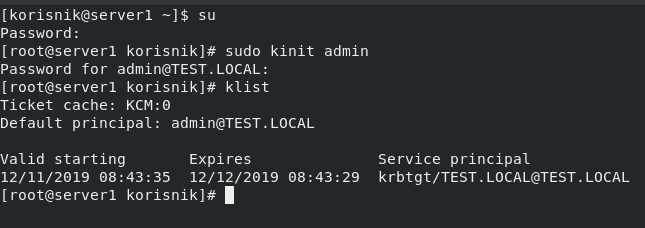
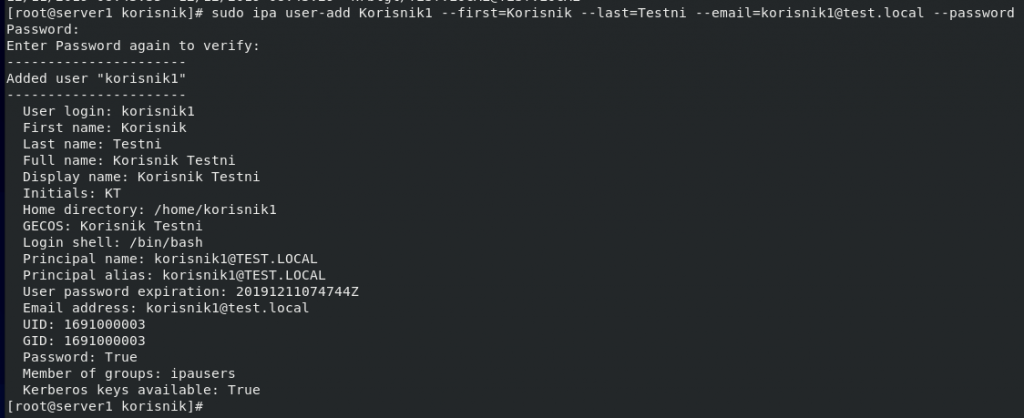
Let’s test by adding a new user
sudo ipa user-add Korisnik1 --first=Korisnik --last=Testni --email=korisnik1@test.local –passwordKorisnik1 – domain name for our new user
Korisnik – first name
Testni – last name
korisnik1@test.local – email address
We can verify by entering following command
ipa user-find Korisnik1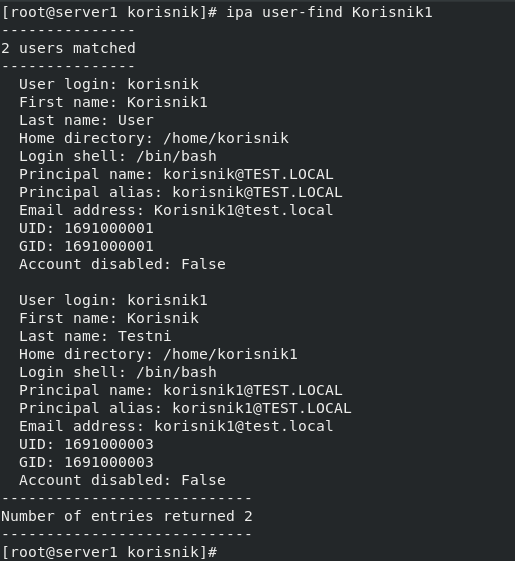
I will also check on FreeIPA server in web console
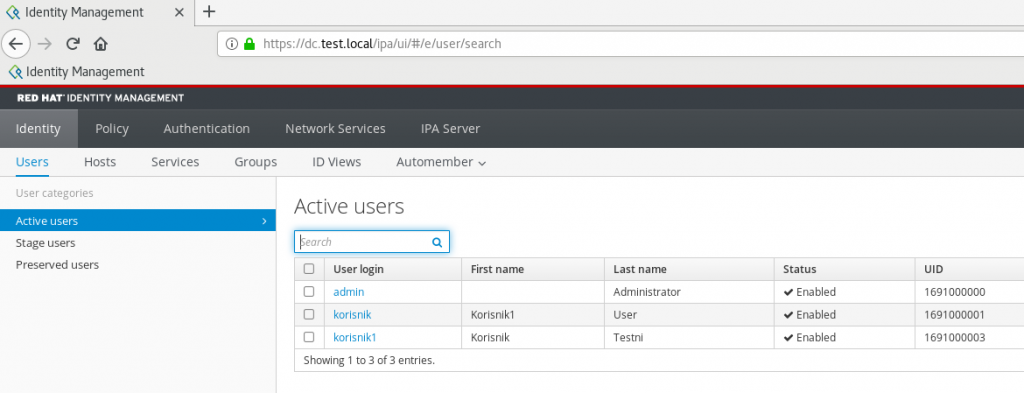
All is good!
We can also enable passwordless authentication for users, more details on that you can find here – https://www.informaticar.net/?p=4390
Removing IPA client from domain.
If you wish to do so, it can be done by entering following command
sudo ipa-client-install --uninstall