This LAB assumes that you already have Windows Server 2012 R2 installations in place. For this installation I`m using two instances of Windows Server 2012 R2.
One instance is Domain Controller (you should set up Domain Controller and DNS server) and the other will be System Center Operations Manager Server (installation of which this tutorial will be covering)
For this LAB you`ll need following software:
System Center 2012 R2 Evaluation (SC2012_R2_SCOM.exe)
https://www.microsoft.com/en-us/evalcenter/evaluate-system-center-2012-r2
SQL Server 2014 SP2 Evaluation
https://www.microsoft.com/en-us/evalcenter/evaluate-sql-server-2014-sp2
Microsoft SQL Server 2012 SP1 Feature Pack
http://www.microsoft.com/en-us/download/details.aspx?id=35580
Microsoft Report Viewer 2012 Runtime
http://www.microsoft.com/en-us/download/details.aspx?id=35747
All installation procedures in this tutorial are performed on System Center Operations Manager (SCOM) virtual machine. If something is needs to be done on Active Directory server, it will be indicated in this tutorial.
First we will install Windows Server 2012 R2 prerequisites
Prerequisites:
- Your virtual machine hosting SCOM should have at least 2GB of RAM (4GB would be ideal)
Let us start:
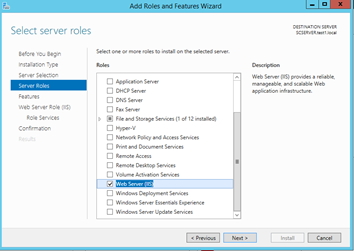
Server Manager | Manage | Add Roles and Features |click on Next until Server Roles Screen appears | Choose Web Server (IIS)
Add Fetaures
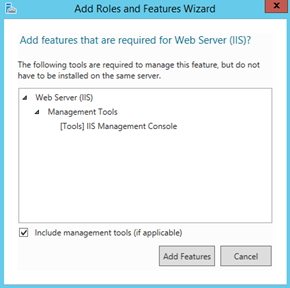
Back to the main screen after you confirmed “Add Features” |Next
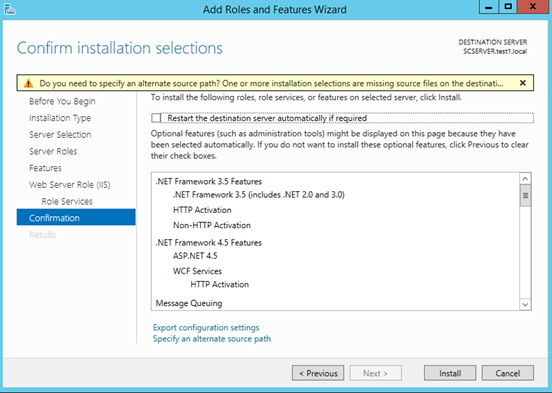
Features |Choose .Net Framework 3.5 Features (All Features), .Net Framework 4.5 Features (.Net Framework 4.5, ASP.NET 4.5, and HTTP Activation under WCF Services)
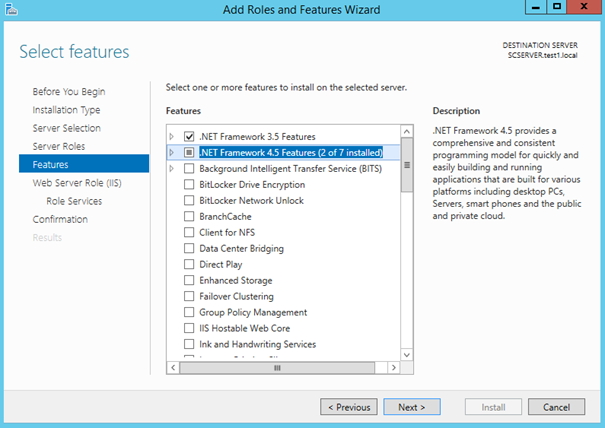
!!! In case your .Net Framework 3.5 install fails through Roles and Features Wizard follow this tutorial for .Net Framework 3.5 install – https://www.informaticar.net/?p=1551
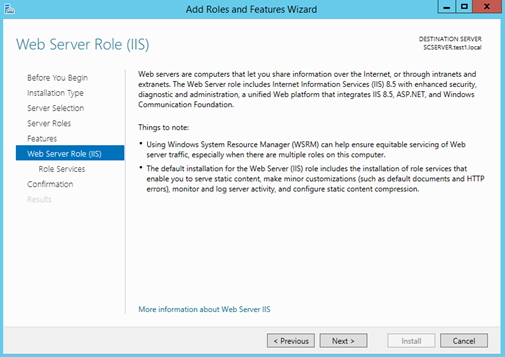
Next
Next
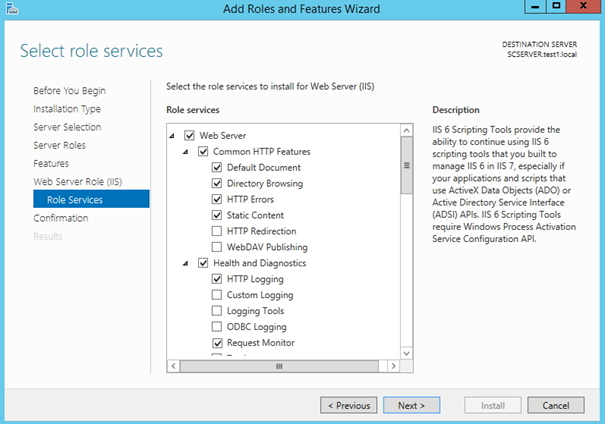
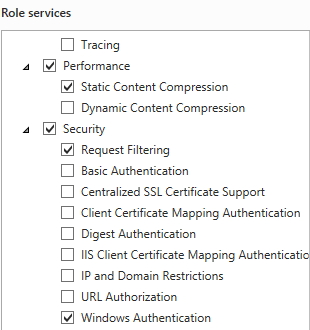
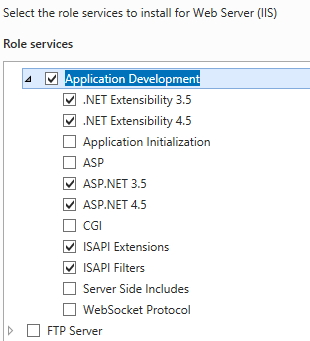
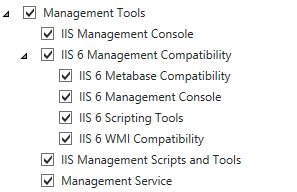
IIS Role Services should be selected as depicted in the pictures
Install
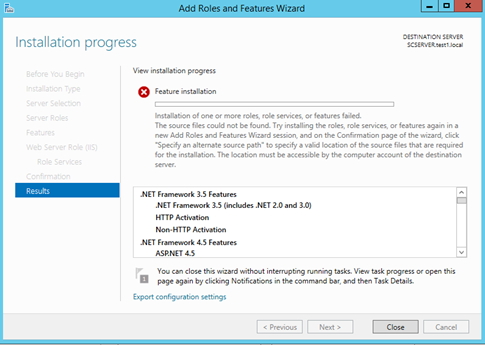
In case your installation fails – repeat all steps without .Net Framework 3.5 Feature.
You`ll install .Net Framework 3.5 manually with steps from here https://www.informaticar.net/?p=1551
SQL installation
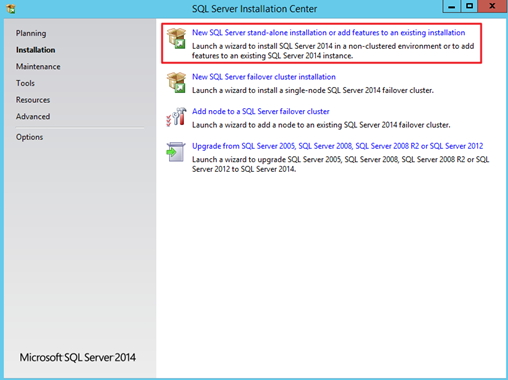
Next is SQL Server installation
Installation | New SQL Server stand-alone installation or add features to an existing installation
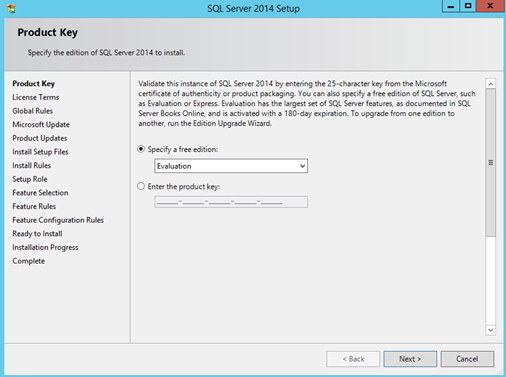
Evaluation mode for this LAB | Next
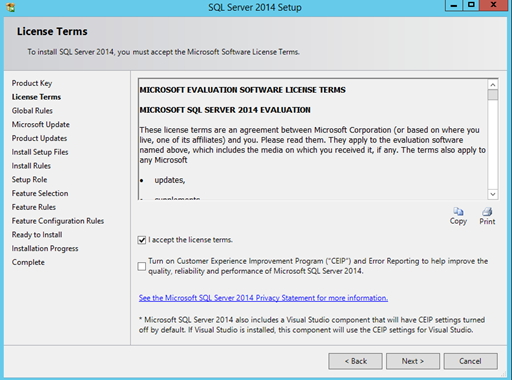
I accept the license terms |Next
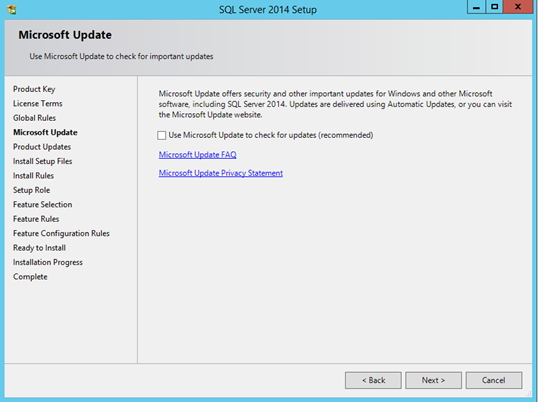
I won`t be checking for updates (it is highly recommended to have last patches for your SQL and Windows products in general) |Next
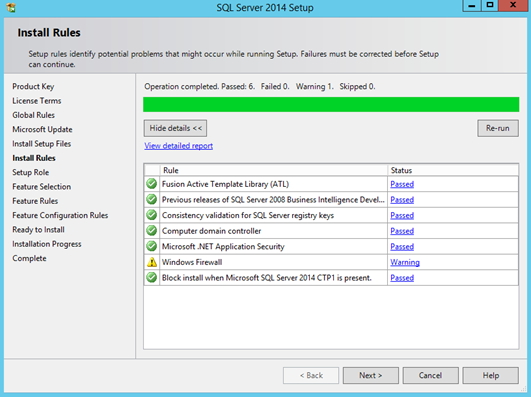
Next (Firewall warning is usually here to remind you to configure your firewall for SQL access if needed)
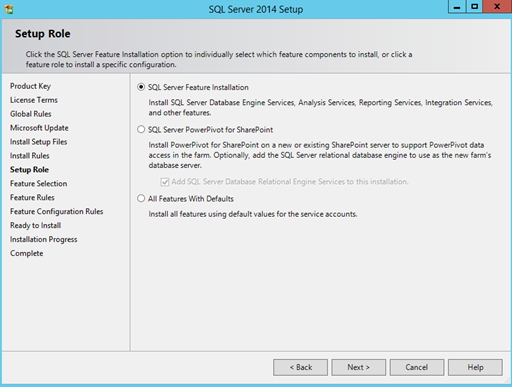
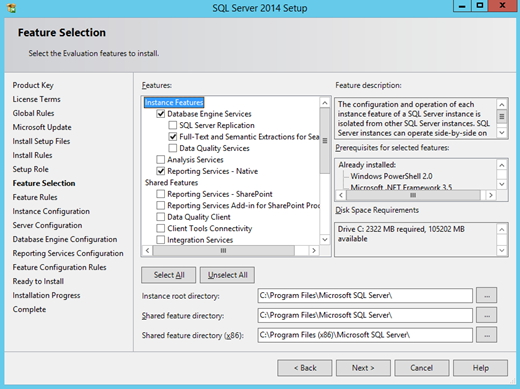
SQL Server Feature Installation |Next
Database Engine Services and Full-Text and Semantic Extractions for… should be ticked
Reporting Services – Native should also be assigned
I`ll leave all other things as default |Next
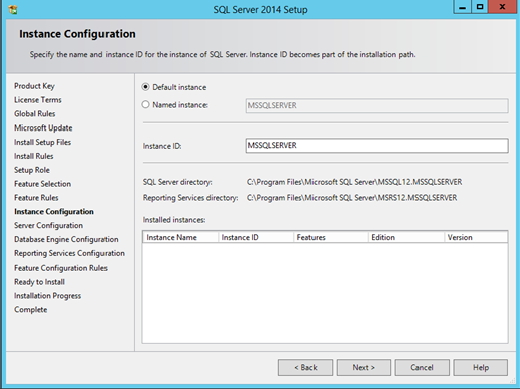
I`ll leave Default Instance for this lab. |Next
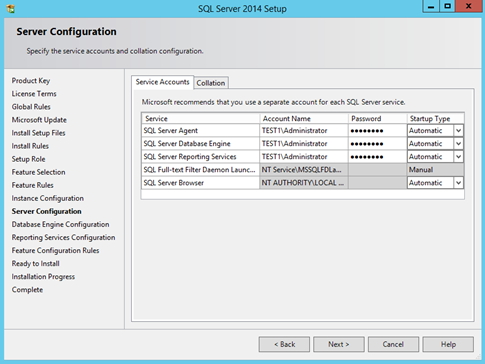
On Server Configuration | Service Accounts tab I`ll setup Account Name and Password from my Administrator account. Here you really need to see what suits you, local or domain administrator account is not good practice.
Best practice would be separate account with appropriate permissions (I`ll cover that some other time)
Collation tab |Customize
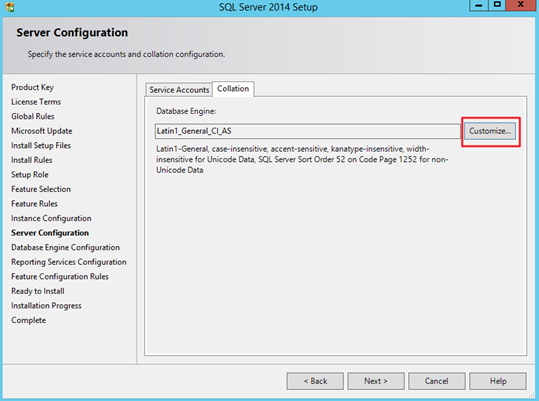
Click on SQL collation, used for backwards compatibility – SQL_Latin1_General_CP1_CI_AS

Confirm with OK |Next
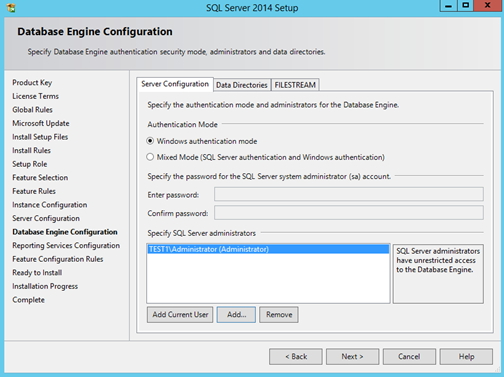
Choose Windows authentication mode | Specify SQL Server administrators – Add Current User (in my case that is admin). Once again, this is not good practice, but for the LAB it will suffice. | Next
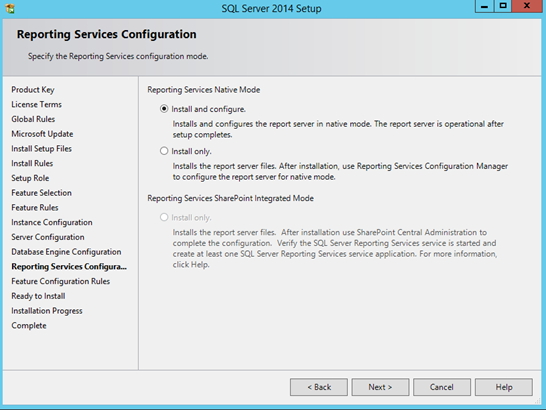
Install and configure | Next
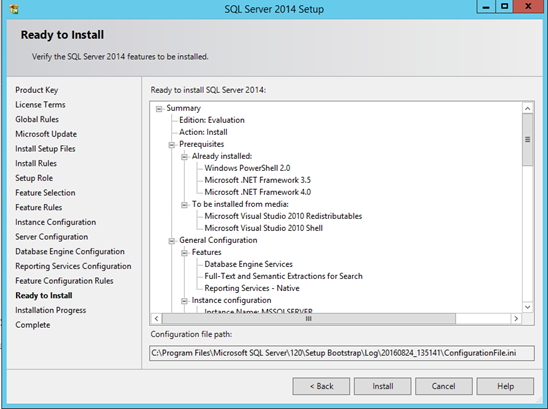
Install
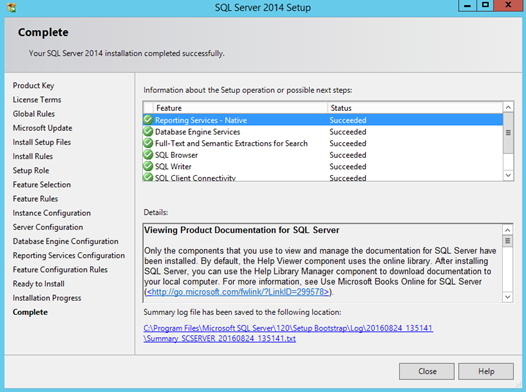
…
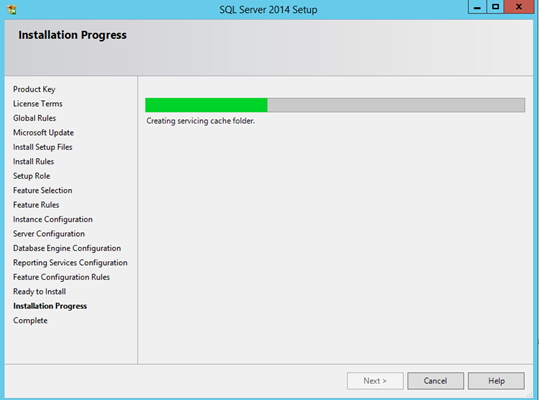
Success |Close
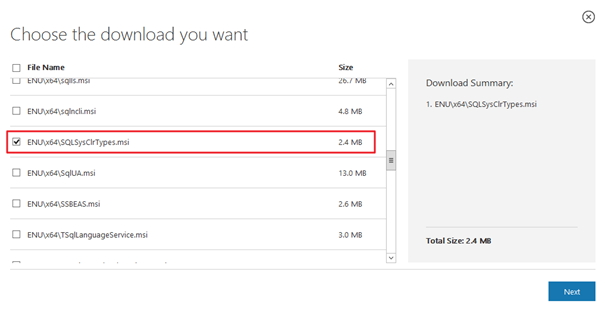
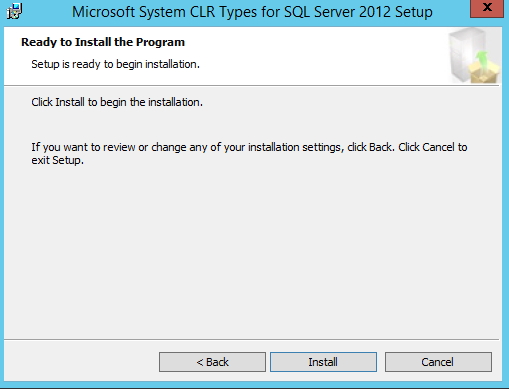
Microsoft System CLR Types for SQL server 2012 SP1
http://www.microsoft.com/en-us/download/details.aspx?id=35580
Download selected package
Start it, and select install
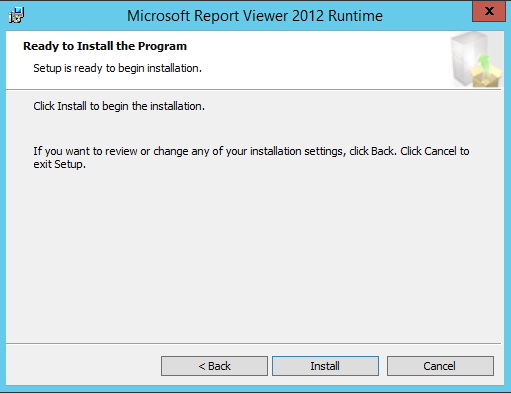
Microsoft Report Viewer 2012 Runtime
Install
SCOM 2012 R2 installation
First – file extraction wizard
Next
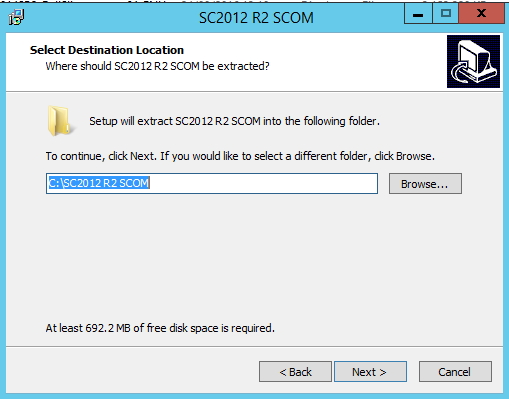
Next
Extract
Finish
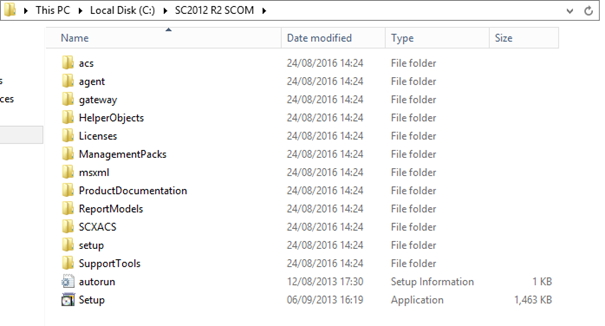
My installation is extracted to C:\SC2012 R2 SCOM folder
Start with setup.exe
Install

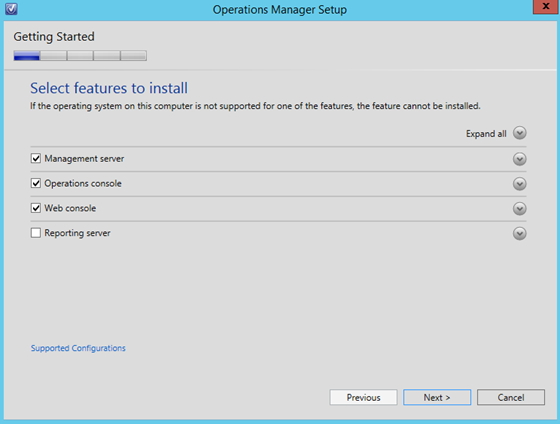
I`ll choose Management Server, Operations console and Web console |Next
I`ll leave default install location |Next

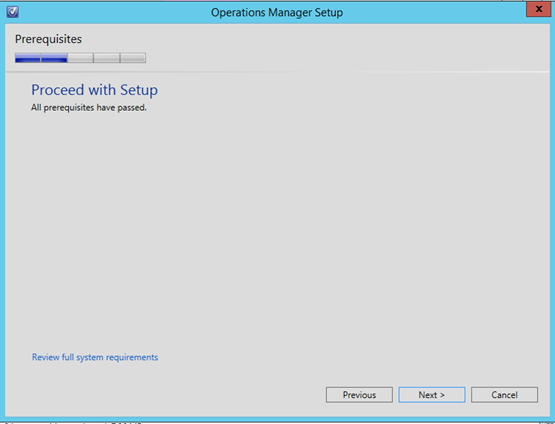
Prerequisites are ok |Next
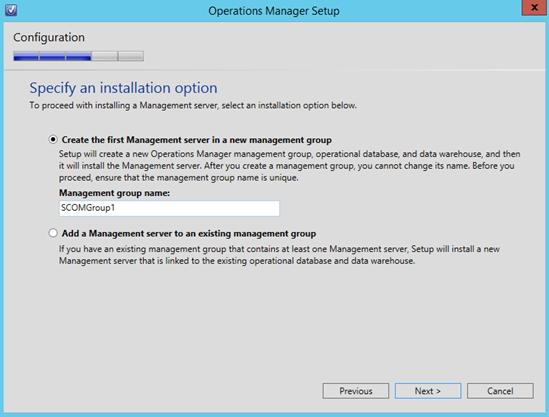
Since this is first (and only) SCOM server in my LAB I`ll choose “Create the first Management server in a new management group |Management Group Name – choose what you like
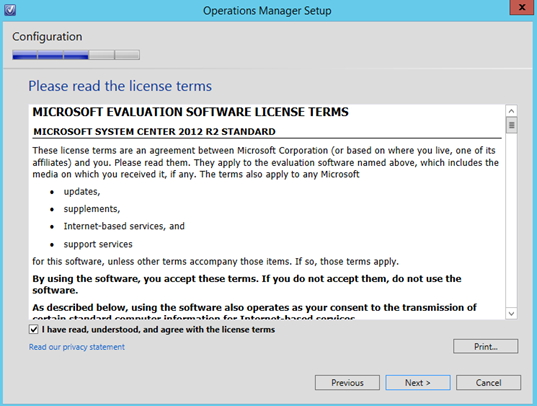
I have read… | Next
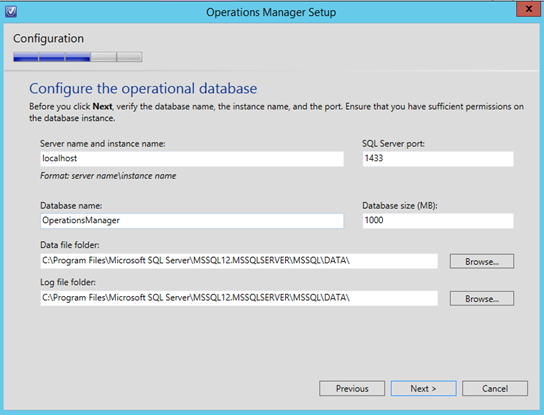
You`ll need to enter “Server name and instance name” – if SQL installation is local then you can just enter “localhost” and leave default SQL port – 1433 |Next
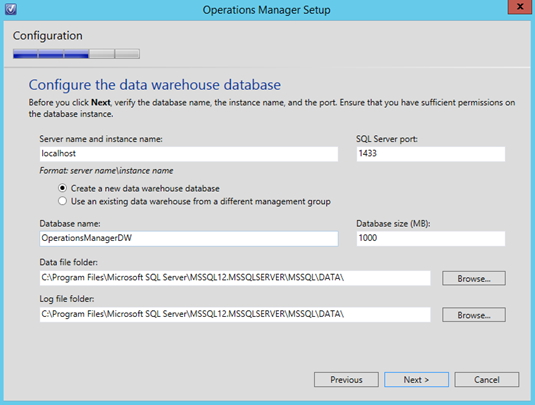
Once again repeat SQL server name from the last page (or specify another SQL server if you want this DB separated) |Next
I have fresh IIS installation and I`ll be using Default Web site without SSL. If you configured IIS specifically for this purpose with SSL cert feel free to tick the box. I don`t have to emphasize that in production environment SSL is must. |Next

Use Mixed Authentication |Next

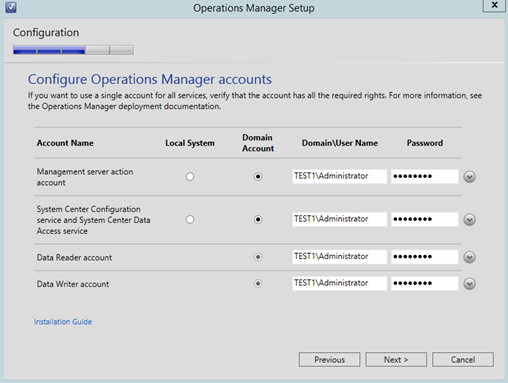
Once again (as with SQL install) we need account. For the LAB I`ll be using admin account. For production – do have separate account for System Center services with appropriate permissions.
Installation guide for SCOM is here – https://technet.microsoft.com/library/hh298609.aspx
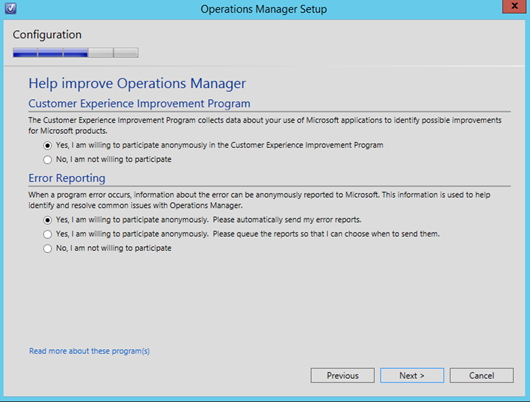
Choose whatever you like |Next
Microsoft Update is recommended
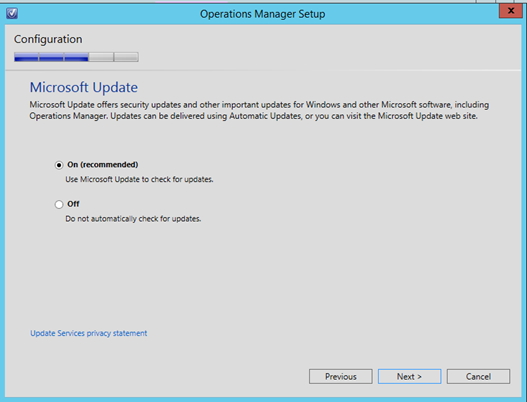
Install

Complete – Success.
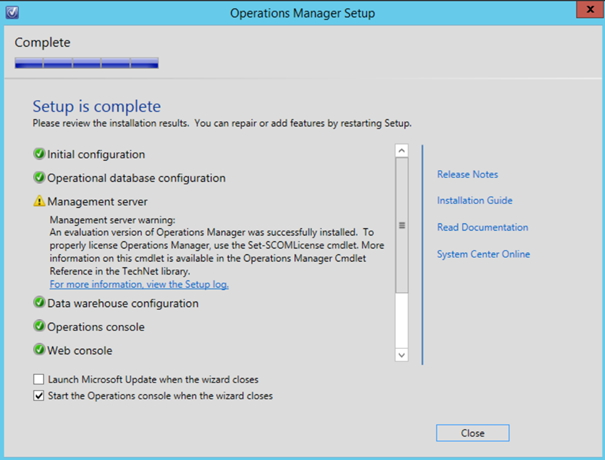
Conclusion:
With this step we finished installing SCOM 2012 R2. I choose to document this installation, since it can be cumberstone because of many prerequisites and small items that need to be setup in the exact way for the installation later to work.