Short guide on how to setup virtualization on Red Hat 8.
Before we begin
I’m installing KVM on fresh installation of Red Hat 8.3 with one NIC.
Machine itself has 16 cores, 120GB of RAM and 1TB of disk space.
I have two network cards
Network card reserved for the host: 10.0.0.9/24 (ens160)
Network card for the VM network: 10.0.0.8/24 (ens192)
Validate support for the virtualization
For Intel CPUs run following
sudo grep -e 'vmx' /proc/cpuinfo For AMD CPUs run following
sudo grep -e 'svm' /proc/cpuinfo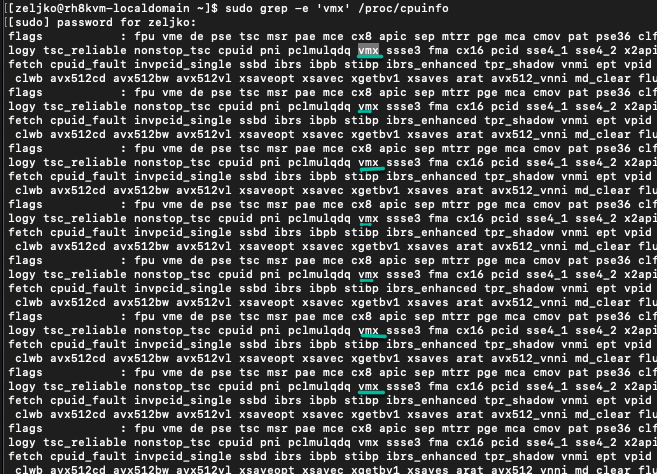
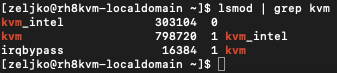
Confirm that KVM is loaded
lsmod | grep kvmAll good
Install web console
Everything is easier to manage if you have web console. RHEL 8 uses Cockpit web console.
Let’s install it
sudo dnf install cockpit cockpit-machines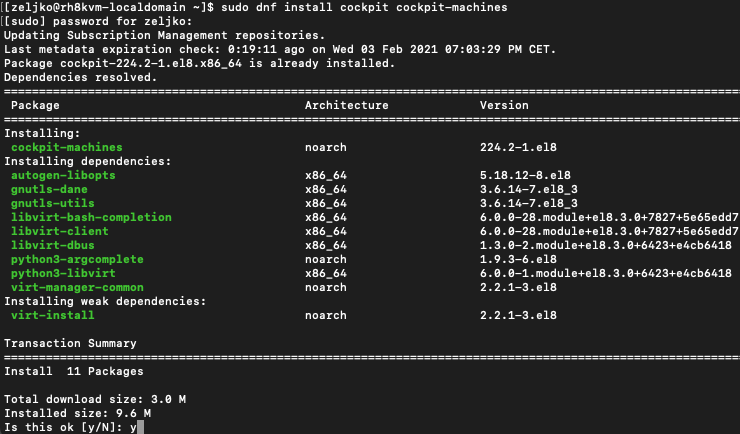
We will now enable, start and check status of the Cockpit service
sudo systemctl start cockpit.socket
sudo systemctl enable cockpit.socket
sudo systemctl status cockpit.socket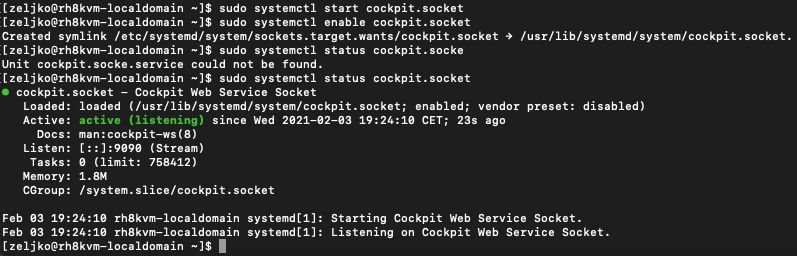
Also, add exception for the firewall if you enabled it
sudo firewall-cmd --add-service=cockpit --permanent
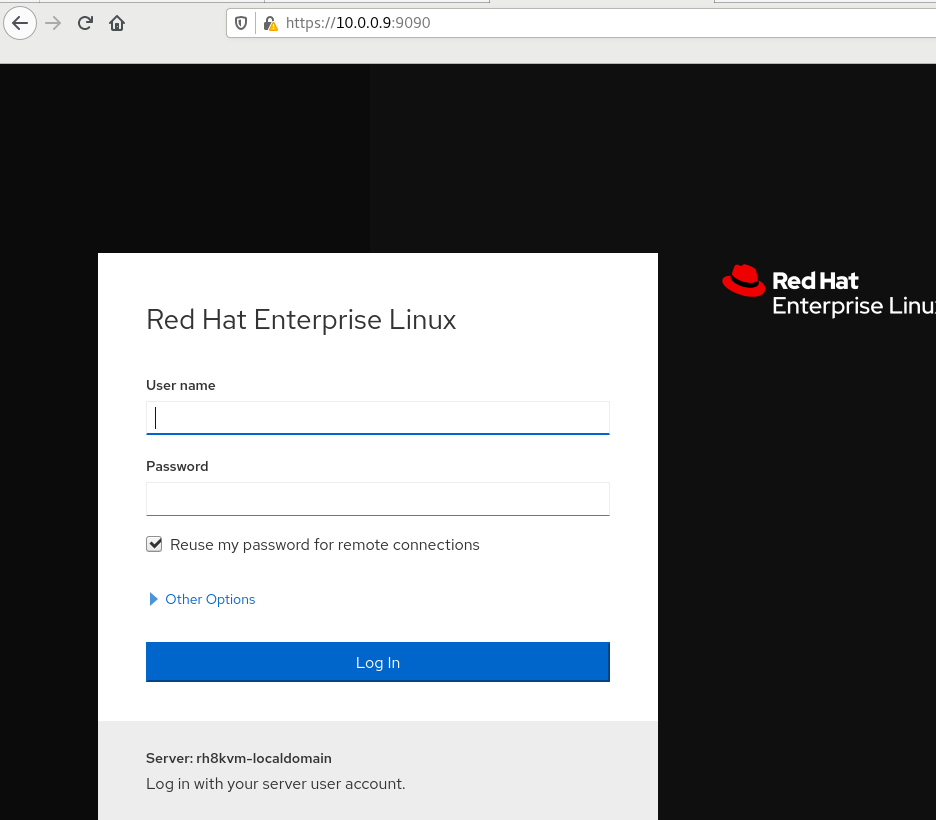
sudo firewall-cmd --reloadCockpit is now available in your web browser.
In my case it is on https://10.0.0.9:9090
Change 10.0.0.9 for your IP of the machine on which you installed Cockpit.
Install KVM virtualization
We will install virtualization module and enable virt0viewer for viewing virtual machines.
sudo dnf module install virt
sudo dnf install virt-install virt-viewer
Next important step is to validate your virtualization host.I’m doing this in nested virtualization scenario, so it is even more important to be sure that everything is correct.
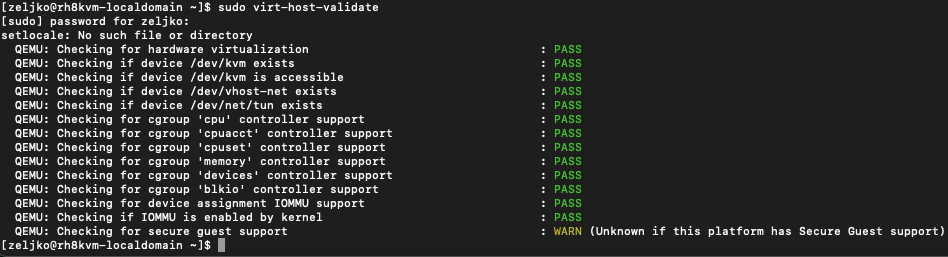
sudo virt-host-validateI got two warnings. If you are doing this on bare metal, you will probably be fine, if not, check your BIOS for IOMMU setting.

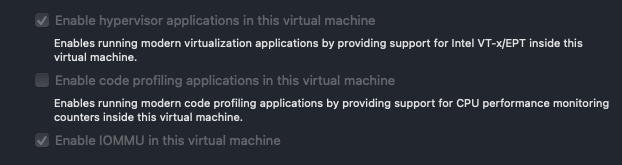
If you are doing this inside a VM, make sure your virtualization software has nested virtualization support.
VMware Fusion has it under Processor and Memory Setting of the VM.
Let’s see errors little closer

Ok, so I have IOMMU enabled, I will have to edit my GRUB so this one goes away.
“Unknown if this platform has Secure Guest support” can be ignored since I’m running this on Intel CPU, and that check is not for Intel CPU.
____________________________________________
!!!PART FOR ONLY THOSE OF YOU WHO HAVE THIS ERROR AND ARE DOING THIS INSIDE VMs. If you have all PASSes on the tests above, skip this!
Ok, we will need to edit grub
sudo vi /etc/default/grubI added following to the end of the GRUB_CMDLINE_LINUX= line
intel_iommu=onThis is how it looks like
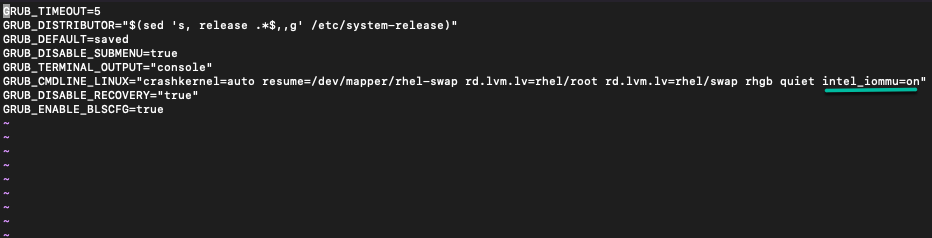
Save the file and exit
We need to regenerate grub for this to apply.
You need to be root for this one to execute!!
grub2-mkconfig > /boot/grub2/grub.cfg
Reboot machine.
Check again
sudo virt-host-validateIOMMU error is gone
Ok, we already established that Secure Guest is none of our concern since we are running on Intel CPU.
!!END OF EXTRA PART FOR THOSE WITH IOMMU ERROR
________________________________________
We will now start/enable and check status of virtualization service.
sudo systemctl start libvirtd.service
sudo systemctl enable libvirtd.service
sudo systemctl status libvirtd.service
Setup Network Bridge
Bridge for connecting VMs to Host network
We will set network bridge so that our VMs can have access to the host network.
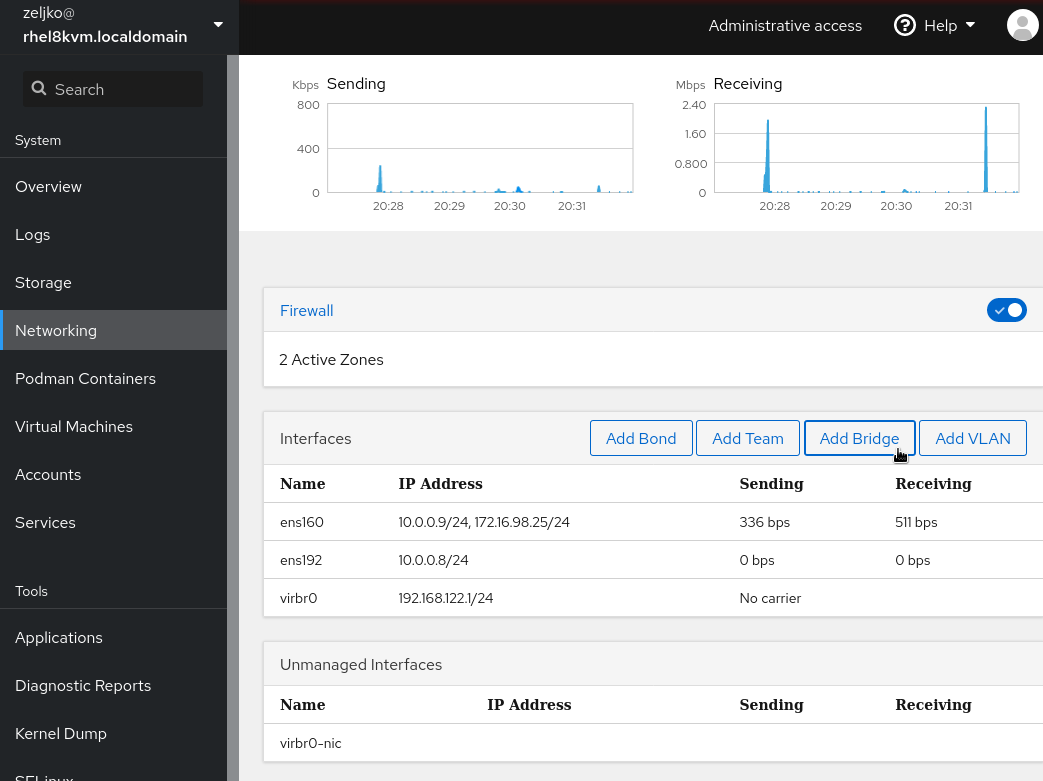
Login into Cockpit web interface | select Networking | Add Bridge
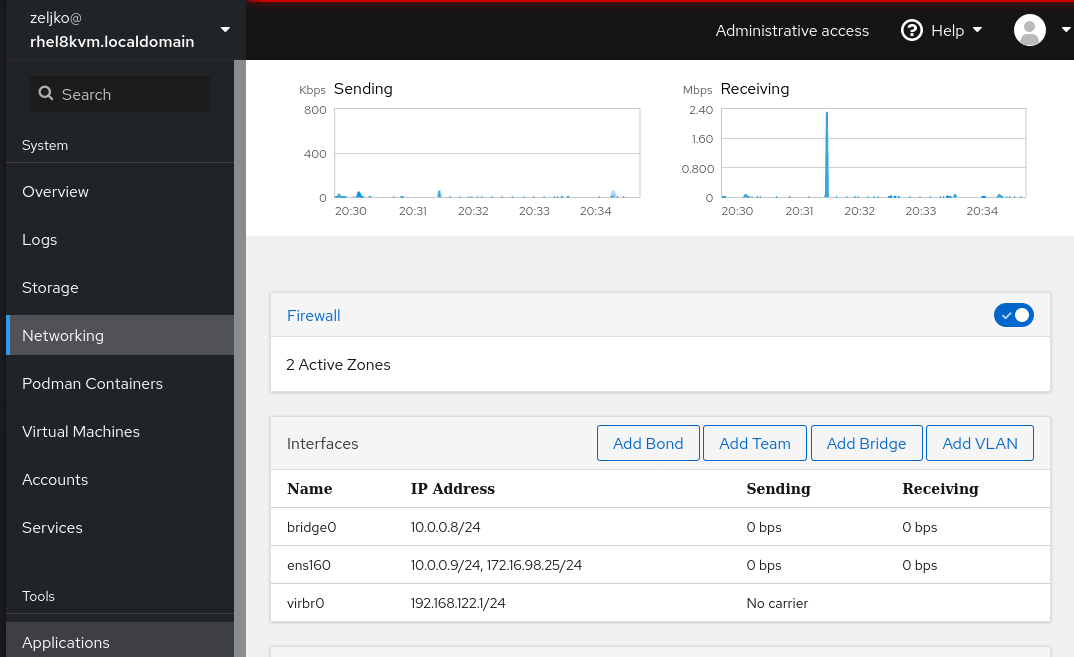
I will name connection “Bridge 0” and assign it to ens192 port on IP 10.0.0.8 which I planned for VMs access to host network. Apply

Now we have new interface named bridge0
Isolated network for VMs only
If you wish to have isolated network for VMs only (which I often need) then we have some more work to do, we can’t (at least that I’m aware of) create new isolated network from Cockpit, we need another piece of software – Virtual Machine Manager.
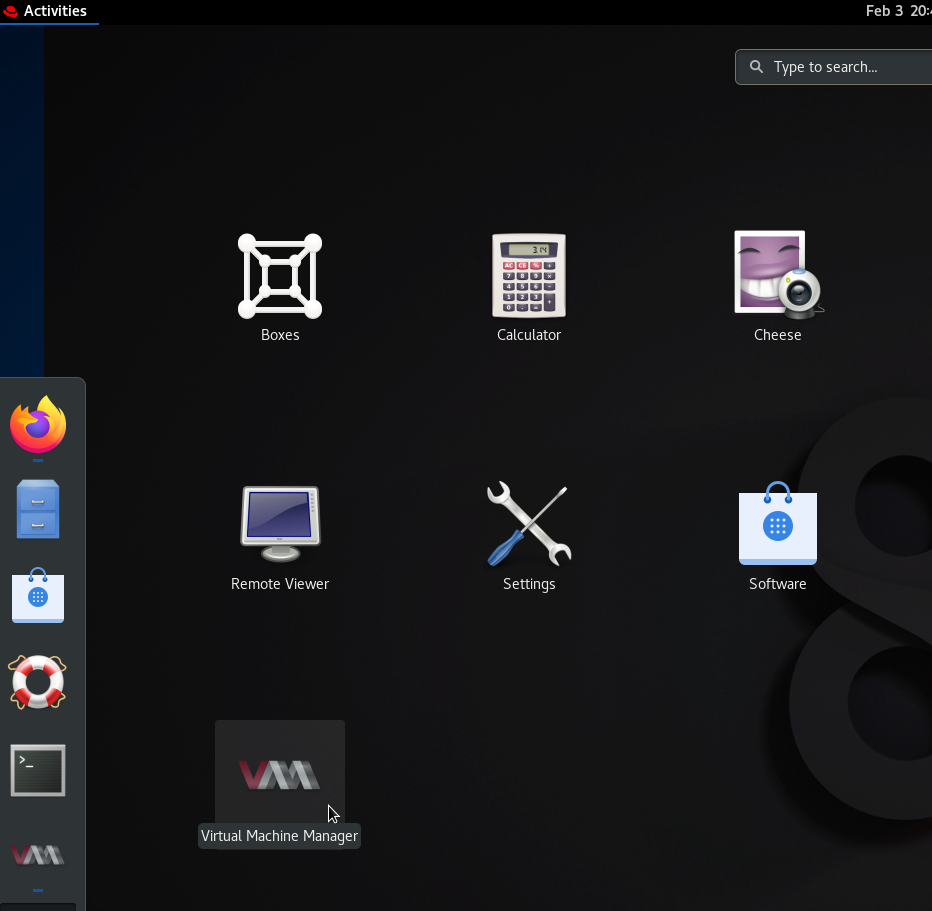
First, we need to install Virtual Machine Manager
sudo yum install virt-managerYou will then find it under you applications
Open it up, select QEMU/KVM in the main screen, then click on Edit – Connection Details – and click on Virtual Networks tab. Click on +
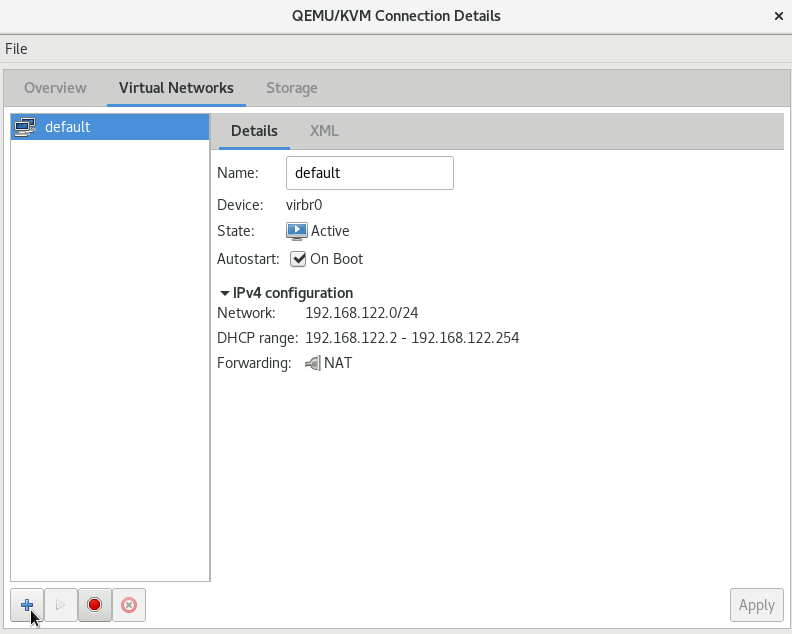
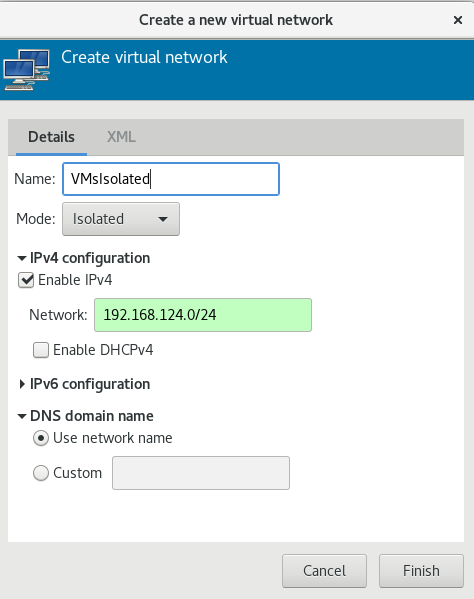
I will name my network VMsIsolated, mode is Isolated, for IPv4 config I will enter 192.168.124.0/24, I will disable DHCP since I don’t need it on this machine, and leave everything else default (IPv6 off). Click on finish and close VMM.
If we go back to the Cockpit, there is a new interface created named “virbr1” and it has no carrier.
Attaching isolated network to the VM.
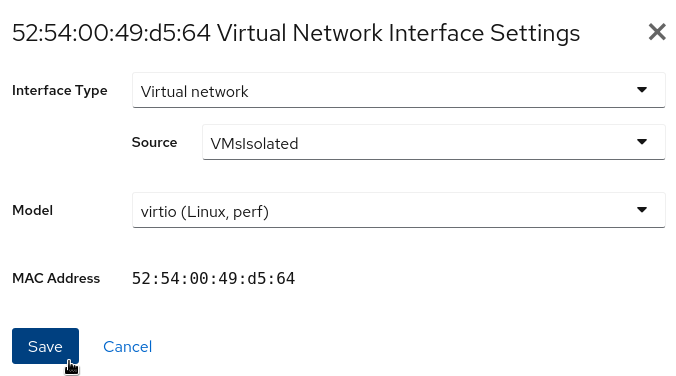
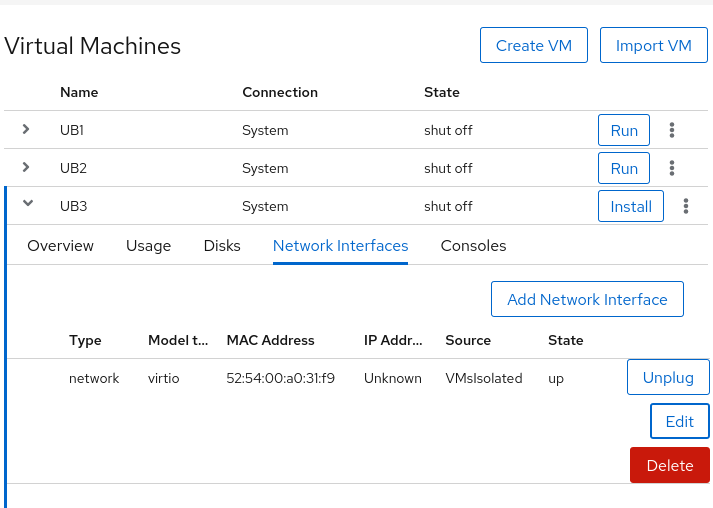
I created two new virtual machines named UB1 and UB2. Under properties of the Network Interfaces on the VM, in section Interface Type I selected Virtual network, and for source I selected VMsIsolated (we created earlier). I left model as virtio and did this on both machines.
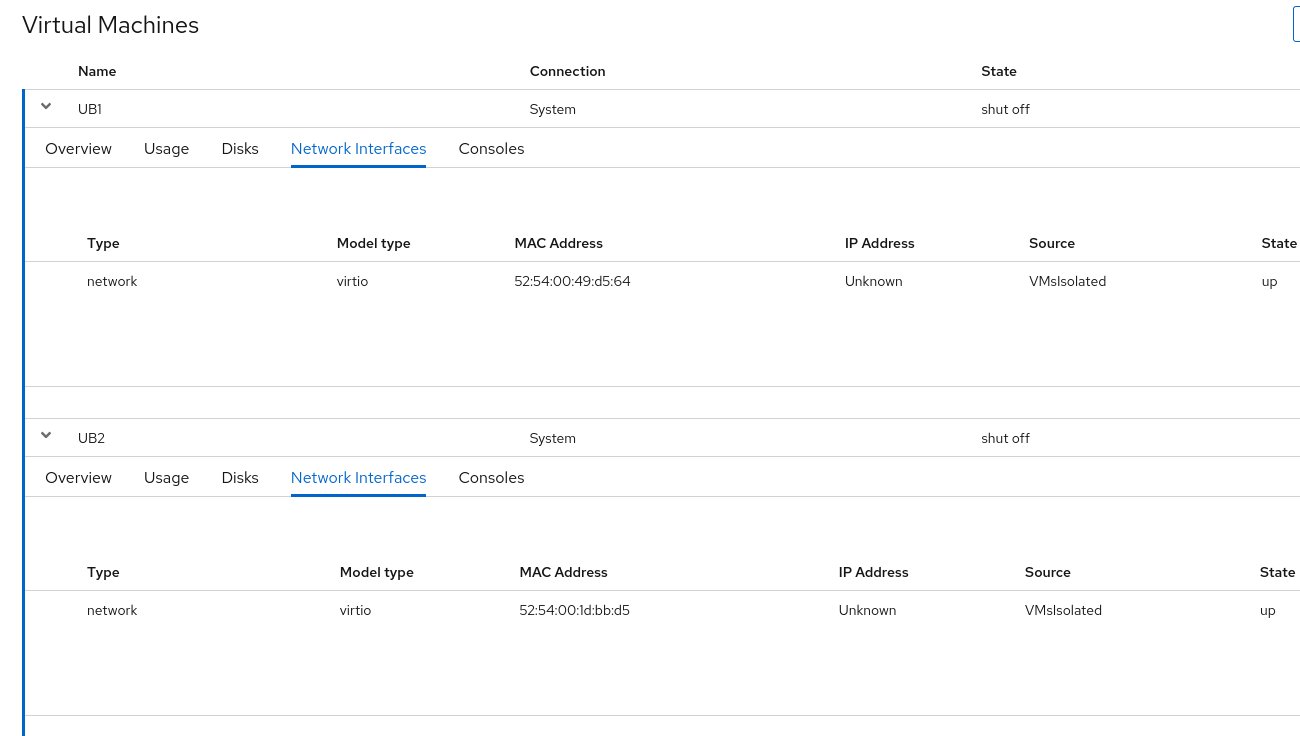
Machines can communicate between each other perfectly, but cannot reach host network or internet (since I haven’t connected internet to the VM isolated network).
Attaching Host Bridged network to the VMs.
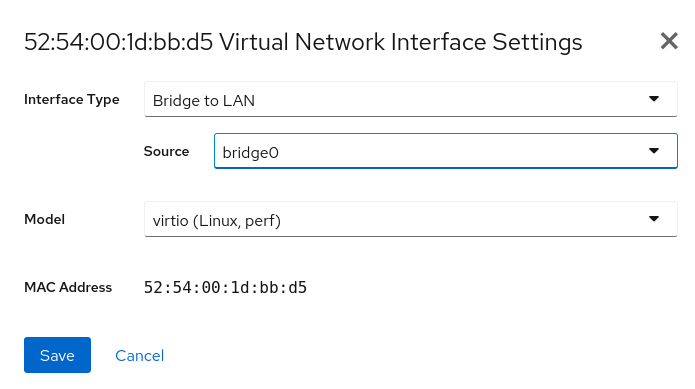
It is done in the same place, you would just select Bridge to LAN from interface type and for the source you would select bridge0 we created earlier. This also works nice and VMs can communicate with the host network and internet (ssince I have internet on the host network).
Creating VM
If you already done any hypervisor this will be familiar to you.
Go to the Virtual Machines menu, select Create VM from the right part of the screen.
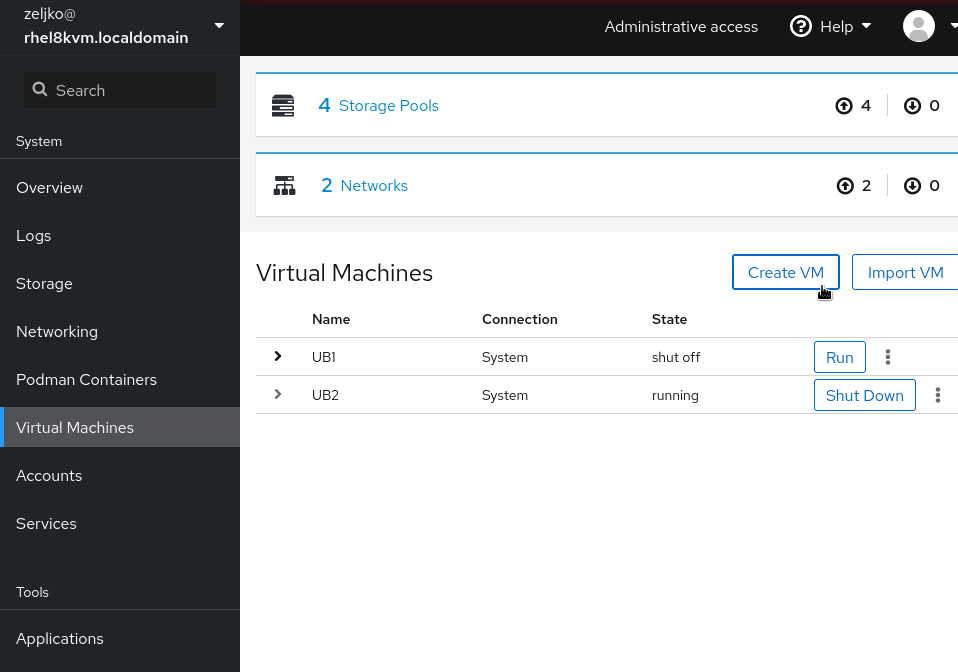
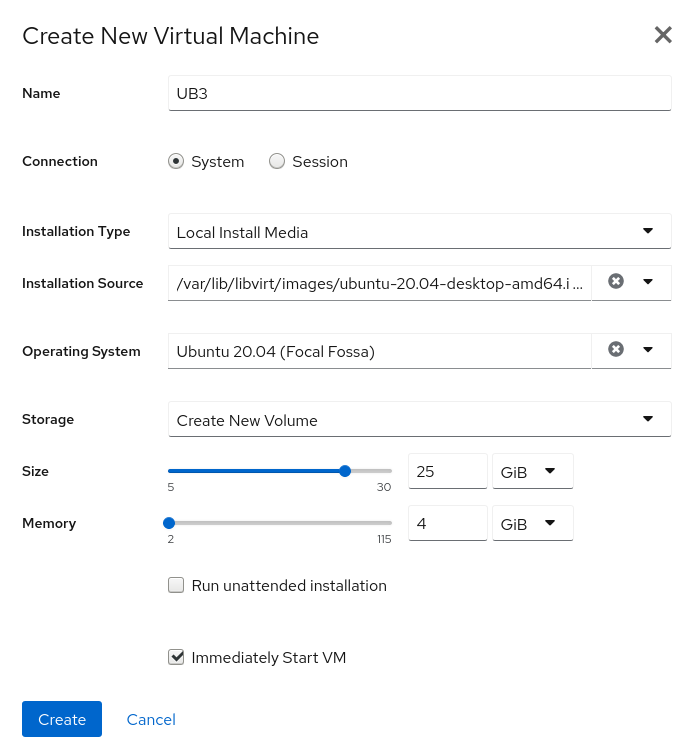
There are few things you need to think about, name your machine as you like, under Connection select “System” and if you have ISO downloaded you will select Local Install Media under installation type.
Installation Source is part where you have to be careful – copy your iso images to /var/lib/libvirt/images/ folder. There is often permission problem if you select ISO that is placed somewhere else, so that is default location for the ISOs for KVM.
Everything else depends on your preferences (OS type, disk size, RAM size…)
You can select immediately Start VM and VM will power up after you click on Create.
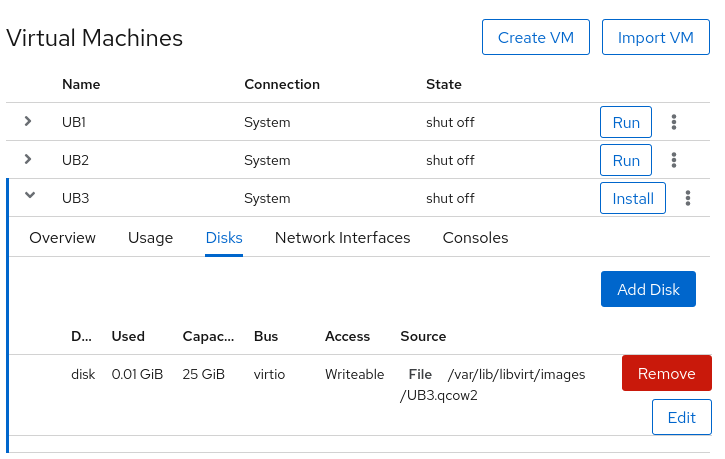
If you expand VM properties like I did with my UB3 VM. you can see that for example under disks section our 25GB system disk is listed and is placed in /var/lib/libvirt/images folder
Under Network interfaces section you will define network interfaces for your VM, I already described earlier how it is done.
Ok, that is more or less it, you now know how to install and do a basic setup of KVM on Red Hat 8.