We are on the good path to create fully functioning enterprise IT environment, and one of the services we will need is print. Although we are deep into digital era, printing and scanning are still services that are needed in almost every company.
Today, we are going to learn how to set print server for our company.
Before we begin
I will create new Windows Server machine named: SBasicsPrint
IP Address will be: 10.0.0.35
It will be part of the informatiker.local domain, as every machine before it.
In the “real life” you will also have printers, multi-function printers. You will also need to have drivers for these prepared in advance.
Every serious company has network attached printers so you will also need to assign static IP addresses to your printers before you begin with deployment.
Since I’m working in lab, I will use virtual printers.
Installation
Before we start with the procedure, we will create one virtual printer, you can check how to create virtual printer in this short tutorial.
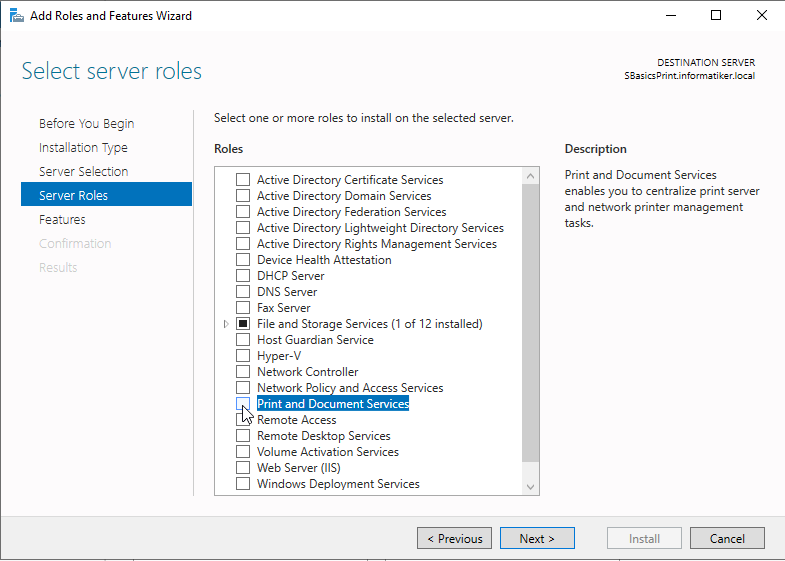
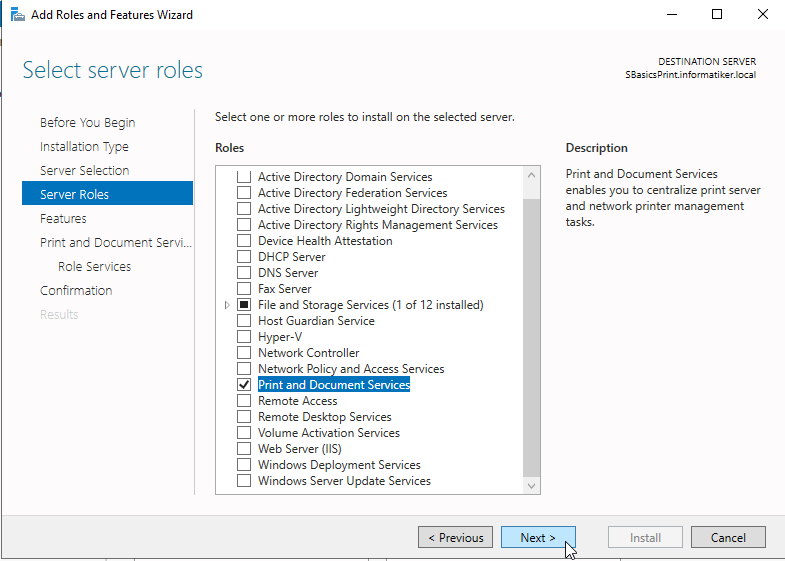
Go to Server Manager and under Server Roles select Print and Document Services
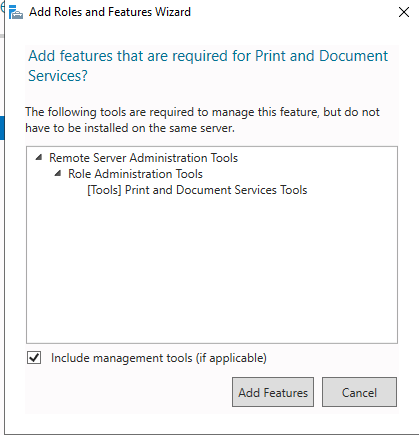
Additional pop-up will appear, confirm it by clicking on Add Features
Next
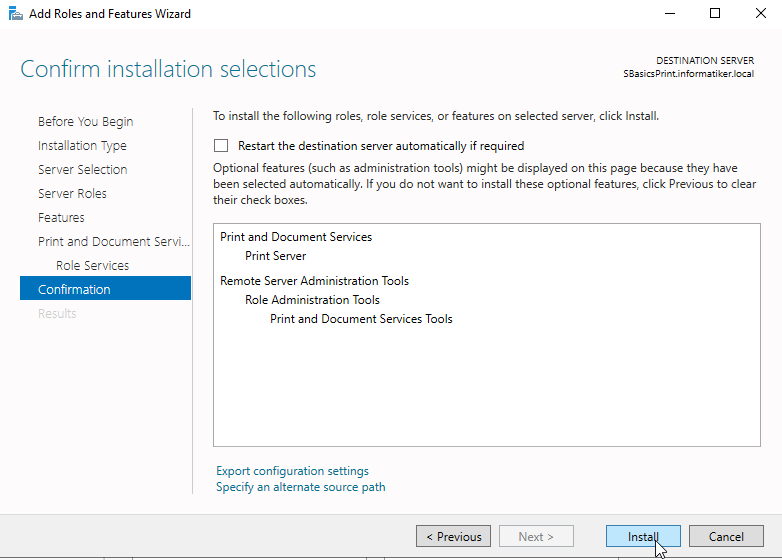
Confirm with Next until you get to Role Services, on that screen select Print Server and confirm with Next

Install
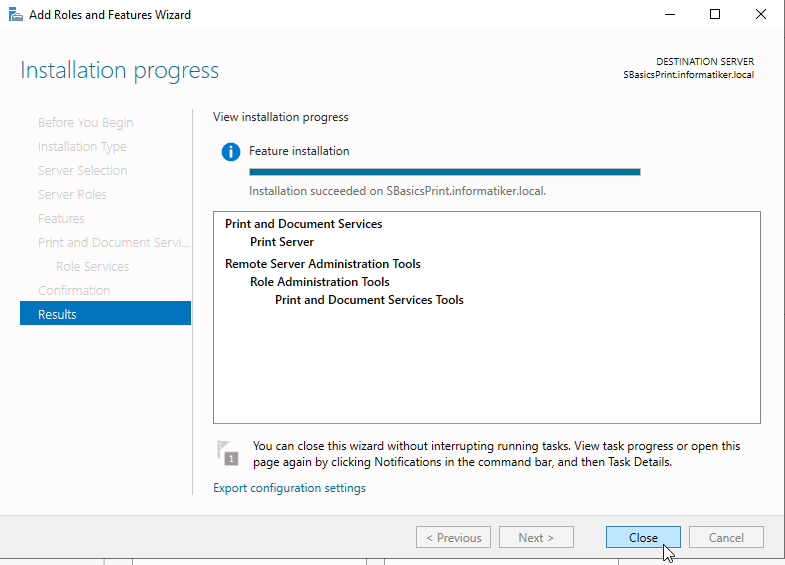
Success | Close, I will also reboot server.
Go to Start | Windows Administrative Tools | Print Management

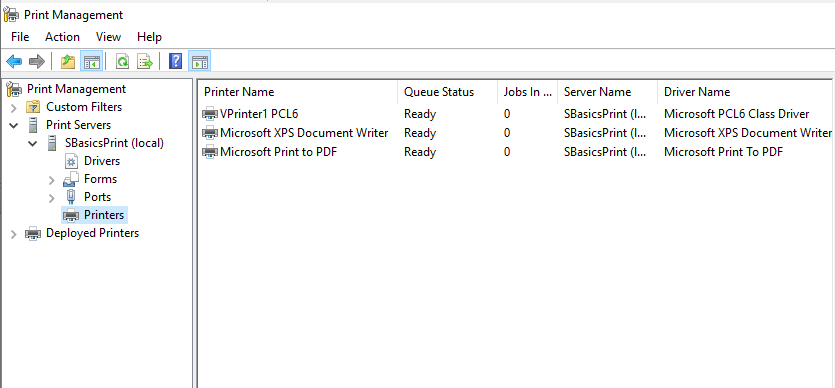
This is how Print Management looks like. Under Print Servers I have mine SBasicsPrint.
Under Drivers you will be able to add additional drivers you need for client deployment. Maybe you still have 32bit OSes, older OSes that need different set of drivers – this is the place you will load these.
I mostly add printers to my print servers the way I showed in linked tutorial for virtual printer (just with real drivers) and then I see them under Printers in Print Management.
Usually I don’t mess with Forms and Ports section of Print Management since that is predefined on printer install.
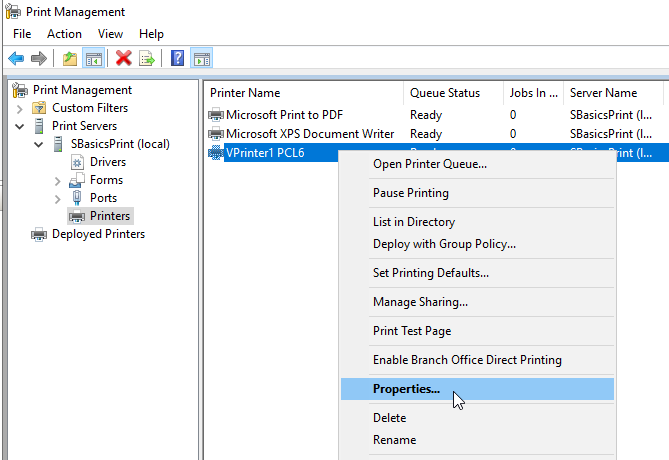
First, we will right click on VPrinter1 PCL6 and select Properties to enable printer sharing.
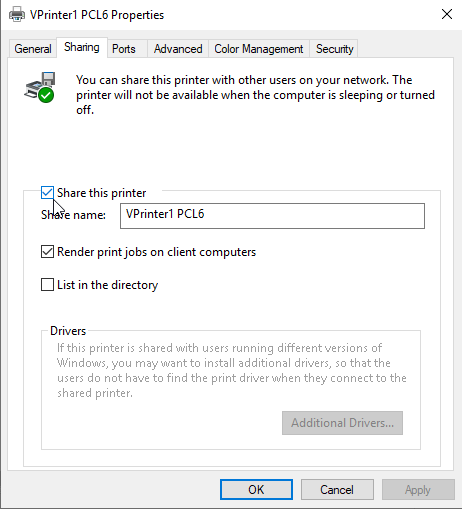
Under Sharing tab select Share this printer and name it how you like it. Once you are done, select Apply, OK and close whole dialog.
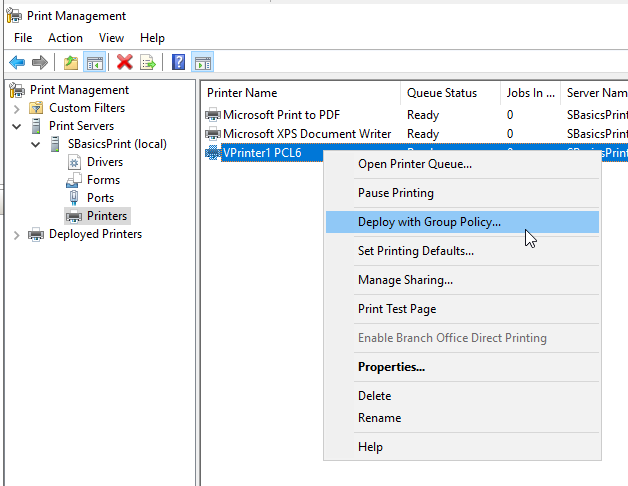
I will now right click on VPrinter PCL6 and select Deploy with Group Policy… This is also the place you can define printing defaults for printers (Set Printing Defaults) for example if you want Black and White printing by default, and many other details, depending on type of printer you have.
I will click on Deploy with Group Policy and that screen will deploy VPrinter1 PCL6 to the client machines inside my network.

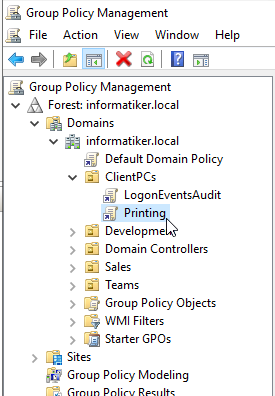
Before we begin, we need to quickly jump to our domain controller (ServerBasicsAD) and to the Group Policy Management.
I will create new GPO under ClientPCs named Printing. ClientPCs have client machines from our internal network in it.
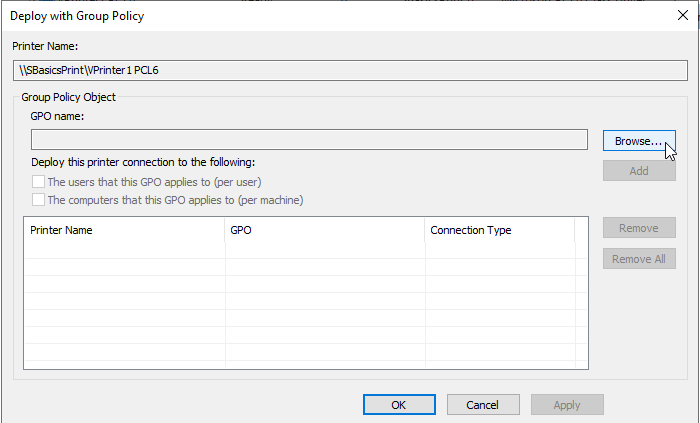
Back to our Print server and Deploy with Group Policy
Click on Browse…
Browse to the ClientPCs OU and select Printing GPO
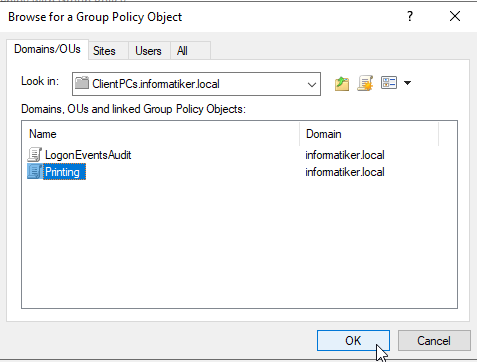
Confirm with OK.
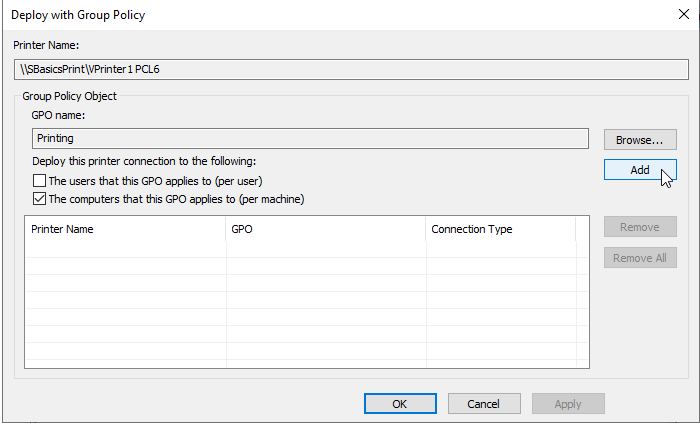
I will deploy printers per machine, so I will select that.Click on Add
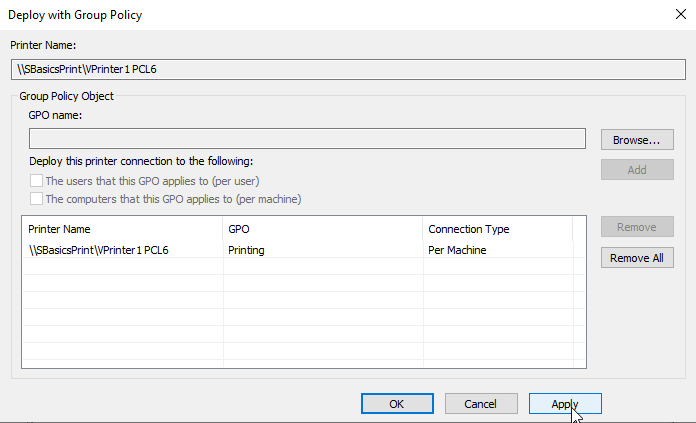
Ok, Printer should be deployed to our client pcs. Apply, OK
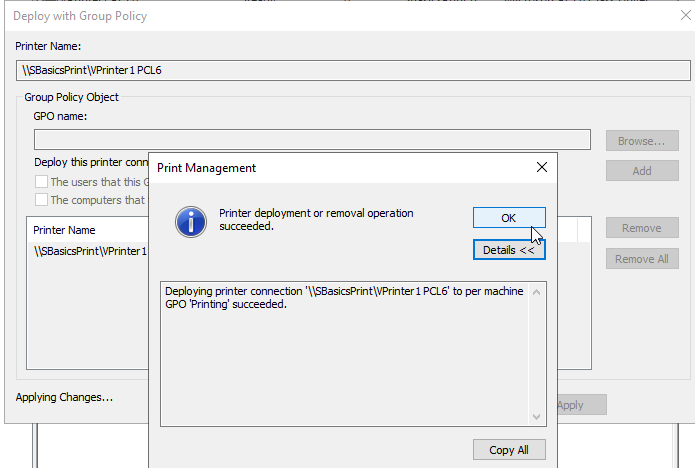
After you click on Apply, you should get this screen that will confirm action is success. OK.
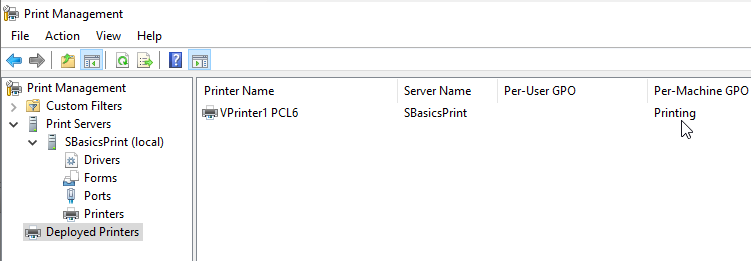
Now, under Deployed Printers sections you should have VPrinter1 PCL6 deployed.
Lets go to client machine. We deployed it to all client machines, I will reboot machine used by Ana P.
We will reboot her client pc (or wait for group policy to populate, or run gpupdate /force) to see if she will get deployed printer from print server.
After some waiting…
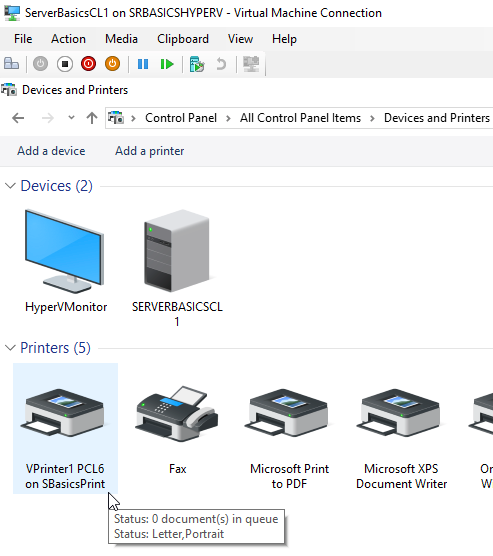
It works, congrats, we now also have printing server in our lab.
Again, if you don’t have some specialised printing software or services and are dealing with Windows Server environment, this is the way you would deploy printers for users in your network.
Again, network printers are a must for every serious company, USB printers shared over network are definitely not optimal solution.