After we are done with placement service install we will proceed to Compute service installation. Compute service is called nova, and this will be Train tutorial.
OpenStack Compute interacts with OpenStack Identity for authentication, OpenStack Placement for resource inventory tracking and selection, OpenStack Image service for disk and server images, and OpenStack Dashboard for the user and administrative interface.
Here is the OpenStack official documentation for this part – https://docs.openstack.org/nova/train/install/
This part of tutorial is done on the controller node.
Install and configure controller node
Prerequisites
We will first open databases, create users and grant appropriate permissions.
mysql -u root -pCreate DBs.
CREATE DATABASE nova_api;
CREATE DATABASE nova;
CREATE DATABASE nova_cell0;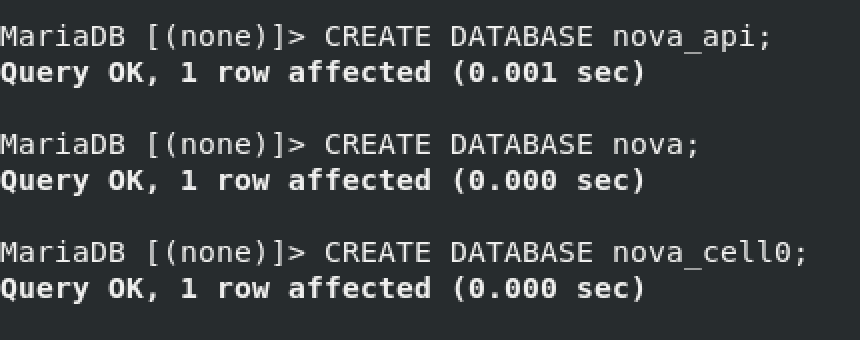
Create users and grant permissions. Replace NOVA_DBPASS with suitable password.
GRANT ALL PRIVILEGES ON nova_api.* TO 'nova'@'localhost' \
  IDENTIFIED BY 'NOVA_DBPASS';
GRANT ALL PRIVILEGES ON nova_api.* TO 'nova'@'%' \
  IDENTIFIED BY 'NOVA_DBPASS';

GRANT ALL PRIVILEGES ON nova.* TO 'nova'@'localhost' \
  IDENTIFIED BY 'NOVA_DBPASS';
GRANT ALL PRIVILEGES ON nova.* TO 'nova'@'%' \
  IDENTIFIED BY 'NOVA_DBPASS';

GRANT ALL PRIVILEGES ON nova_cell0.* TO 'nova'@'localhost' \
  IDENTIFIED BY 'NOVA_DBPASS';
GRANT ALL PRIVILEGES ON nova_cell0.* TO 'nova'@'%' \
  IDENTIFIED BY 'NOVA_DBPASS';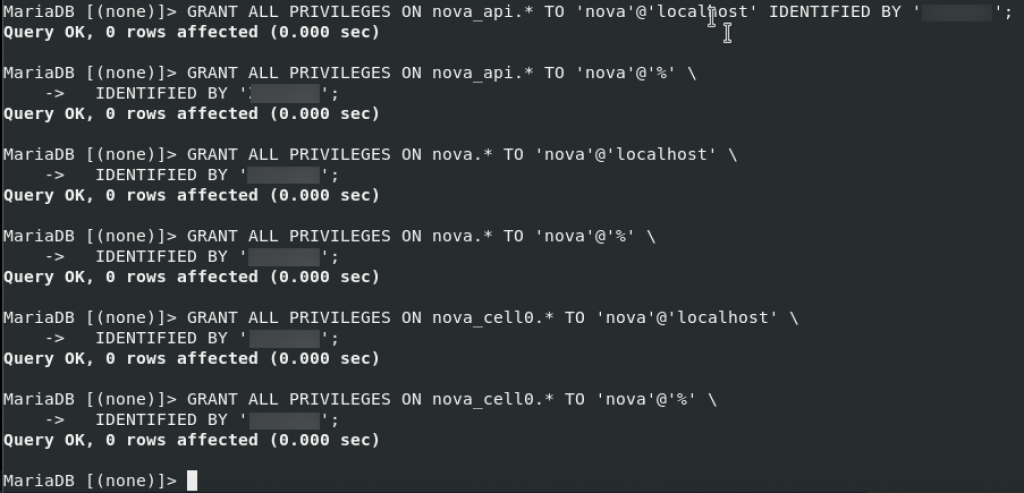
Start
. admin-openrc

#or if you followed my previous tutorials you will enter

.admin-openrc.sh
Create nova user, and enter password for it.
openstack user create --domain default --password-prompt nova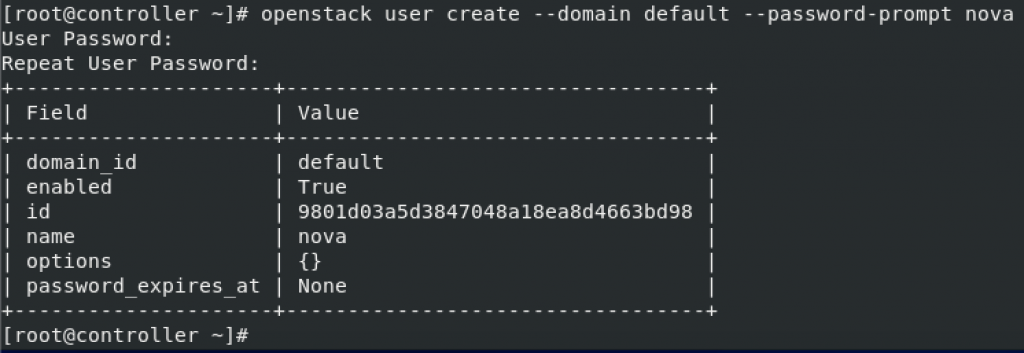
We will also add admin role to nova user
openstack role add --project service --user nova adminNext we will create nova service entity
openstack service create --name nova \
  --description "OpenStack Compute" compute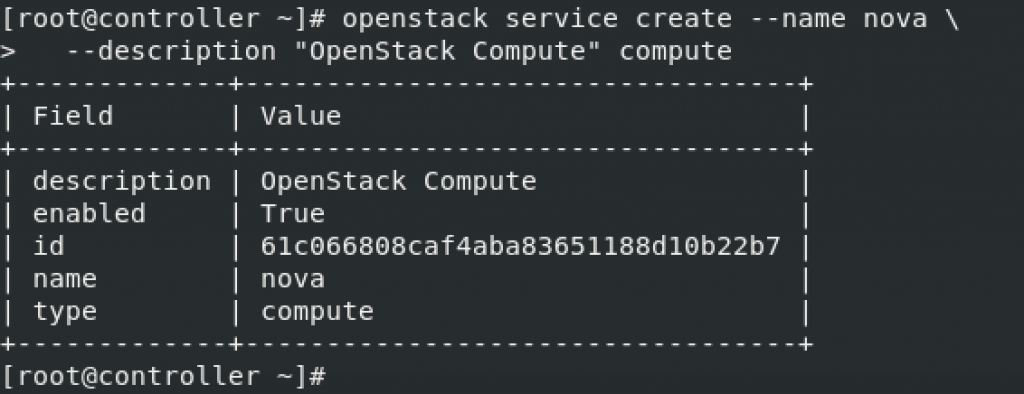
and Compute API service endpoints
openstack endpoint create --region RegionOne \
  compute public http://controller:8774/v2.1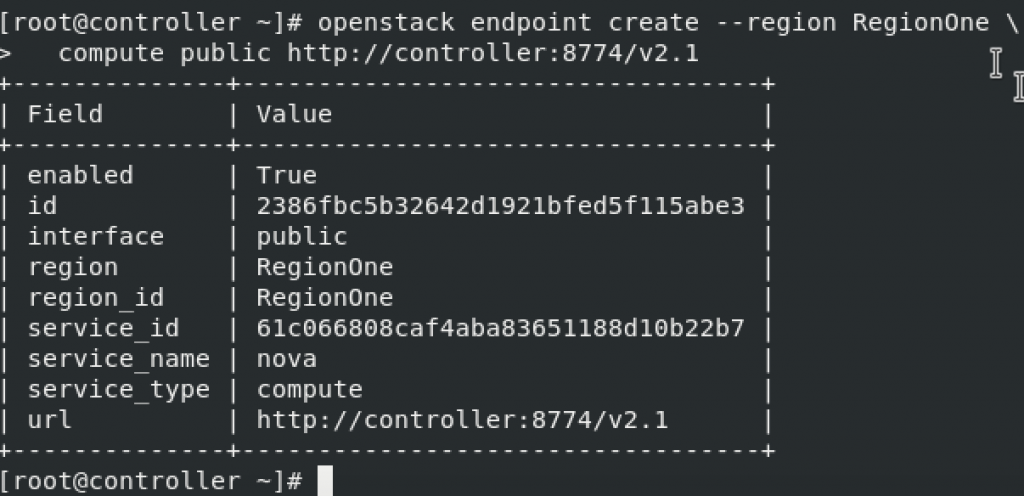
openstack endpoint create --region RegionOne \
  compute internal http://controller:8774/v2.1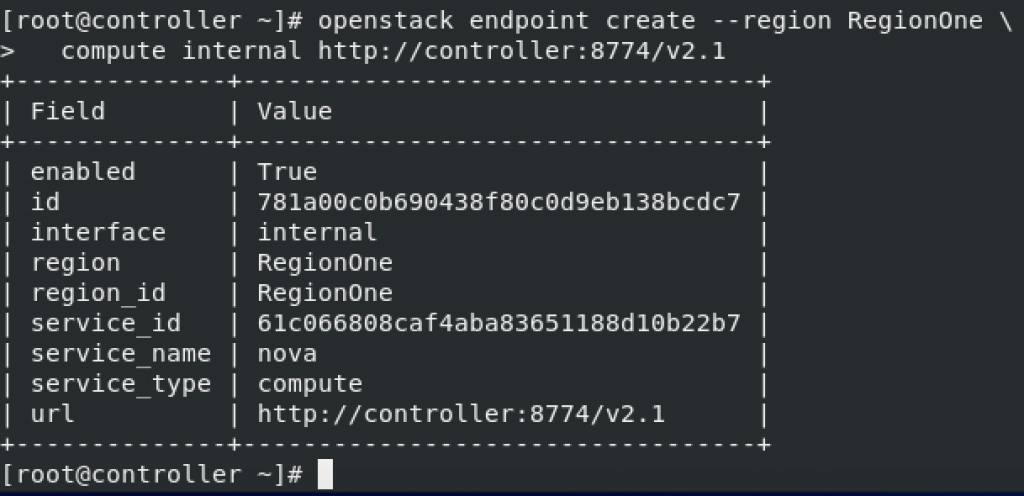
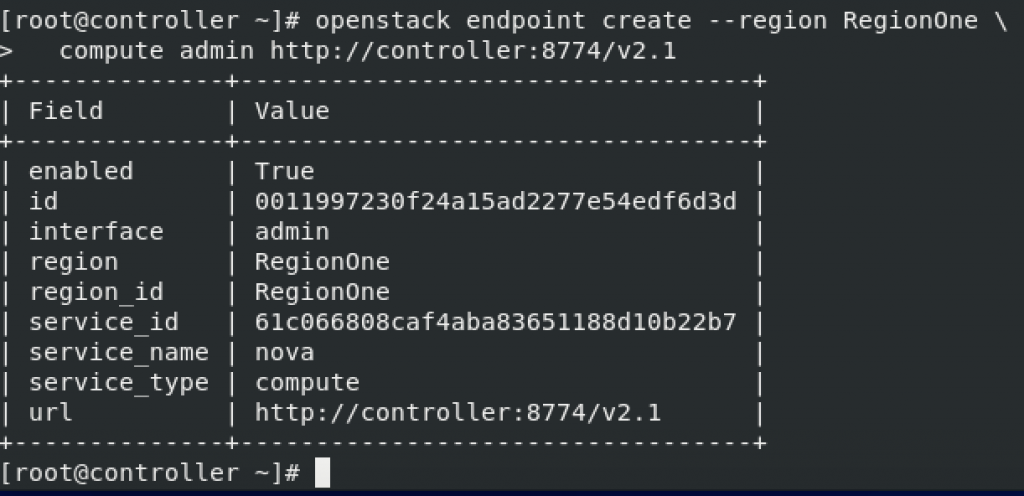
openstack endpoint create --region RegionOne \
  compute admin http://controller:8774/v2.1
Install and configure components
Install needed components
yum install openstack-nova-api openstack-nova-conductor \
  openstack-nova-novncproxy openstack-nova-scheduler
edit /etc/nova/nova.conf
sudo vi /etc/nova/nova.confFirst one change in Default section
[DEFAULT]
# ...
enabled_apis = osapi_compute,metadata
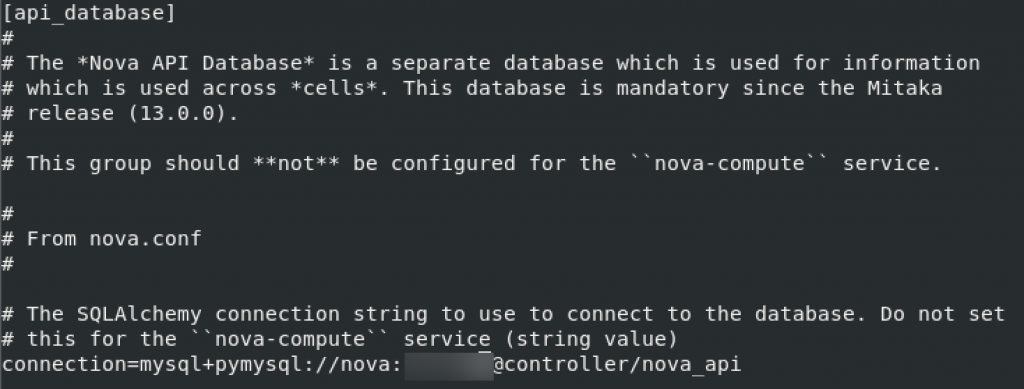
api_database and database sections. Replace NOVA_DBPASS with your nova db password.
[api_database]
# ...
connection = mysql+pymysql://nova:NOVA_DBPASS@controller/nova_api
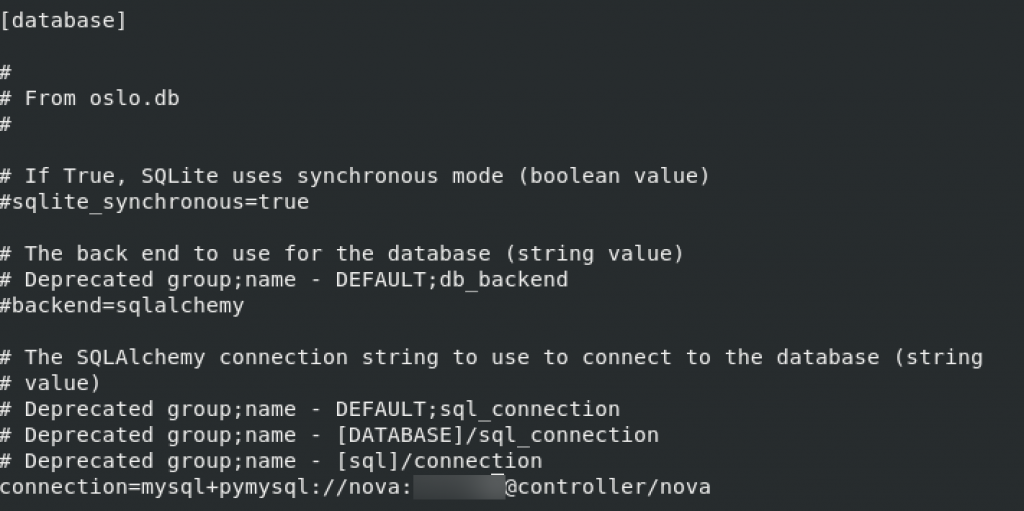
[database]
# ...
connection = mysql+pymysql://nova:NOVA_DBPASS@controller/nova
Back to the default, we need to change transport_url (change the one that has rabbit after transport_url=) Use password you set during setting RabbitMQ
[DEFAULT]
# ...
transport_url = rabbit://openstack:RABBIT_PASS@controller:5672/
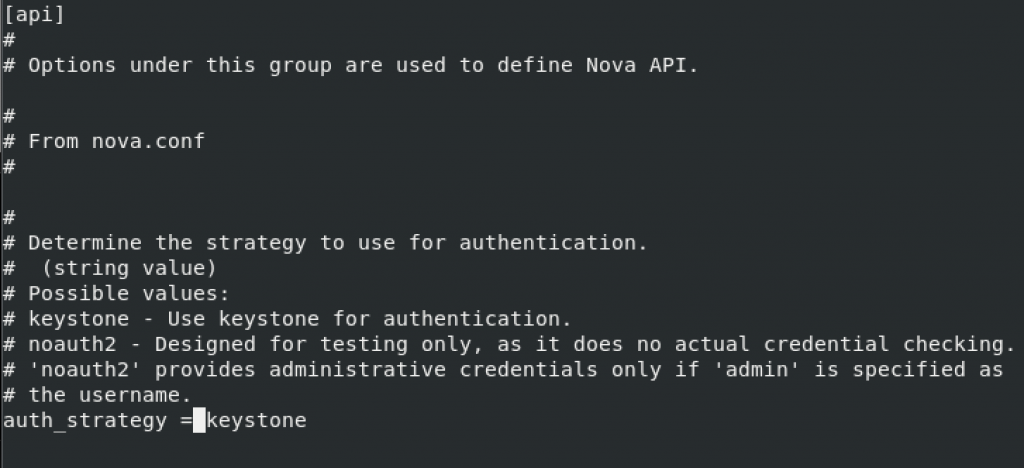
Back to api and keystone_authoken sections. Change the NOVA_PASS with nova system password you set.
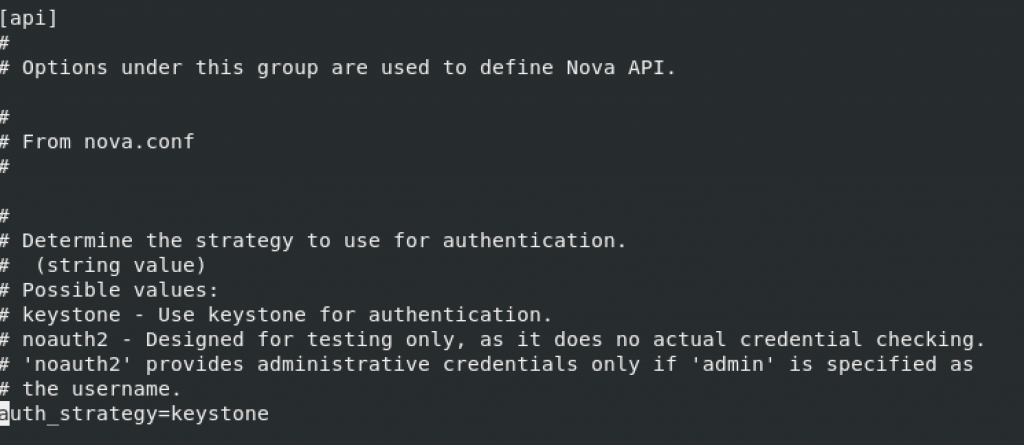
[api]
# ...
auth_strategy = keystone
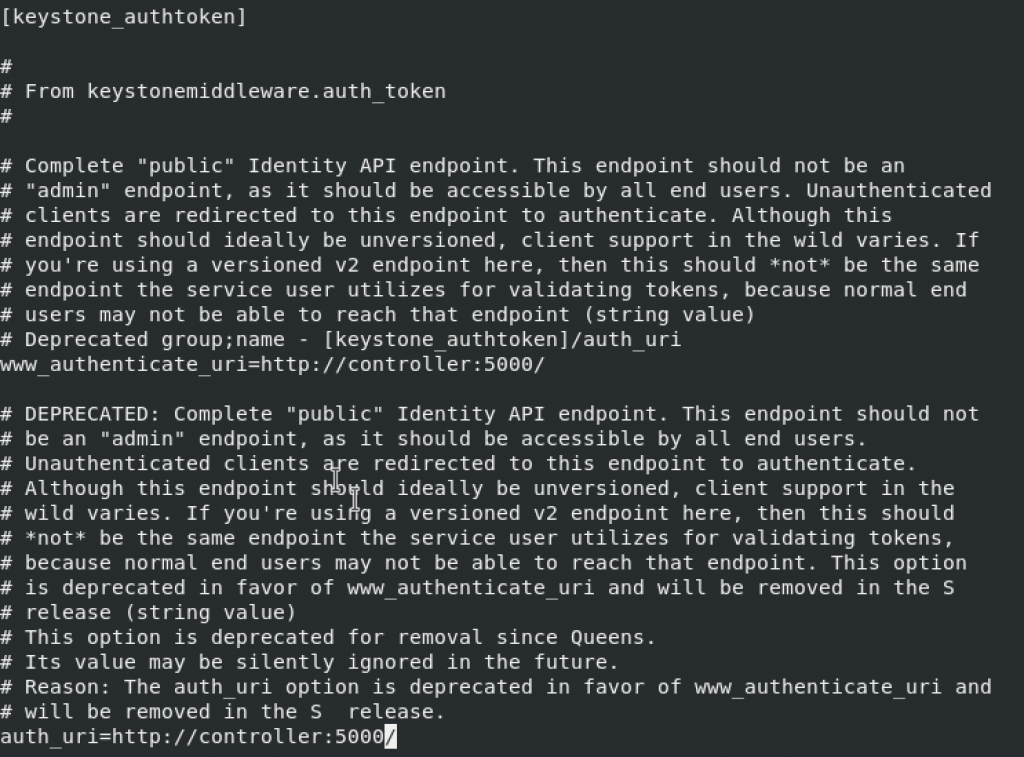
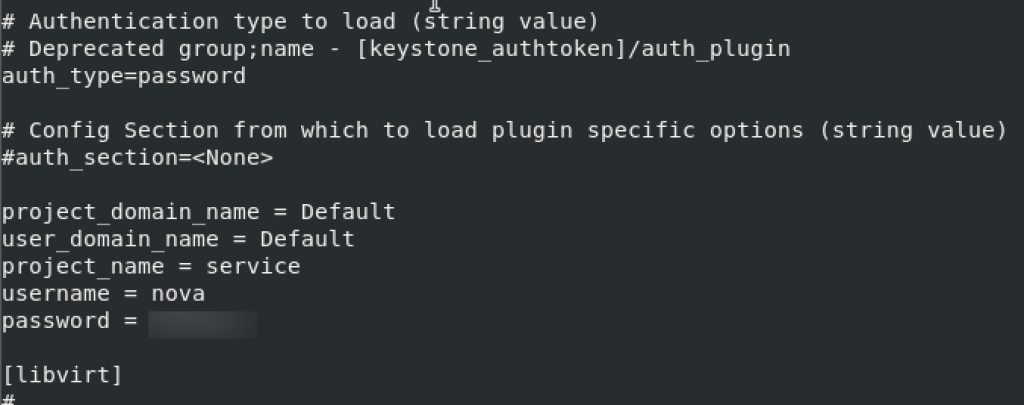
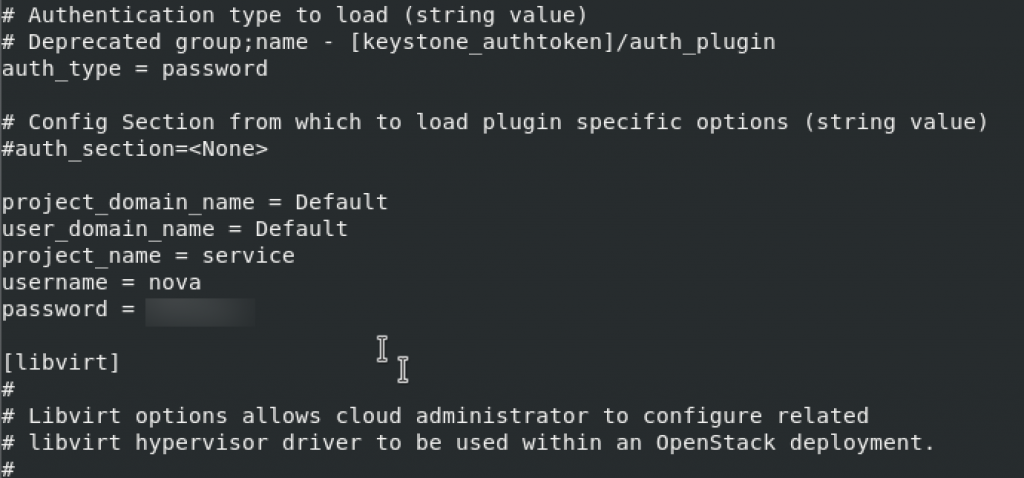
[keystone_authtoken]
# ...
www_authenticate_uri = http://controller:5000/
auth_url = http://controller:5000/
memcached_servers = controller:11211
auth_type = password
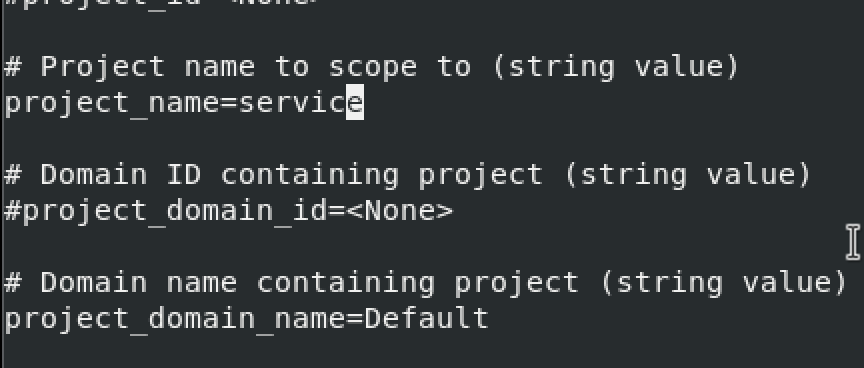
project_domain_name = Default
user_domain_name = Default
project_name = service
username = nova
password = NOVA_PASS
!!! CAUTION There is a fault in the file – I originally just entered url on auth_uri value. That resulted in openstack-nova-api.service to fail. Change auth_uri to auth_url (change i into small L letter – I


Again as in previous parts, some values are missing in the keystone_authtoken. I added them at the bottom of keystone_authtoken part. Still not sure if this is the right way.
Back to the default part of the config. We need to enter ip address of the controller.
[DEFAULT]
# ...
my_ip = 10.0.0.11
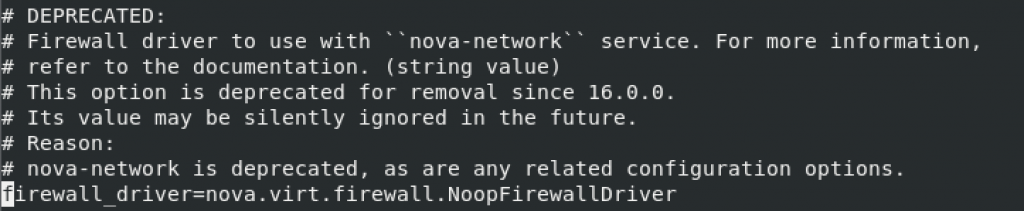
We also need to enable support for networking in default section
[DEFAULT]
# ...
use_neutron = true
firewall_driver = nova.virt.firewall.NoopFirewallDriver
Next, we will configure vnc section
[vnc]
enabled = true
# ...
server_listen = $my_ip
server_proxyclient_address = $my_ip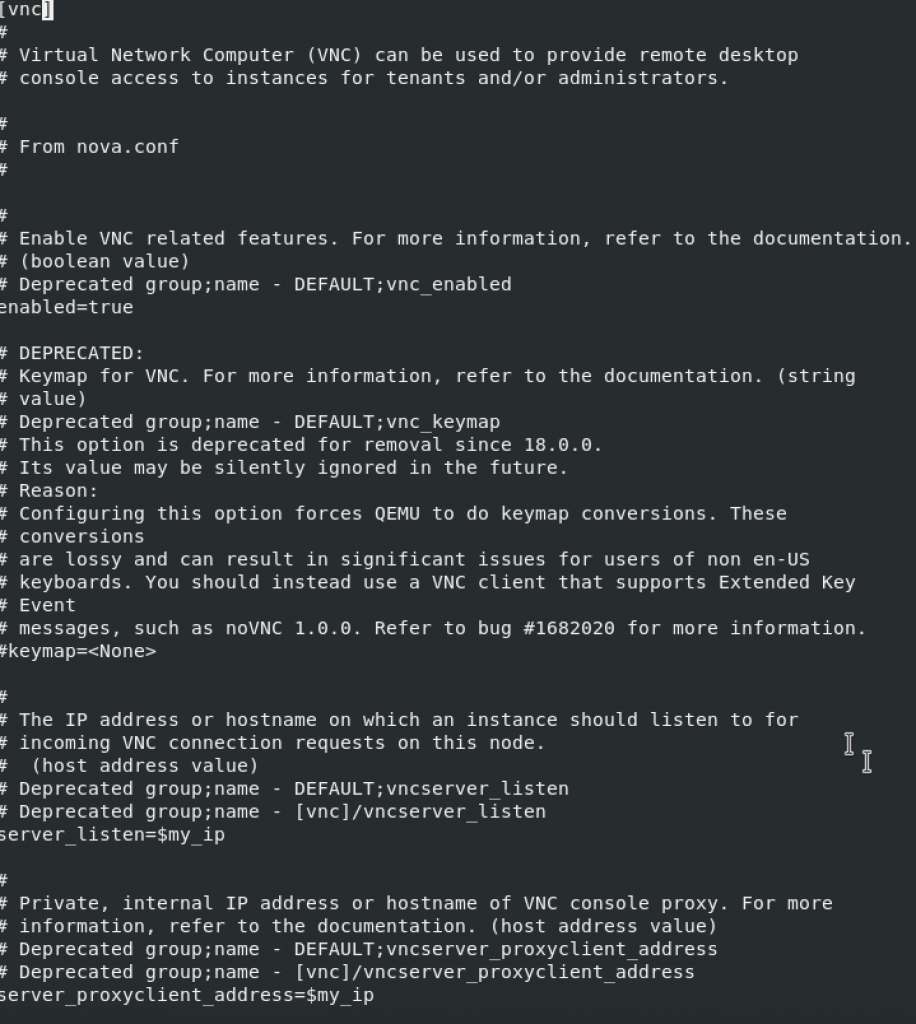
Glance section
[glance]
# ...
api_servers = http://controller:9292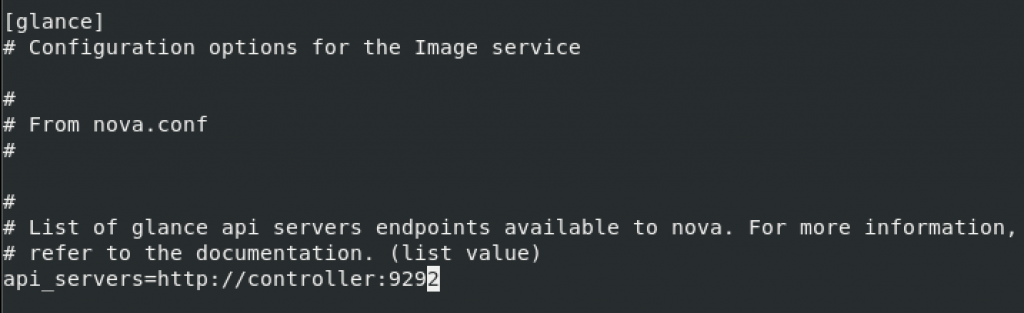
oslo concurrency
[oslo_concurrency]
# ...
lock_path = /var/lib/nova/tmp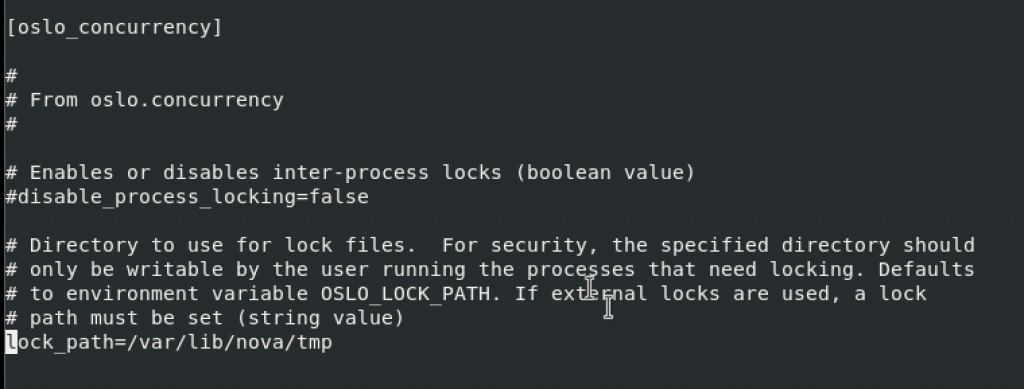
placement section
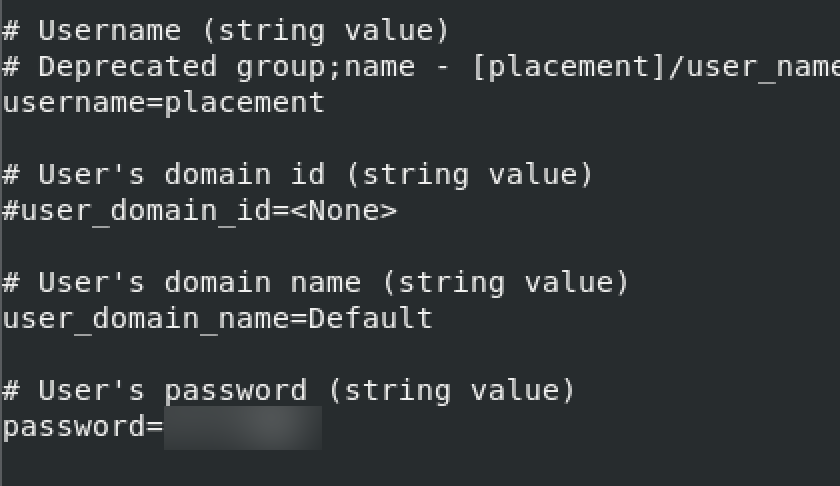
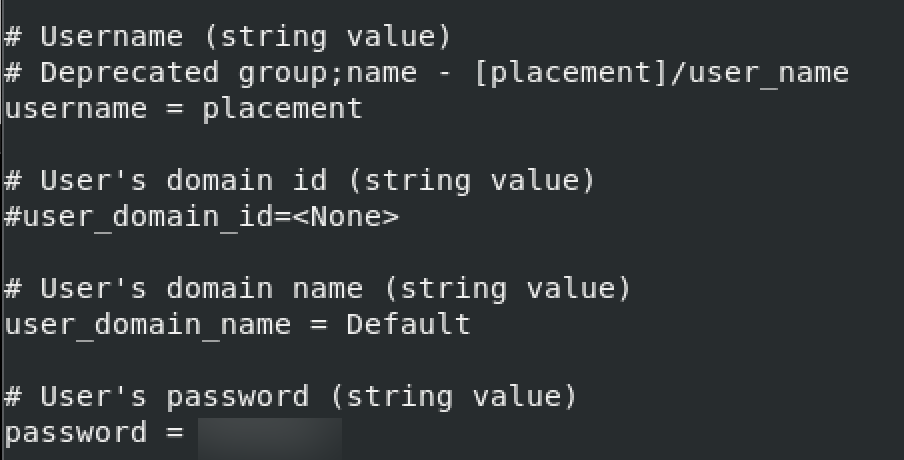
Replace PLACEMENT_PASS with you service placement user pass
[placement]
# ...
region_name = RegionOne
project_domain_name = Default
project_name = service
auth_type = password
user_domain_name = Default
auth_url = http://controller:5000/v3
username = placement
password = PLACEMENT_PASS


Populate nova-api db
su -s /bin/sh -c "nova-manage api_db sync" novaregister cell0 db
su -s /bin/sh -c "nova-manage cell_v2 map_cell0" novacreate cell1 cell
su -s /bin/sh -c "nova-manage cell_v2 create_cell --name=cell1 --verbose" novapopulate nova db
su -s /bin/sh -c "nova-manage db sync" novaVerify that cells are registered correctly
su -s /bin/sh -c "nova-manage cell_v2 list_cells" nova
Finalize install
sudo systemctl enable \
    openstack-nova-api.service \
    openstack-nova-scheduler.service \
    openstack-nova-conductor.service \
    openstack-nova-novncproxy.service
sudo systemctl start \
    openstack-nova-api.service \
    openstack-nova-scheduler.service \
    openstack-nova-conductor.service \
    openstack-nova-novncproxy.service
I was not able to start openstack-nova-api.service
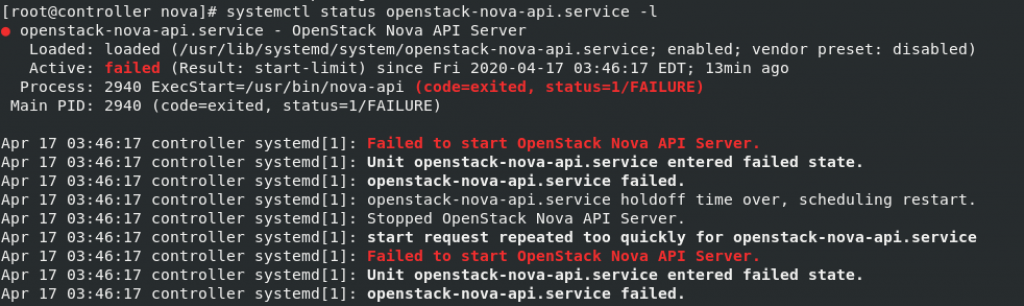
Service started after I changed auth_uri to auth_url in [keystone_authtoken] section of config file. I originally left it as auth_uri since I thought it is updated value, but in the end it is just incorrect. Issue was quickly resolved by looking into /var/log/nova/nova-api.log and correcting the problem.
At last, optionally some firewall and SELinux commands
sudo firewall-cmd --add-port={6080/tcp,6081/tcp,6082/tcp,8774/tcp,8775/tcp,8778/tcp} --permanent

sudo firewall-cmd --add-port=5900-5999/tcp --permanent

sudo firewall-cmd --reload


semanage port -a -t http_port_t -p tcp 8778
semanage port -a -t http_port_t -p tcp 8774
Now, to the second part
Install and configure Compute Node
This part is done on the Compute Node of the LAB. A little bit of c/p from OpenStack documentation – The service supports several hypervisors to deploy instances or virtual machines (VMs). For simplicity, this configuration uses the Quick EMUlator (QEMU) hypervisor with the kernel-based VM (KVM) extension on compute nodes that support hardware acceleration for virtual machines. On legacy hardware, this configuration uses the generic QEMU hypervisor. You can follow these instructions with minor modifications to horizontally scale your environment with additional compute nodes.
I’m doing this part on VMware Fusion, so, before we dive into installation, make sure that under your VM settings, under Processors & Memory | expand Advanced options and “Enable hypervisor applications in this virtual machine”
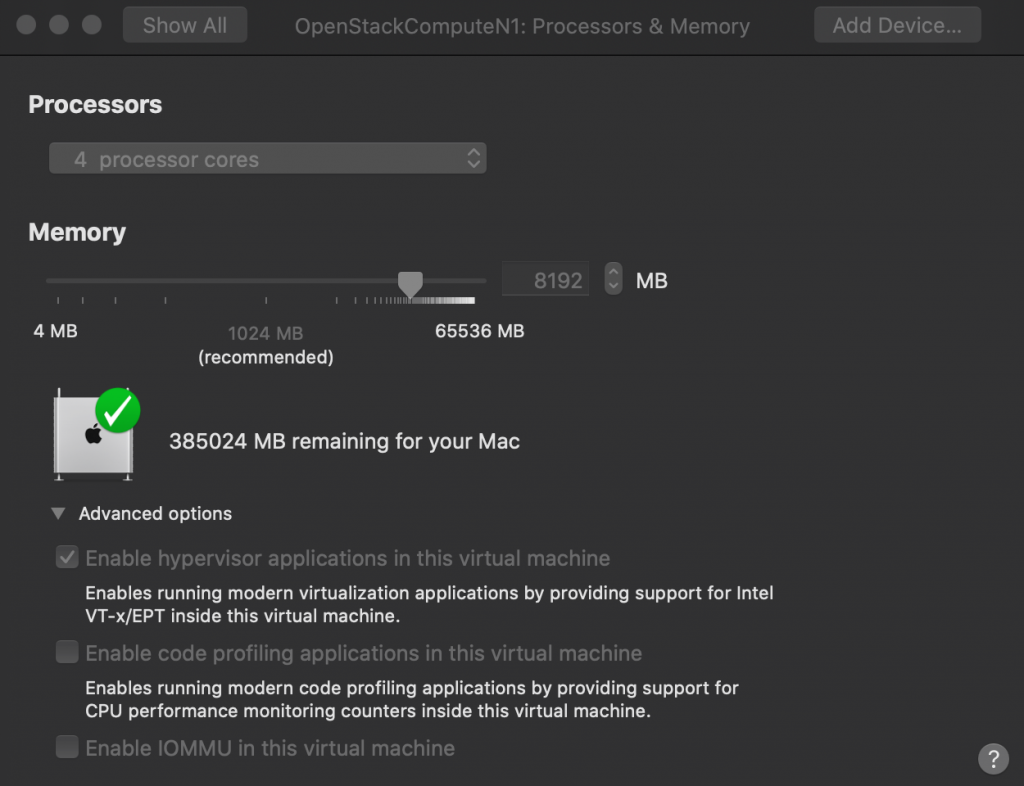
If you are using virtualization on some other platform, make sure you enable nested virtualization.
Installation
sudo yum install openstack-nova-computeNext step will be some editing again – /etc/nova/nova.conf, but this time on Compute node.
sudo vi /etc/nova/nova.confDefault section
[DEFAULT]
# ...
enabled_apis = osapi_compute,metadata
Default – RabbitMQ. Change RABBIT_PASS to the rabbit pass you defined.
[DEFAULT]
# ...
transport_url = rabbit://openstack:RABBIT_PASS@controller
api and keystone_authtoken. Change NOVA_PASS with your nova service account pass.
[api]
# ...
auth_strategy = keystone

[keystone_authtoken]
# ...
www_authenticate_uri = http://controller:5000/
auth_url = http://controller:5000/
memcached_servers = controller:11211
auth_type = password
project_domain_name = Default
user_domain_name = Default
project_name = service
username = nova
password = NOVA_PASS
!!! Again in keystone_authtoken, value auth_uri has to be changed to auth_url.


Add the rest of the values hat are missing by default in keystone_authtoken to the bottom of the keystone_authtoken section.
Default – my_ip section. Replace MANAGEMENT_INTERFACE_IP_ADDRESS with the IP address of the management network interface on your compute node. Mine is 10.0.0.31.
[DEFAULT]
# ...
my_ip = MANAGEMENT_INTERFACE_IP_ADDRESS
Default – networking
[DEFAULT]
# ...
use_neutron = true
firewall_driver = nova.virt.firewall.NoopFirewallDriver

vnc
[vnc]
# ...
enabled = true
server_listen = 0.0.0.0
server_proxyclient_address = $my_ip
novncproxy_base_url = http://controller:6080/vnc_auto.html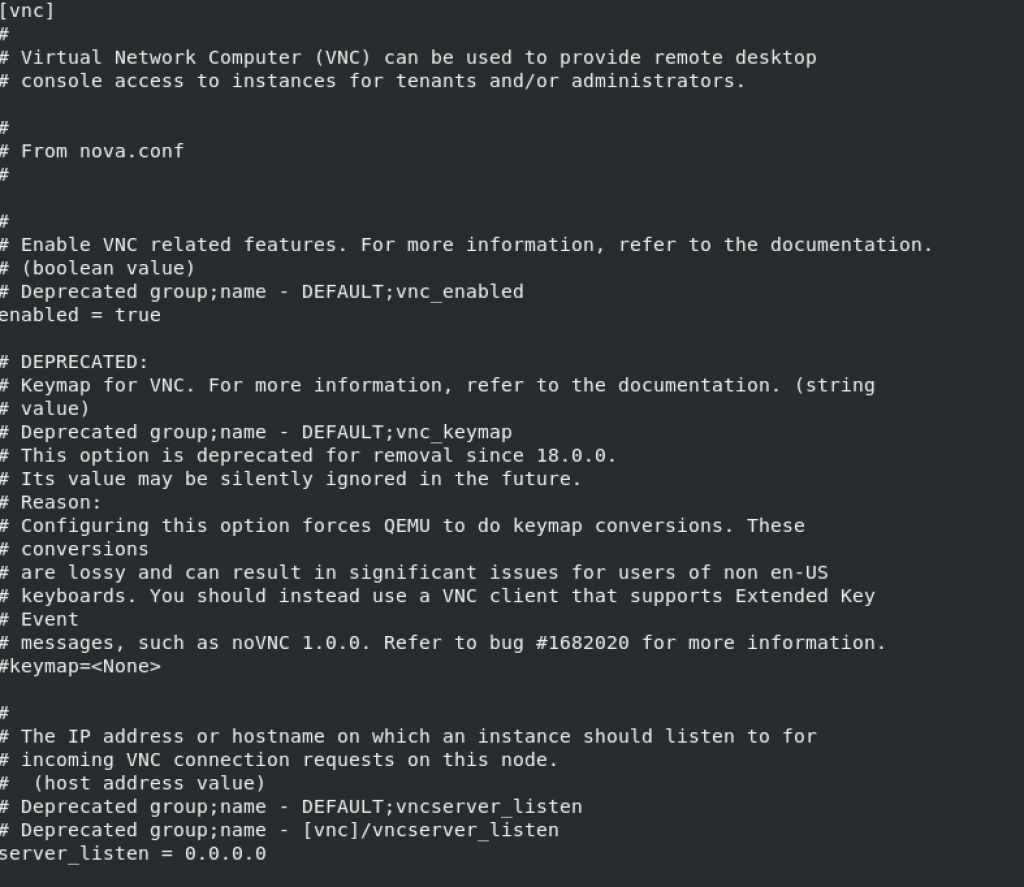


glance
[glance]
# ...
api_servers = http://controller:9292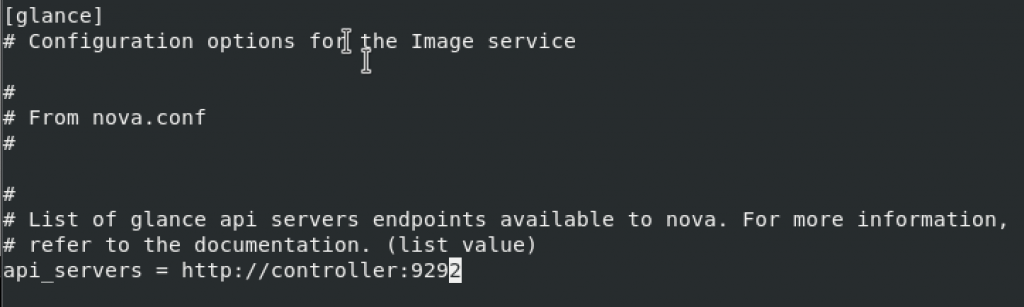
oslo_concurrency
[oslo_concurrency]
# ...
lock_path = /var/lib/nova/tmp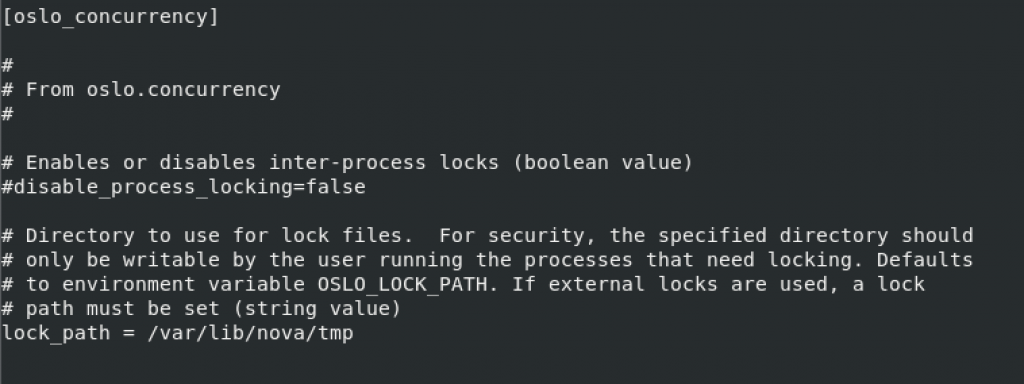
placement – Replace PLACEMENT_PASS with your placement service account created earlier.
[placement]
# ...
region_name = RegionOne
project_domain_name = Default
project_name = service
auth_type = password
user_domain_name = Default
auth_url = http://controller:5000/v3
username = placement
password = PLACEMENT_PASS


Finalize installation
We need to determine whether compute node supports hardware acceleration
egrep -c '(vmx|svm)' /proc/cpuinfoIf this command returns a value of one or greater, your compute node supports hardware acceleration which typically requires no additional configuration.
In my case, value is 4, so I don’t need additional configuration.

Now, this part is for you who got zero when this command was executed. No need to do this if you got value greater than zero.
c/p from OpenStack documentation – https://docs.openstack.org/nova/train/install/compute-install-rdo.html
_____________________
If this command returns a value of zero, your compute node does not support hardware acceleration and you must configure libvirt to use QEMU instead of KVM.
Edit the [libvirt] section in the /etc/nova/nova.conf file as follows:
[libvirt]
# ...
virt_type = qemu
_____________________
Enable and start services
sudo systemctl enable libvirtd.service openstack-nova-compute.service
sudo systemctl start libvirtd.service openstack-nova-compute.service
In case nova-compute service fails to start check /var/log/nova/nova-compute.log. If you get error 5672 is unreachable, open firewall port for 5672 on controller node (I covered that during installation part)
Add compute node to the cell database
This step is done on controller node.
. admin-openrc

or if you done previos parts with my tutorials

. admin-openrc.sh
We need to confirm that we have compute hosts in database
openstack compute service list --service nova-compute
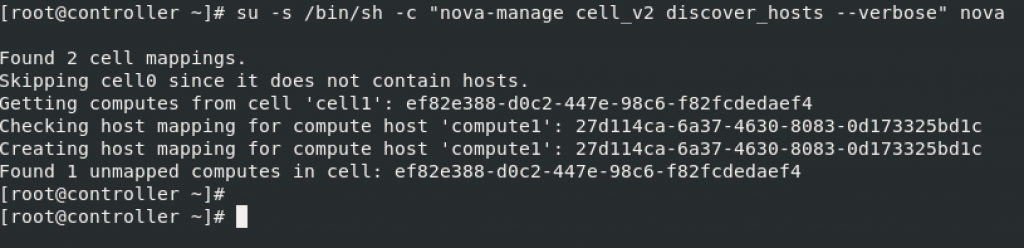
Discover compute hosts
su -s /bin/sh -c "nova-manage cell_v2 discover_hosts --verbose" nova
When you add new compute nodes, you must run nova-manage cell_v2 discover_hosts on the controller node to register those new compute nodes. Alternatively, you can set an appropriate interval in /etc/nova/nova.conf:
[scheduler]
discover_hosts_in_cells_interval = 300
Verify Operation
We will do this from controller node
Again, first admin credentials
. admin-openrc
or if you done previos parts with my tutorials
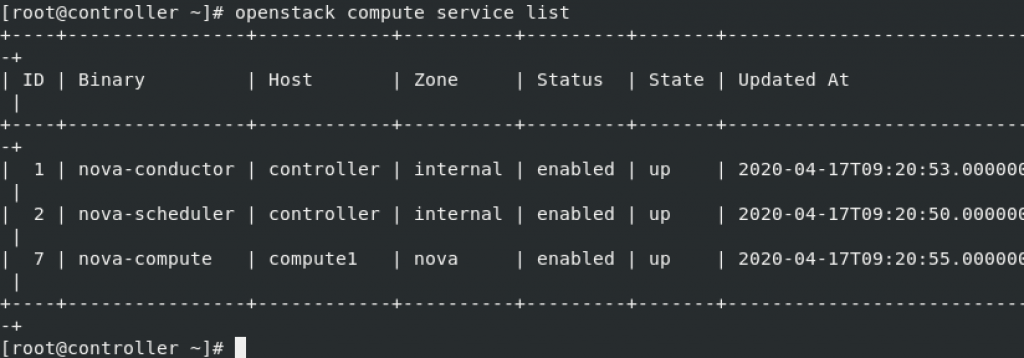
. admin-openrc.shList service components to verify successful launch and registration of each process:
openstack compute service listThis is how it should look like, two internal controller components and one compute.
List API endpoints in the Identity service to verify connectivity with the Identity service:
openstack catalog list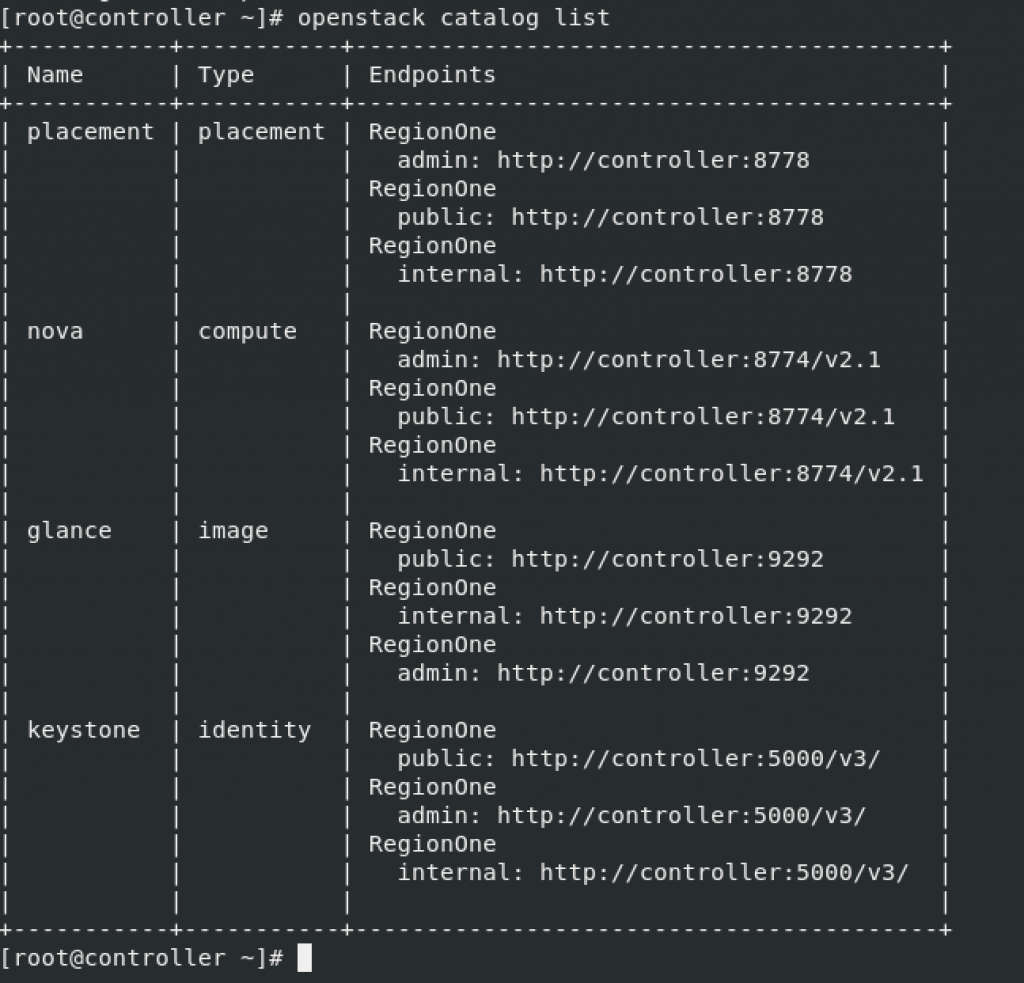
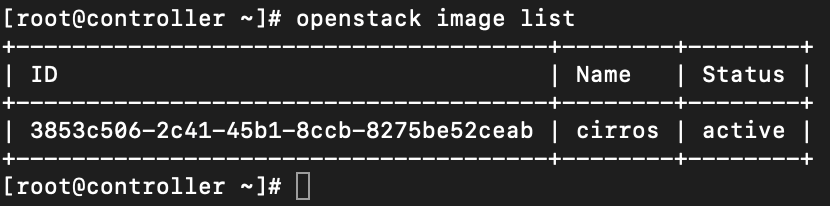
List images in the Image service to verify connectivity with the Image service
openstack image listI’m getting following – OK
If you have any problems with glance service, logs are at the /var/log/glance/api.log.
Check the cells and placement API are working successfully and that other necessary prerequisites are in place:
nova-status upgrade checkThis command was not success at first. I got 403 error.
nova-status upgrade check forbidden (HTTP 403)
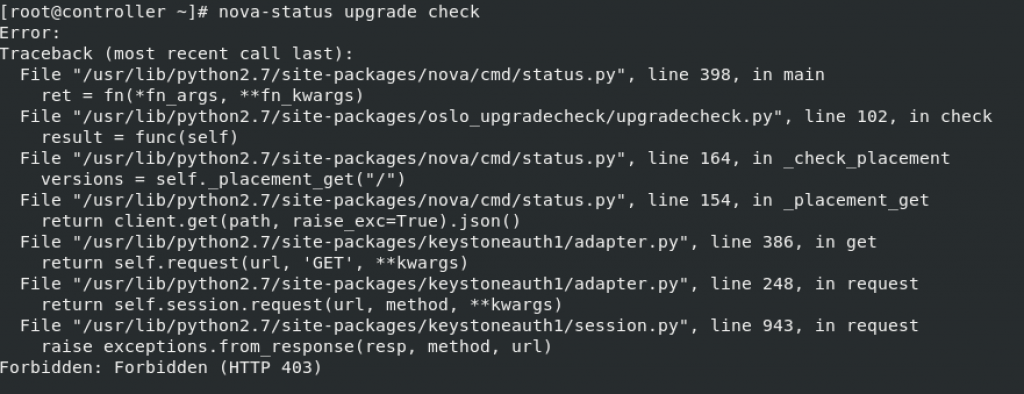
You can troubleshoot by visiting /var/log/placement/placement.log
This error is specific to CentOS / RHEL installations. Solution was part of tutorial for Queen release, but since then it disappeared from installation tutorials, but is still needed even on Train.
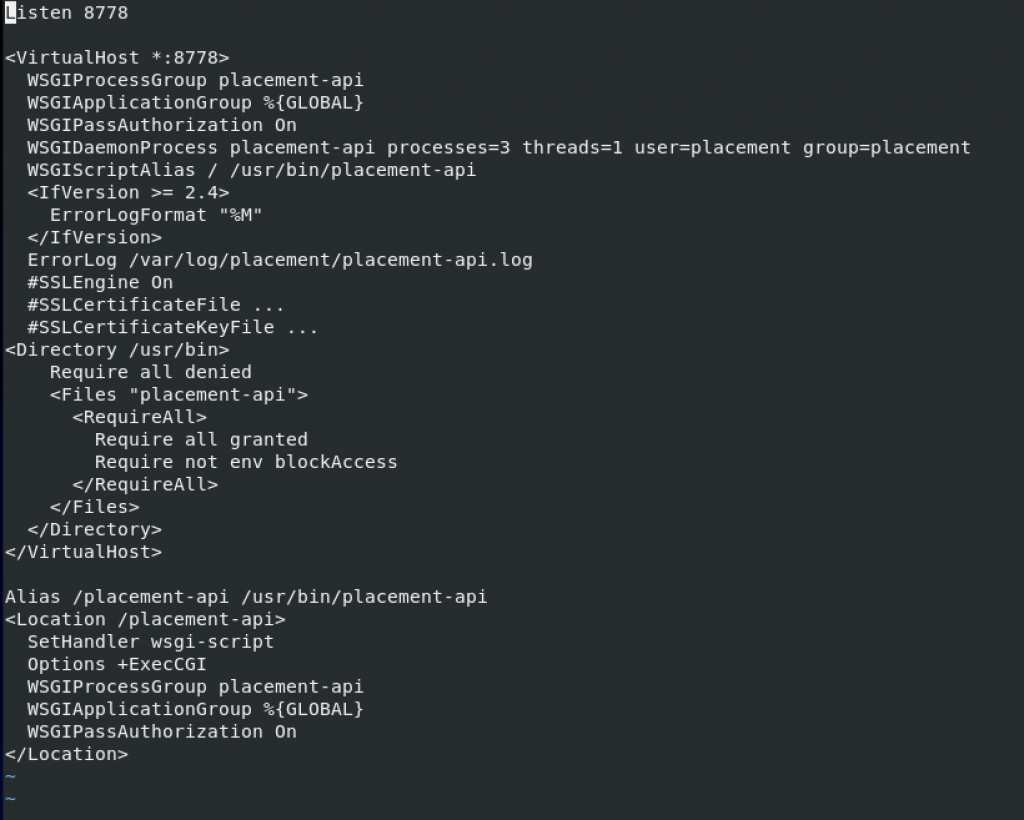
To resolve it we need to edit httpd file
sudo vi /etc/httpd/conf.d/00-placement-api.confIn section just above </VirtualHost> add following
Version 1 – more restrictive (good for security)
<Directory /usr/bin>
    Require all denied
    <Files "placement-api">
      <RequireAll>
        Require all granted
        Require not env blockAccess
      </RequireAll>
    </Files>
  </Directory>
So, the file will look like this in the end. Save it and exit
There is a second more relaxed version you can use in your httpd. It is really up to you. Don’t use both, select only one and enter into your file.
<Directory /usr/bin>
    <IfVersion >= 2.4>
        Require all granted
    </IfVersion>
    <IfVersion < 2.4>
        Order allow,deny
        Allow from all
    </IfVersion>
</Directory>
Restart httpd service
sudo systemctl restart httpdAlso, make sure that in the /etc/placement/placement.conf under keystone_authtoken section your auth_url is named – auth_url, not auth_uri. auth_uri is wrong, and you will get error 500 after this one.
Ok, so after this alteration – one more check
Success!!!

Next will be networking service – neutron