Ok, so we created DAG for Exchange and we now have Database HA/Redundancy for our Exchange server. In this guide we are going to make our OWA and Autodiscovery Highly Available in a specific way – through ARR.
This isn’t mandatory, you can make you OWA, Autodiscovery available in other ways, but the way I’m going to show you in this guide you will get some extra security and additional protection layer for your Exchange. In package with HA ofcourse.
Before we begin
This guide assumes you followed my previous guides in Exchange 2019 series. So, by now we have created DAG and have configured Exchange Server.
I have two Exchange Servers:
SBEx1 – 10.0.0.36
SBEx3 – 10.0.0.37
I have also Edge role server installed in DMZ on 192.168.50.3
Edge role is not mandatory, and this tutorial will work also without edge role server, but you have to make sure then that you have your mailflow redundant in some other way.
SBEx1 and SBEx3 are in DAG.
We want to make our Client Access Services (OWA and Autodiscovery) highly available, and there are a couple of ways we can do it.
Today we are going to resolve this using IIS ARR (Application Request Routing) – https://www.iis.net/downloads/microsoft/application-request-routing
Prerequisites
Both DAG servers should already have configured external links for virtual directories.
In this example I will take OWA and autodiscovery links.
OWA link https://mail.informaticar.net/owa
Autodiscovery – https://autodiscover.pismonosa.net
Your links may be different (for example owa.informaticar.net) so make sure you adapt these links to actual links you are using in your environment!!
Also make sure that you already have your wildcard certificate set for these services on both Exchange Servers.
For ARR I will install new virtual machine and put the machine into DMZ network. My ARR machine is not part of the domain.
VM ARR1 – 192.168.50.6
I’m also using DNS for ARR1 machine from my DC inside LAN (10.0.0.31). I will not go into details about DNS, but it is extremely important for ARR that it can resolve DNS of Exchange servers properly, especially since in my case ARR1 is not part of domain, but inside DMZ network.
ARR VM is based on Windows Server 2019 Standard.
Since my Exchange DAG is inside LAN – 10.0.0.xx network, I need to make sure (and you also) that port 443 can reach from DMZ to LAN and vice versa. I have HTTPS generally opened from both networks, so it is not going to be a problem.
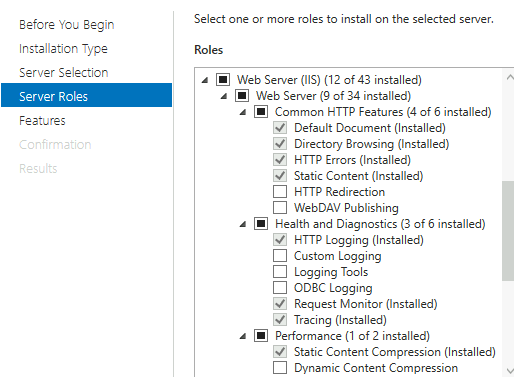
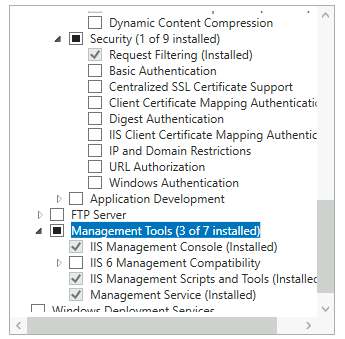
Install IIS in ARR1 machine. This is my IIS setup
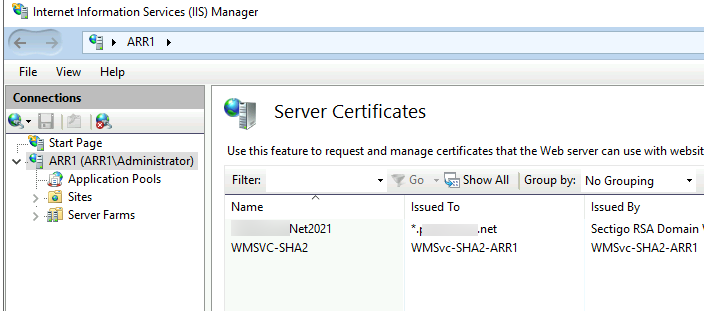
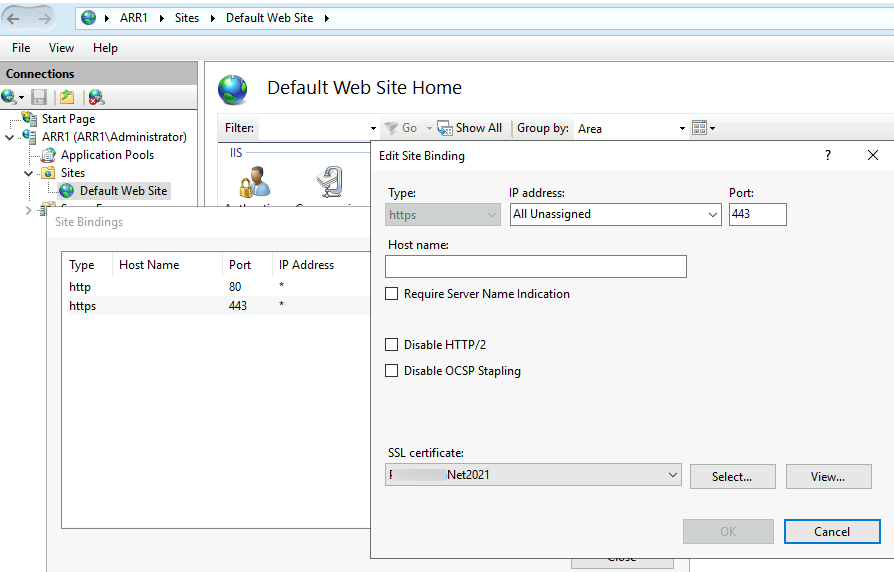
Next, make sure you imported your SSL certificate to ARR VM (same wildcard you use for your Exchange) – I’m going to import my wildcard certificate into IIS on ARR VM and make it default for port 443 on Default Web Site
Install Web Platform Installer for IIS from here:
https://www.microsoft.com/web/downloads/platform.aspx
It will make our life easier when we start this guide.
We are going to install Web Platform Installer for our installation – if for some reason you wish to install ARR other way, make sure you install URL Rewrite and External Cache first into IIS.
(For the end of the guide) On my Firewall I also created NAT rule so that mail.informaticar.net and autodiscover.informaticar.net point to the ARR1 and not to the SBEX1 or SBEX3 machine.
This firewall thing can be done in the end after you install and set ARR.
Installation
On ARR1 machine open IIS Manager, select your server name (mine is ARR1) and select Web Platform Installer from middle screen
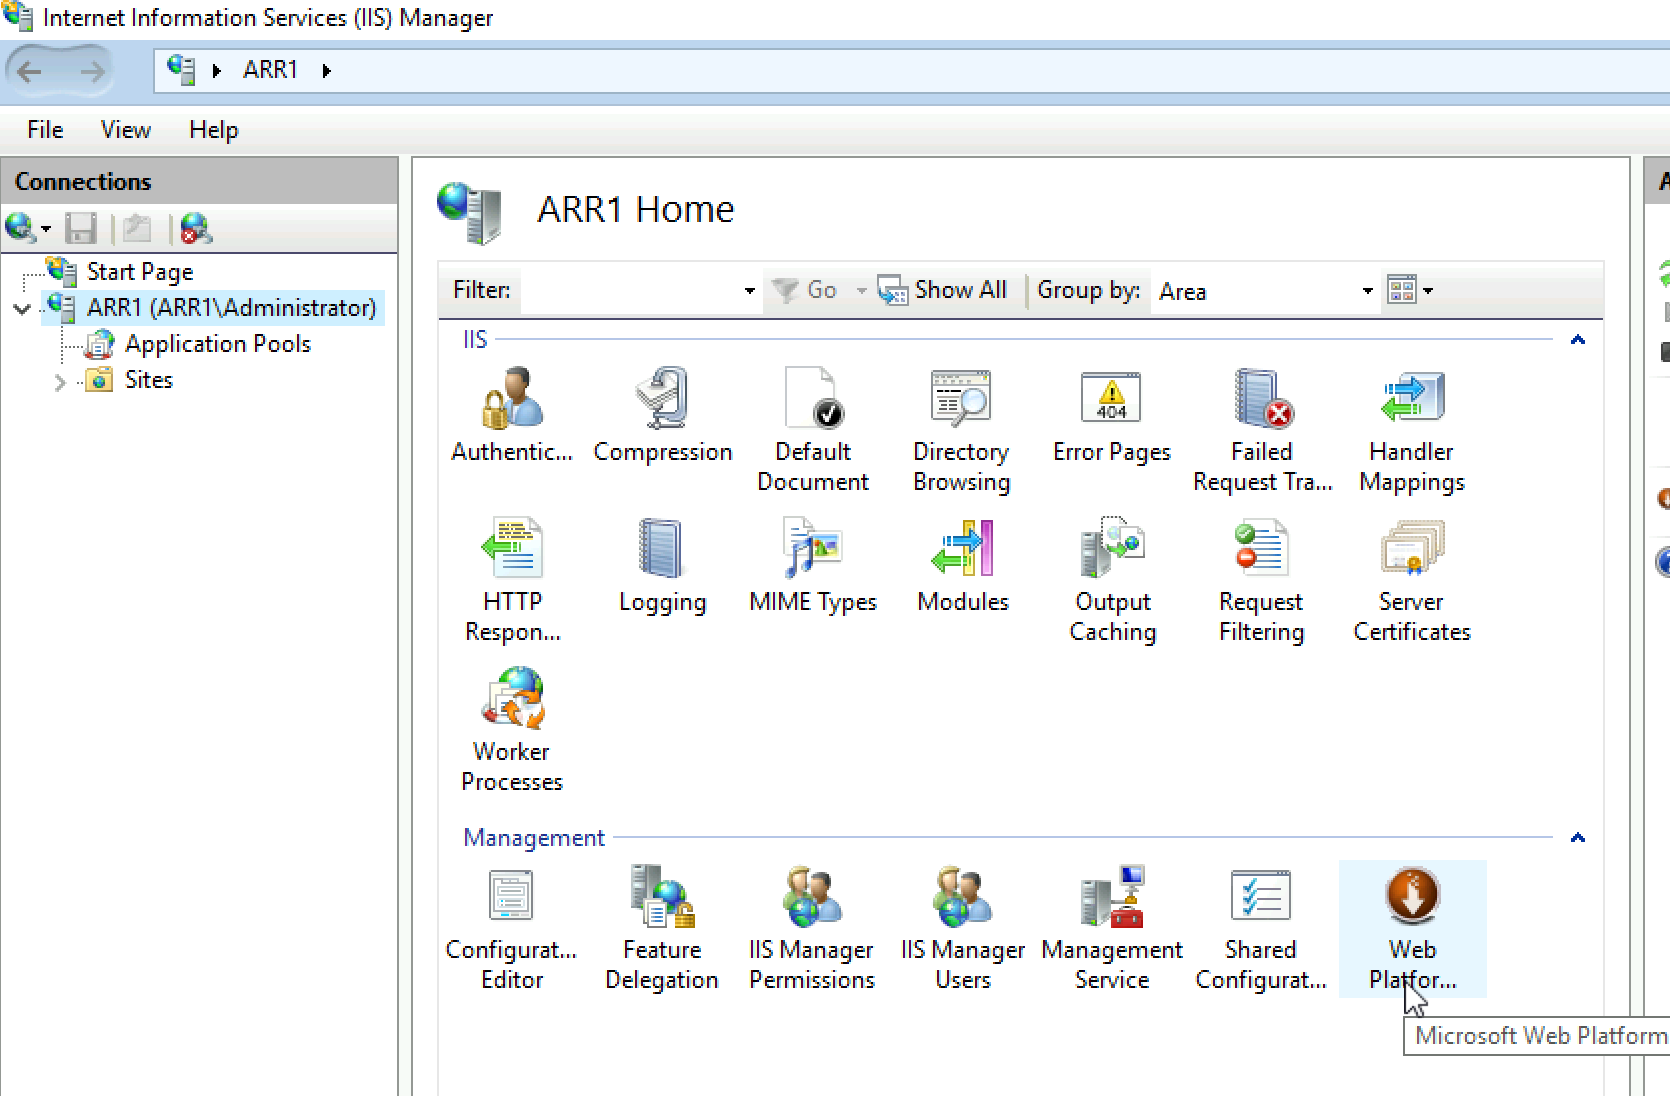
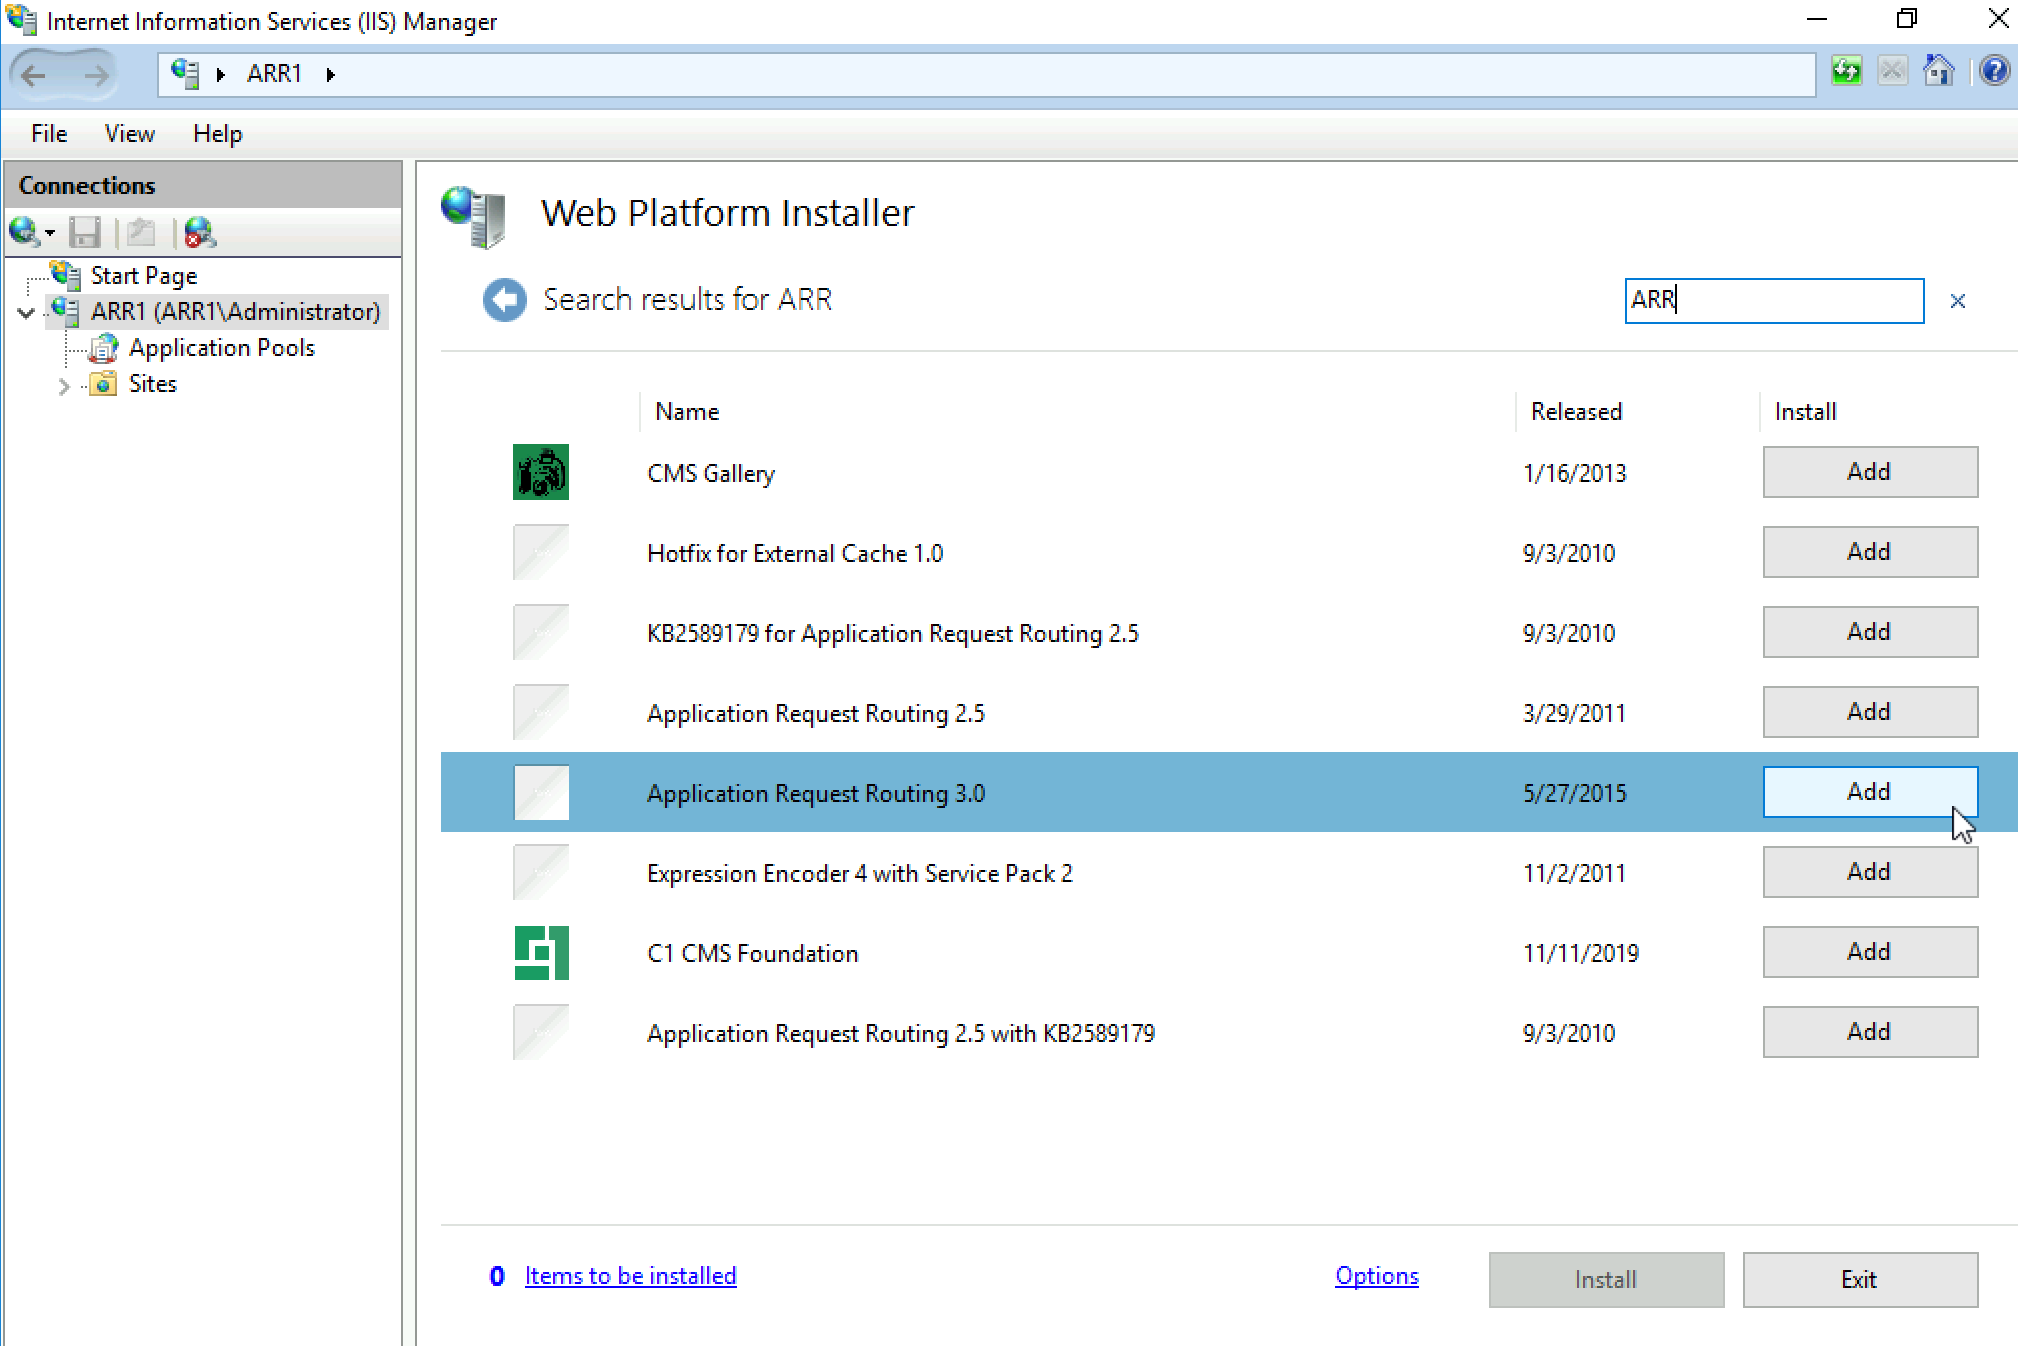
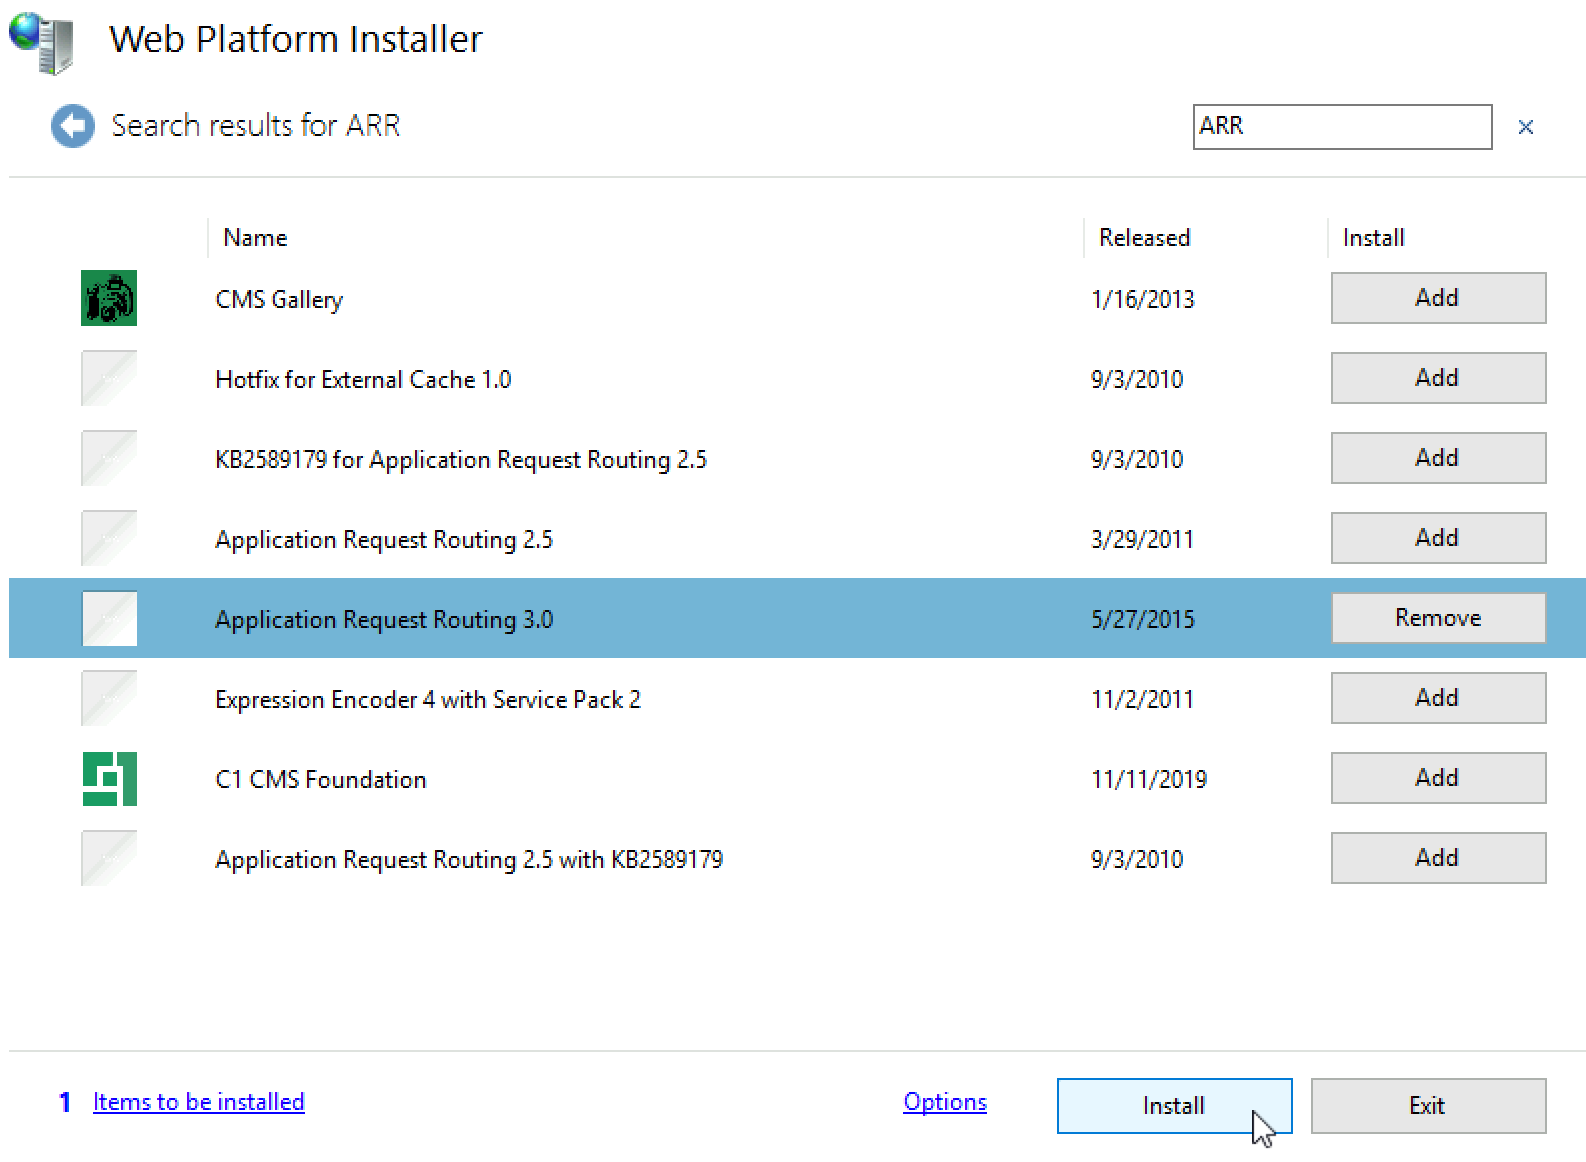
Type into search ARR and after you get some results select Application Request Routing 3.0 | Add | Install
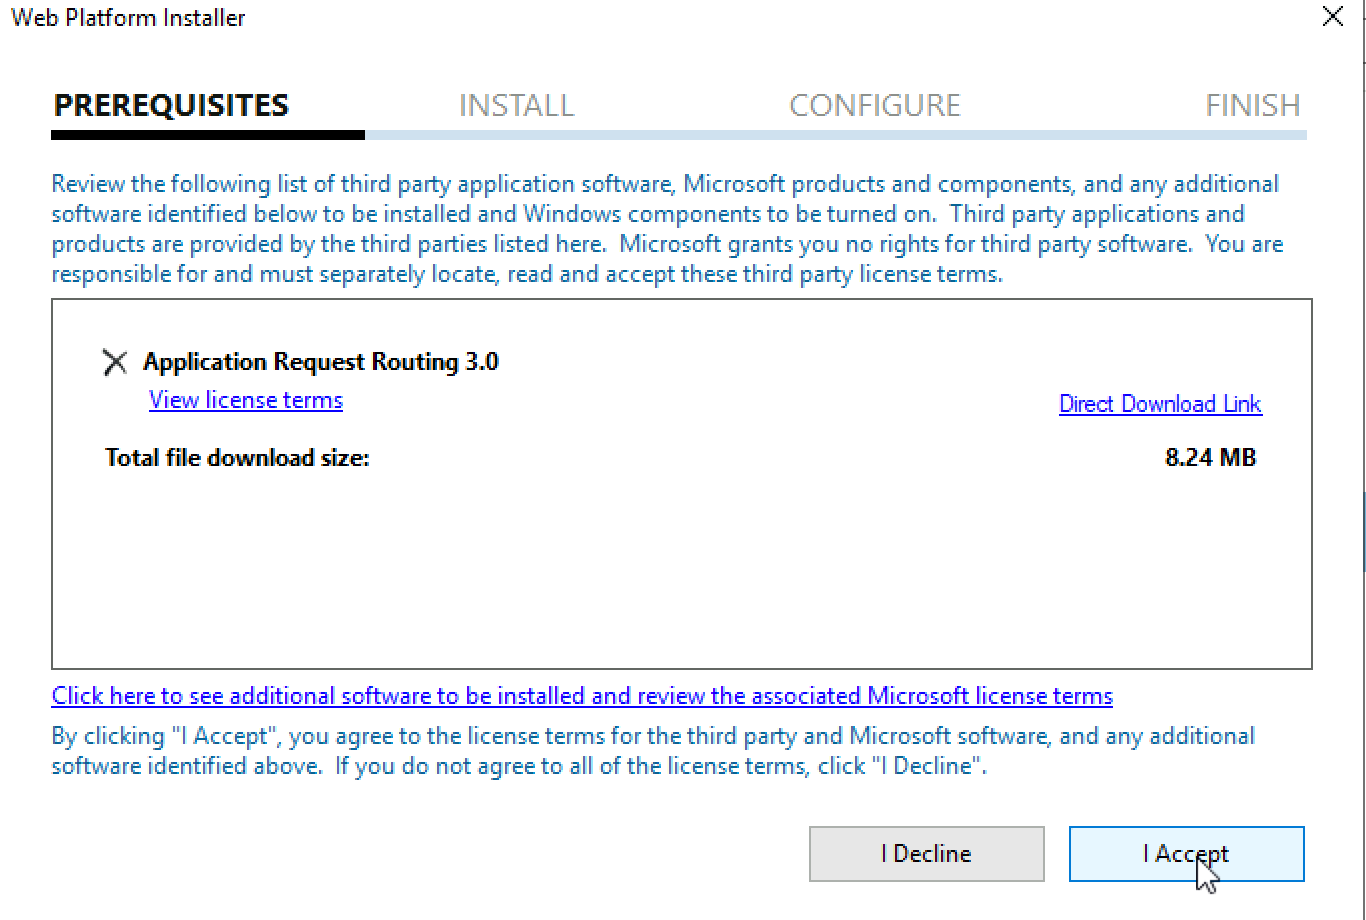
I Accept
…
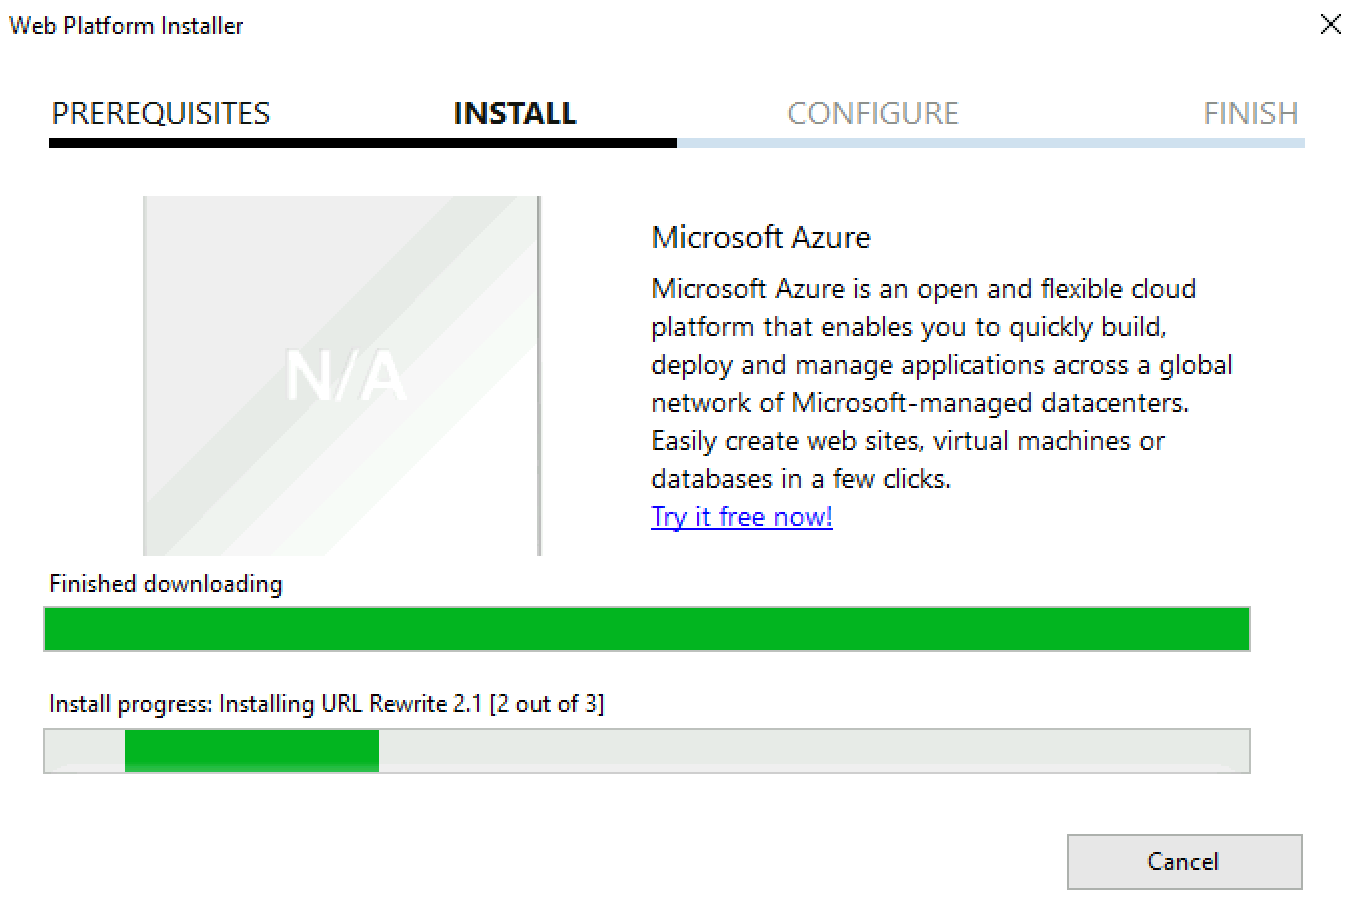
Finish
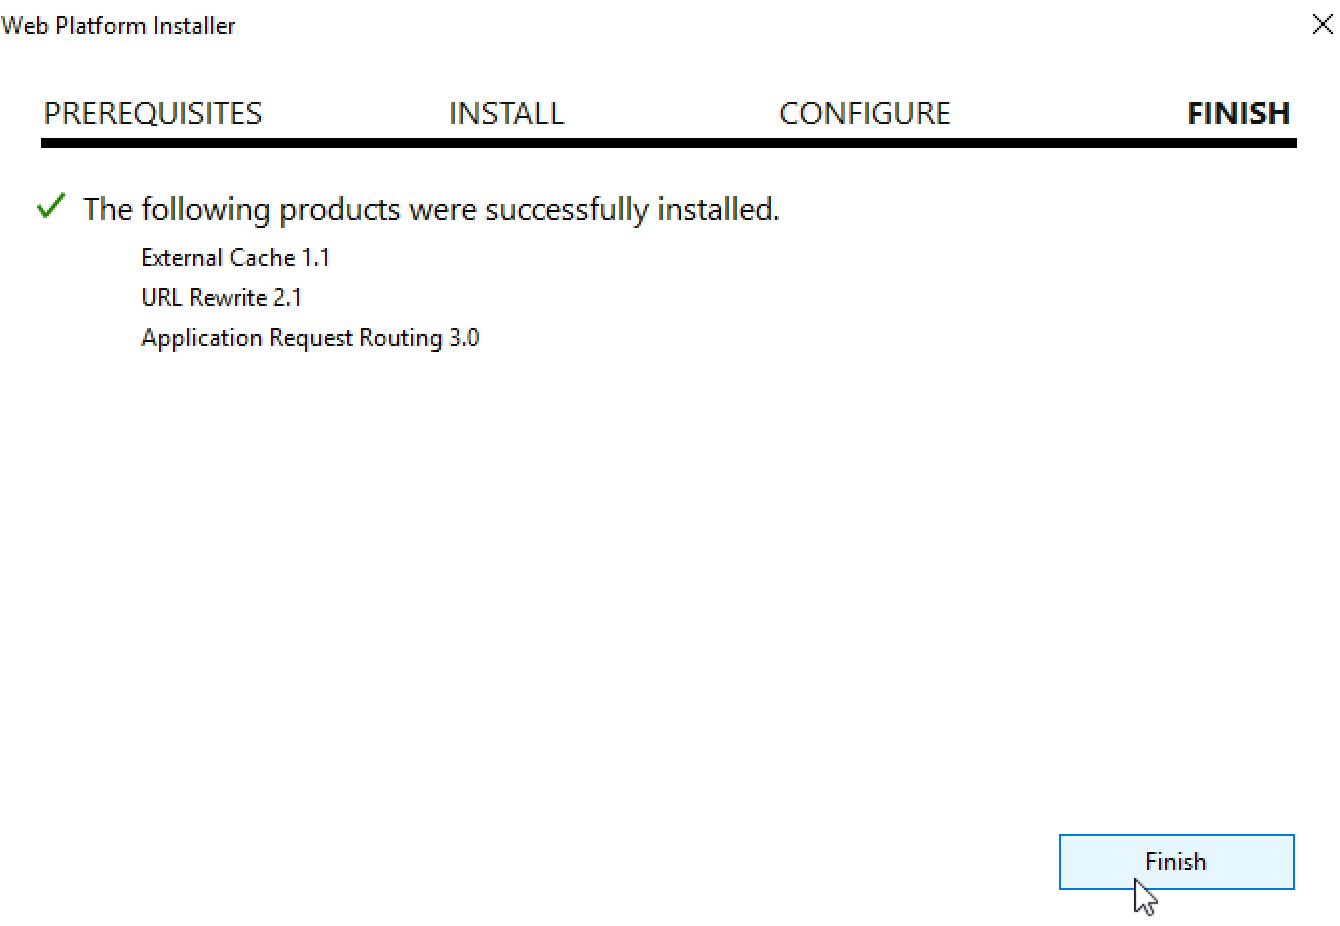
Exit Web Platform Installer.
Reboot ARR1 VM.
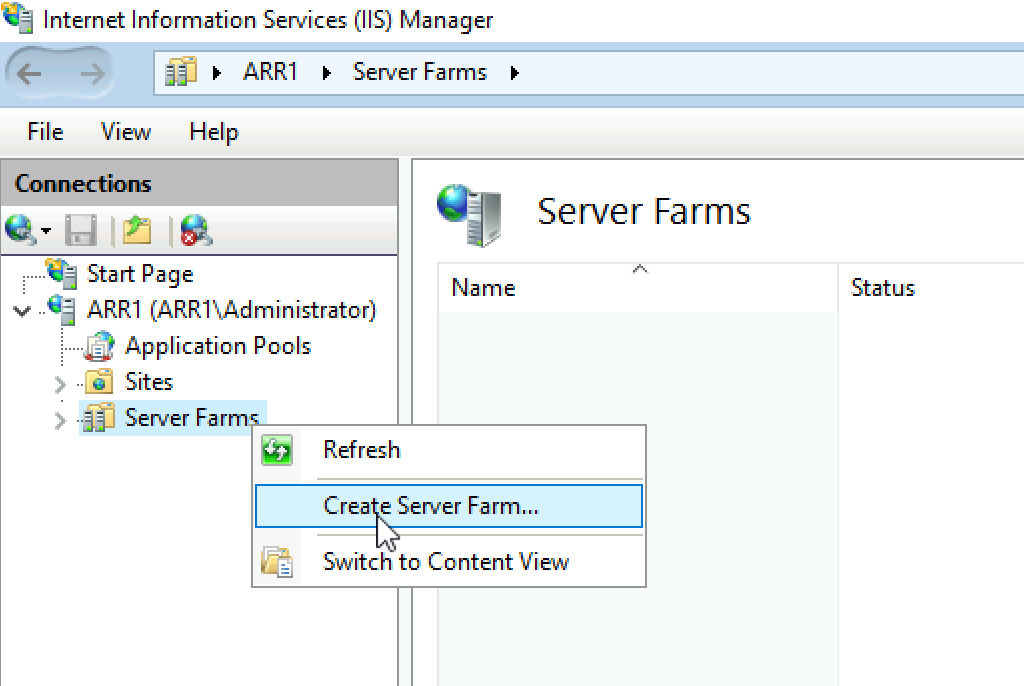
Create Server Farm
After we rebooted our ARR1 VM, we will go back to IIS Manager. You will now also have Server Farms menu. Right click on it and select “Create Server Farm”
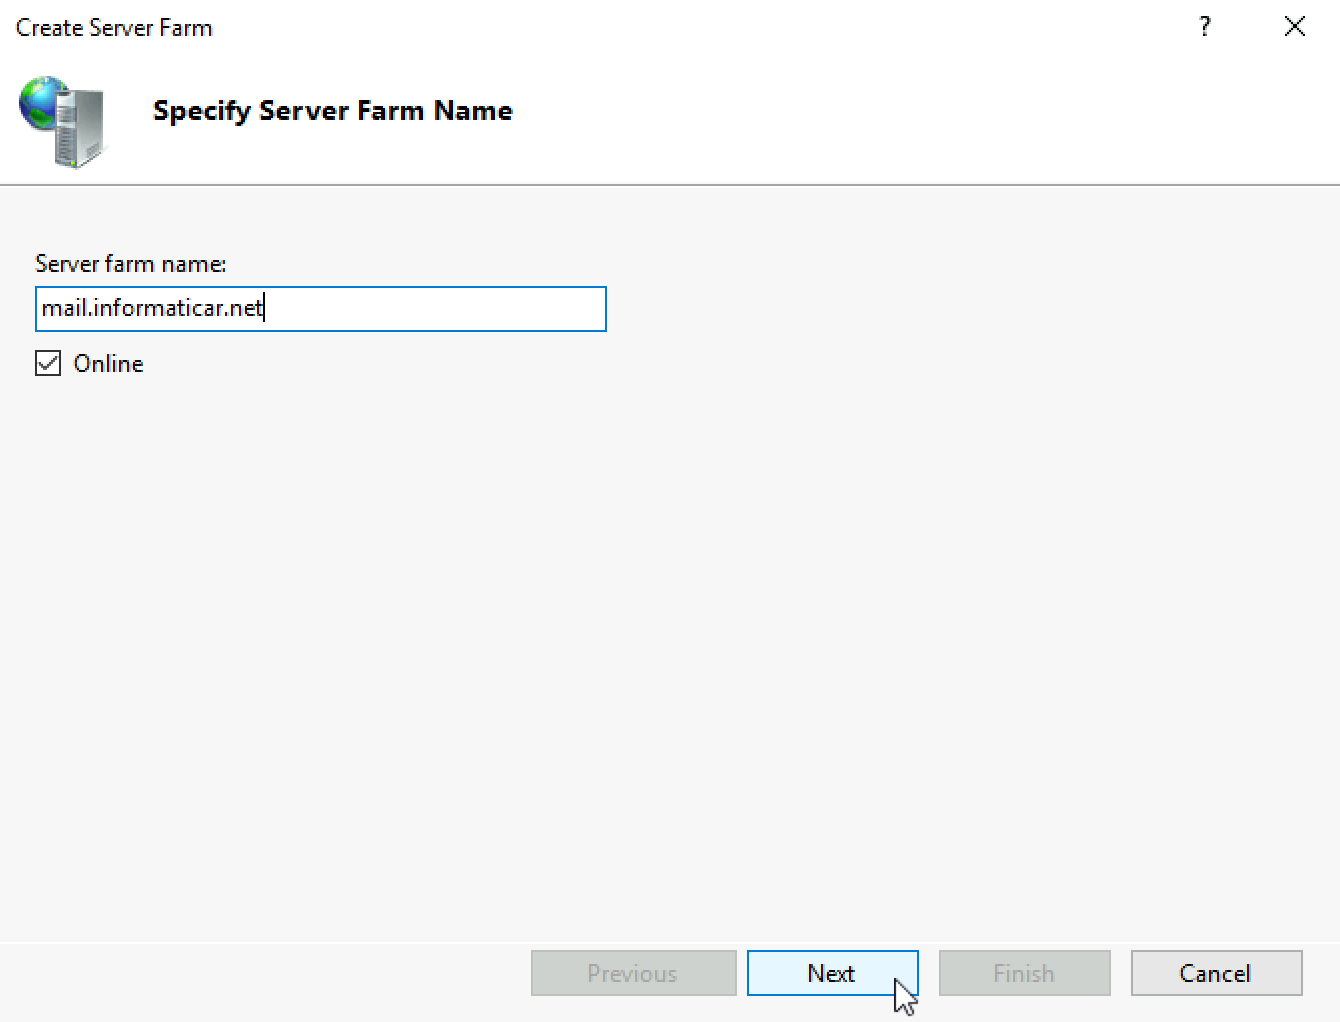
I will create server farm named mail.informaticar.net
You don’t have to name your server farm according to your domain name, you can select whatever name you like. Also, if you have many different services you want to expose, you can create additional server farms. For example, mail.informaticar.net and autodiscover.informaticar.net can be two different farms, but here we are going to put all into one.
Ok, let’s start
I will name my server farm mail.informaticar.net (of course, select name to your liking.) I will also leave Online option as default (ticked) Next
I added both of my Exchange servers to this farm – sbex1 and sbex3
After you are done with your setup, select Finish

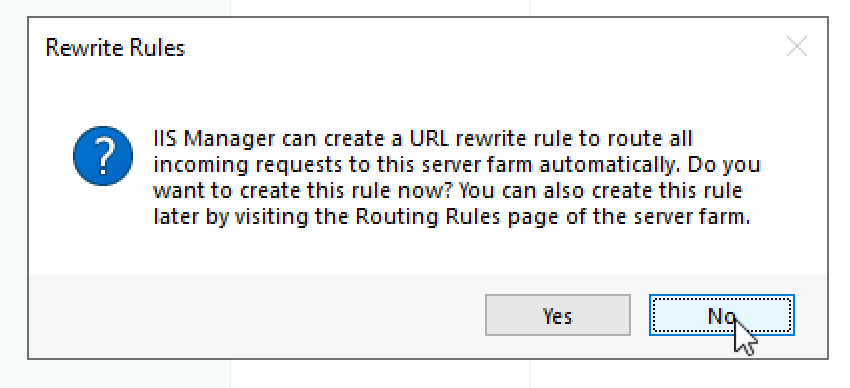
You will be asked if you like URL rewrite rule to be created automatically for you. You can go that route, but here I will select No, since we will generate our own rules.
Ok, our Server Farm is created
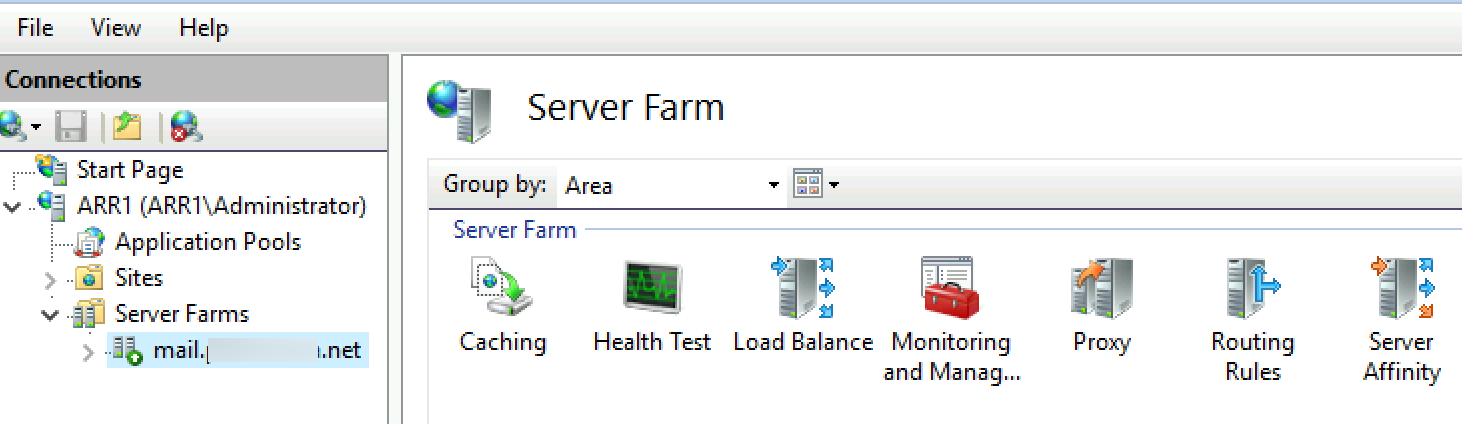
Configure Server Farm
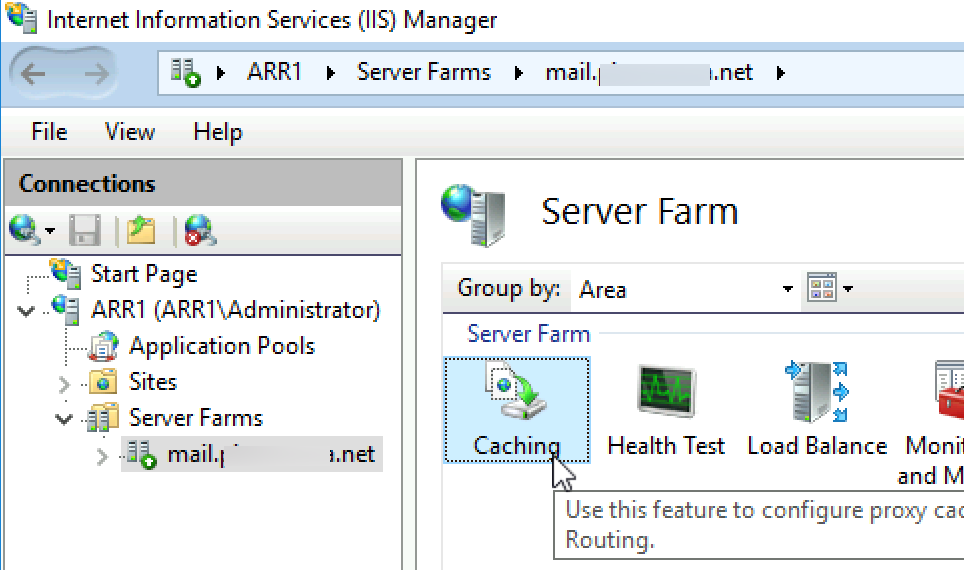
Ok, stay in IIS Manager and select your created Server Farm.
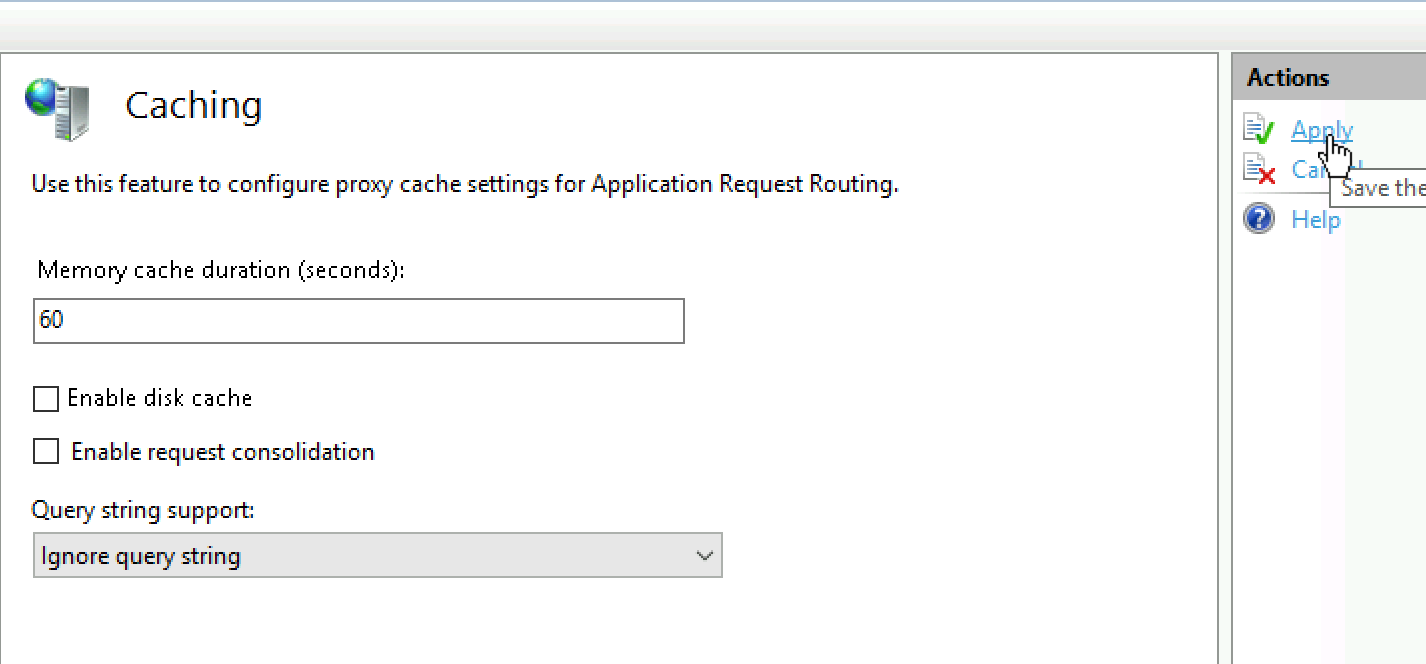
Go to Caching
Deselect “Enable disk cache” and select Apply
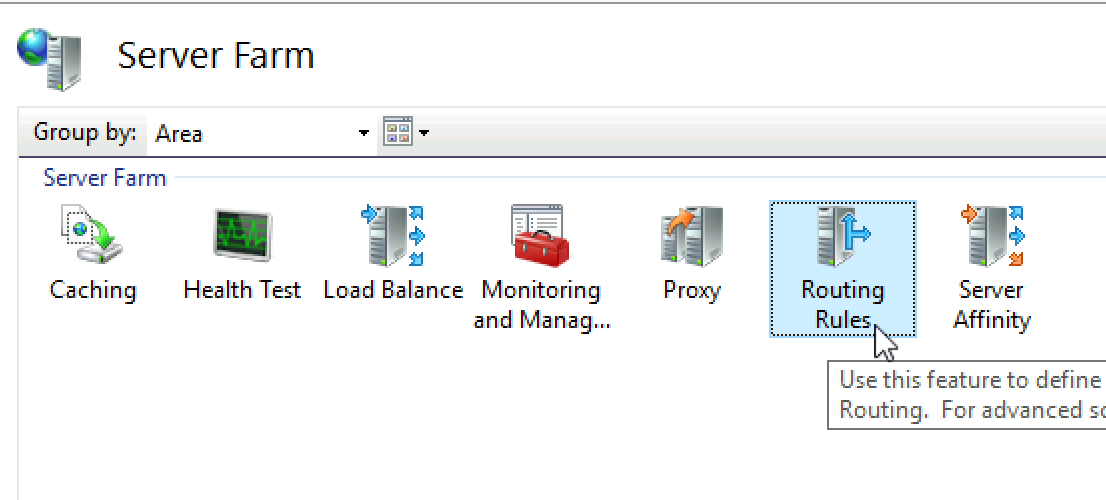
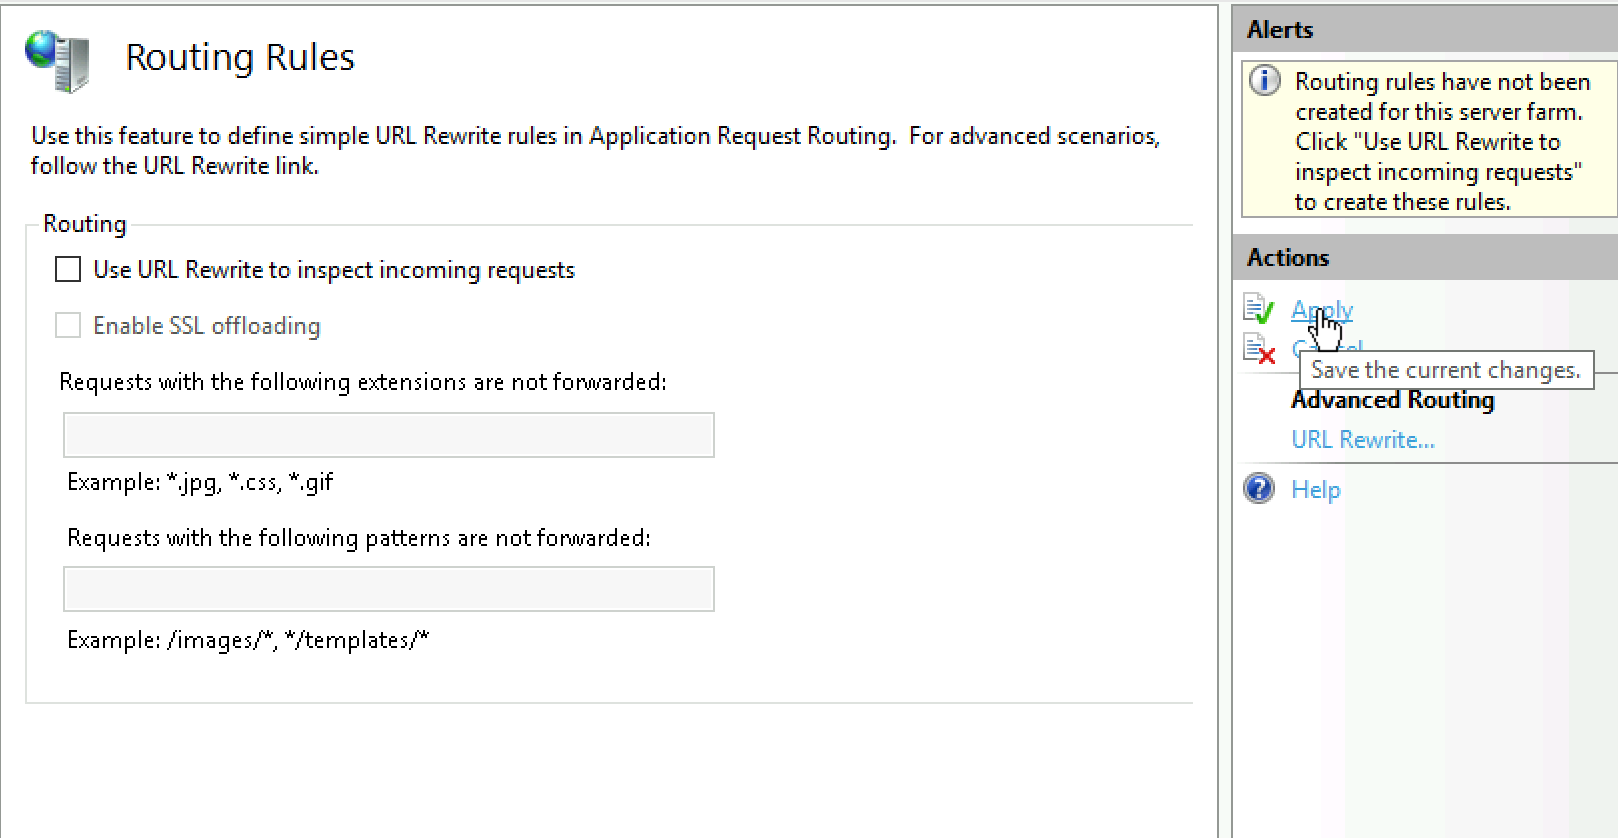
Next stop is Routing Rules
Disable SSL Ofloading. To be sure I selected/deselected everything (Enable SSL offloading will be greyed out and selected – that is ok) – Apply
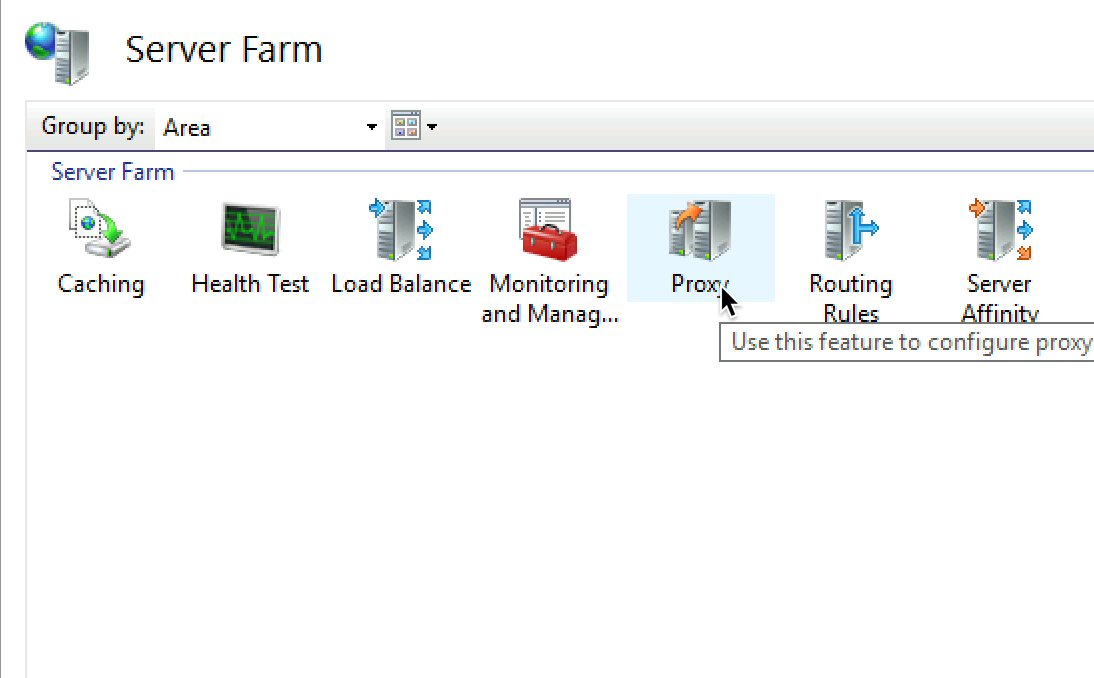
Next stop is Proxy
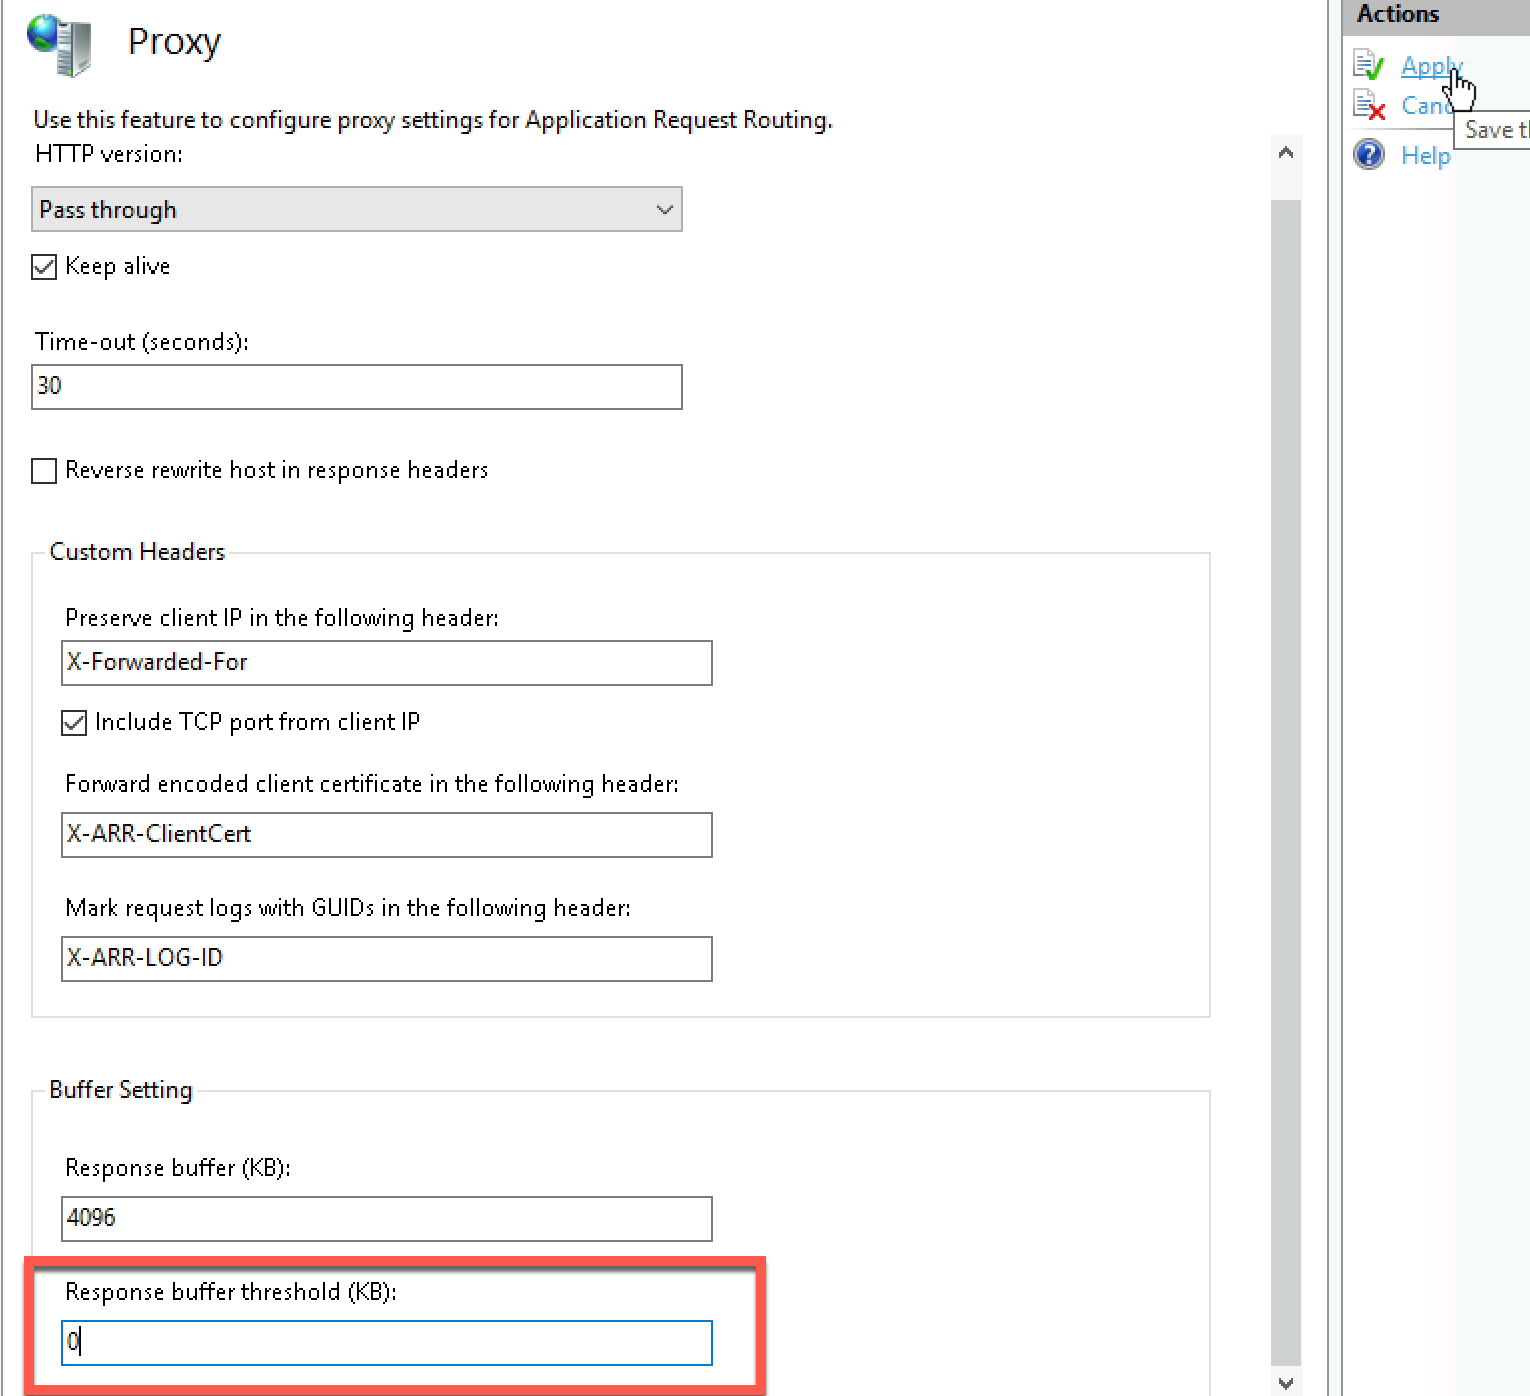
Response Buffer Threshold should be set to 0. Also you can think about changing time-out value, but I will leave it as is.
I rebooted my ARR1 VM after this (you can just restart IIS service if you wish)
Define Rewrite Rules
Last part of our journey with ARR.
We are going to create two rules
http_to_https – redirects http requests to https
Ex19 Server – will allow access to all other URLs and Autodiscover.
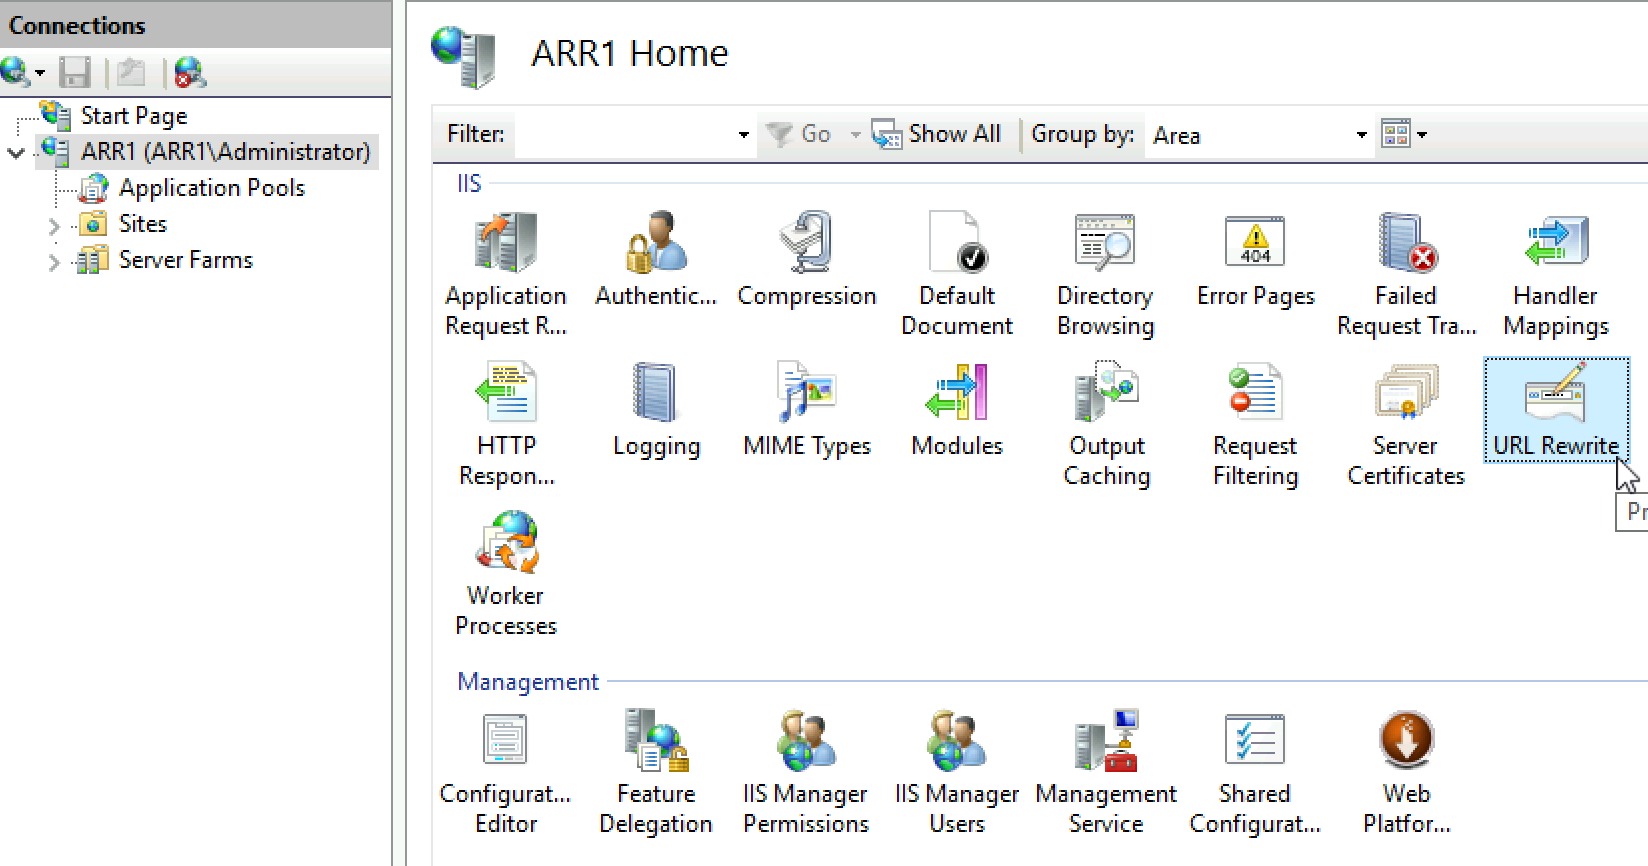
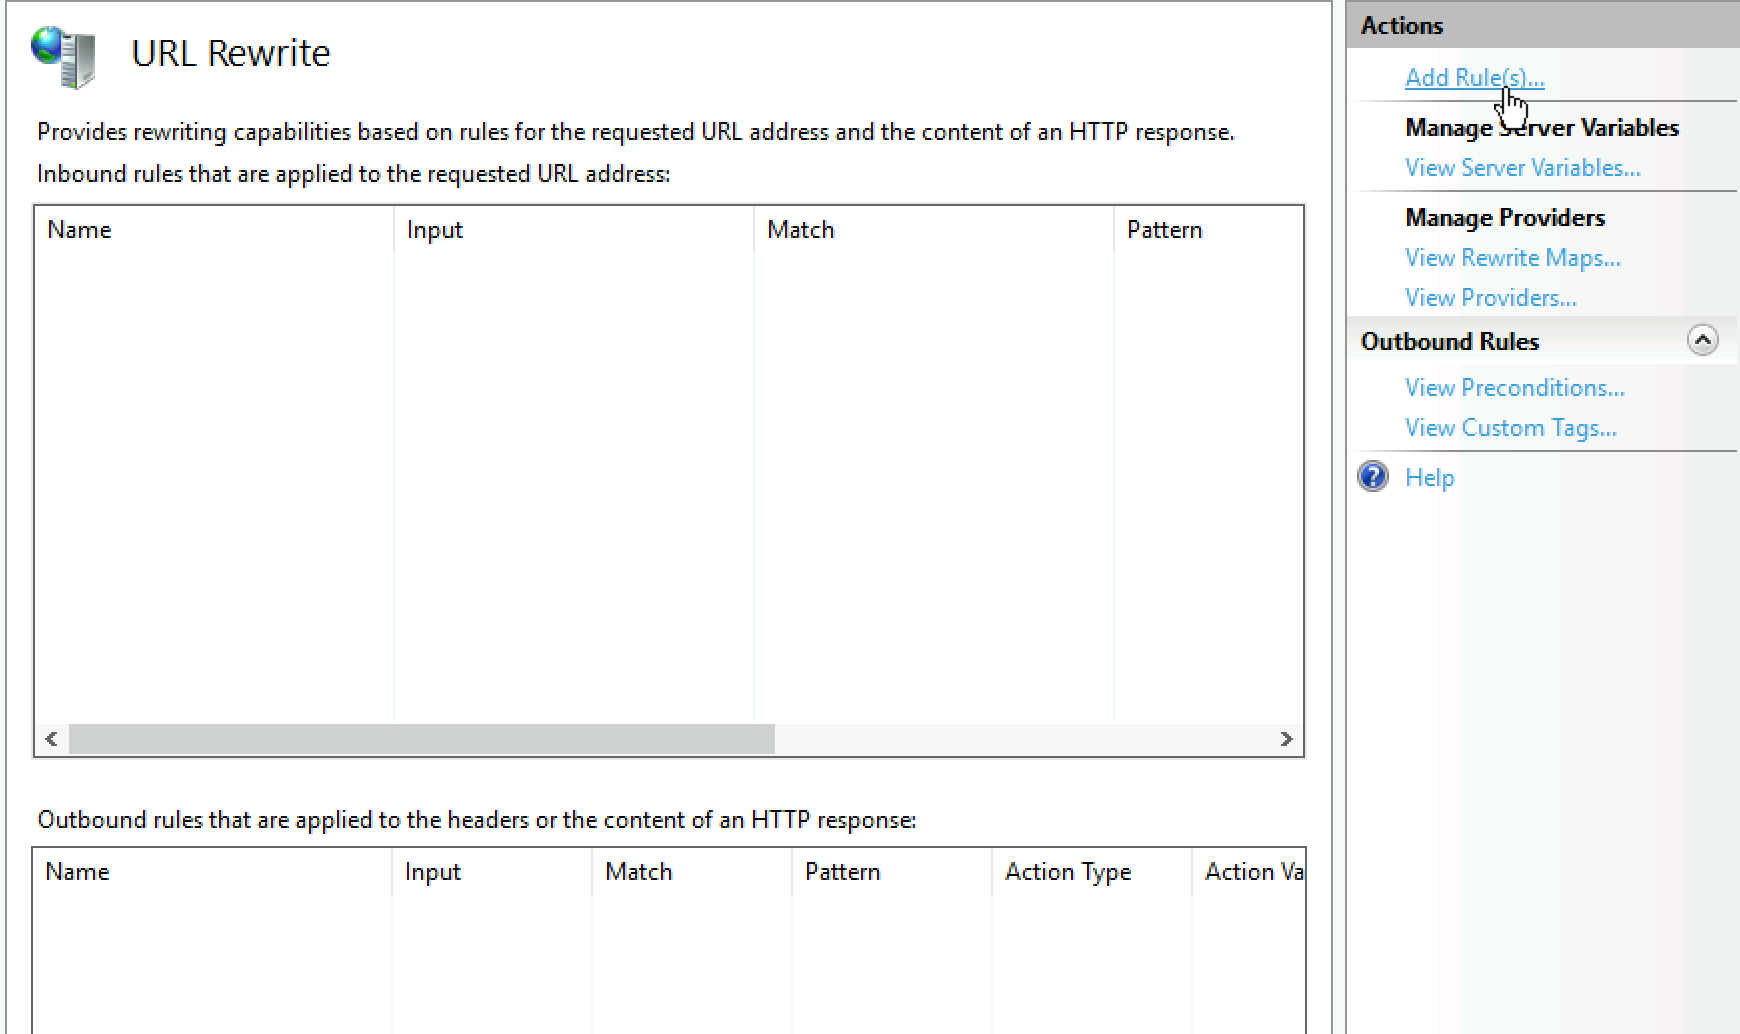
In IIS Manager select server and click to URL rewrite
Select Add Rules
Select Inbound Rules | Blank rule | OK

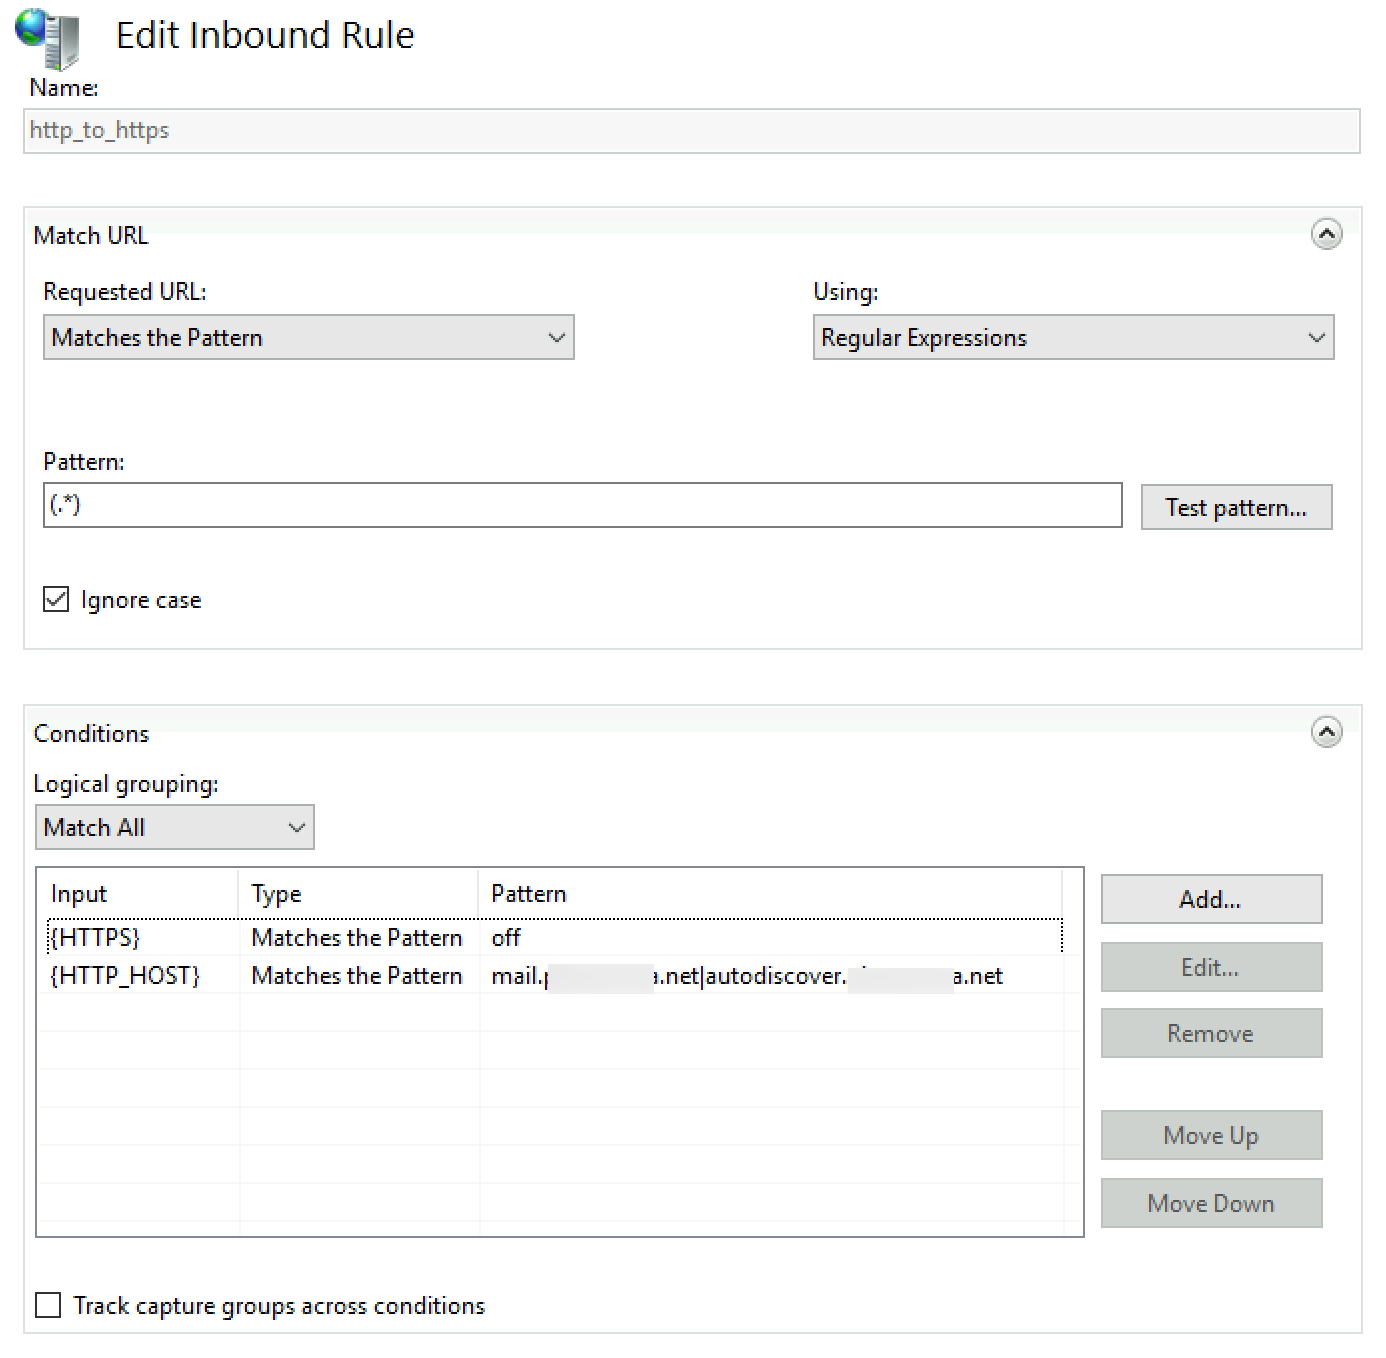
http_to_https
Pattern
(.*)Under Conditions enter
{HTTPS} off

{HTTP_HOST} mail.informaticar.net|autodiscover.informaticar.net
This is how it looks like
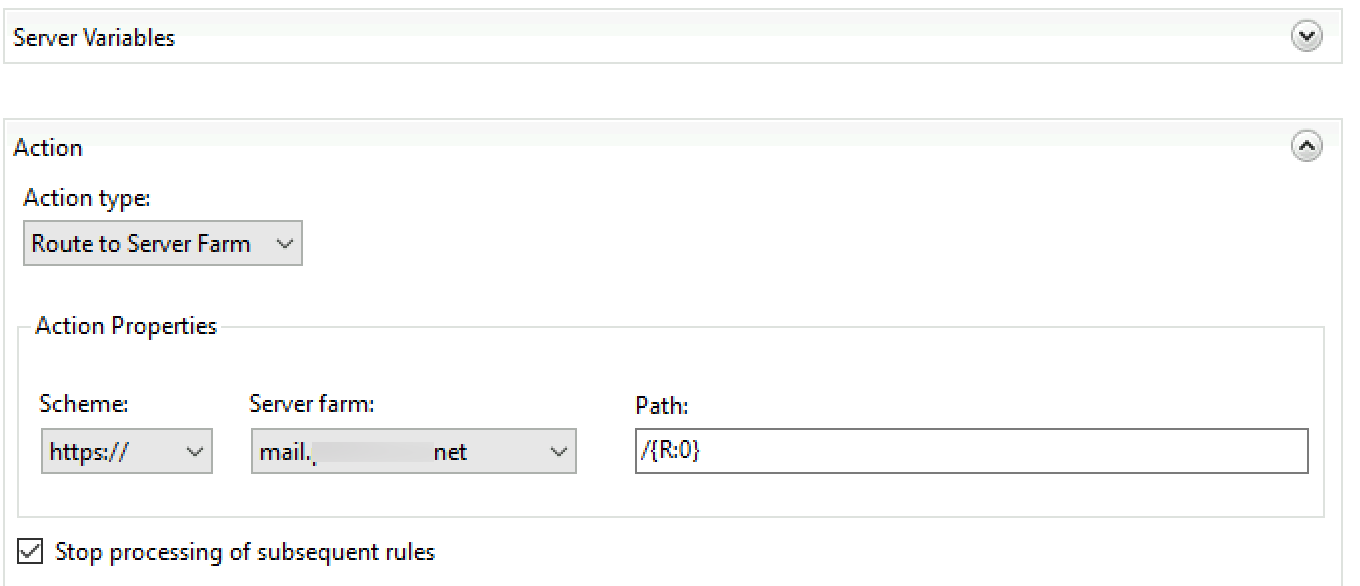
We also need to edit Action part of the screen and select Route to Server Farm from Action type. Scheme https:// | select Stop processing of subsequent rules
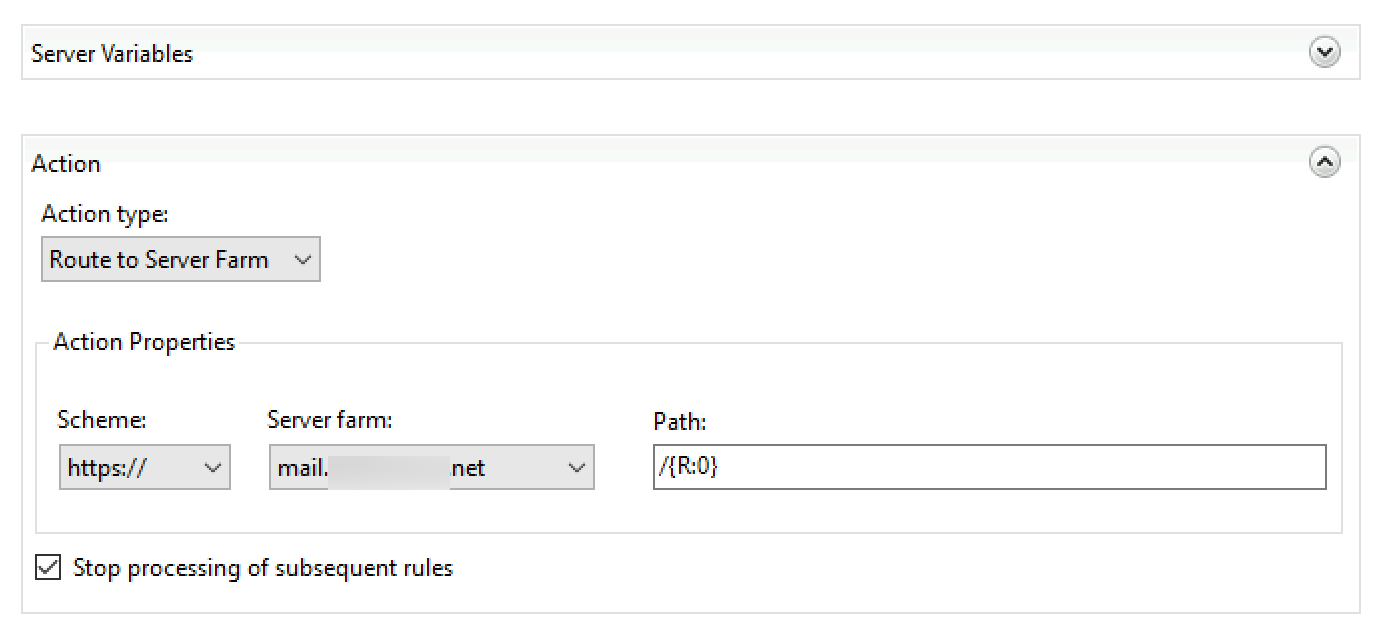
Apply | Back To Rules
Ex19 Server
Ok, again open blank inbound rewrite rule
Pattern
(.*)Conditions
{HTTPS} on
{HTTP_HOST} mail.informaticar.net|autodiscover.informaticar.net
We also need to edit Action part of the screen and select Route to Server Farm from Action type. Scheme https:// | select Stop processing of subsequent rules
Apply | Back to rules
This is how our rewrite rules look now

That should be it, for the rewrite rules, and these are the simplest form. There is one more interesting rule which should prohibit ECP exposure to the internet, but it doesn’t work for the Exchange 2019. I will show how to set that as an extra bit at the end of this guide.
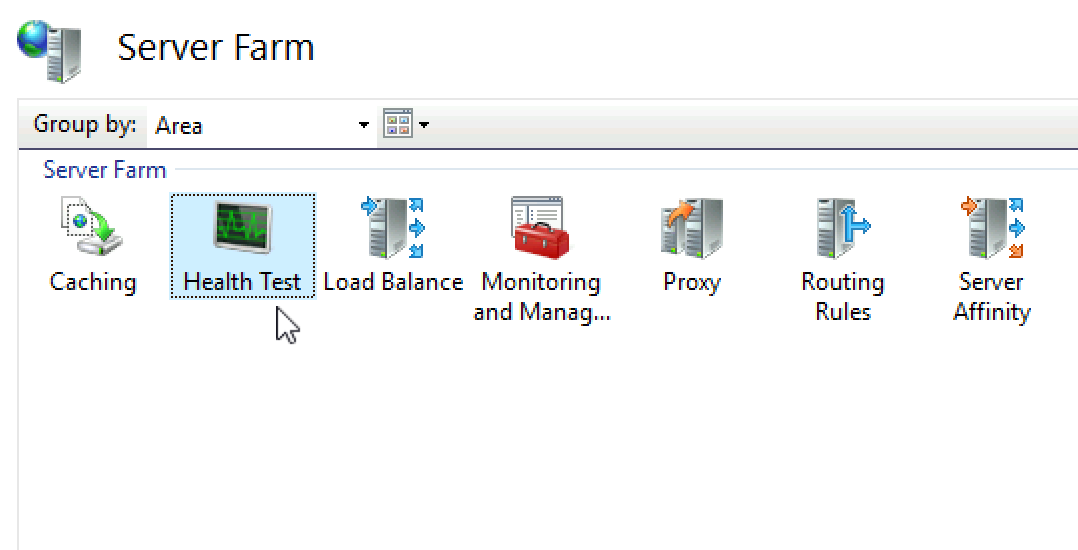
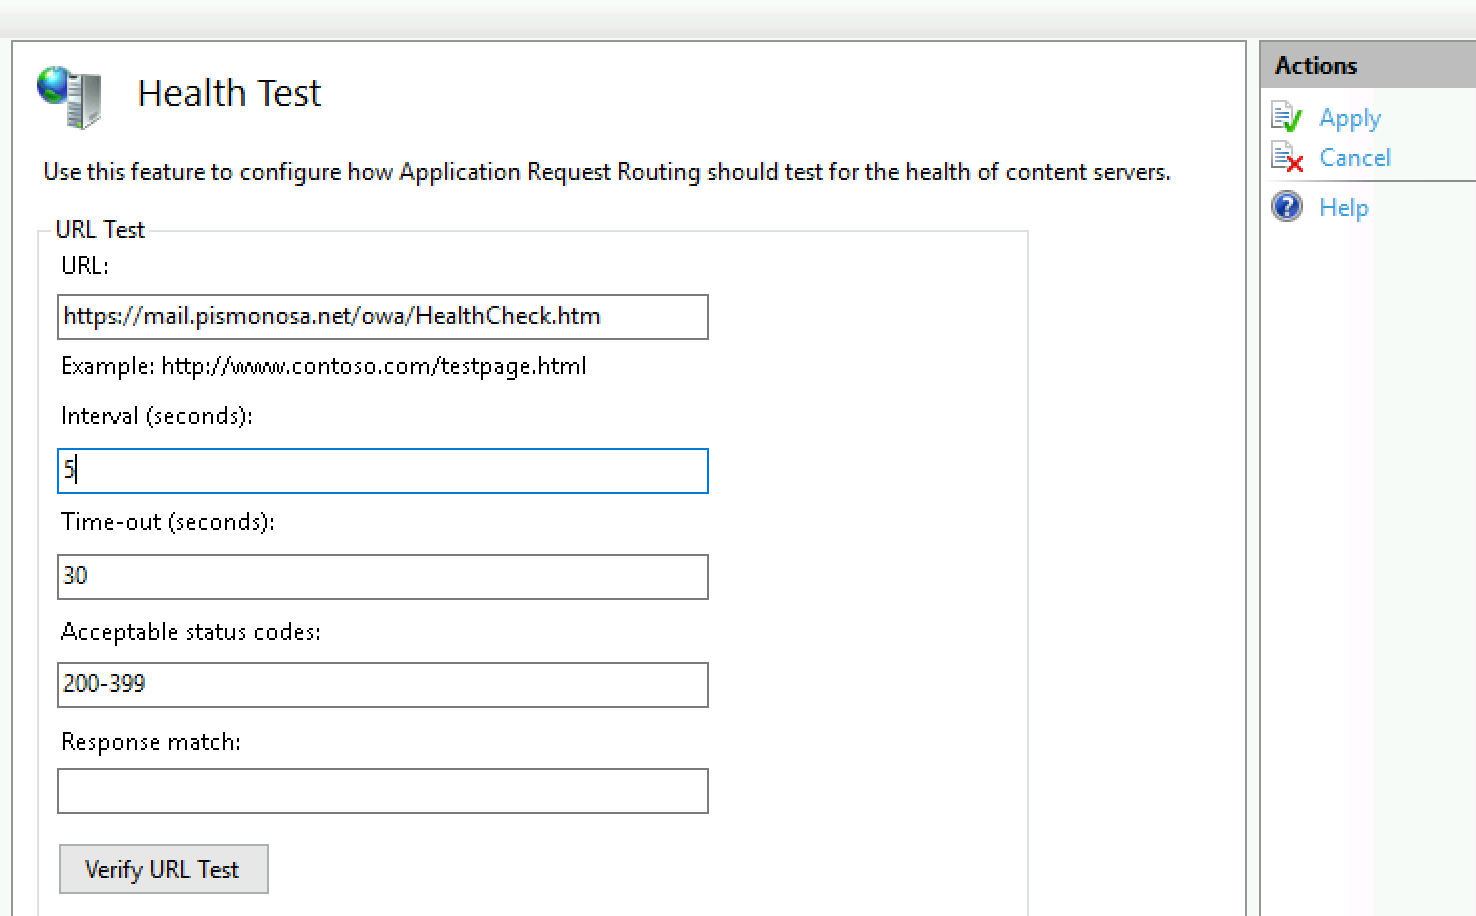
Set Health test
Before we go further, we are going to go back to our Server Farm in IIS and select Health Test. Health test will be very useful service, that can detect the state of the links and associated servers.
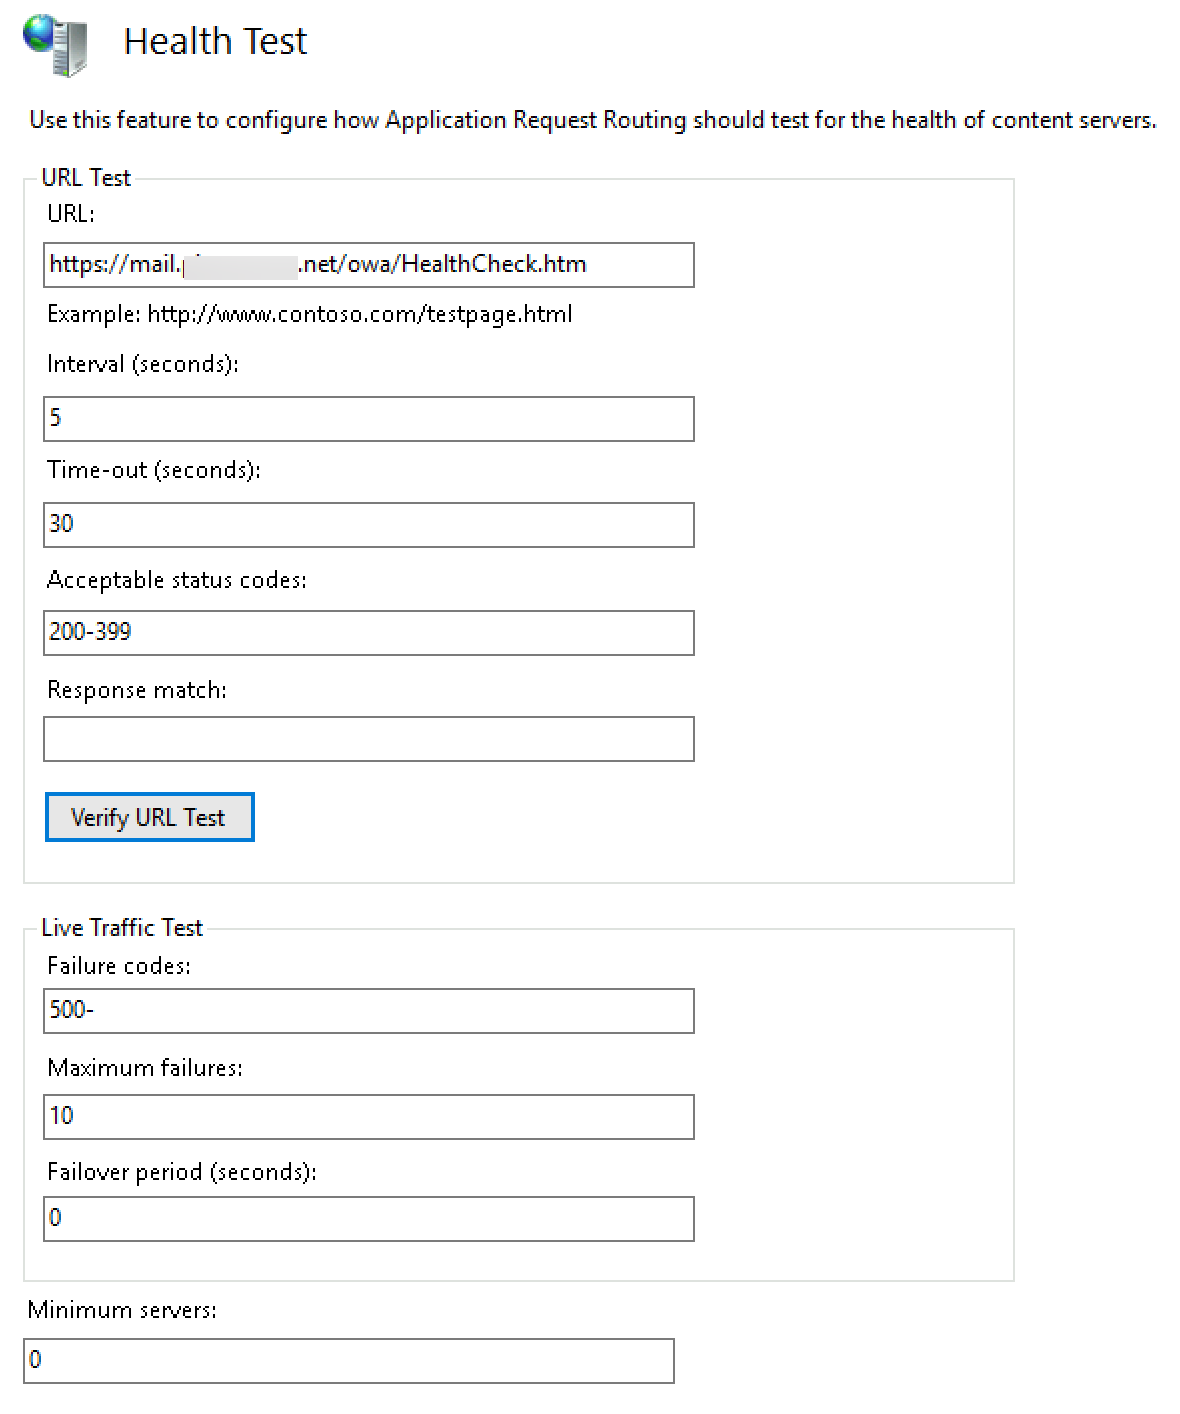
What I did for this lab is that I re-consolidated all of my Exchange virtual directory links behind mail.infomaticar.net – so OWA, MAPI, OAB, ActiveSync all have links like https://mail.informaticar.net/OWA, https://mail.informaticar.net/OAB… You get the picture. This way I made it simpler for the Health test and my ARR. Exception is Autodiscover, but if above services don’t work, chances are that Autodiscover also doesn’t work.
I just entered link into URL field – it can be just https://mail.informaticar.net/owa. I also changed interval value, but you can leave everything as is.
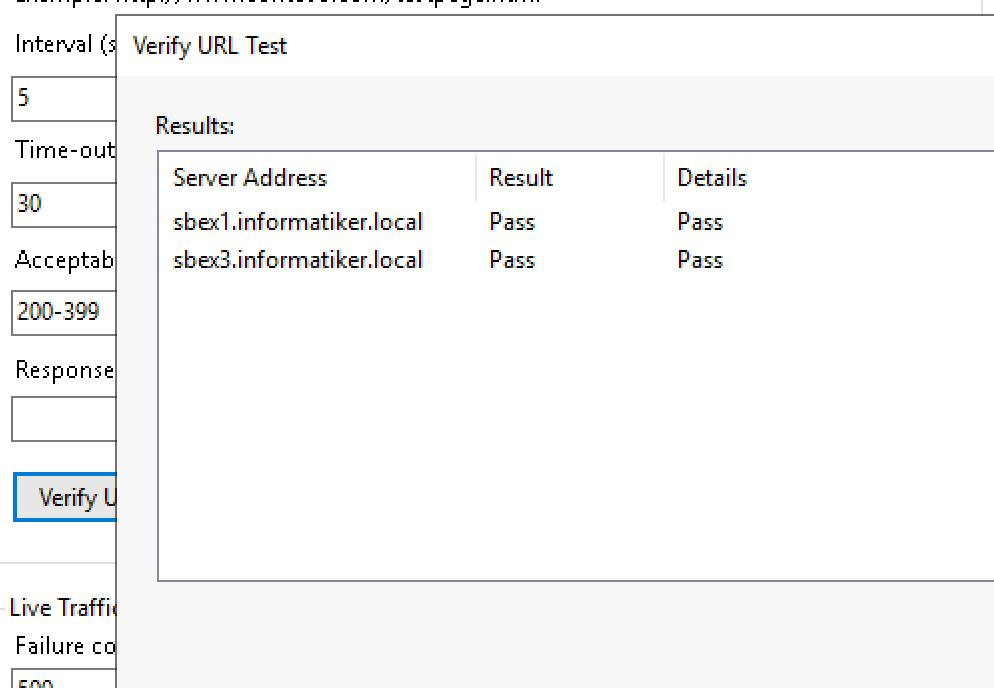
After I entered my URL I clicked on Verify URL Test
I got pass for both servers – both servers are currently online
When you are done, close this windows, click on Apply
Change Maximum Allowed Content Length
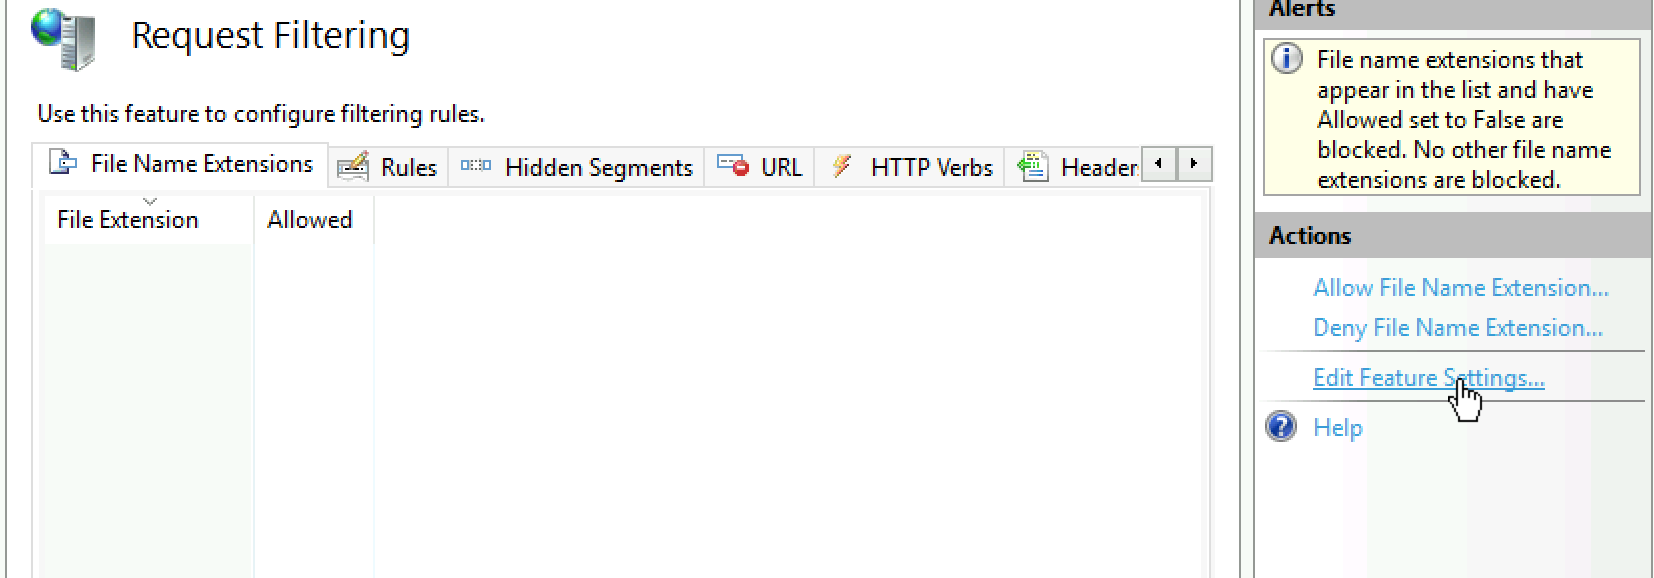
Open IIS Manager, click on Server name and select Request Filtering
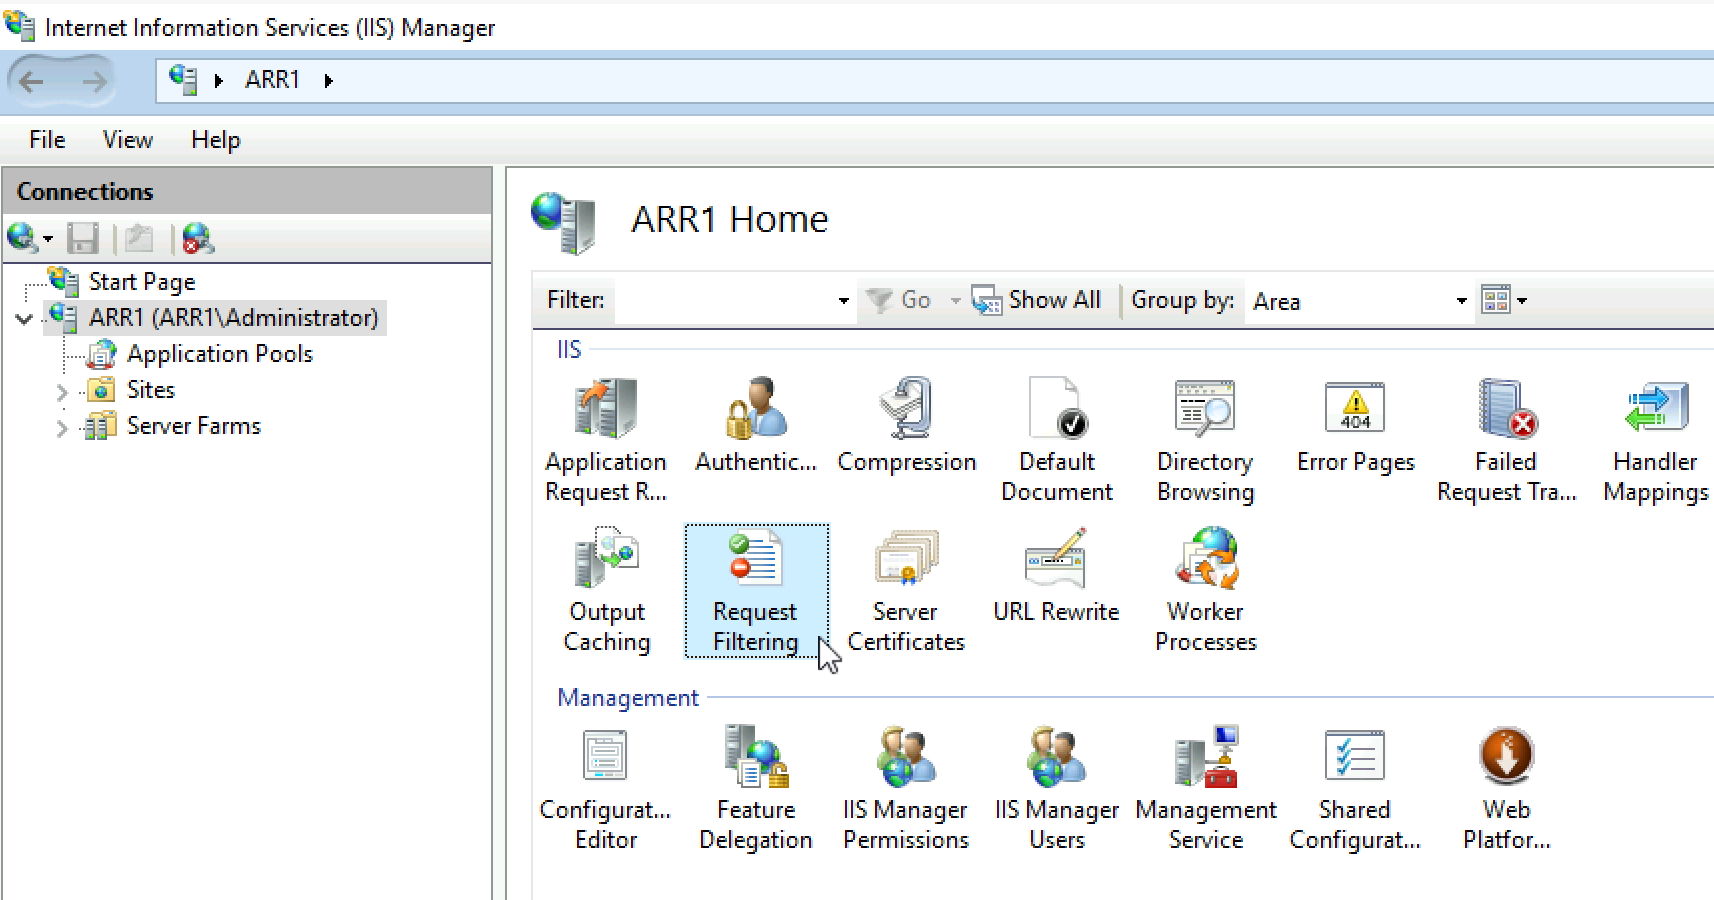
Select Edit Feature Settings
Change maximum allowed content length to 4294967295
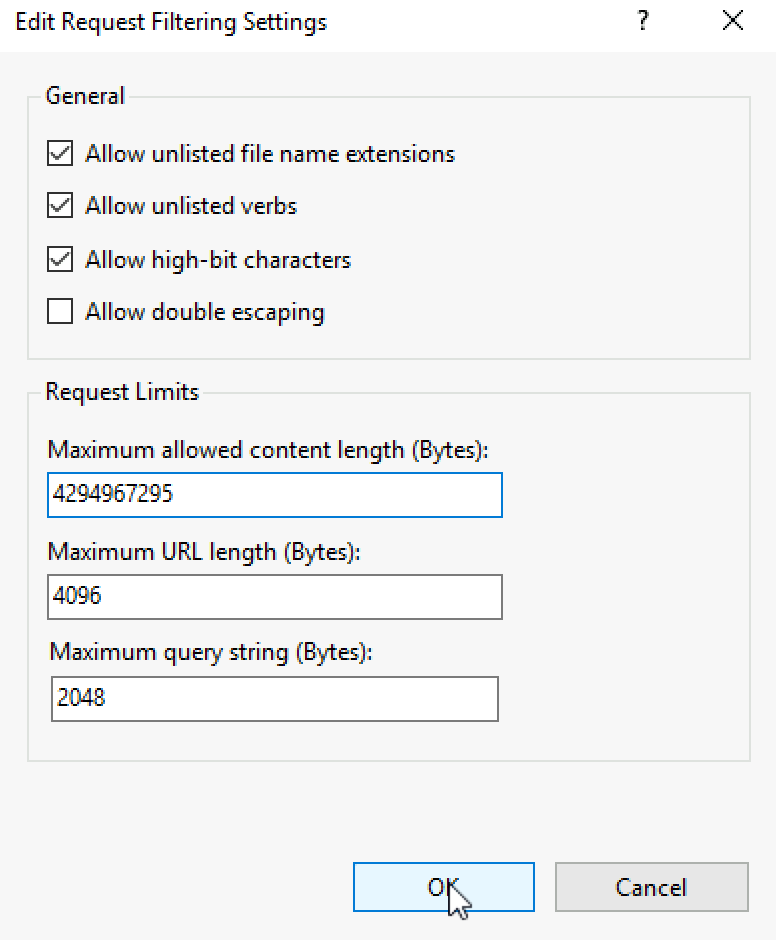
Ok, close everything and reboot ARR server or IIS.
Make changes on the network | Redirect traffic
Now is the time you can redirect traffic from your Exchange CAS, so that the entry point is first ARR, and then ARR forwards requests to Exchange CAS.
It is hard for me to say how you should do it, there are many different scenarios. For me it is very simple.
For this lab, I’m using static IPs, and my main firewall/router is pFSense, so for this I have one rule, which is forward port 443 to my mailbox/cas Exchange server.
Now, I just changed that rule so it does not point to 10.0.0.36/37 (Exchange mailbox, CAS server SBEx1, SBEx3) but instead it points to my ARR server which we set above.
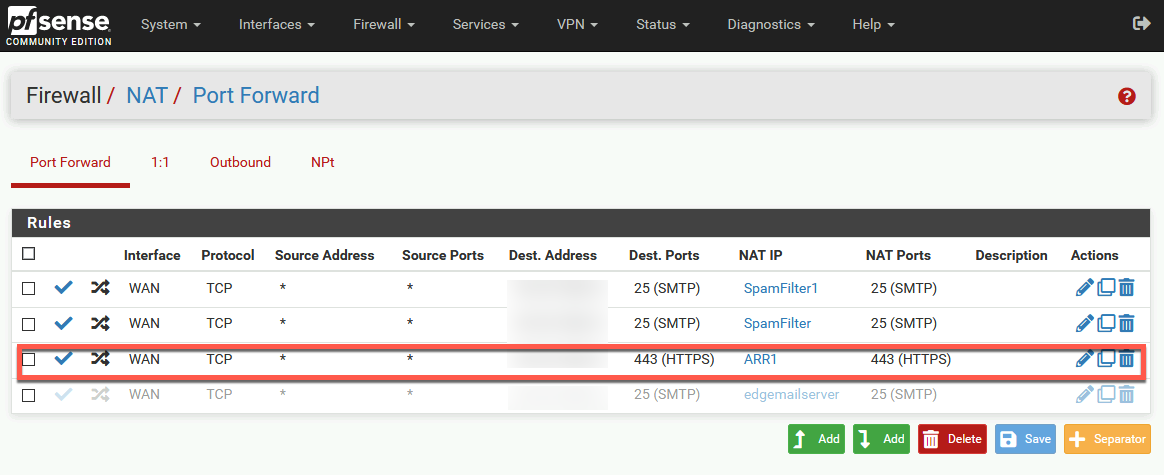
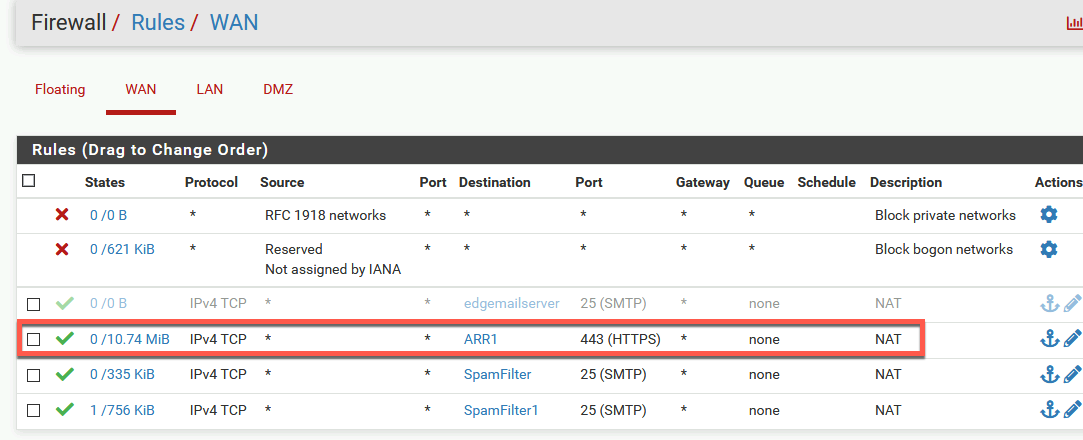
Firewall rule is automatically created after I created NAT rule
I will be checking with OWA service to see if this works…
Testing
My main reasoning for doing ARR on Exchange is to have client services available at all time. Since I have DAG in place, I wanted also that my services such as OWA are available while one of the servers (SBEX1, SBEX3) are down for maintenance.
This can be achieved really in many ways, and ARR is only one of the methods. So, lets test it.
First, I need to check if my OWA is working after I routed the service through ARR
Yes it does.
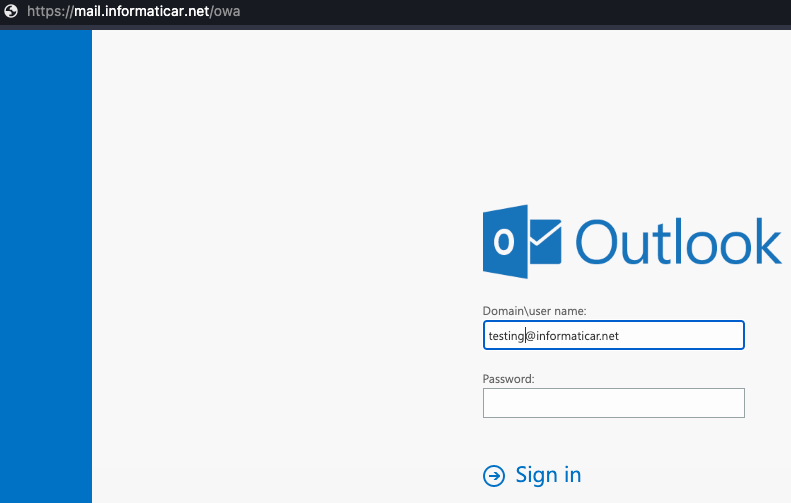
So, that is good.
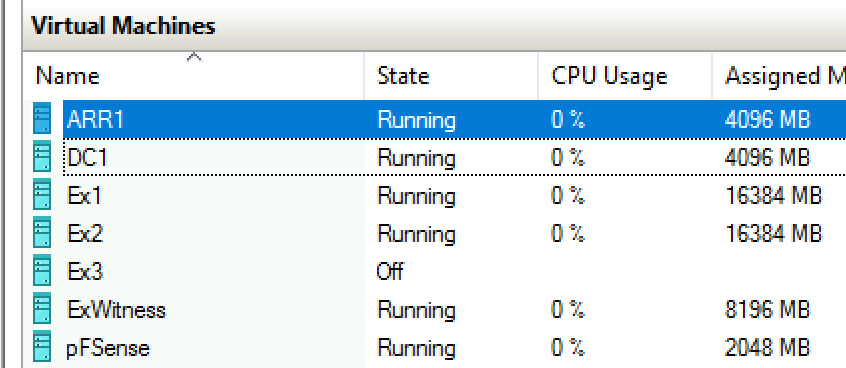
I initially set all of the services (OWA, ECP, Autodiscover, MAPI, OAB…) on SBEX1 server.
Later on, I added SBEX3 exchange server, and also set same path for the virtual directory services (OWA, ECP, Autodiscover…)
Besides setting (for example) https://mail.informaticar.net/owa on both Exchange servers as external link (I did that for all the other services) I really haven’t touched anything else on public DNS or router.
So, when SBEX1 is online, everything is fine, people are able to access OWA for example. But if I turn of SBEx1 and only SBEX3 is online – I would get
Service would not be available.
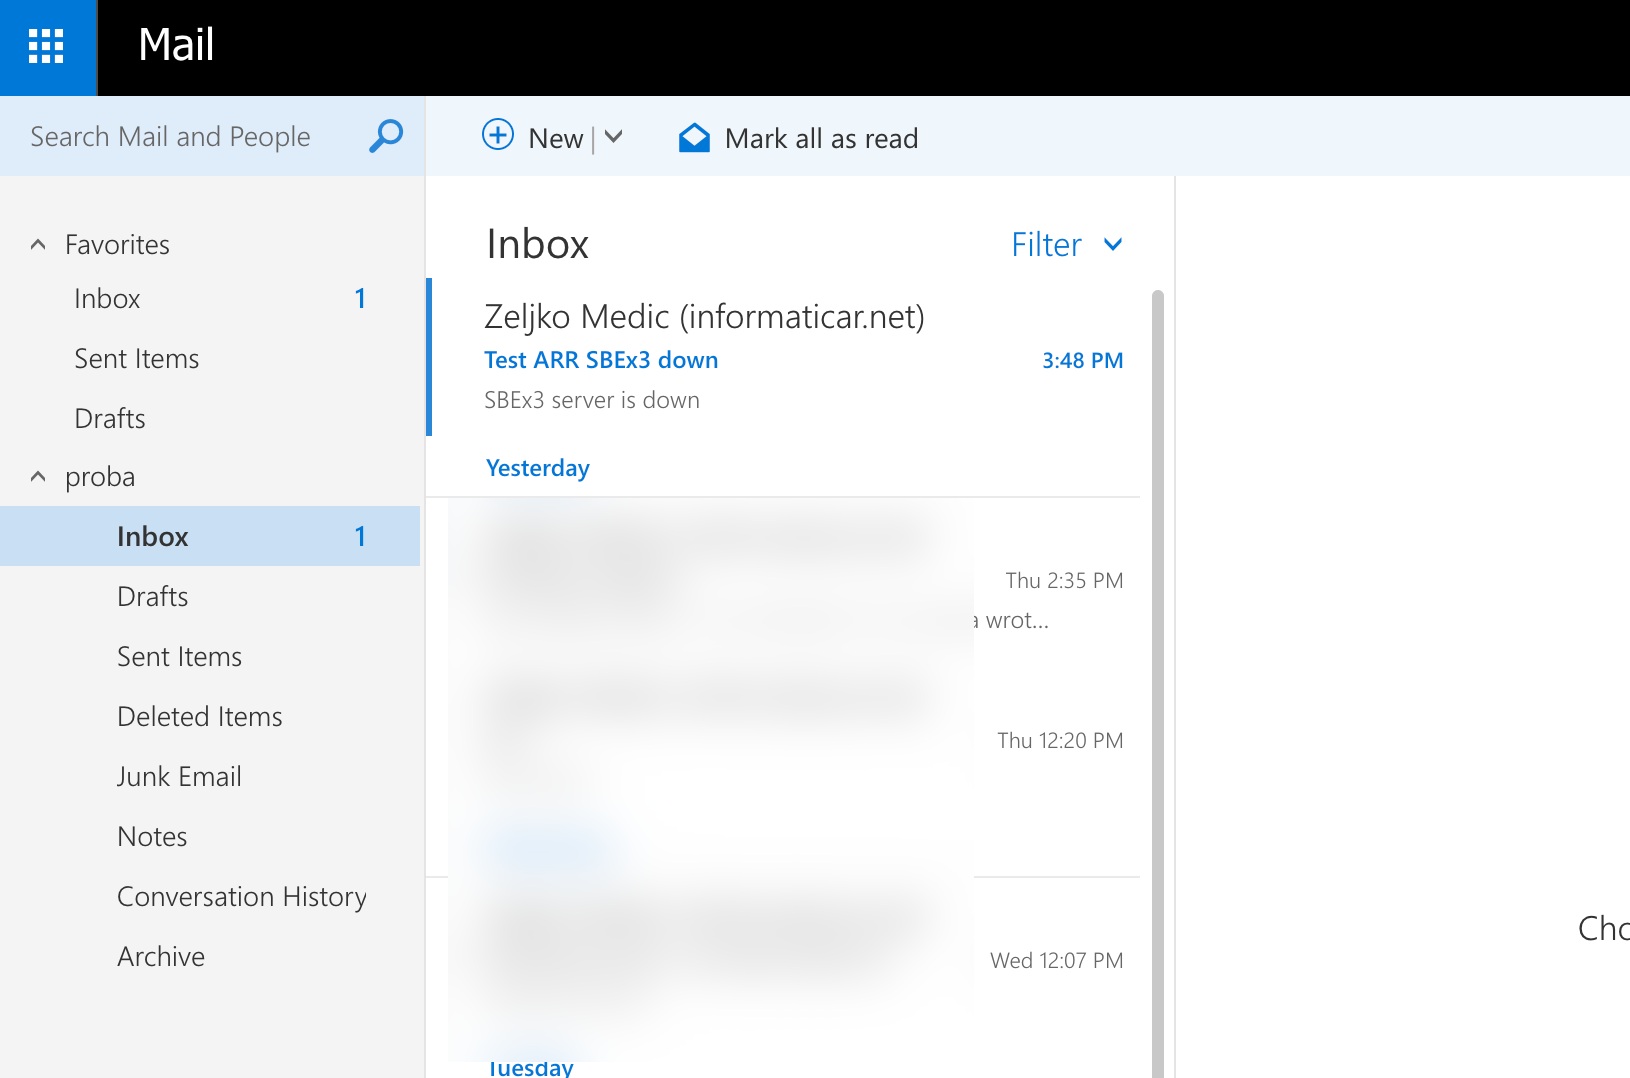
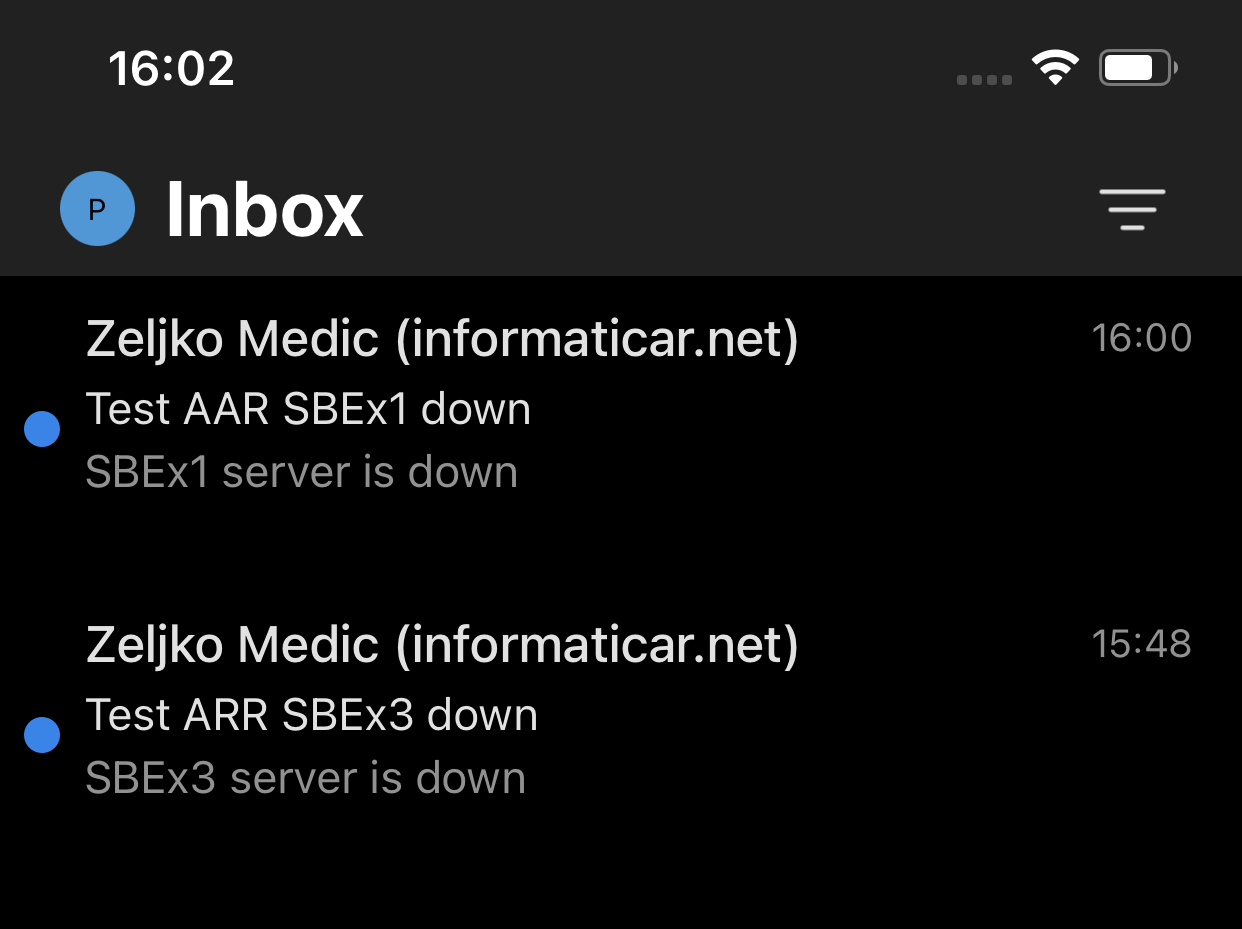
After implementing ARR, I first tried and turned off SBEX3 server…
After my SBEX3 server was down I tried and sent email to my test domain. I could see it in OWA and on my mobile phone.
Ok, let’s try and bring SBEX3 up, migrate Exchange DB1 to it, and then shut down SBEX1 which originally held all these services.
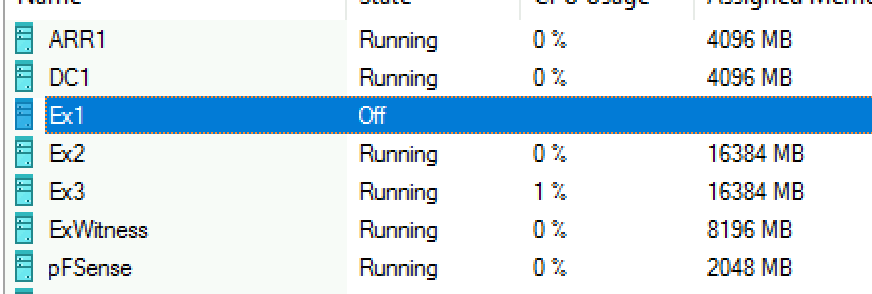
Again, success
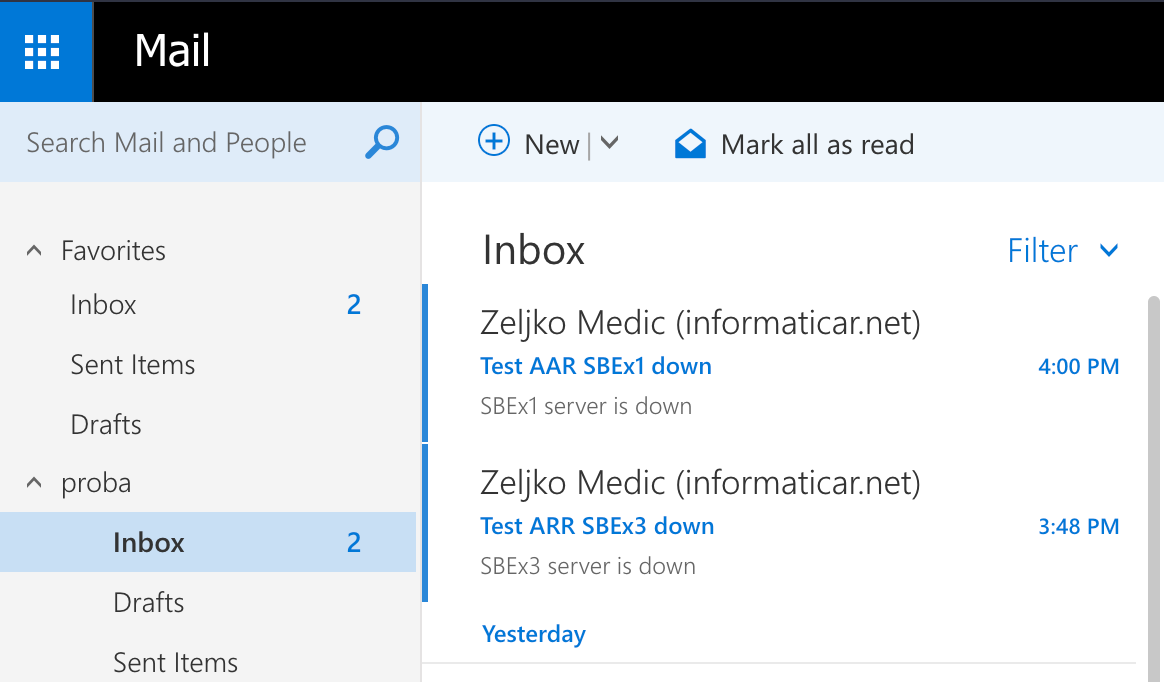
Also, on mobile everything is fine
I was also able to reply from OWA and mobile device and send email while one of two servers were down.
So it works fine.
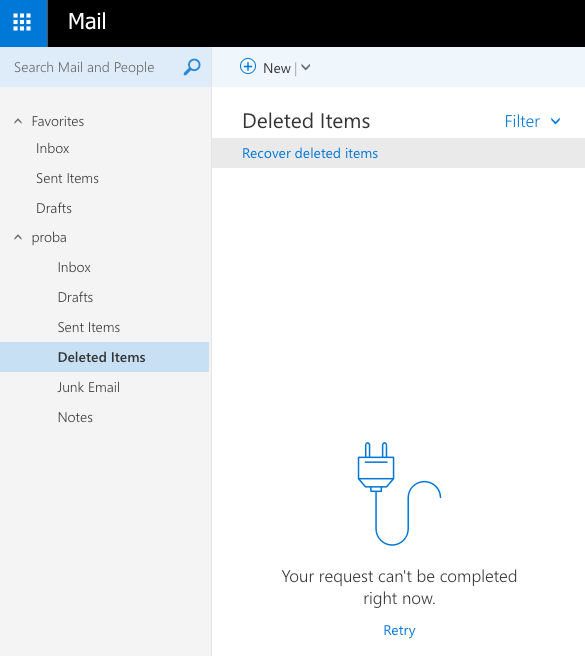
But not everything is perfect – I would sometimes get error 502 – that was right after I set ARR and routed traffic through it – it went away after few minutes.
Also, I do this testing sporadically, so, for example, I shut down SBEX1 and I don’t touch that lab for a day or two, first time I request OWA through browser I would get this error – and it would go away quickly.

Not sure where to place this, it happens only in my Ex19 test lab, and on very rare occasions. In most cases, for what I need ARR it is acceptable.
If I ever get to the bottom of this, I will update this guide.
aaand, some more testing
I would also recommend before implementing something like this, and while you are still in test phase, that you go to the sites like mxtoolbox.com or Microsoft Remote Connectivity Analyzer
https://testconnectivity.microsoft.com/tests/exchange
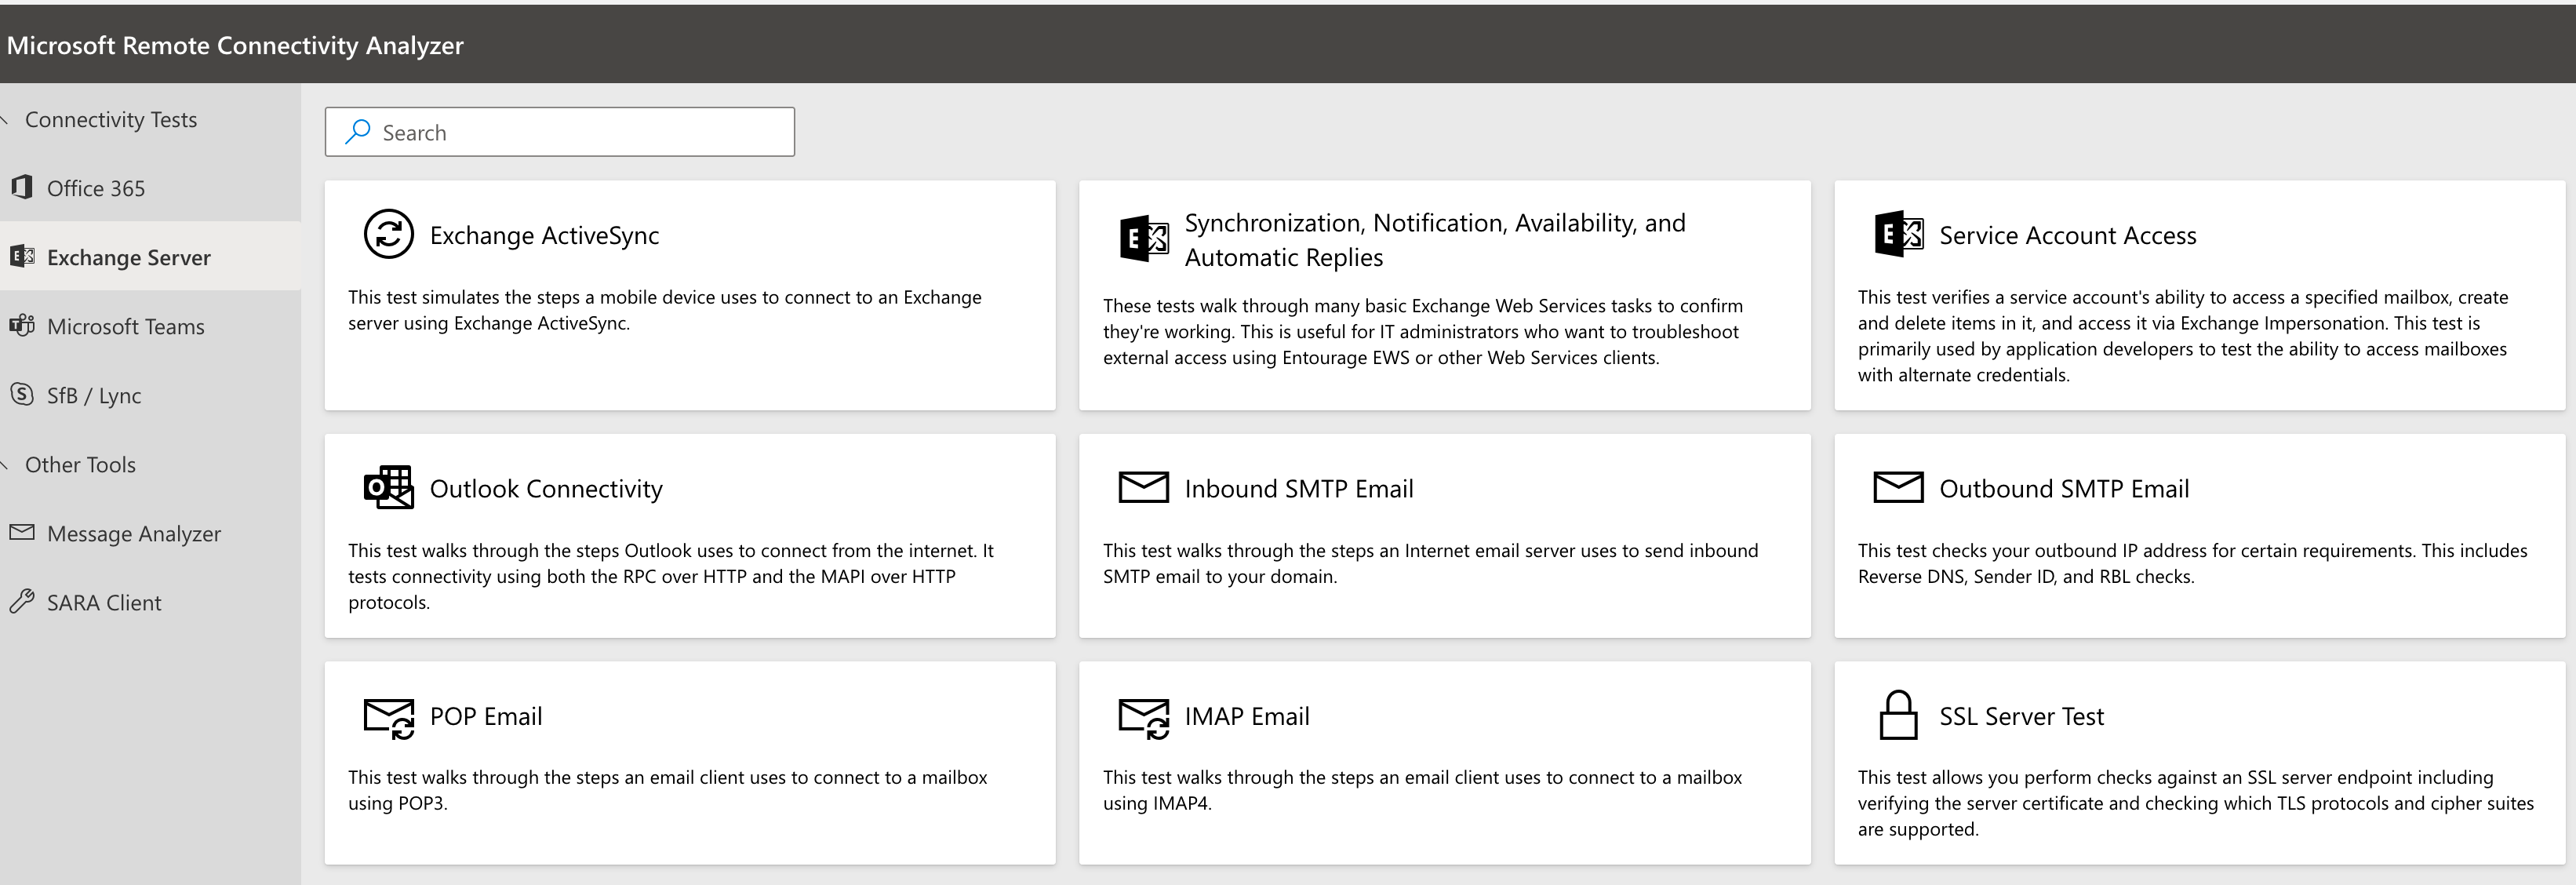
Check ActiveSync, Outlook Connectivity…
If you got that tests are passed successfully
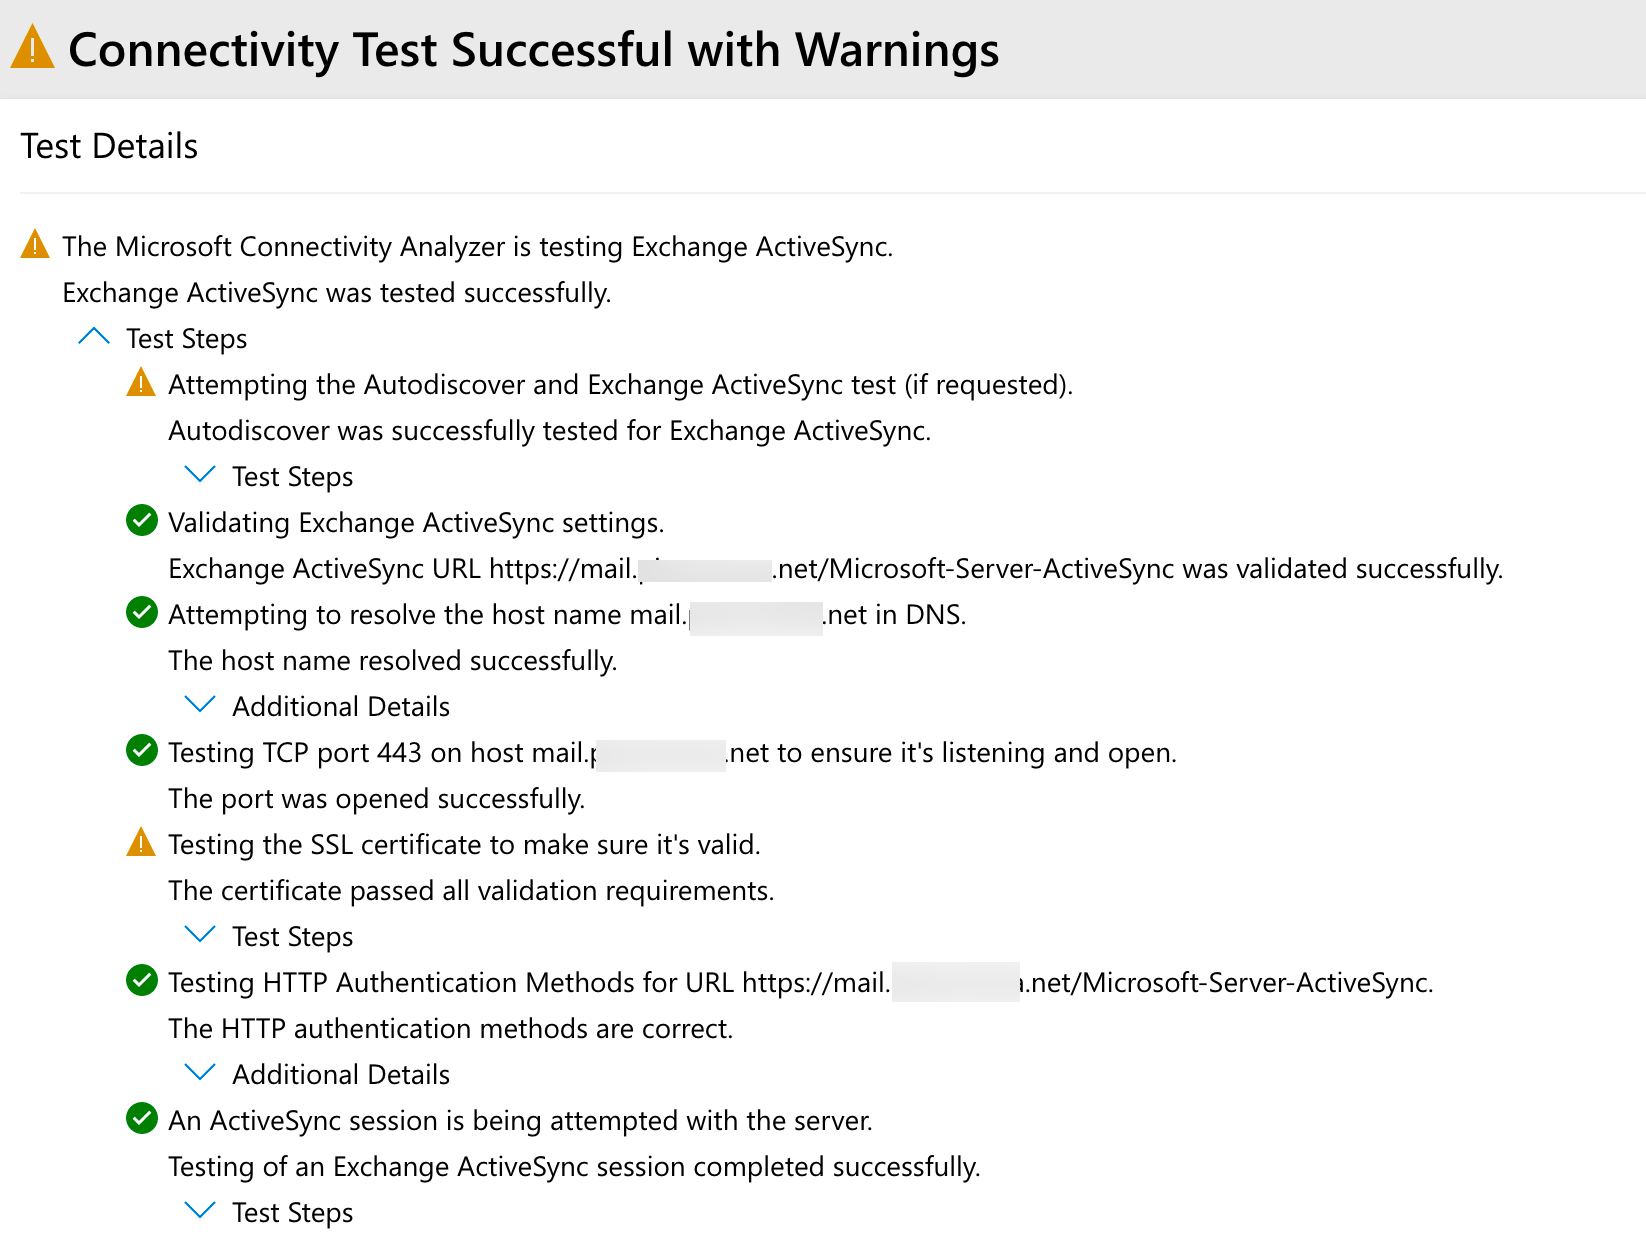
and your only warning is this (or better yet – none) – you are good to go.

I would recommend you do these test also with one Exchange node down.
I tested my Exchange in all scenarios (both nodes up, and one of the nodes down) and I got pass every time.
Sometimes it would take few minutes if the server is freshly shut down – but autodiscovery, activesync and Outlook connectivity would work every time.
When you have solid results in your testing environment, you can wrap this up.
Conclusion
We have done simple ARR setup which should help us have our OWA and ActiveSync services available in case one of the two (oe more) DAG members is down. There were hiccups along the way, but overall, system is stable in my case.