I don’t always need all the apps from M365 (Office 365) suite, but if you just download installer from office.com it will download small file, won’t ask you anything and will install the full suite with apps that you have in your subscription. You will also not be able to remove individually single app from M365 installed suite – you will have to uninstall entire suite.
If you install Office apps from Microsoft Store, you’ll be able to uninstall them individually, but if you used installer from the web, you don’t have that luxury.
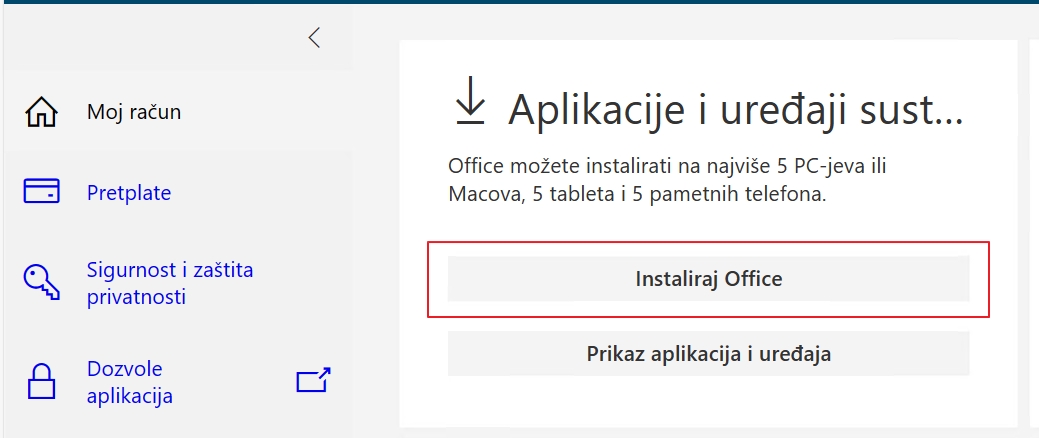
If I login to my account on office.com, and select option to Install Office (the screen below is in Croatian)
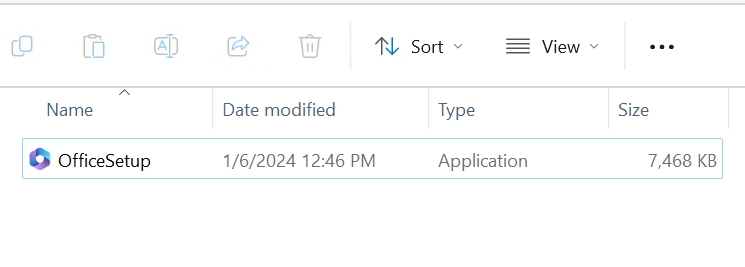
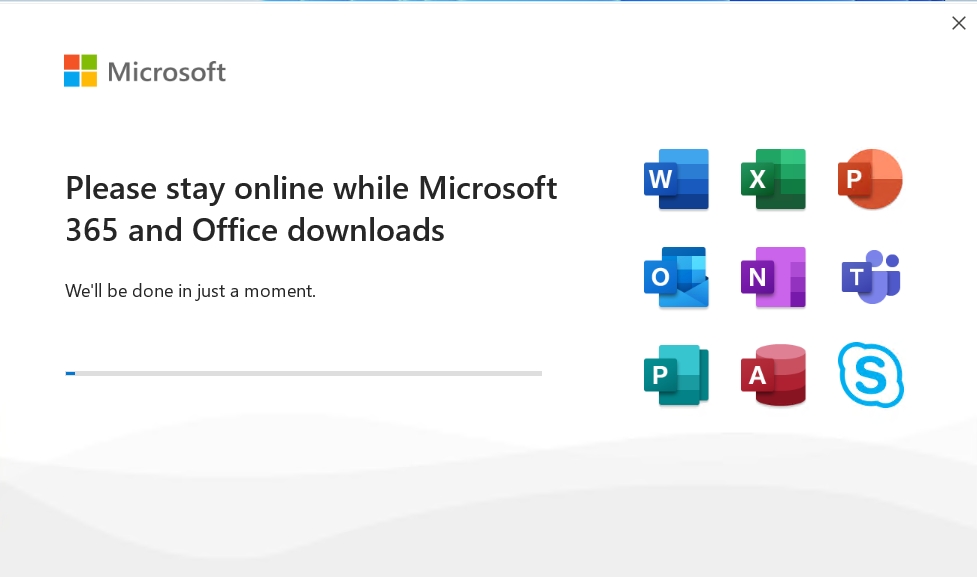
Small file will be downloaded to local PC, when you start it, it will then start downloading Office suite…
and you won’t get any customization options…
There is something you can do about it, but you need to be willing to do a bit of work
Office Deployment Tool
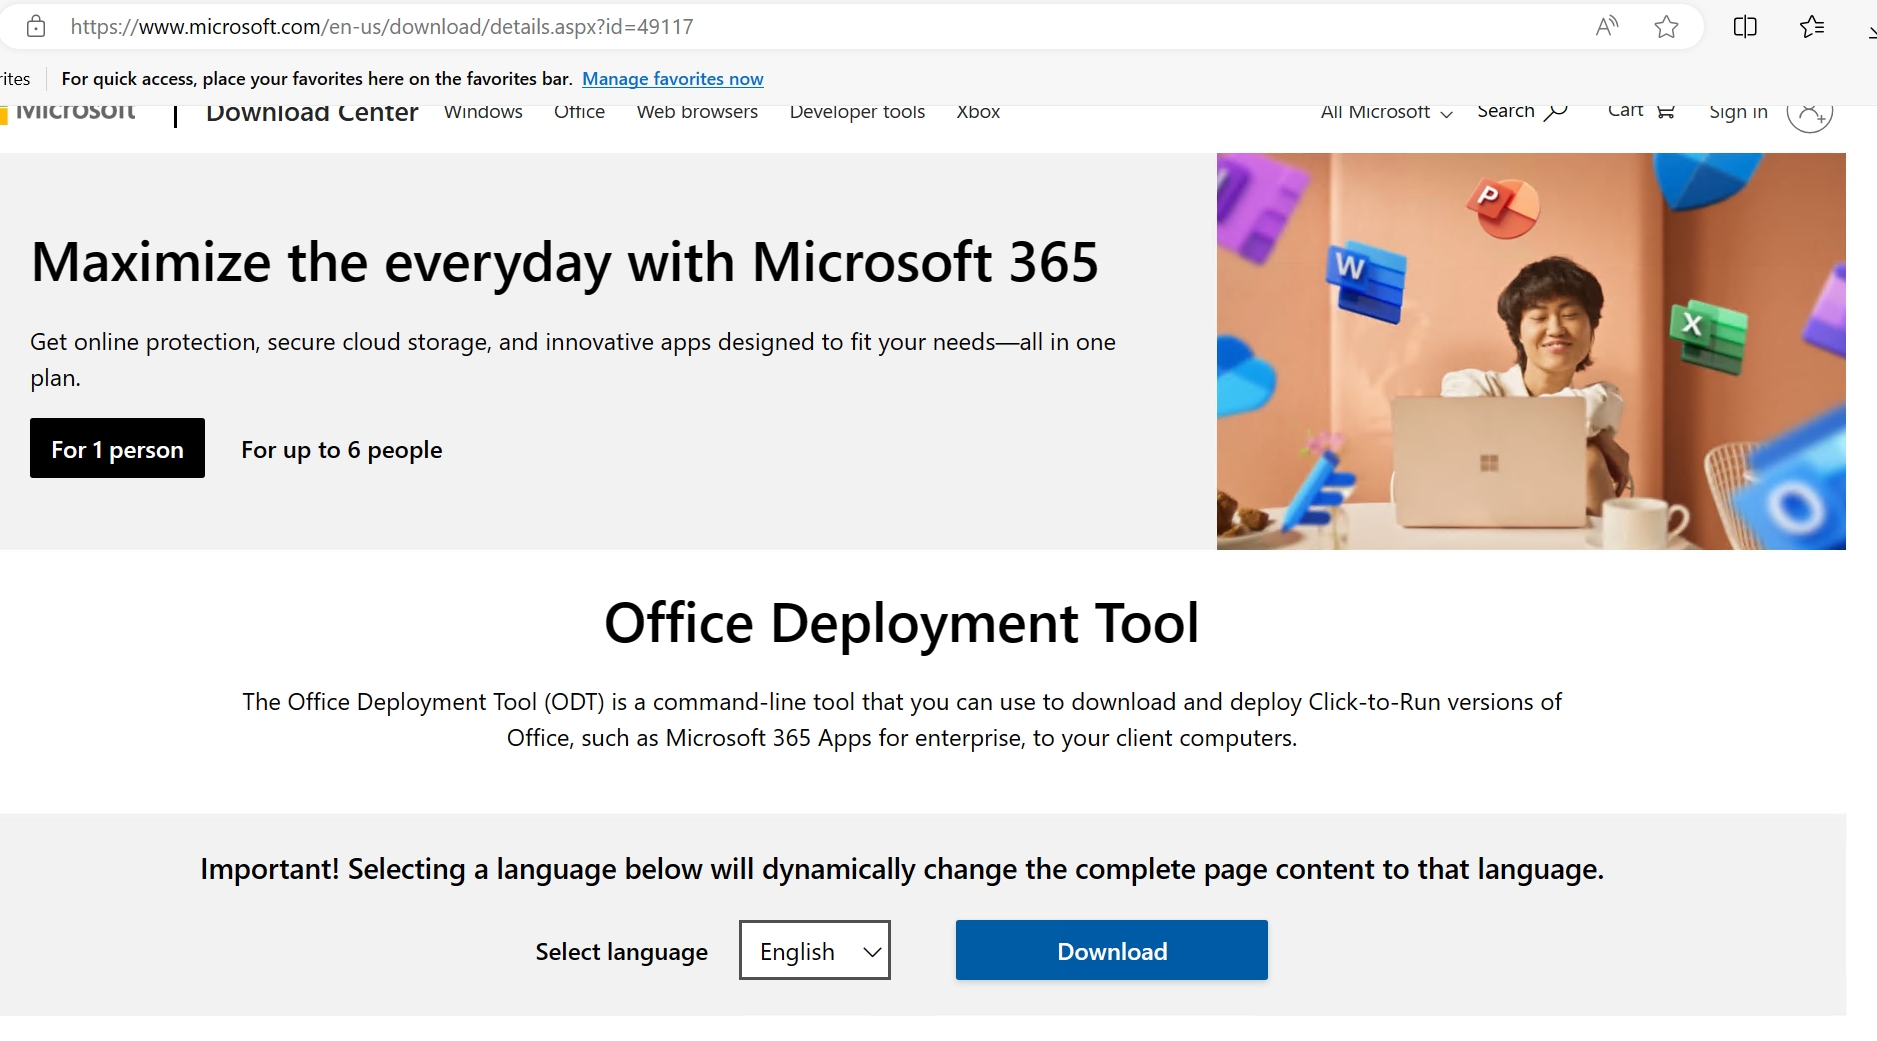
We need something called Office Deployment Tool. If you need more info, complete reference can be found here – Configuration options for the Office Deployment Tool – Deploy Office | Microsoft Learn
In first step, we will download Office Deployment Tool from here – Download Office Deployment Tool from Official Microsoft Download Center
Click on Download
After download, we will run downloaded officedeploymenttool_xxxxx-xxxxx.exe (File was downloaded in Downloads folder in my case).
Continue

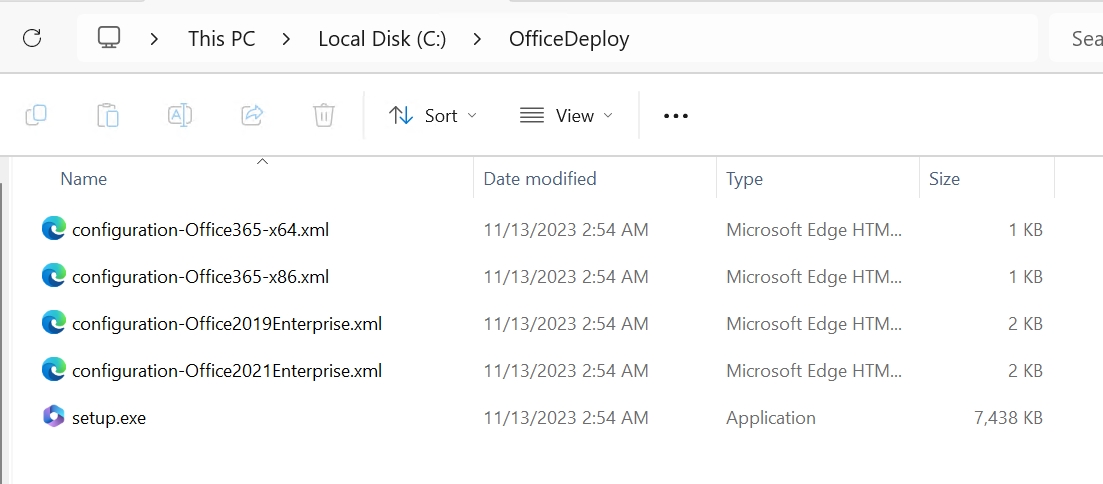
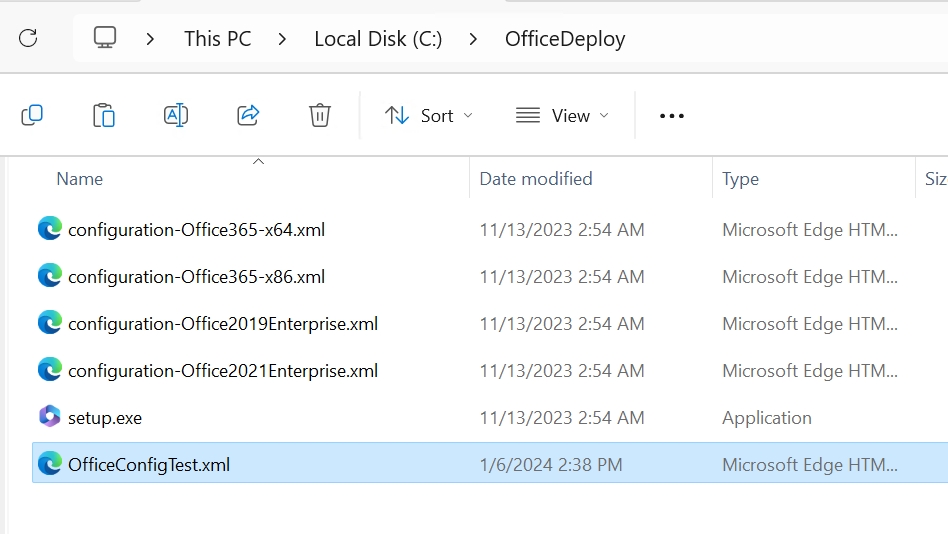
In C:\ I created OfficeDeploy folder and will unpack officedeploymenttool there.
For now, we are done here, we will be back later.
Create Configuration file
To use office deployment tool, we will need to create configuration file. That is where Office Customization Tool will be useful. It is online tool and can be found here – Office Customization Tool – Microsoft 365 Apps admin center
There is more than few tabs we will need to expand and configure to meet our needs.
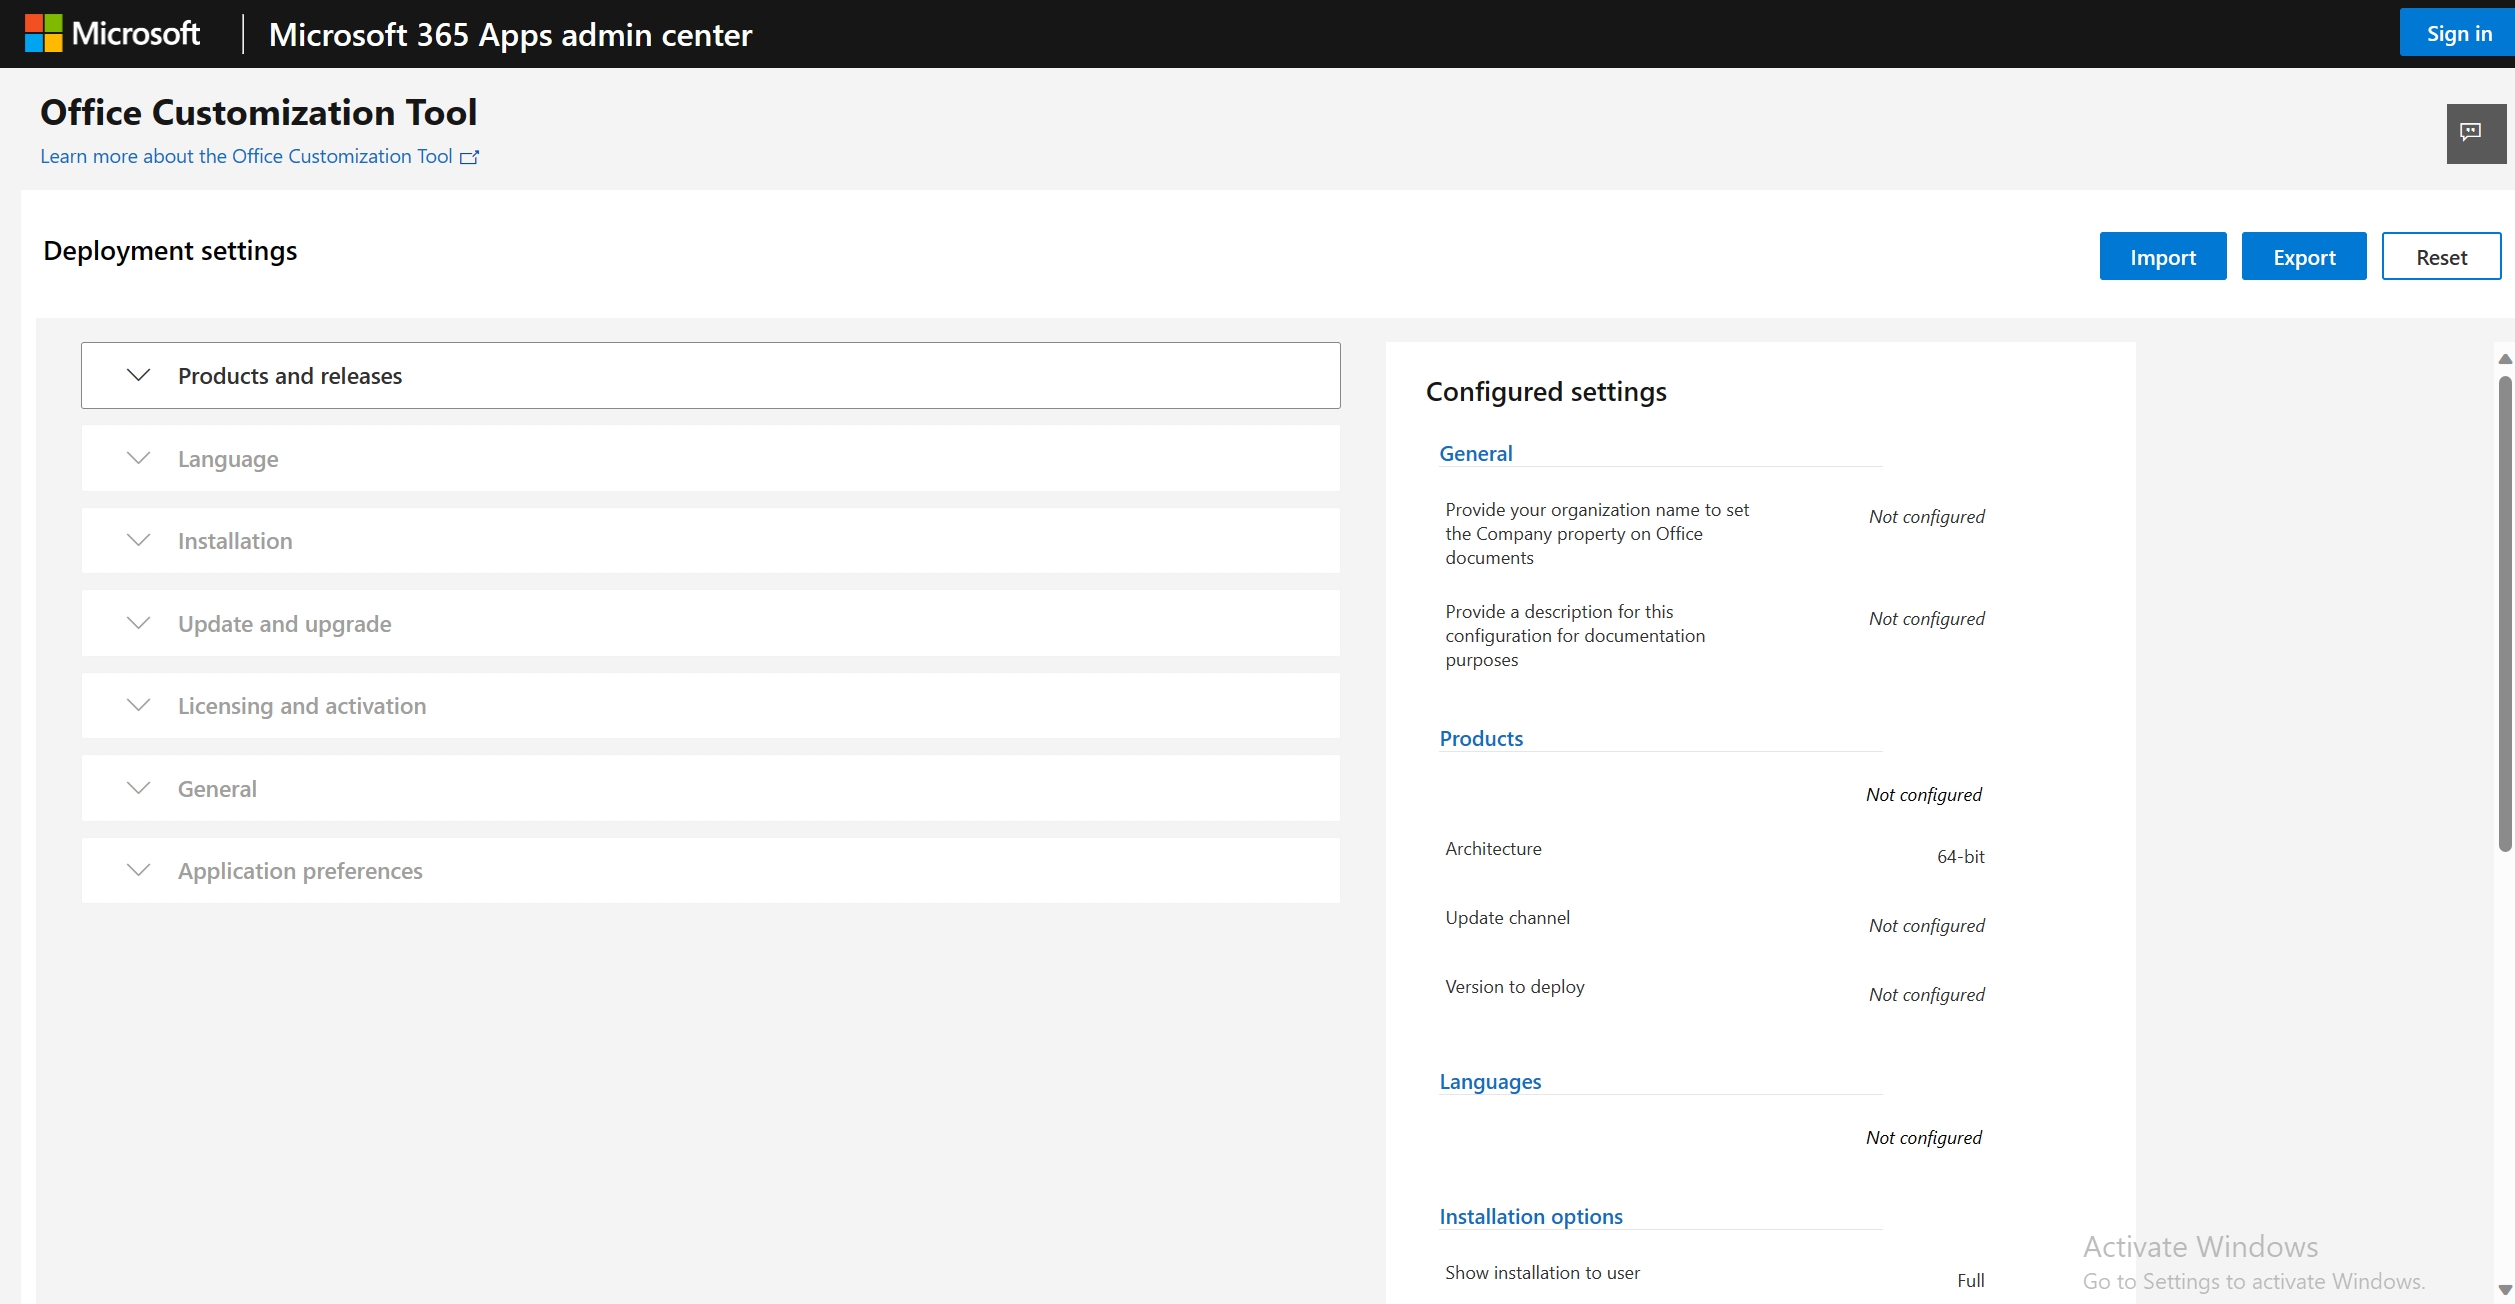
Let’s check one by one. There is no universal or “good” configuration. You will configure package to meet your needs. Your licensing type may differ, settings you like or need may differ from what will be depicted here. So, this is only to show you the options and possibilities, you’ll configure your Office deployment how you see fit for yourself.
Let’s start with Products and releases tab
Products and releases
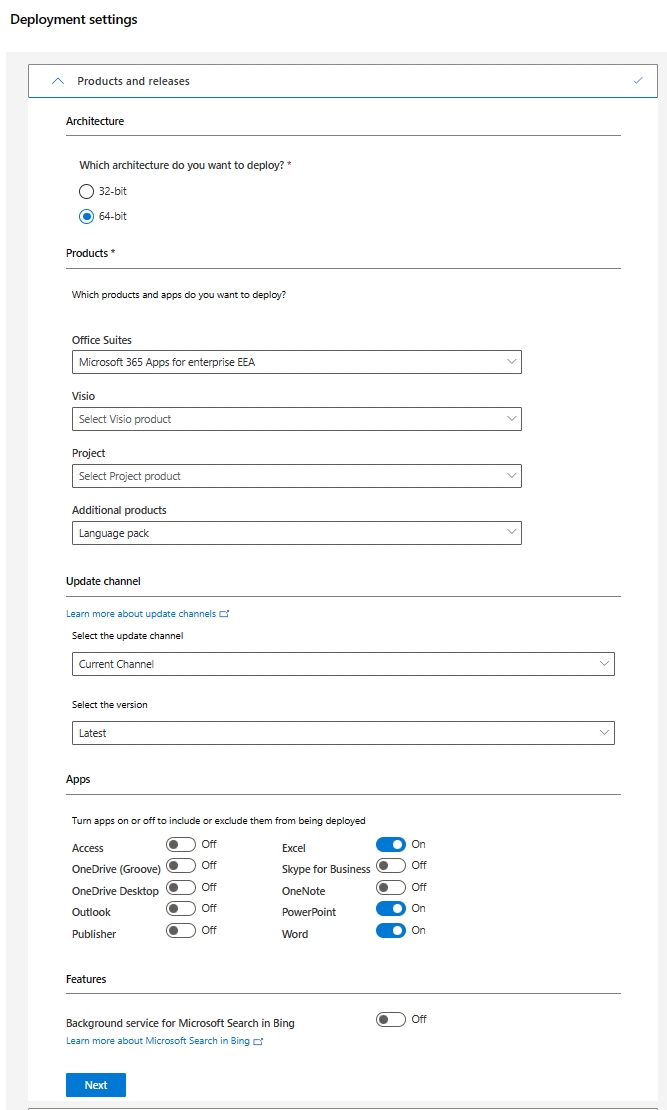
I will select 64bit installer, I have Enterprise license and I’m in EU, so I will select Microsoft 365 Apps for enterprise EEA (use dropdown, to select suite from your license). I don’t need Visio or Project, but I do need additional language pack. I want product from Current Channel and latest version. Under apps, for purpose of this guide, I selected only Word, Excel and Powerpoint. I also don’t need Bing thing. We will now go ahead and select Next.
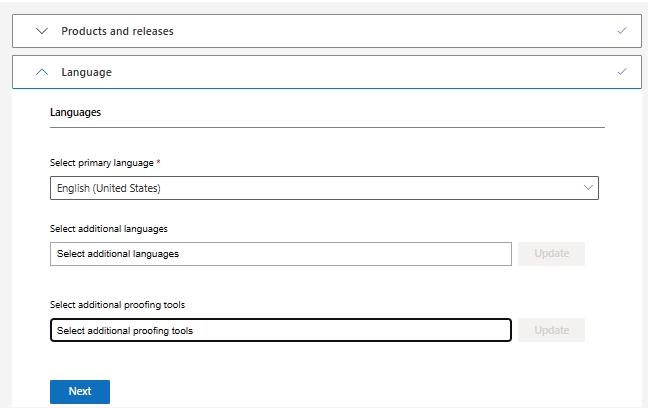
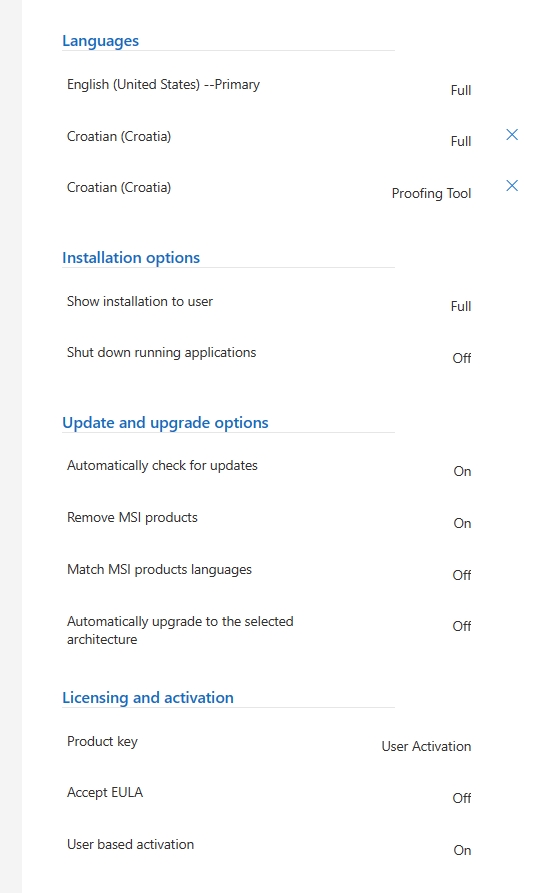
On Languages, I will select English as Primary and additional Croatian as full and proofing and clicked on Add.

I assure you that I selected Croatian both under additional languages and proofing tools field, but nothing is shown in the text field. We’ll see what happens. Next
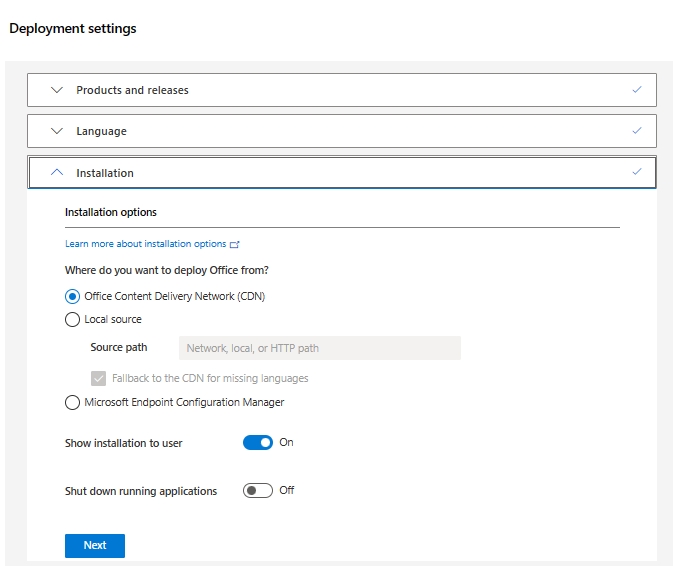
I will leave installation as is, and select Next
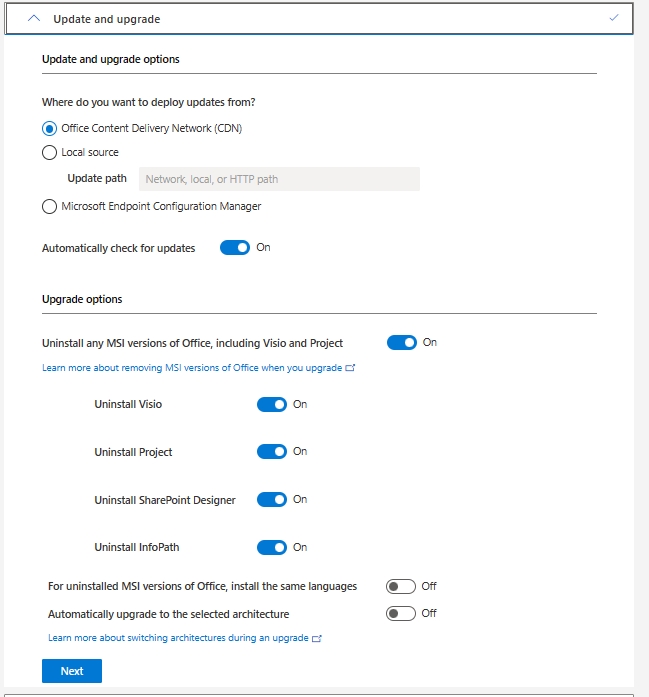
I will also leave everything as is under update and upgrade options. Check the upgrade options, maybe it won’t fit your needs. Next
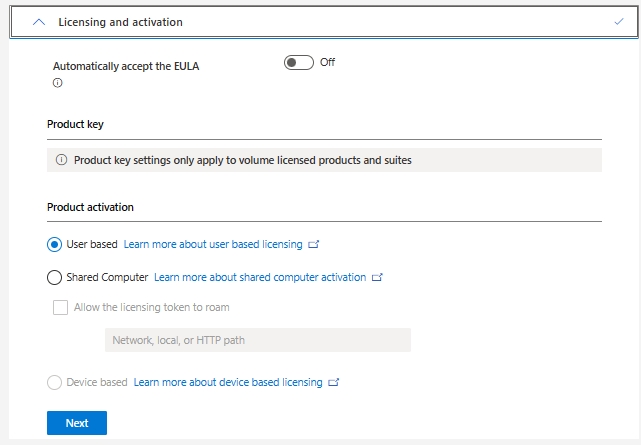
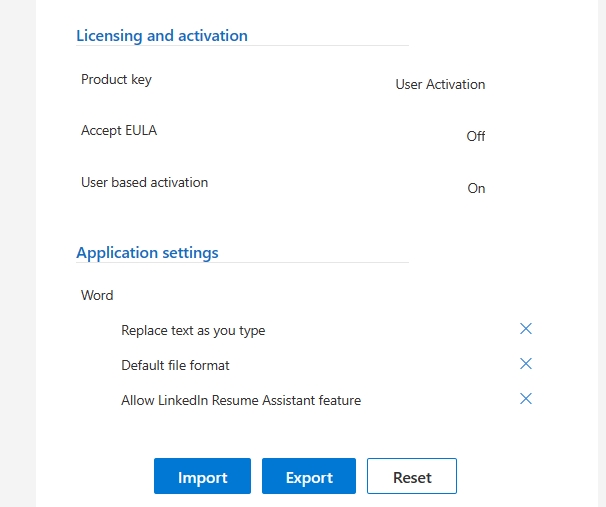
Under Licensing and activation I will again leave all as is. Next
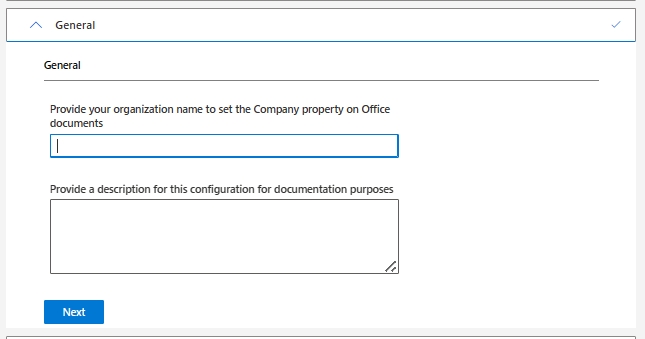
In General tab, I won’t enter anything. You can customize and enter your organization details – Next
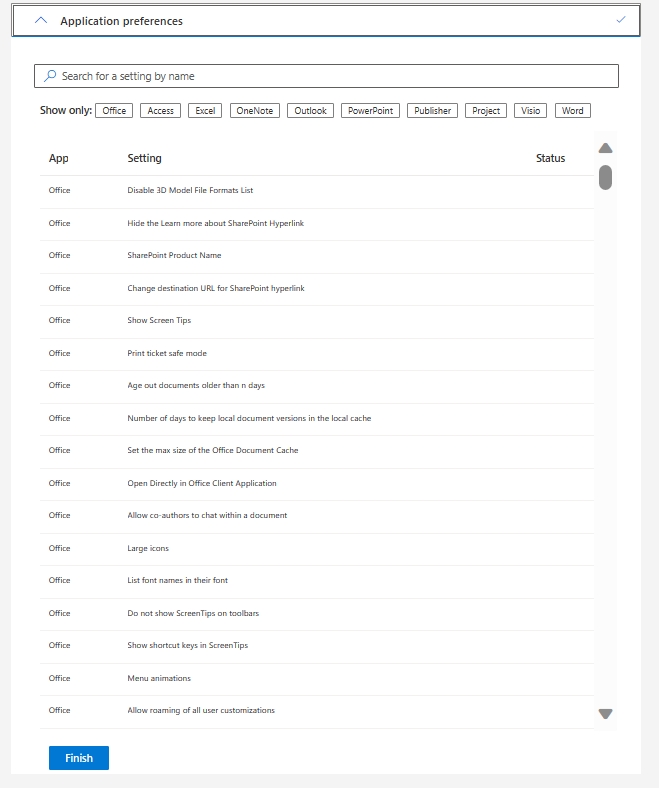
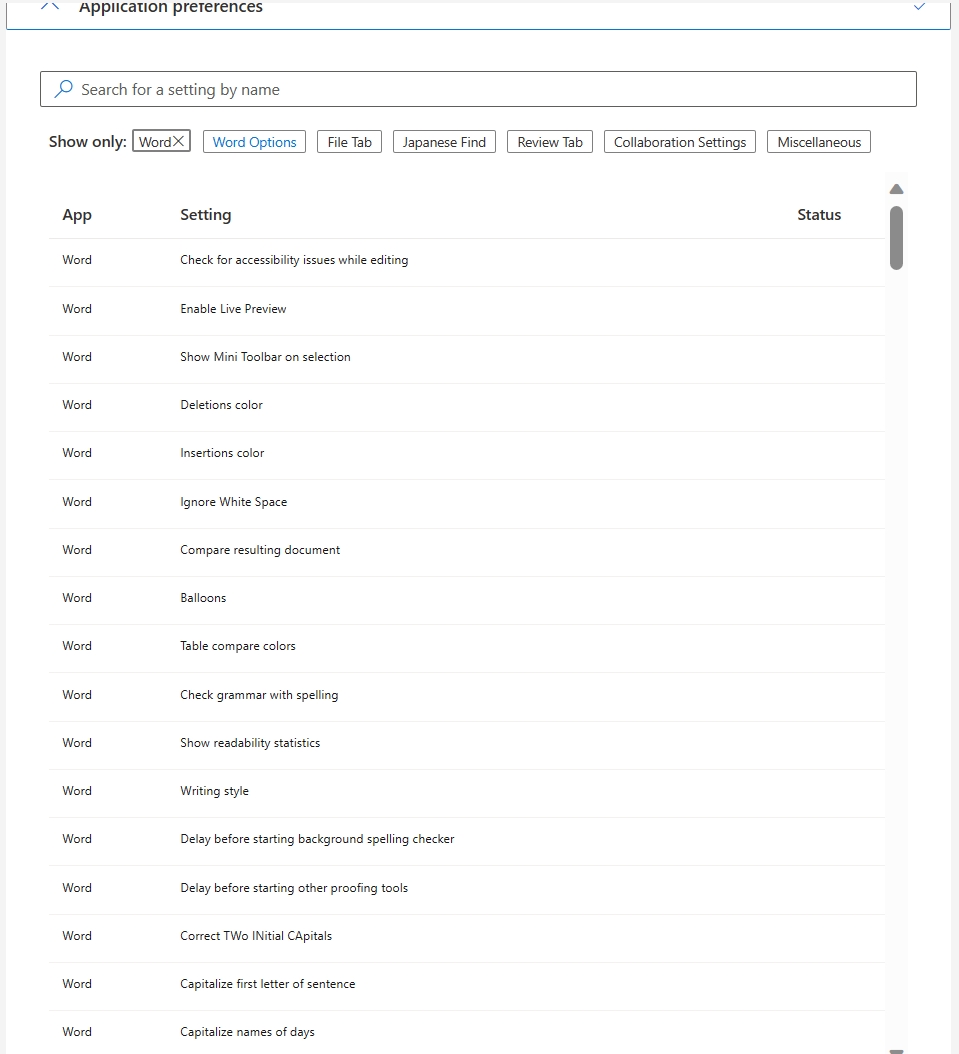
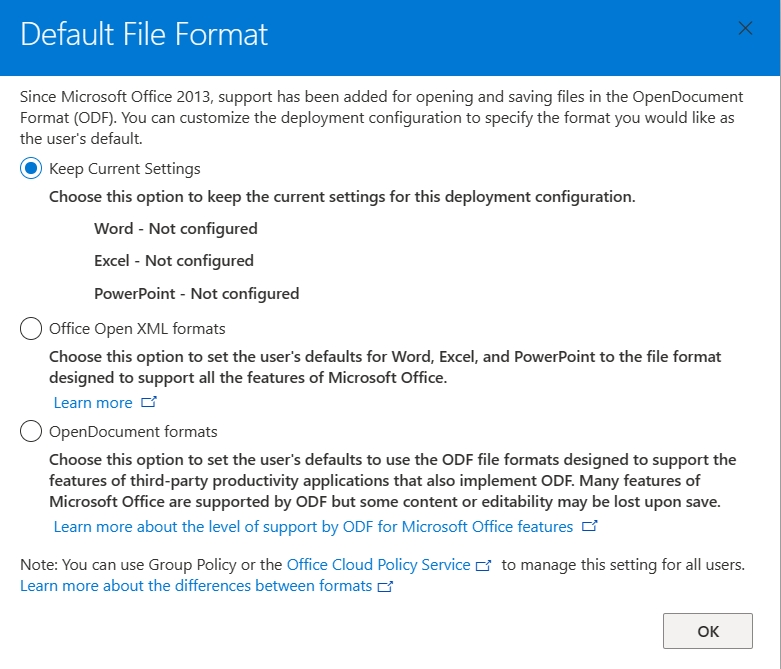
Last tab is where you can configure a lot of options for the products you install. I’ll show you one option for Word, so you can get idea. Show only: field can be your navigation, We will select Word
After we select word, we will select Word Options from “Show only:” field
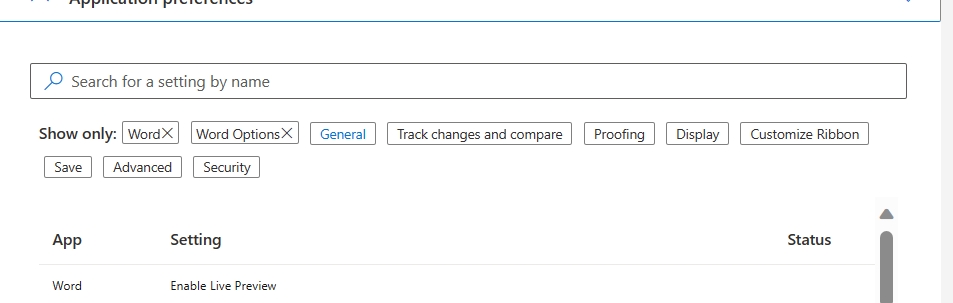
From Word Options, we will select General
From General, I will select Allow LinkedIn Resume Assistant feature and set to False
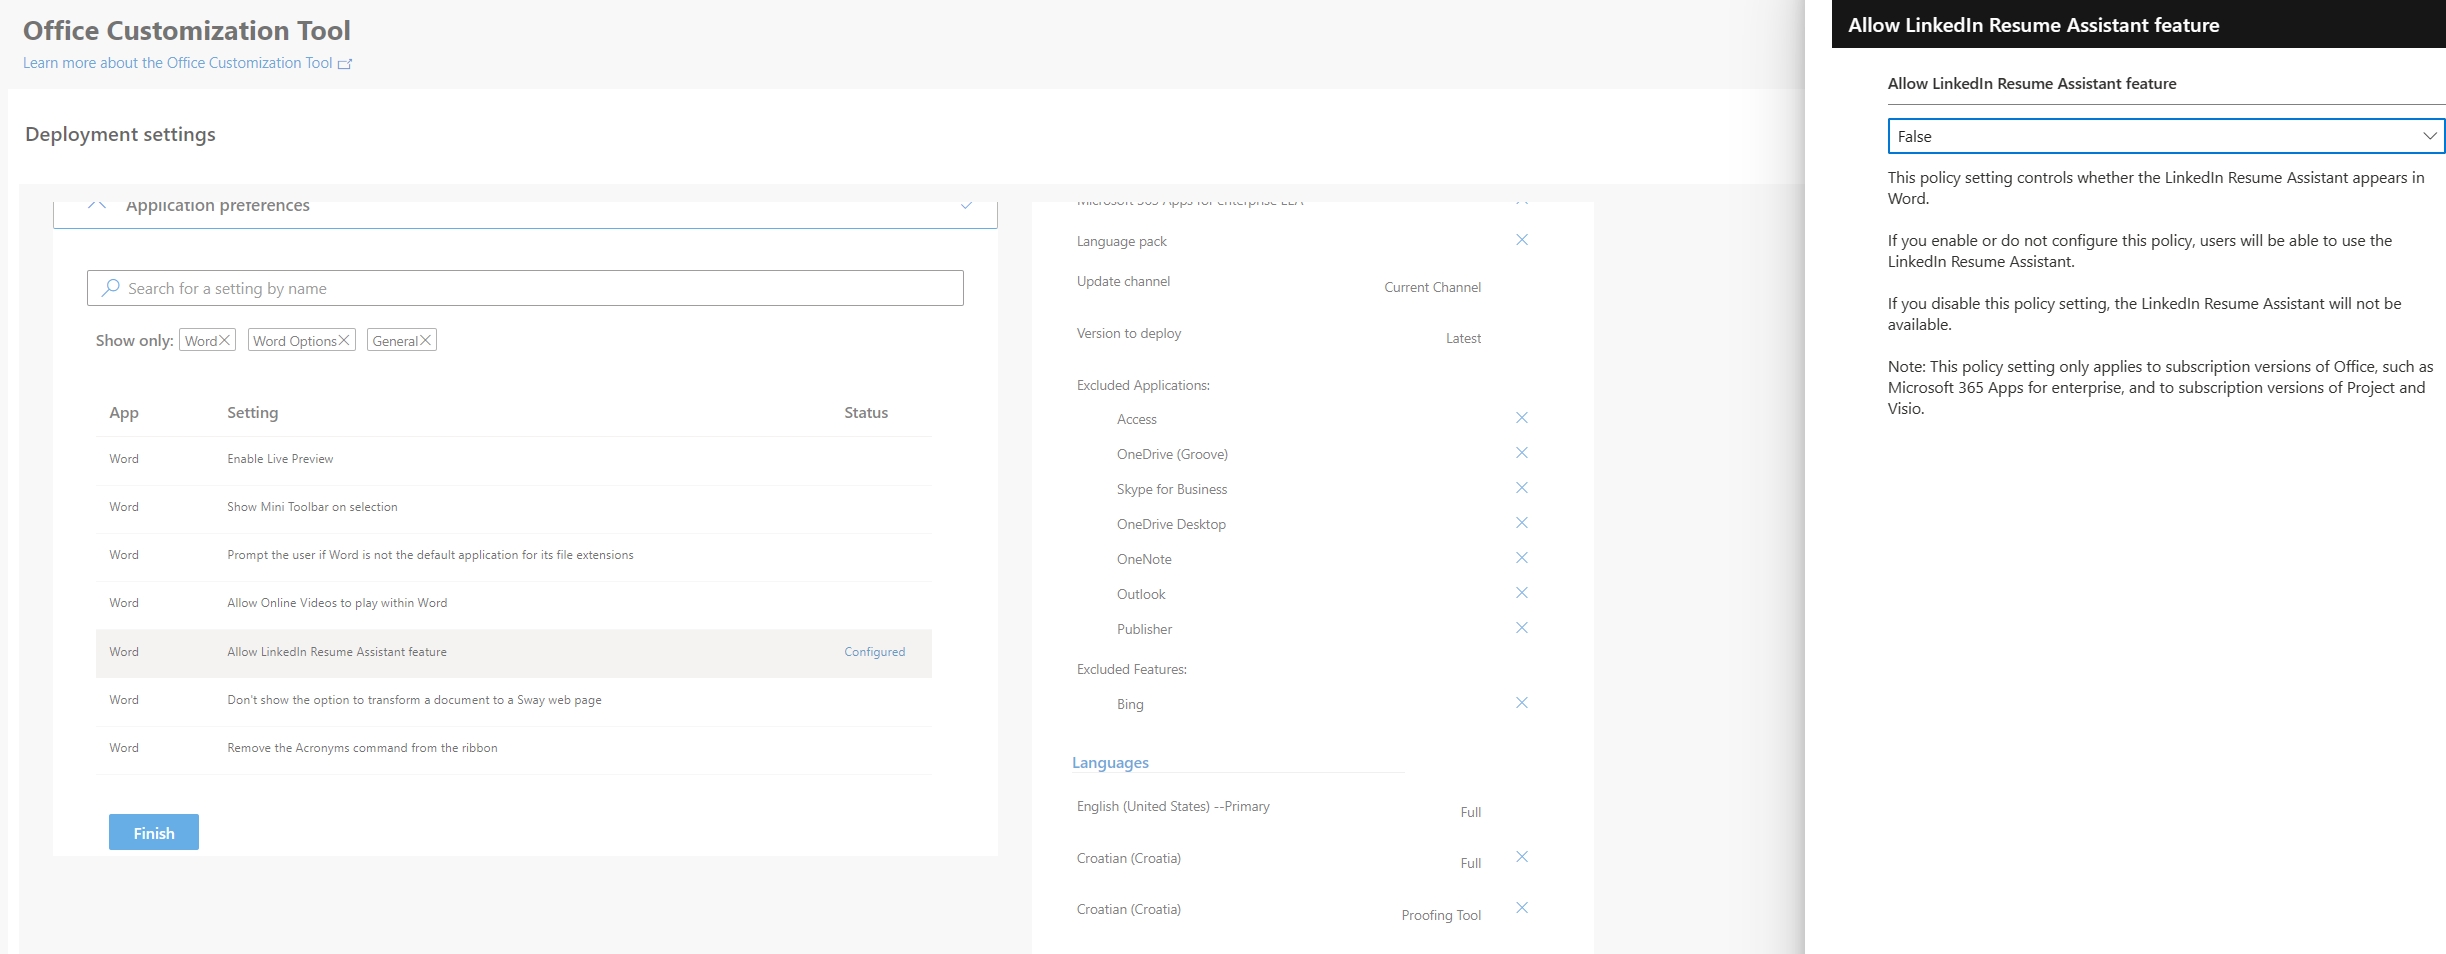
To navigate back, press X next to option/menu under Show only:
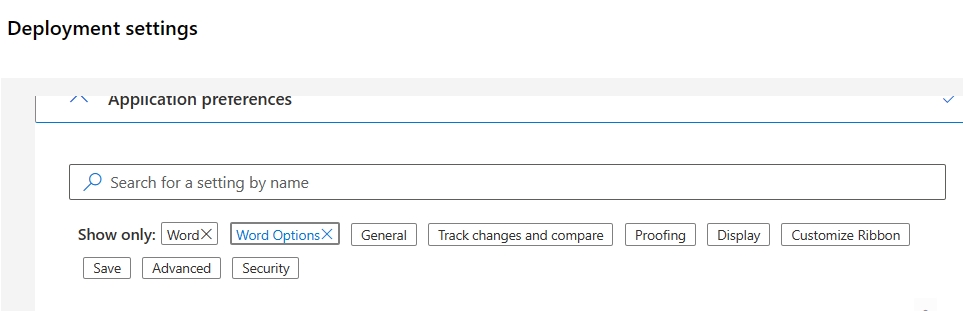
You get the idea. This is how you can set some of the options inside each app within Office suite.
I also set in Word/Excel/Powerpoint default Save location to local PC. I haven’t found option in Application preferences for disabling cloud (onedrive) save, so if you need that, after you deploy Office you can go (in Word, Excel) to File | More | Options | Save tab. There turn on “Save to computer by default” option and turn off “AutoSave files stored in the Cloud by default in Word”. Save and autorecover locations can be set in Application preferences above.
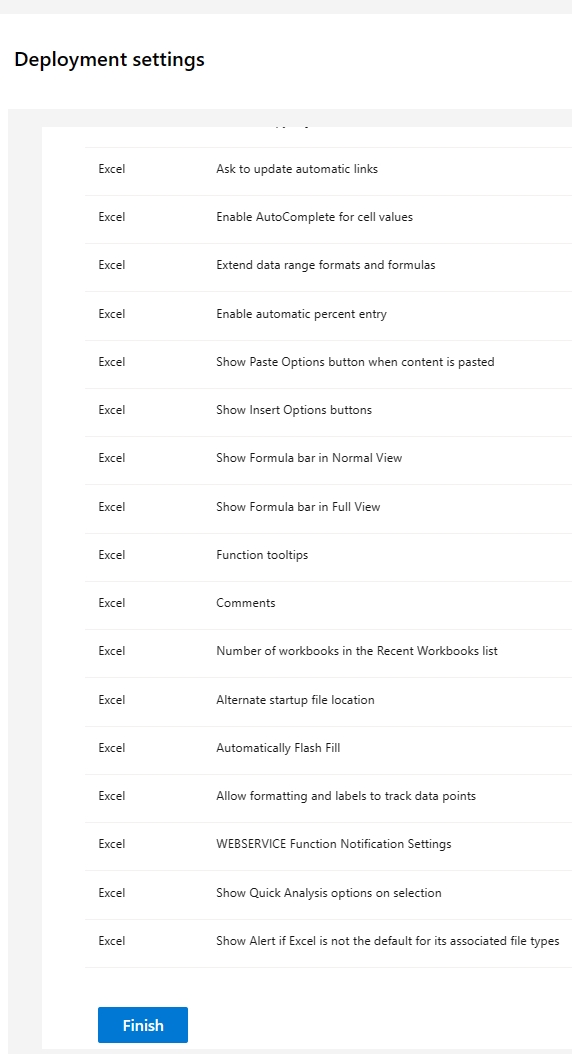
When you are done – click Finish
On the right side you’ll be able to check all you settings, and if you are satisfied, click Export
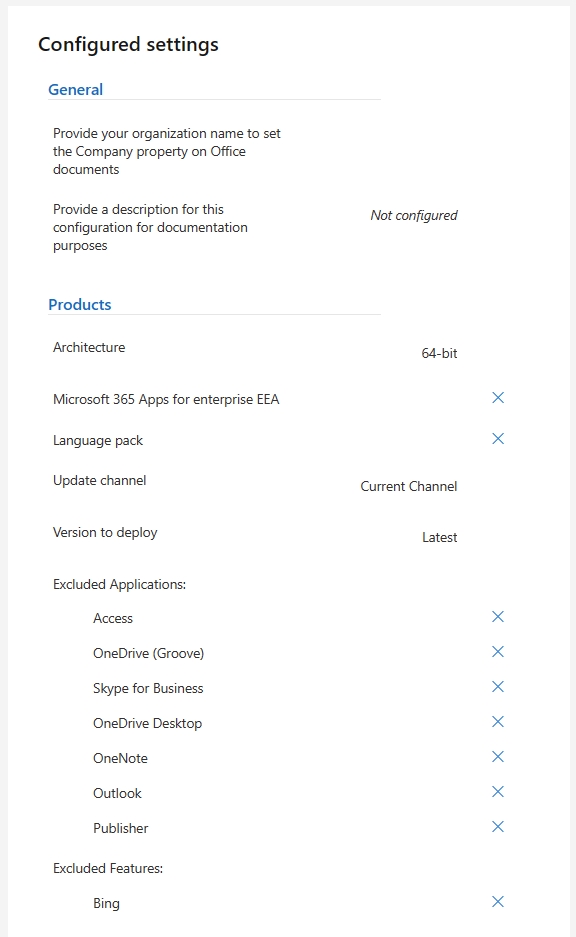
Select Export if you are done, and don’t need corrections
Keep current settings – OK
Confirm I agree, name your config and export
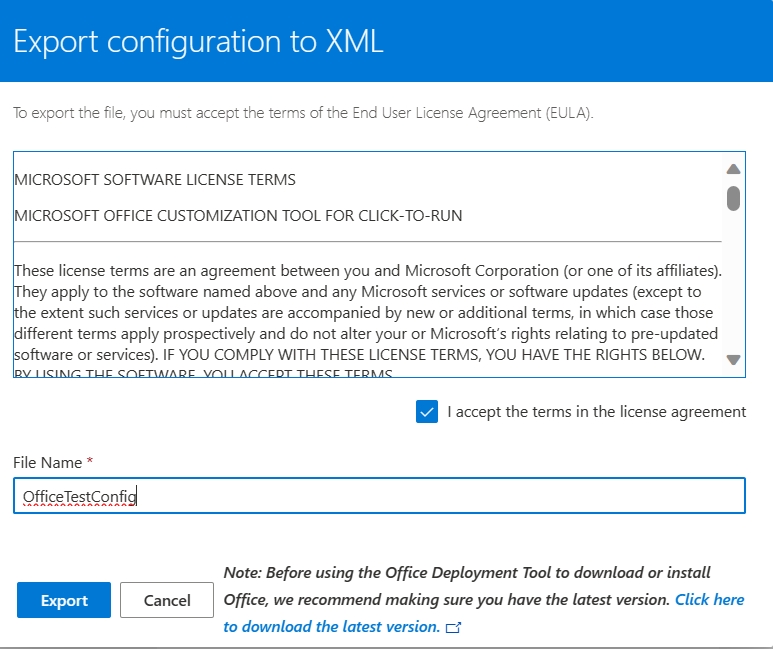
File will be saved to Download folder on your computer. Copy your created .xml file to OfficeDeploy directory.
Download and install M365 customized Office
Now, to the final part. If I did everything correctly, I will only get Word, Excel and Powerpoint. This part consists of two sections – first, we will download M365, and the with another command install downloaded.
Download
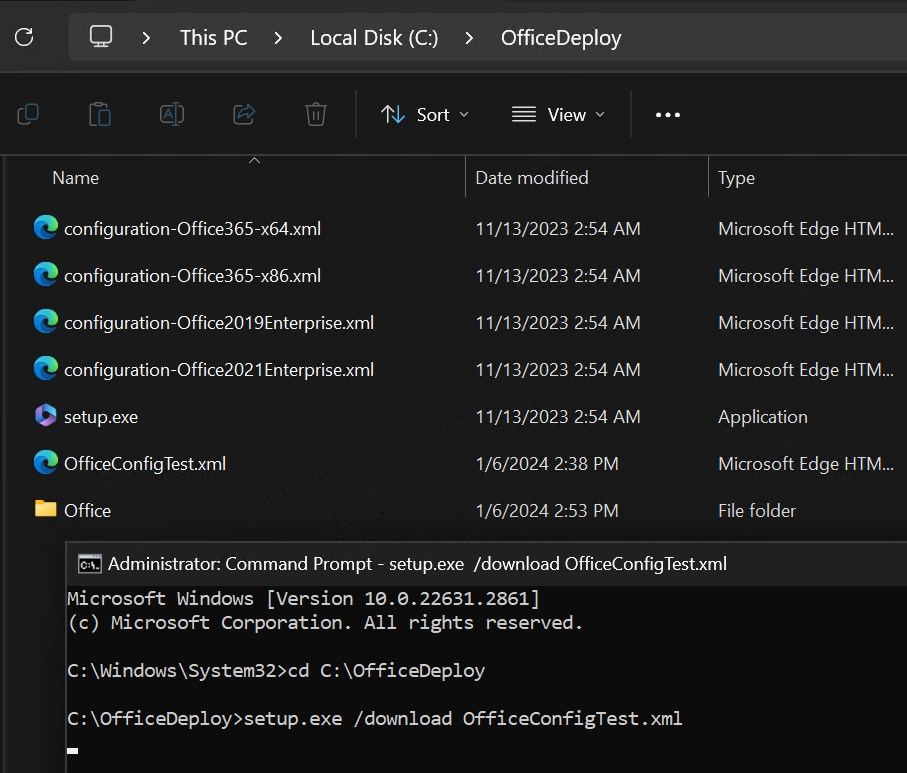
Let’s begin. find Command Prompt, right click on it, and select Run As Administrator. Then navigate to C:\OfficeDeploy
From there, execute following command which will download Office installation:
setup.exe /download OfficeConfigTest.xml/download switch will run command in download mode and then look for everything it needs in the OfficeConfigTest.xml file we provided.
If everything is going well, you’ll get new folder named Office in C:\OfficeDeploy
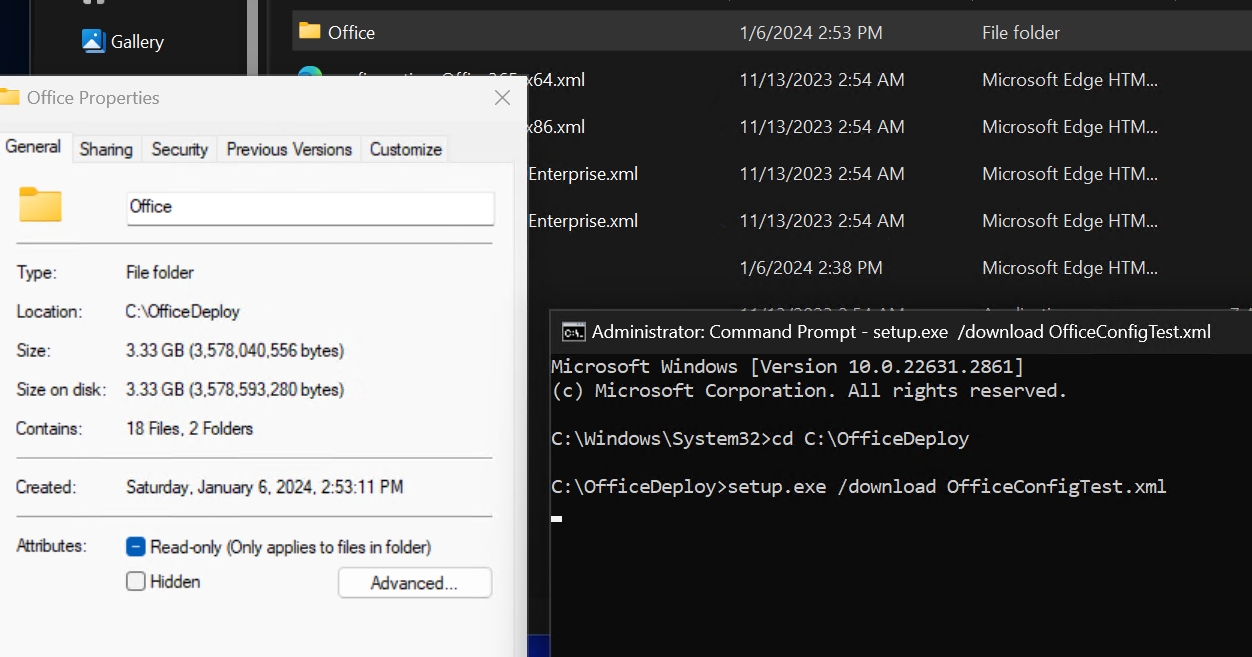
Command may take some time, depending on your internet speed. Command won’t signal you when it is done unfortunately. Right click on created Office directory, select Properties and check size. If size doesn’t change for some time, we can assume download is done. Not the best way to check if download is done, but it is, what it is.
Installation
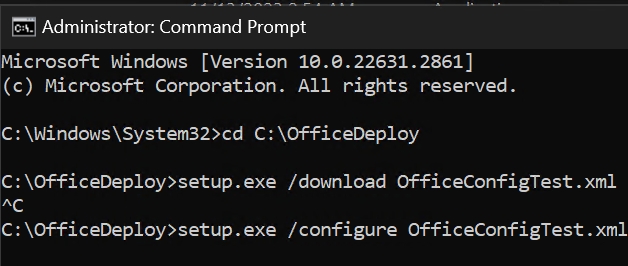
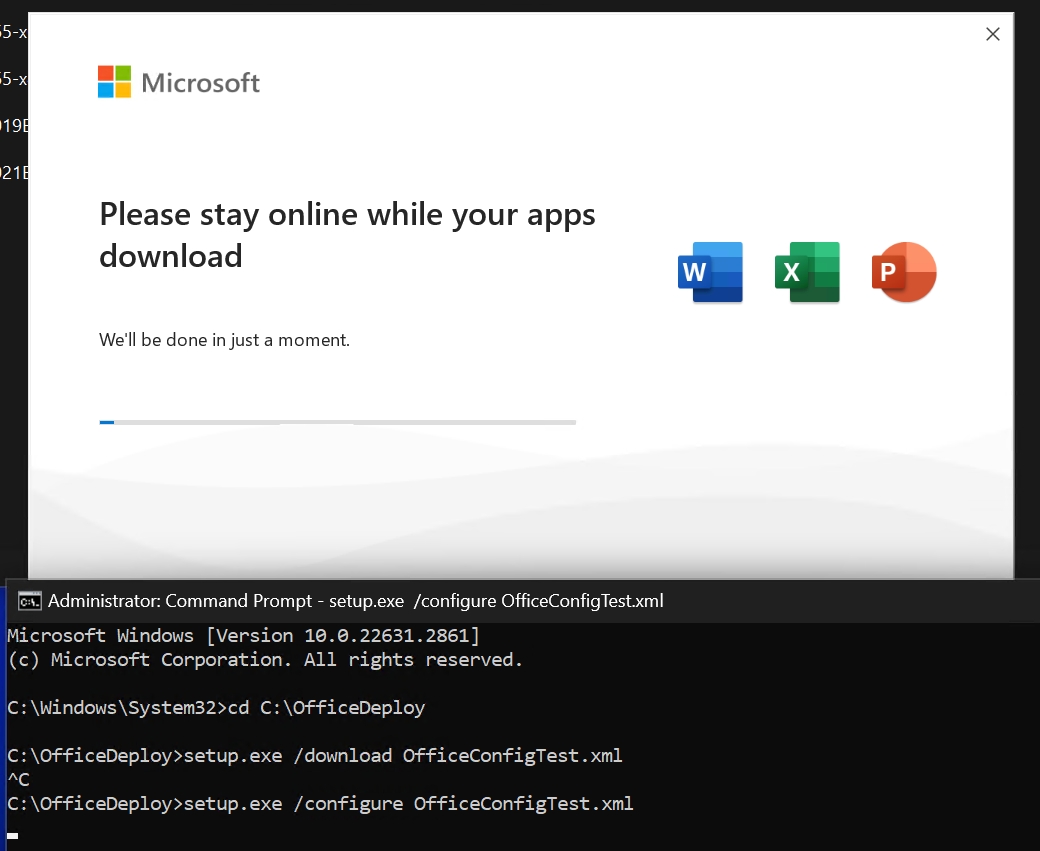
Stay in Command prompt we opened, if download command is still running, you can terminate it by running CTRL+C inside Command prompt.
We will now installed downloaded package.
setup.exe /configure OfficeConfigTest.xmlWe will now install downloaded Office package, and for that we will run /configure mode.
Install will start
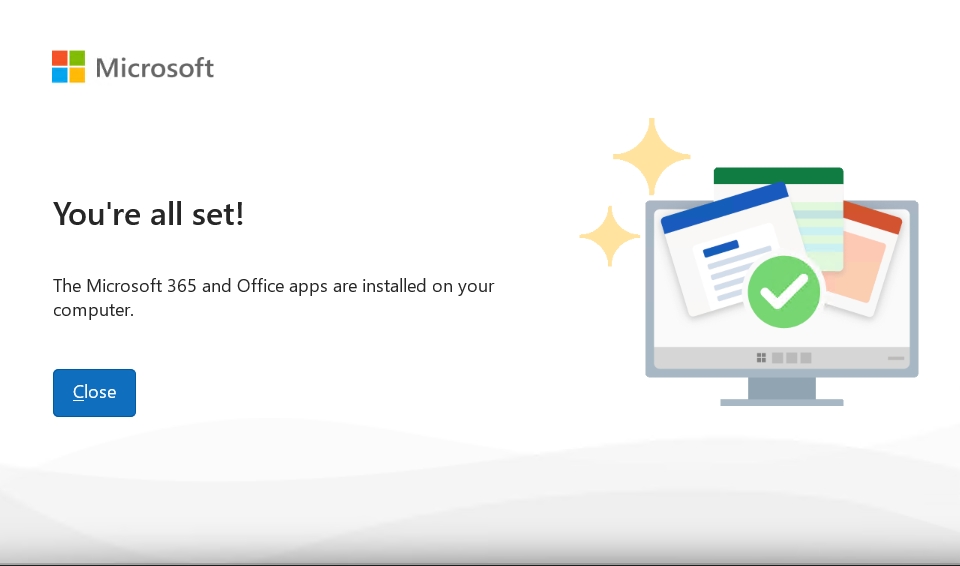
Done. Close, you can also close the Command Prompt now, as we should have installed Office on out PC.
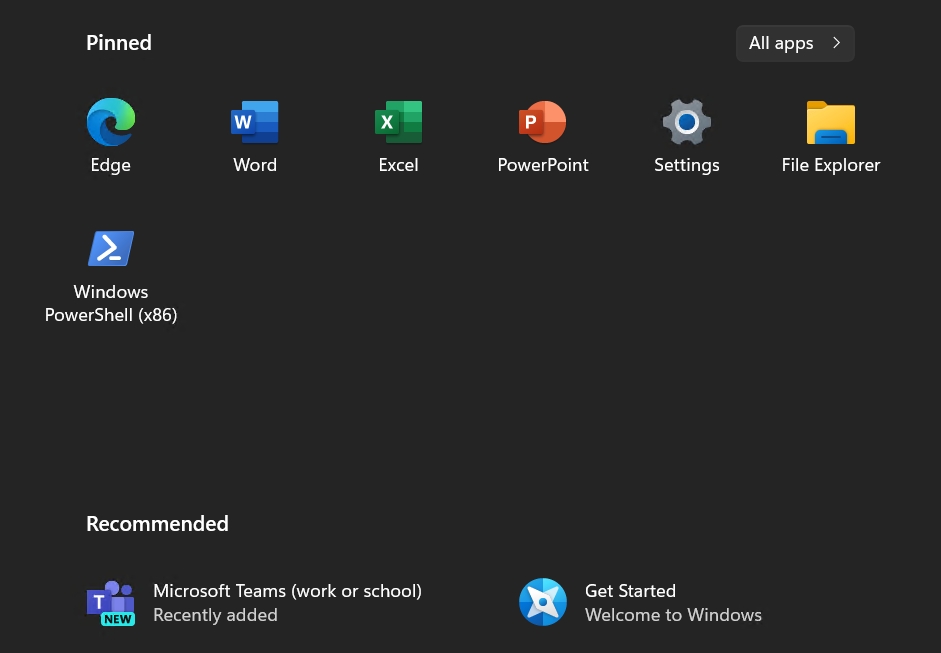
Let’s check our installation. We indeed have only Word, Excel and PowerPoint installation, which is great.
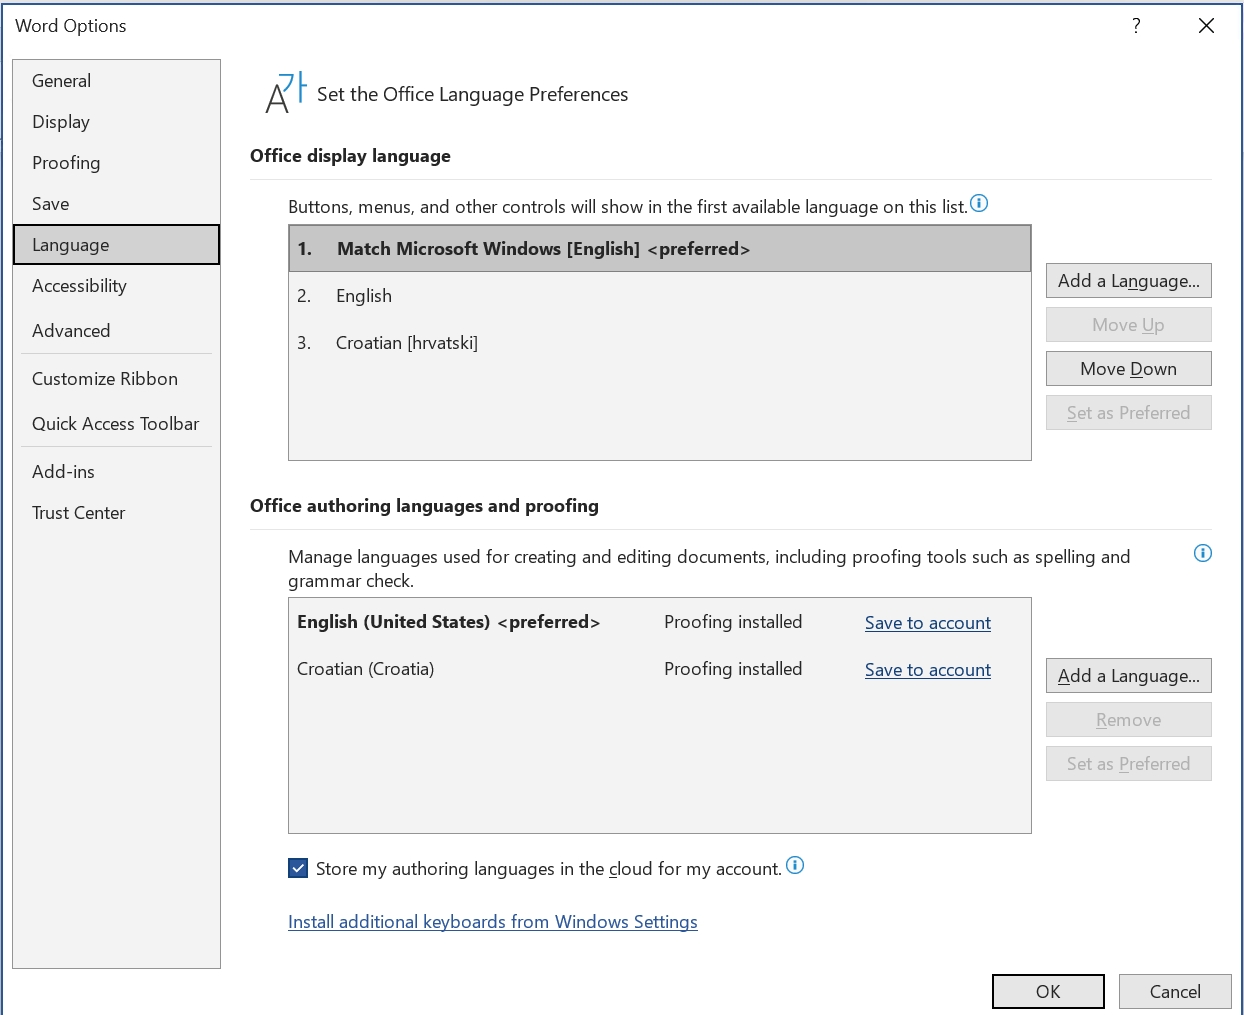
Also, languages and proofing tools we specified are properly installed and configured!
Conclusion
Customization and installation of custom Office installation was success. We did have to make a few steps to get what we want, but we managed to do it and have Office installation with apps and settings that we like.