There is a new Windows backup application in Windows 11 23H2, if you are here to read about that – you can skip this guide. I will cover here local backup and restore of complete Windows machine not tied to cloud or internet connection.
You can apply this technique on Windows Desktop or Server edition (with current versions as of 2024).
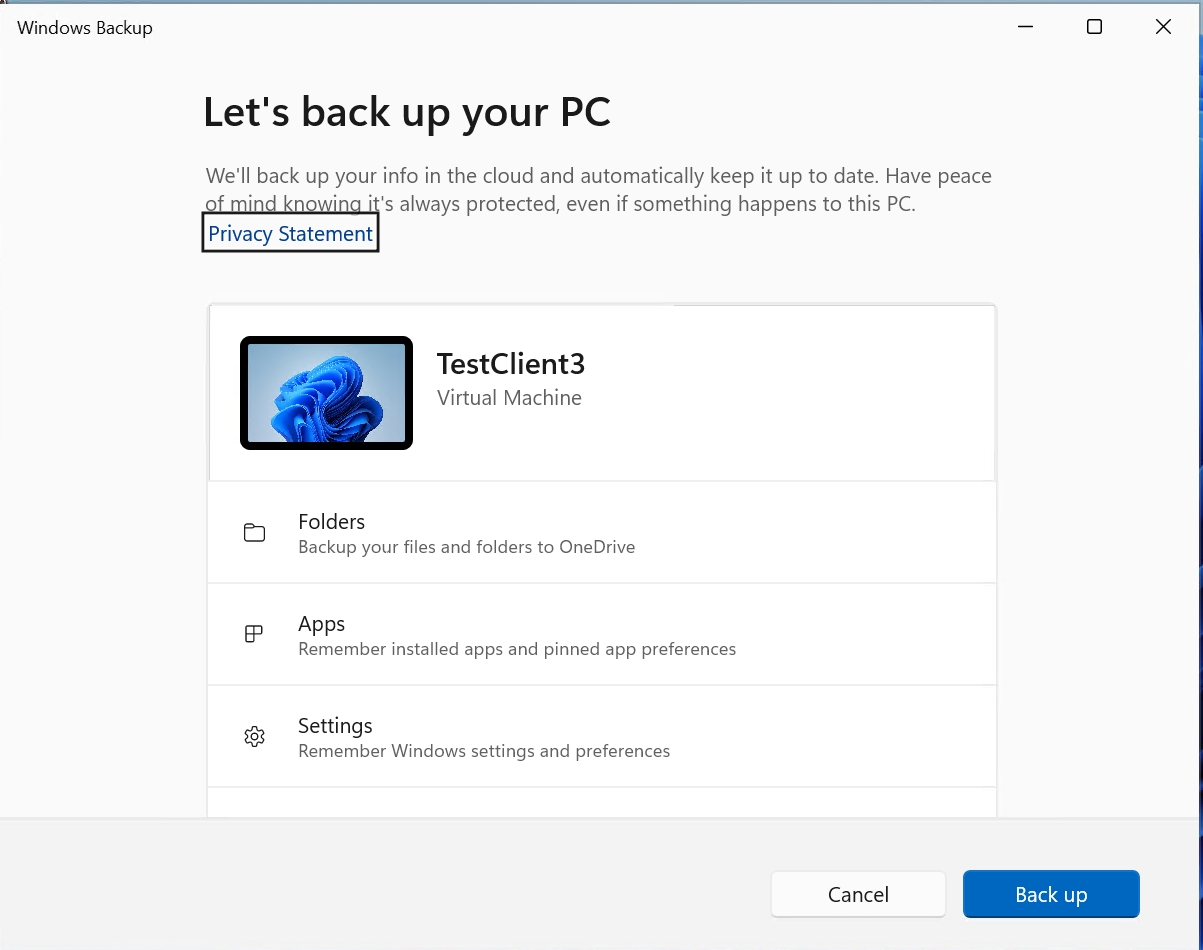
There is new Windows Backup app in Windows 11 23H2 – looks nice, but it will only backup to OneDrive. In this scenario I won’t be covering that. I want to have local backup of full machine.
Lab setup
I want to backup my machine called TestClient3 to local network file share. You can also backup to USB drive, NAS, network share, whatever… My choice for this lab is network file share on another machine. Network file share will be set on TestClient1 machine.
Whole lab is based on Windows 11 Enterprise 23H2
Both machines are in same network, and there is no domain set.
TestClient1 machine has user named Client1
TestClient3 machine has user named Client3
TestClient1 setup
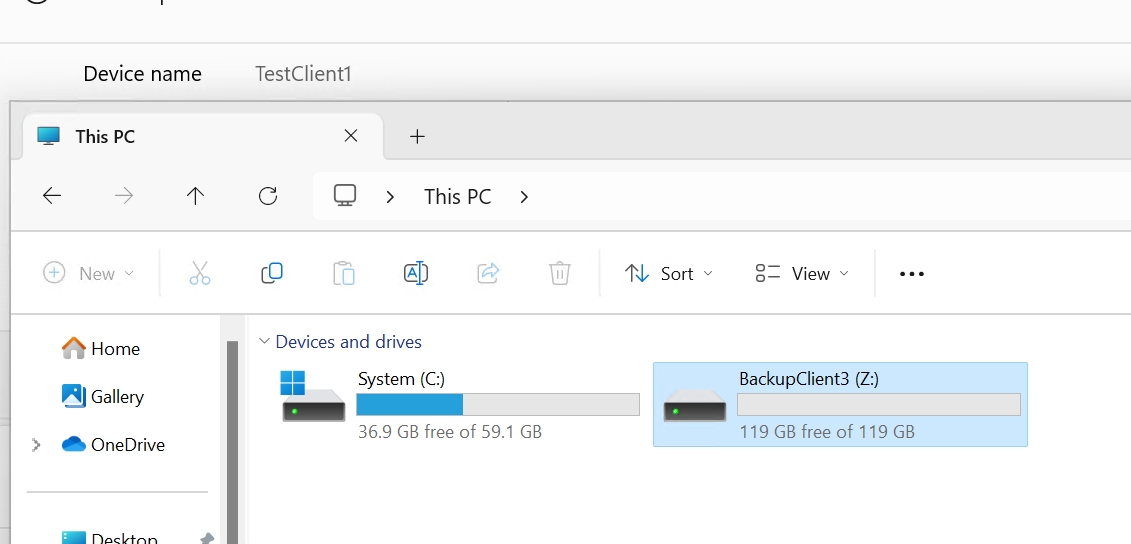
On TestClient1 I have additional disk named BackupClient3 on Z:\ inside the drive I created one folder named Z:\BackupClient3
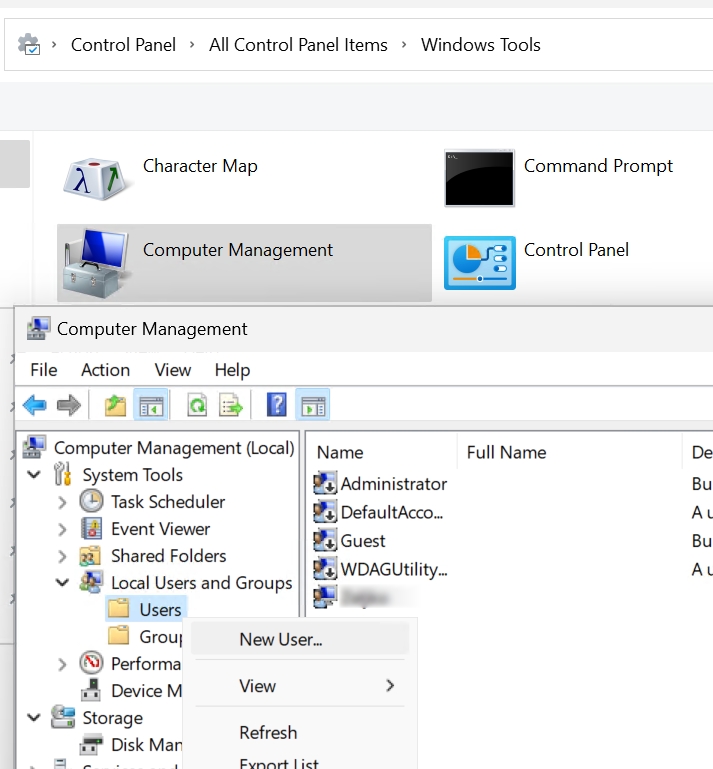
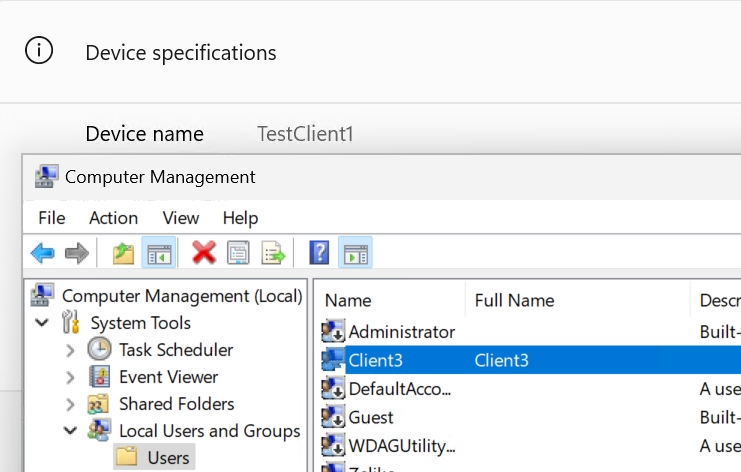
In Control Panel | Windows Tools | Computer Management | under System Tools expand Local Users and Groups | right click on Users and select New User
We need to create same user we have on TestClient3 machine, we will need it for backup. So,
Under username I will enter Client3, I will also define same password for Client3 as it is on TestClient3 VM, and select in this test lab – Password never expires. Create
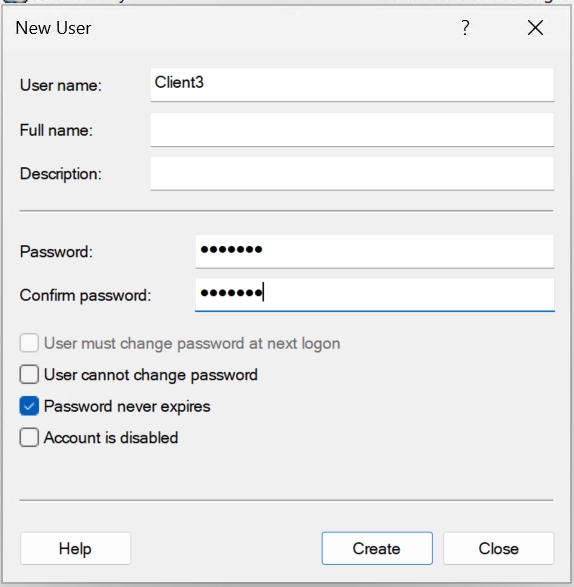
Now we have Client3 user on our TestClient1 VM
Why did we created exact same user for TestClient3 machine on TestClient1 machine? We need same user so that TestClient3 can successfully access shared on TestClient1 machine.
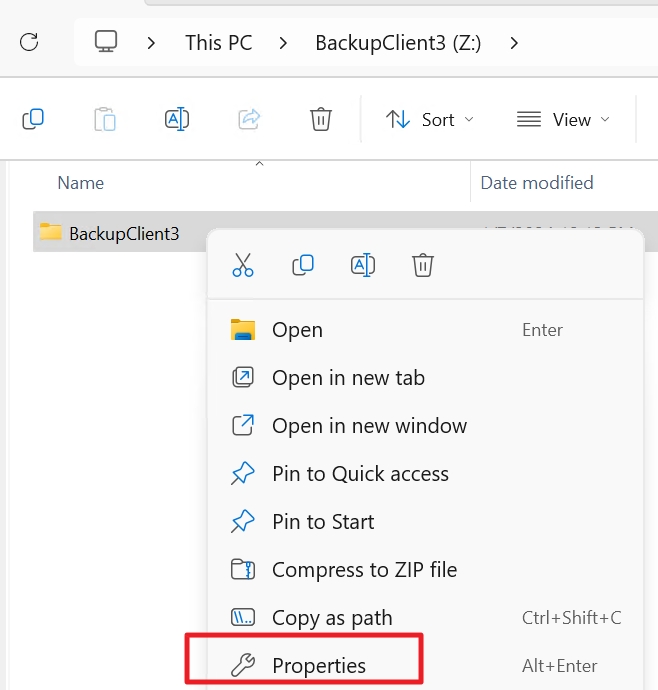
Now, go back to File Explorer on TestClient1, and go to Z:\BackupClient3 folder and right click on it. Select Properties
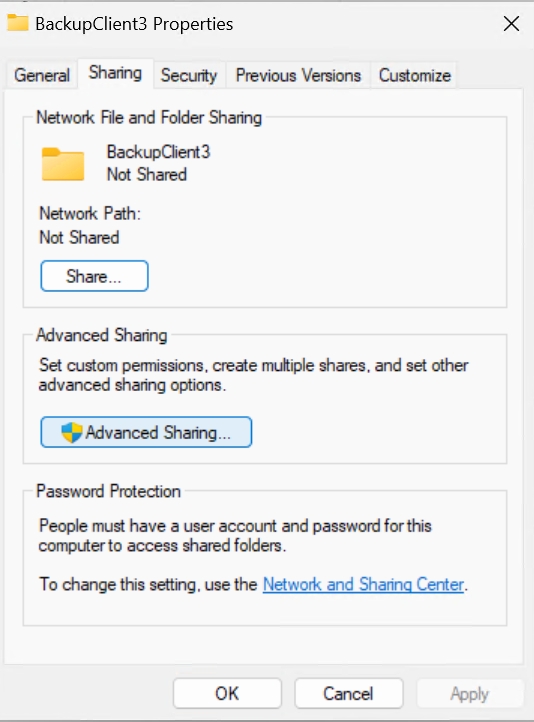
Go to Sharing tab and select Advanced sharing
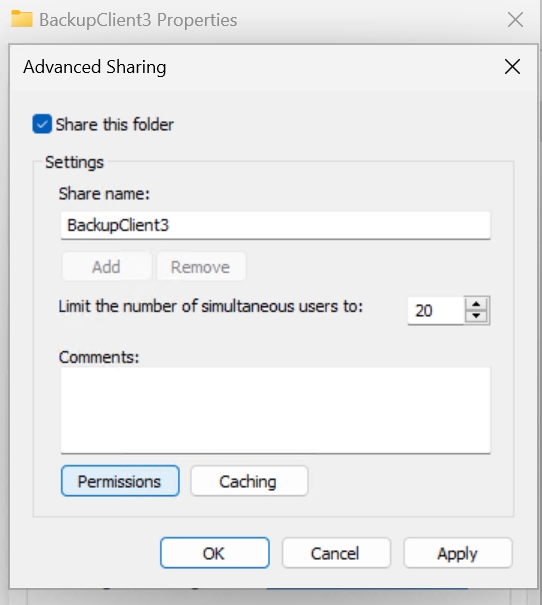
Click on Share this folder. And after that click on Permissions.
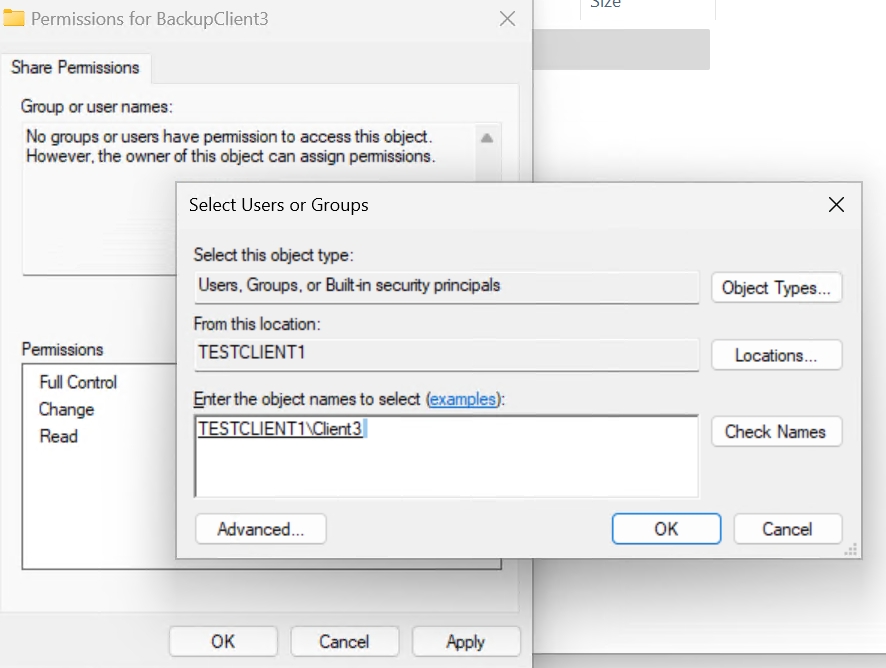
Click on everyone and then click Remove. Click on Add and in new window under “Enter the object name to select” type Client3 and press Check Names button. You should get confirmation like in the picture below. Select OK.
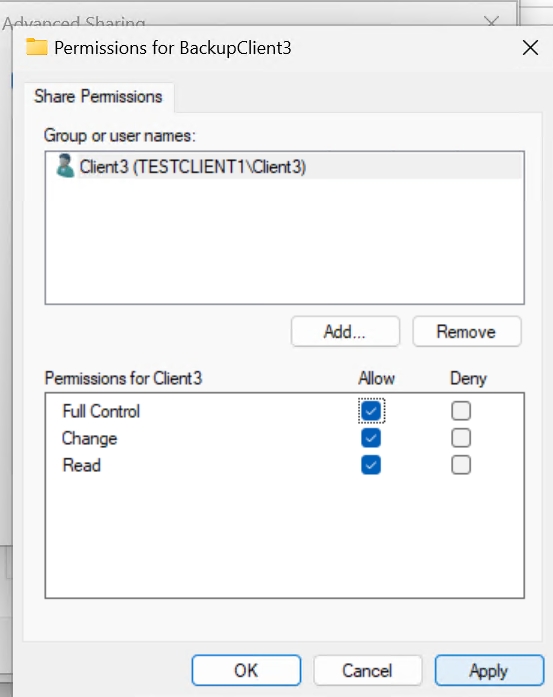
Client3 user is added. Under Permissions Allow everything and confirm with Apply | OK twice. Stay in Properties window!!
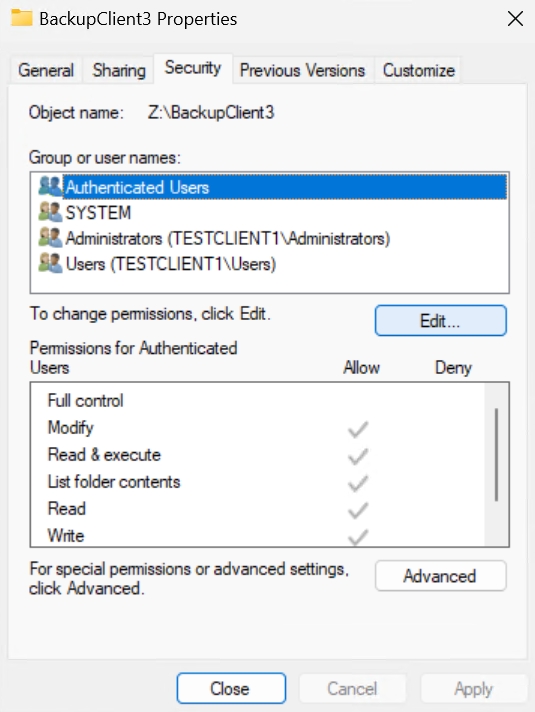
As I said, don’t close properties of BackupClient3 folder, switch to Security tab and click on Edit. Repeat procedure we’ve done on Advanced Sharing tab.
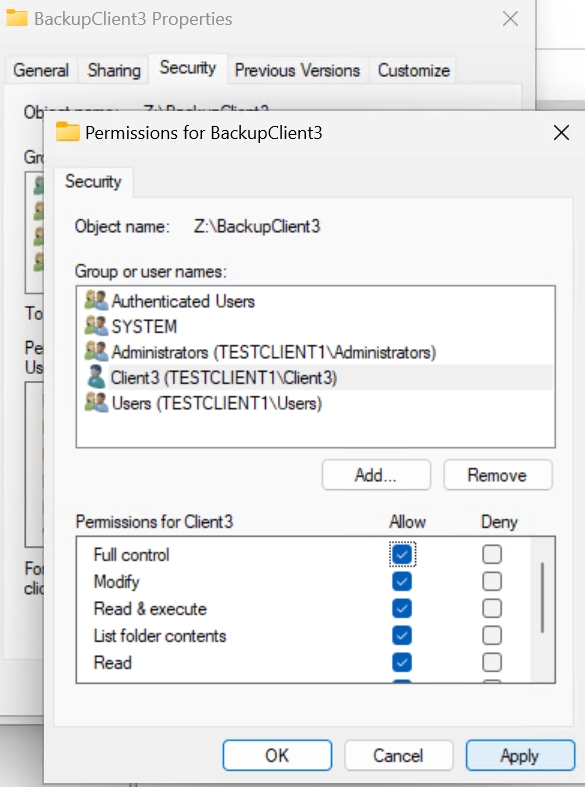
Click on Add, enter Client3 as name, click on check names – click on OK. Now, you should have Client3 in Group or user names listed. Select Full control.
Click Appy | OK | Close to completely close the window.
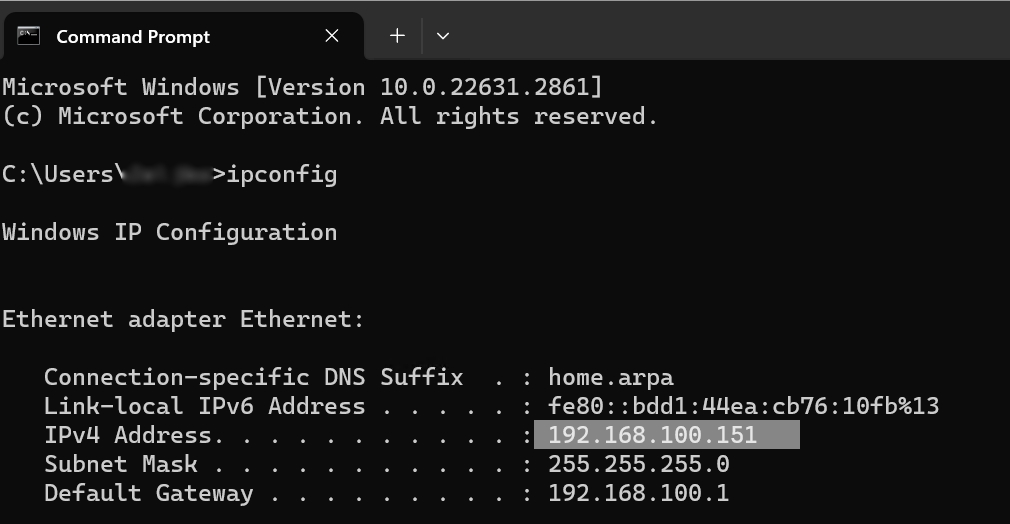
It should be nice to have fixed IP on the machine we will backup to. How to set fixed local IP on a machine is beyond scope of this guide. While we are on TextClient1 in search we will enter cmd which will offer to us Command Prompt. Click to start Command Prompt – and type in CMD following command
ipconfigNote IP address displayed in IPv4 Address filed. In my case it is 192.168.100.151.
We are done, if we done everything correctly we should be able to access shared folder on TestClient1 from TestClient3.
TestClient3 setup
TestClient3 is a machine that we will backup to shared disk on TestClient1 machine.
We will now test if we can access shared folder from TestClient3 on TestClient1
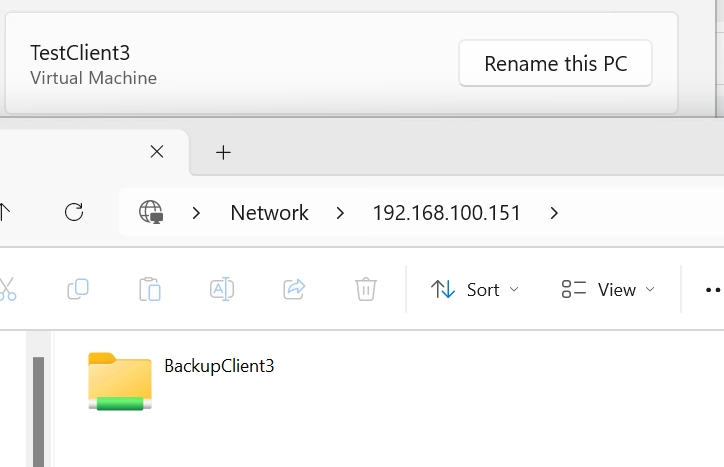
Start File Explorer and in address bar type in
\\192.168.100.151That is network path for TestClient1.
If we did everything ok, we should see created shared folder.
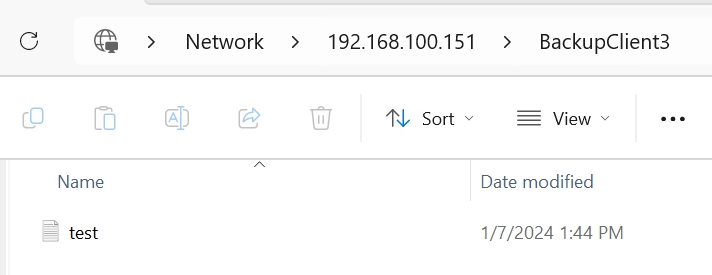
We should also be able to enter folder and create files in it. Great, everything works, we are ready to start backup procedure.
Backup TestClient3
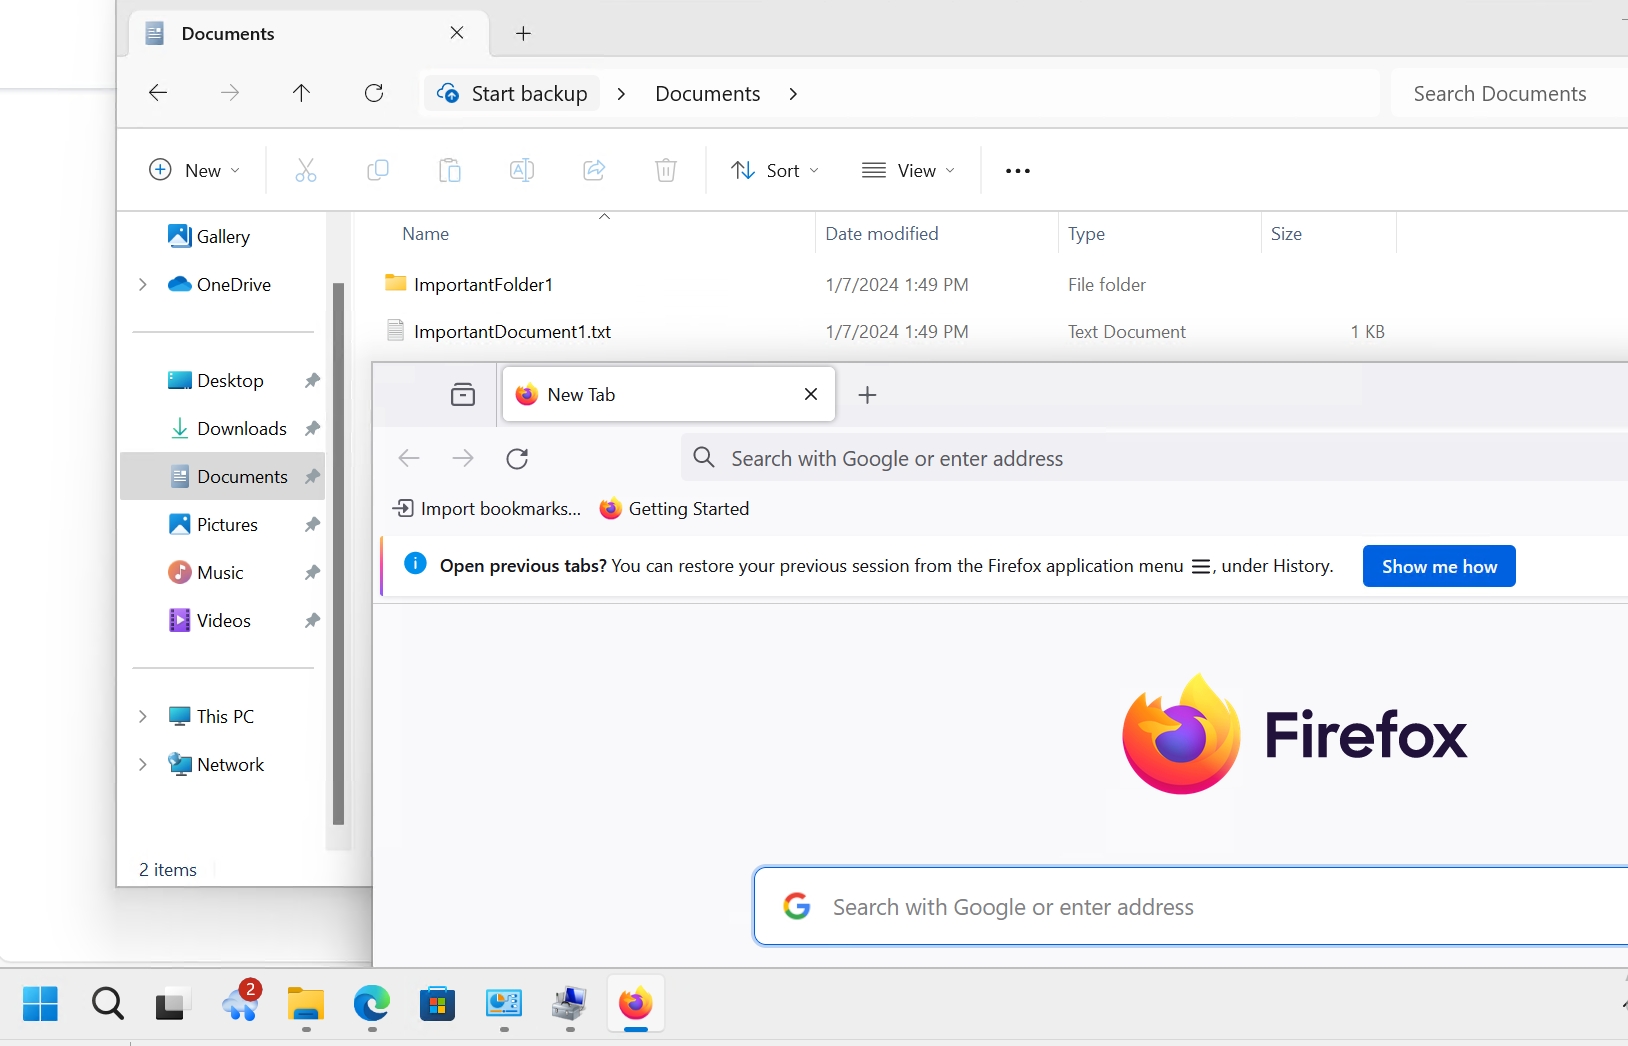
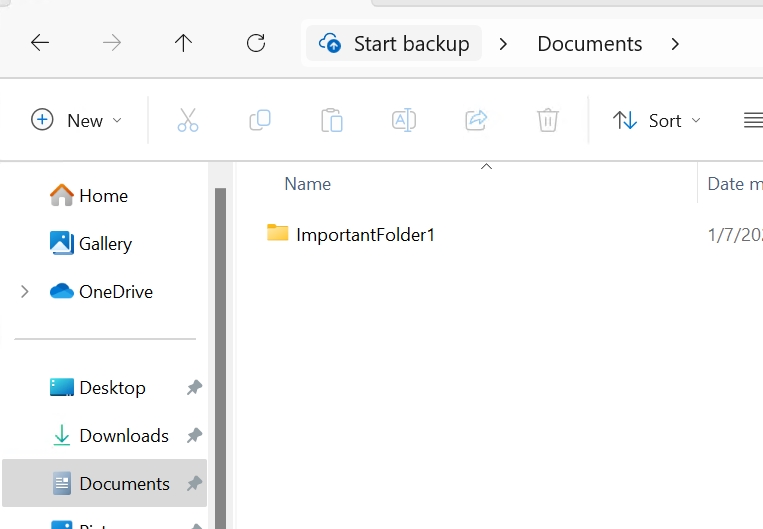
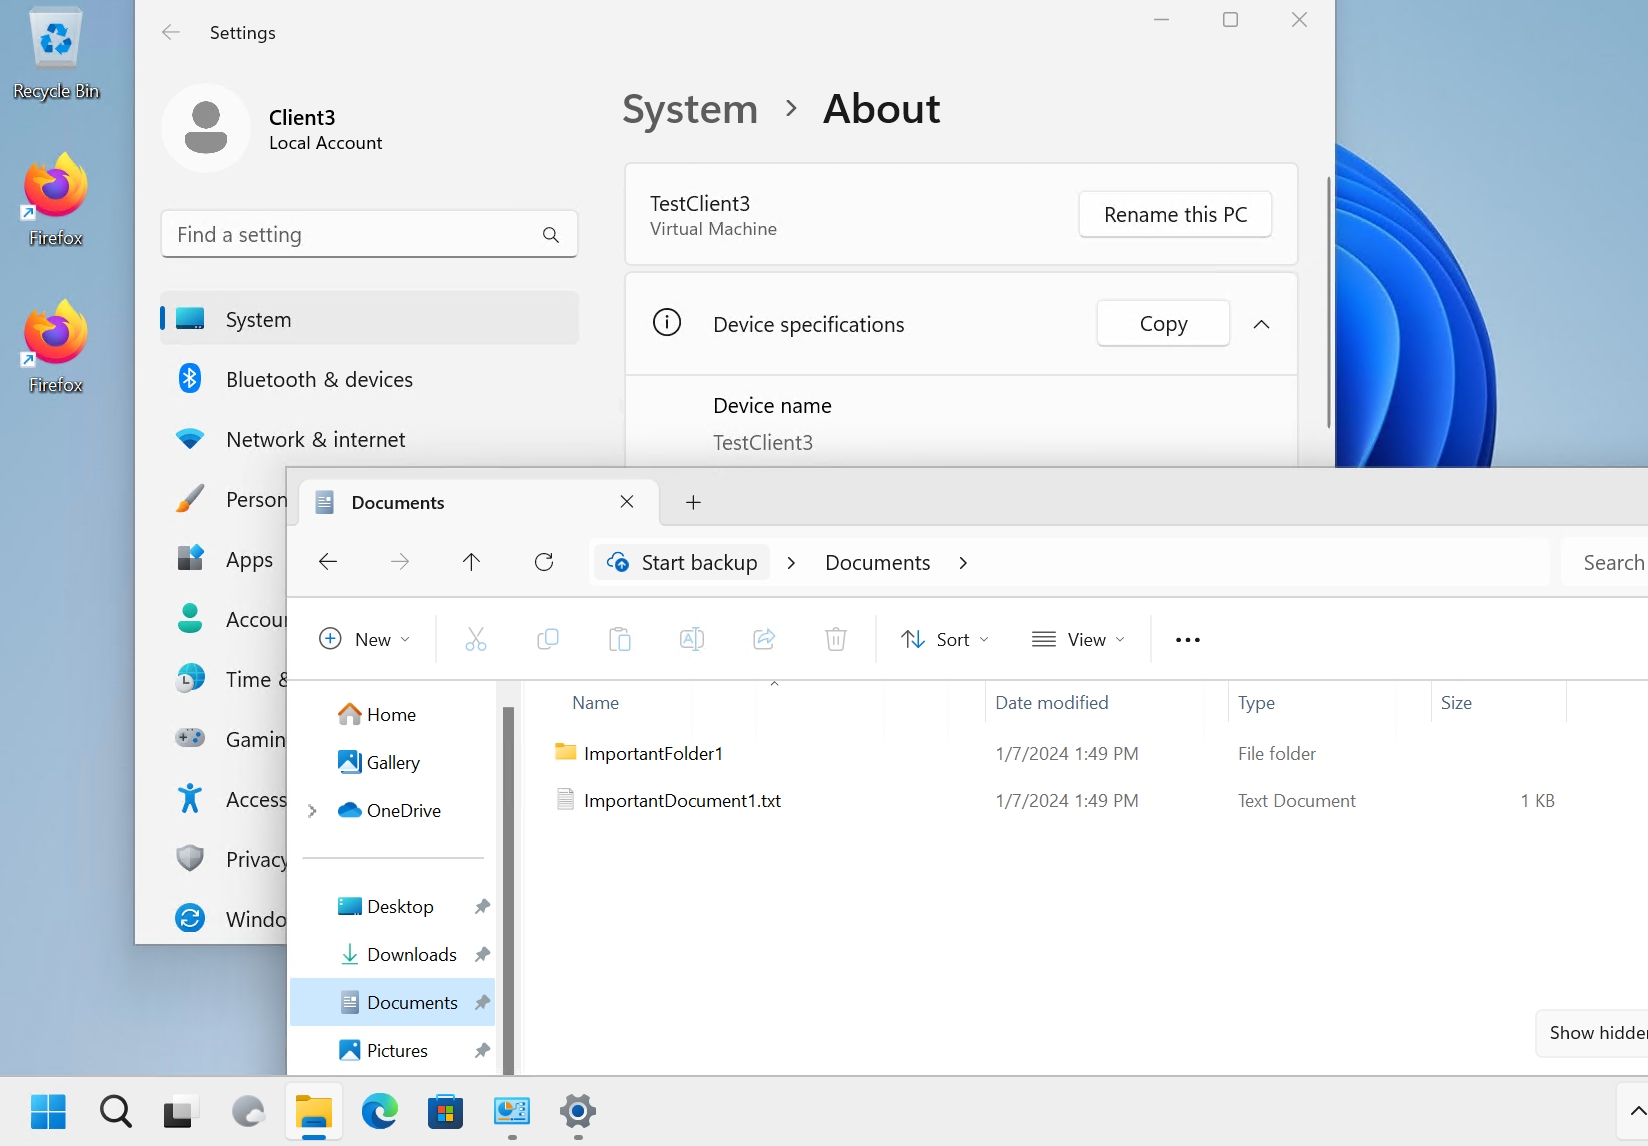
Before we start backup procedure, I made a document and folder inside Documents folder On TestClient3. I also made “ImportantFolder2” in root of C:\. I also installed Firefox and made customization to Taskbar – moved start button left, shrinked search icon… When we restore machine we should have these document, settings and apps inside OS.
Everything here we are doing on TestClient3 machine.
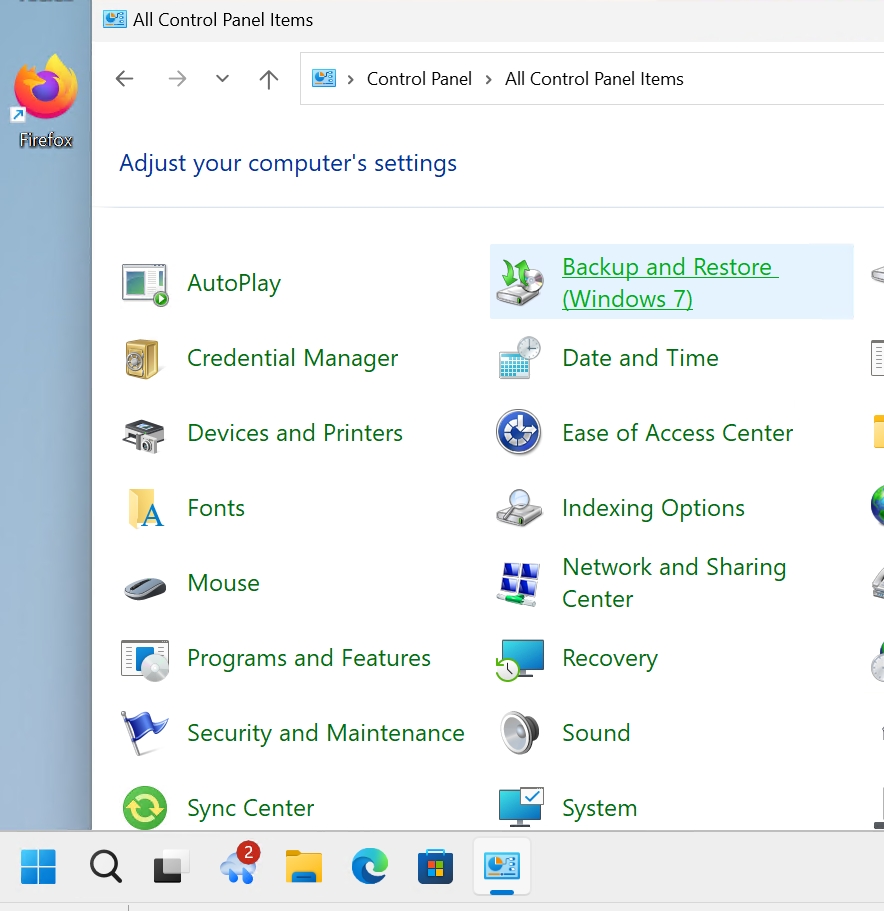
In search type Control Panel and enter Control Panel (to see all icons in control panel, on top right part select view by: large icons). In Control Panel select Backup and Restore (Windows 7)
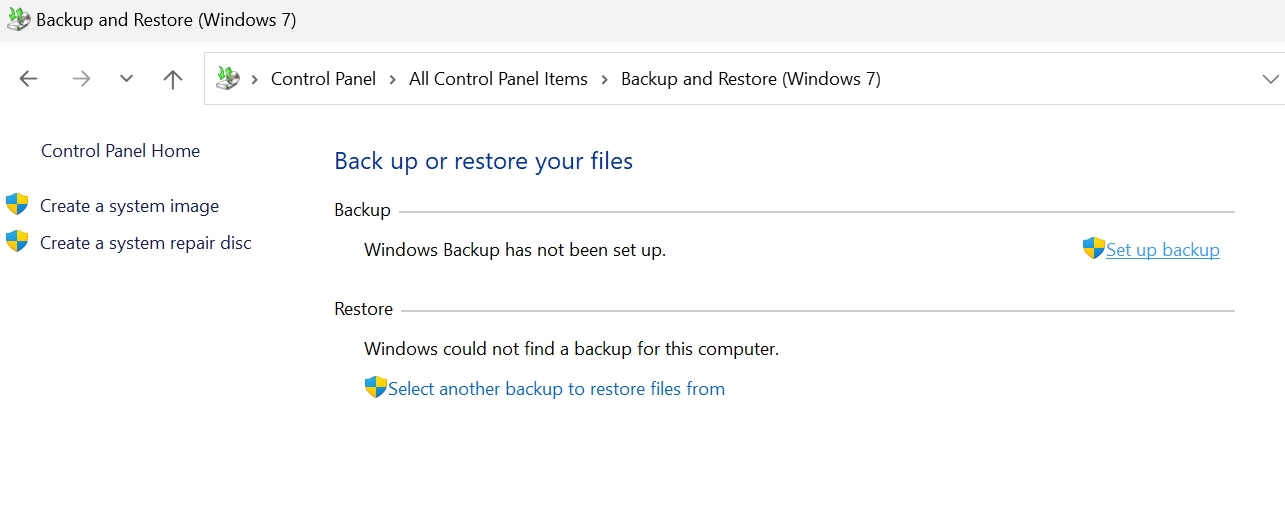
Select Set up backup
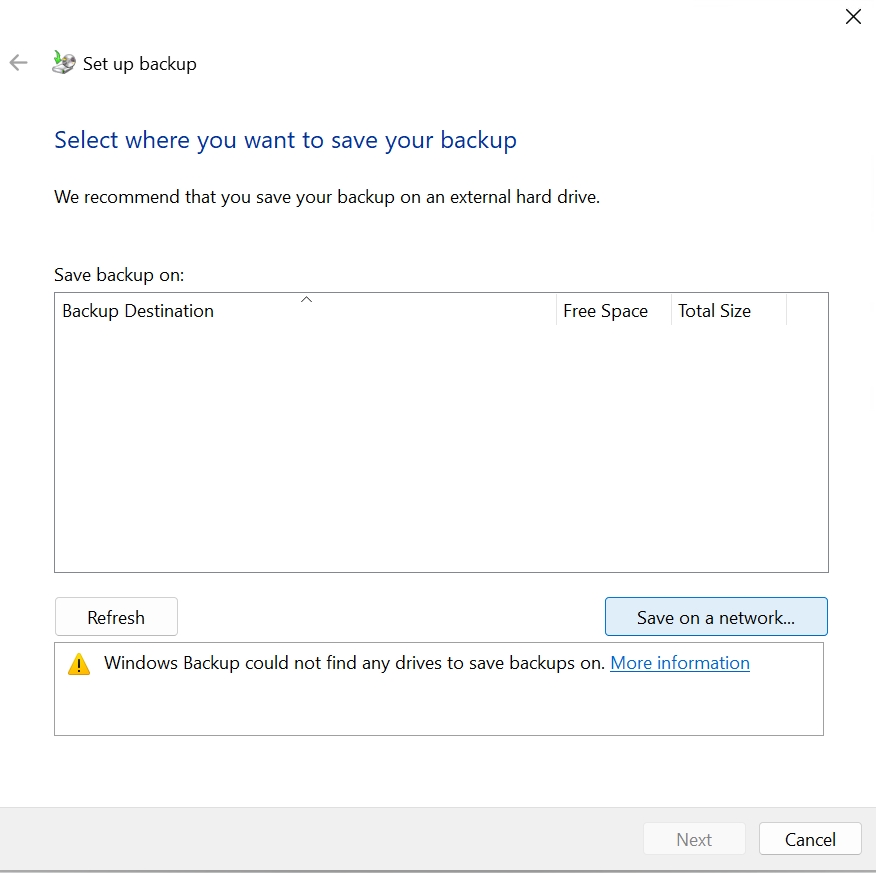
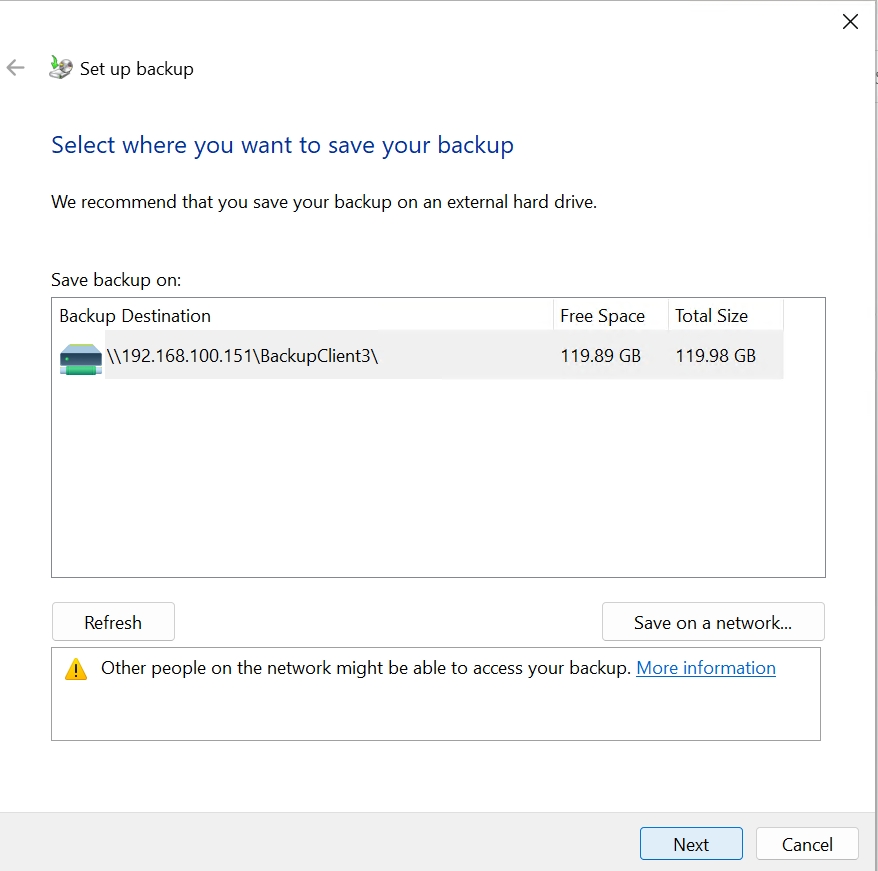
Click on Save on a network…
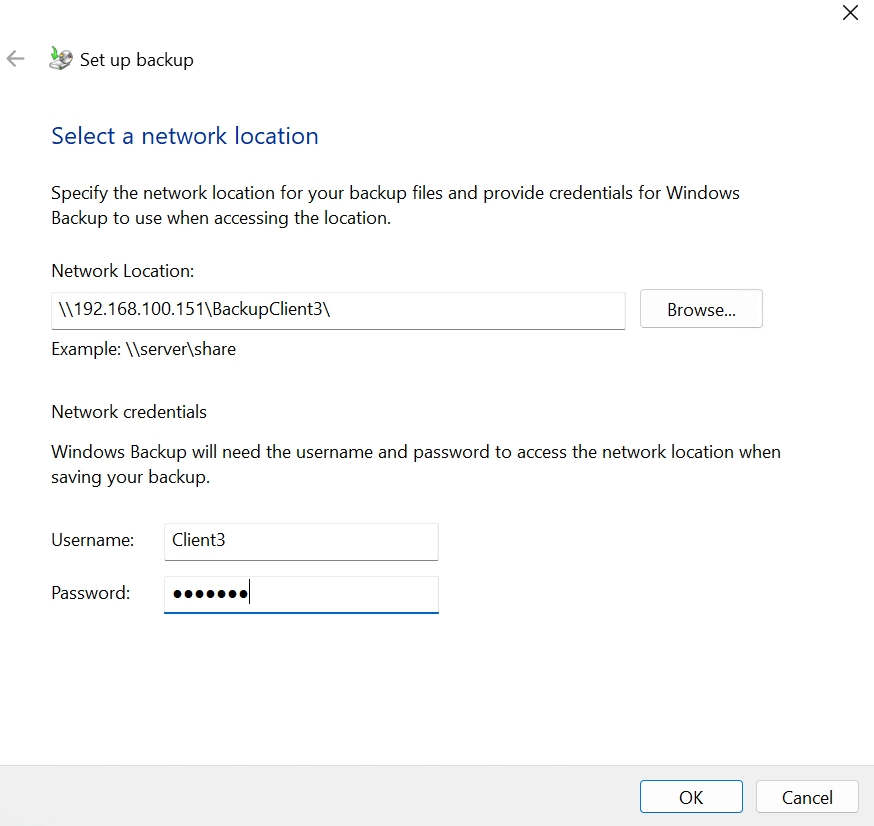
Enter network path, in my case that is \\192.168.100.151\BackupClient3, and under network credentials enter Client3 credentials we defined. OK
Now that a path is defined, we can proceed – Next
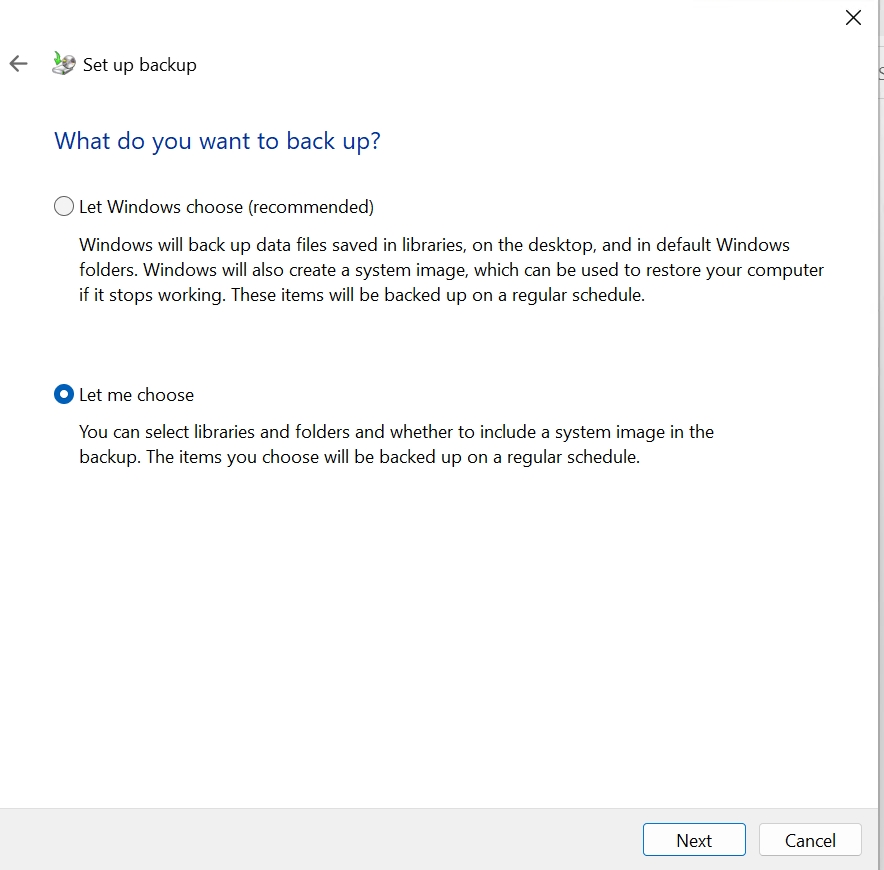
Let me choose – Next
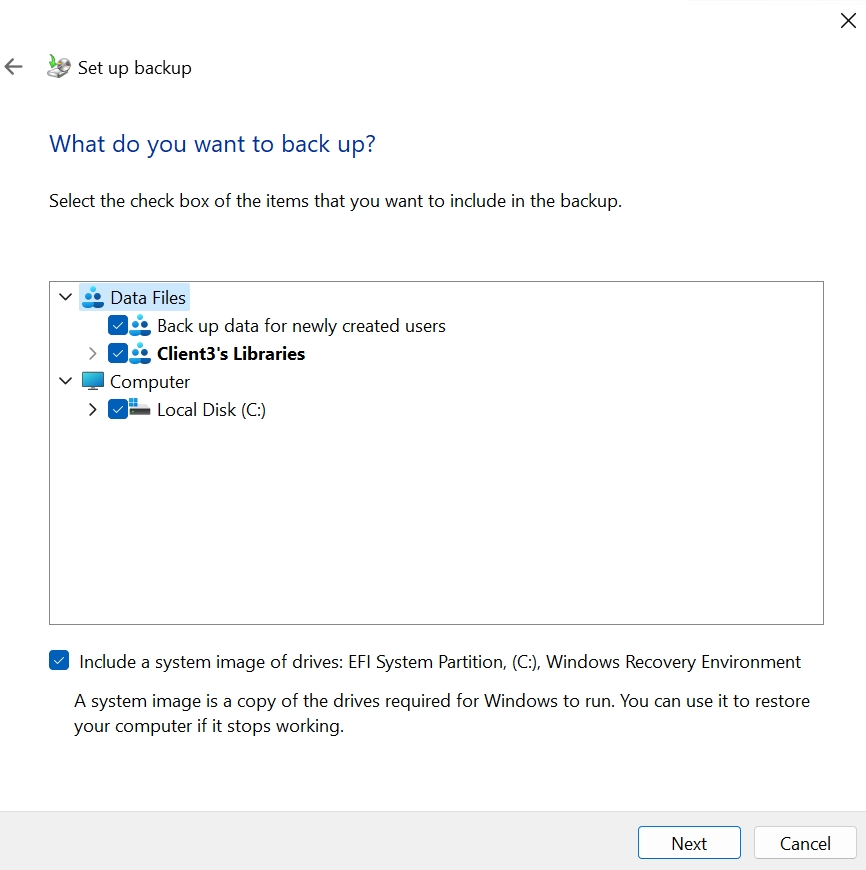
I will select absolutely everything and press Next
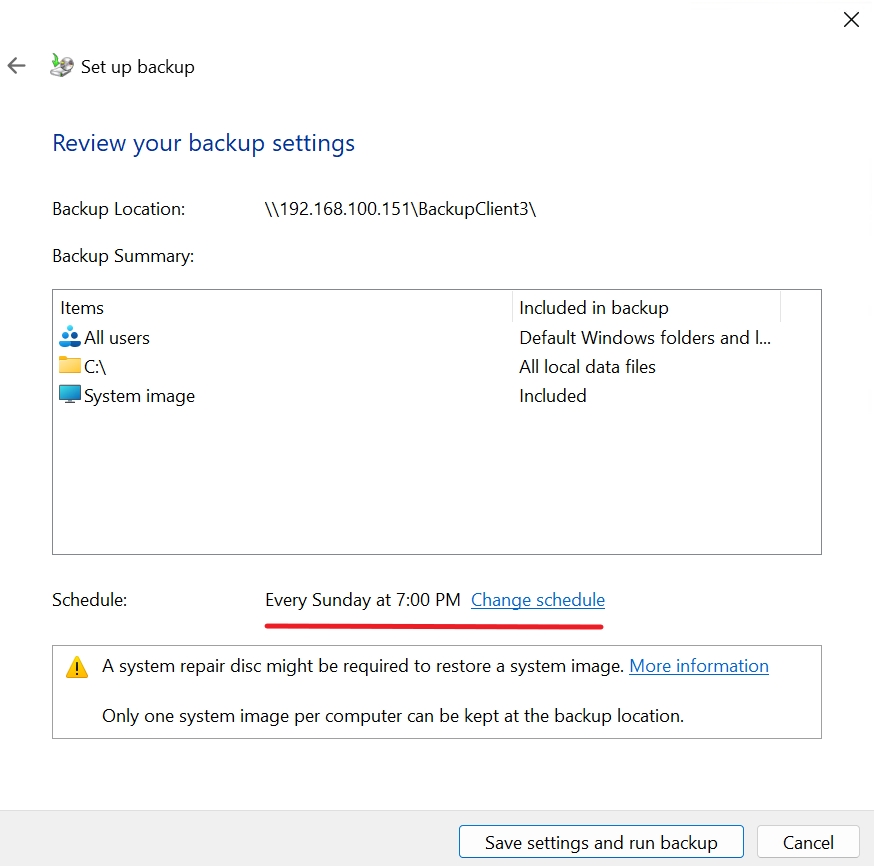
Define schedule you see fit, and select Save settings and Run backup. Schedule is important, you don’t want this as a one time backup. Also make sure that the share or drive is available on time when backup starts.
We will wait for backup to finish now…

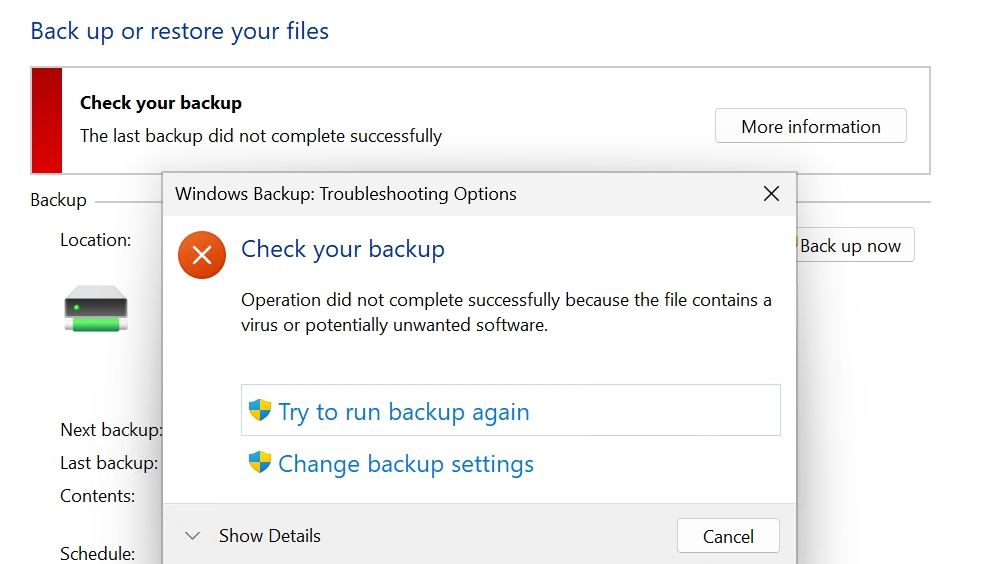
During the backup I got following pop-up. Entire lab is freshly installed and clean, with Firefox added. Windows Defender poped-up during backup and said there was a threat. Very strange, Firefox was official download. I put this here, so you know what you can expect, Defender may get involved, and your backup may fail.
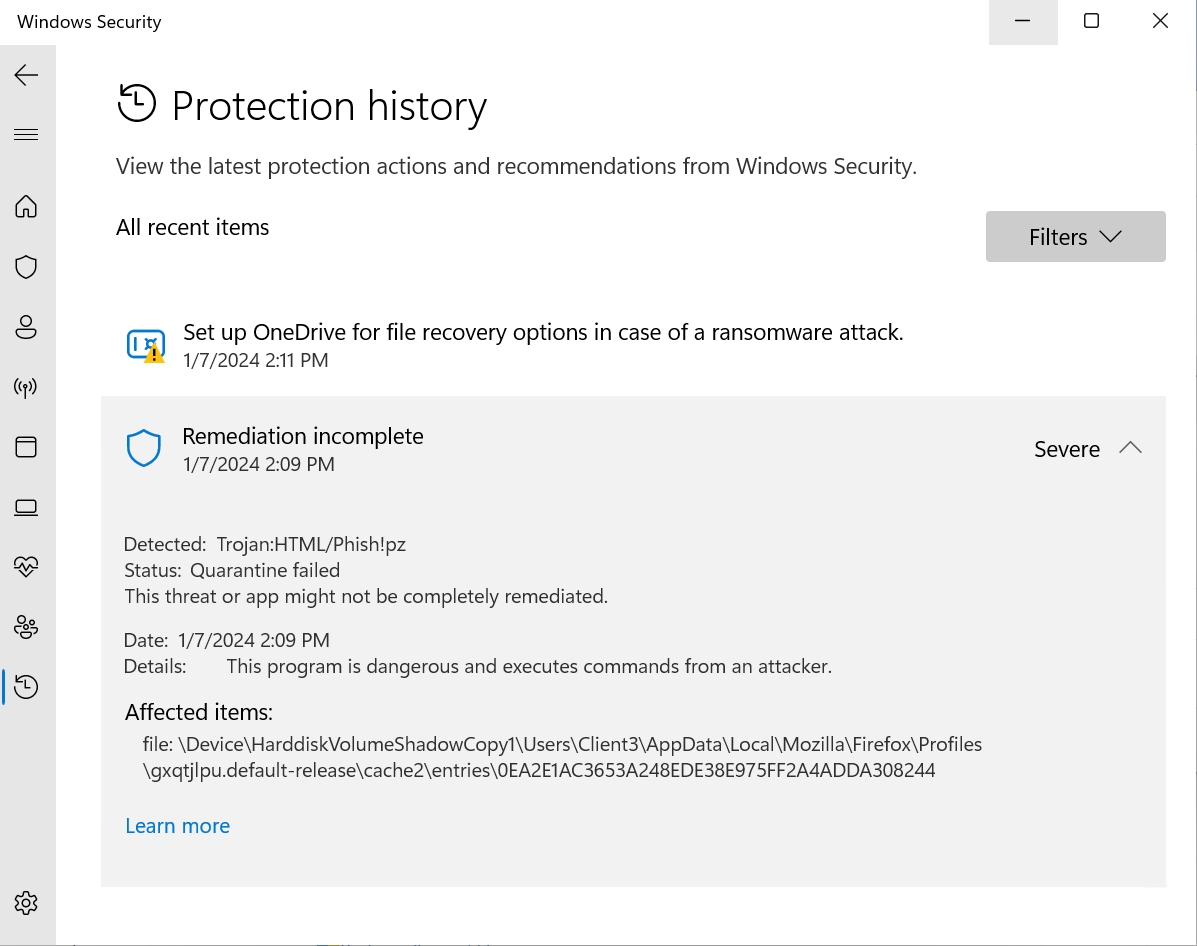
Result was backup failure. I allowed the threat, and second backup went fine.
Backup is done.
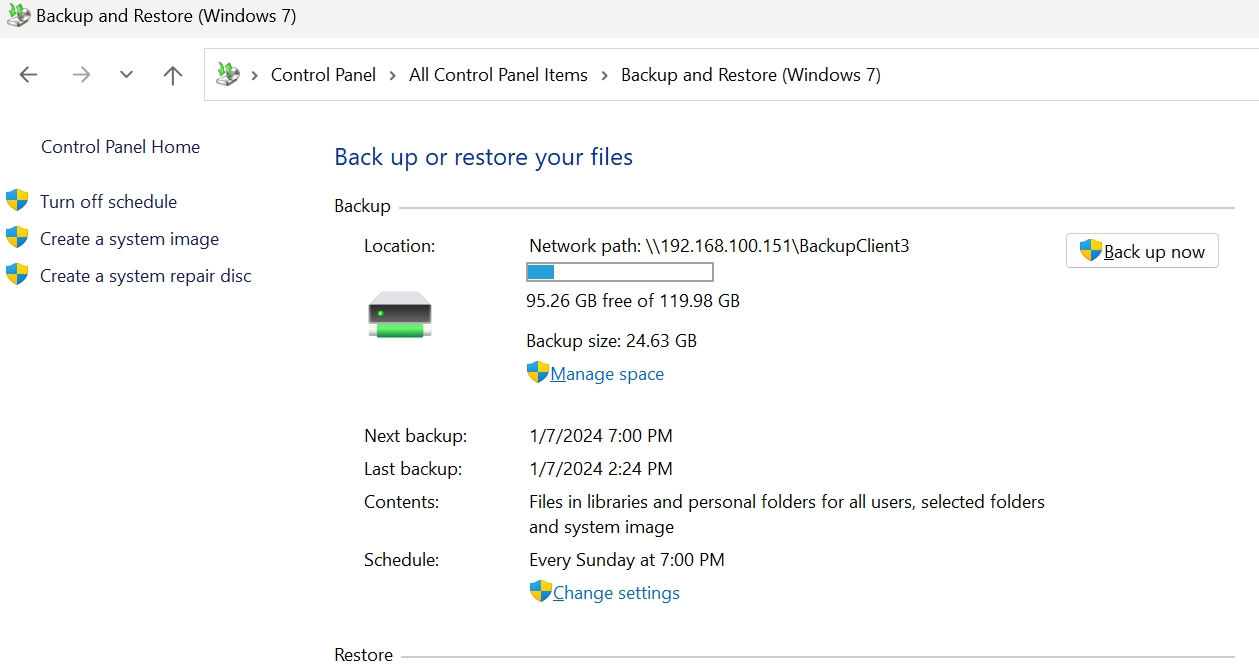
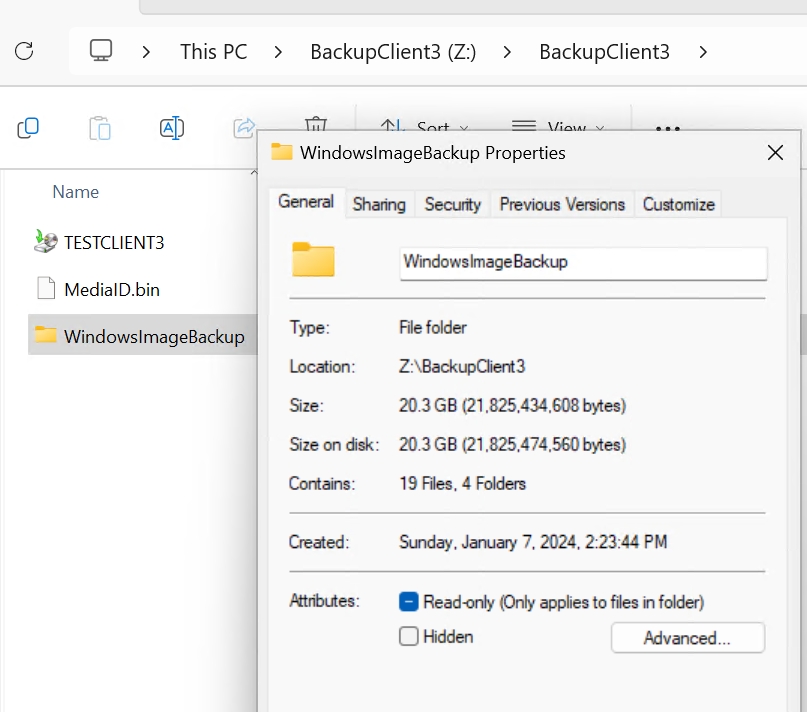
On shared folder to which we save backups, we can see that there is new folder named WindowsImageBackup with size of 20GB, so we did something with backup.
Restore individual files/folders
Let’s say we deleted by mistake ImportantDocument1.txt on TestClient3. ImportantDocumetn1.txt is depicted on the screenshot at the beginning of backup section.
So, the file is missing from Documents folder.
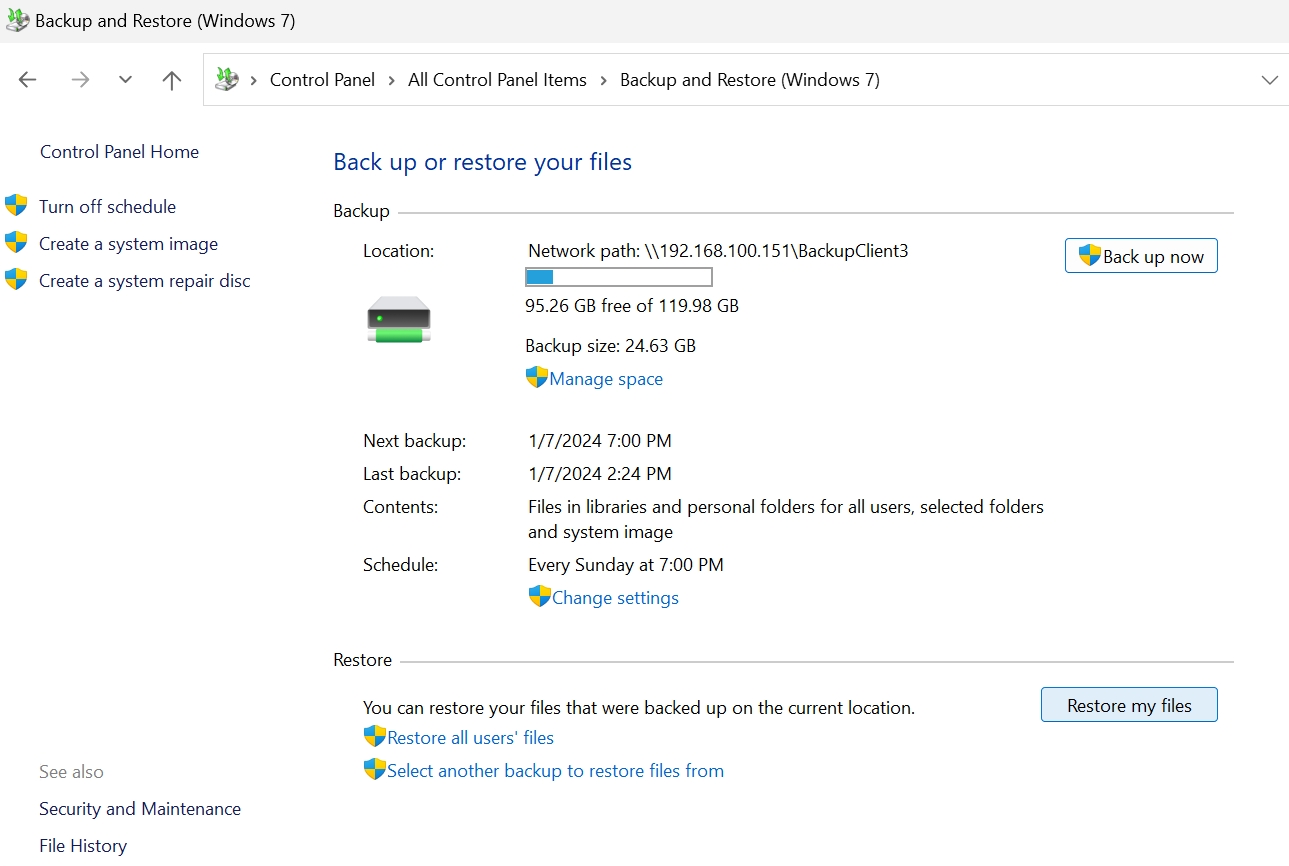
We will go back to Control Panel | Backup and Restore (Windows 7) and from Restore section select Restore my files
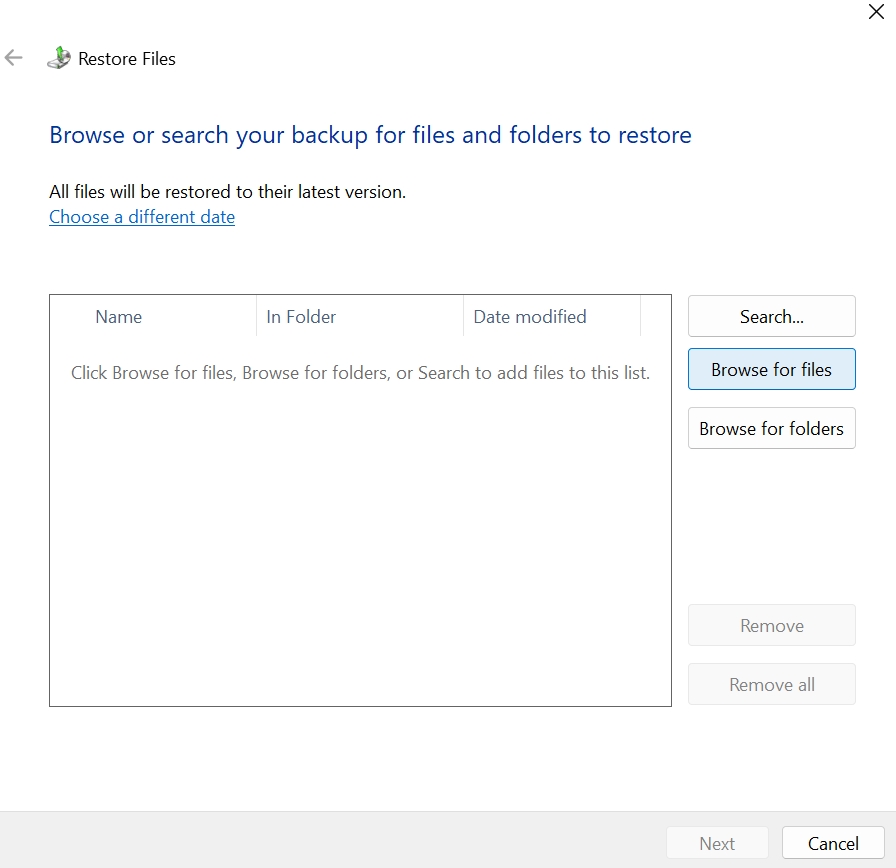
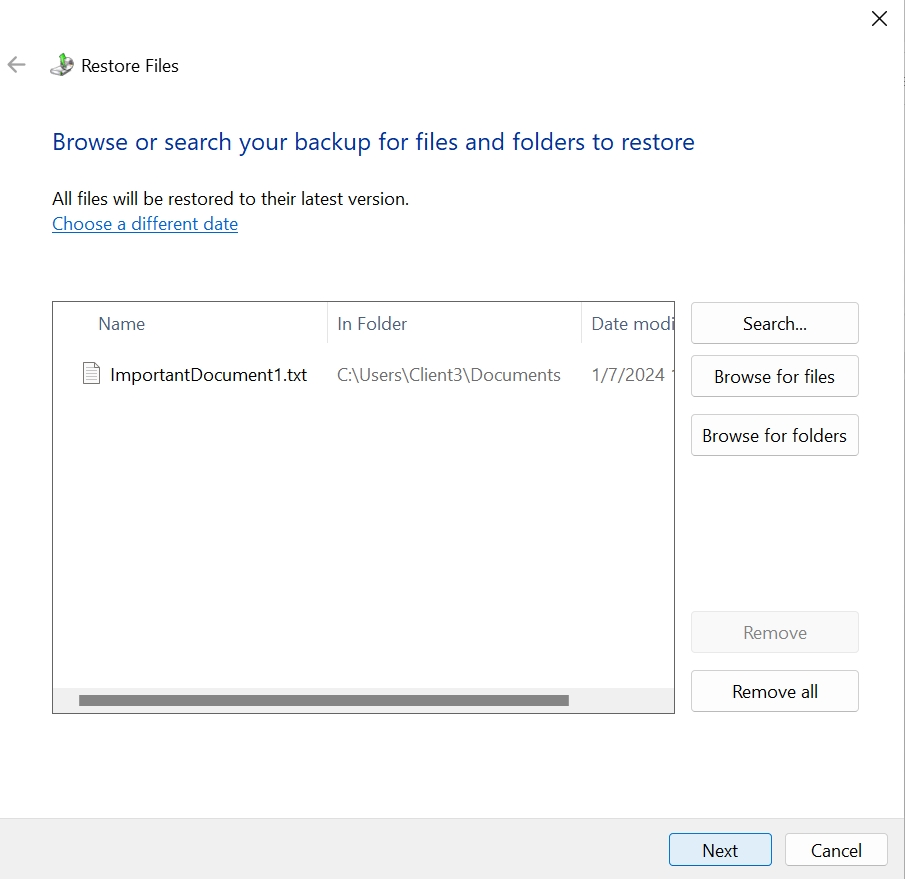
Select Browse for files
Backup location will be opened, and we will navigate to file location. File is in backup! We will select it and click on Add files
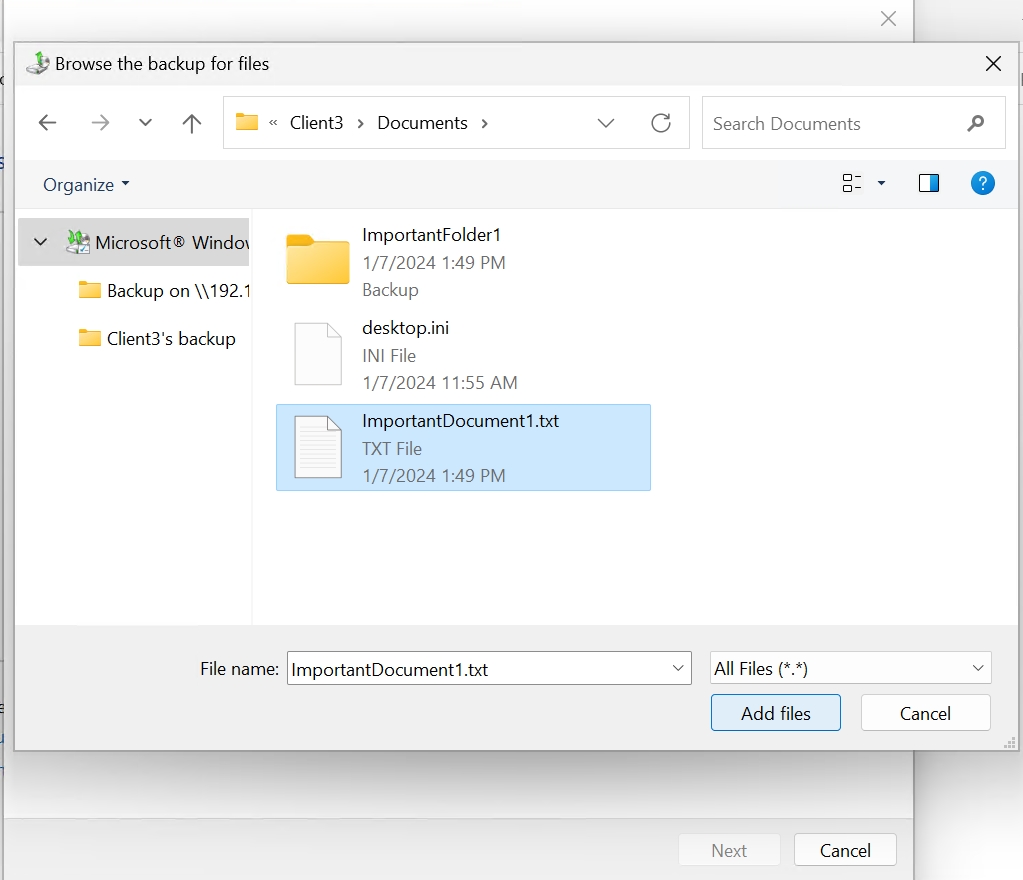
Ok, file is selected for restore. Next
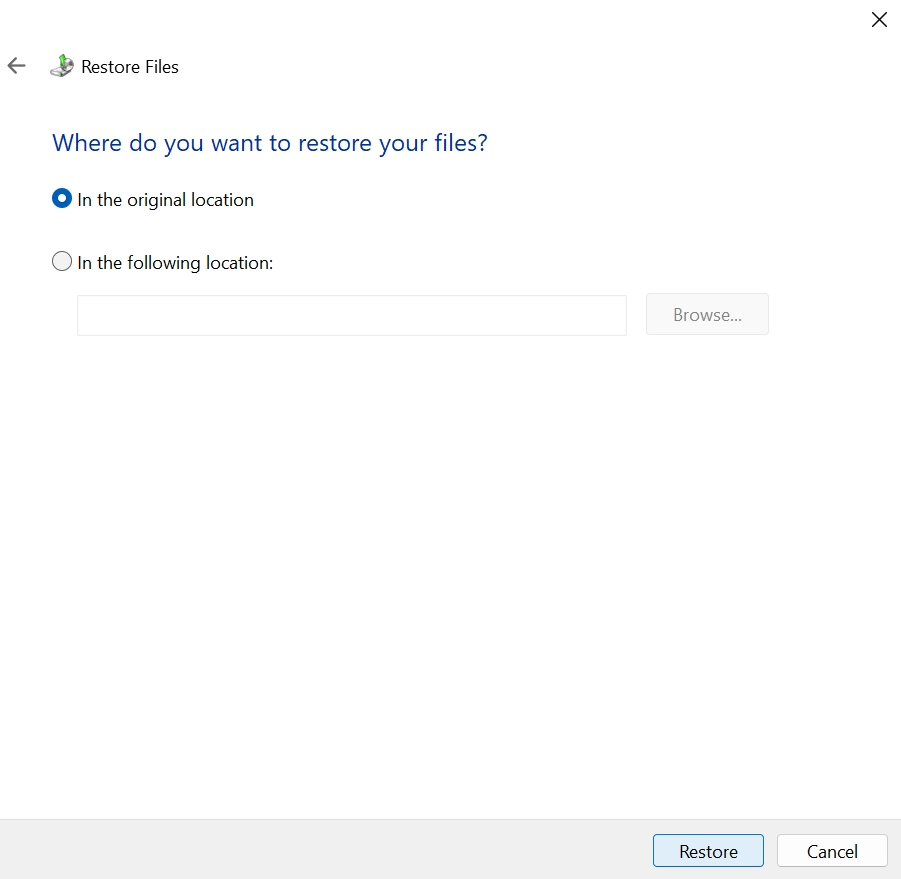
We want to restore to original location. Restore
Finish
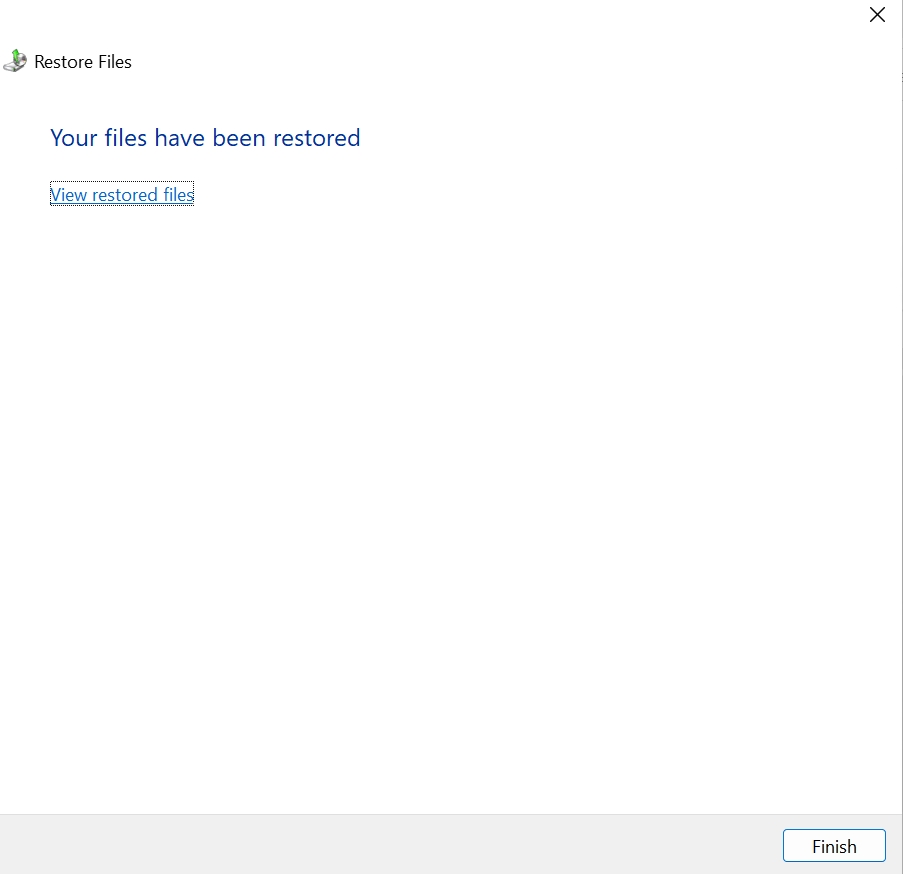
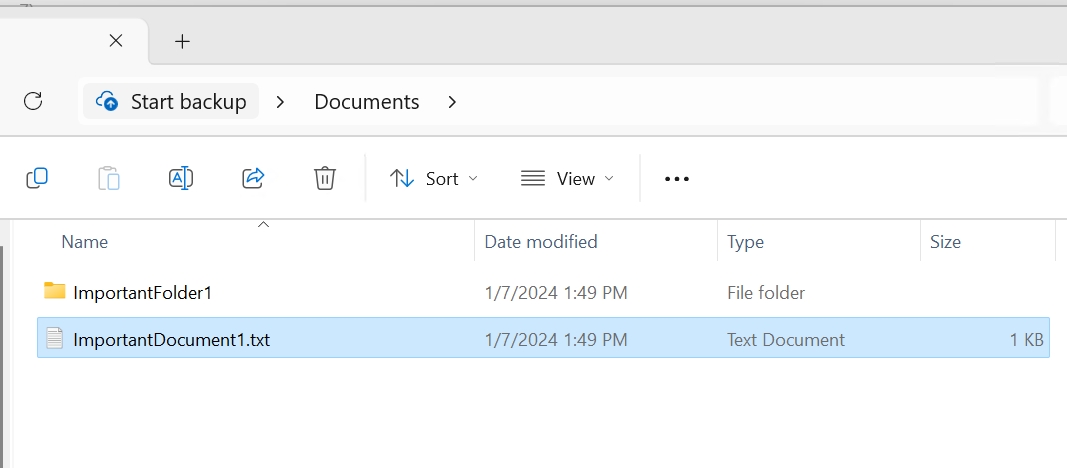
File is back!!! Our backup is working
Restoring full machine
Let’s say worst scenario happened – your hard drive is gone. We will now do complete restore from the backup. Let’s begin.
You will need of course new hard drive and Windows 11 installation media – it should be same version of Windows that you had and your backup is in (Home, Pro, or Enterprise).
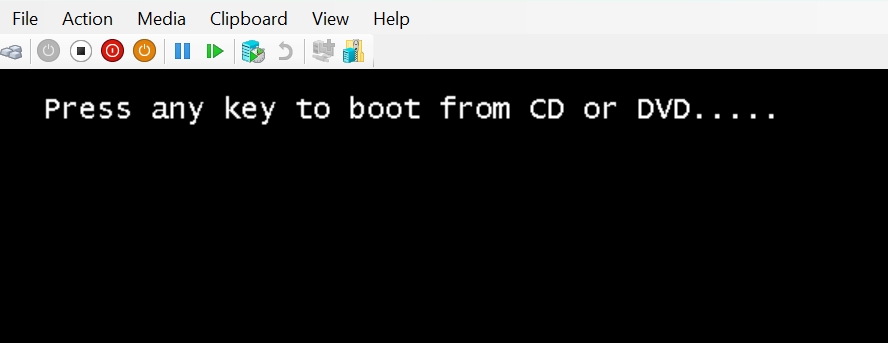
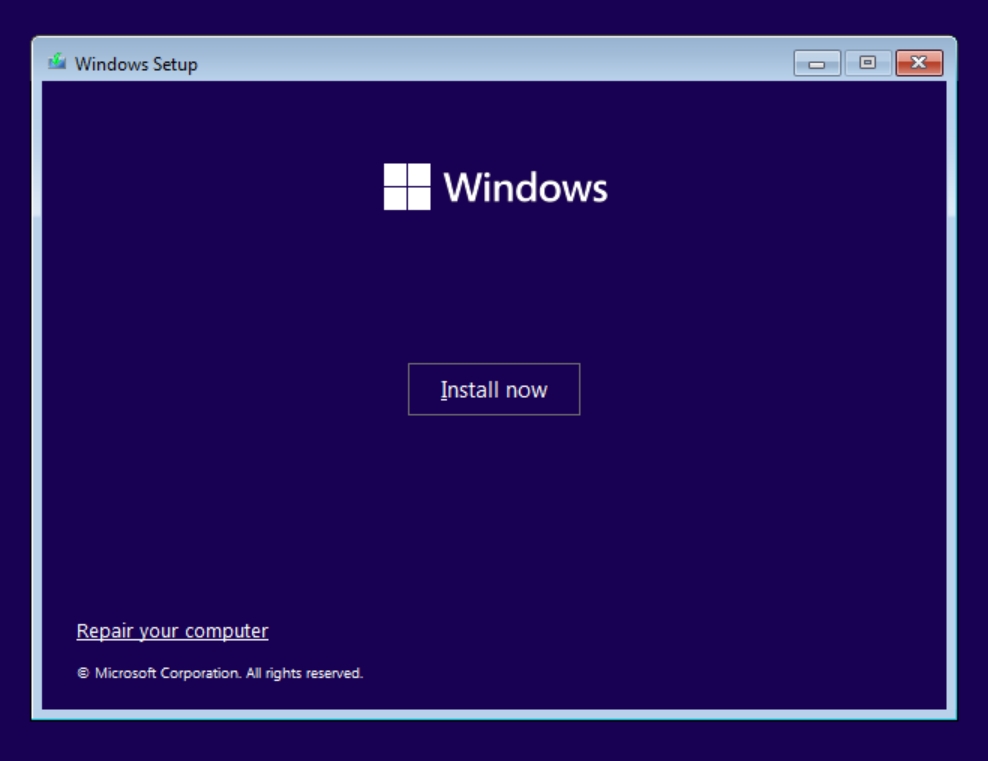
We will boot machine from DVD drive, and start Windows Setup as if we are installing new machine
After you select languages, on second screen of the Windows Setup we will select “Repair your computer”
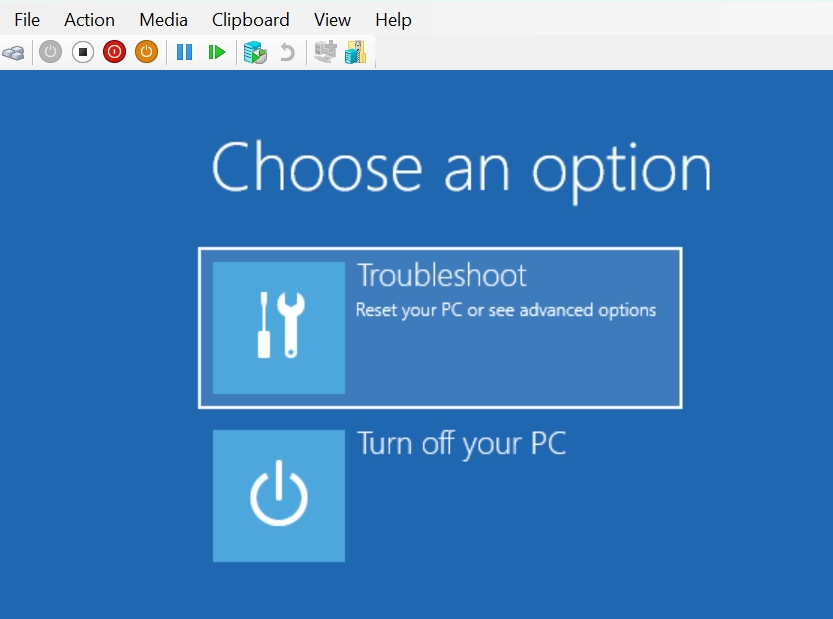
We will select troubleshoot…
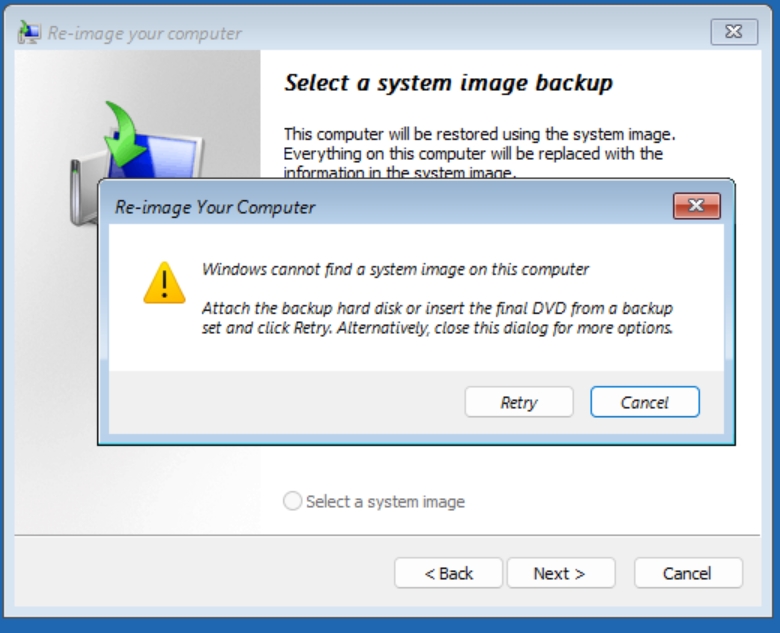
On next screen we will select “System Image Recovery”
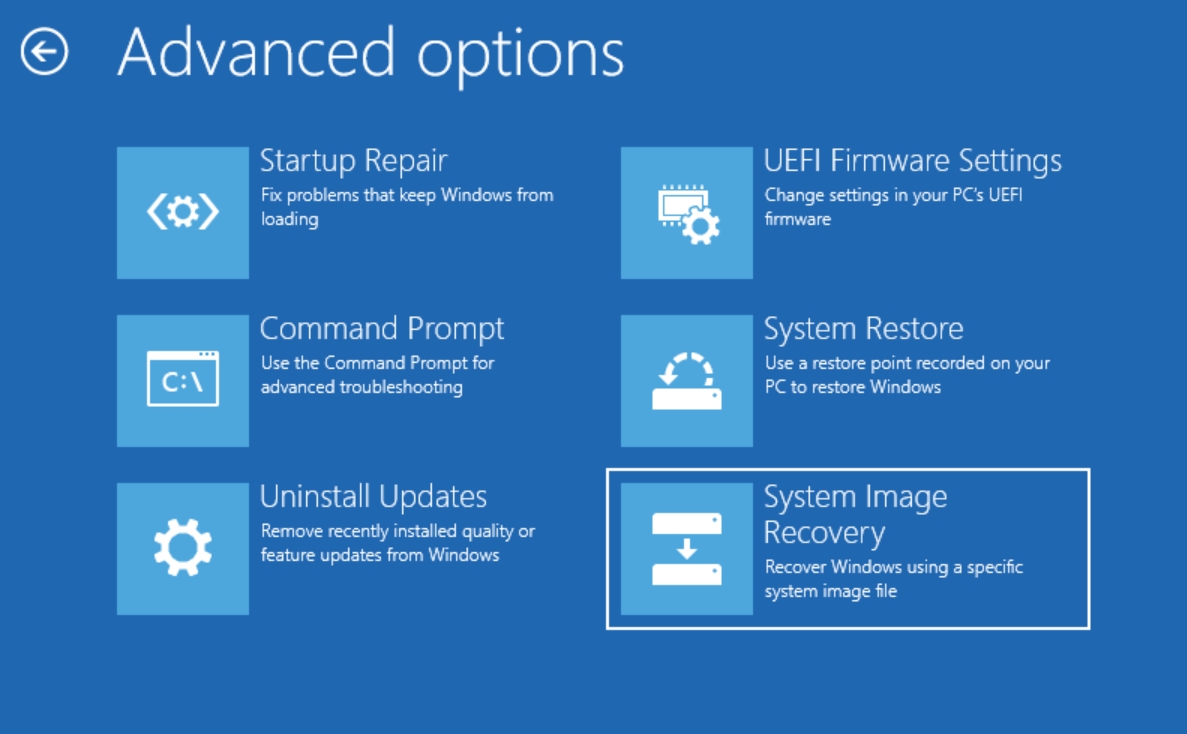
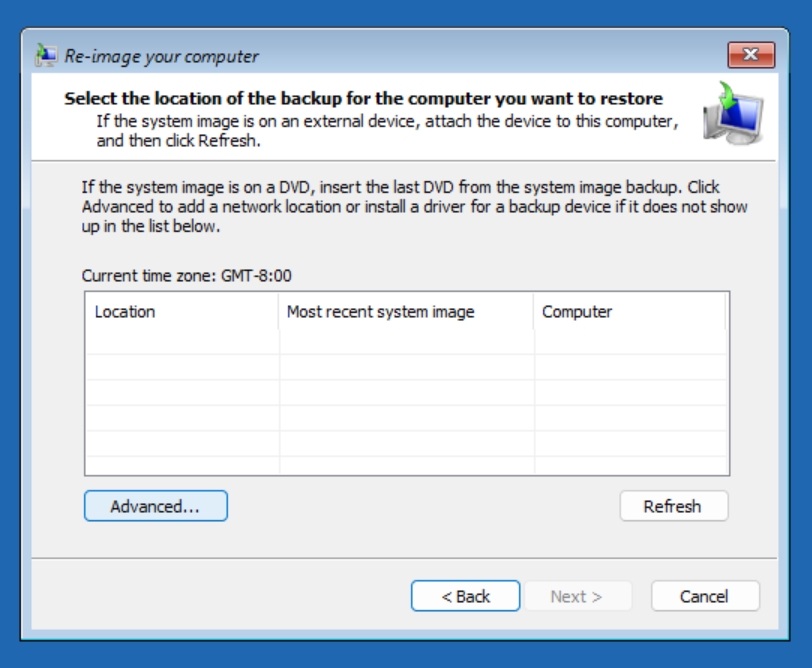
We will press cancel – we don’t have image on local disk, we did this through network. Select a system image | Press Next
On next screen select Advanced
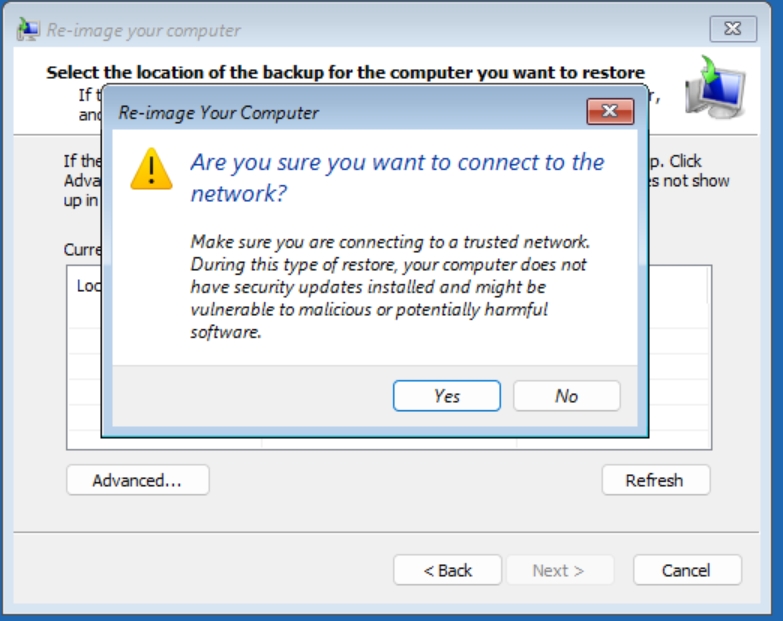
Are you sure you want to connect to the network? Yes
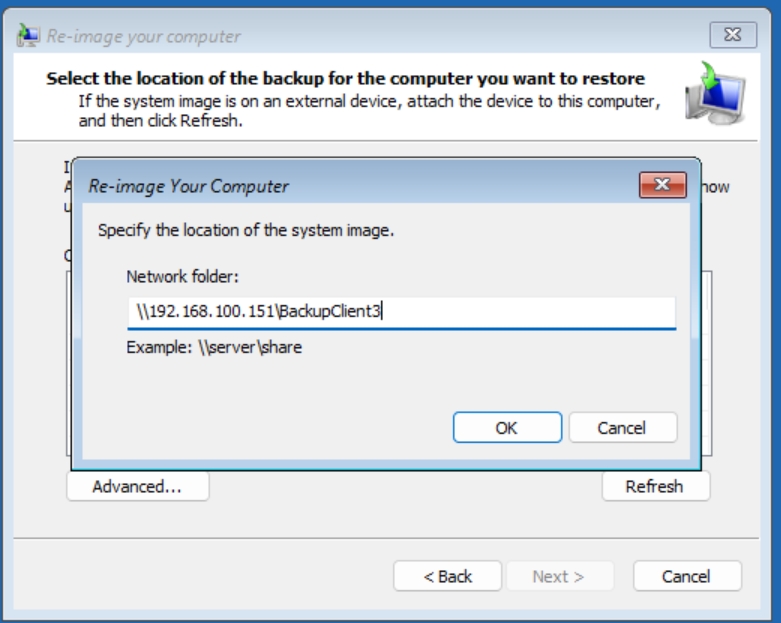
Now specify path on the network where the backup is, in my case that is
\192.168.100.151\BackupClient3\
OK
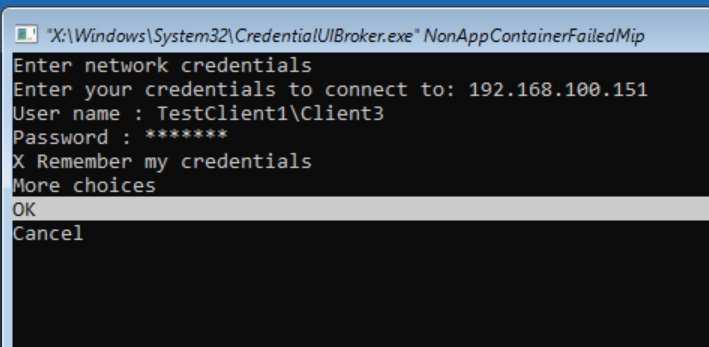
New window will open where we will enter Client3 username and pass and press OK (navigate with up/down keyboard arrows)
In username field we will have to enter name of the computer on which network share with backup is located and then backslash username, so, in reality COMPUTERNAME\USERNAME
In my case that would be TestClient1\Client3
Enter password for Client3, you can select to Remember credentials by pressing space on keyboard. Go to OK and confirm with enter.
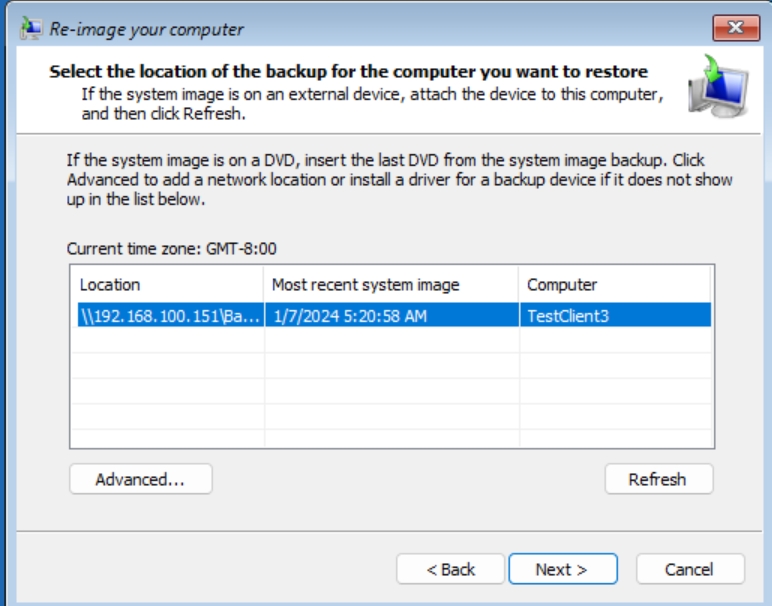
Selected mapped backup and press Next
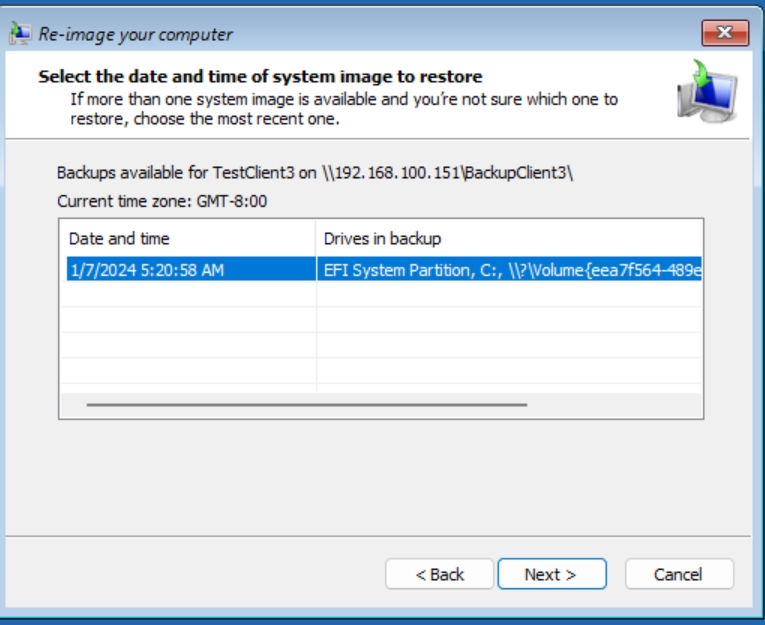
We have a backup, we will select it and press Next.
In case you are doing this on physical computer you will maybe need to install drivers for your motherboard here, to recognize disks you have in a PC. I’m doing this inside Hyper-V VM, so I will just click Next
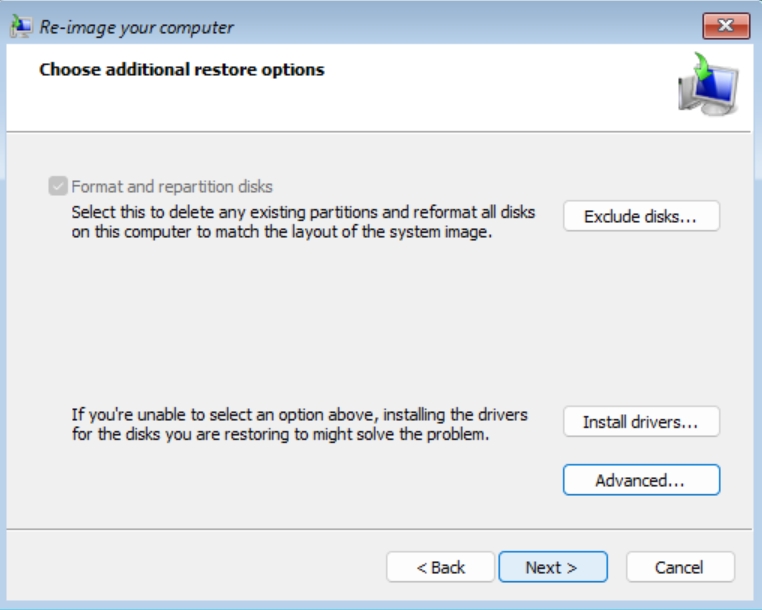
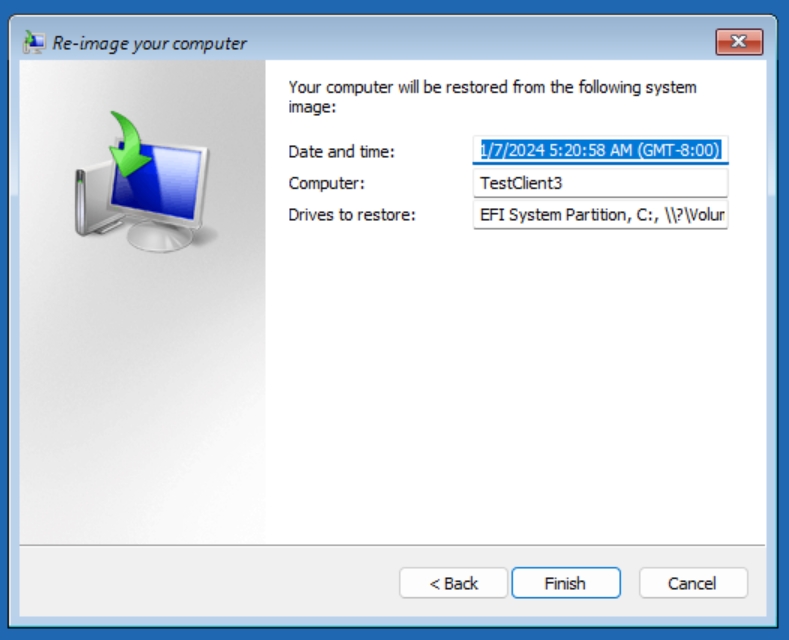
Finish
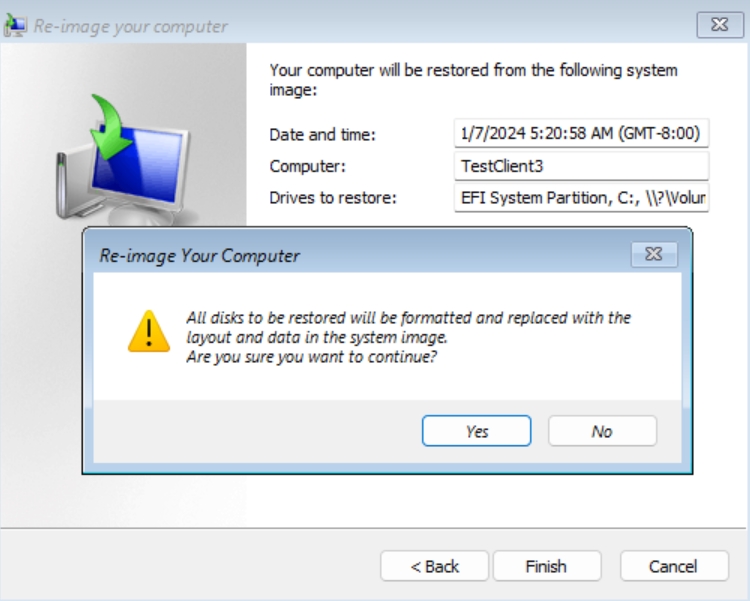
Keep in mind that the disks will be formatted!! Make sure you don’t have anything important on them from other machines. Yes
…
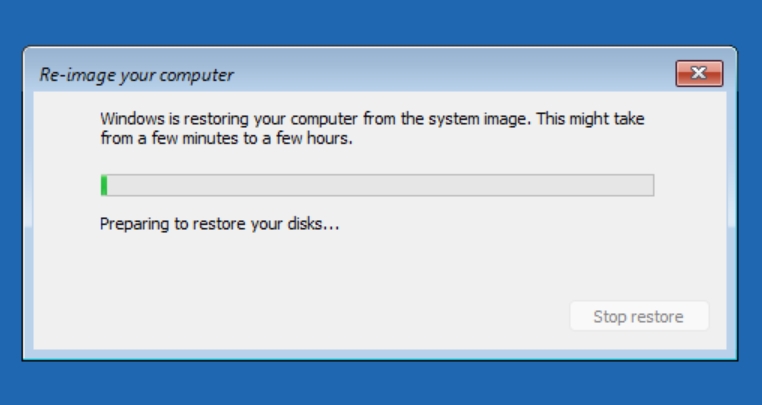
Within few minutes in my case (VMs on NVMe) everything was back in place!!
You can remove now installation media, our backup strategy is effective!!
Conclusion
There is no reason not to backup your machine. Get yourself large external USB drive or NAS device and start doing your Windows backups. It is easy and quick, and will give you a piece of mind.