We will be going through manual encryption procedure with GUI installer. Partitioning and encryption are done on Kali 2018.4
I will not be going through whole installation part, only partitioning part.
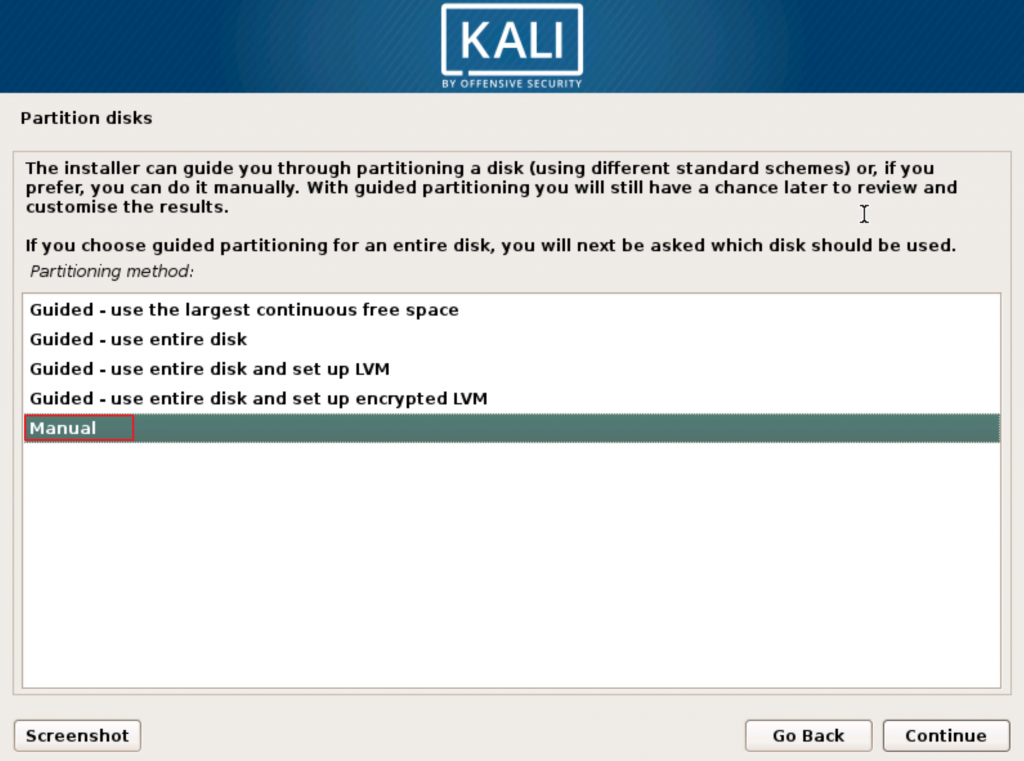
On Partition disks select Manual
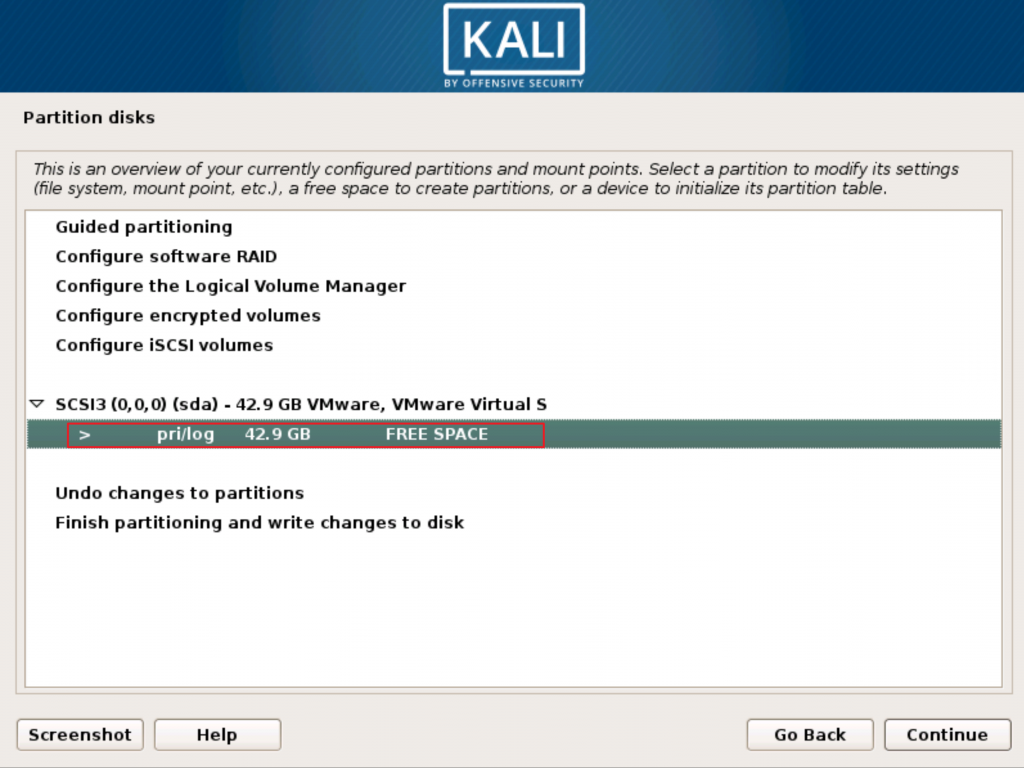
New screen will be opened on which you can see your partitions and FREE SPACE. We will use free space for partitioning.
In my case I have 42.9GB of free space on my disposal.
Generally, for partitioning Linux there are many different scenarios depending on your usage (general usage, web server, email server…). You can look for some advice here –
https://www.debian.org/releases/stable/amd64/apcs01.html.en
https://www.debian.org/releases/stable/armel/apcs03.html.en
https://www.debian.org/releases/stable/armel/apcs02.html.en
Partitioning
General info and /boot partition creation
We will be using LVM and on top of that following partitions:
/boot – helps boot your OS (contains system OS kernel)
/efi – if you have UEFI bios you will need this to boot
/swap – in the past it should be same amount you have physical RAM, today, many PCs and servers already have adequate amounts of RAM, so no good advice here, it depends on what you are using you PC for and how many physical RAM it has.
/ (root) – OS partition
/home – partition for user data, all your work, documents
/var – holds content for various applications
/tmp – for temporary files as a name suggests
Again, how many disk space you give to each of these partitions and which one you will create depends on what you’ll be using your installation for.
This tutorial is only to give you idea on how you will partition and encrypt your data.
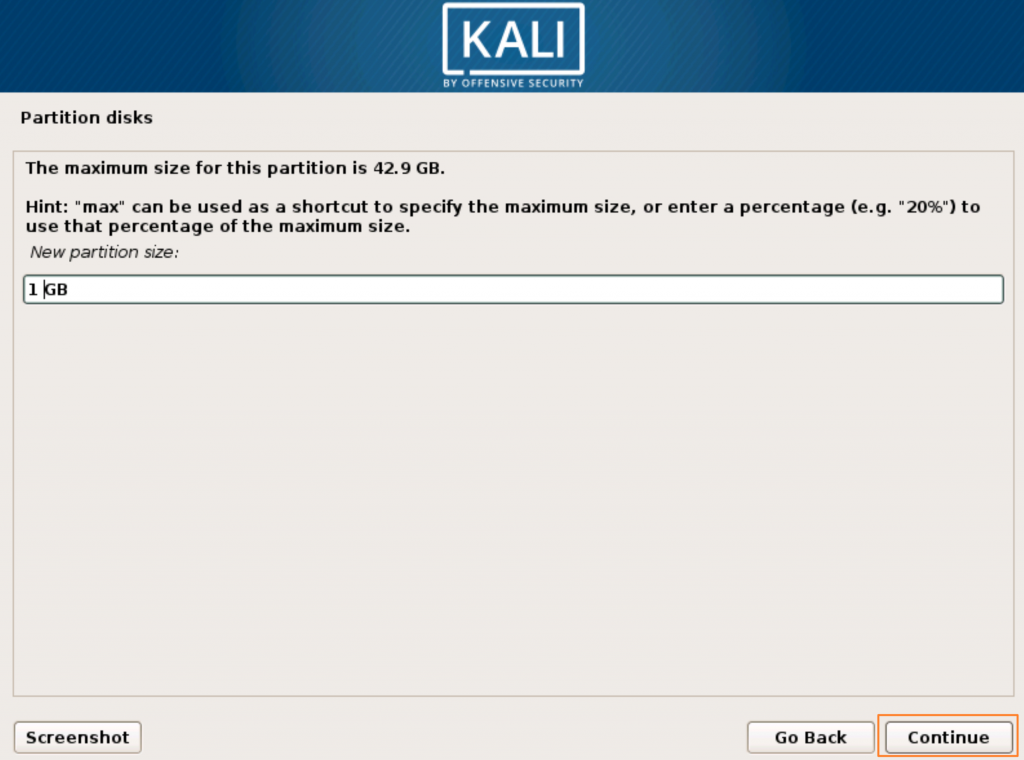
In first step will be creating boot partition. I will be giving it 1GB of free space.
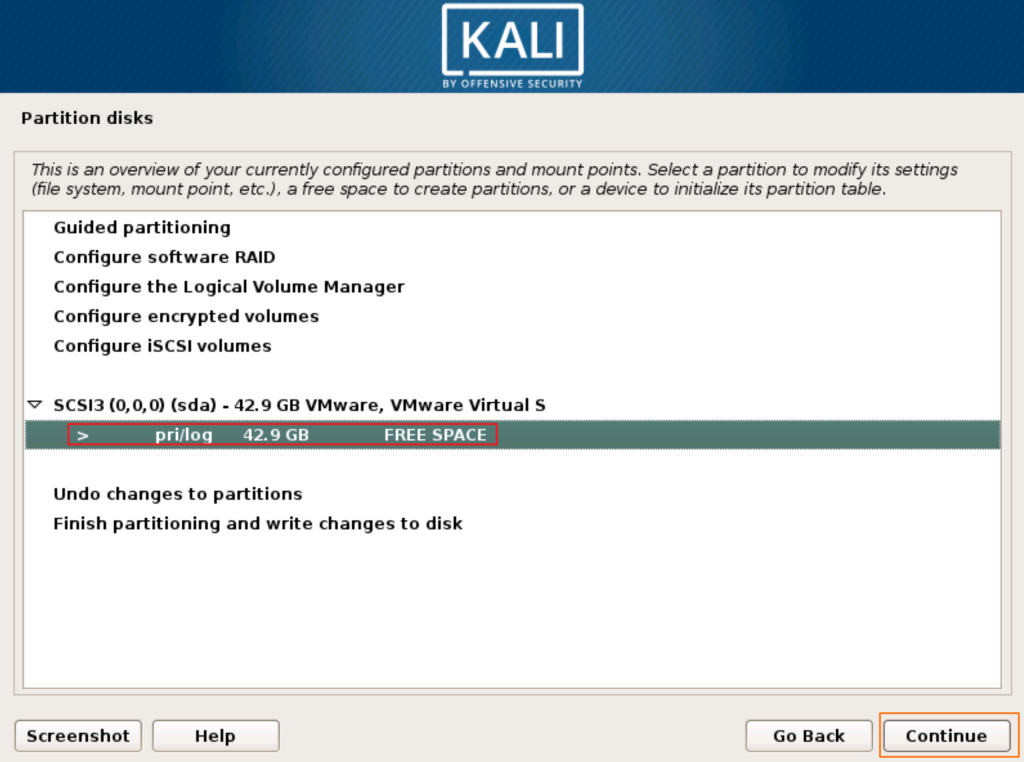
Click on FREE space and select Continue on right bottom of the screen
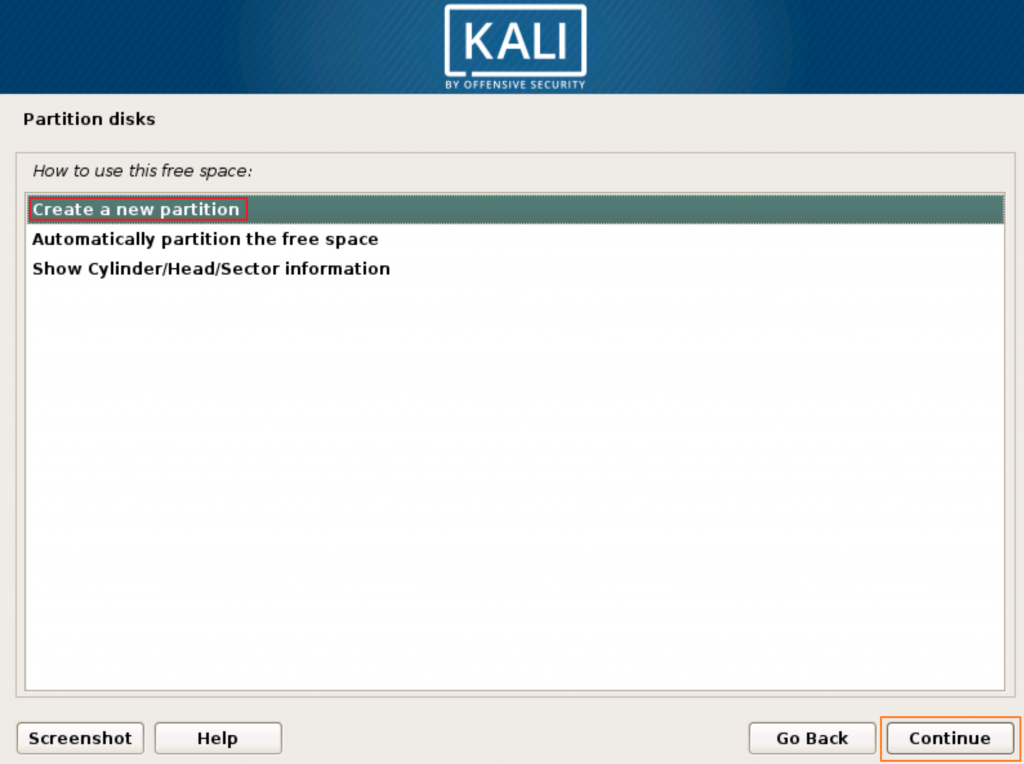
Select | Create a new partition and click on Continue
Enter partition size (in my case 1GB) and click on Continue
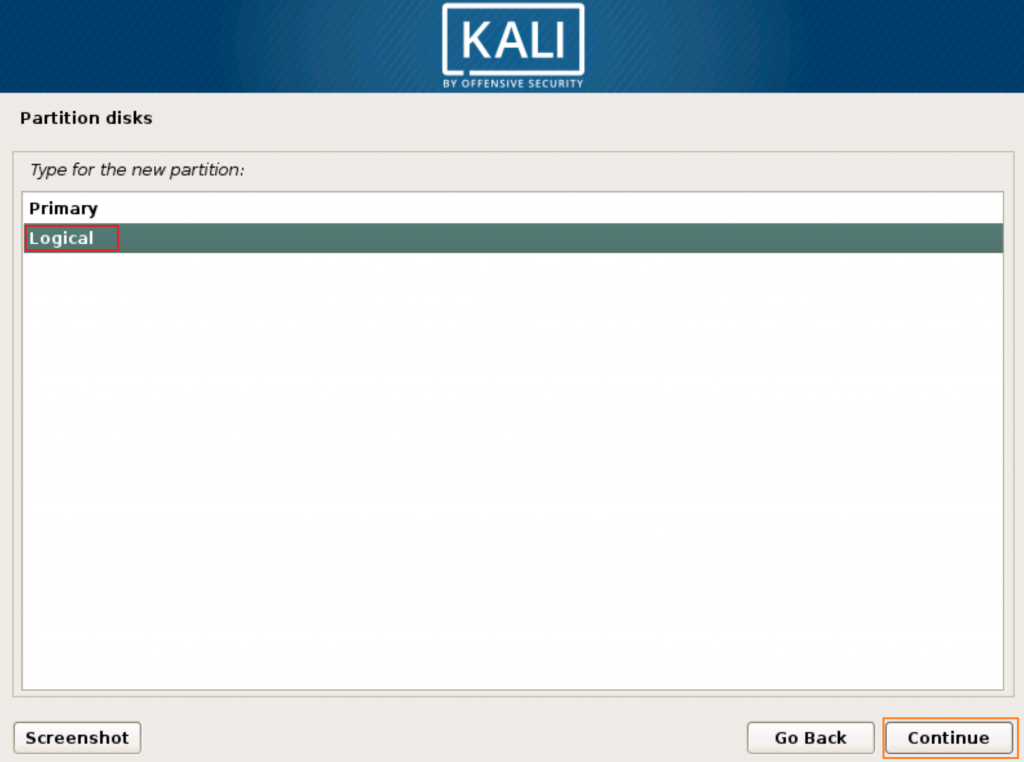
Partition will be logical, so we will select Logical and select Continue
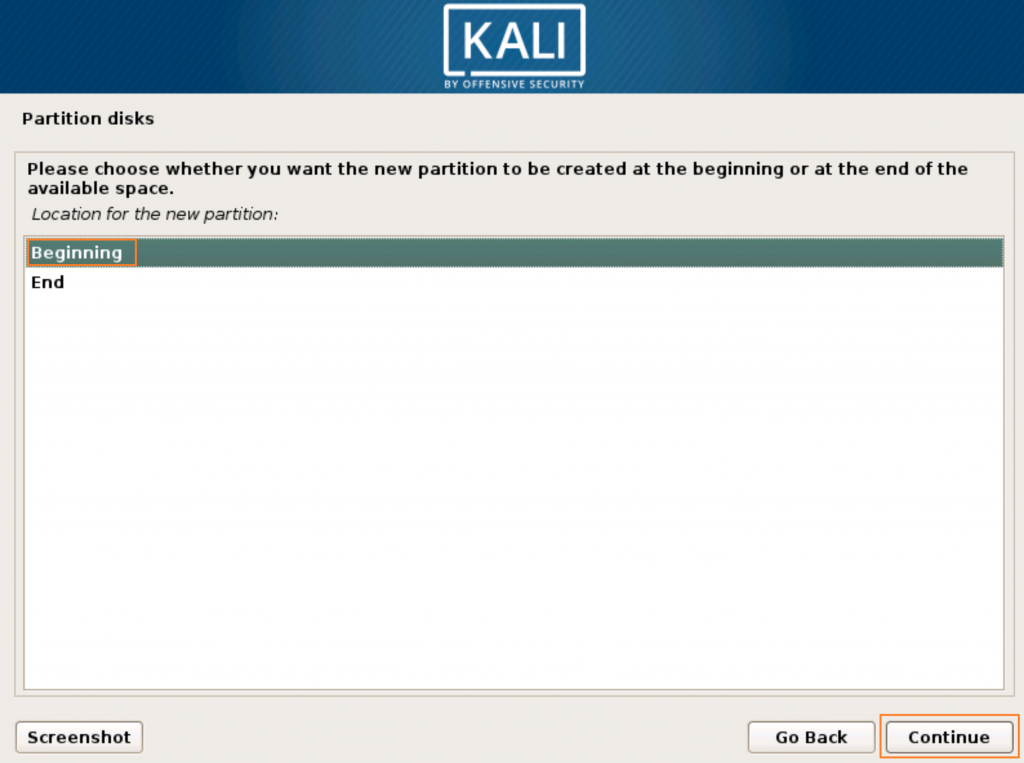
I will select placement on the Beginning of the partitioned space and click on Continue
Now, two important things on the next screen are “Use as” and “Mount point”
Use as should be Ext4 journaling file system
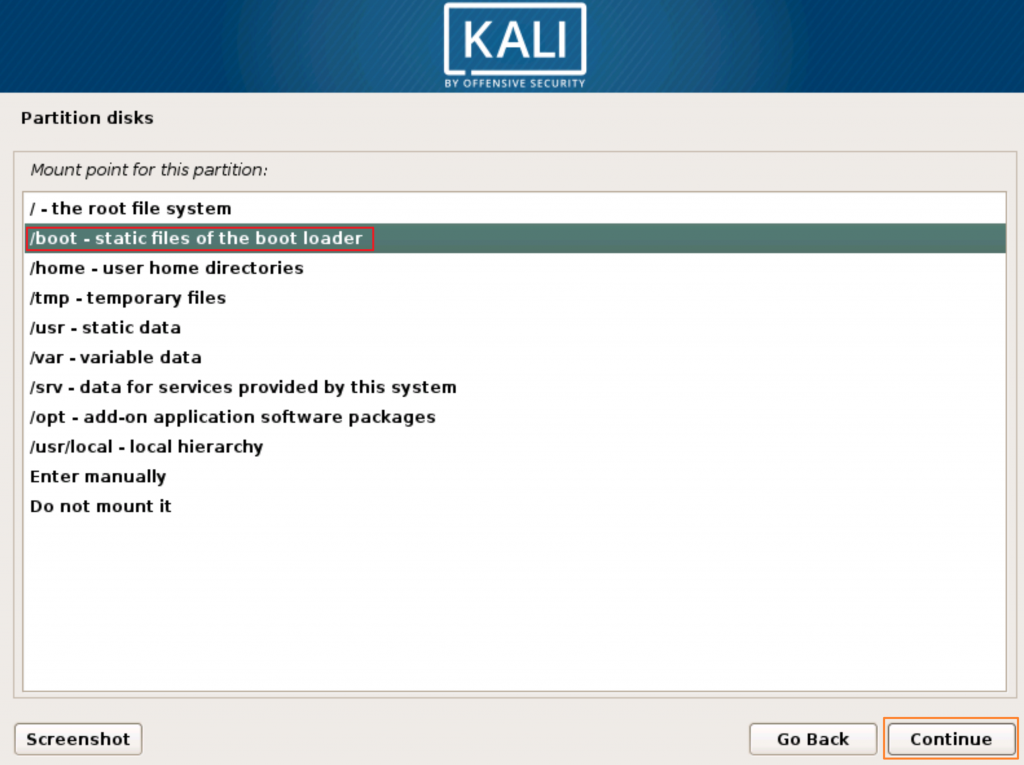
Mount point will be set to / (root) but we need to change mount point.
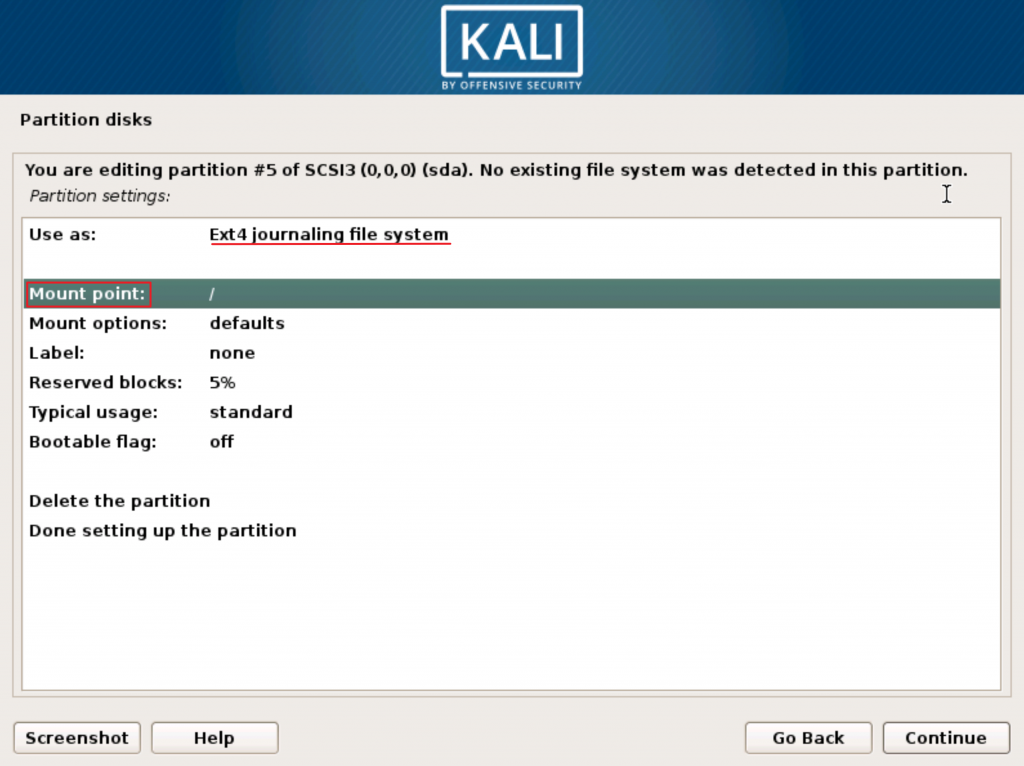
In order to change Mount point double click on it, new screen will open and then you’ll select /boot
When you are done click on Continue
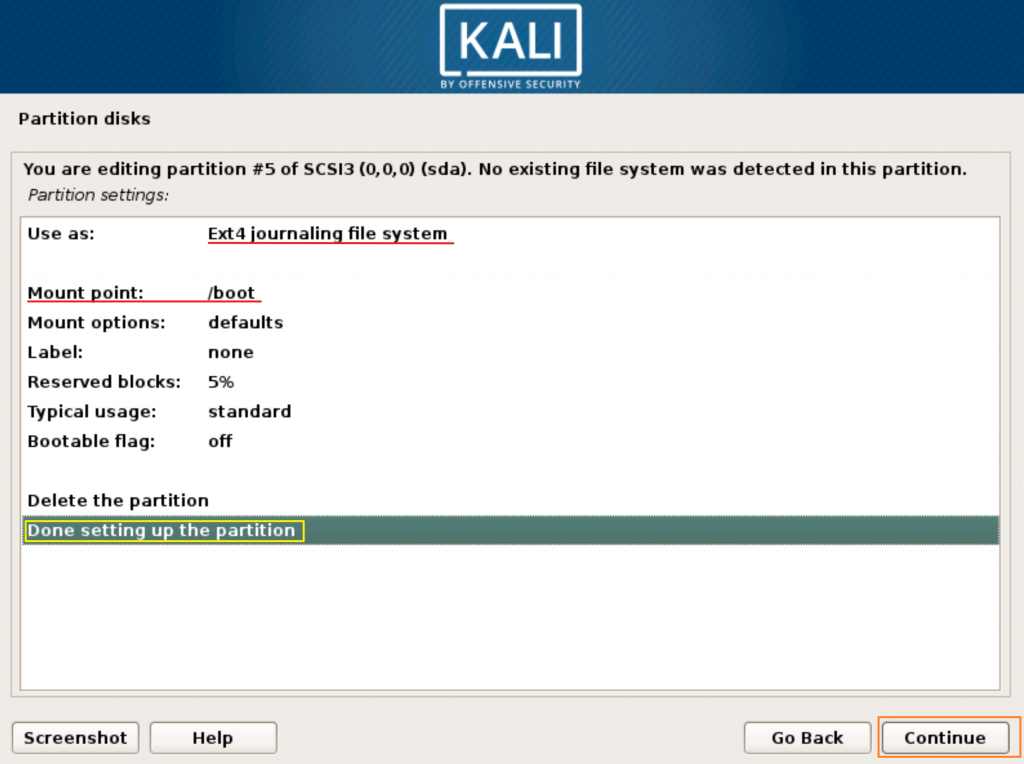
Now your screen should look like this – Use as: “Ext4…” and Mount point: /boot
Select “Done setting up the partition” and click on Continue
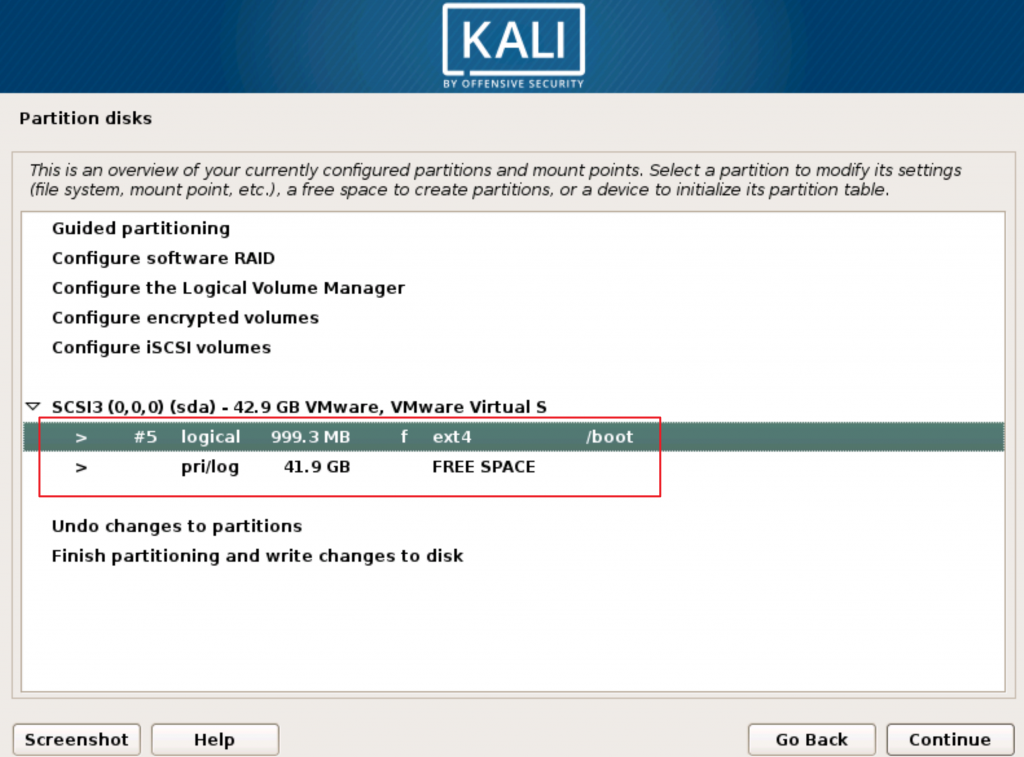
We are now back at the main screen where now we can see that the is one logical partition size 999,3MB with mount point /boot and 41.9GB of FREE SPACE.
Very important!!!
If you have UEFI enabled PC, you’ll also have to create /efi partition before starting encryption, since /boot and /efi should stay unencrypted. Procedure is the same as for the /boot partition, with only slight change when you get to the step you choose “Use as”, you wont be choosing Ext4, but UEFI.
Encryption
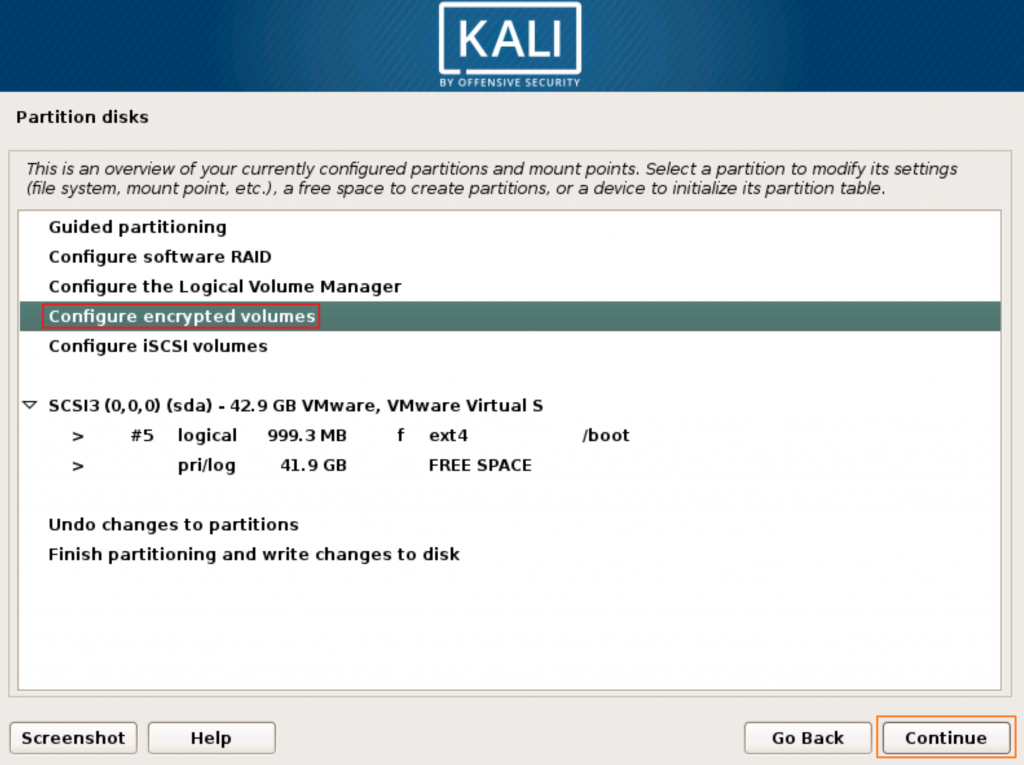
Now, we will select “Configure encrypted volumes” and click on Continue
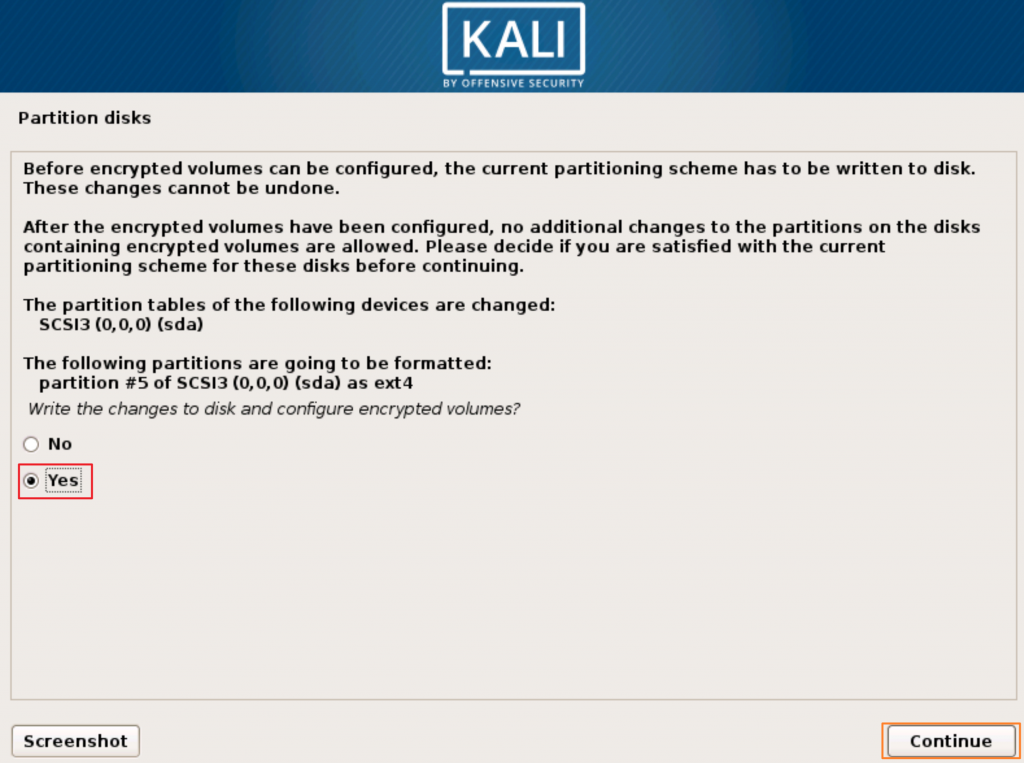
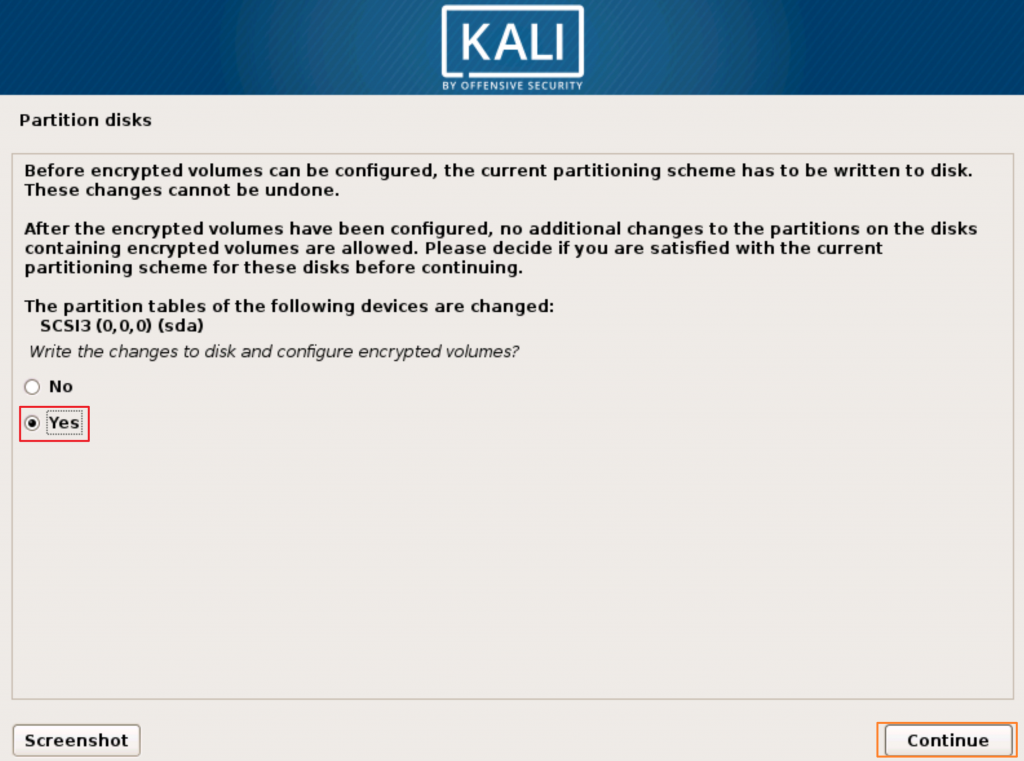
You will first be greeted with the screen that will write changes we made to disk (creating boot partition). On a question to “Write the changes to disk and configure encrypted volumes?” we will select Yes and click on Continue
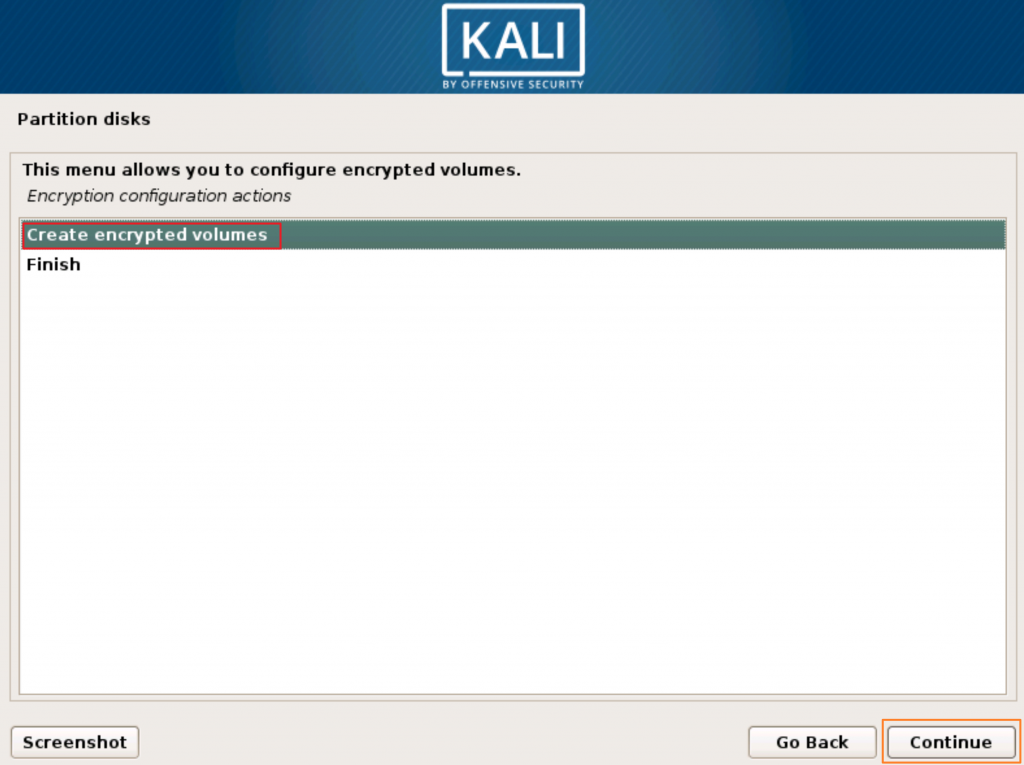
Formatting will be done and new screen will appear on which we will choose “Create encrypted volumes” and then Continue
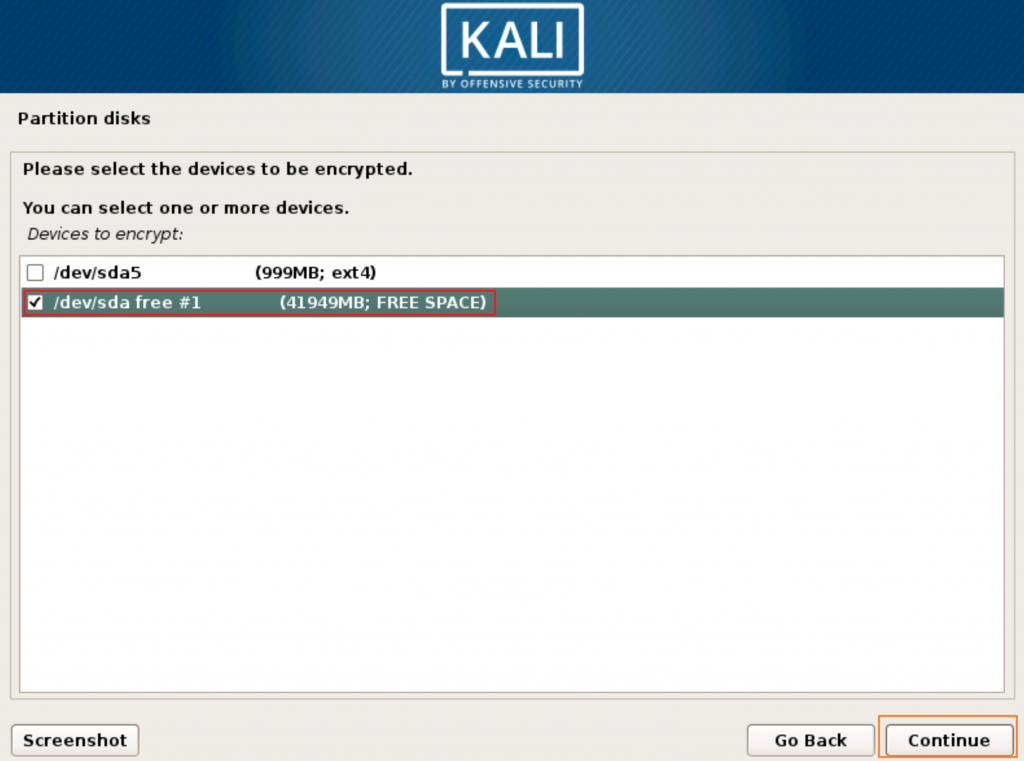
We will now select our FREE SPACE of 41949MB on /dev/sda free #1 and select Continue
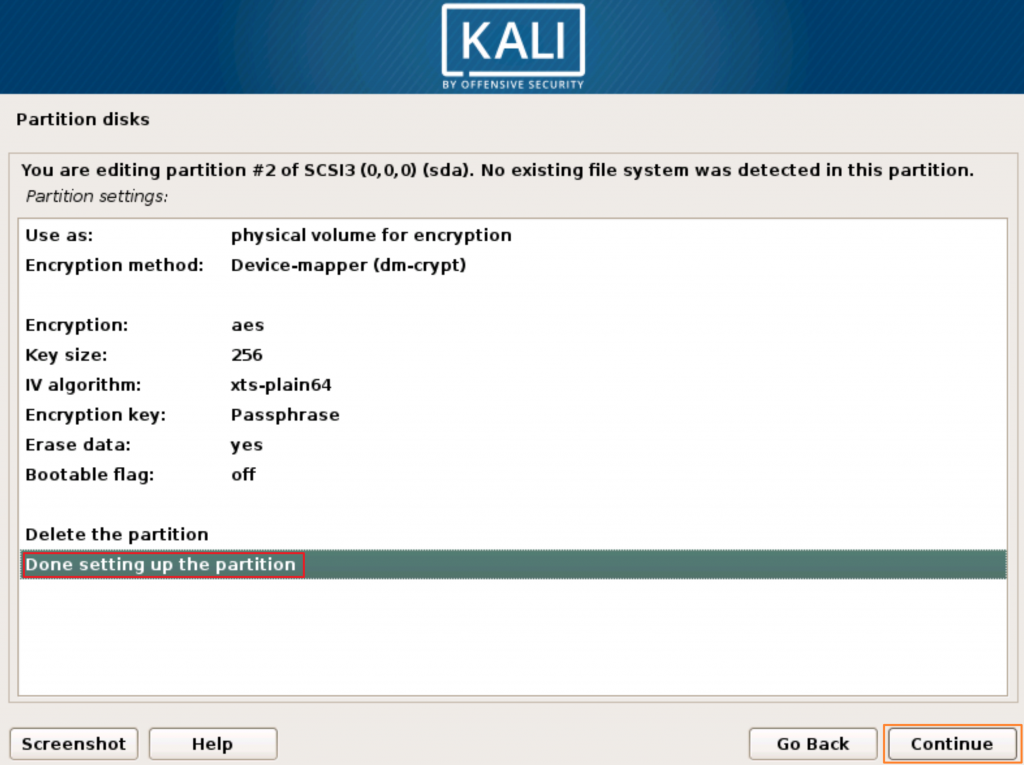
Next screen will show you encryption settings, select “Done setting up the partition” and Continue
Write the changes to disk and configure encrypted volumes” select Yes and Continue
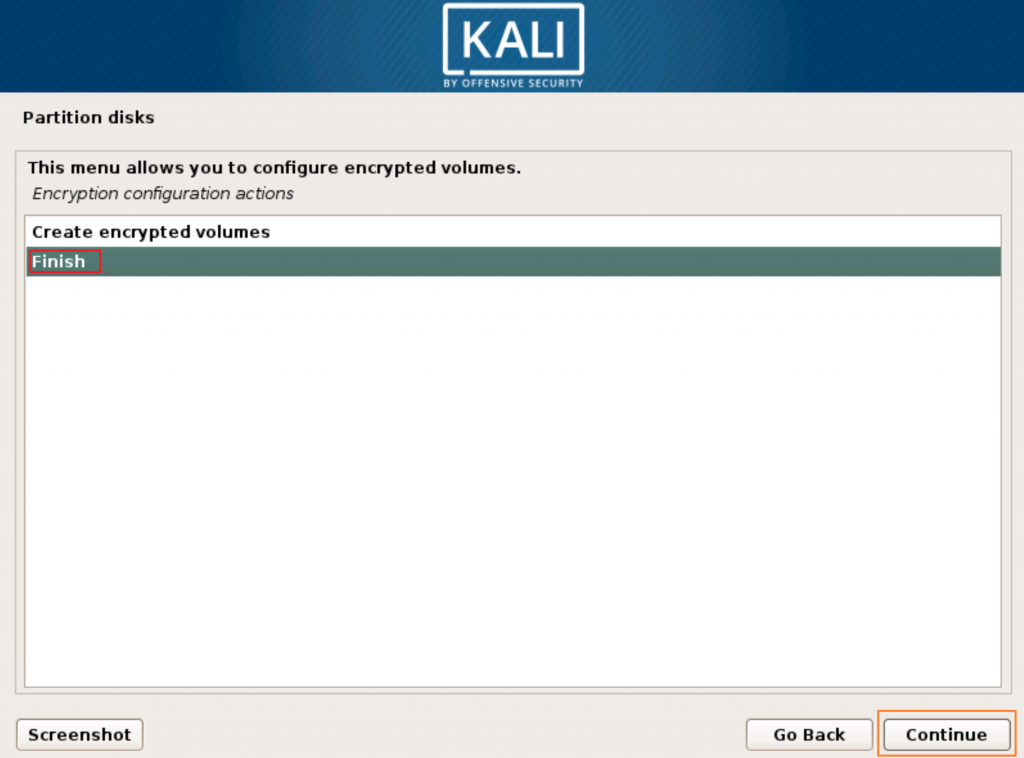
Finish and then Continue
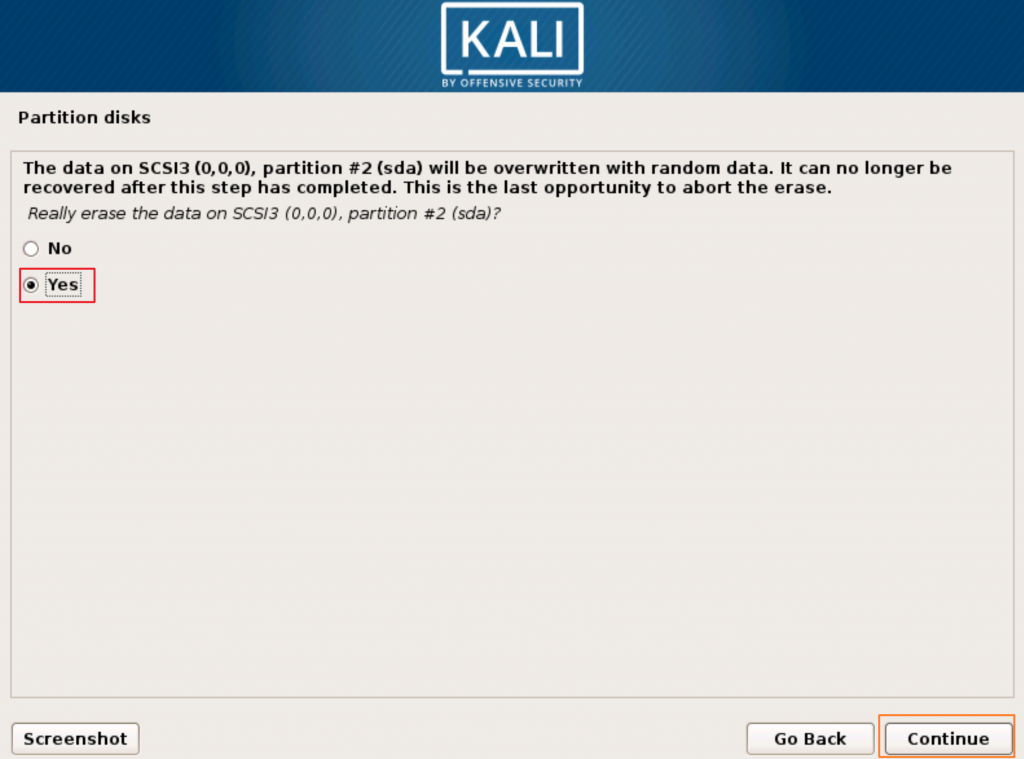
“Really erase the data on SCSI3 (0,0,0), partition #2 (sda)?” Yes and select Continue
…
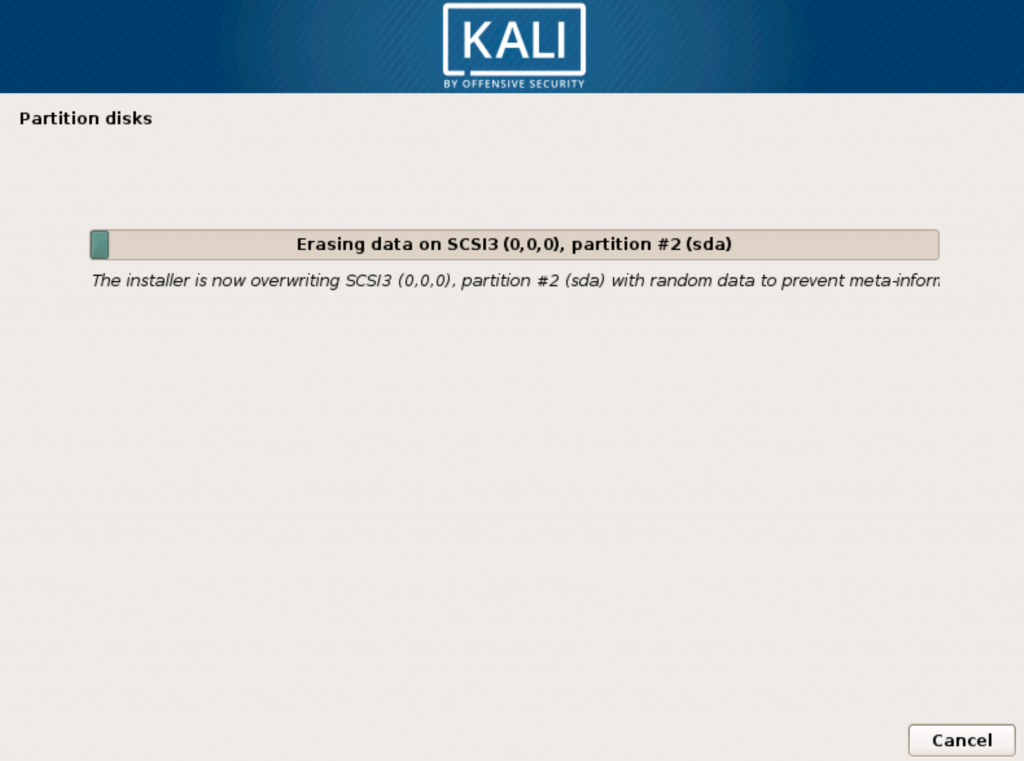
After process finished, you’ll be asked for encryption passphrase. I dont have to emphasize that it is important to remember it since you’ll be asked for passphrase every time you boot the machine. Click on Continue when you are done.

We are done with the encryption with this step. Now, when you are back on the main “Partition disks” screen you should see Encrypted volume
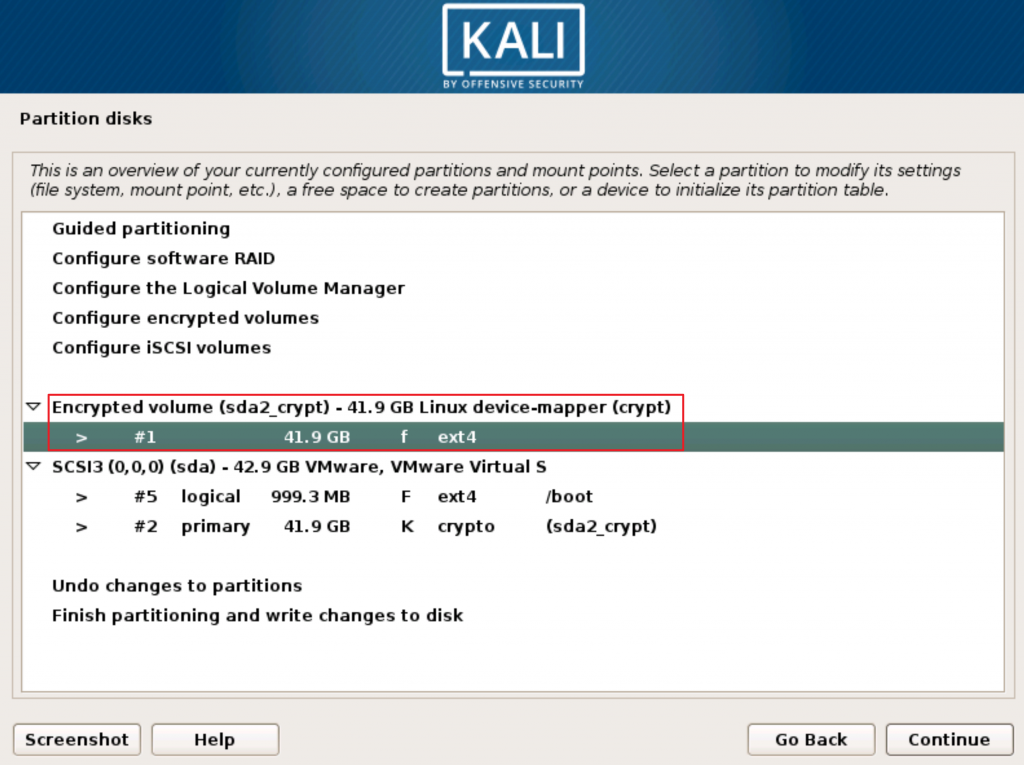
LVM (Logical Volume Manager)
Next step in the process is defining LVM on encrypted volume.
Select “Configure the Logical Volume Manager” and click on Continue

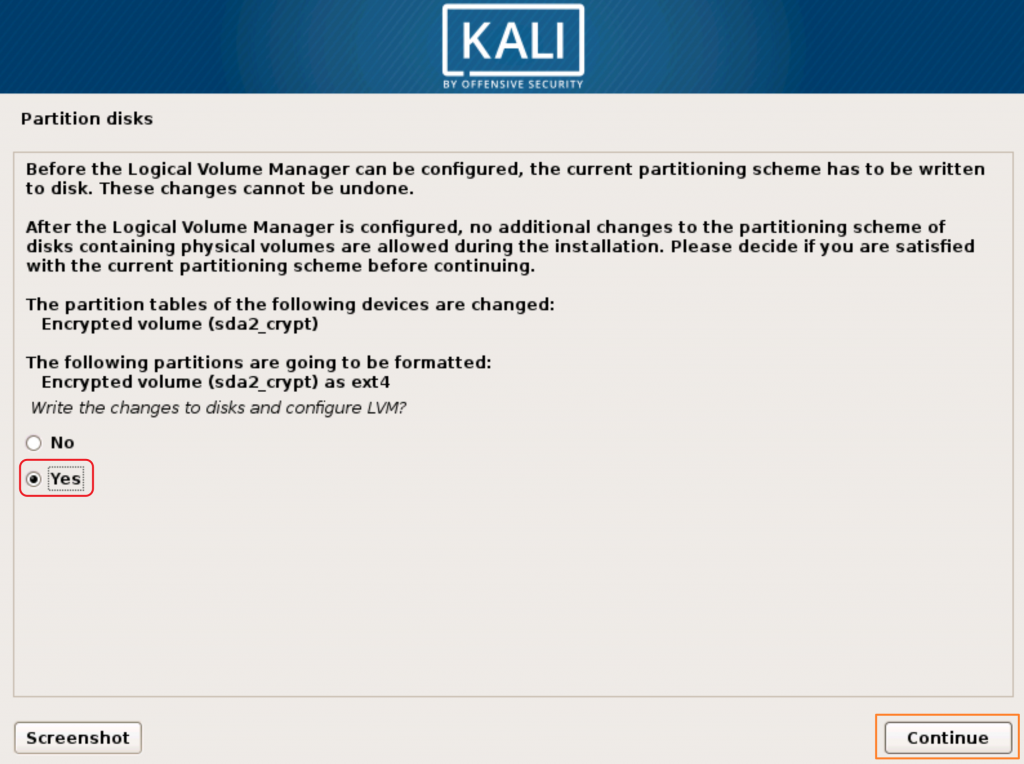
Before we start our encrypted volume needs to be formatted. “Write the changes to disks and configure LVM?” Yes and then confirm with Continue
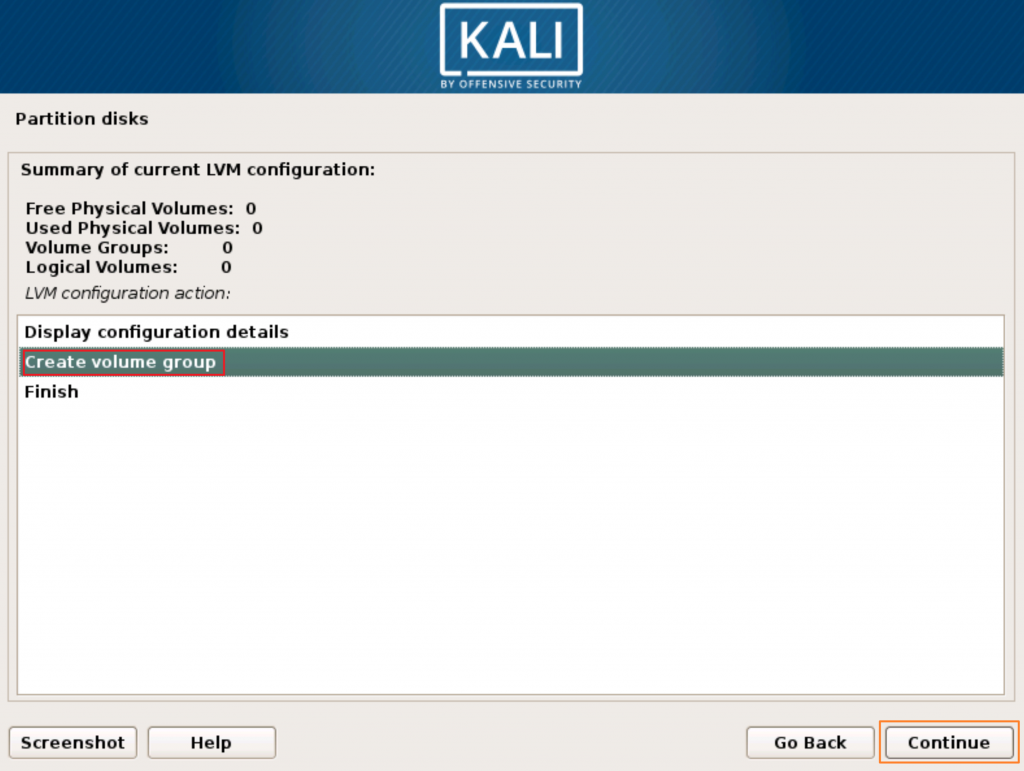
After formatting is done you’ll be presented with new screen on which we will first create LVM group. Select “Create Volume group” and click on Continue
Name your volume group and click on Continue

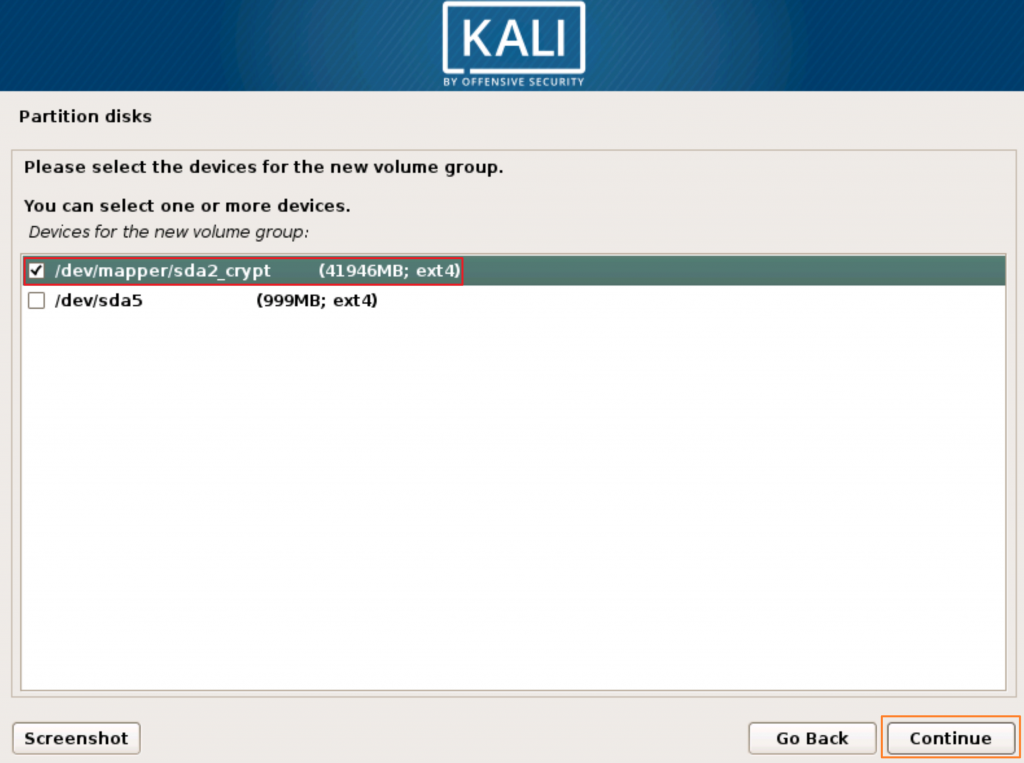
Select volume we just encrypted and click on Continue
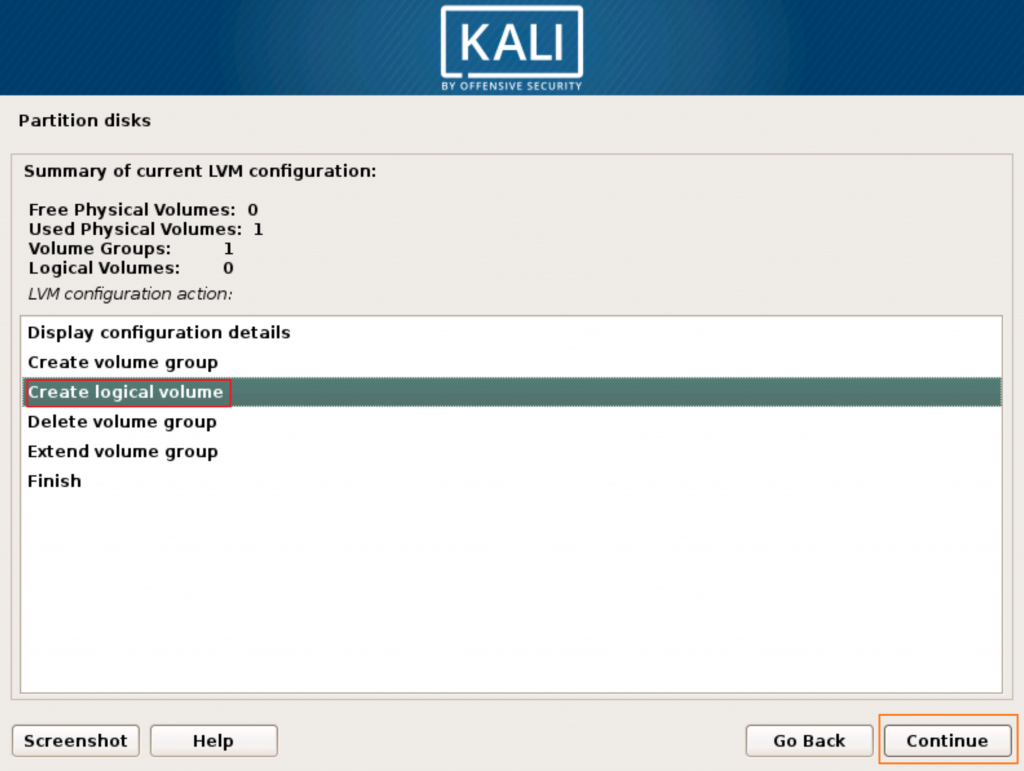
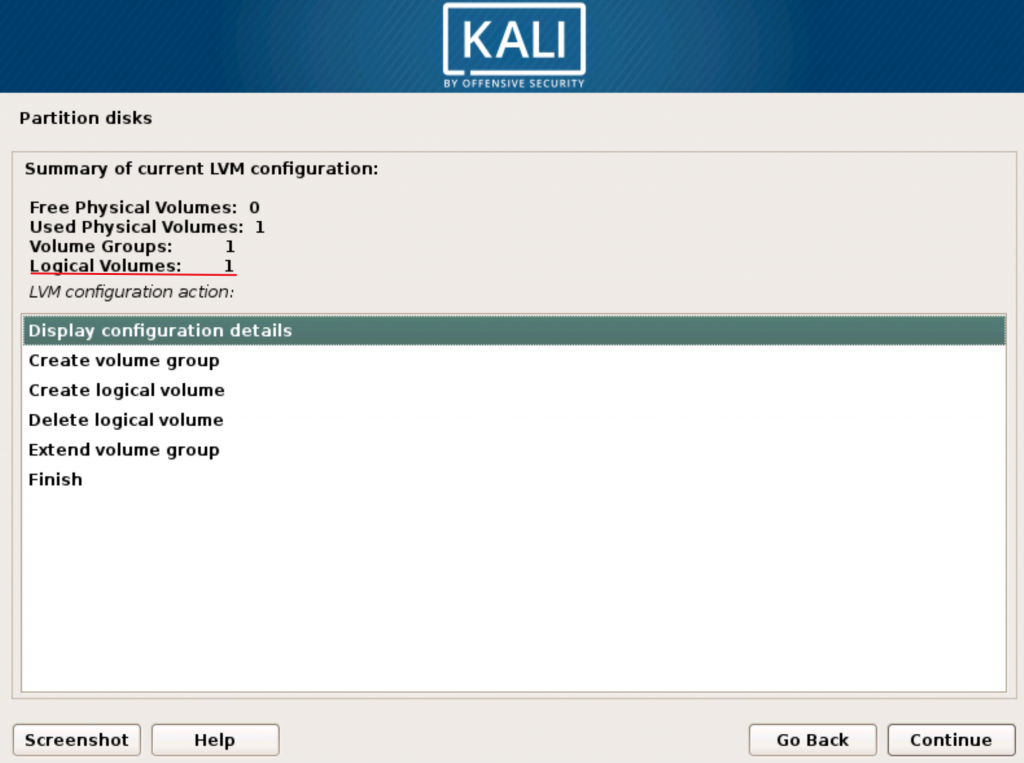
We are now back on the LVM config screen and you can see that we now have one Volume Group. Now, we created volume group and we need logical volumes on that group.
Select “Create logical volume” and click on Continue
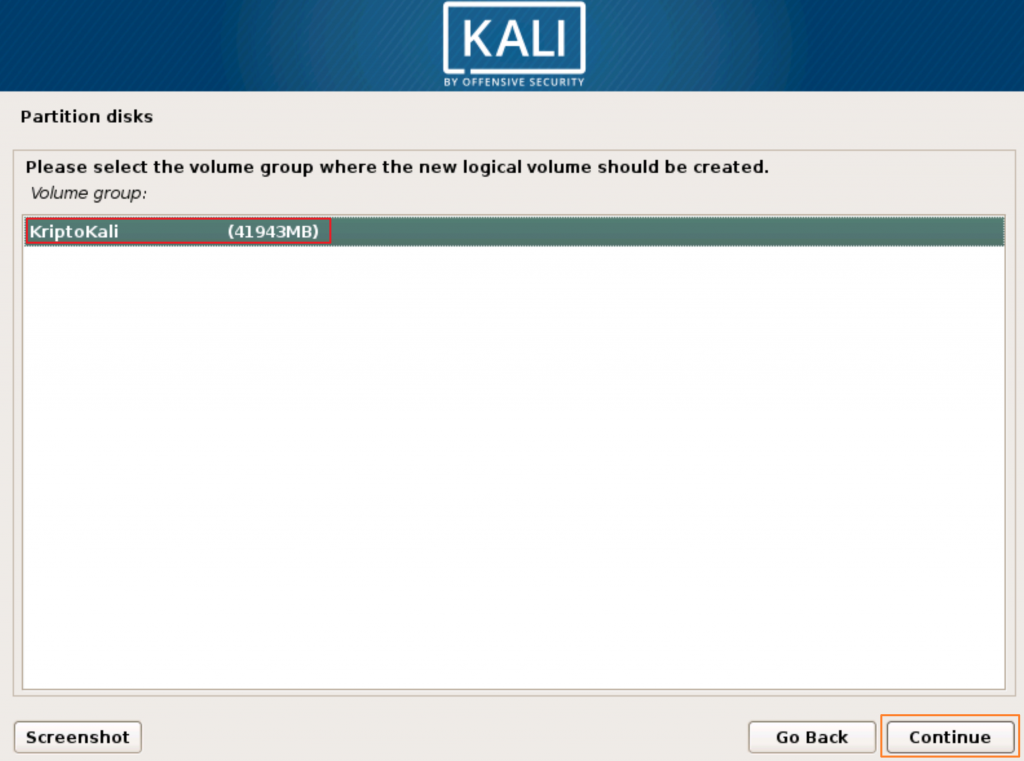
Select VolumeGroup from which logical volume will take disk space. In our case that is encrypted volume we created. Click on Continue
In this procedure will map disk space to our future partitions (mount points). So in this process we need to create five logical volumes.
I will name them as follows
/root
/swap
/home
/var
/tmp
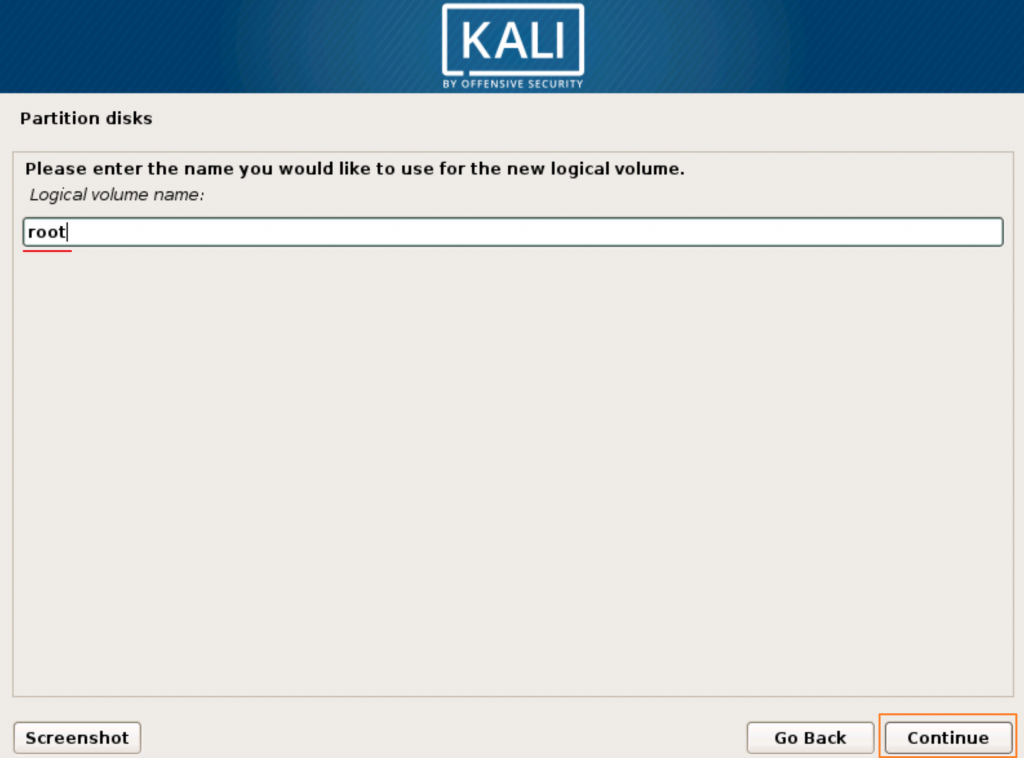
I will showcase creation of /root logical volume, and then you can repeat same procedure four more times.
So, name for my first logical volume is root. Continue
I will assign 10 GB of disk space to root logical volume. Click on Continue
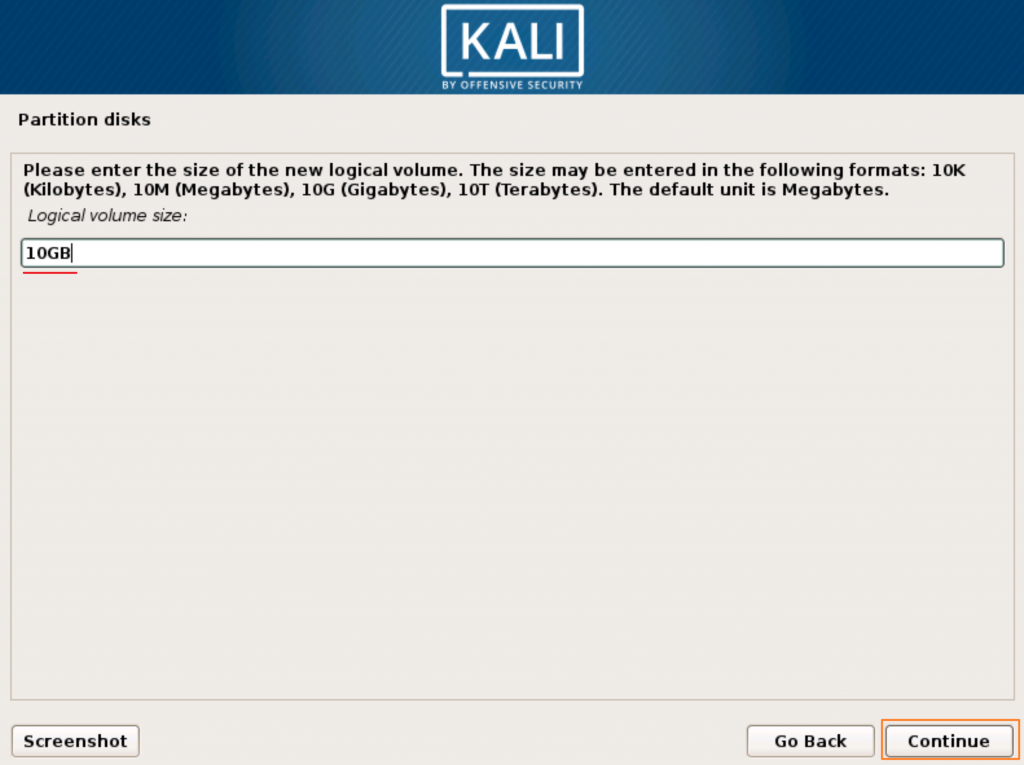
Now, our first logical volume is created
**Repeat logical volume creation step for all other partitions you want to create** Steps are the same as the ones above. (I will repeat step of creating logical volume four more times in order to create swap, home, var and tmp)
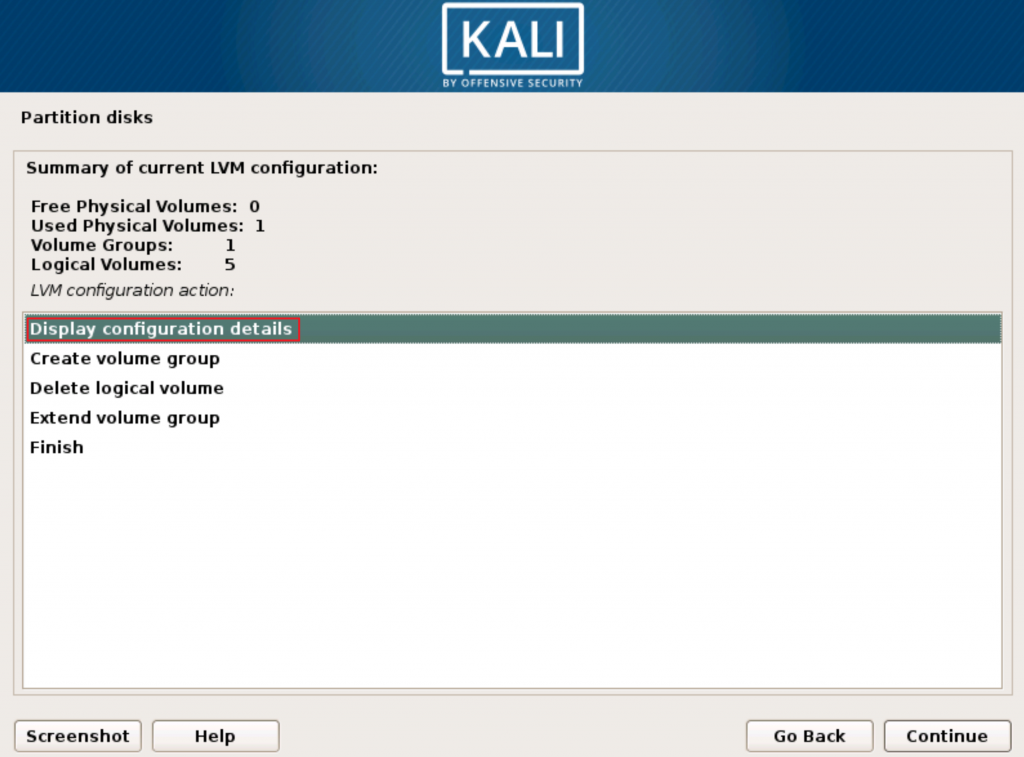
After I’m done after I selected “Display configuration details” on LVM configuration screen to see my config. Click on Continue
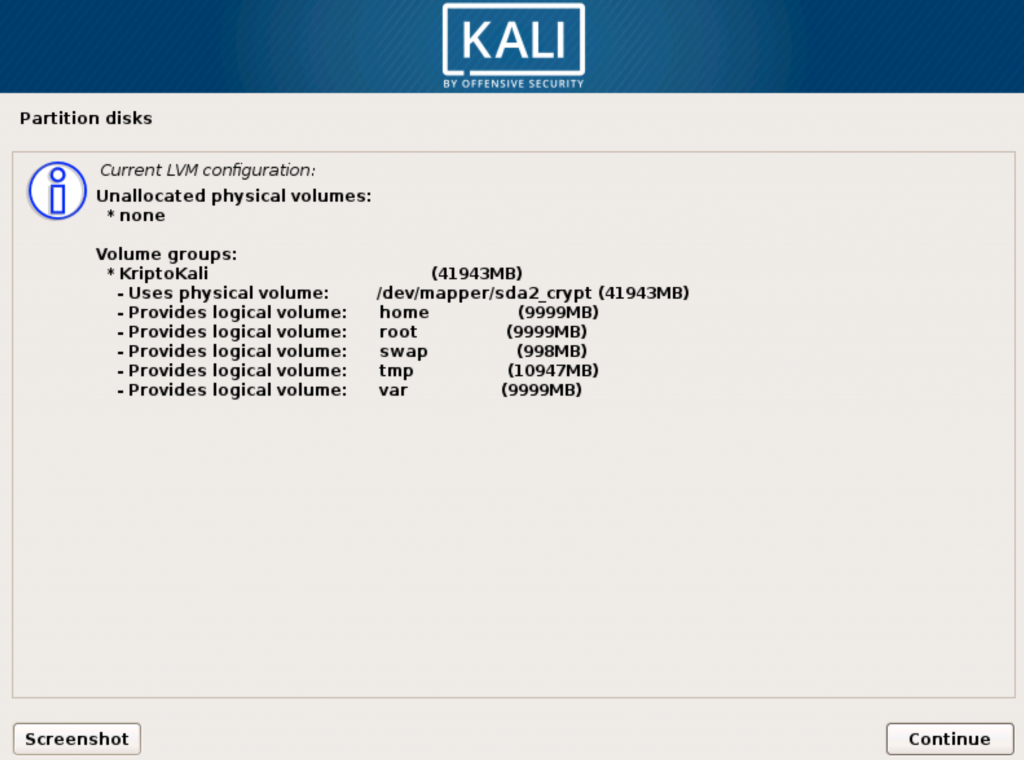
There it is – volume group KriptoKali with 41943MB of space divided among five logical volumes named home, root, swap, tmp and var. Click on Continue when you are done checking.
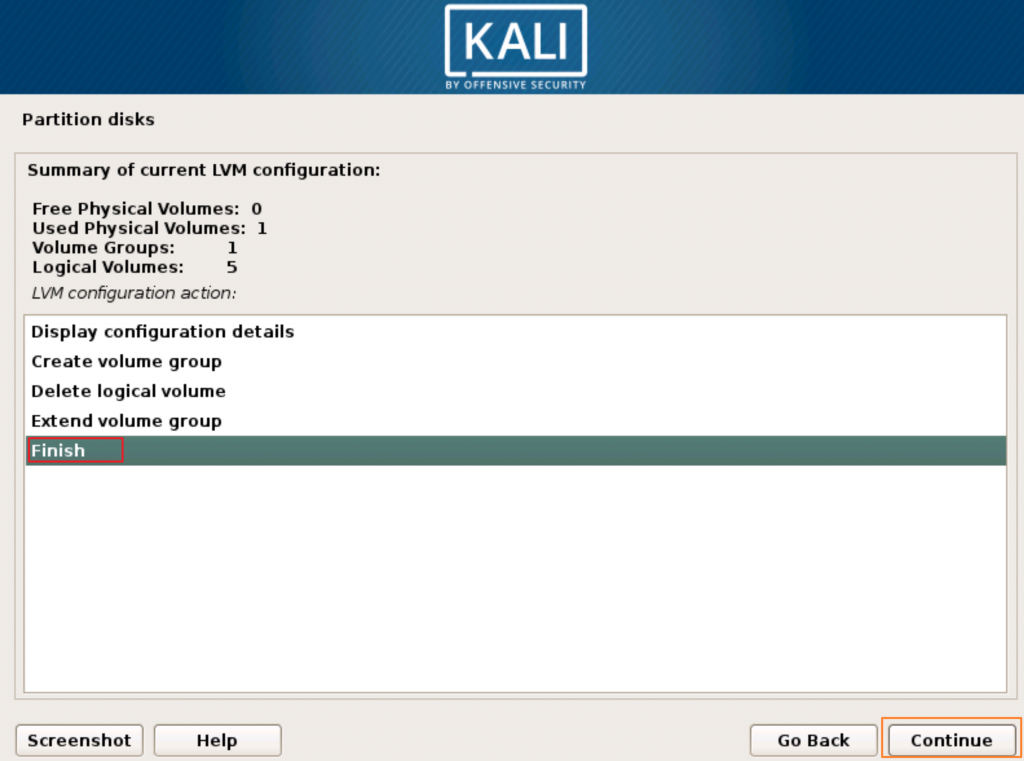
We are done with defining LVM, so I will select Finish and click on Continue
We are back on the main screen and it is getting crowded. We now see lines like “LVM VG KriptoKali, LV home – 10.0 GB Linux device-mapper (linear)”
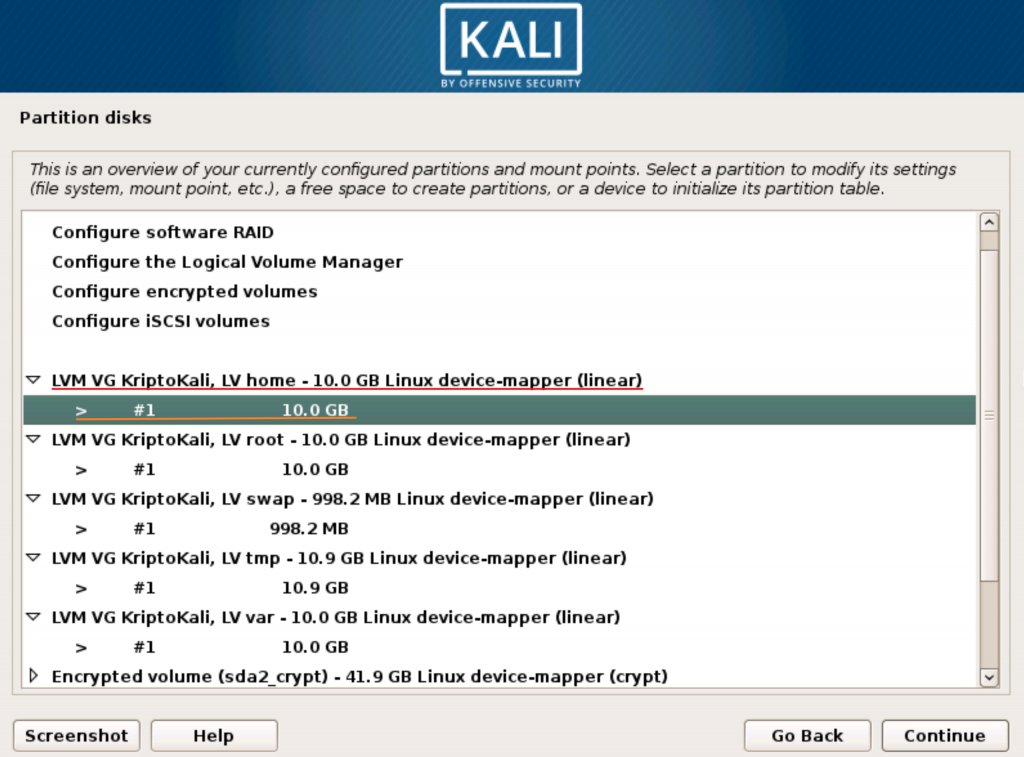
Now, last piece of the puzzle. We named logical volumes home, root, swap, tmp and var since it will be easier to remember which logical volume we want to map with mount point.
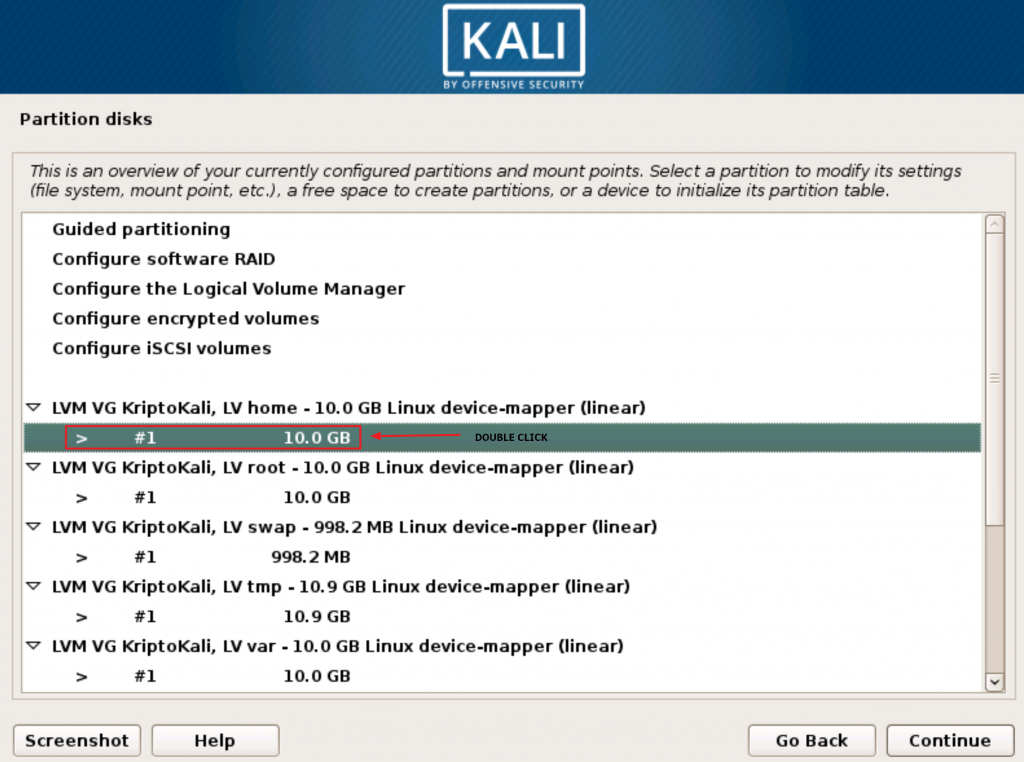
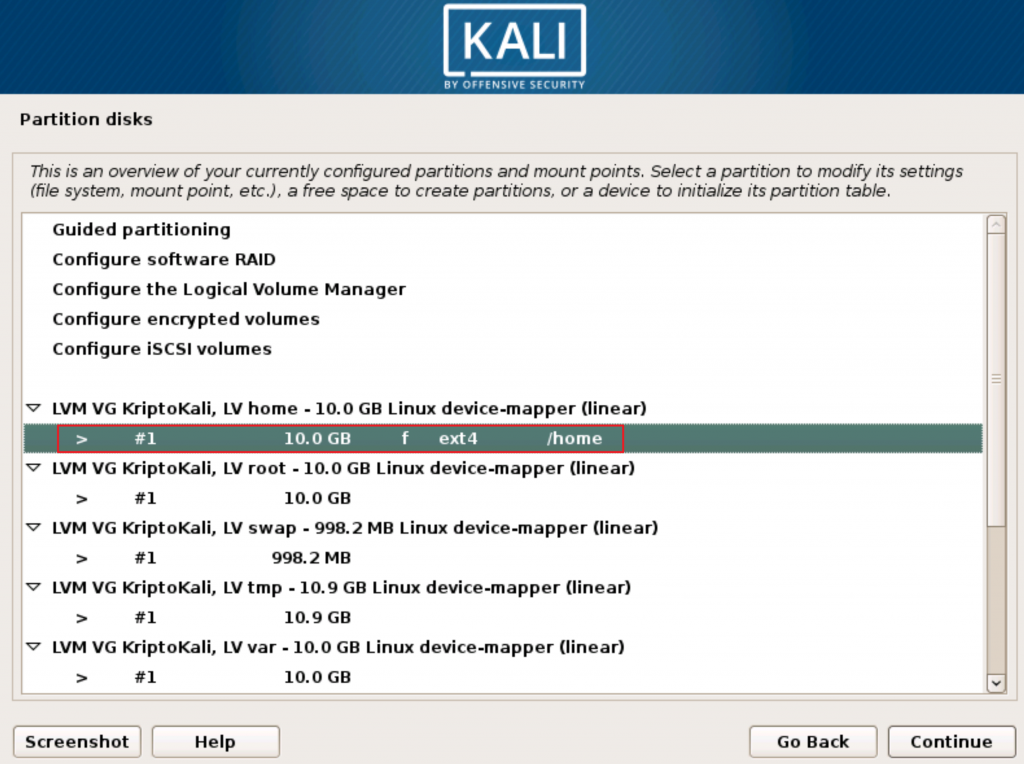
So, I will showcase “LVM VG KriptoKali, LV home – 10.0 GB Linux device-mapper (linear)”
Under text “LVM VG KriptoKali, LV home – 10.0 GB Linux device-mapper (linear)” you will select “> #1 10.0 GB” and double click on it
New screen will open and we need to again double click on “Use as: do not use”
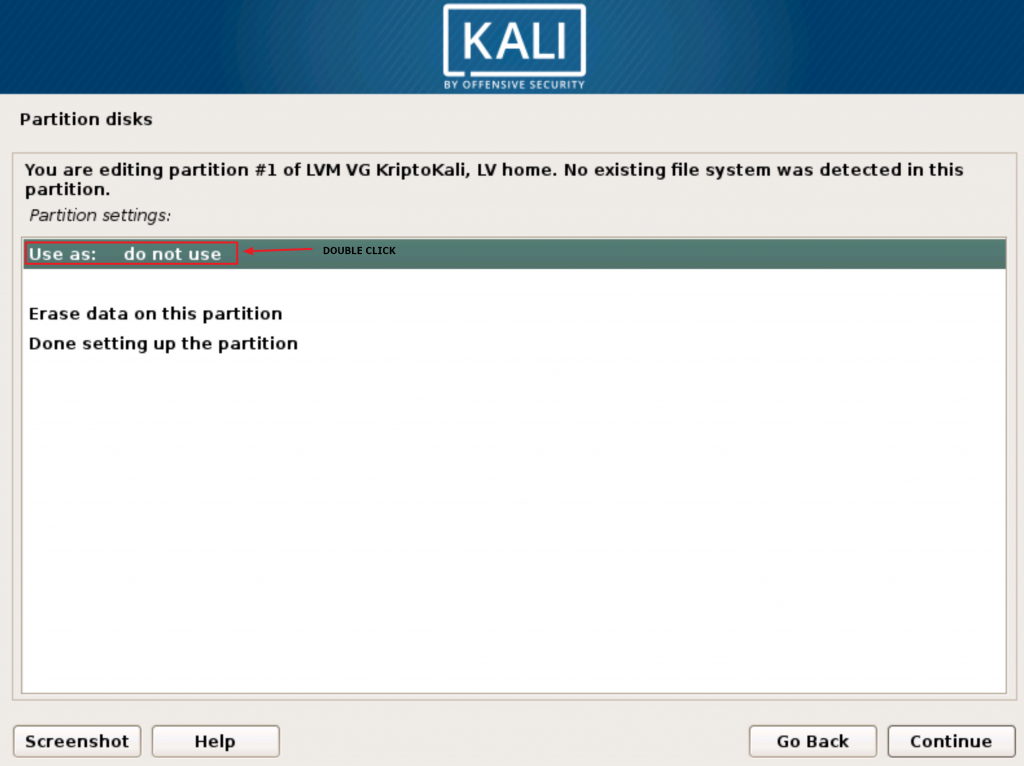
Select “Ext4 journaling file system” and click on Continue
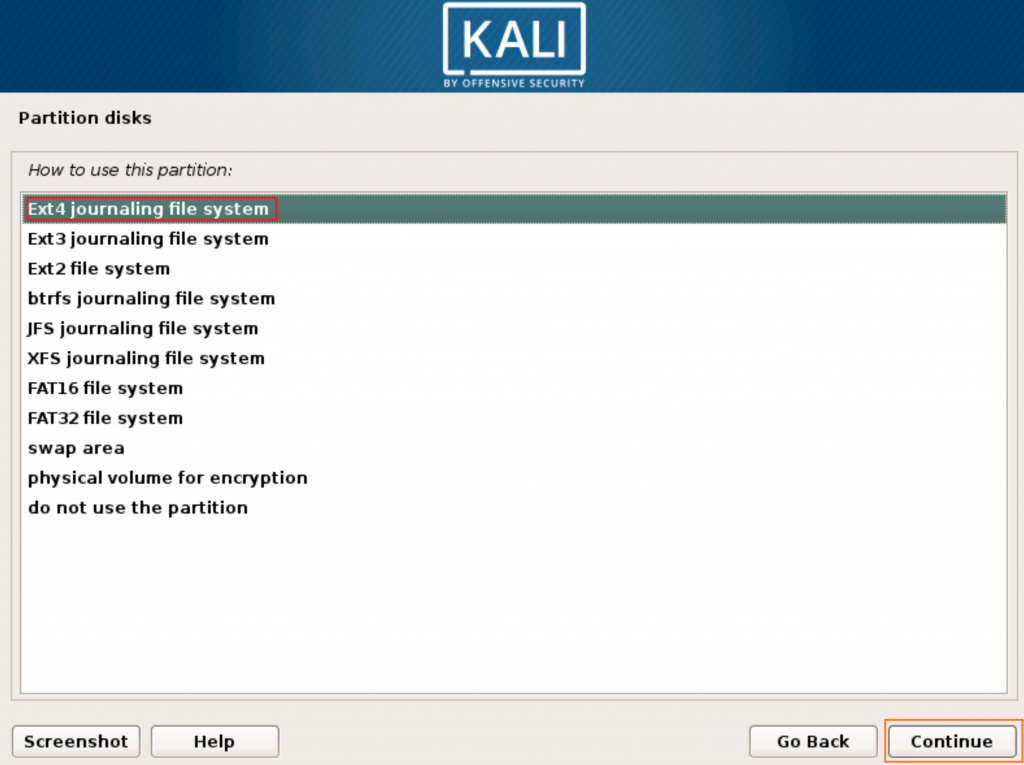
Now we resolved “Use as” and it should say “Use as: “Ext4 journaling file system”.
Next we need to define “Mount point”. Double click on Mount point

We will now assign /home mount point to the home logical volume. I hope it makes sense. Click on Continue

After we set “Use as” and “Mount point” fields and we have Ext 4… and /home values in them, select “Done setting up the partition” and click on Continue
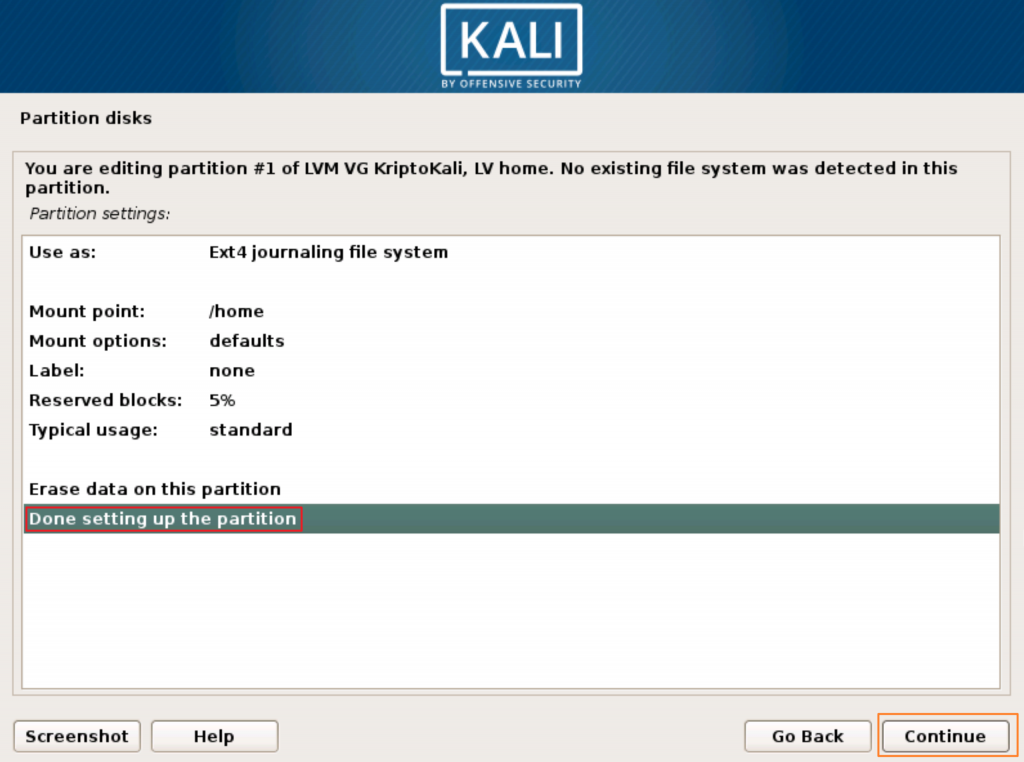
We are back on the main Partition screen and now under “LVM VG KriptoKali, LV home – 10.0 GB Linux device-mapper (linear)” line should be
“> #1 10.0 GB f ext 4 /home”
Repeat mapping step for root, var and tmp partitions/mount points.
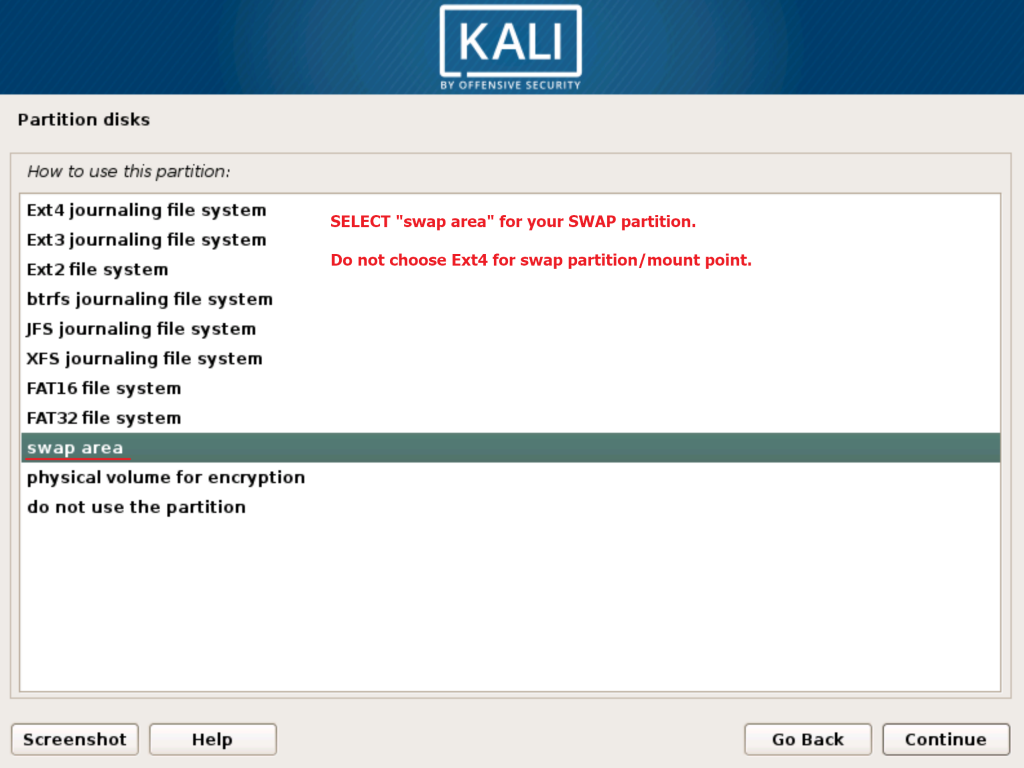
**Only procedure for swap partition/mount point is a little different**, as in for /efi mount point.
In step on “Use as: you will select swap area instead of Ext4 journaling file system.
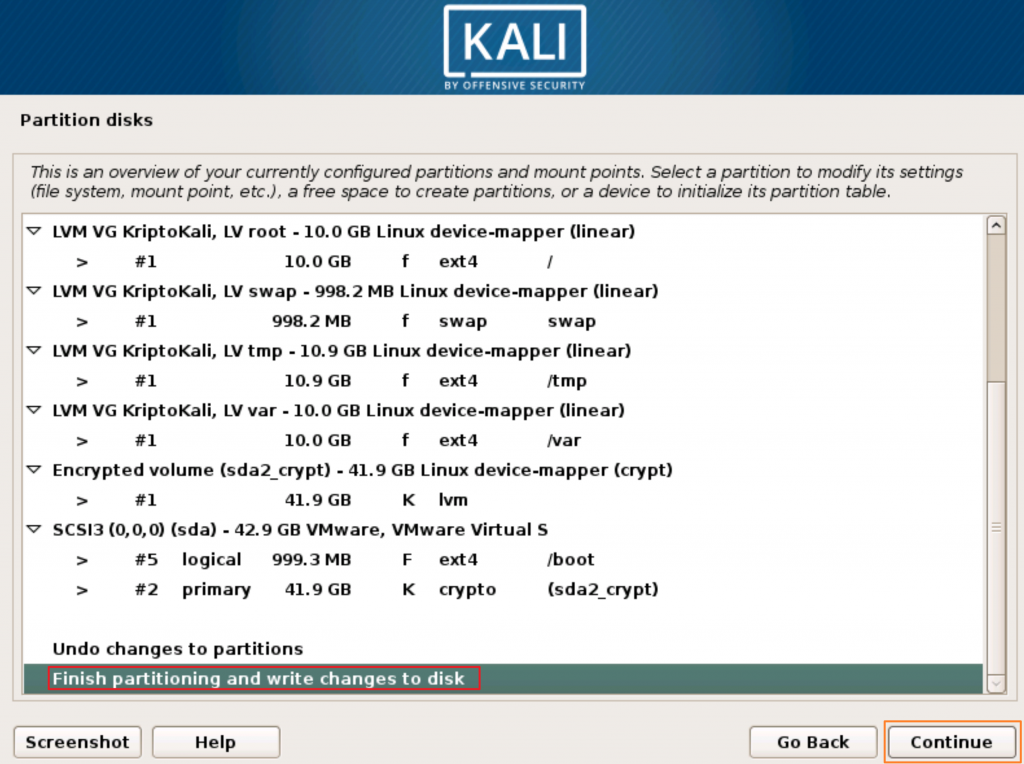
So, in the end your LVM should look like this
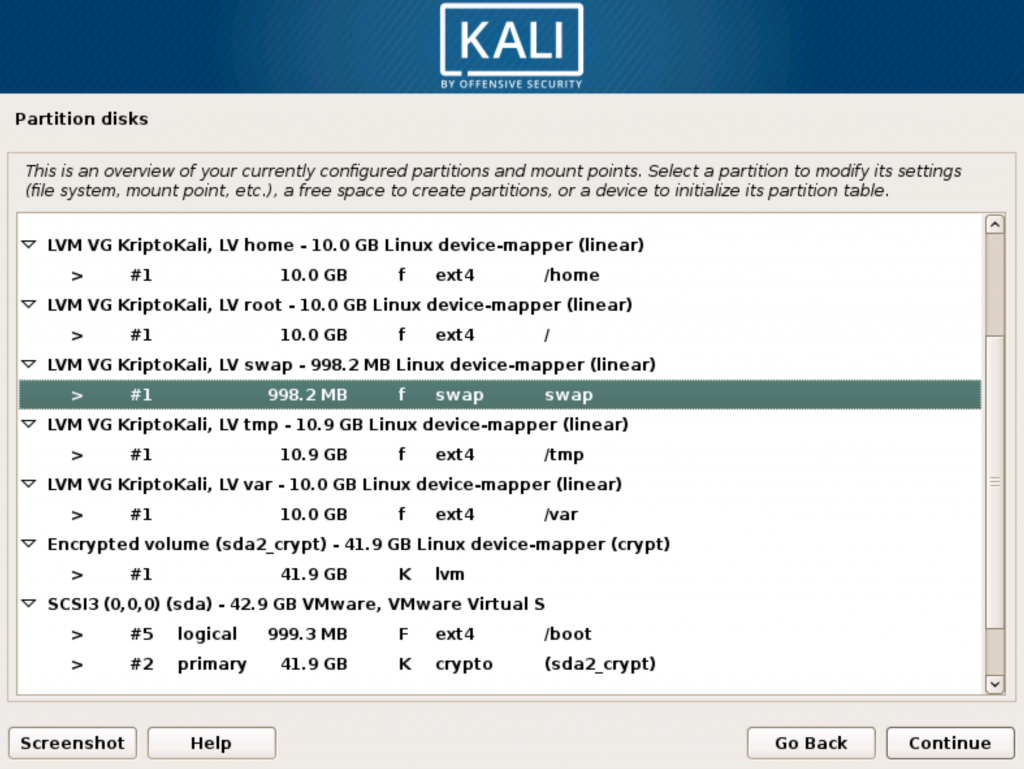
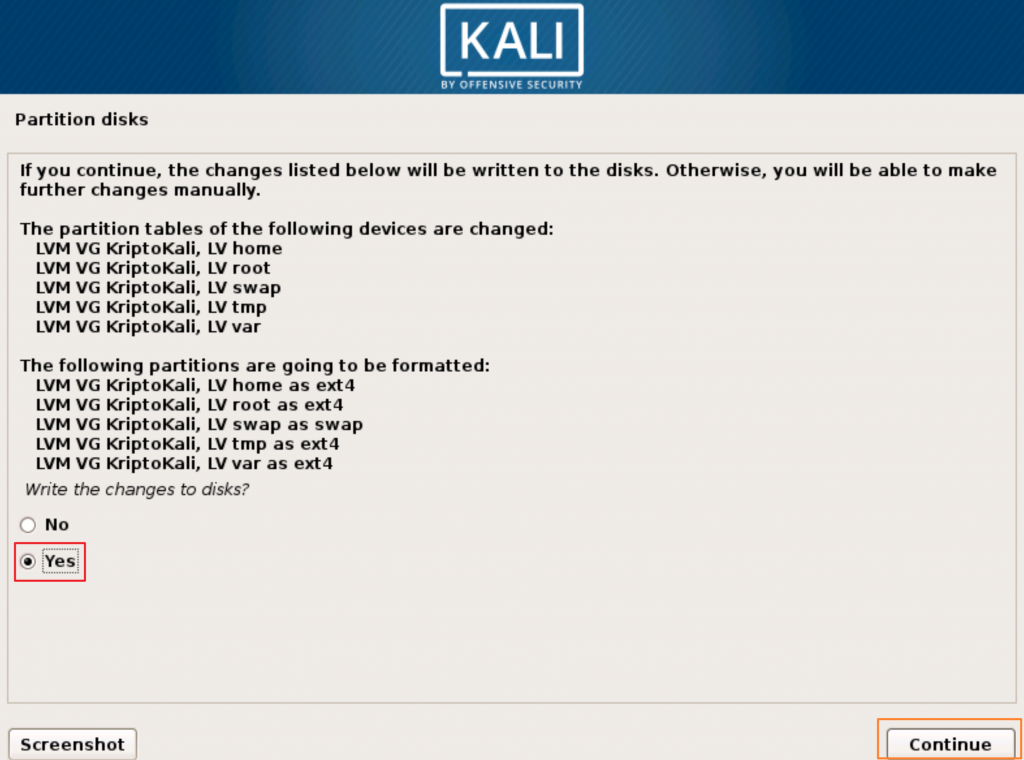
We are done, and we can select “Finish partitioning and write changes to disk” and click on Continue
Write the changes to disks? Yes and click on Continue
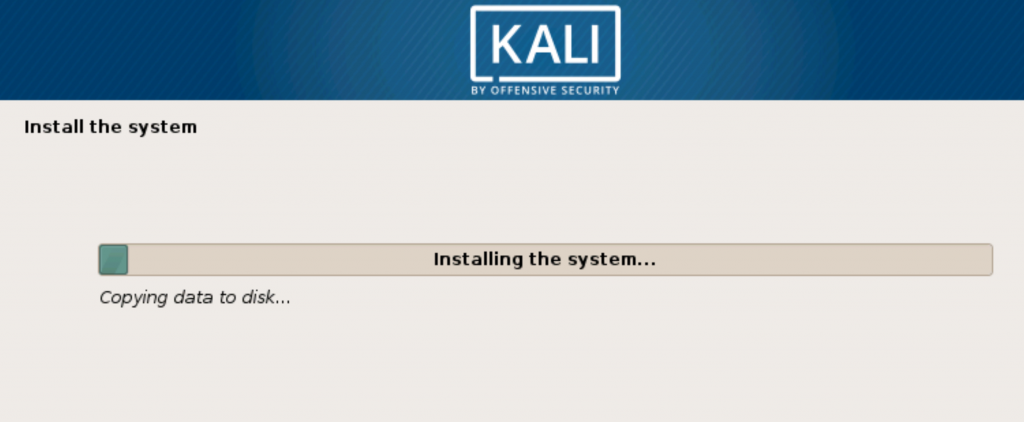
If you done well, the next screen you should see is system installation.
That is it, we are done. :)