Quick tutorial on how to install Wallabag on CentOS 8.
Prerequisites
First, let’s start with prerequisites.
Lets check for latest updates
sudo yum update -yWe need two repos for this tutorial, EPEL and REMI
Epel install
sudo dnf install https://dl.fedoraproject.org/pub/epel/epel-release-latest-8.noarch.rpmRemi install
sudo dnf install https://rpms.remirepo.net/enterprise/remi-release-8.rpmWe will now check for available PHP packages by typing in
dnf module list phpAfter we checked available packages, we will now enable PHP 7.2 packages. [PHP 7.4 is not completely supported, you will get error while installing wallabag. Wallabag version 2.4.0 will correct the error. There is a workaround you need to make if you wish to install PHP 7.4. You need to edit file RecordFactory.php inside /var/www/wallabag/vendor/wallabag/php-mobi/MOBIClass. Delete lines 119-135 and modify line 41. Here is the link to needed changes https://github.com/wallabag/php-mobi/commit/bfe9c18d038e5ca24664cfdab107a645ac57c9b5 ]
sudo dnf module enable php:remi-7.2Before we proceed further, we will again try to update our installation
sudo yum update -yInstallation of Apache with PHP and MariaDB follows
sudo yum install -y httpd php php-common php-curl php-json php-zip php-xml php-mbstring php-mysql php-pdo php-gd php-tidy php-bcmath mariadb-server mariadbWe need to enable Apache and MariaDB on system start
sudo systemctl enable --now httpd.service mariadb.serviceGit, make, composer and unzip are also needed. You can install git, make and unzip with following command
sudo yum install -y git make unzipComposer will be installed with following commands:
First, we need wget
sudo dnf -y install wgetNow, we will download composer
wget https://getcomposer.org/installer -O composer-installer.phpNext step will be to install it
sudo php composer-installer.php --filename=composer --install-dir=/usr/local/bin We will check our version by entering
composer --versionYou can also check usage page by simply typing in
composerApache configuration
We need to create new virtual host for our Wallabag installation.
sudo vi /etc/httpd/conf.d/wallabag.confEnter following
<VirtualHost *:80>
    ServerName YOUR IP OR DOMAIN NAME
    DocumentRoot /var/www/wallabag/web
    <Directory /var/www/wallabag/web>
        AllowOverride None
        Order Allow,Deny
        Allow from All
        <IfModule mod_rewrite.c>
            Options -MultiViews
            RewriteEngine On
            RewriteCond %{REQUEST_FILENAME} !-f
            RewriteRule ^(.*)$ app.php [QSA,L]
        </IfModule>
    </Directory>
 <Directory /var/www/wallabag/web/bundles>
        <IfModule mod_rewrite.c>
            RewriteEngine Off
        </IfModule>
    </Directory>
    ErrorLog /var/log/httpd/wallabag_error.log
    CustomLog /var/log/httpd/wallabag_access.log combined
</VirtualHost>
To check your Apache configuration, enter following command
sudo apachectl configtestYou should get Syntax OK.
!!!! You will probably get error at this step because /wallabag/web directory still does not exist. You probably will also not be able to reload Apache service and will get error on starting web server. Get back to this step after you cloned git repo to /var/www/wallabag, it should be ok.
Reload Apache service
sudo systemctl reload httpd.serviceFor production environment, you should only use HTTPS on port 443, this configuration is only for test purposes, HTTP and port 80, are not serious solution for any production environment.
MariaDB configuration
sudo mysql_secure_installationYou can find complete tutorial on this in my LAMP tutorial, but in short – you want to set root password, you want to remove anonymous users, disallow root remote login and drop test database. In the end, you also want to reload privilege tables.
After we secured installation, we now need to create new DB and user for it.
sudo mysql -u root -pChange “pass01” to password you would like to use.
CREATE DATABASE wallabag;
CREATE USER `zeljko`@`localhost` IDENTIFIED BY 'pass01';
GRANT ALL ON wallabag.* TO `zeljko`@`localhost`;
FLUSH PRIVILEGES;
exit
Install Wallabag
Navigate to /var/www
cd /var/www/Clone git rep
sudo git clone https://github.com/wallabag/wallabag.gitSet permissions for Apache on /var/www/wallabag
sudo chown -R apache:apache /var/www/wallabagWe will use Apache user for install
sudo -u apache /bin/bash
cd /var/www/wallabag/
There us a problem with running composer as Apache, so we will add following to our path. Composer executable should be in /usr/local/bin path.
export PATH=$PATH:/usr/local/binWhen you are sure composer is working under apache user (check it by running)
composer --versionLets finally run installation
make installIf you done everything correctly, you will see screen like this
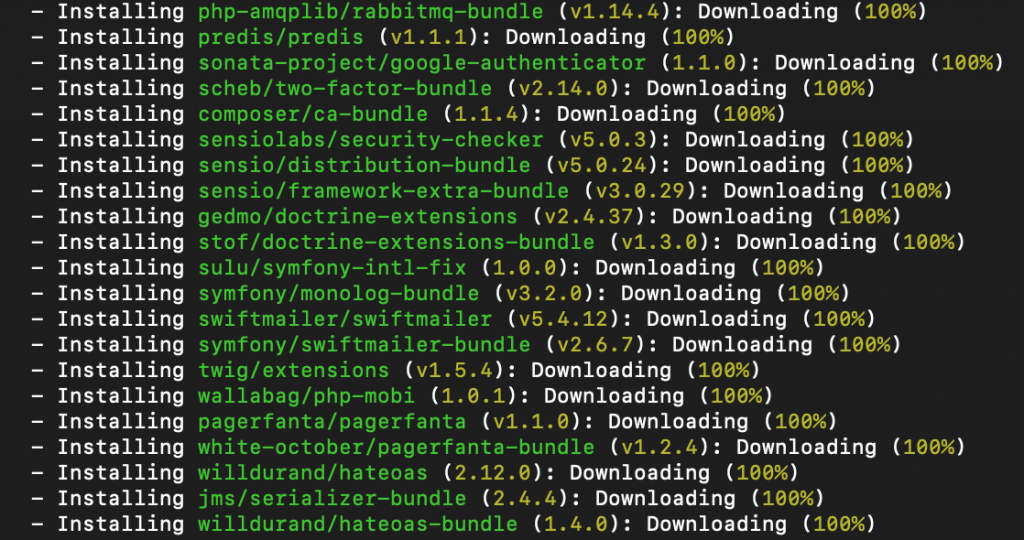
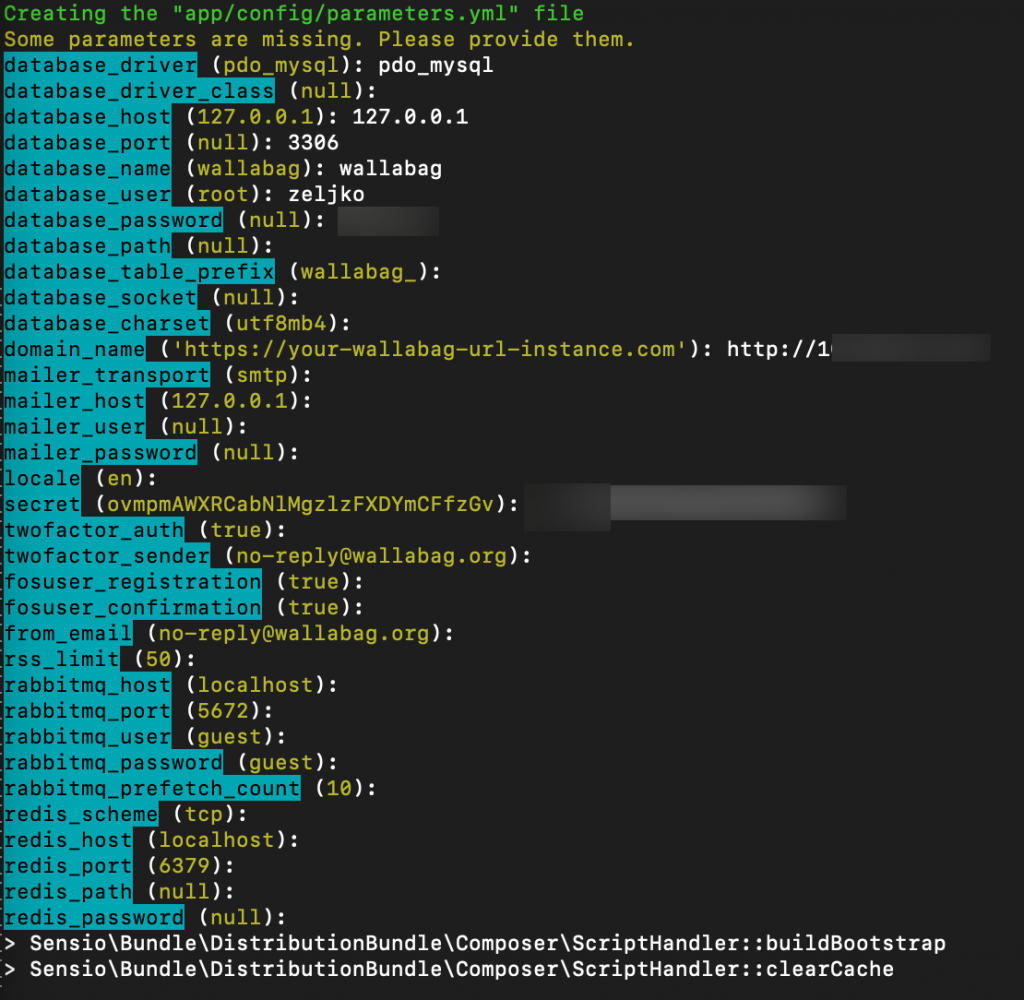
After installing is done, you will be asked a few details about your setup. These on the screenshot below you have to do, since they are essential data. You will need other wishes depending on your needs. I recommend you enter secret also, and define 2FA.
Change the data to fit your installation.
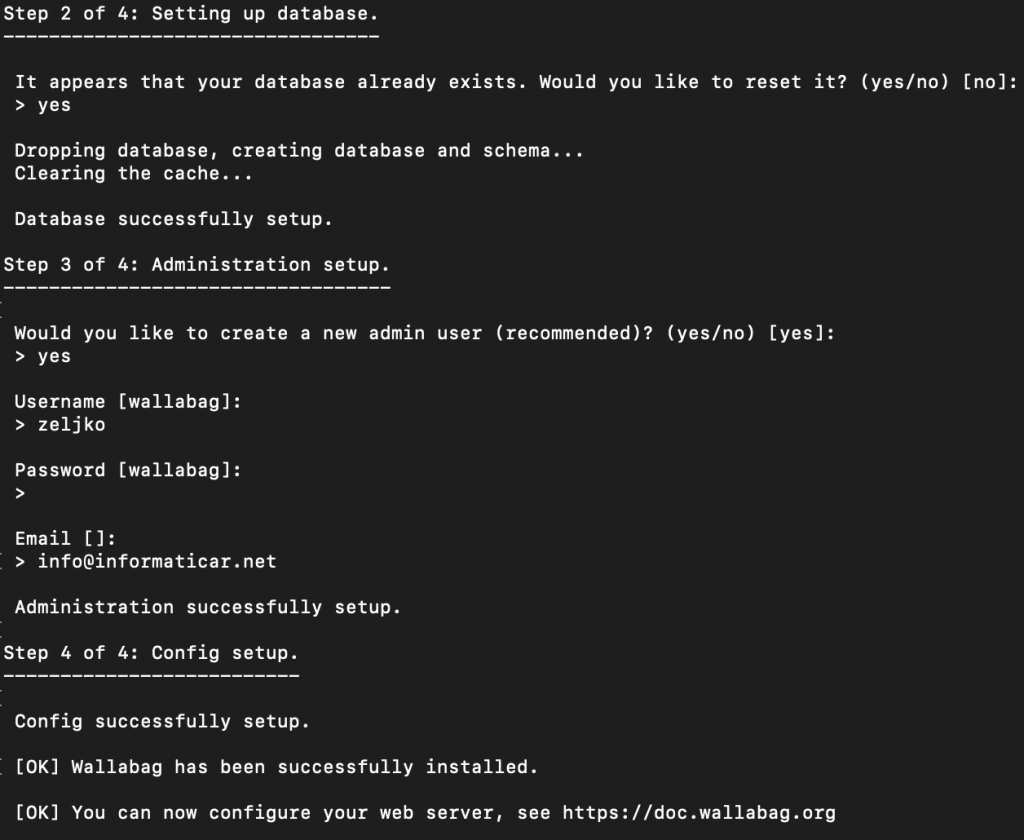
After you are done, there is a new screen that will appear. It should look like pictured below, that means your install is ok.
few more steps before end. Step 2 – Setting up database. I selected to reset database – yes
Step 3 – you need to create user that will be able to login to your Wallabag installation. I created one.
Step 4 – we are successfully done.
In the end, we need to let traffic through firewall
sudo firewall-cmd --add-service http --permanent
sudo firewall-cmd --reload
Now, that is still not the end. If you try and enter your IP or domain name to your browser, you will get blank screen. That is because Wallabag doesn’t play well with SELinux. You can
You can check status of SELinux by entering
sestatusYour CentOS is probably in enforcing state.
You can temporarily put it to permissive state (until reboot) by entering
sudo setenforce 0Now there are two approaches. You can permanently put SELinux in permissive mode by editing SELinux config file:
sudo vi /etc/selinux/configChange SELINUX=enforcing to
SELINUX=permissiveI suggest you reboot your server after this change.
Second option (I haven’t managed to get it work) is to set some rules for SELinux. Here you can find details under section Additional Rules for SELinux – https://doc.wallabag.org/en/admin/installation/rightaccess.html
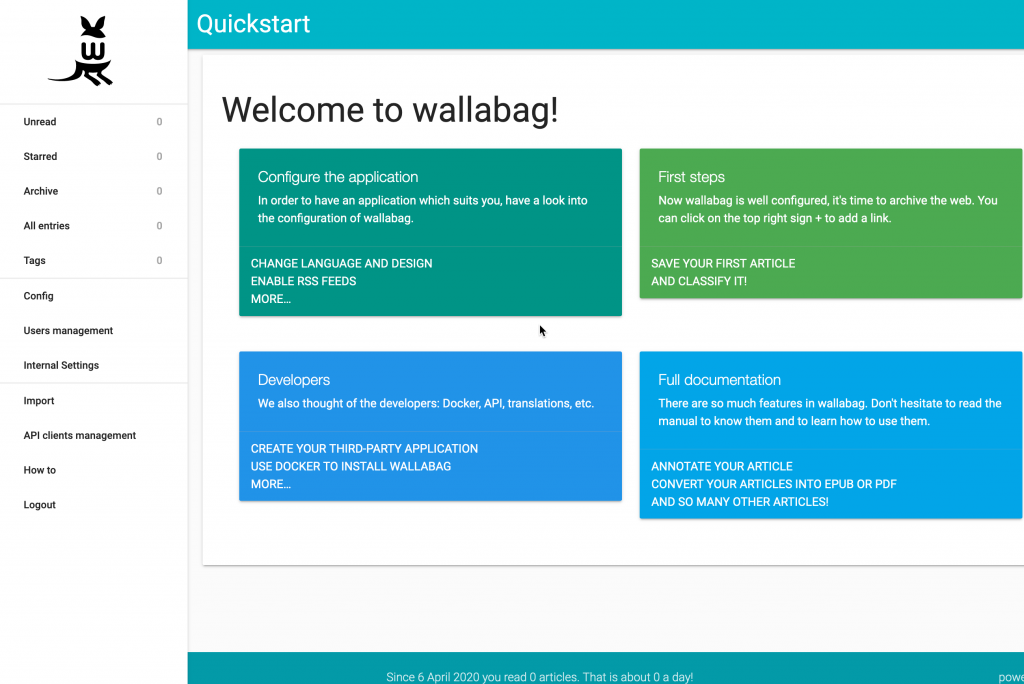
That should be it, after you set SELinux, you should now go to your browser and enter http://yourdomain name or ip and Wallabag should open. If you haven’t set SELinux right, you will probably get blank screen or will not be able to login to your Wallabag install.
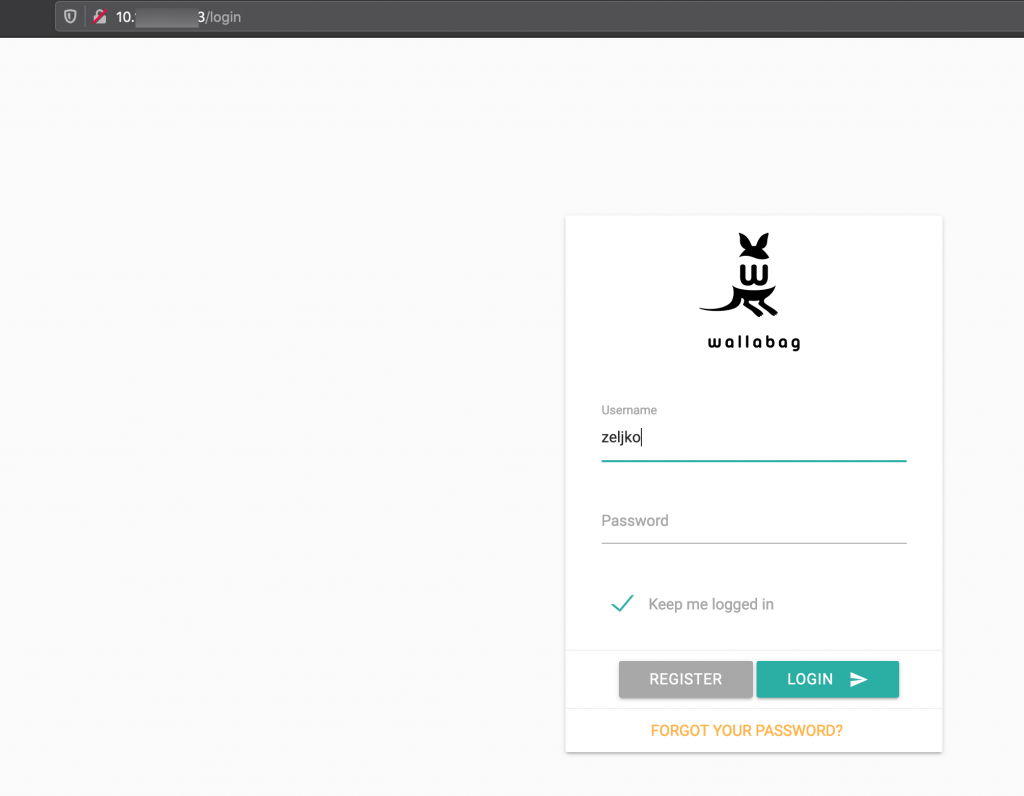
And, login is a success
I’m highly recommending that you run HTTPS in your production environment. HTTP is a no go for production, it is good enough for simple tutorials, but nothing more than that..