If you are coming from Hyper-V or just desktop virtualization software like VMware player, creating VM on Proxmox might be just a bit confusing. In this short guide I will explain to you how to install virtual machine in Proxmox.
Before we begin
We will need iso image of operating system we are planing to install. I’m going to install Ubuntu, so before we go into Proxmox, I went to https://ubuntu.com/#download and got myself Ubuntu Desktop 20.04 LTS.
(You can of course skip this part if you have installation media for the OS you like or plan to install).

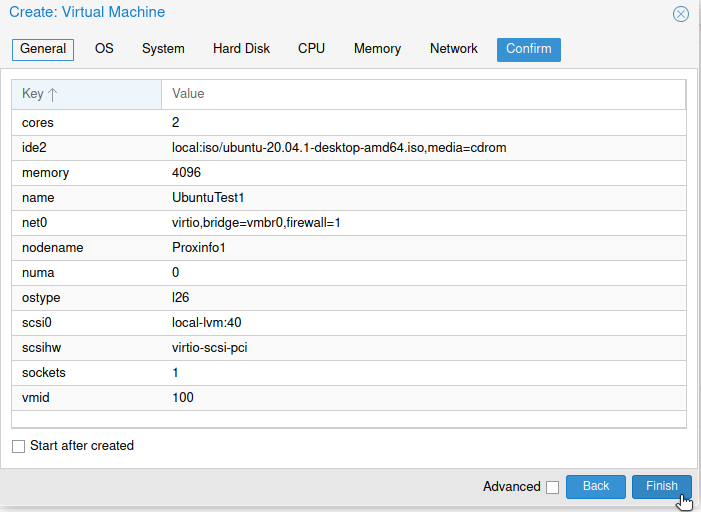
I’m going to create VM named UbuntuTest1 with 2vCPUs and 4GB of RAM and 40GB of disk size. I will not go into network settings now, we will discuss that later.
Upload ISO image
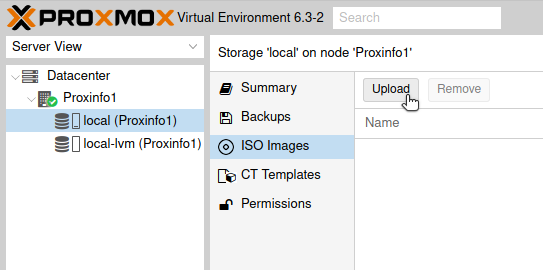
First step will be to upload downloaded Ubuntu installation onto our Proxmox server.
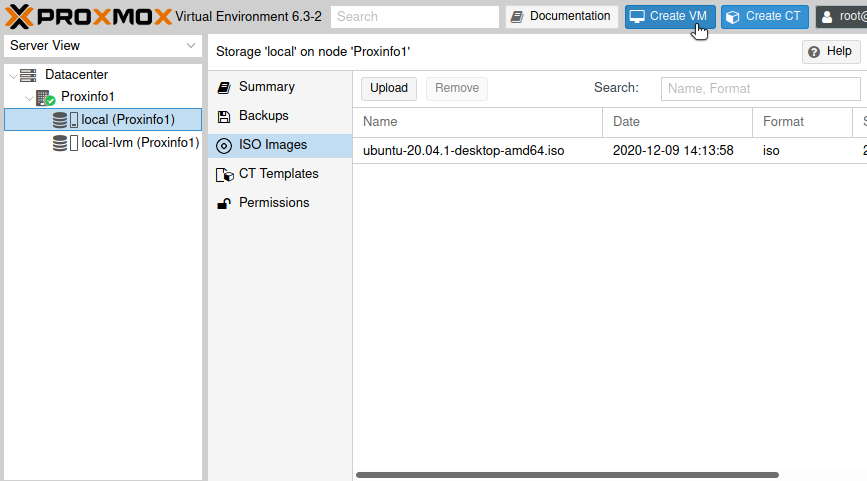
Select your Proxmox installation (Proxinfo1 in my case) and expand it. Select “local” and from the middle screen select ISO Images. From the right screen select Upload.
New pop-up will open – select ISO image and under select file browse to your downloaded ISO location. Click on Upload when you are done.

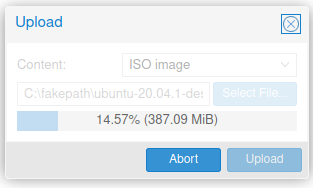
After some time ISO will be uploaded
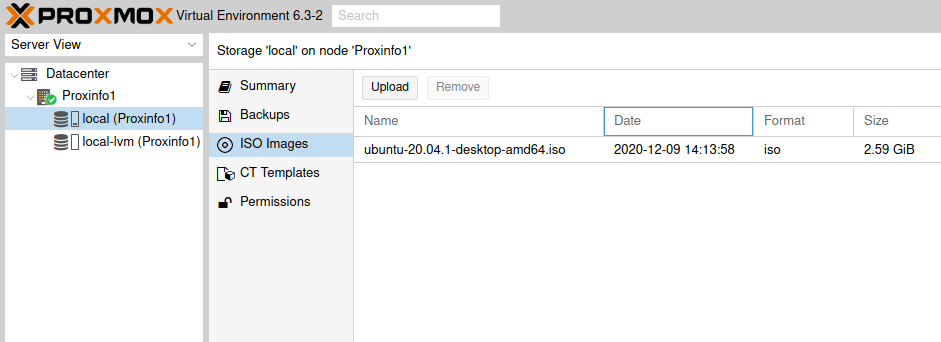
You may have a problem with this if your Proxmox disk is too small and you don’t have enough cache to upload. But more on that another time.
Create VM in Proxmox
Ok, now that we have our ISO image uploaded to Proxmox, we will go ahead and create our new VM.
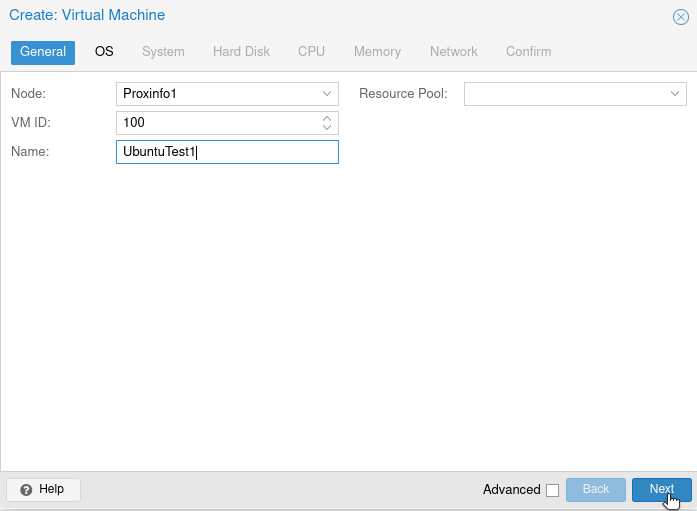
Stay on your Proxmox server and in “local” expanded and select from the top right screen – Create VM
Under General I will only enter name – UbuntuTest1
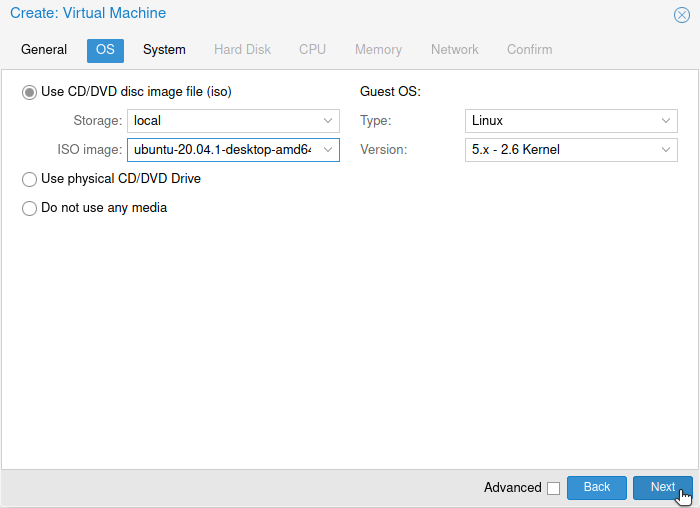
On the next screen I will select Ubuntu ISO we uploaded earlier. Next
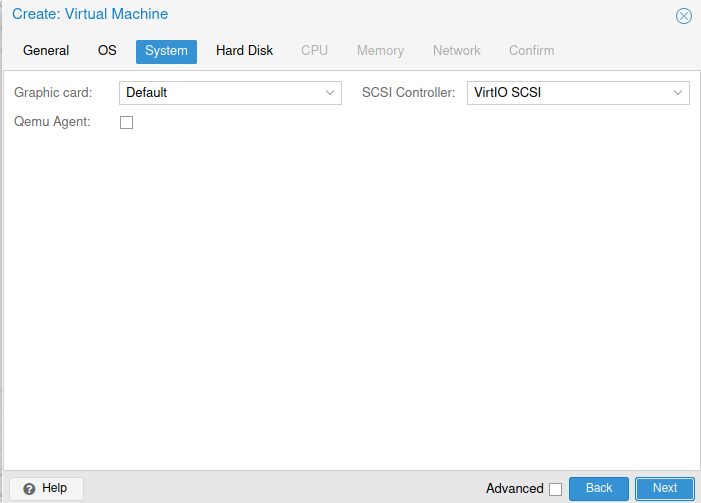
System, I’m going to leave all default – Next
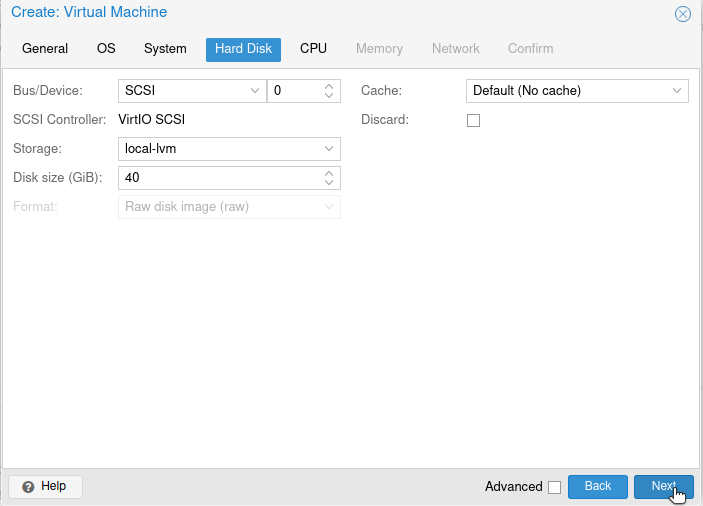
Hard Disk – I will only select 40GB for size and select Next
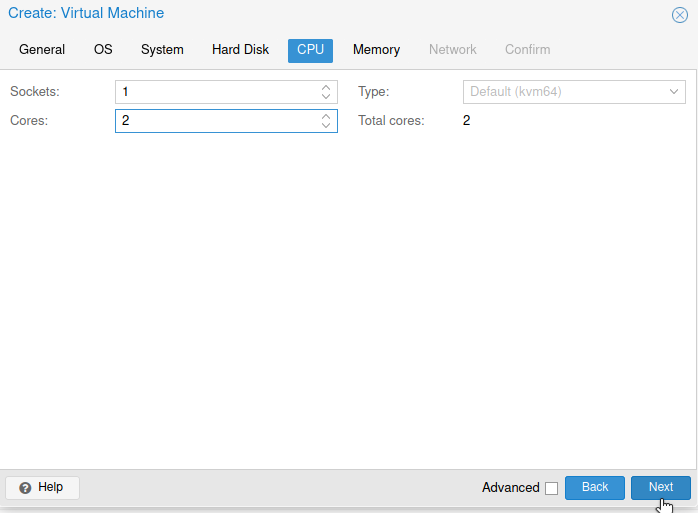
Under CPU I will assign 2 cores | Next
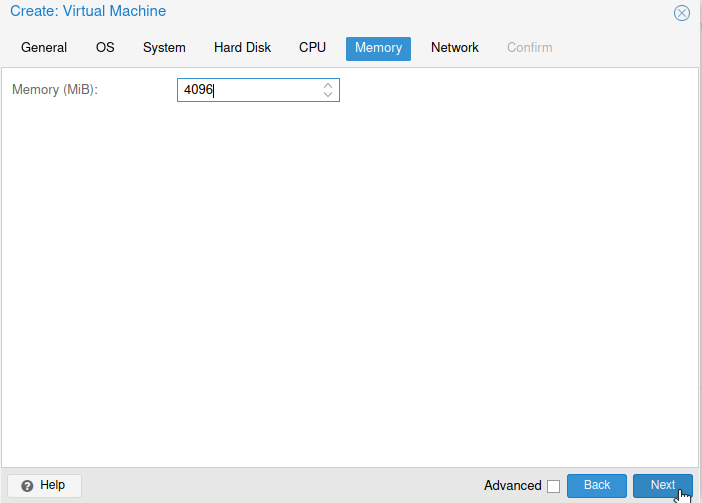
For memory I will add 4GB of RAM
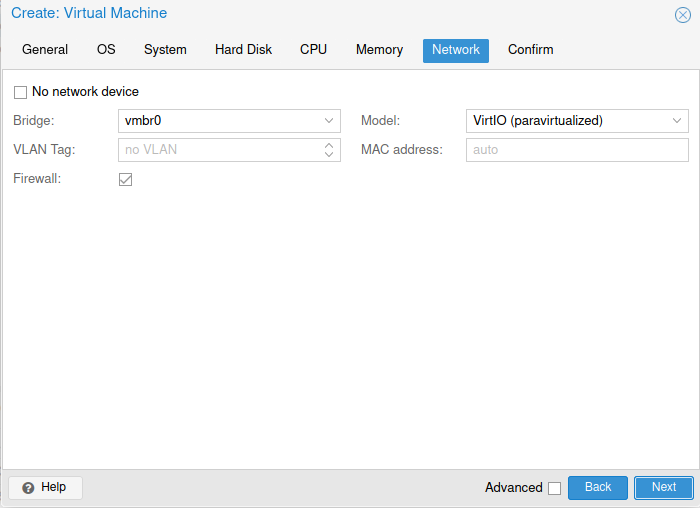
I will not get into network configuration right now. I will not select “No network device” but I also haven’t configured network yet. This will be a topic for other time. Next
Confirm settings and select Finish
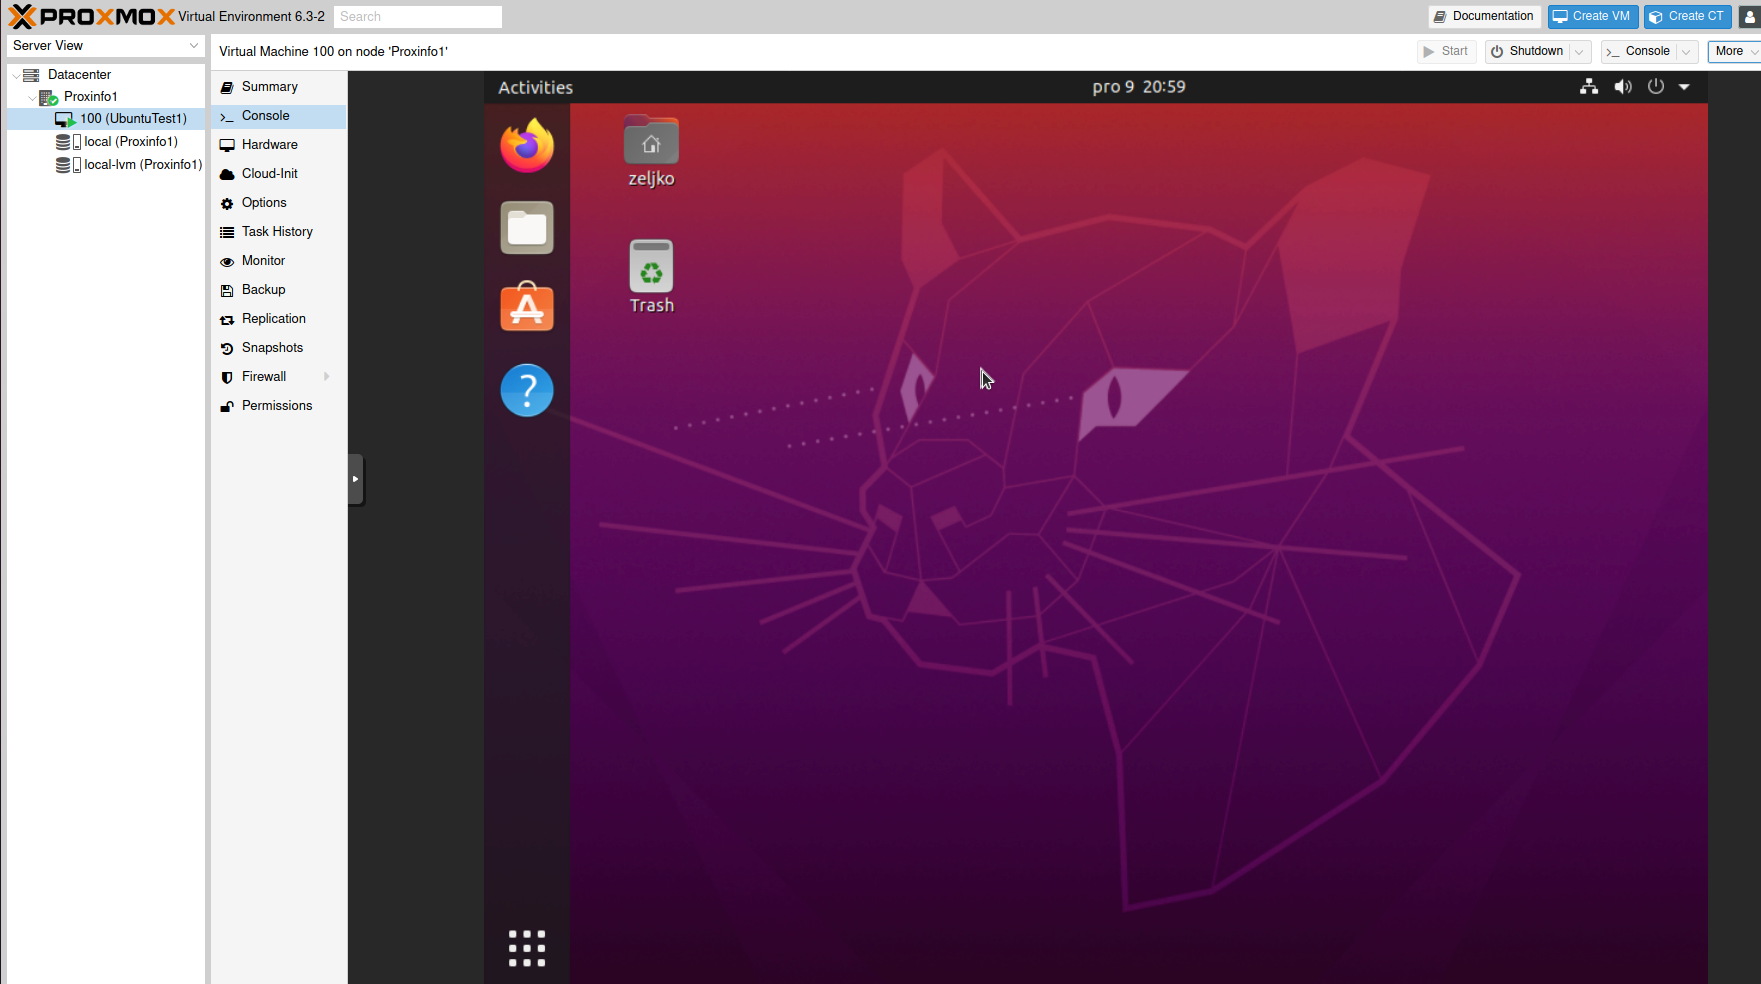
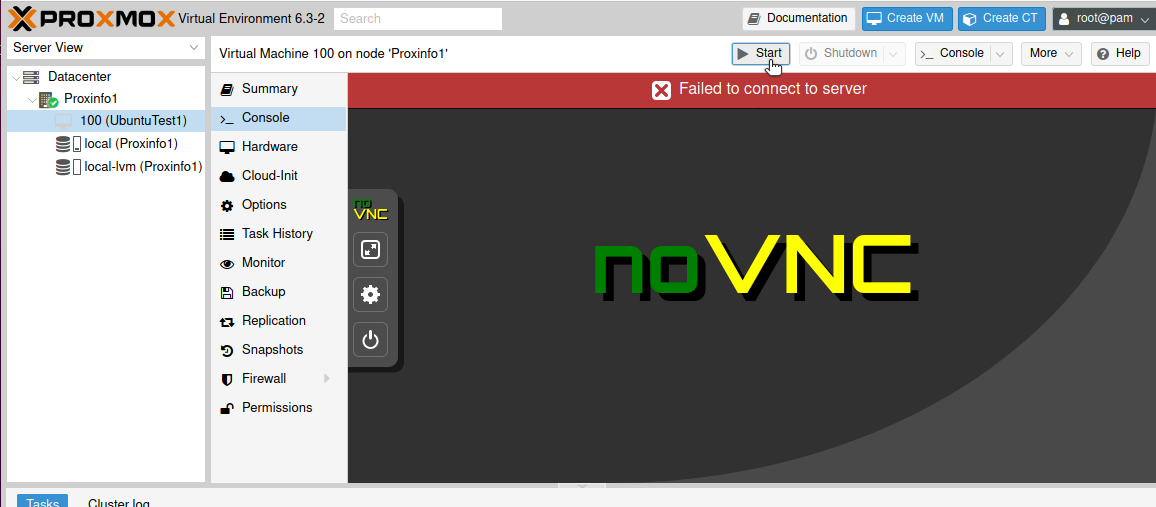
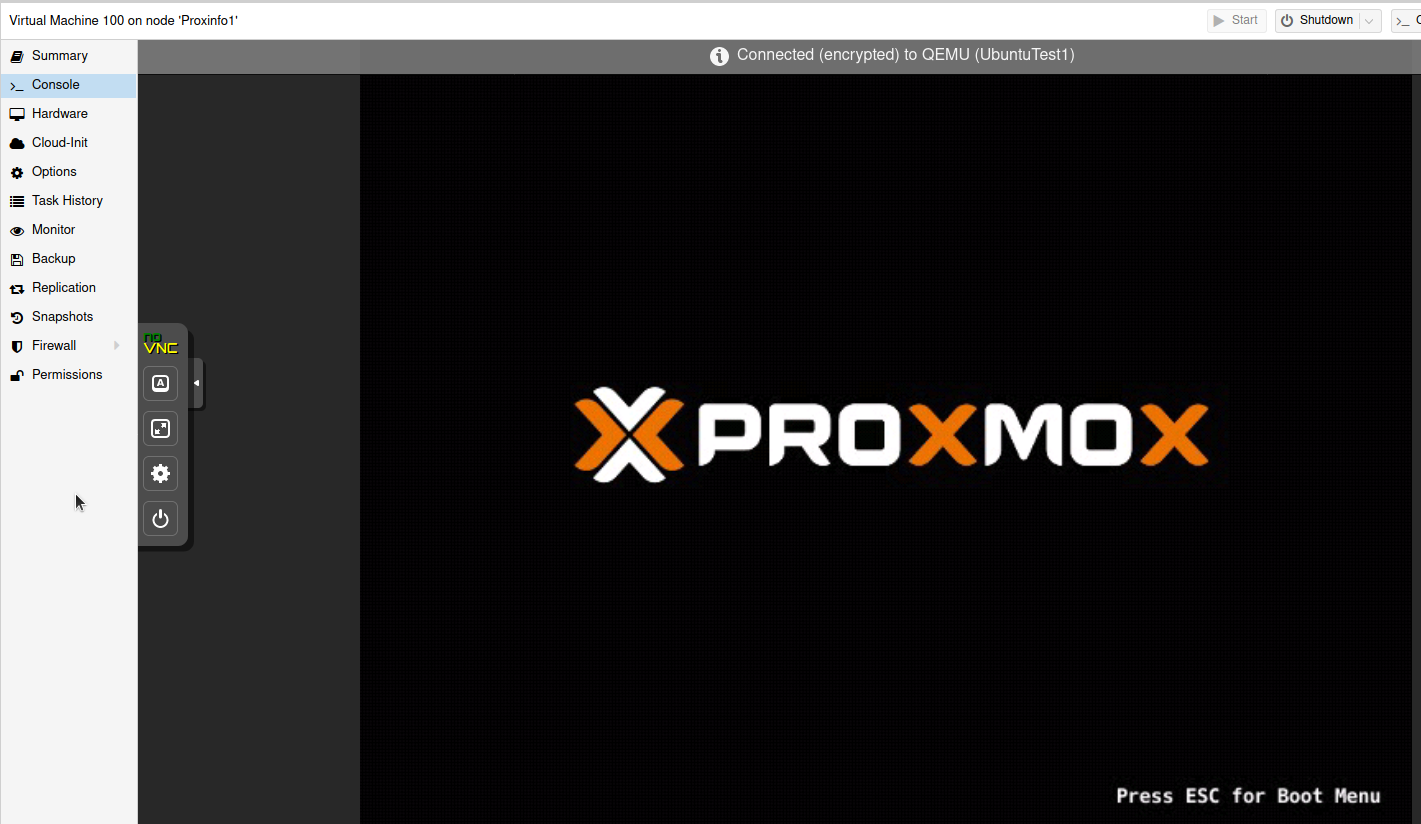
Ok, now under your Proxmox server VM named “100 (UbuntuTest1)” will appear. In the middle pane, click on Console, and in the right pane, click on Start. We will start our Ubuntu VM installation.
Machine is booting…
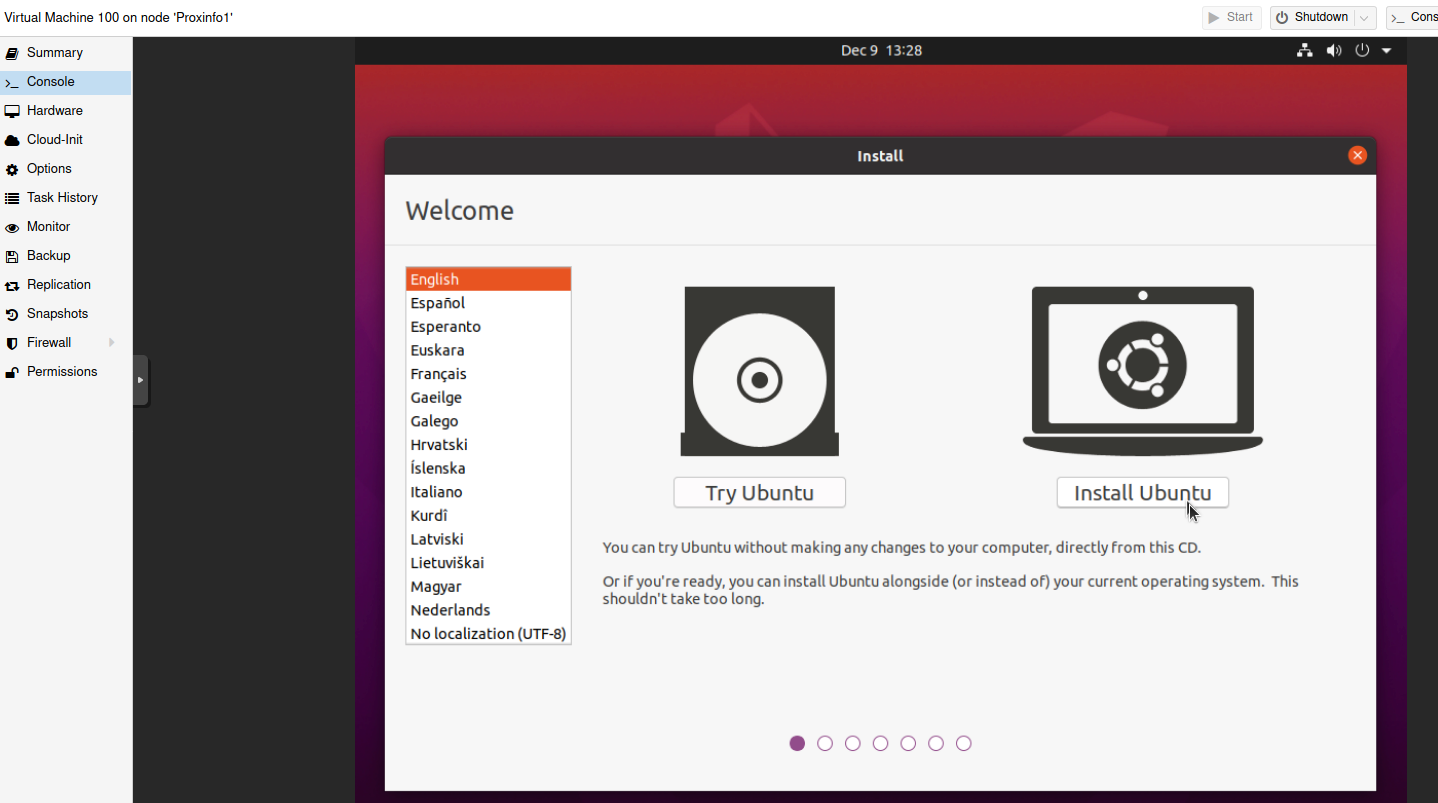
I will not walk you through Ubuntu installation, I will just put this screen here…
After some time… That is it, we have our first VM installed!