I`m using a lot of different self-hosted web services (cloud) for past 8-9 years. Pydio is one of them – I initially started using Owncloud as my cloud storage solution but it was/is too buggy for my taste. So, I moved to Pydio and I`m very satisfied with it – great team, great support – polished product. However, while I have most of my installs on Linux, I still do a plenty of them on Windows Server platform.
Disclaimer: This is working tutorial, but always work in progress – if you have something to add to this – please write to me on the email listed in my Contact.
While Pydio support for CentOS and Red Hat is great, support for Windows Server is seriously lacking.
When I first started I was really struggling – because I couldn`t get IIS to work with these PHP based services, and you usually need some kind of database on top of everything – it was nightmare for me.
Problem is in documentation and tools, but documentation mostly – information is just too scarce.
While I now need very little time for installation and configuration of these services – that wasn`t always like that.
This will be complete tutorial with every step needed for successful Pydio 8 installation on Windows – it is based on Windows Server 2016 Standard and Pydio 8.0.1.
This is working Pydio installation, however I sometimes have problem uploading large files to the Pydio. If anybody has a clue about this huge file upload issue or something else to add to this tutorial, please let me know.
This tutorial assumes you have clean Windows Server 2016 installation with nothing on it. It is covering every single step you need to finish and start using Pydio 8 installation.
This setup works in my test environment and is connected to the internet with static IP address.
First step – Installing IIS
Server Manager |Manage | Add Roles and Features | Next

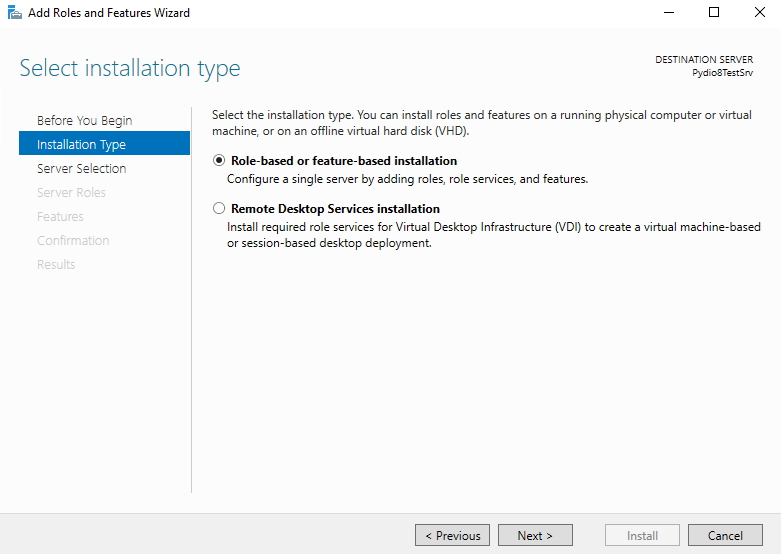
Role-based of feature-based installation | Next
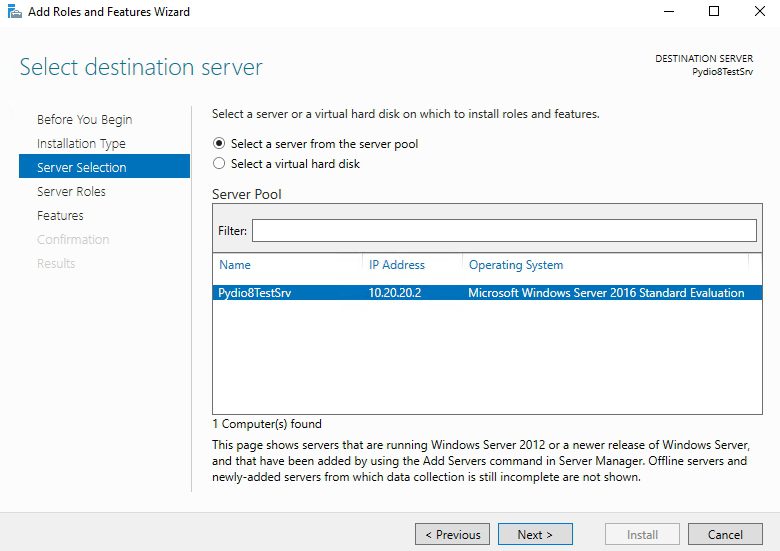
Select local Server | Next
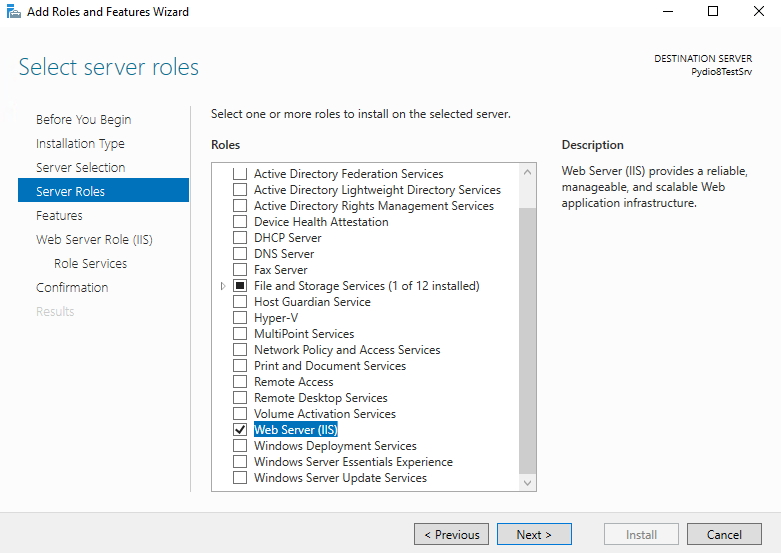
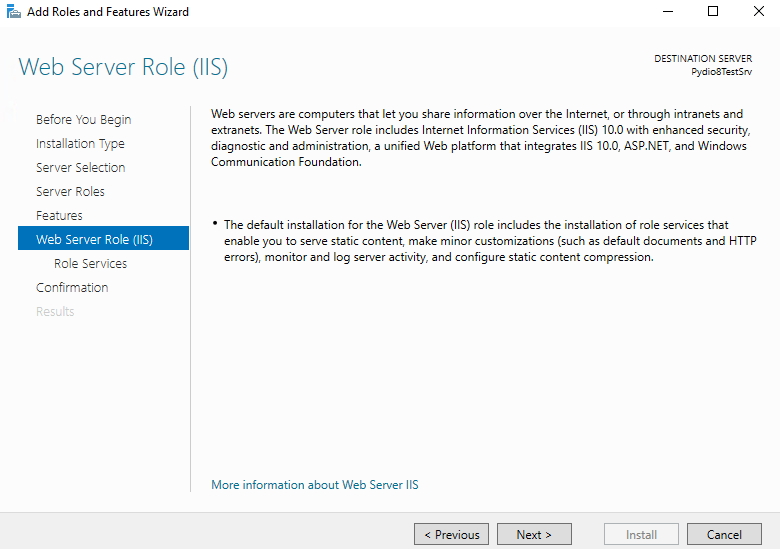
Select Server Roles |Web Server (IIS)
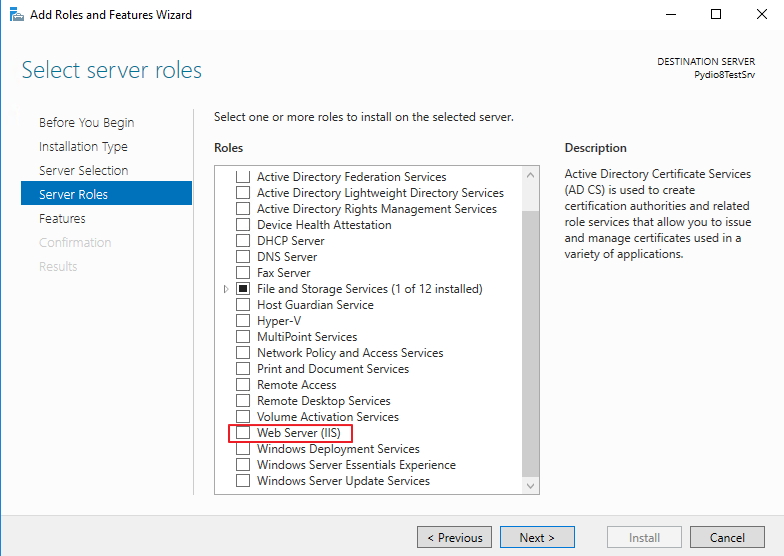
New window will pop up when you select Web Server (IIS) | Add Features

Next
Select .NET Framework 3.5 Features |Next
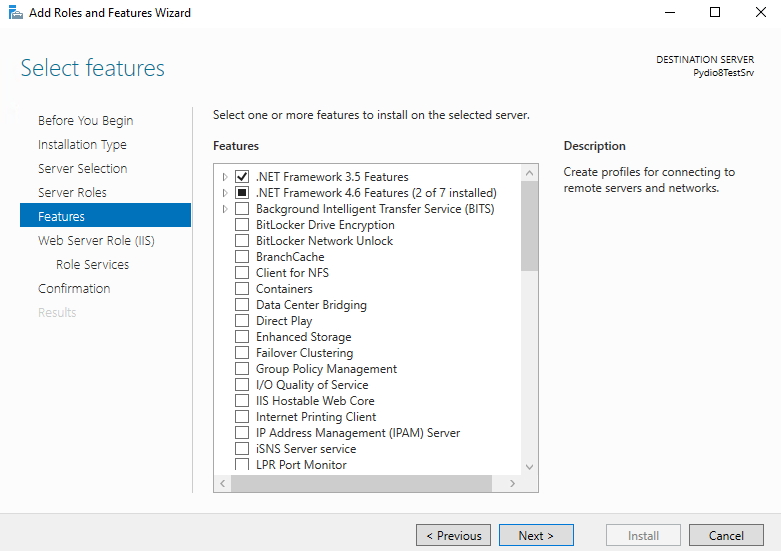
Next
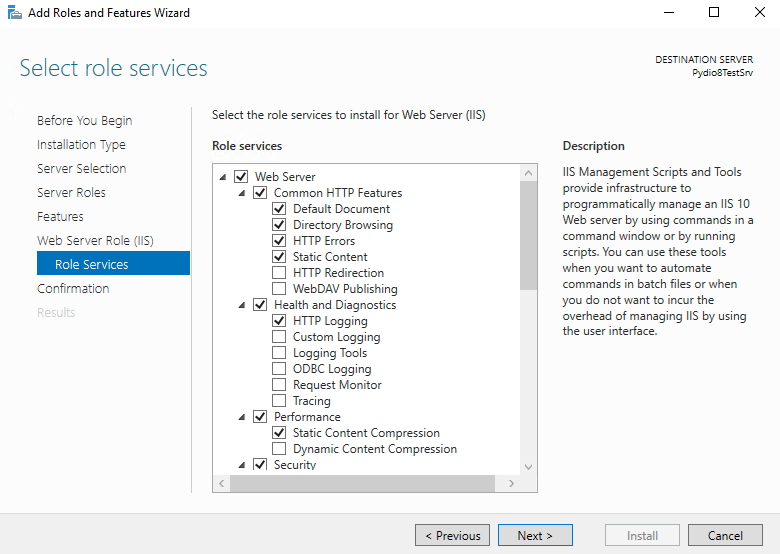
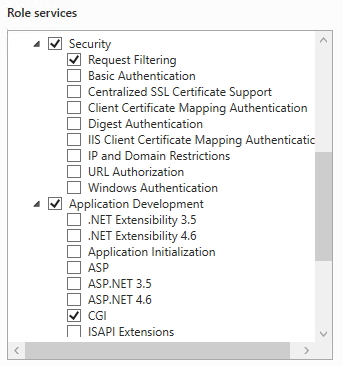
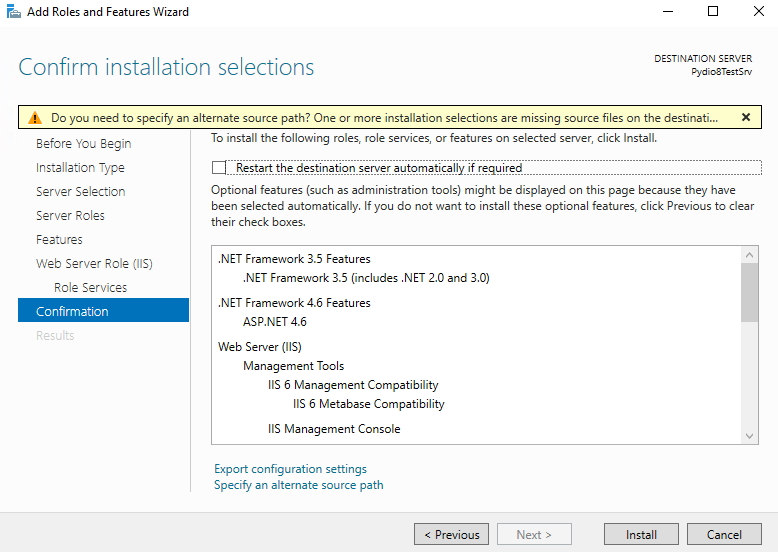
Leave default checked + check CGI under Application Development and all under Management Tools

Install
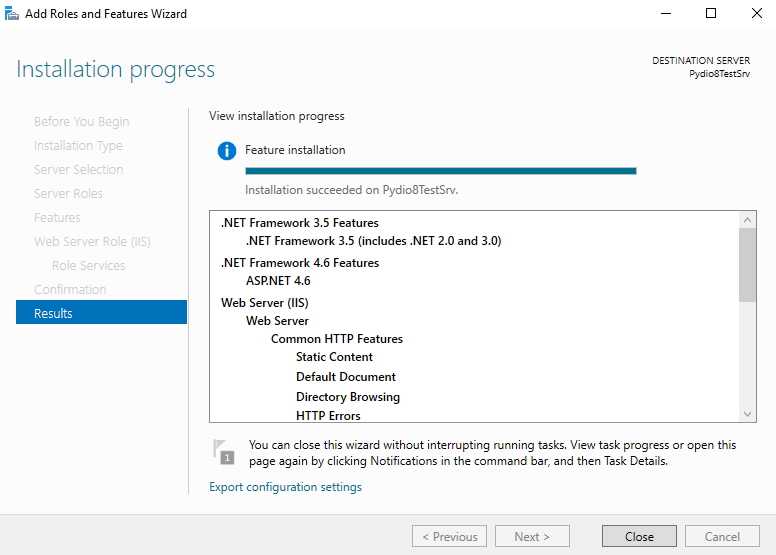
Installation…

Installation succeeded |Close and reboot server before next step
IIS is now set up.
PHP 7.1 (7.1.8) installation
Go to – http://windows.php.net/download/ and under PHP 7.1 (7.1.8) download zip version of VC14 x64 Non Thread Safe (2017-Aug-02 00:22:57)

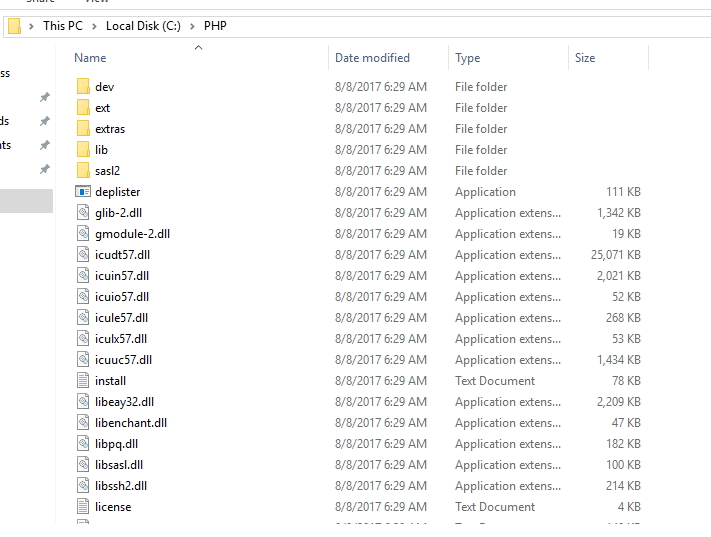
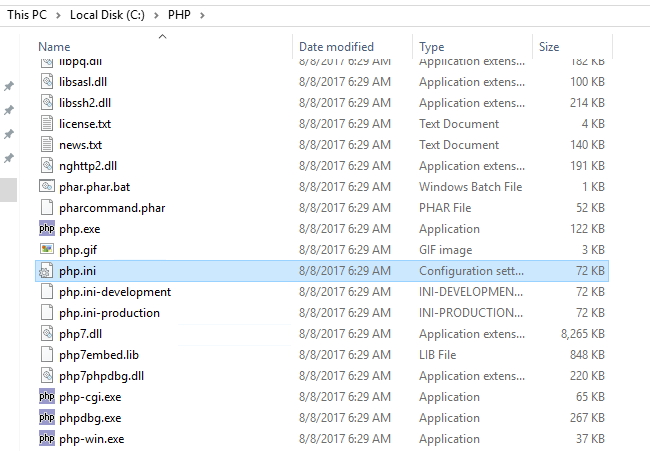
Extract downloaded zip file. For this LAB I will extract PHP to the root of the drive, into C:\PHP
Copy and Paste php.ini-production into the same directory
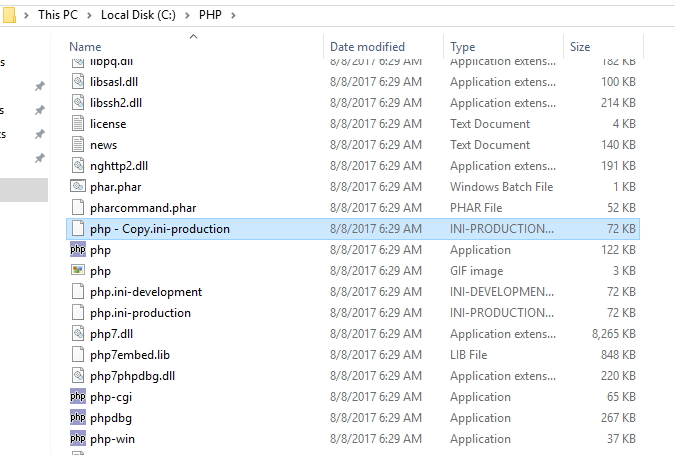
Now rename copy to the php.ini – right click on it and select Edit (for editing I`m using Notepad++)
Change following values in php.ini
output_buffering = off
post_max_size= 8M (I changed that value to 2000M 2GB – you can choose value you like)

upload_max_filesize = 2M (I again changed that value to 2000M 2GB – you can choose value you like)
Save changes – that is it for now in php.ini
Next step – download and install prerequisites
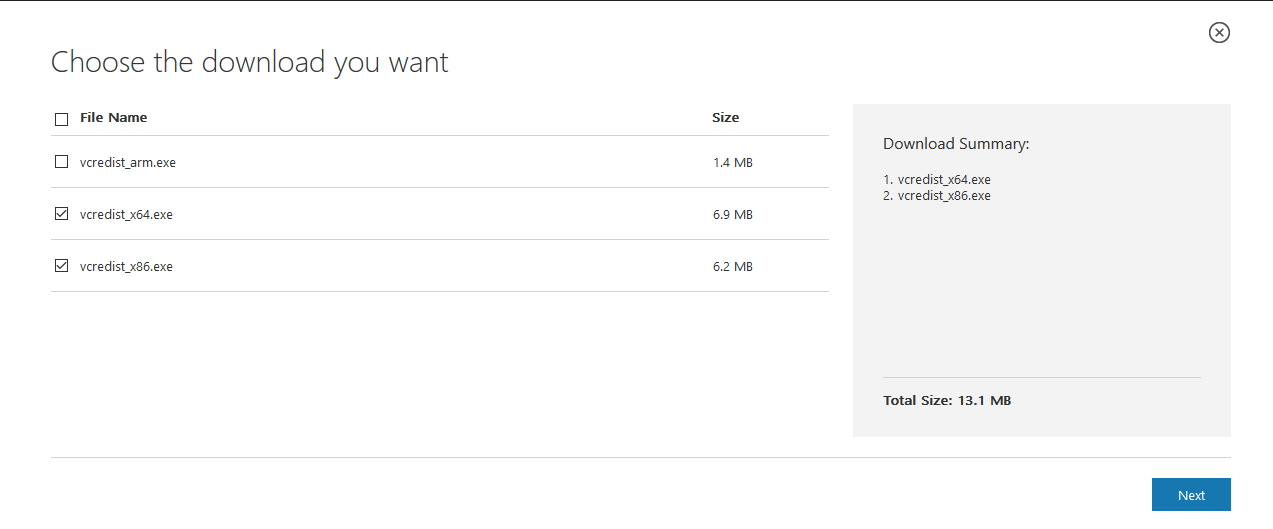
Visual C++ Redistributable Packages for Visual Studio 2013 (important thing Is to download both x86 and x64 versions – MySQL will have problems with update if x86 version is missing)
https://www.microsoft.com/en-us/download/details.aspx?id=40784
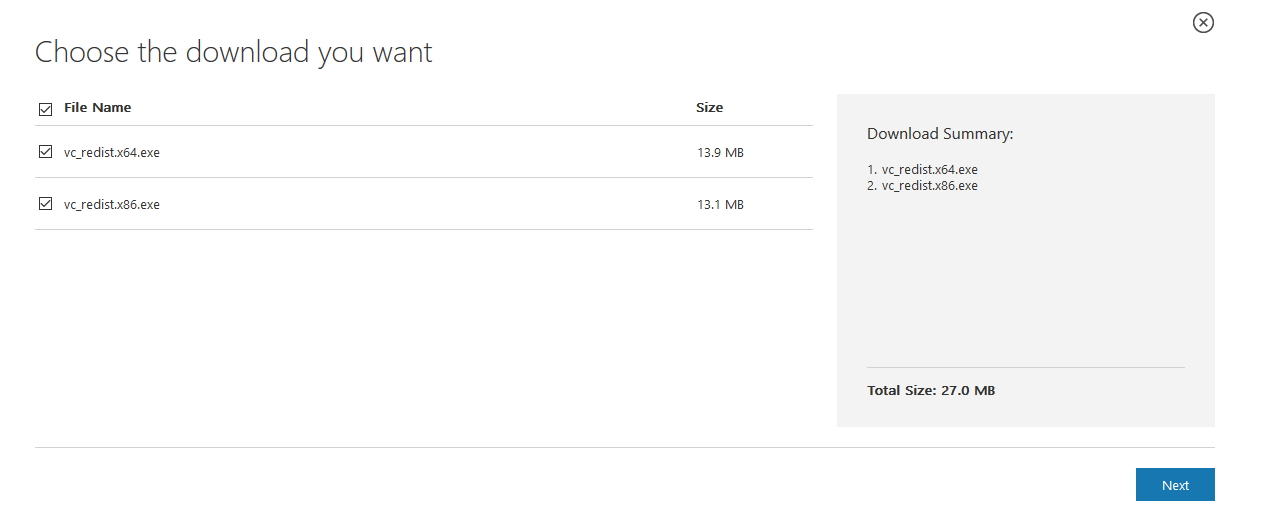
Visual C++ Redistributable Packages for Visual Studio 2015 (important thing Is to download both x86 and x64 versions – MySQL will have problems with update if x86 version is missing)
https://www.microsoft.com/en-us/download/details.aspx?id=48145
I won`t be covering install procedures for these – they are very simple.
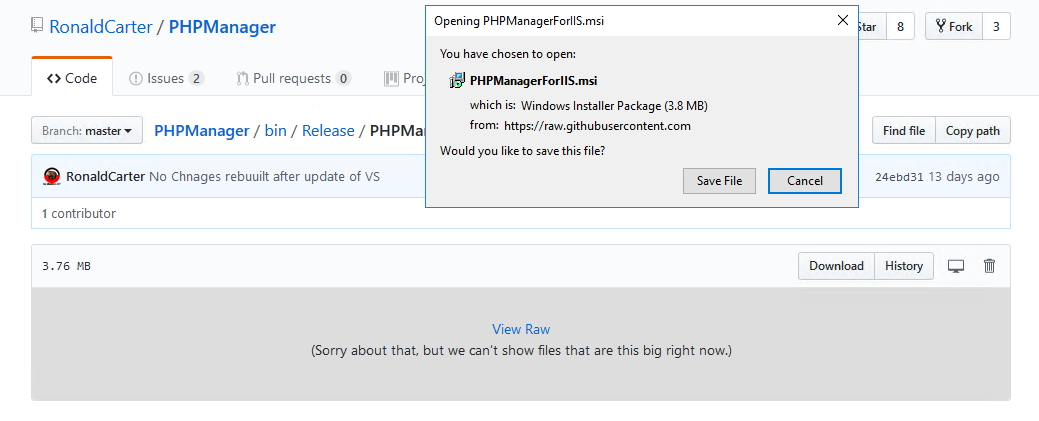
PHP Manager for IIS 1.4– Modified version that works with IIS 10 can be found here
https://github.com/RonaldCarter/PHPManager/blob/master/bin/Release/PHPManagerForIIS.msi
I again will not be covering setup of this prerequisite

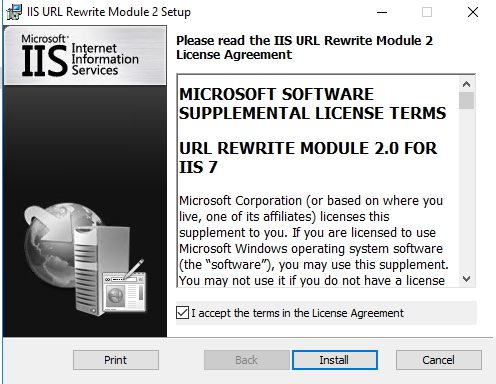
Microsoft URL Rewrite 2.0 module
go.microsoft.com/fwlink/?LinkID=615137
WinCache Extension for PHP – https://sourceforge.net/projects/wincache/files/
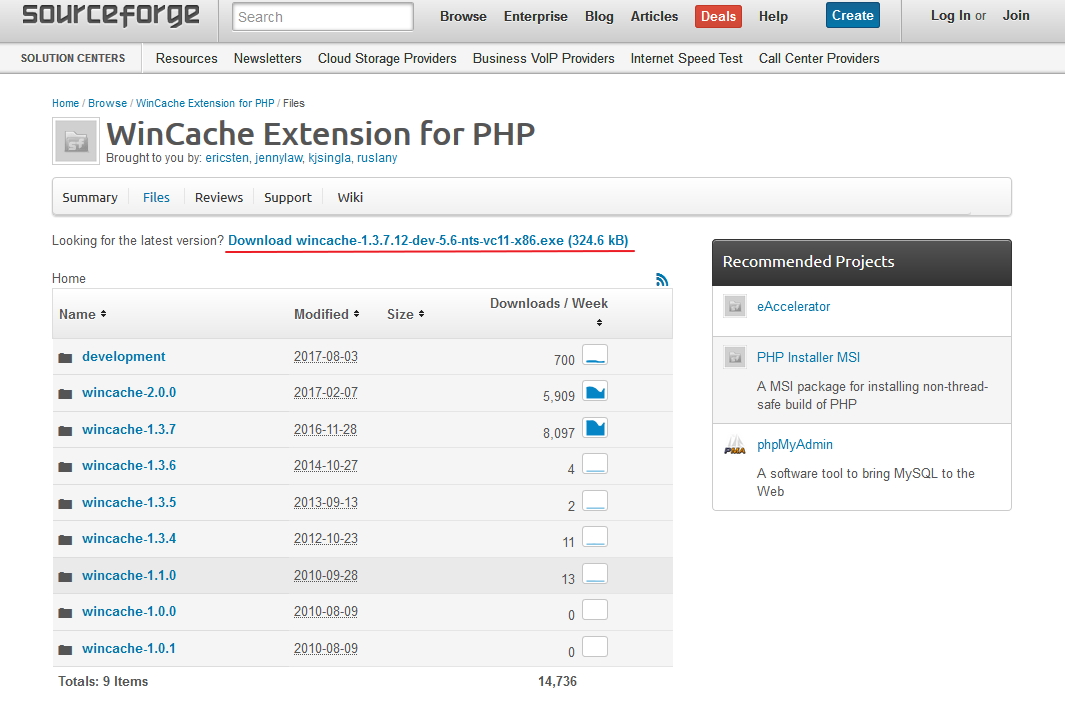
Extract Win Cache for PHP extension into ext dir in your PHP installation. In my case that would be C:\PHP\ext
OK
Now we are more or less finished with prerequisites installation.
MySQL installation
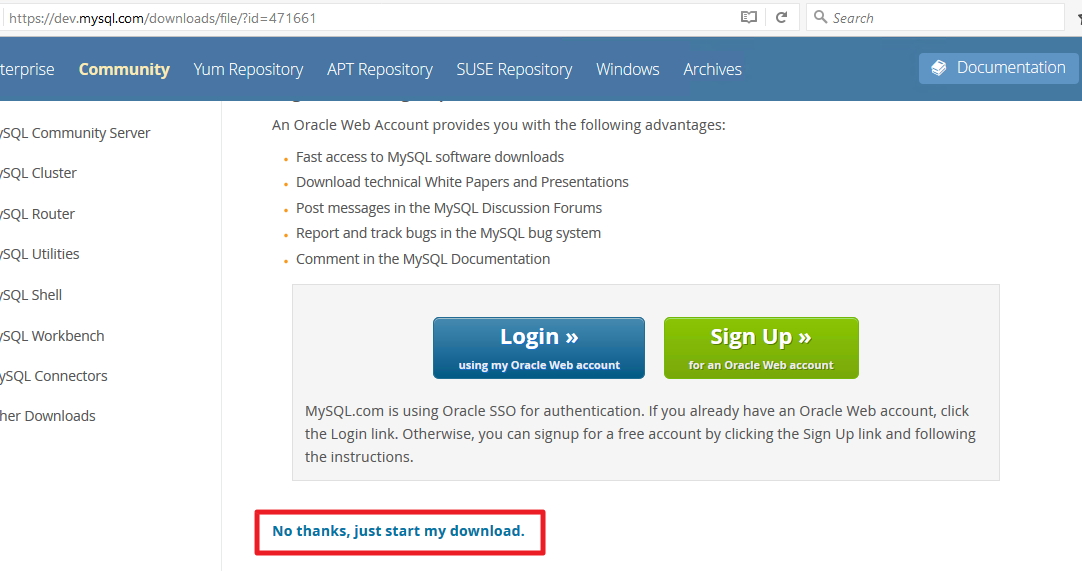
https://dev.mysql.com/downloads/mysql/
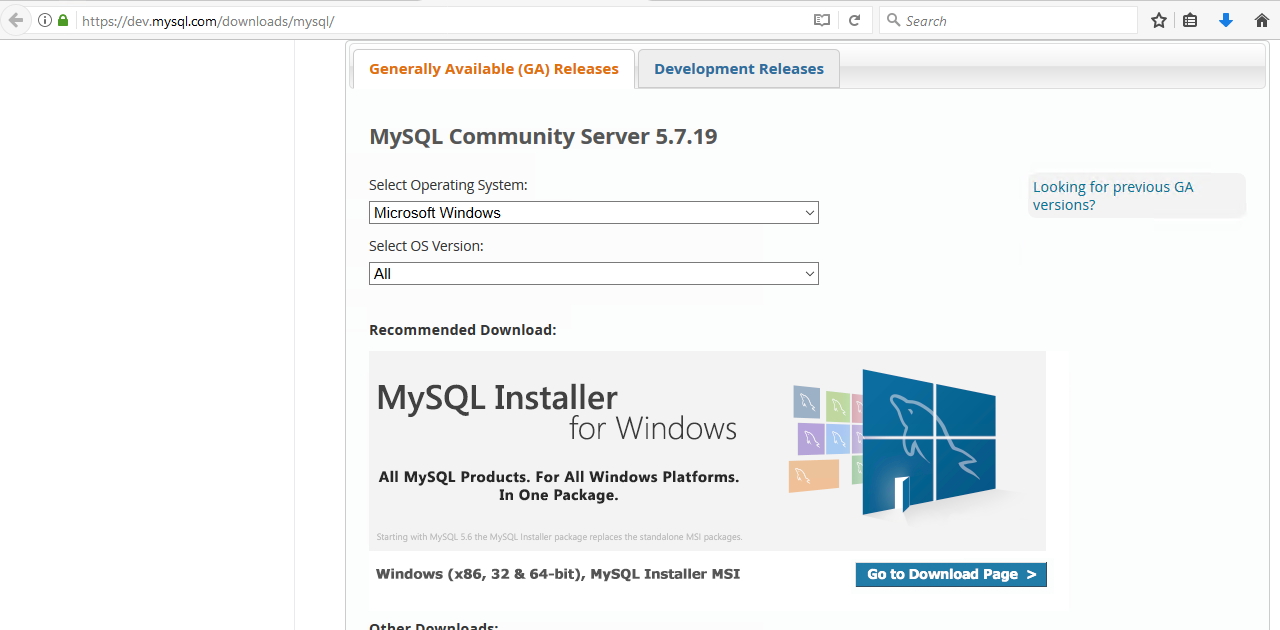

Download link is at the bottom of the screen – you can skip large login/registration buttons
I will be covering MySQL installation
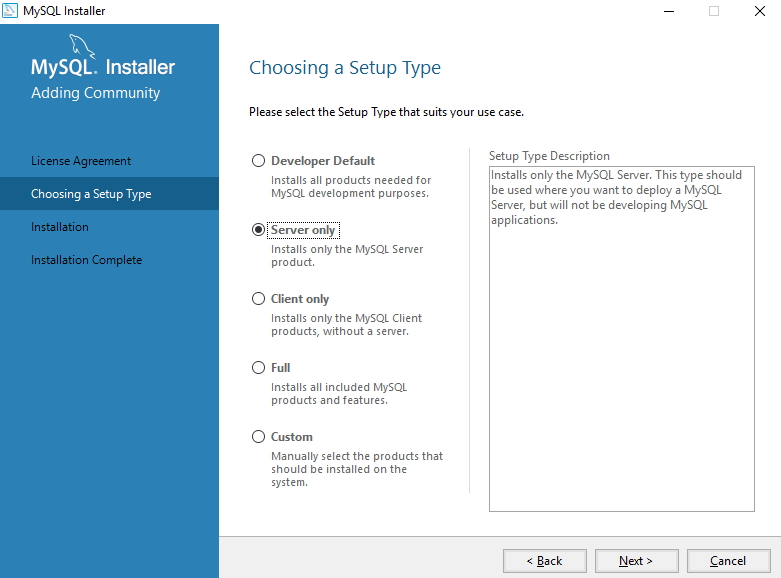
Accept license terms |Next

Server Only |Next
Execute
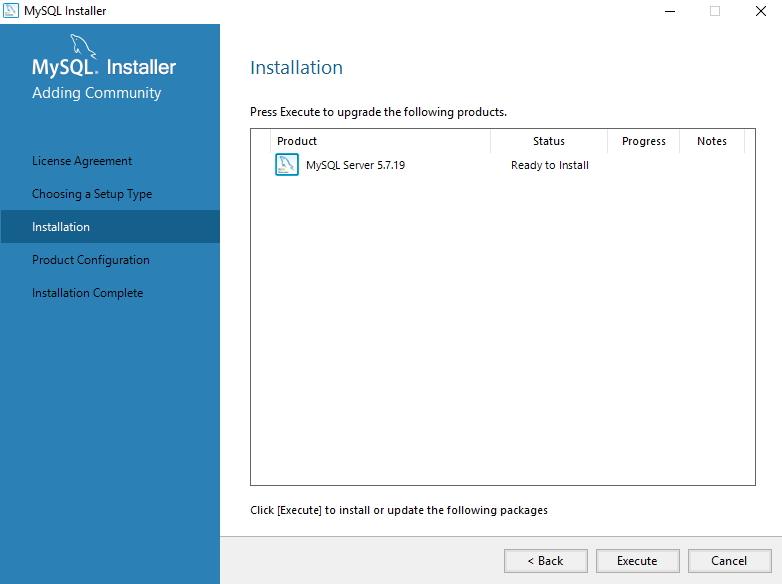
Installing…

Complete |Next
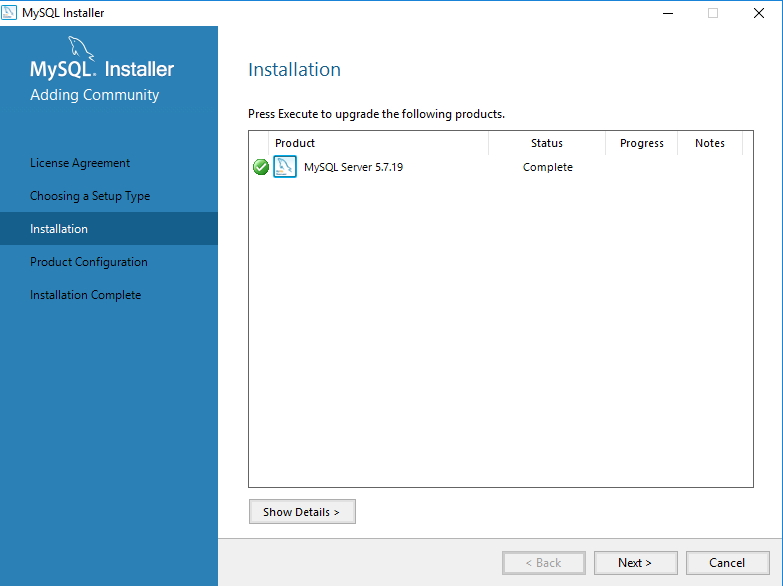
Next
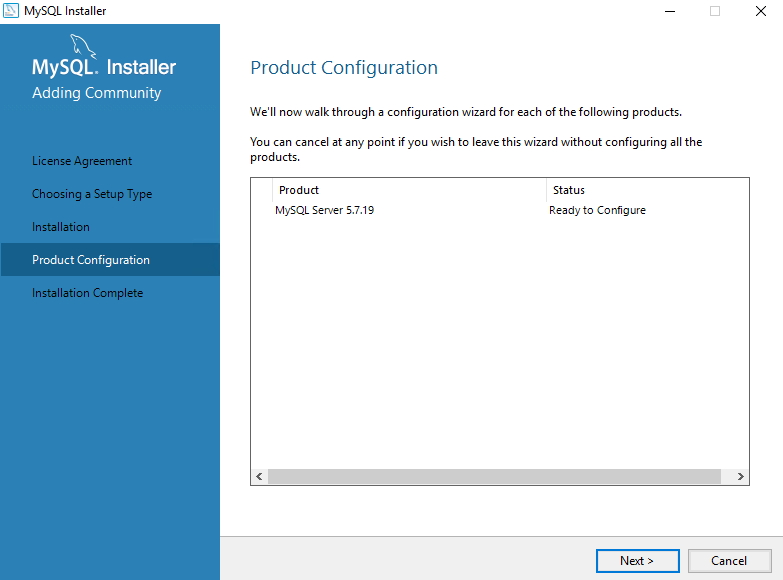
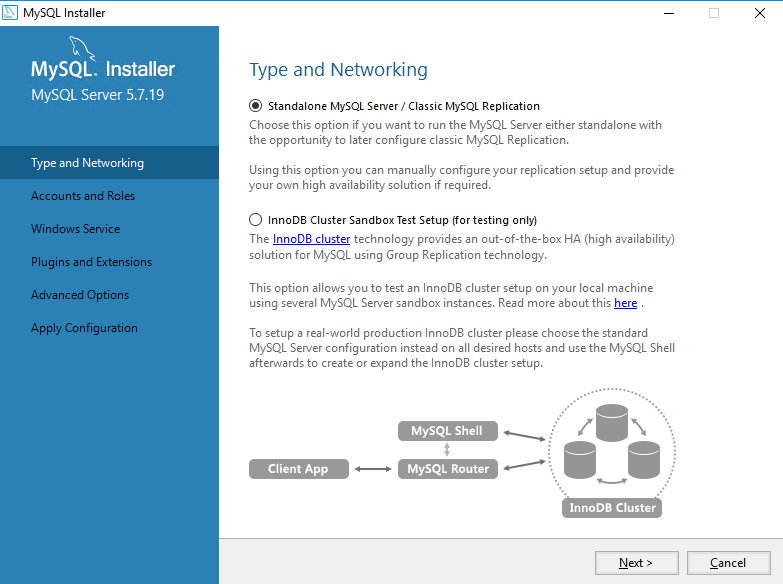
Standalone MySQL Server | Next
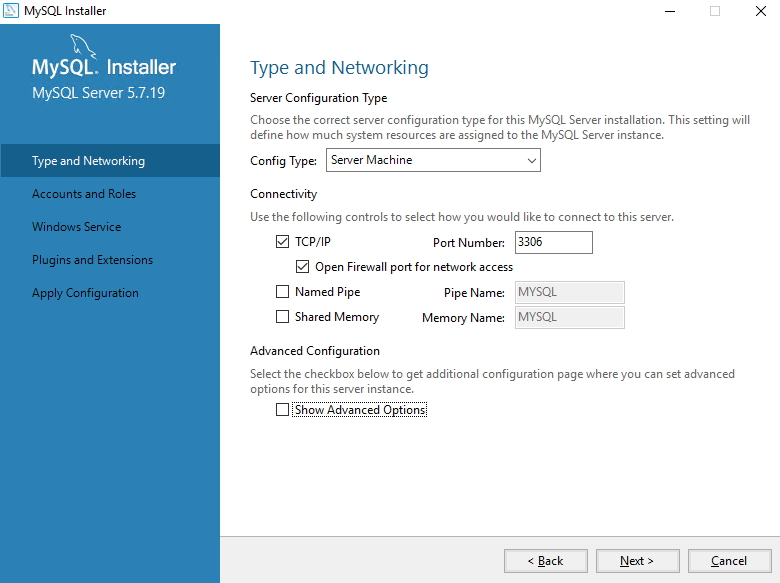
Config type: Server machine | Connectivity TCP/IP Port Number 3306 – Open Firewall port for network access (good idea would be to leave database available only on Private network, not Public one) |Next
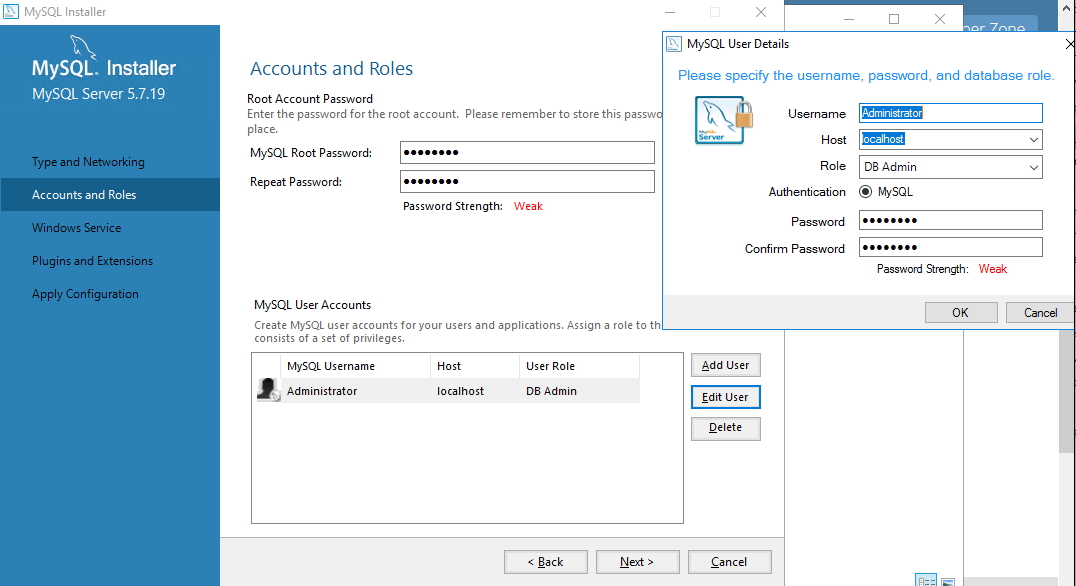
Enter Passwords and Accounts – choose strong passwords with at least 12 characters (special, letters, numbers…), don`t be like me. |Next
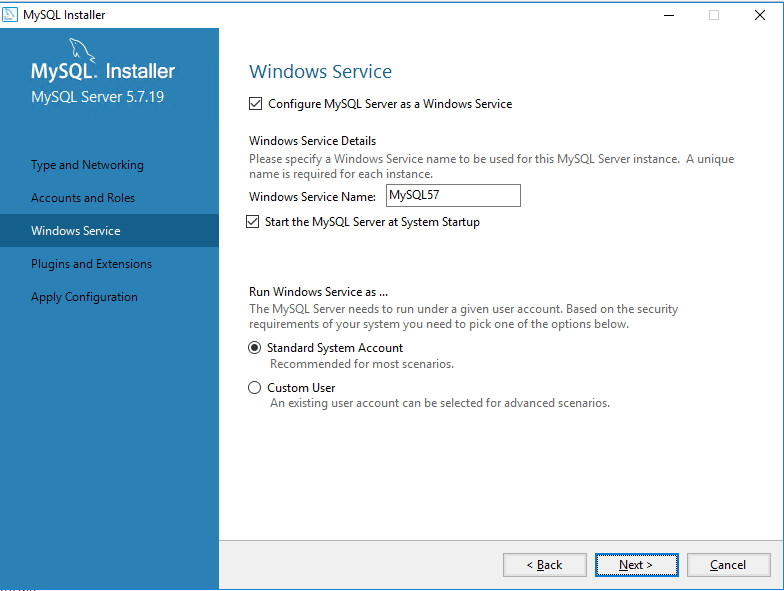
Select Configure MySQL Server as a Windows Service | Select Start the MySQL Server at System Startup | Run Windows Service as – Standard System Account |Next
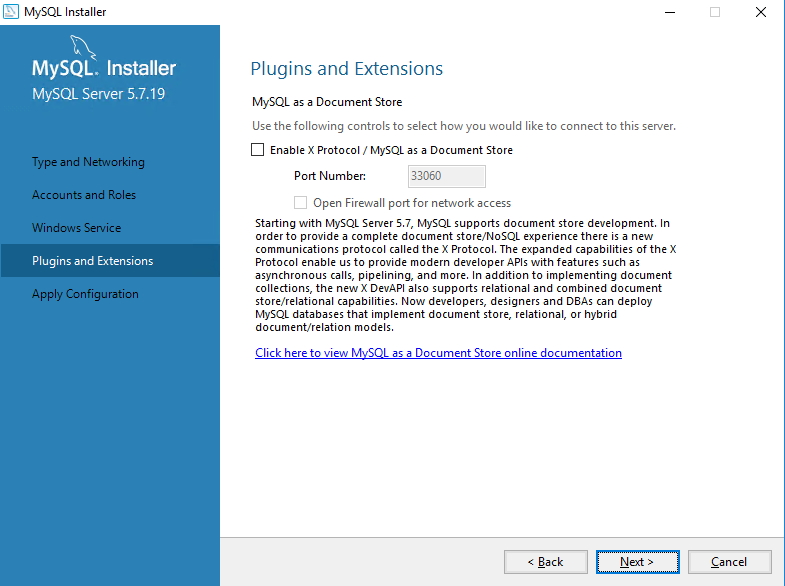
Next
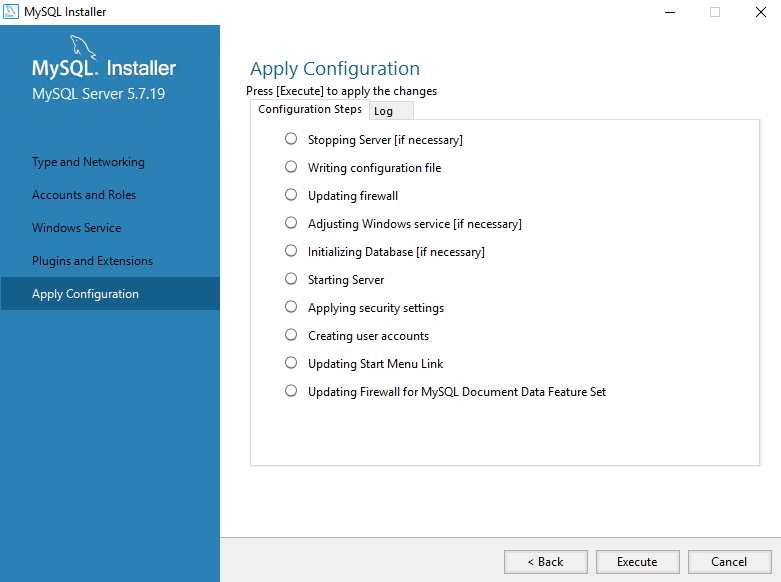
Execute
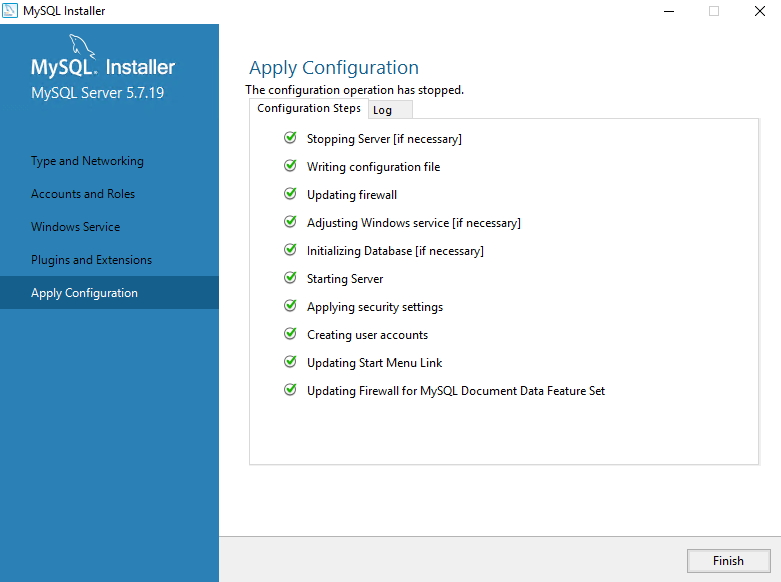
End of MySQL installation procedure | Finish
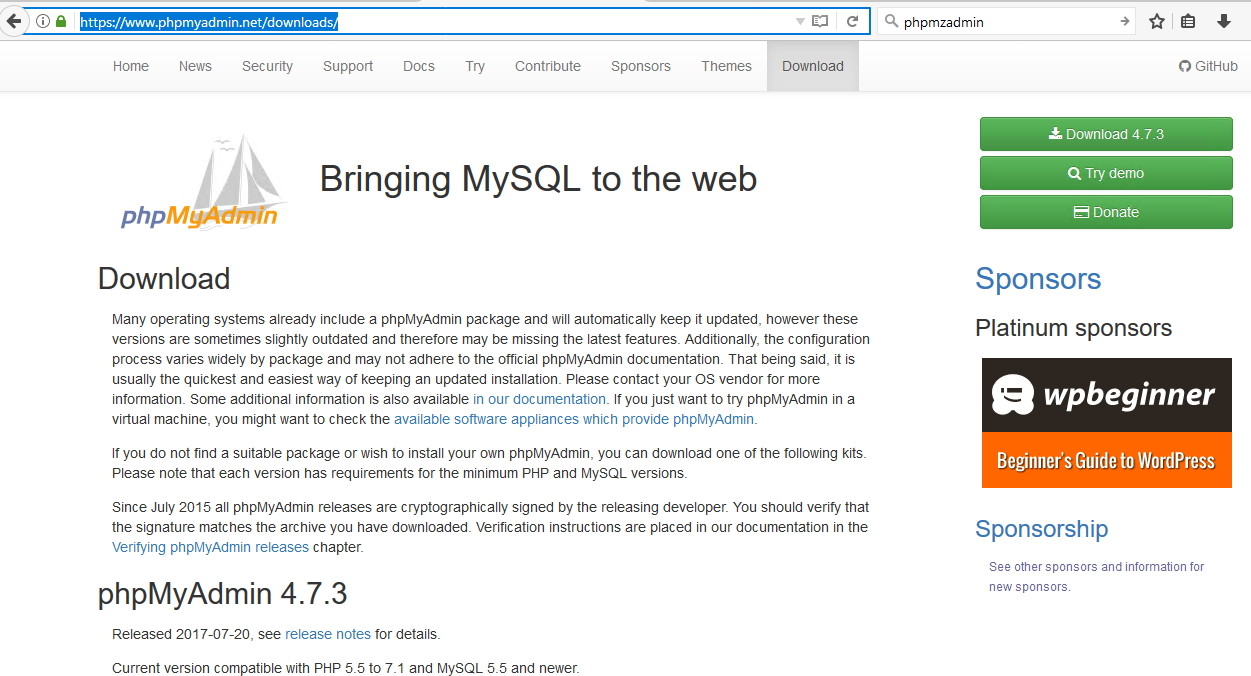
We will have to administrate databases, so we`ll need some kind of management interface for MySQL – phpMyAdmin is good solution
https://www.phpmyadmin.net/downloads/ – Download
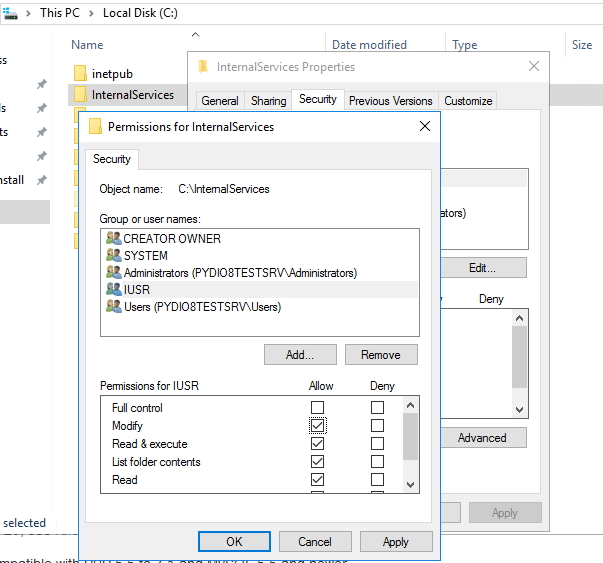
After download – go to root of your drive and create C:\InternalServices folder (once again, you can name folders as you like and choose locations that you like) and subfolder phpMyAdmin
Give ISUR Modify rights for the InternalServices folder (and phpMyAdmin subfolder)
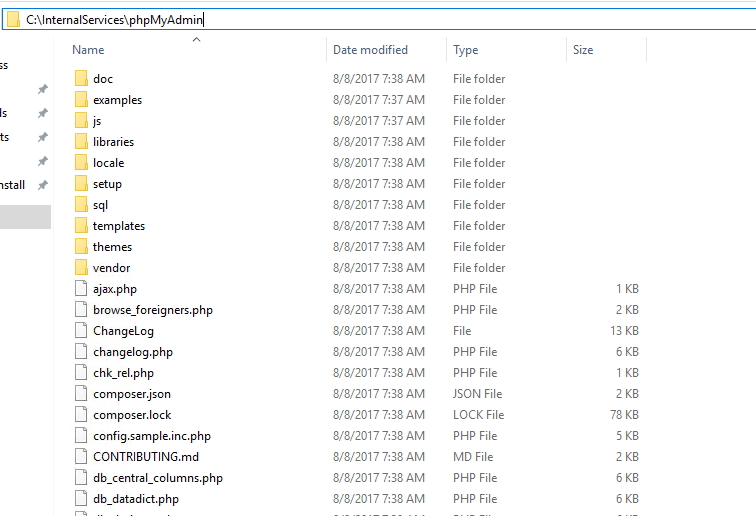
Extract downloaded phpMyAdmin files into C:\InternalServices\phpMyAdmin folder
Result should look like this
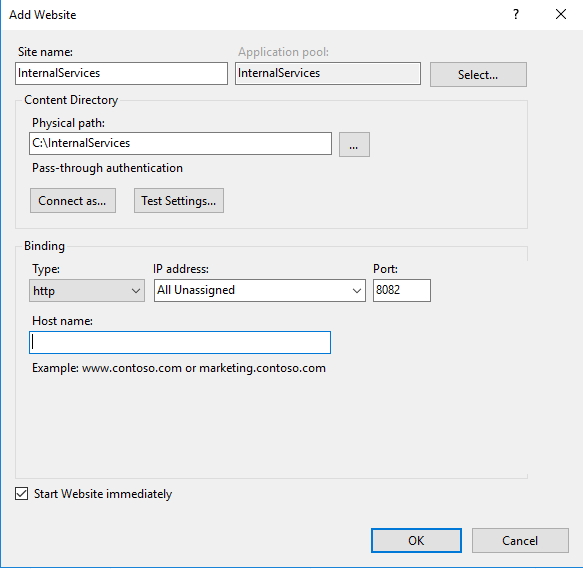
Start IIS Manager |Open Server | right click on Sites | Select Add Website
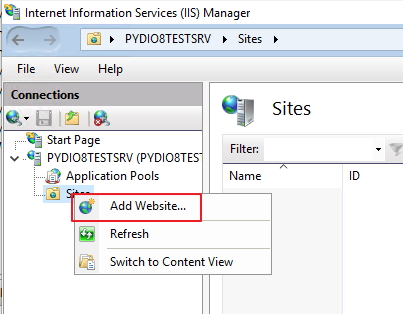
Enter Site name: What you like |Physical path should be C:\InternalServices |Binding – change port to something else – I selected port 8082 for this LAB |OK
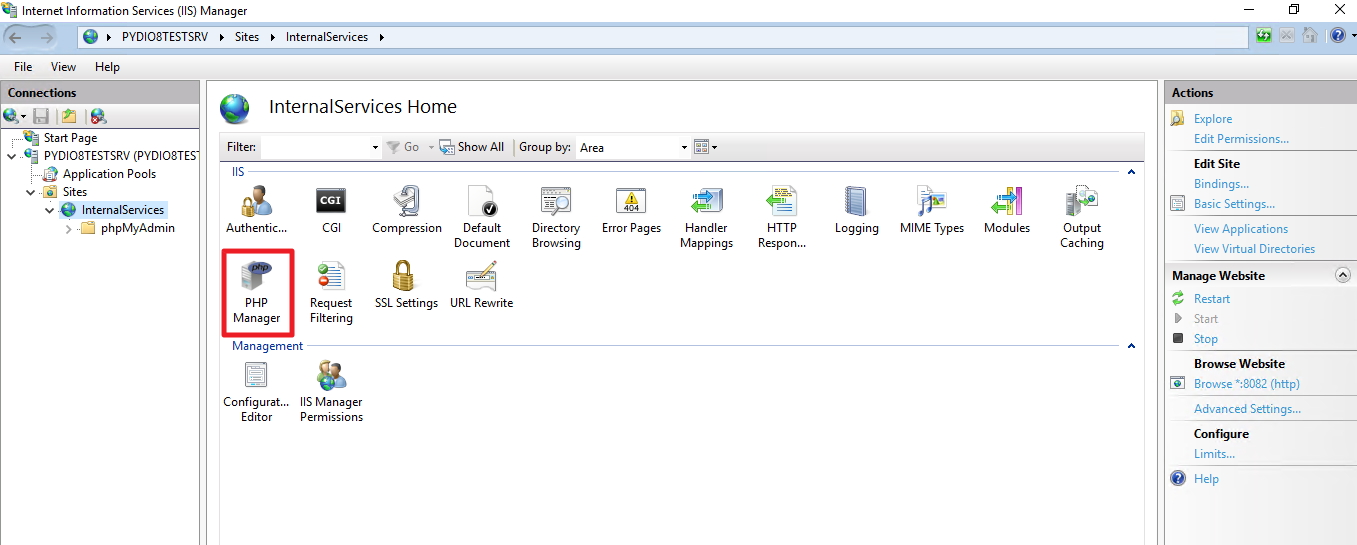
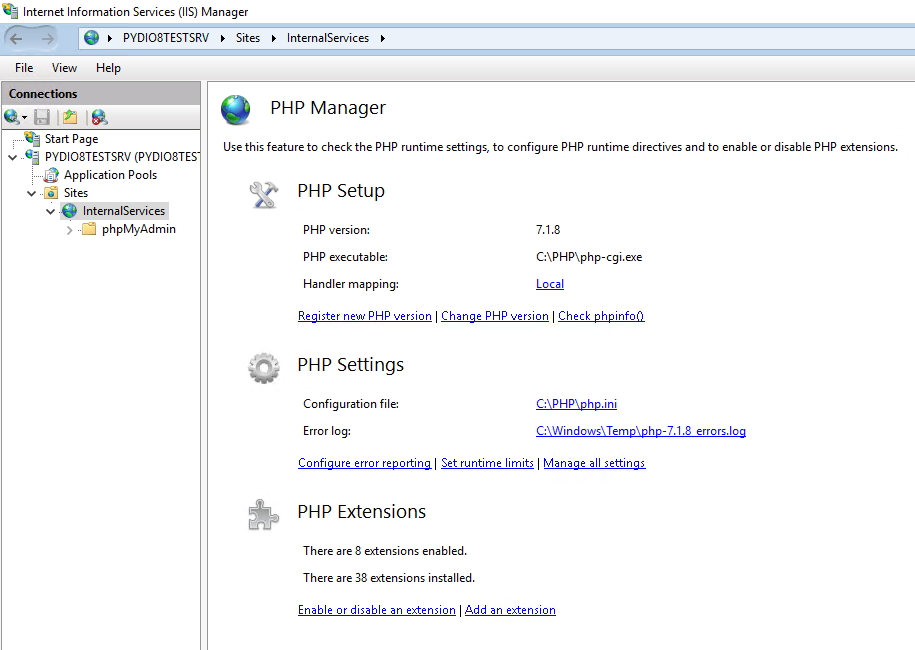
Site created |Select PHP Manager from Central Screen
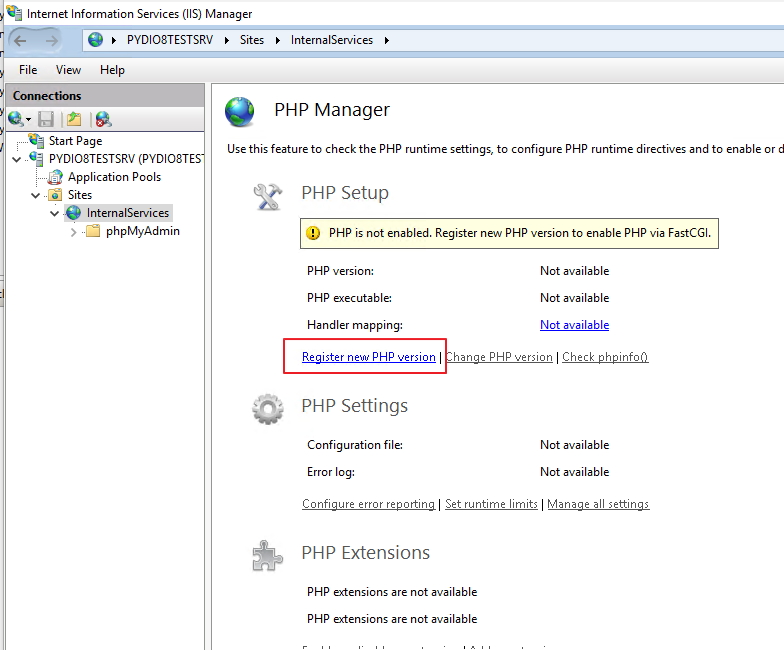
Register new PHP version
Go to your PHP folder and select php-cgi.exe
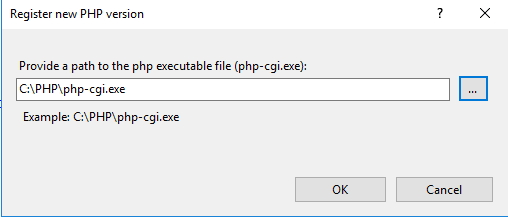
PHP registered
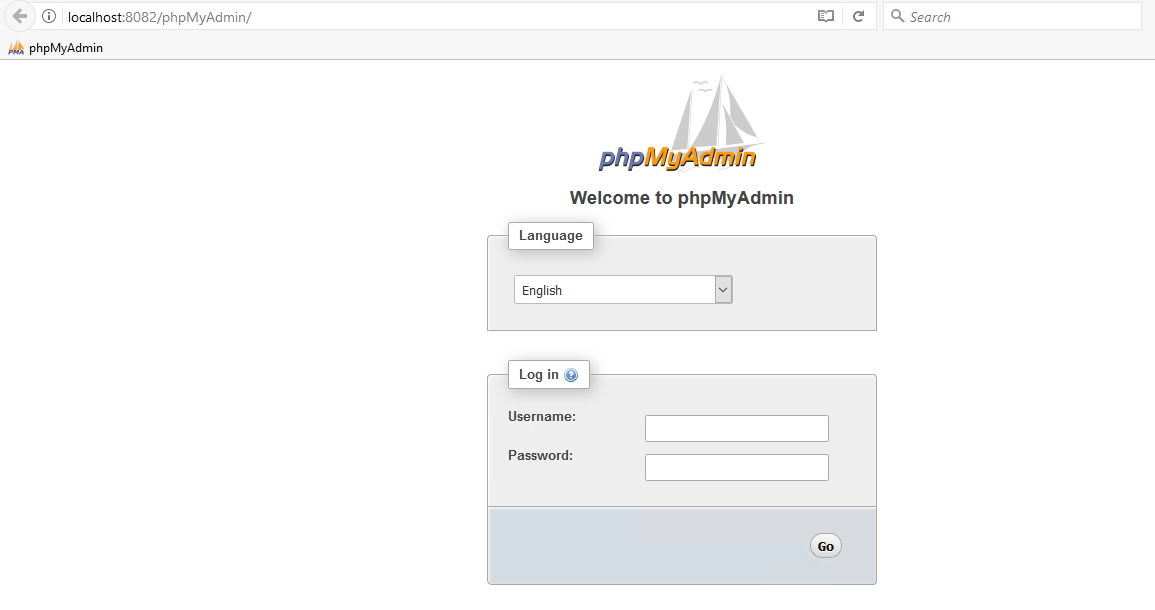
After this step, fire up your web browser and enter http://localhost:8082/phpMyAdmin/
If you followed instructions this should be result
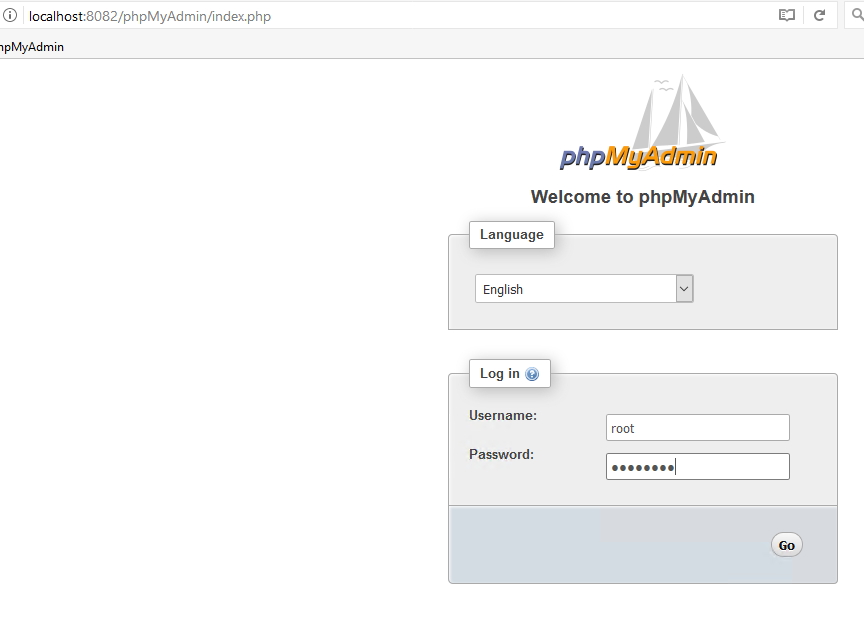
Now let`s try logging in – you can try username: root and password you configured during MySQL setup (please don’t use root user in production environment, create users for your databases)
Success, we can now create/manage MySQL databases through phpMyAdmin
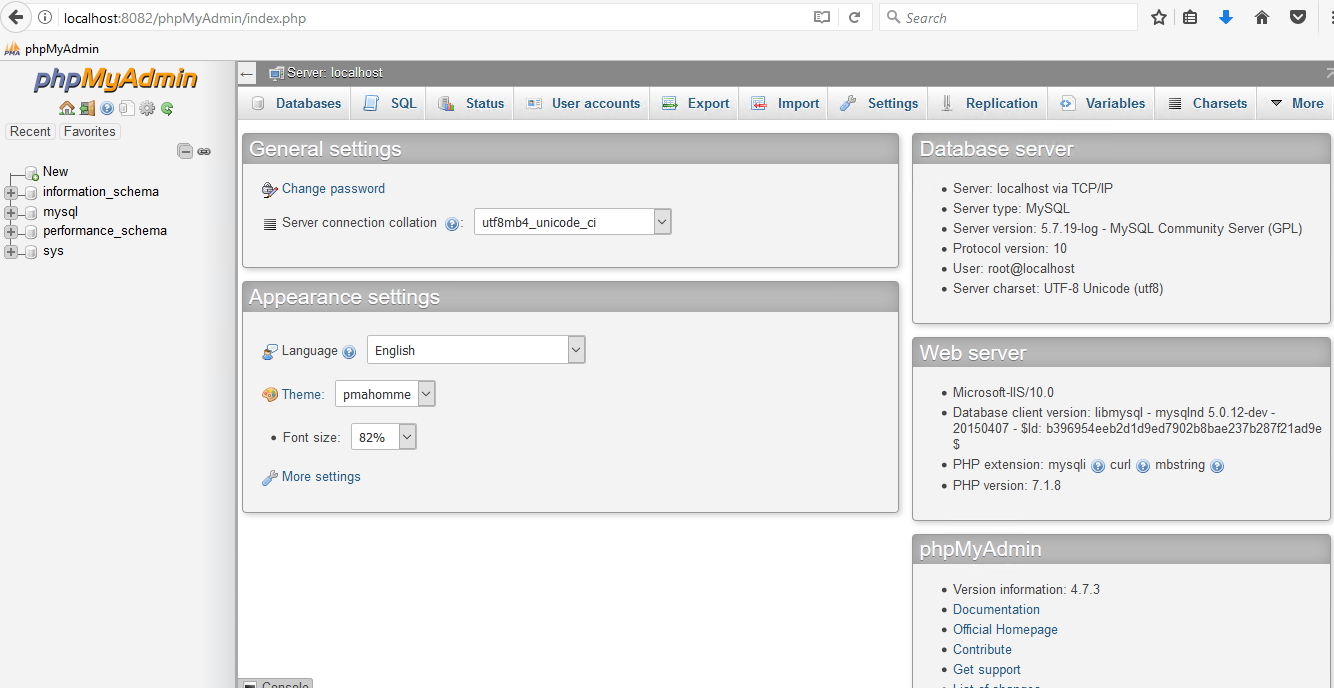
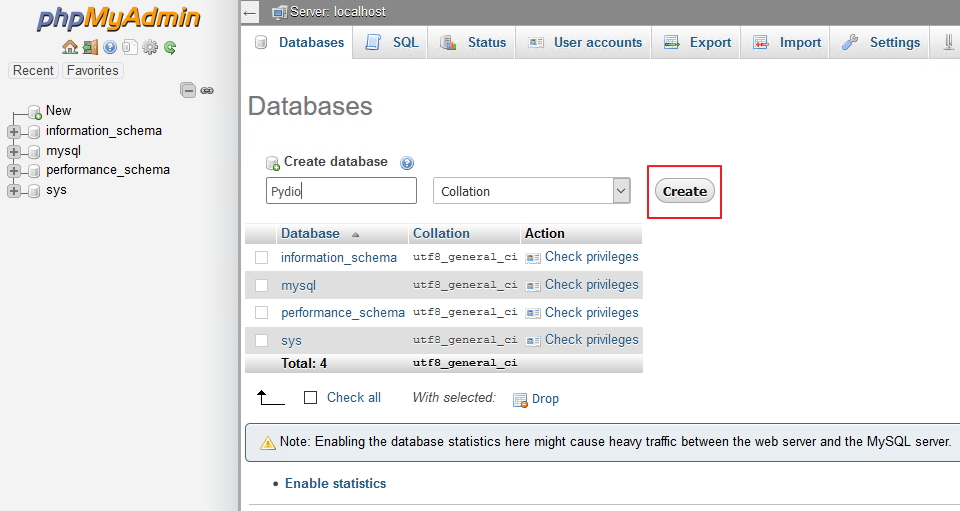
While we are here we`ll create new database for Pydio
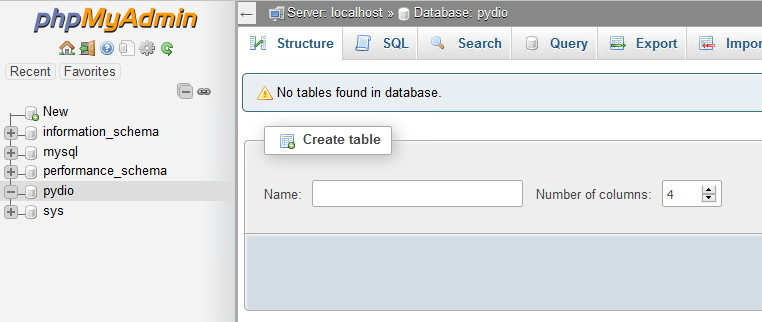
Click on Databases | Create Database – enter name – mine will be called Pydio |Create
Done
For now we are finished with mySQL and phpMyAdmin
We are getting into final steps of the installation, and the last steps are installation and configuration of Pydio.
Since this first part is already too long, I will write second part in another article.
You can find second part of the installation here -> https://www.informaticar.net/how-to-install-pydio-8-on-windows-server-2016-part-2/